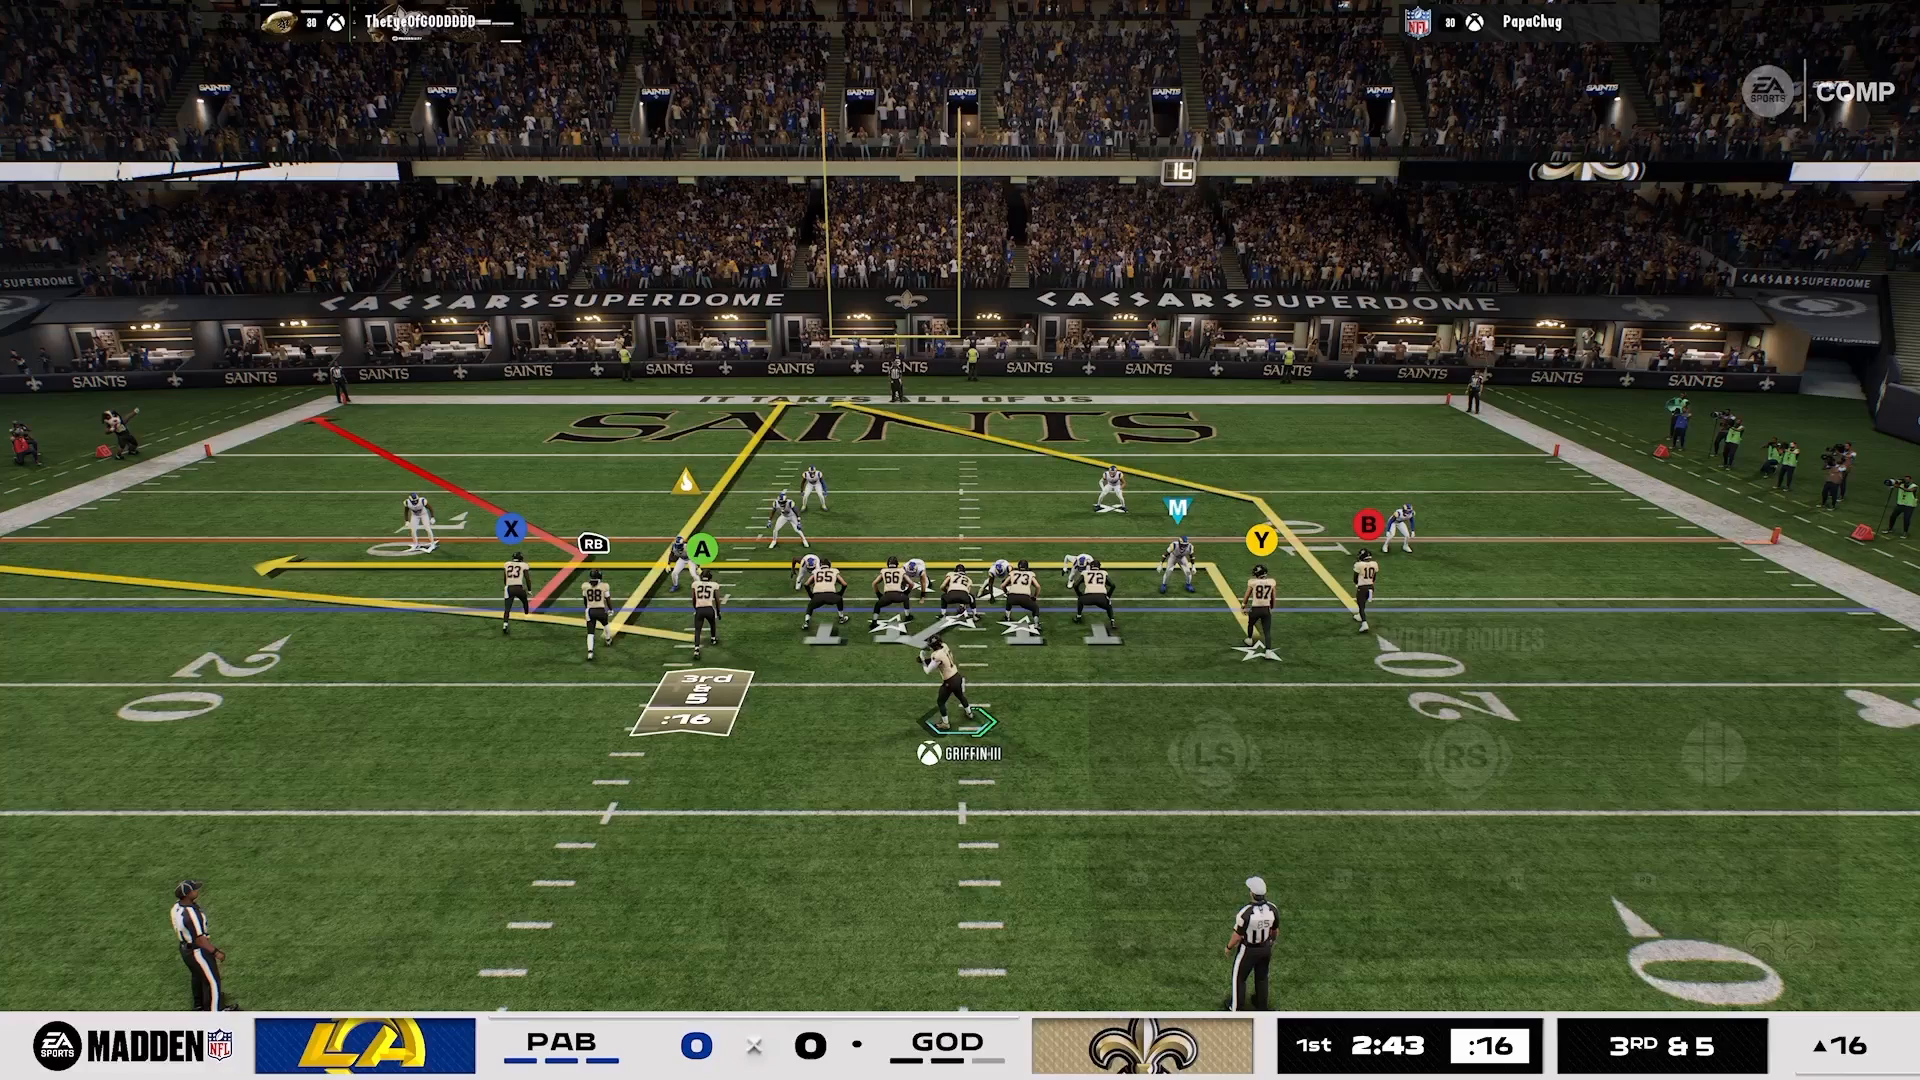
Understanding the Challenge of Doubles Clamp Stack
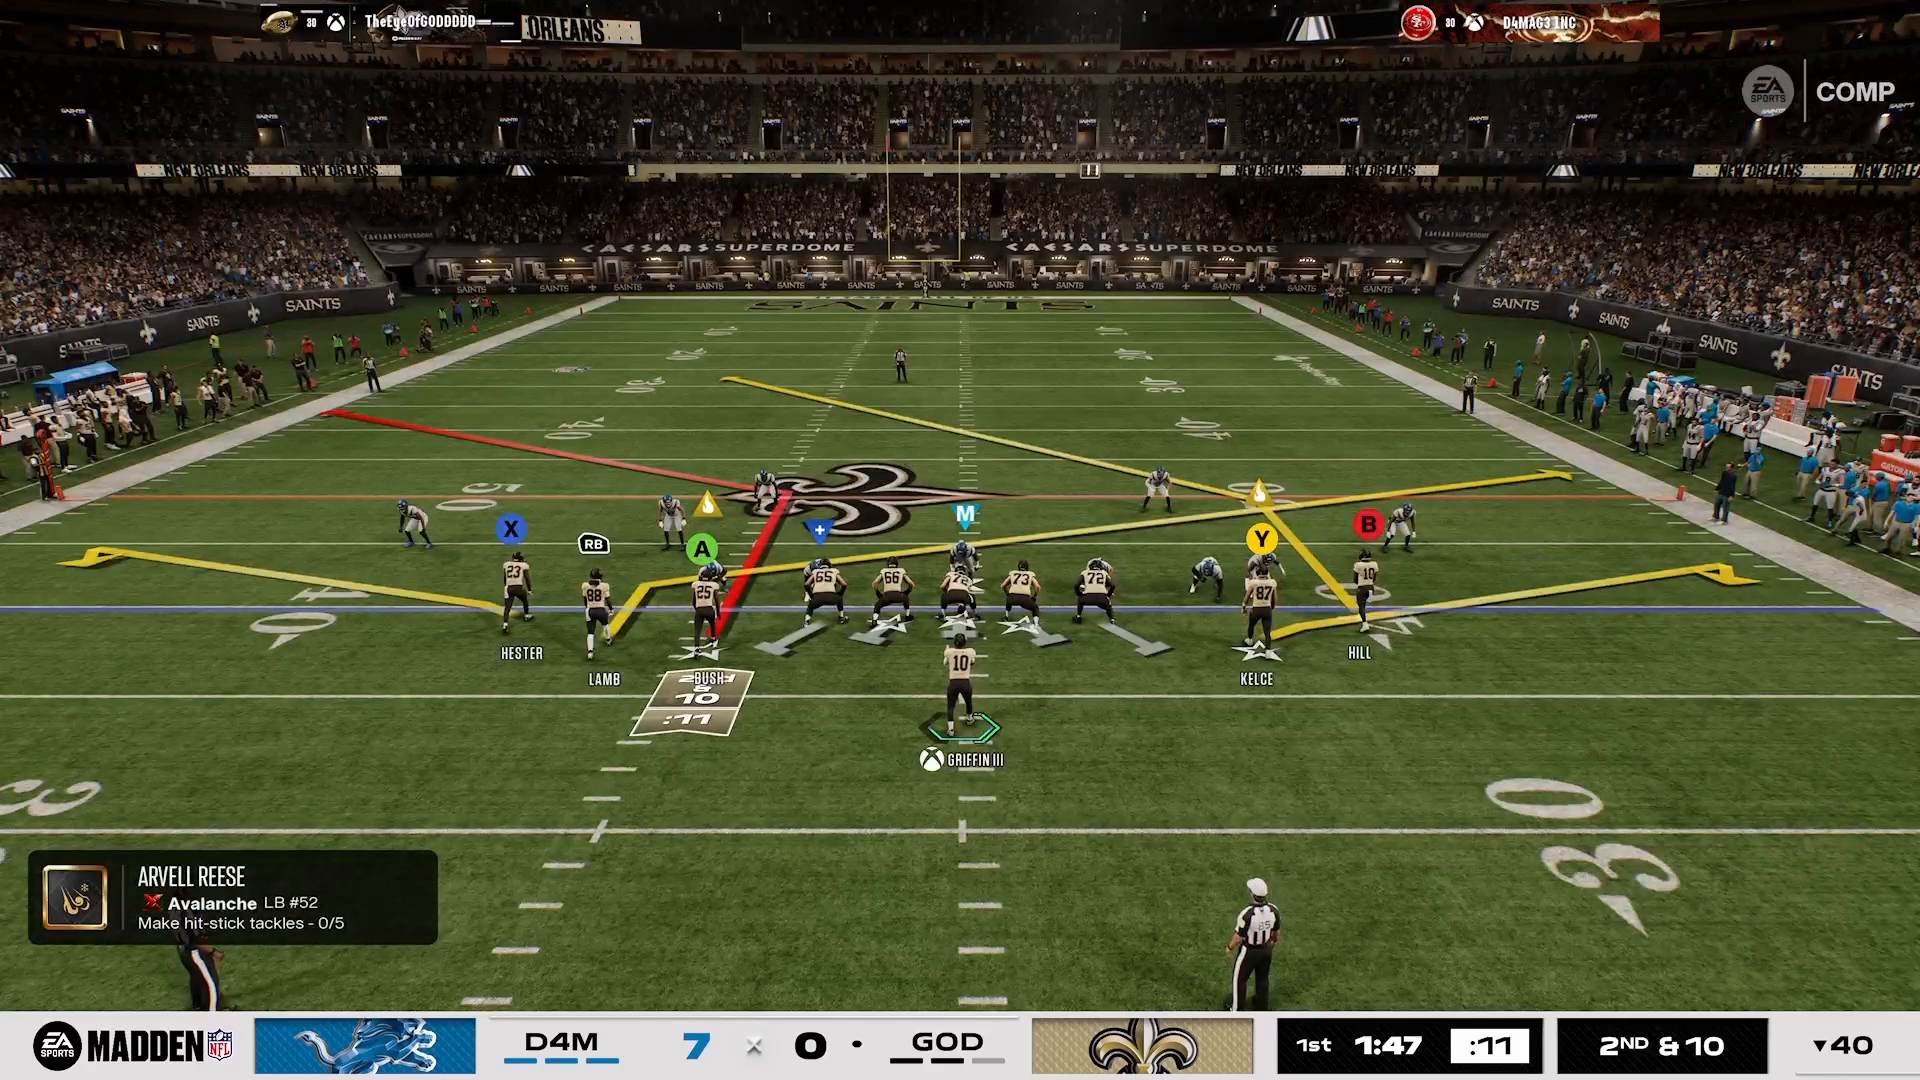
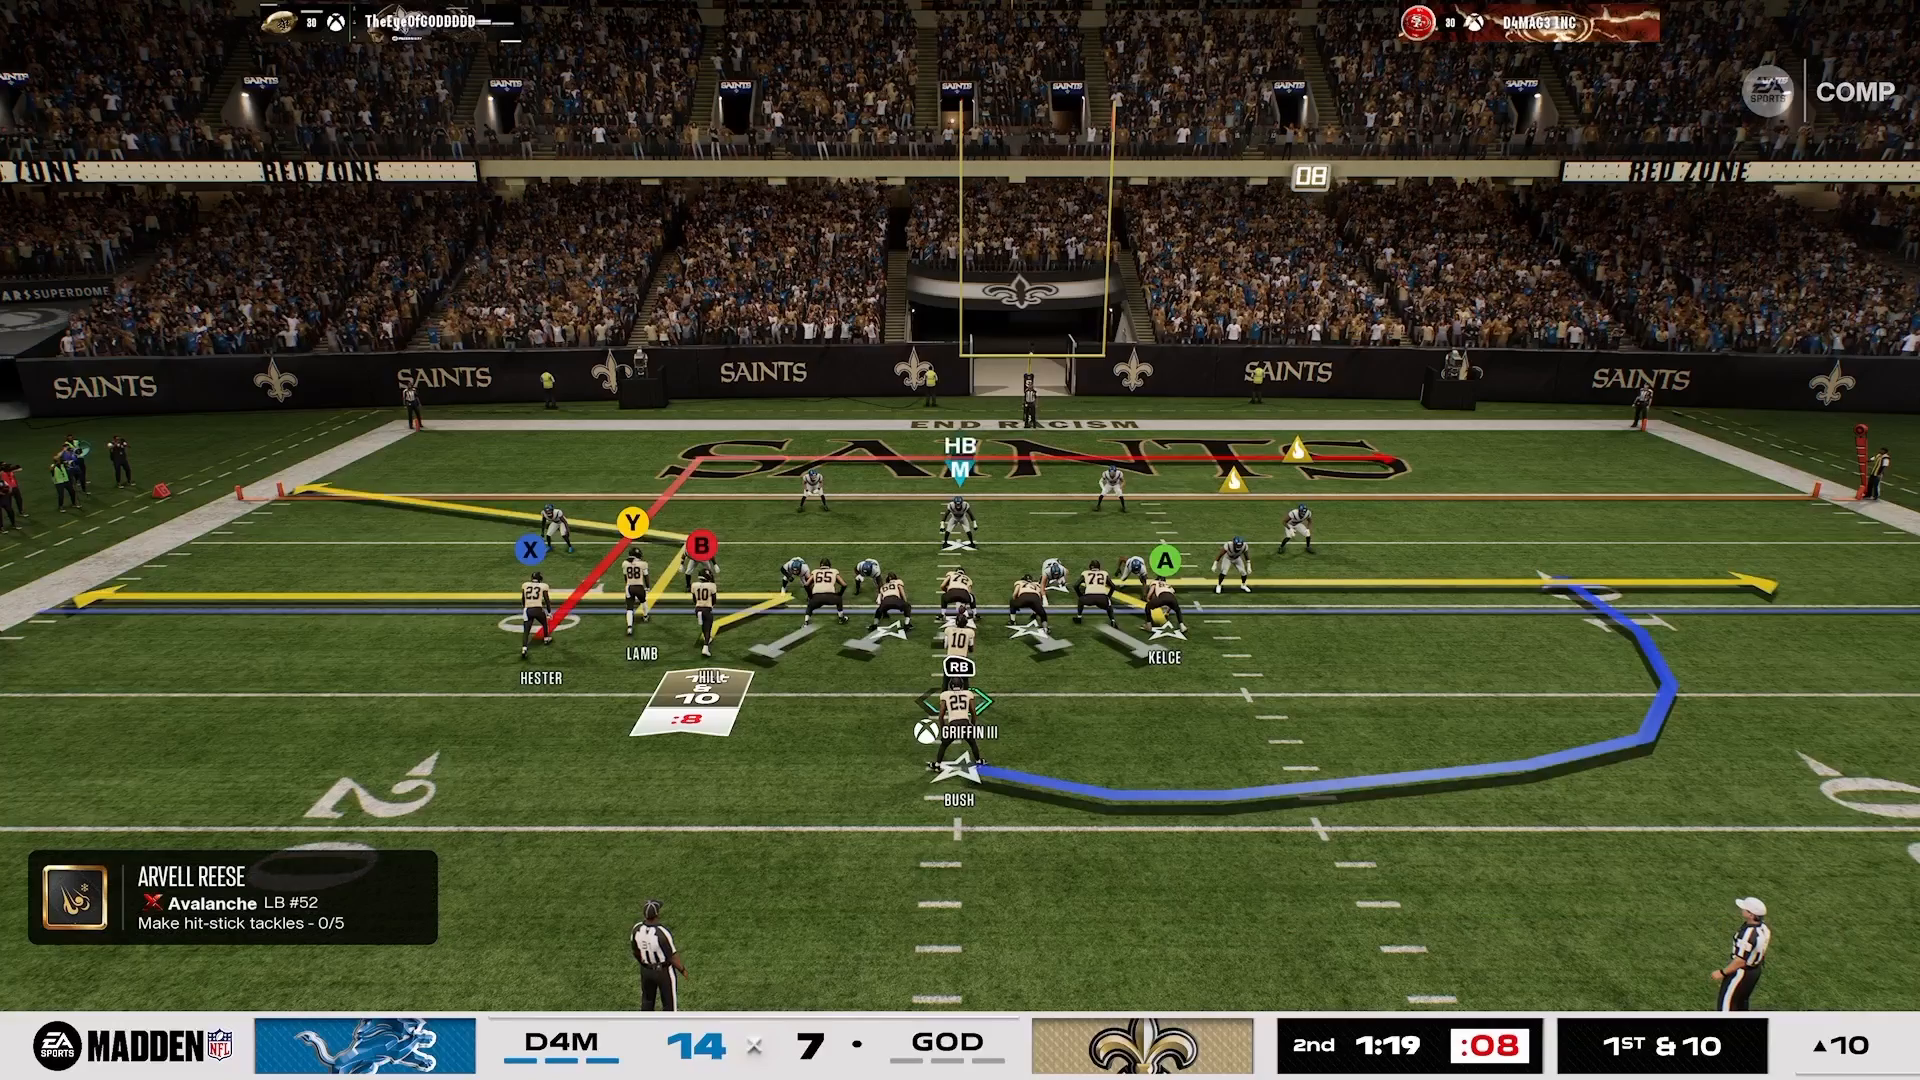
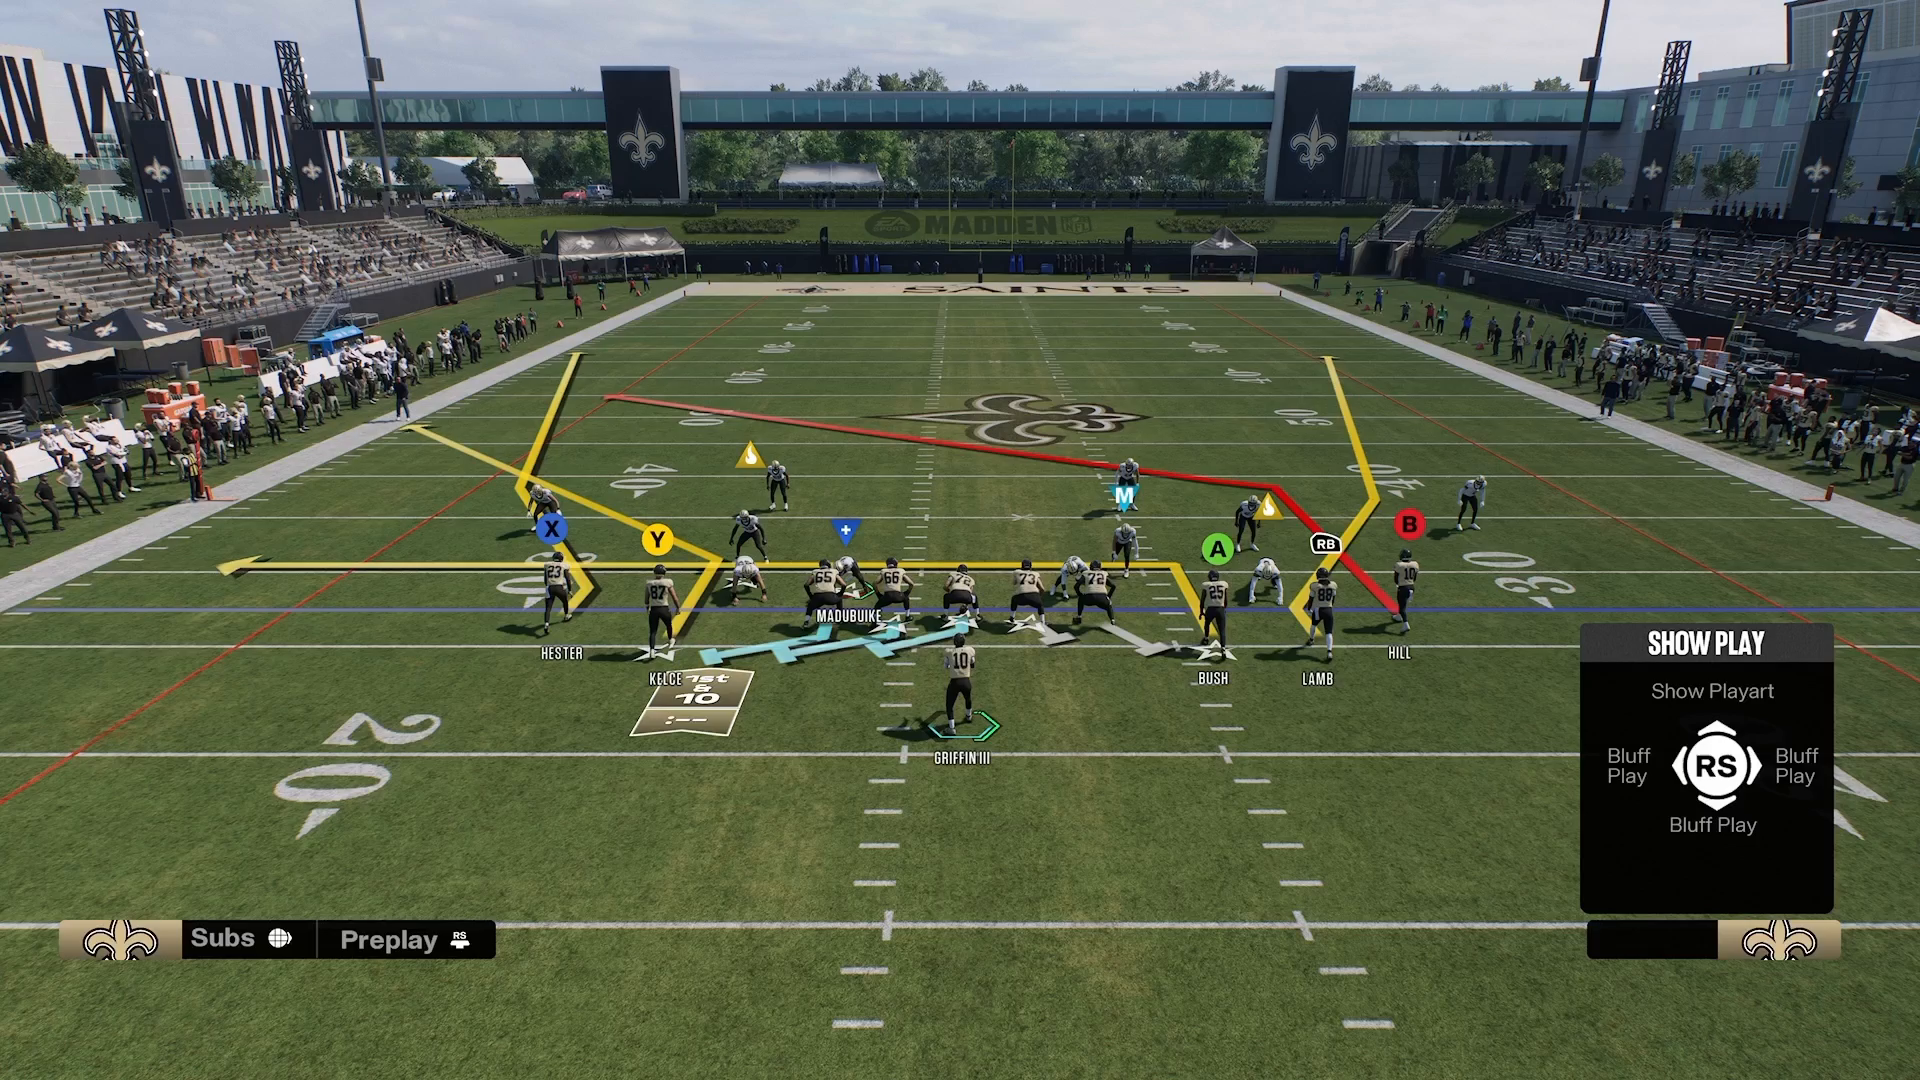
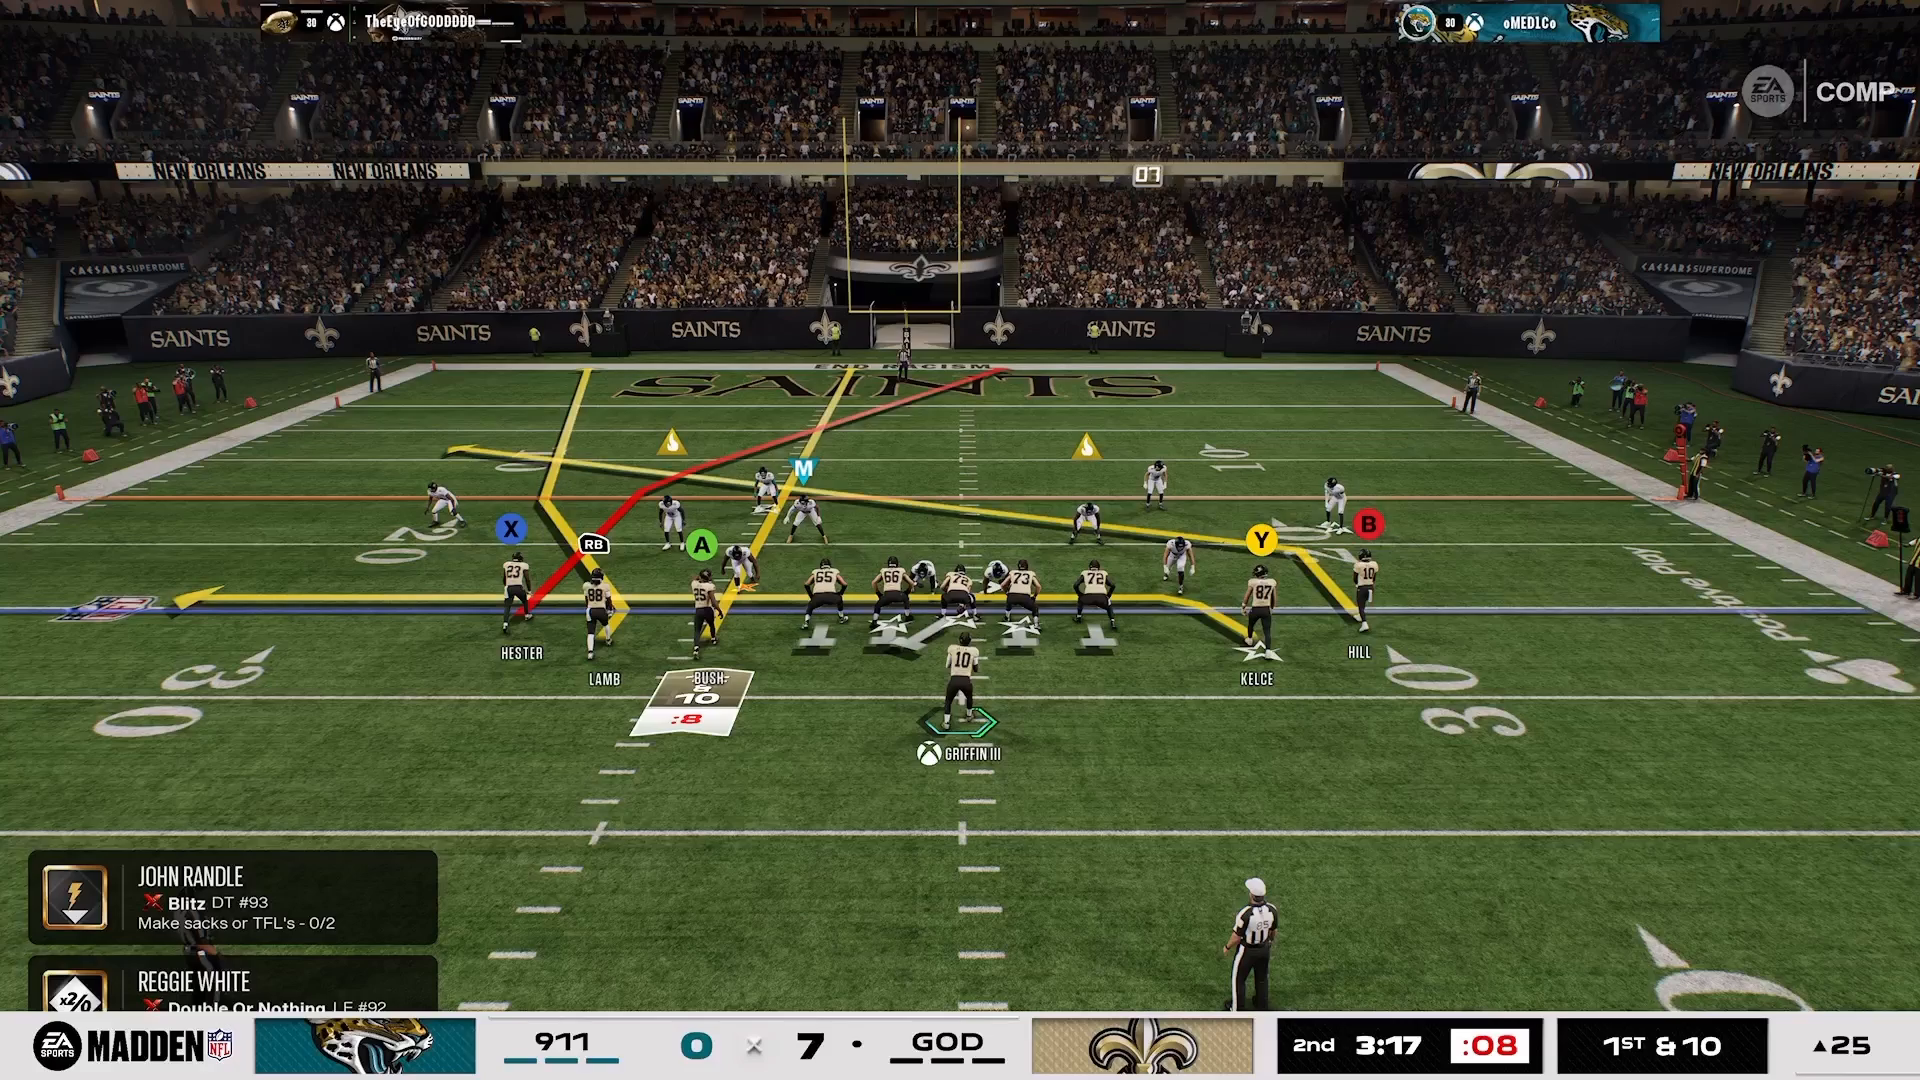
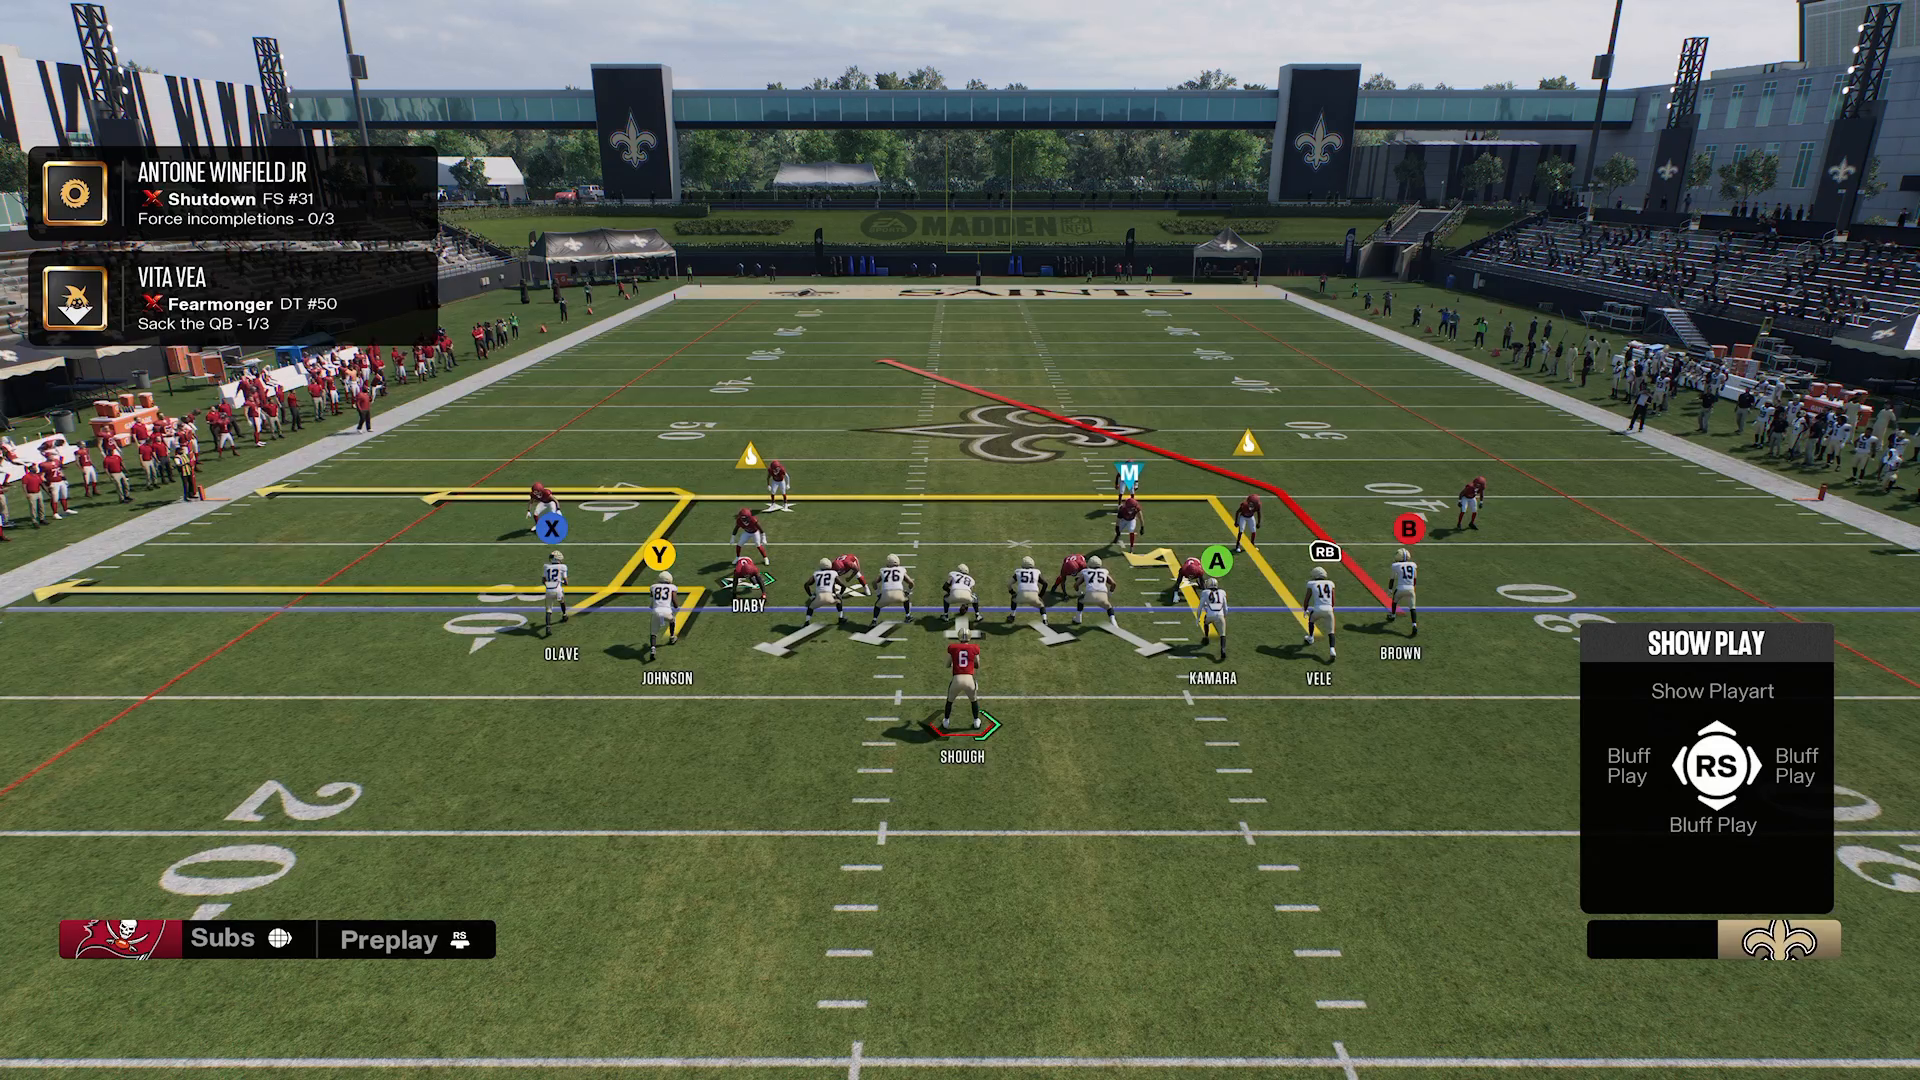
In Madden NFL 27, facing the Doubles Clamp Stack can be a daunting task for any player. This offensive strategy often leaves defenses scrambling, as it creates multiple options for the quarterback to exploit. To counter this, you need a solid defensive scheme that focuses on baiting the quarterback into making poor decisions while applying consistent pressure. Here, we’ll break down two of the best defensive macros that will help you not only stop the Doubles Clamp Stack but also enhance your overall gameplay.
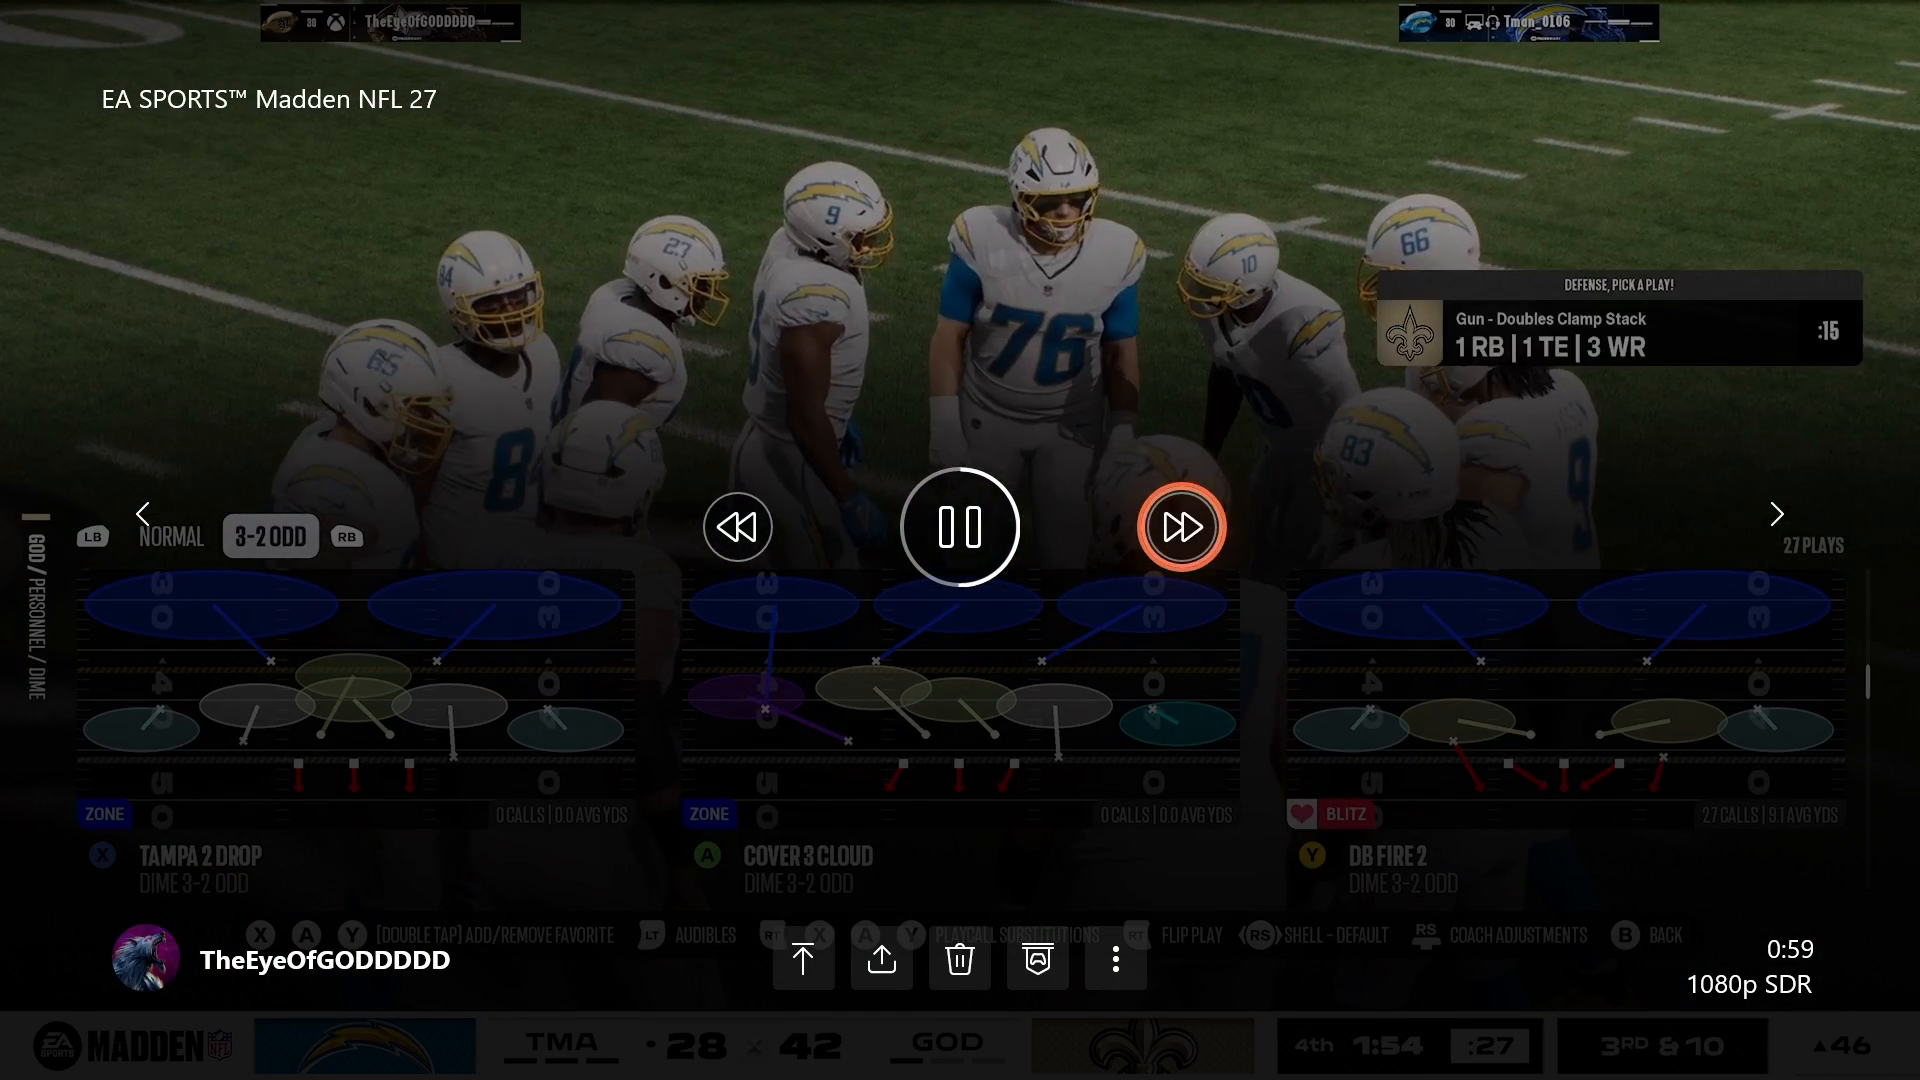
Setup: Dime 3-2, DB Fire 2
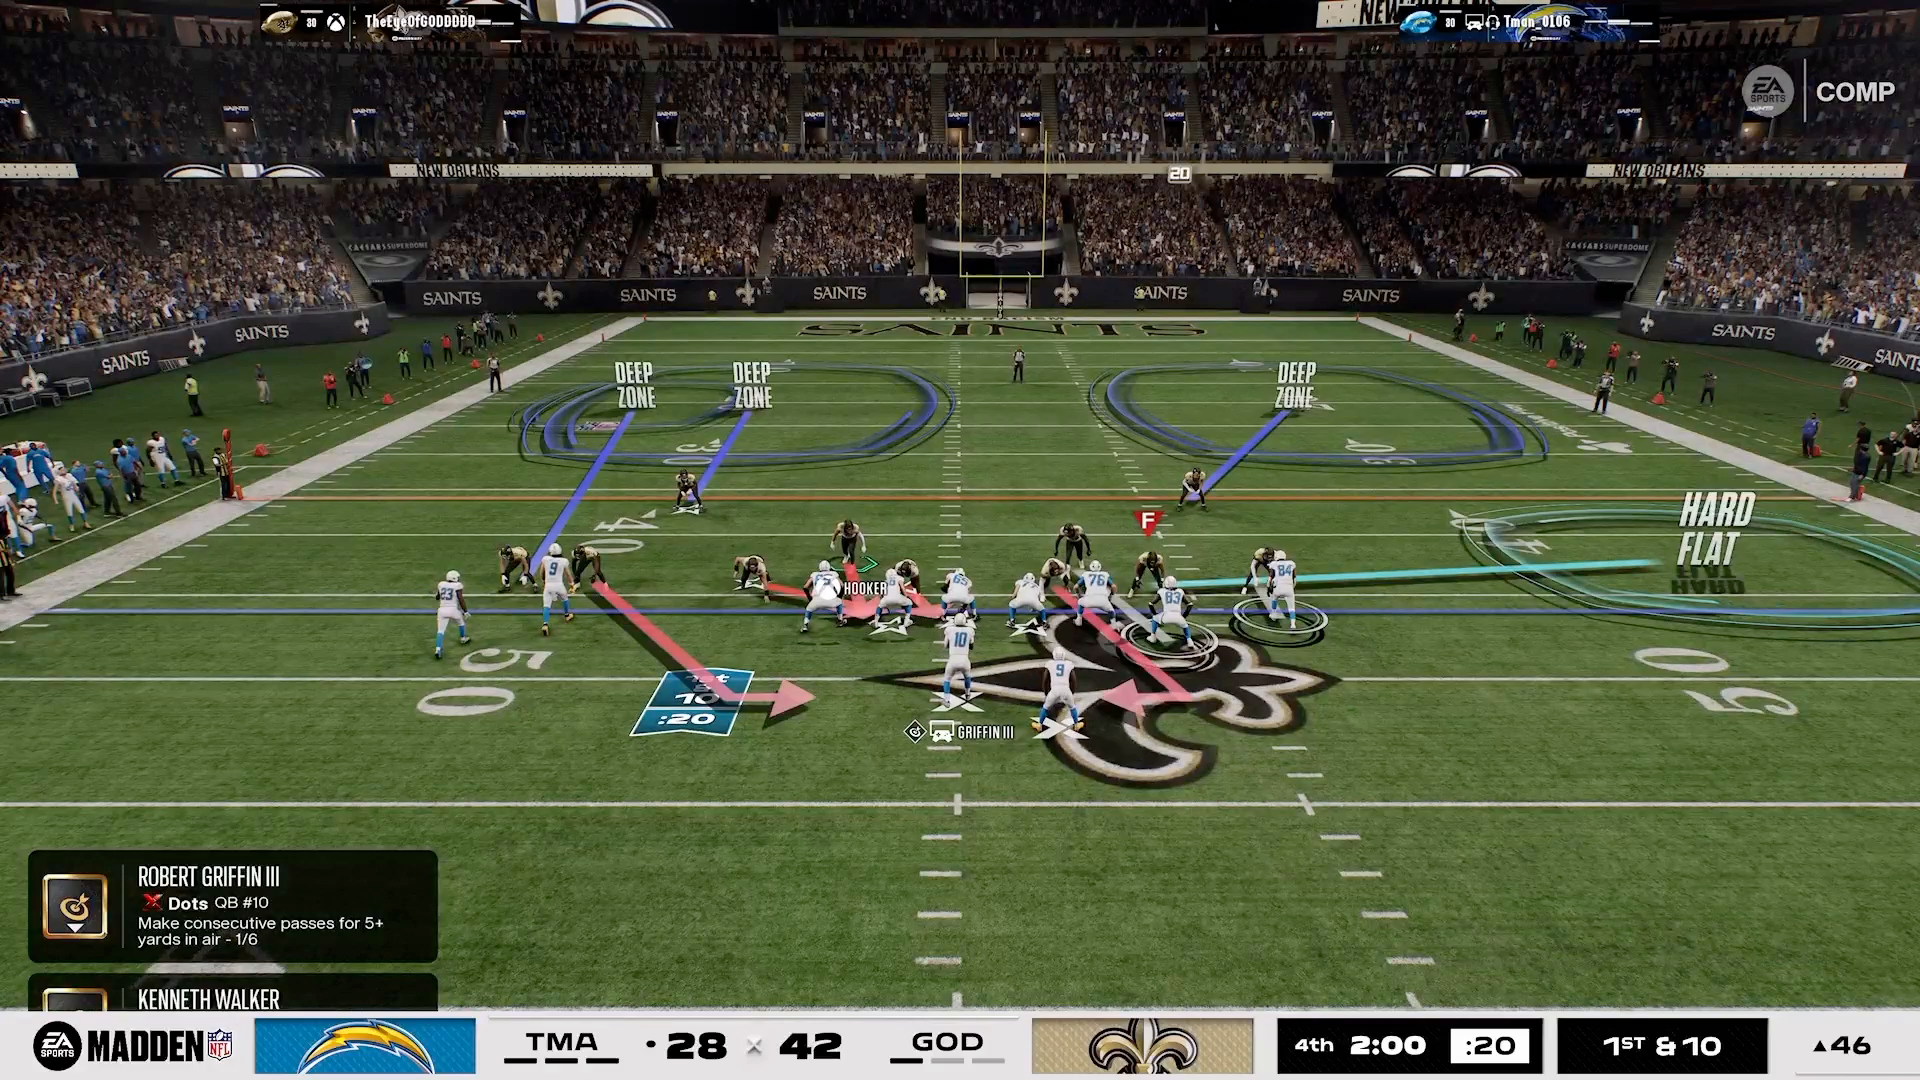
The key to defending against the Doubles Clamp Stack starts with the right setup. Use the San Francisco Dime 3-2 formation and select the DB Fire 2 play. Your goal here is clear: defend the formation effectively and bait the quarterback into making bad throws.
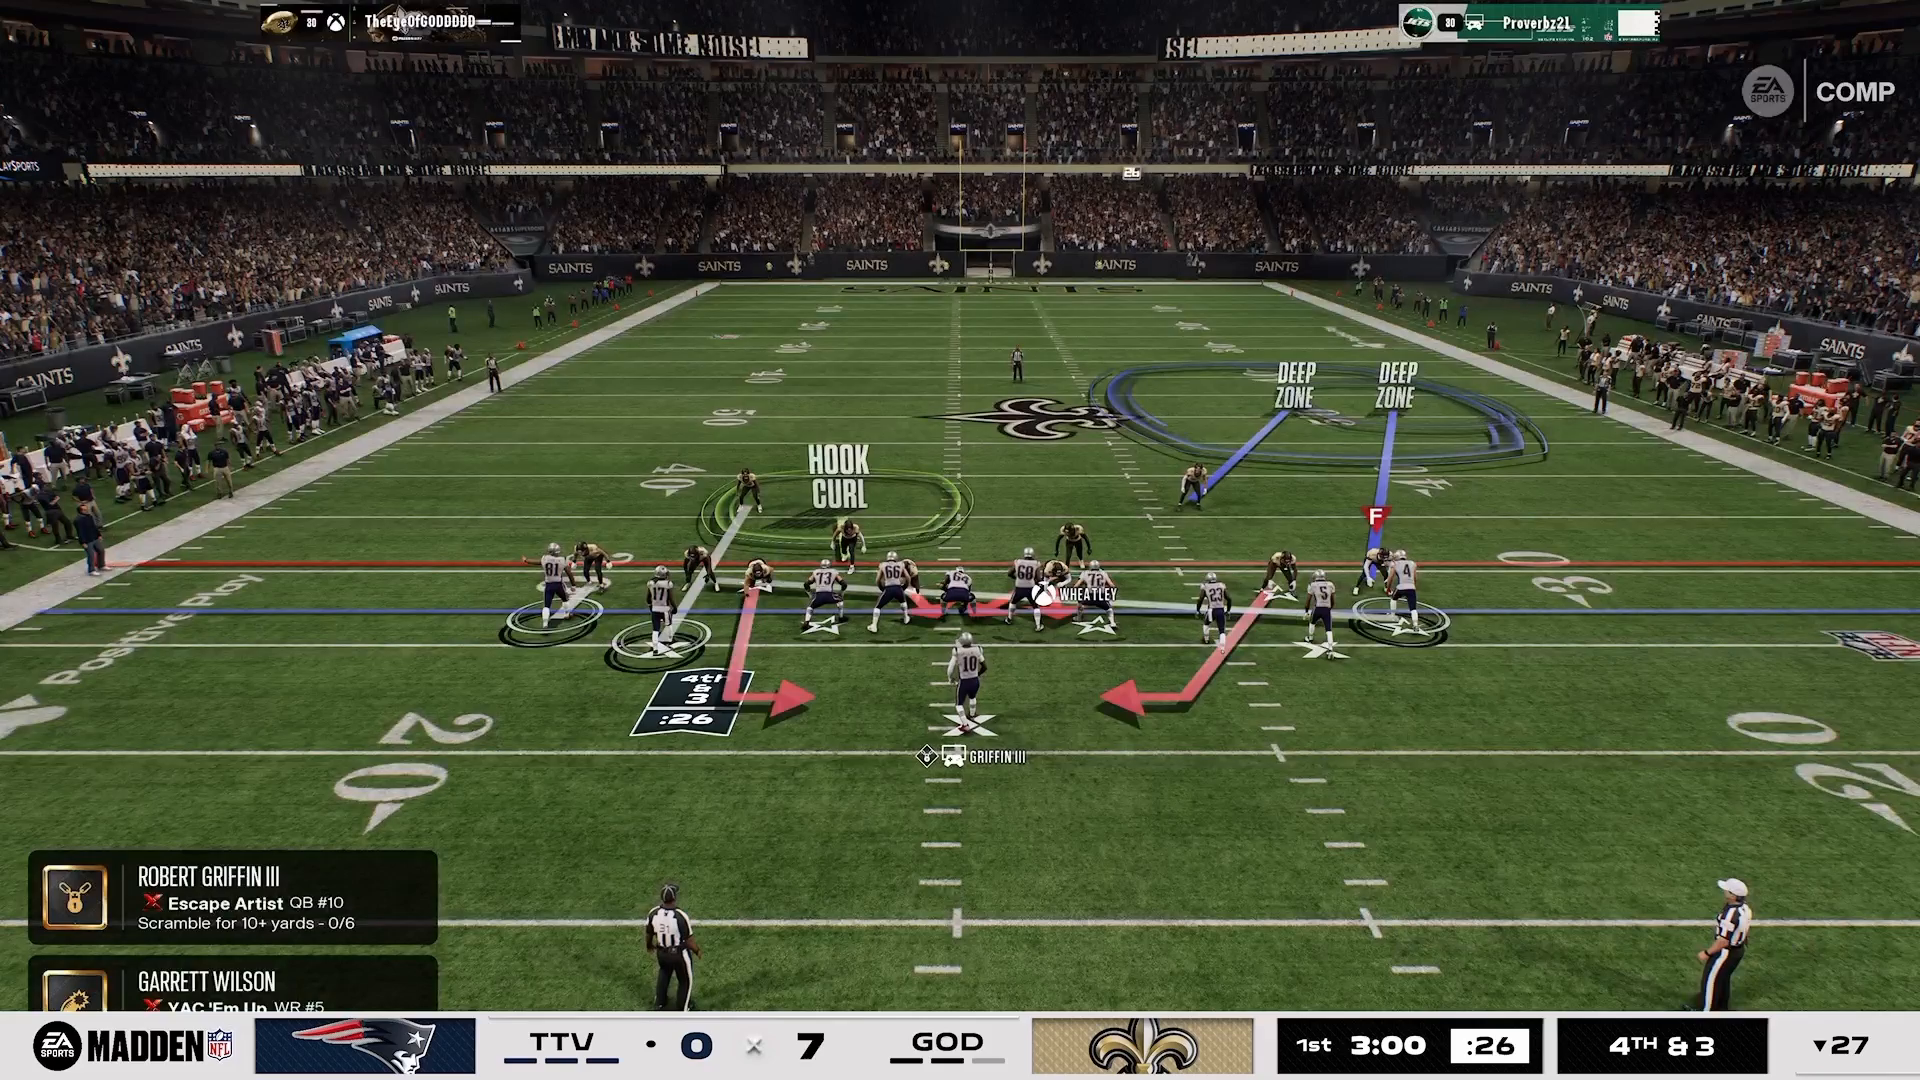
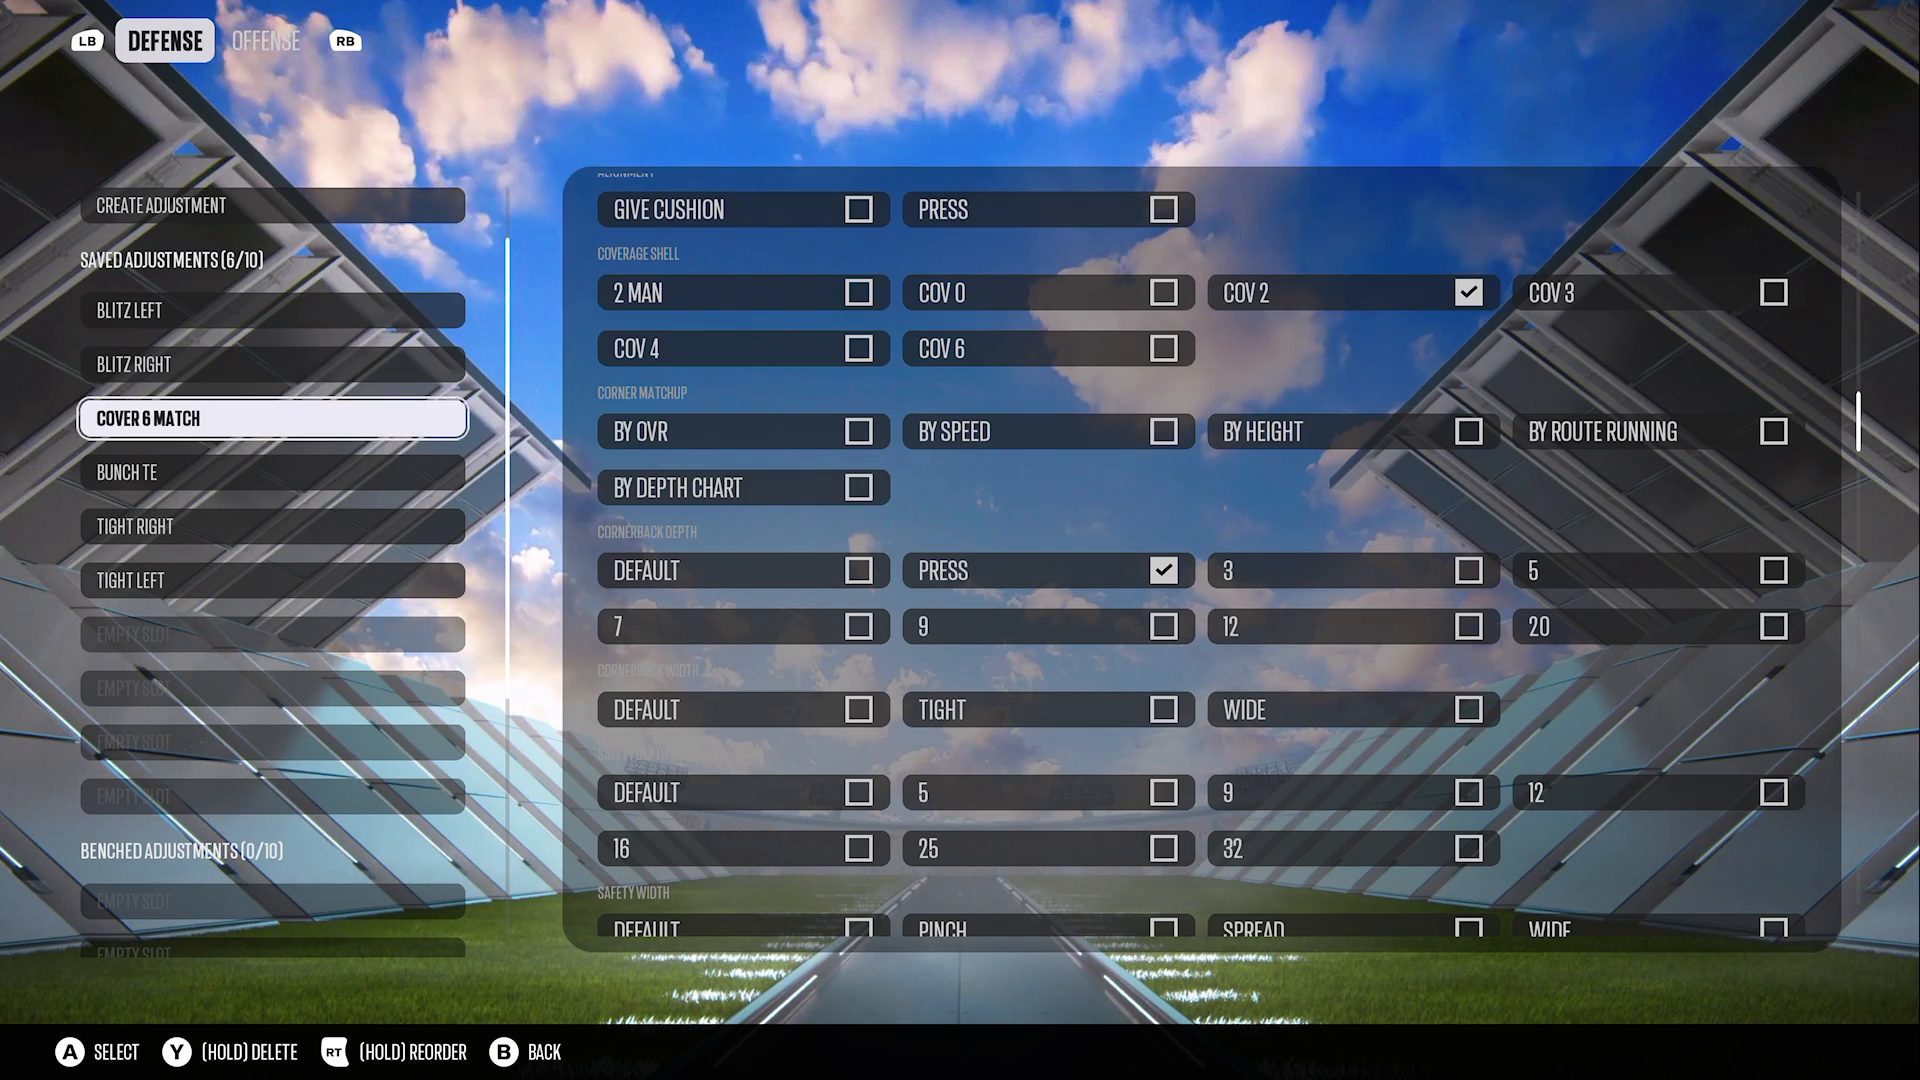
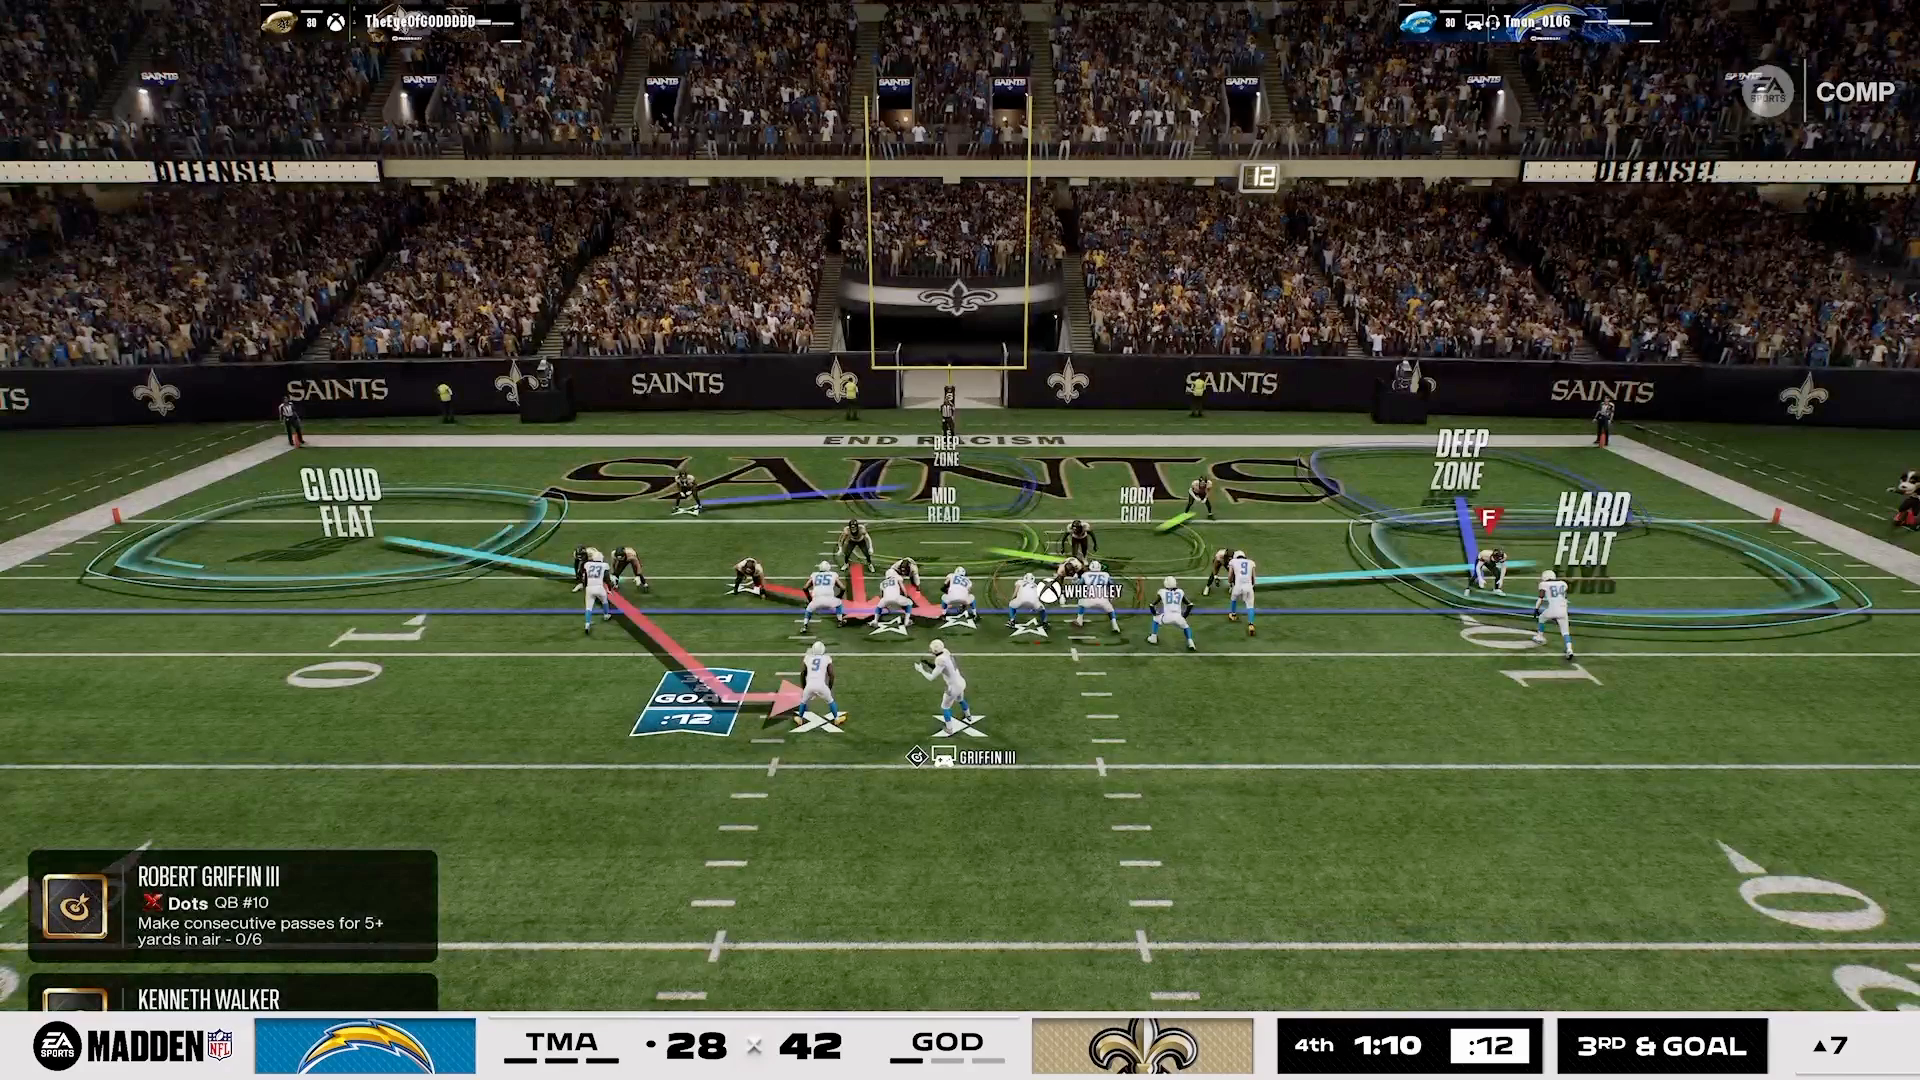
For the alignment, position your deep half defender to the left and have another deep half over the top. Place a hard flat defender on the running back to cover any quick routes. Utilizing the 16 Spaces Playbook can help you manage spacing effectively, forcing the quarterback to focus on the throws you want him to make. This alignment creates a strong foundation for your defensive strategy while keeping the offense guessing. Explore the 16 Spaces Playbook for more advanced setups.
Baiting the Quarterback
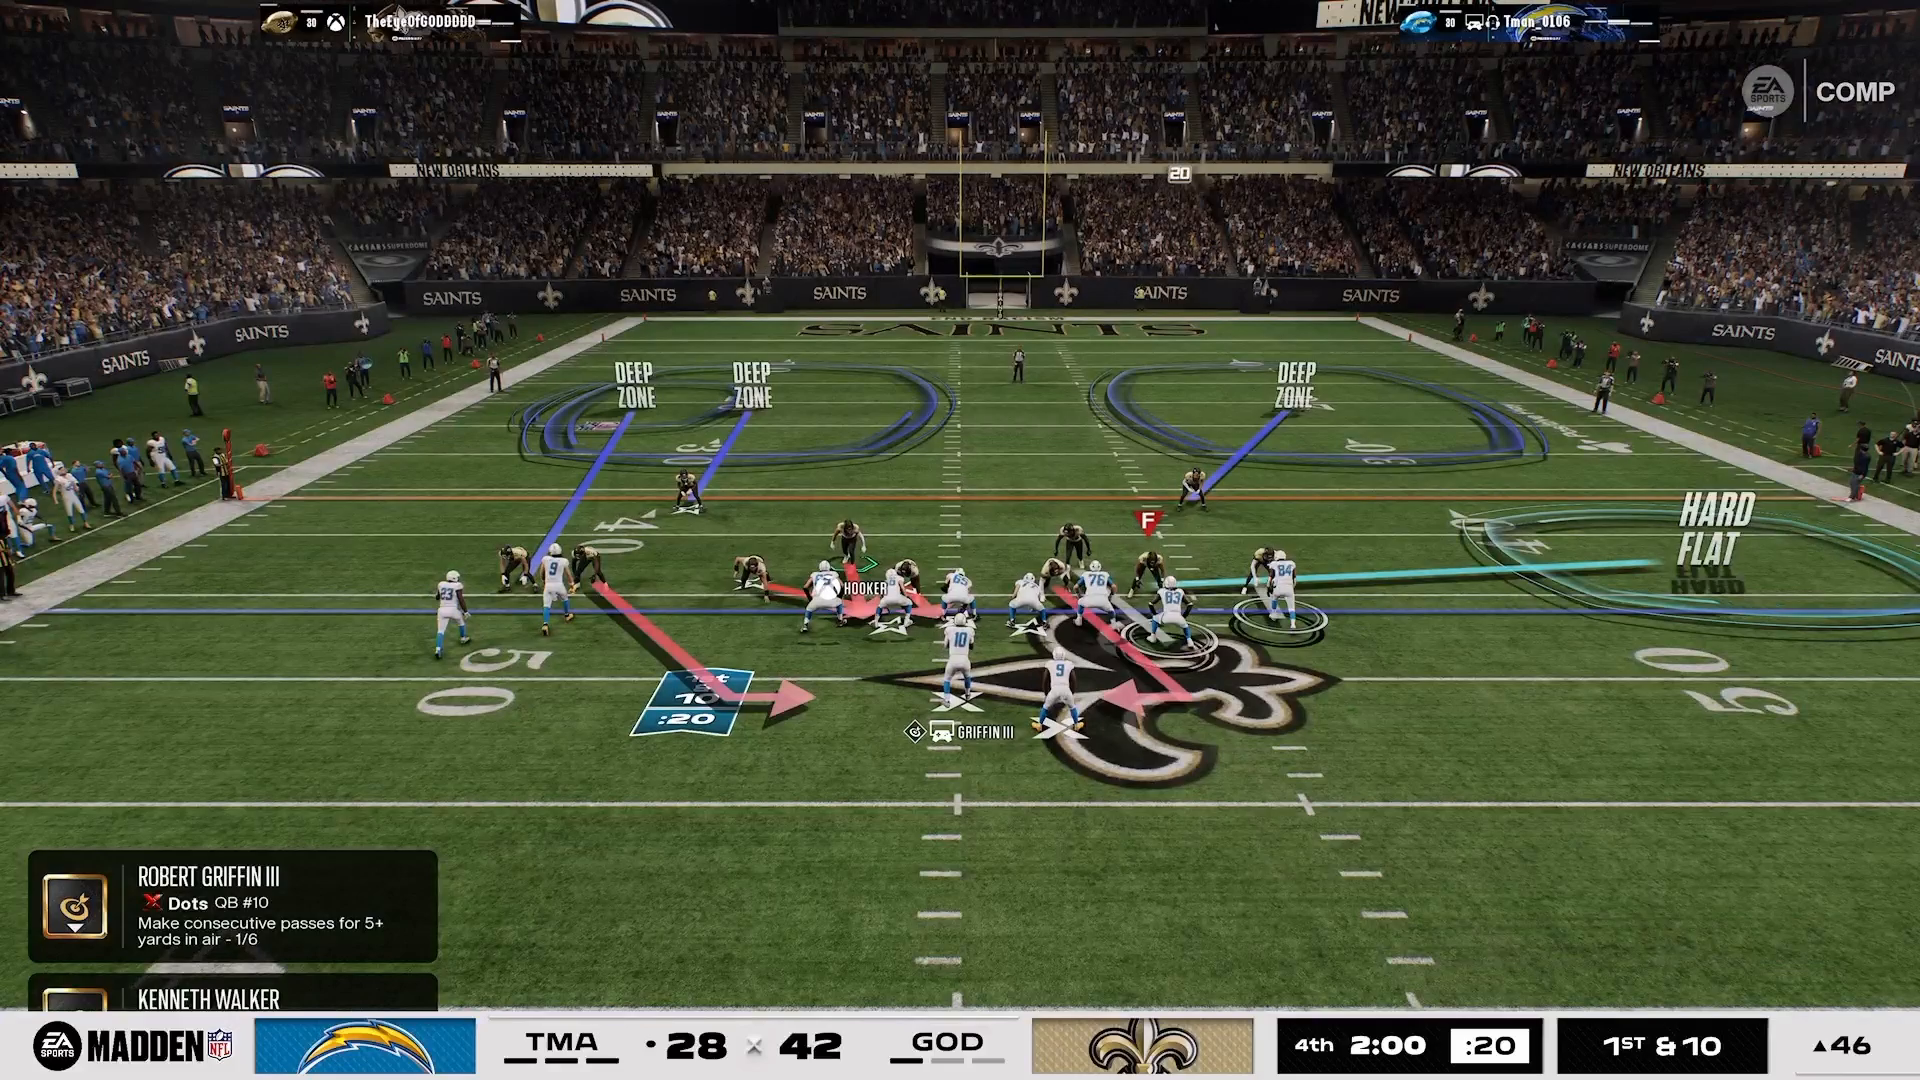
Baiting the quarterback is crucial in Madden 27, especially since the ball-in-the-air defense has significant weaknesses this year. Instead of solely relying on your players’ catching abilities, focus on outsmarting the QB by creating situations where he feels confident throwing into coverage.
Designate a bail defender over the top and an outside bait defender. Use the switch-stick technique with your baiting defensive back to make it look as if he’s leaving the receiver open, enticing the QB to throw the ball. This strategy makes it easier to intercept passes or at least disrupt the intended throw. You want to create an illusion that your defense is vulnerable, leading to mistakes from the quarterback.
Countering Speed Drags
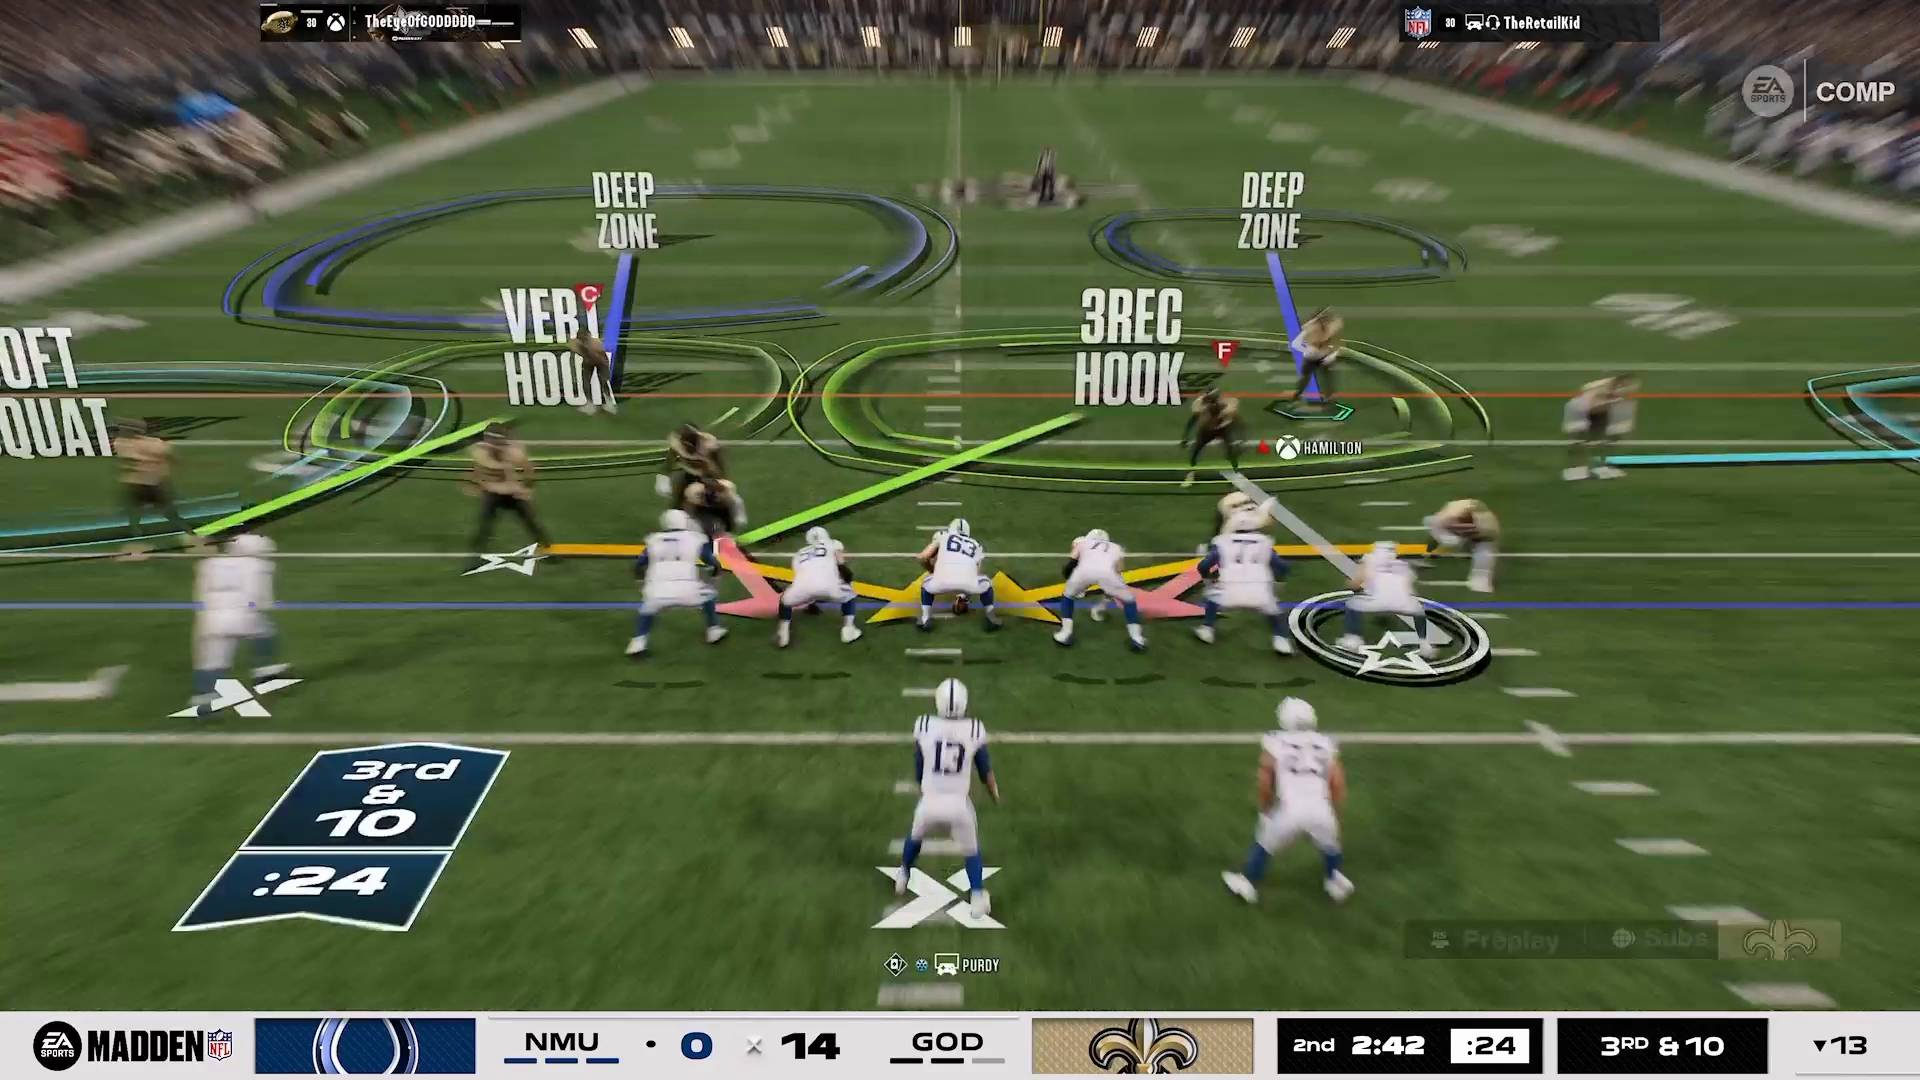
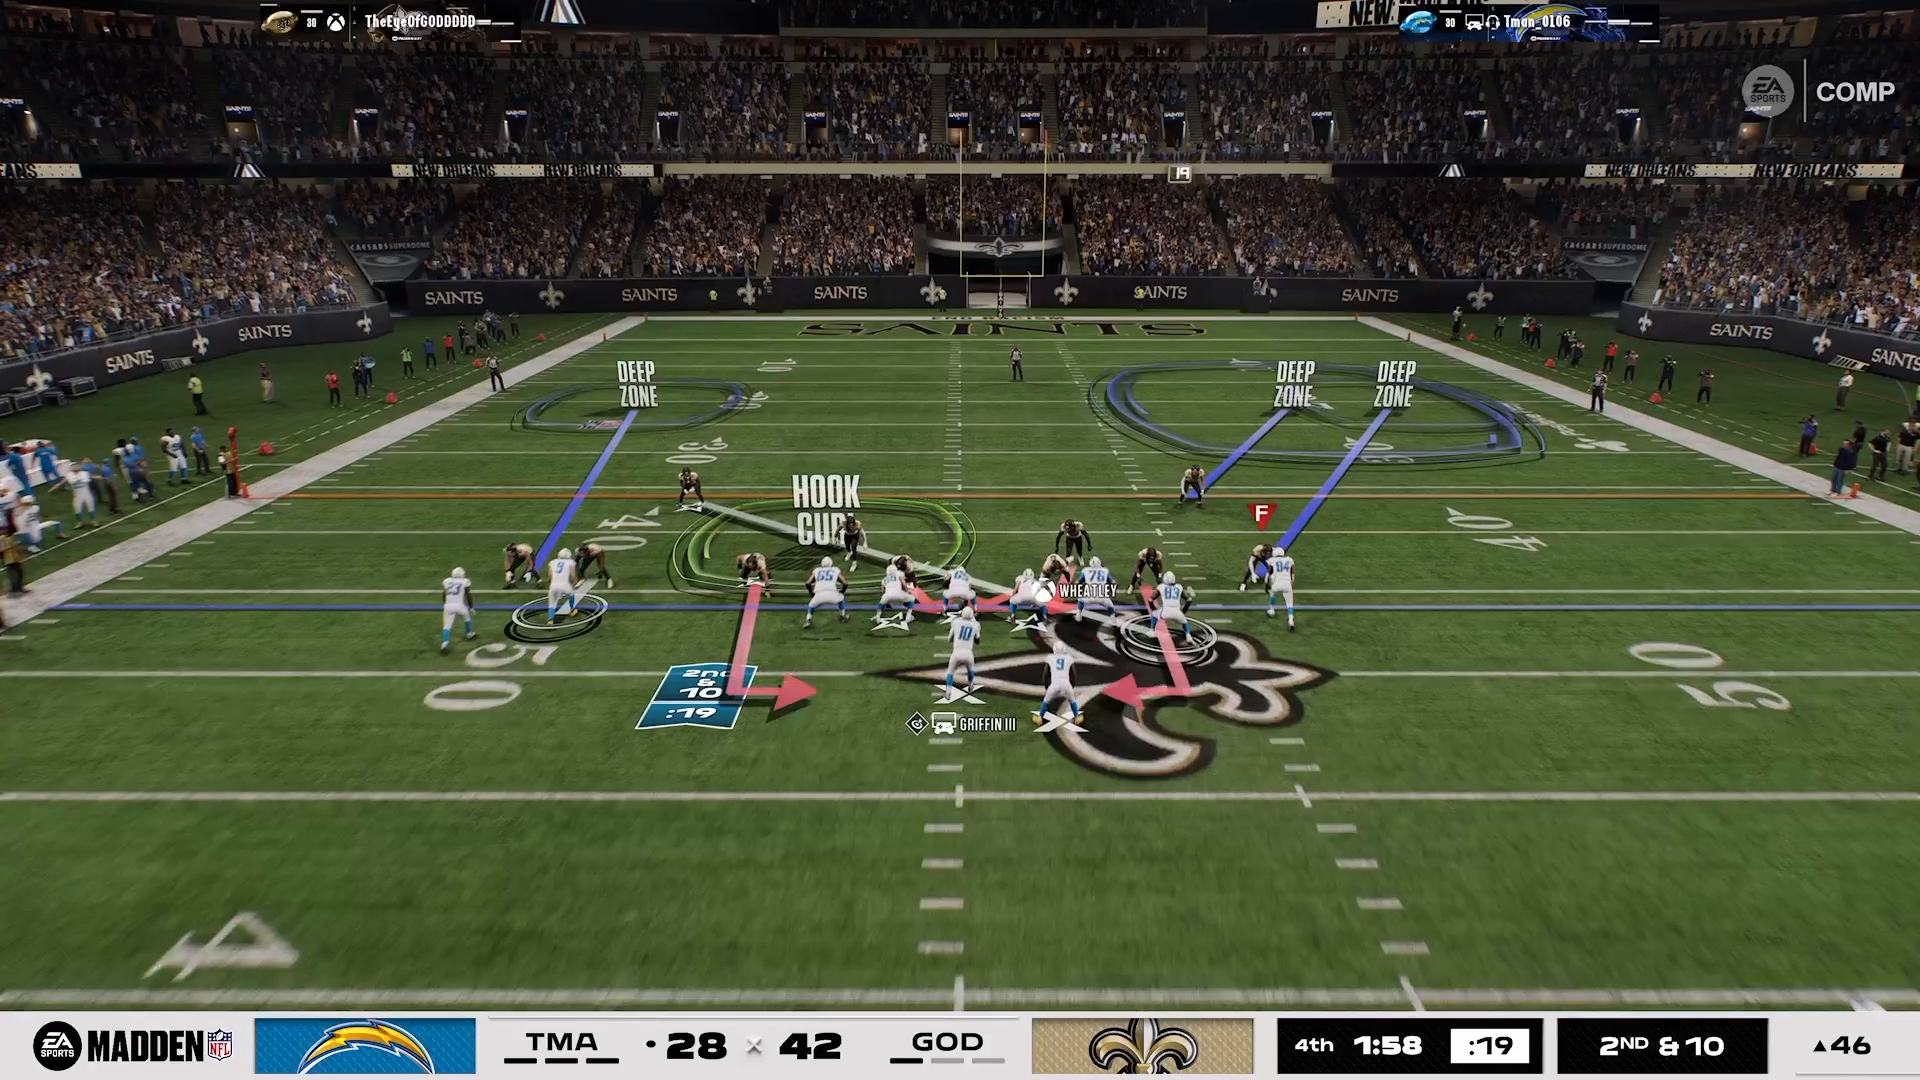
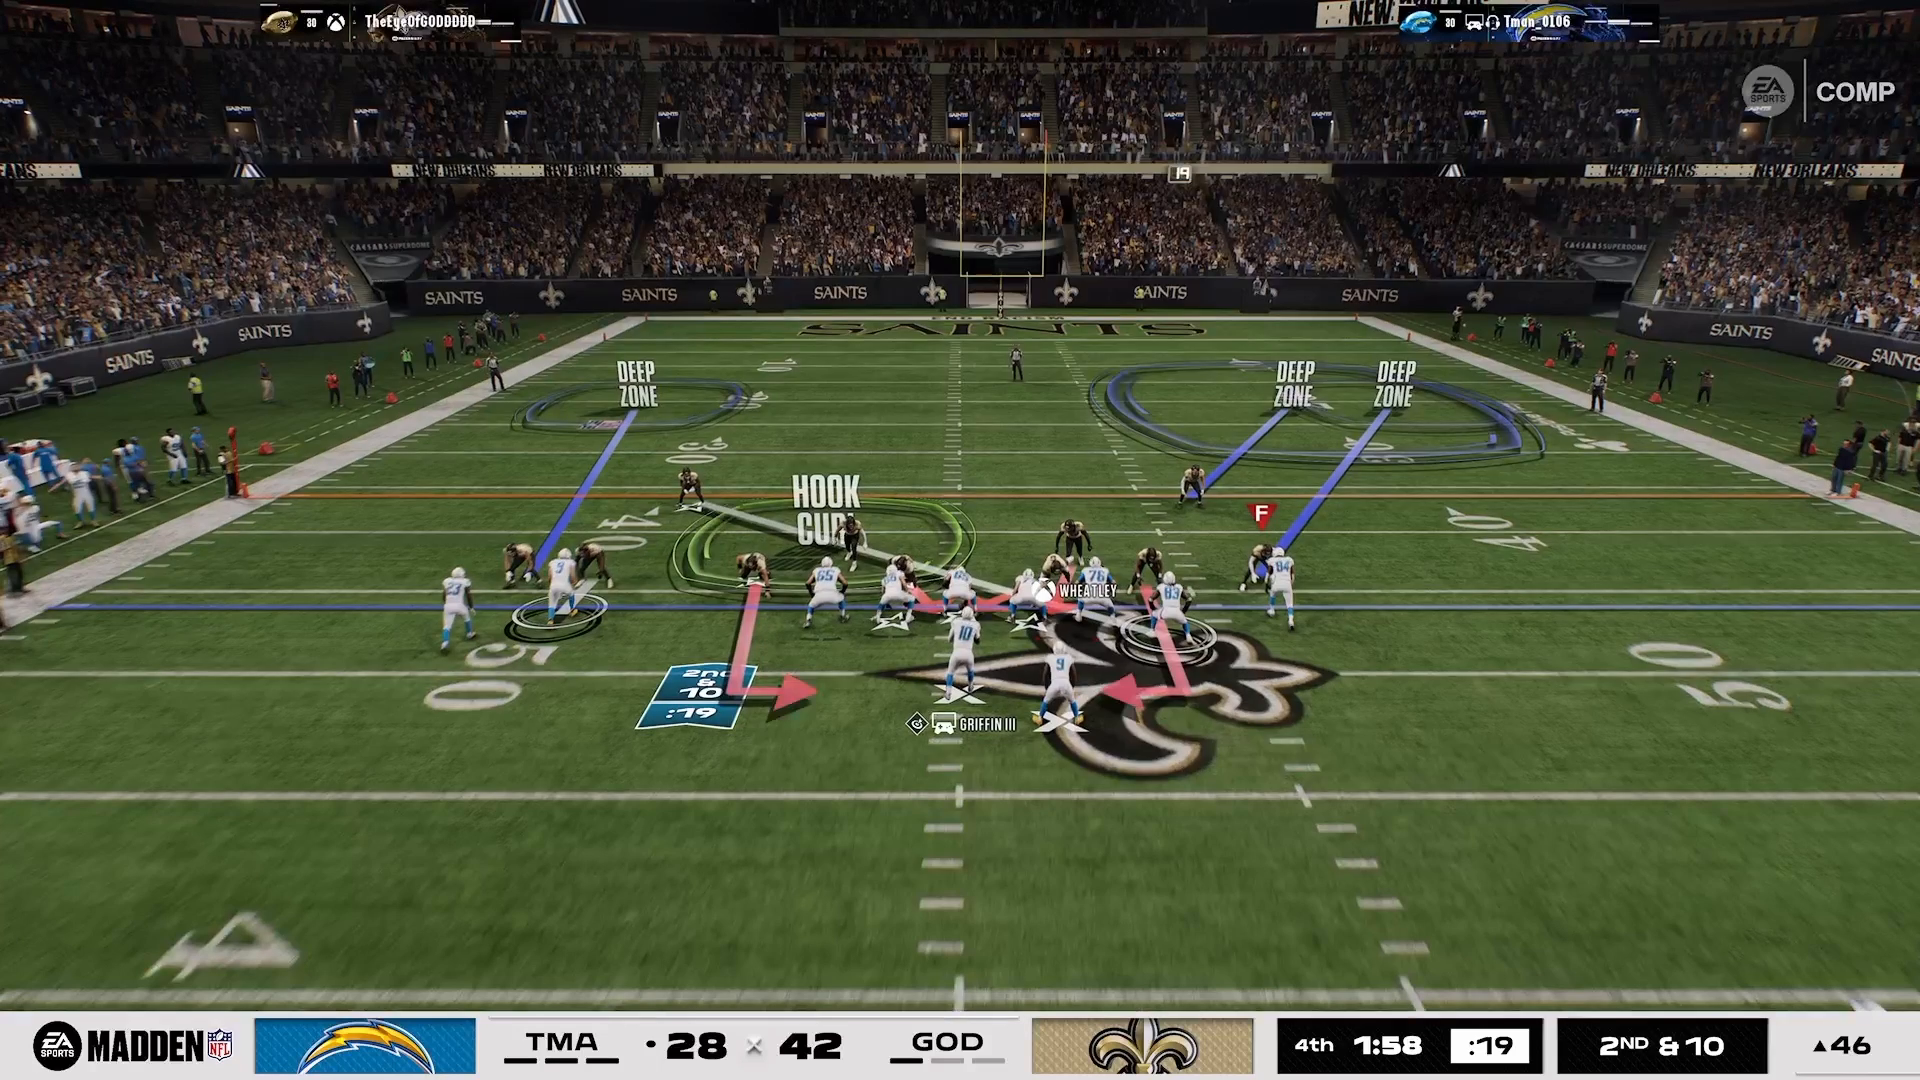
Speed drags are a popular tactic used against the Dime 3-2 formation, often transitioning the play from left to right. Your biggest concern should be protecting the left verticals. To combat this, utilize quarter coverage or a deep half on top.
Run an aggressive hook route on the left side to close off the drag window. This not only limits the quarterback’s options but also forces him to hold the ball longer, giving your defense time to pressure the QB. Remember, the 16 Spaces concept is essential here; occupying the flat space can clutter the QB’s reads, making it harder for him to find open receivers.
Utilizing Switch-Stick Triggers
Switch-stick triggers are an advanced maneuver that can significantly enhance your defensive capabilities against tight ends running streaks. At the snap, switch to the strong safety and position him closer to the line to create a sense of urgency for the QB.
As the play develops, switch to the outside quarter to cover the flats. This cross-manning technique not only increases versatility against streaks and posts but also confuses the quarterback about who is covering whom. The key is to make mental reads before you move the stick, ensuring you’re always a step ahead in coverage. For more on mental strategies, check out 1-on-1 coaching with Manu for tailored advice.
Sending Pressure and Finishing Strong
If you find yourself lacking fast defensive backs, consider sending six rushers to guarantee immediate pressure on the quarterback. This aggressive approach can often disrupt the timing of the play and force quick decisions.
Cross-man the tight end and switch to the safety to cover any potential post routes he might run. Keep a close eye on the running back, as a baited flat route can lead to a pick-six if executed correctly. The mantra here is simple: pressure plus smart reads equates to stops. This combination of strategies will consistently outperform raw meta plays.