Mastering the Best Macro vs 6-1 in Madden NFL 27
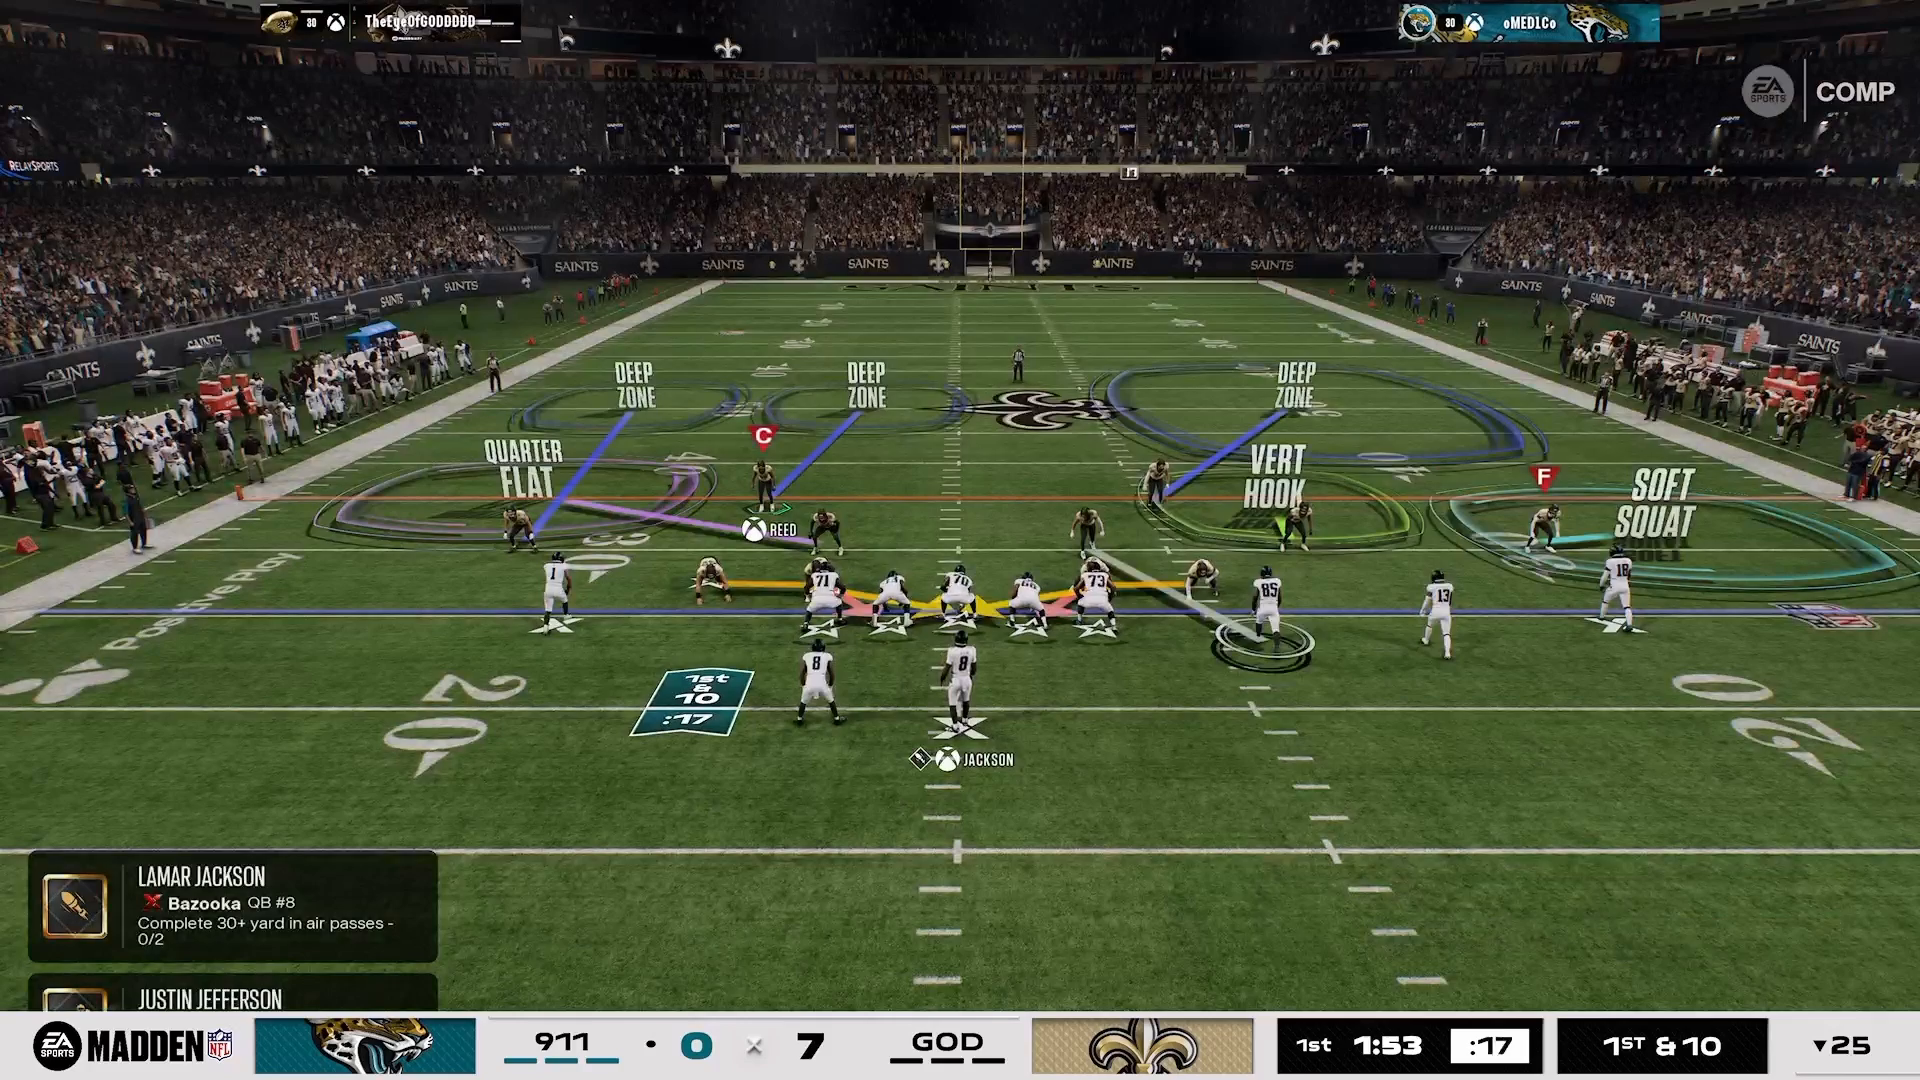
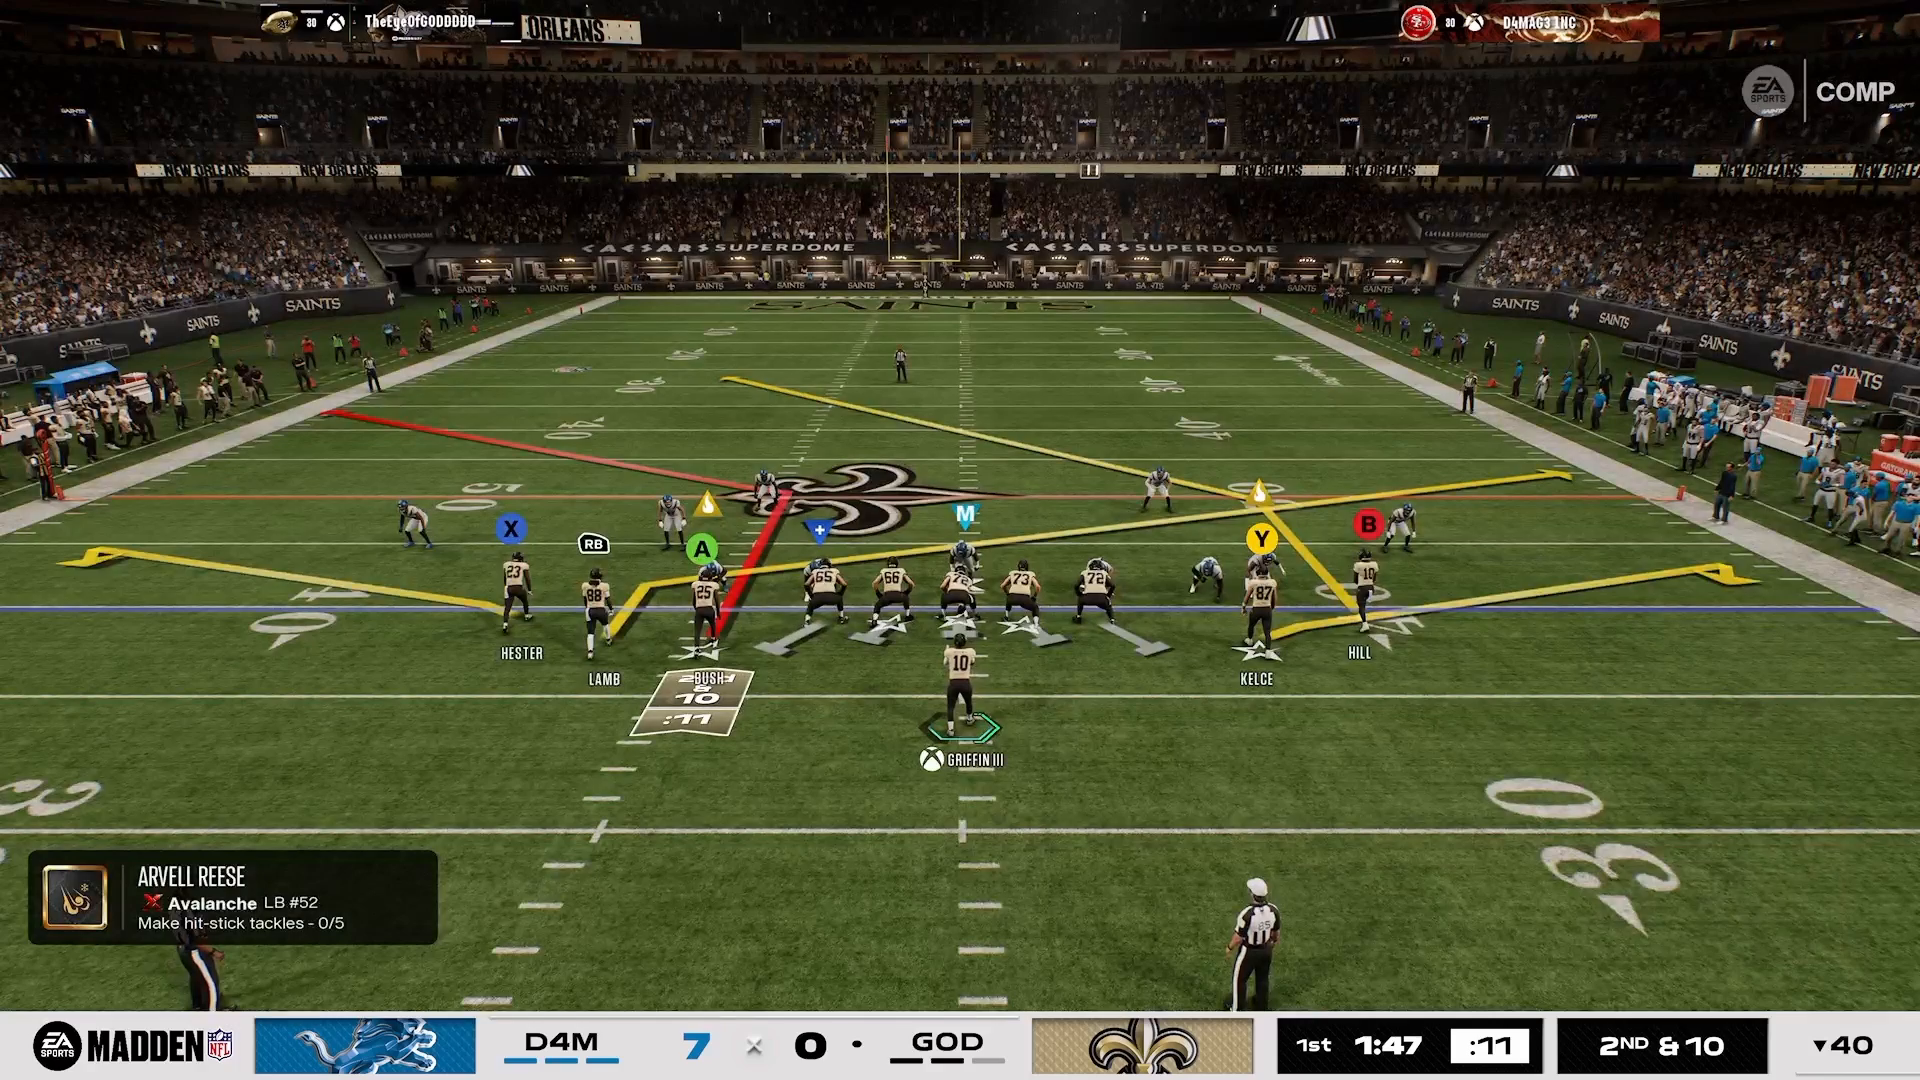
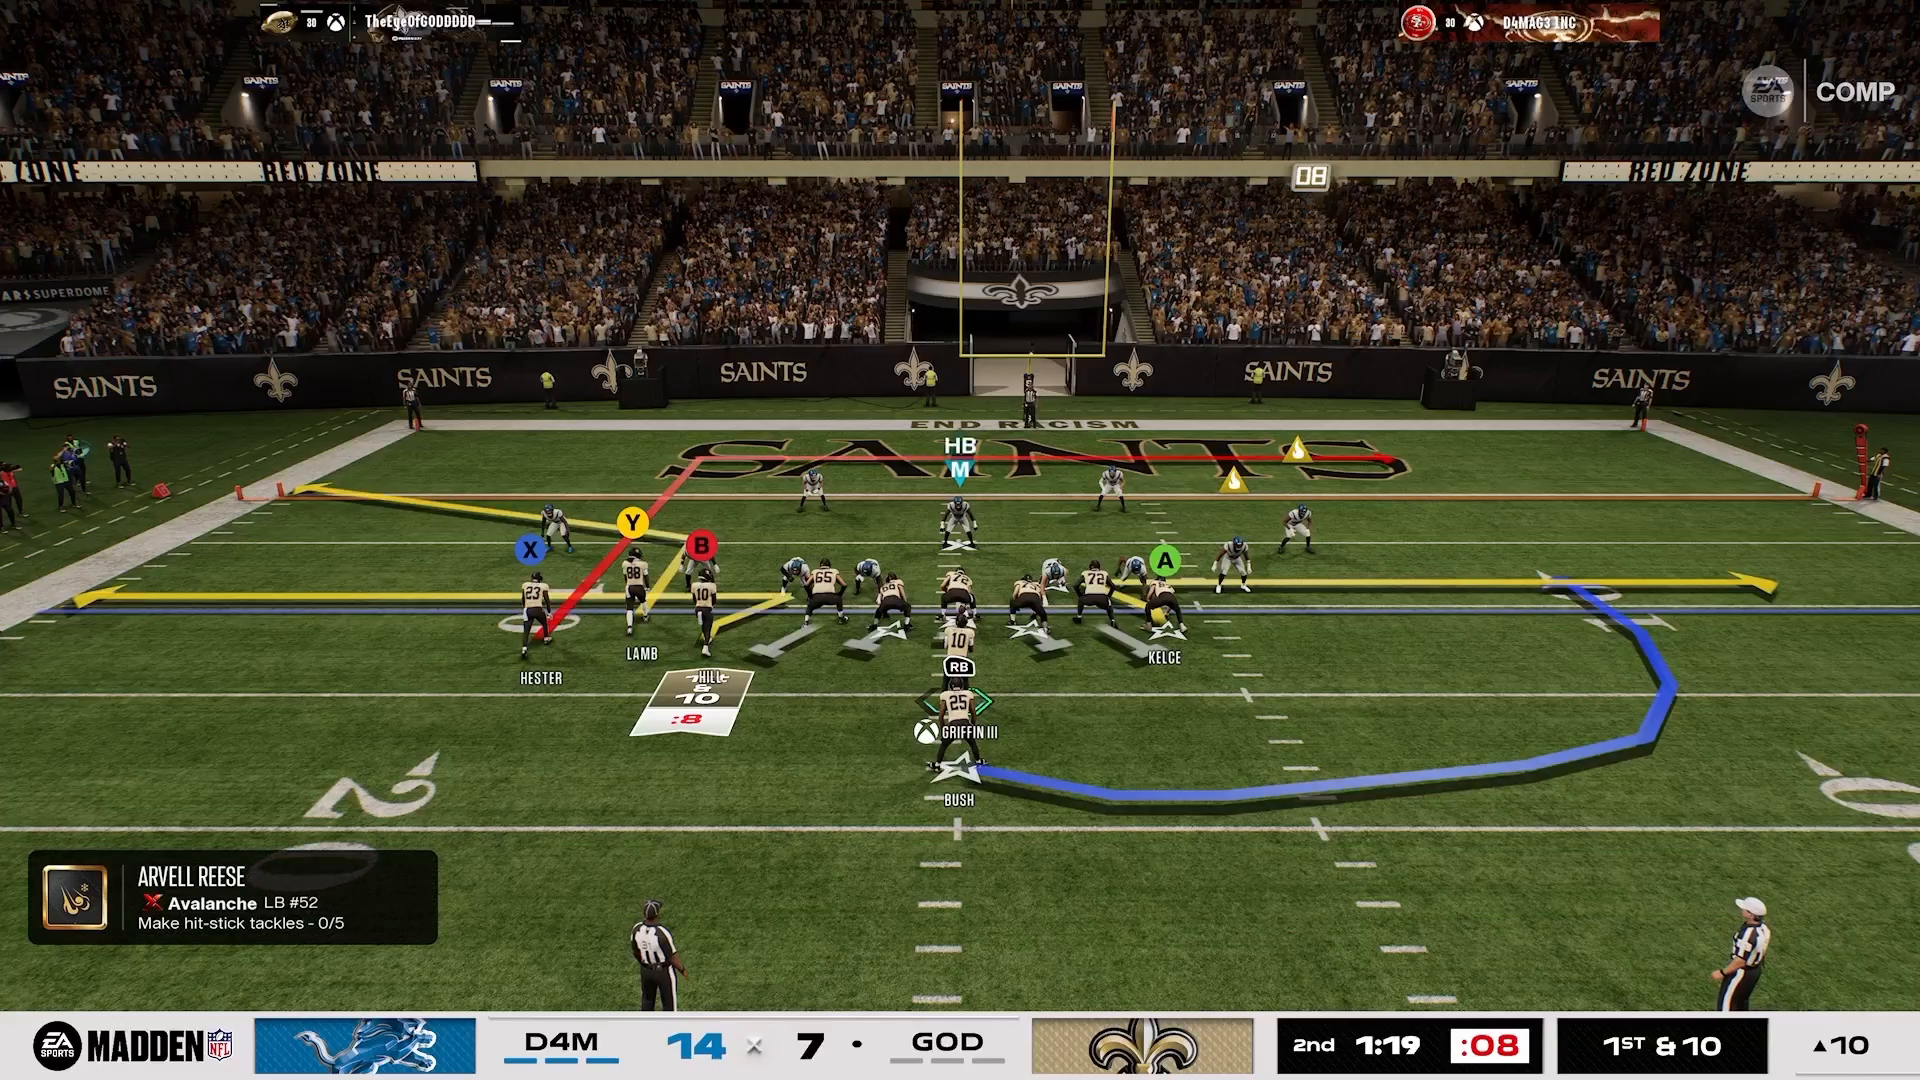
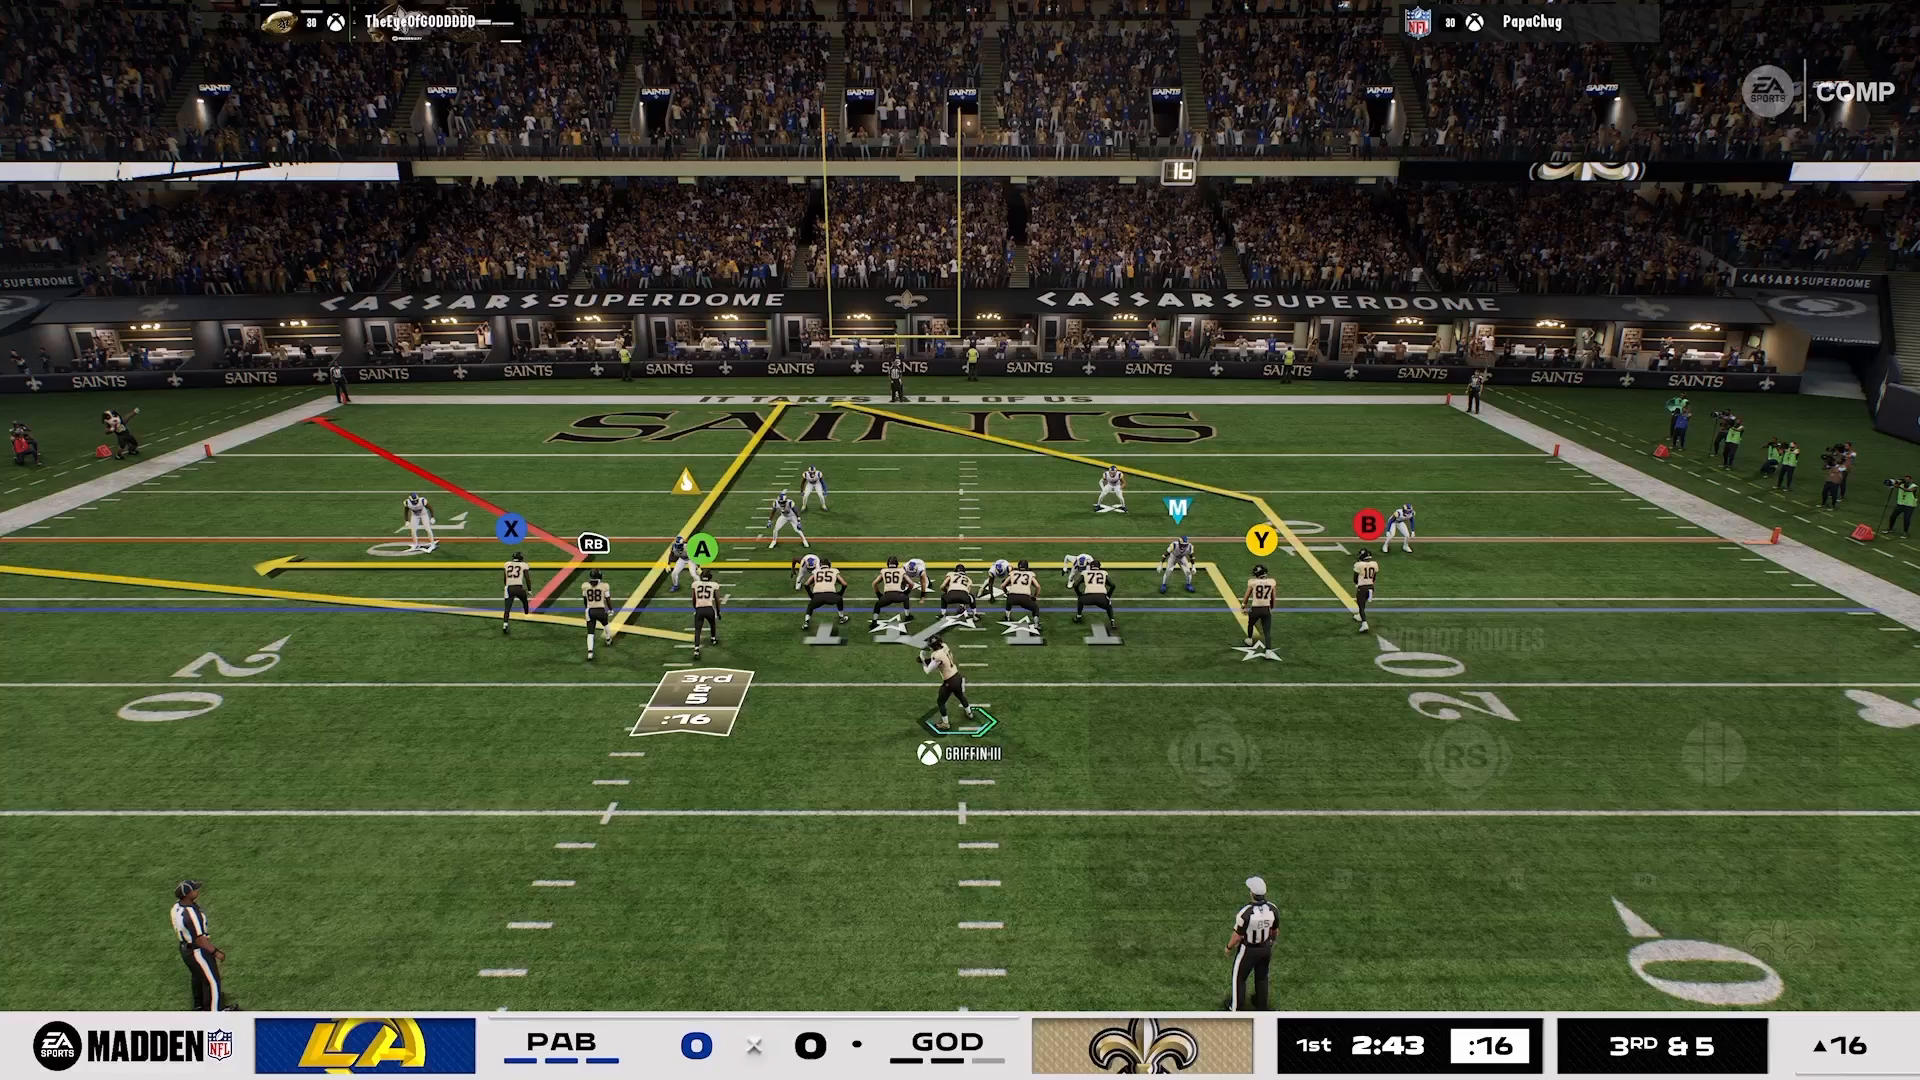
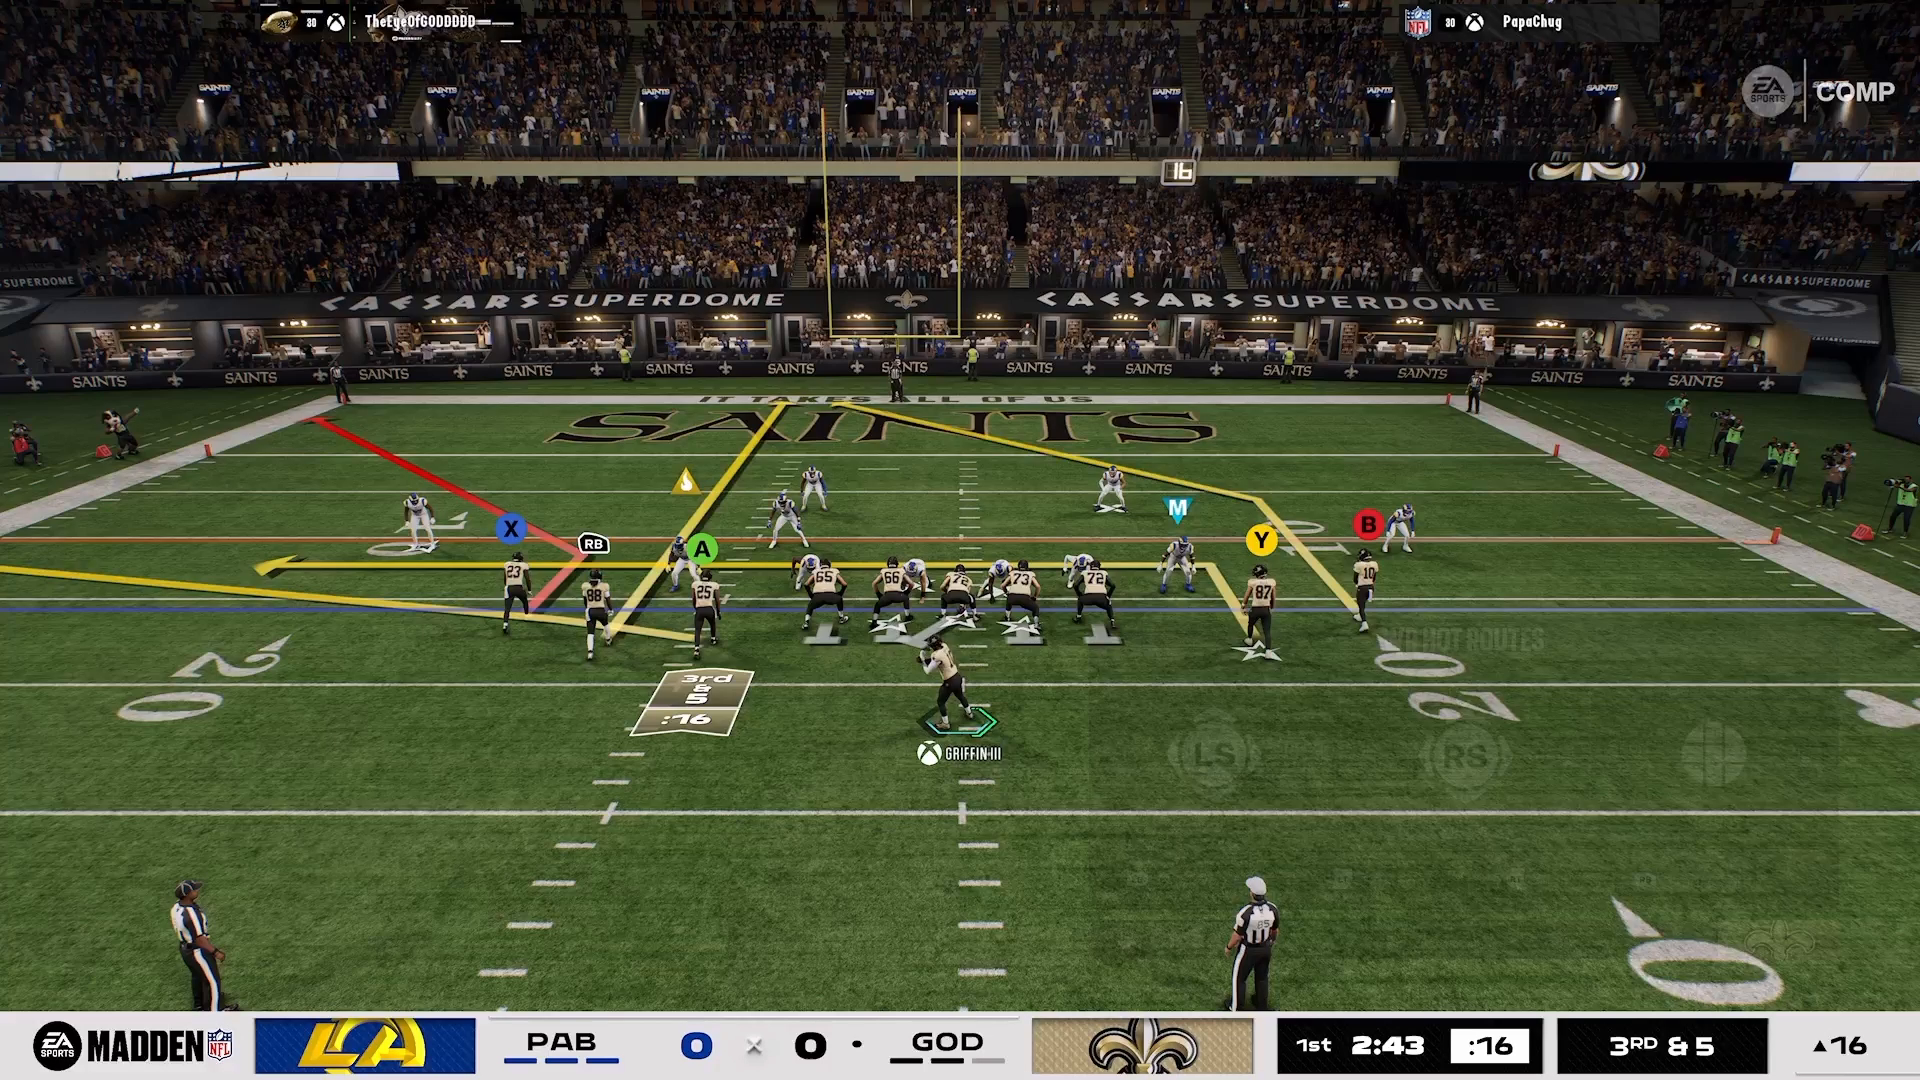
The best macro vs the 6-1 in Madden 27 is Tampa Bay’s Gun 5 Receiver Tight with a corner route, a slot streak, and a running back flat, designed to beat man and match coverage with quick snap throws.
Best Macro vs 6-1 Madden 27: Gun 5 Receiver Tight Setup
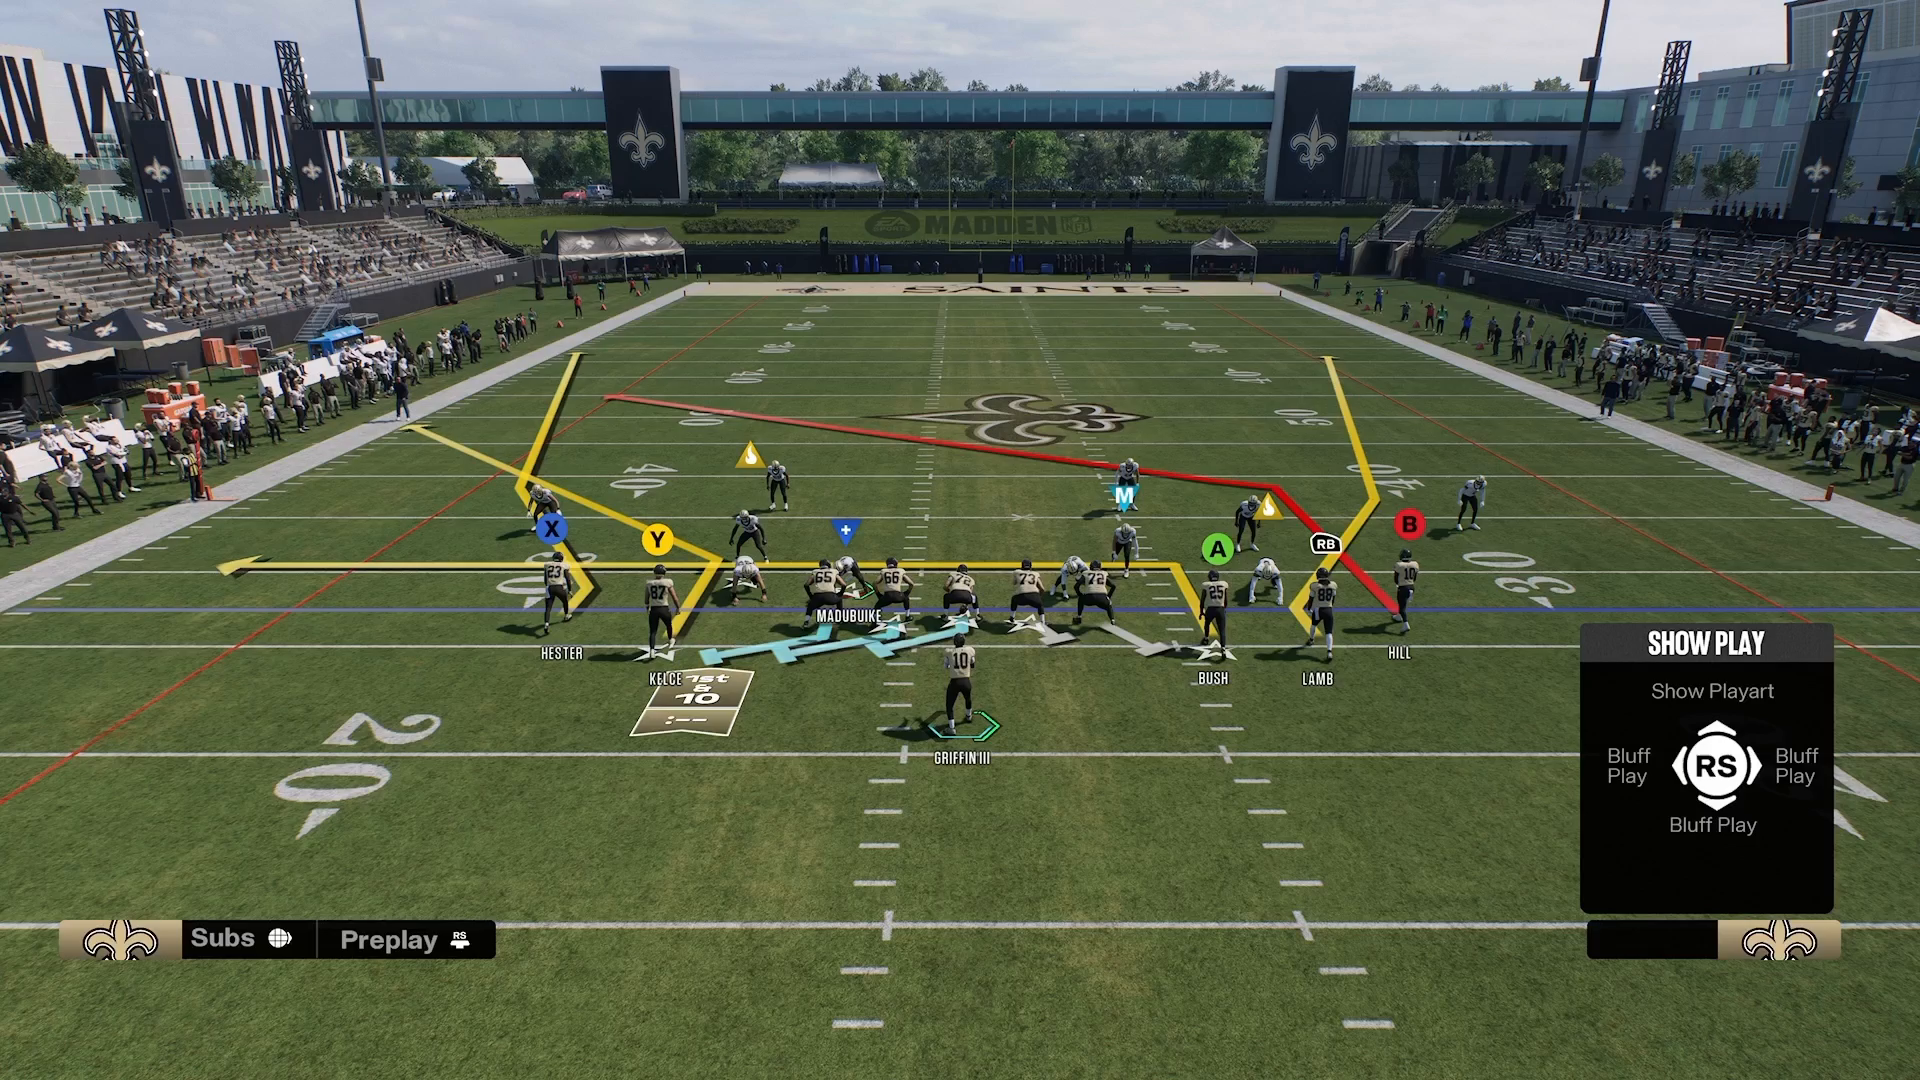
- Select the Tampa Bay playbook and Gun 5 Receiver Tight, placing a corner route on the far left, streaking the slot receiver, and keeping the running back on a flat route.
- Snap and throw to receivers as soon as they are open, using the tight end flat transitioning upfield against man coverage.
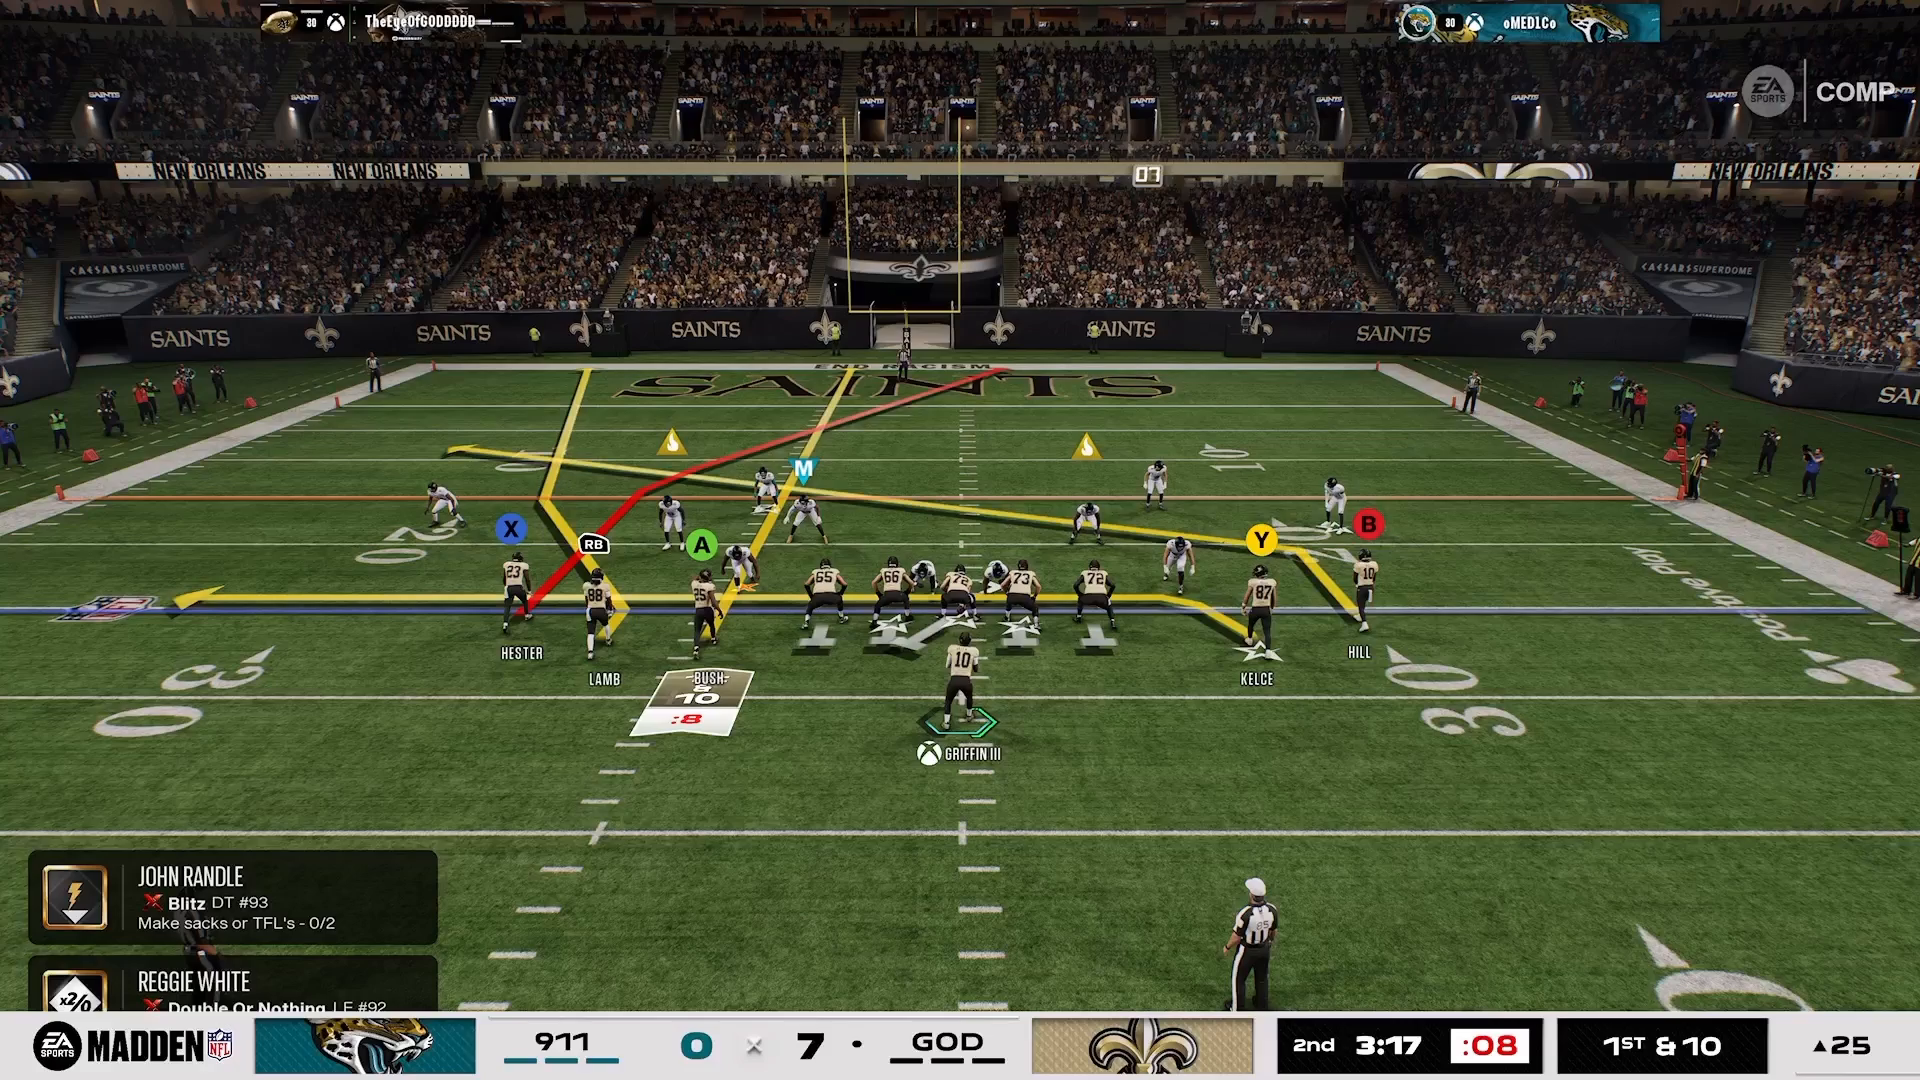
- Tag the outside receiver (X) with a corner route to navigate over cloud flats when opponents drop cloud flats outside to counter.
Setup Your Offense with Tampa Bay’s Gun 5 Receiver Tight
To effectively attack a 6-1 defense in Madden NFL 27, begin by selecting the Tampa Bay playbook and utilizing the Gun 5 Receiver Tight formation. This setup allows you to exploit the defensive alignment with a strategic approach.
Start by placing a corner route on the far left. Stem him down the field while streaking the slot receiver. Keep your running back on a flat route to create quick and easy passing options.
The goal is to snap the ball and throw it to your receivers as soon as they’re open, making the most of the space on the field. This setup is grounded in the principles of 16 Spaces, focusing on preemptive spacing to outmaneuver your opponent.
Understanding Why This Strategy Works
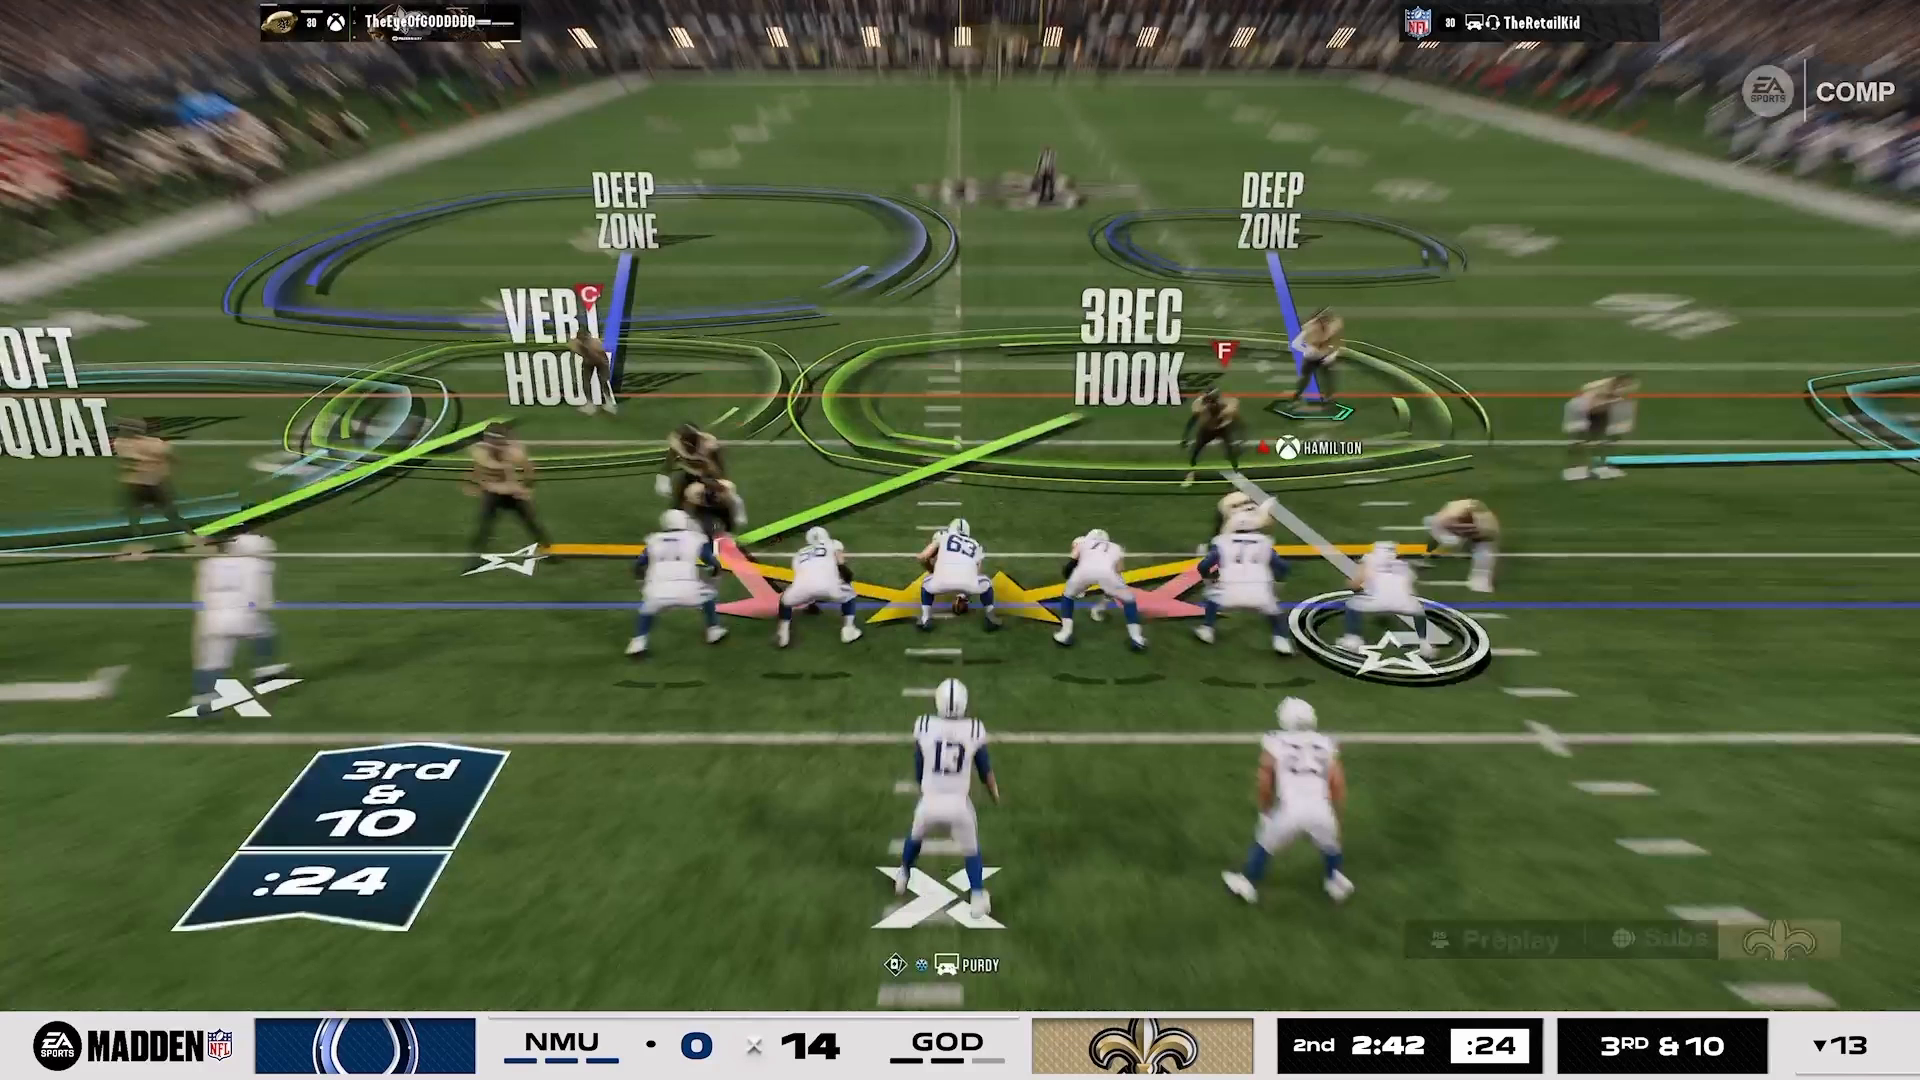
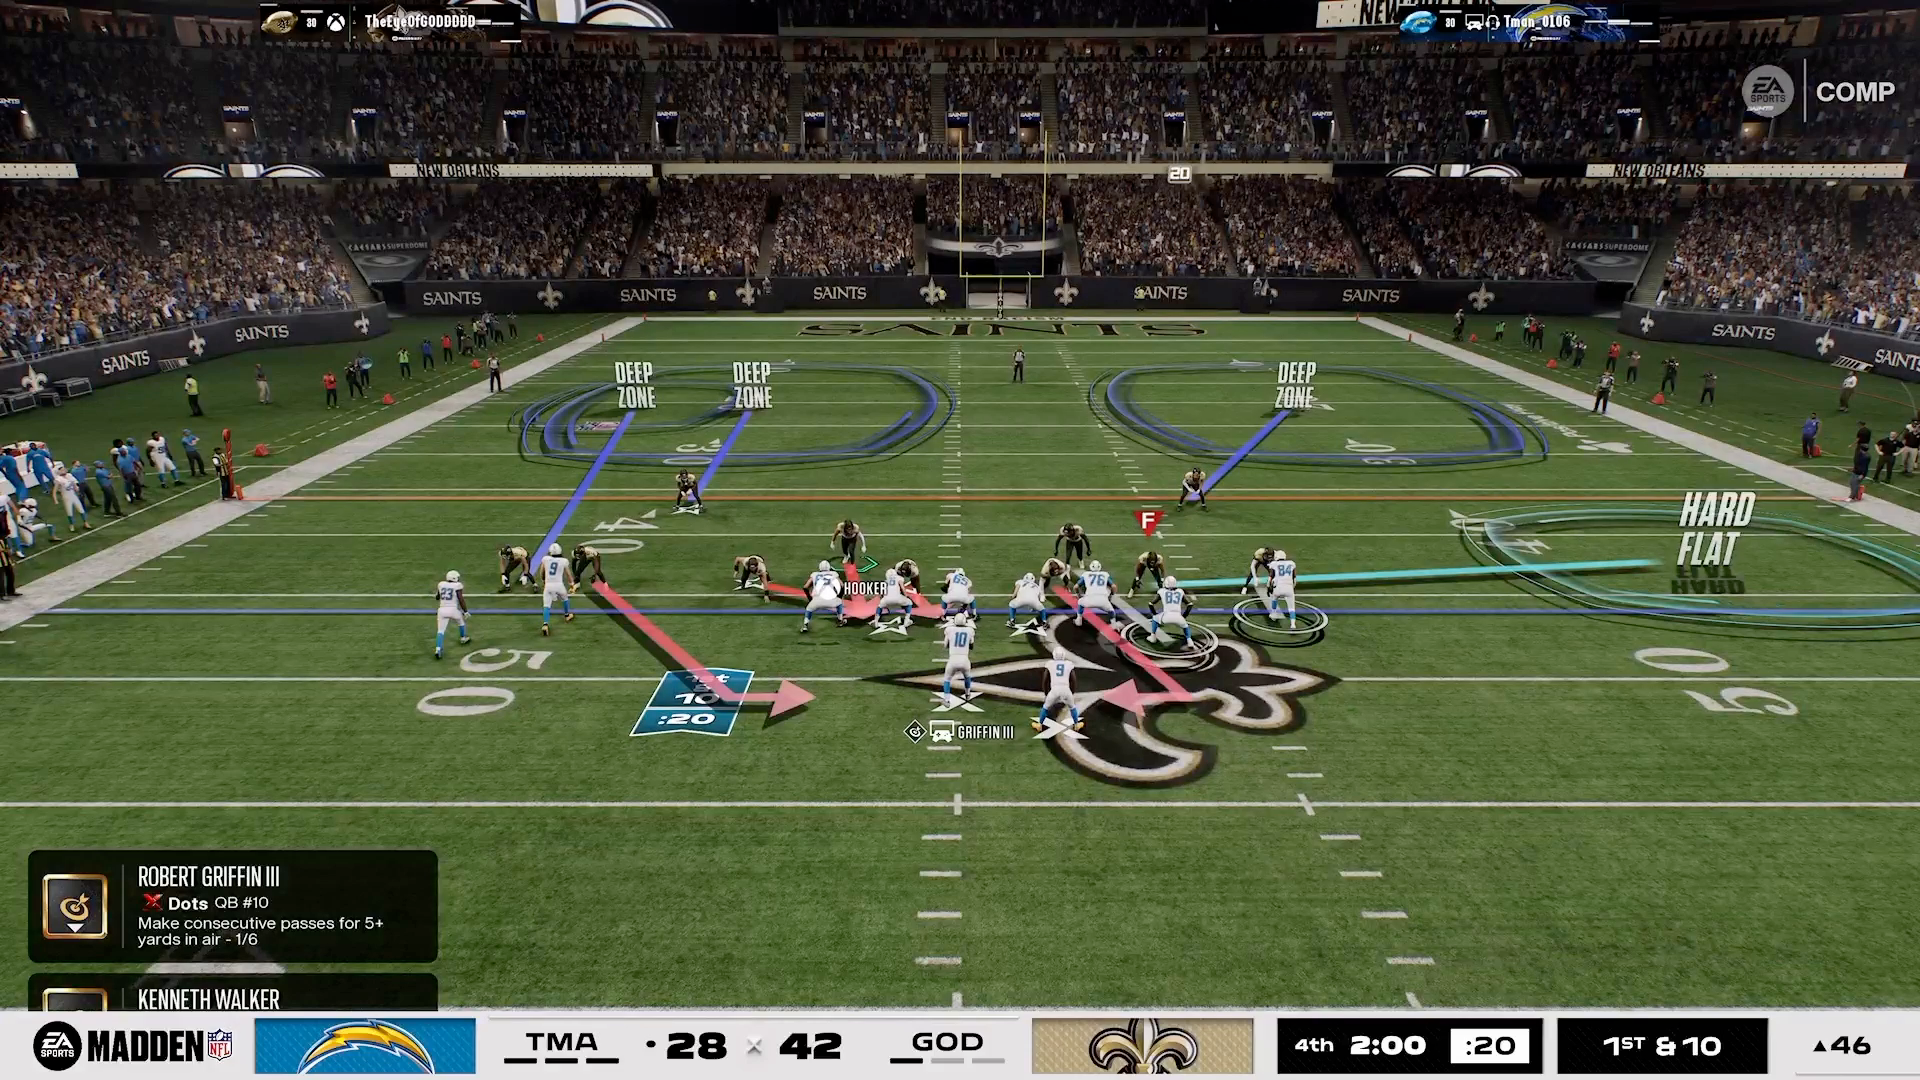
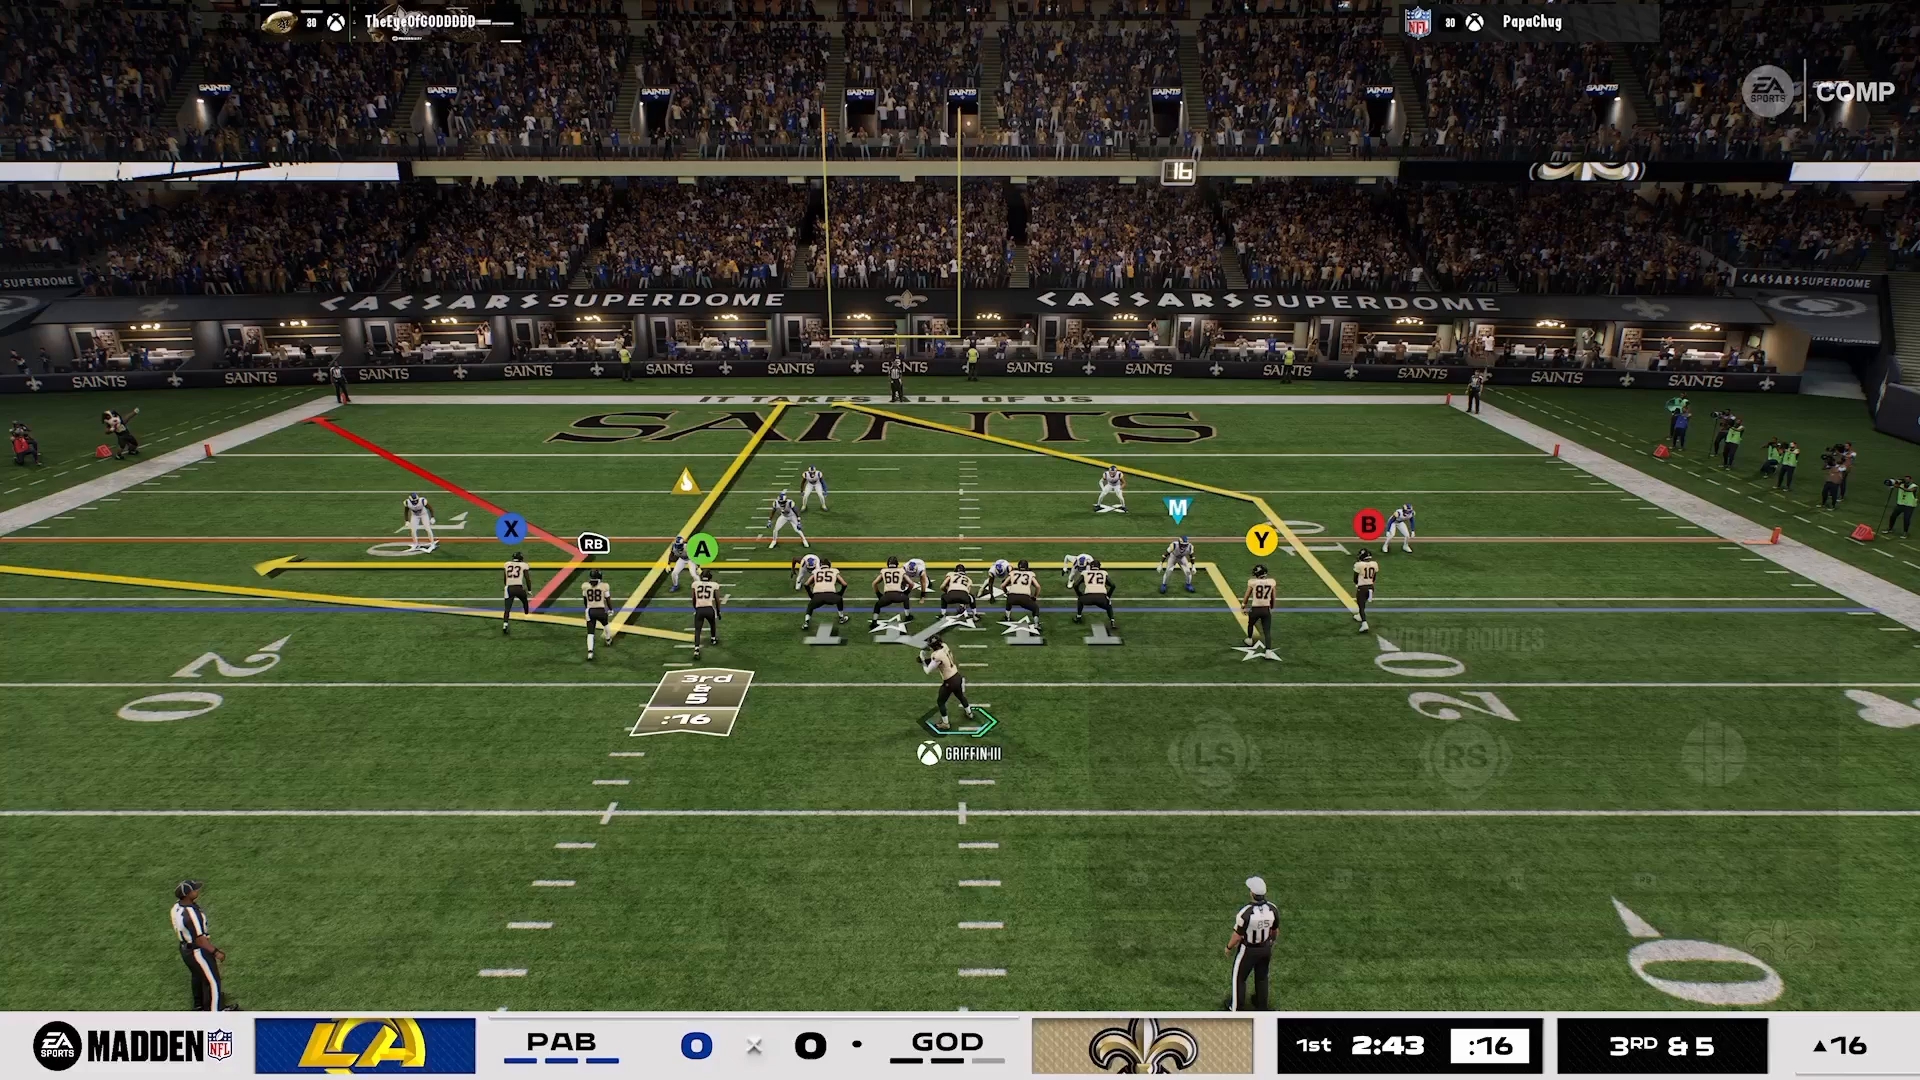
The Gun 5 Receiver Tight formation is particularly effective against man coverage because it provides options for flats on both sides of the field. Typically, a safety will be positioned around 8-10 yards off the line, allowing for quick snap throws that can catch defenders off guard.
Additionally, when your tight end runs a flat route that transitions upfield, it opens the door for a potential rack animation against man coverage, making it challenging for defenders to keep up. This strategy is designed to beat various man/match defensive variations, relying on core 16 Spaces logic to create mismatches in coverage.
Anticipating Your Opponent’s Counter
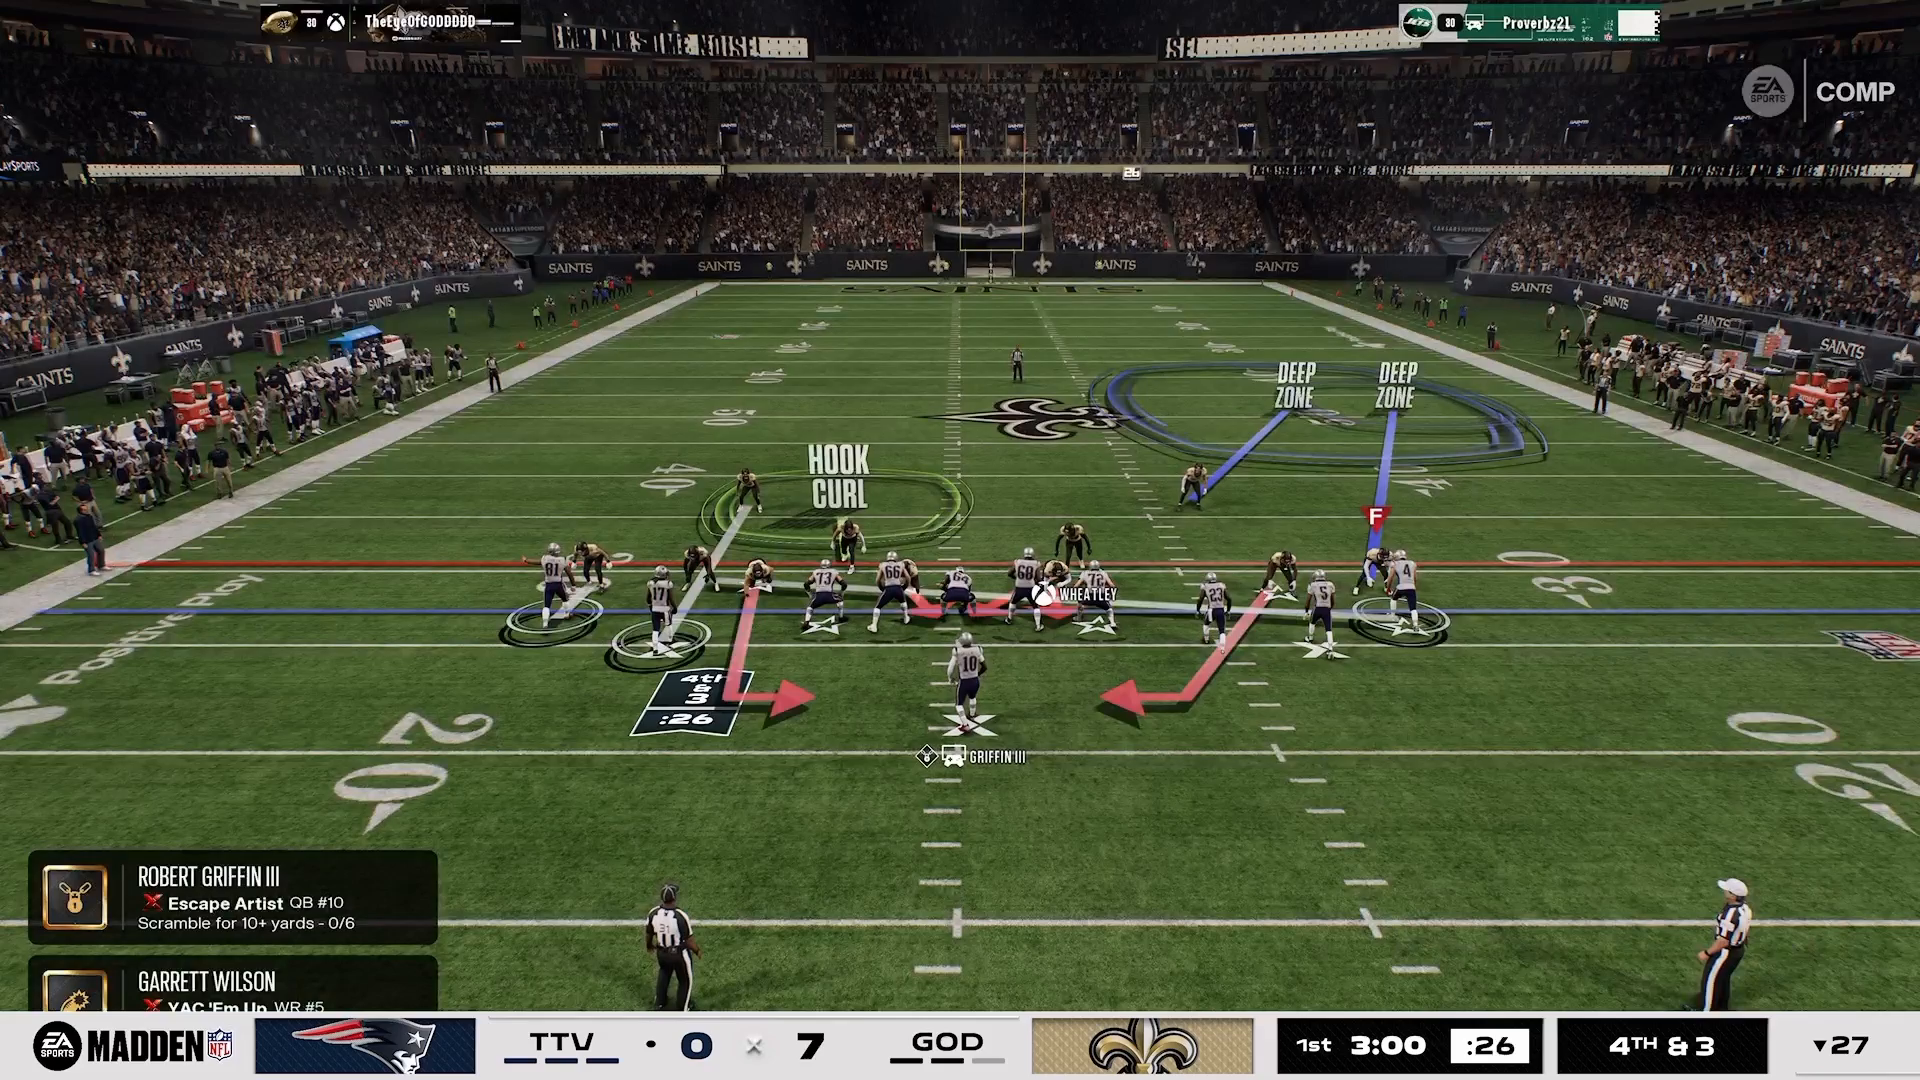
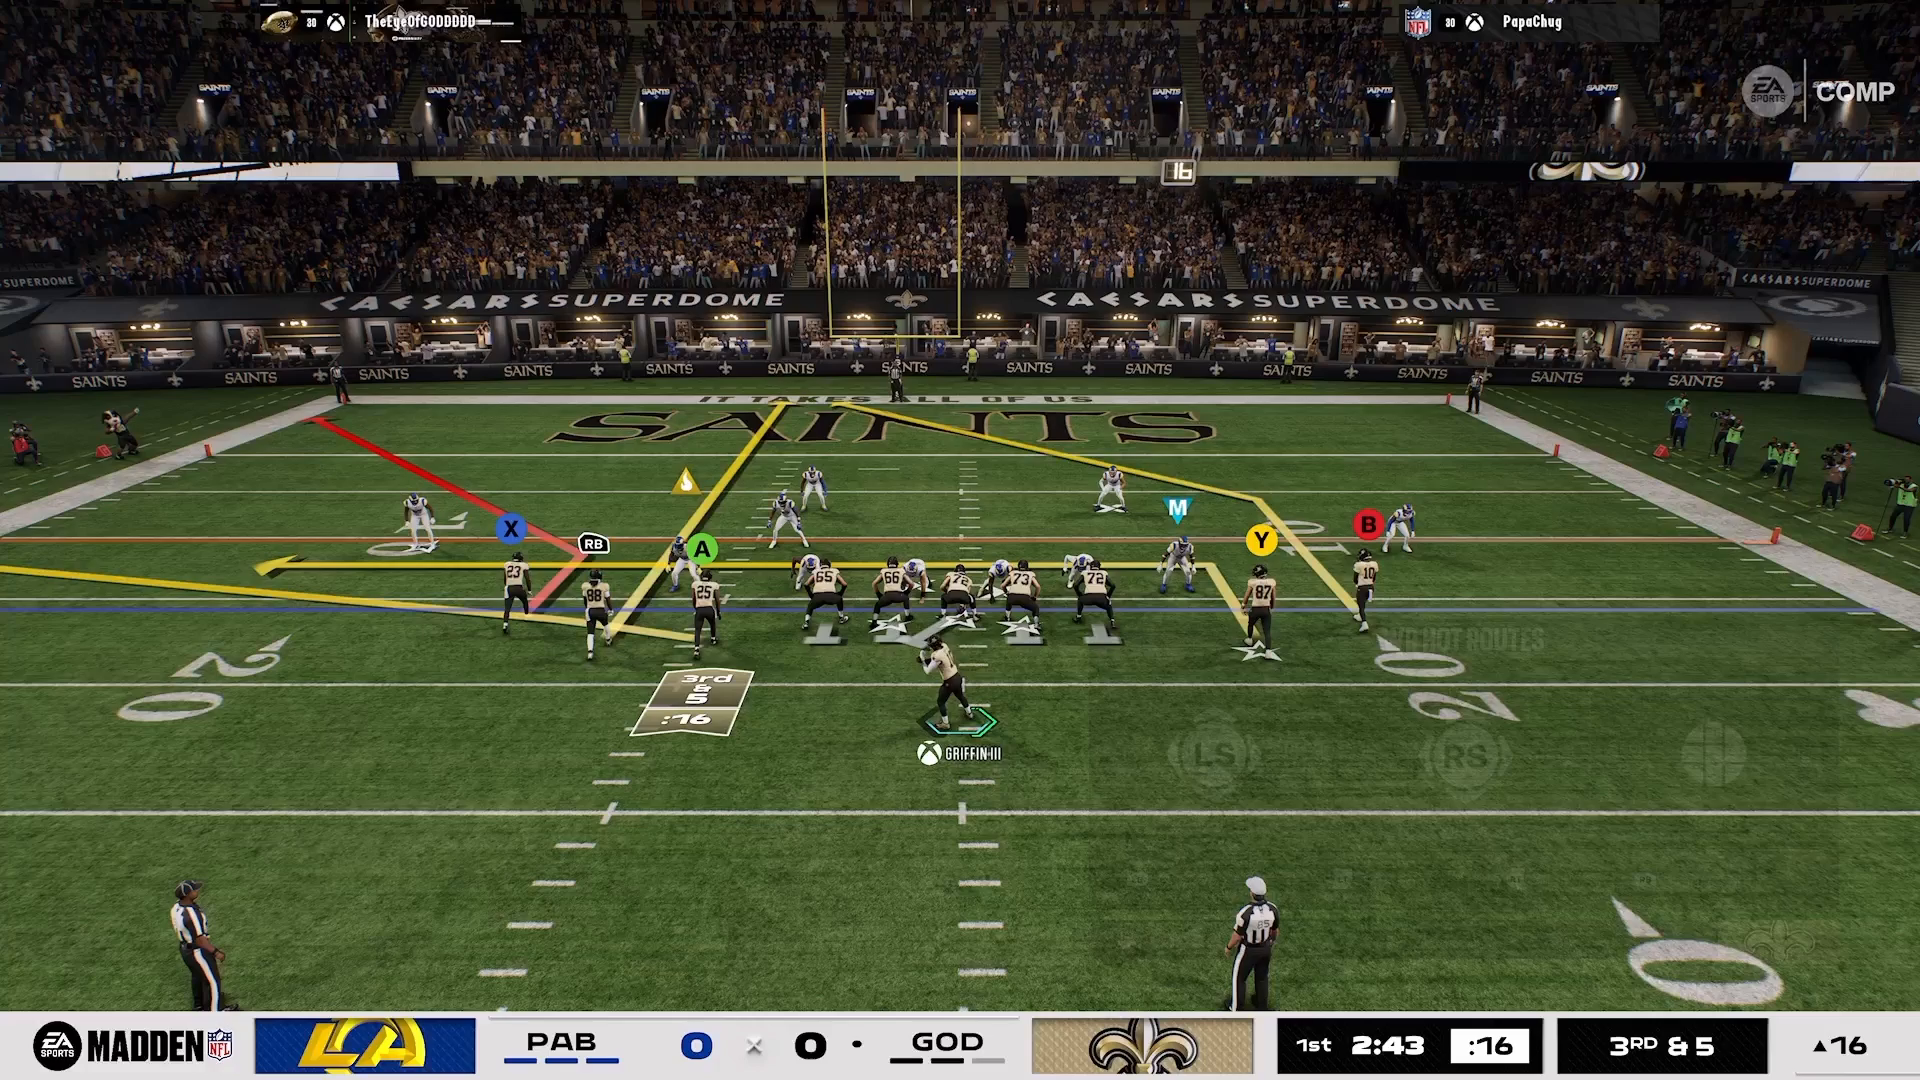
As you implement this strategy, be aware that savvy opponents will adapt by dropping cloud flats outside to counter your quick throws. They might also employ a point combo to neutralize the tight end flat route, which can complicate your initial reads and slow down your offensive flow.
Recognizing these defensive adjustments is crucial. The Madden Academy emphasizes the importance of anticipating counters to maintain your offensive rhythm and exploit any weaknesses in your opponent’s defense.
Countering the Counter
To stay one step ahead, consider tagging your outside receiver (X) with a corner route. This adjustment allows your stemmed-down corner to navigate over cloud flats and under deep blue zones, creating a favorable matchup. Meanwhile, the slot streak will draw deep coverage away from the play, providing ample space for your running back’s flat route to set up the corner route.
This kind of strategic adjustment embodies the 16 Spaces chess mentality, where each move aims to outsmart your opponent’s defensive setup. You can maintain offensive pressure while forcing your opponent to adjust their coverage schemes constantly.
Final Adjustments for Defensive Success
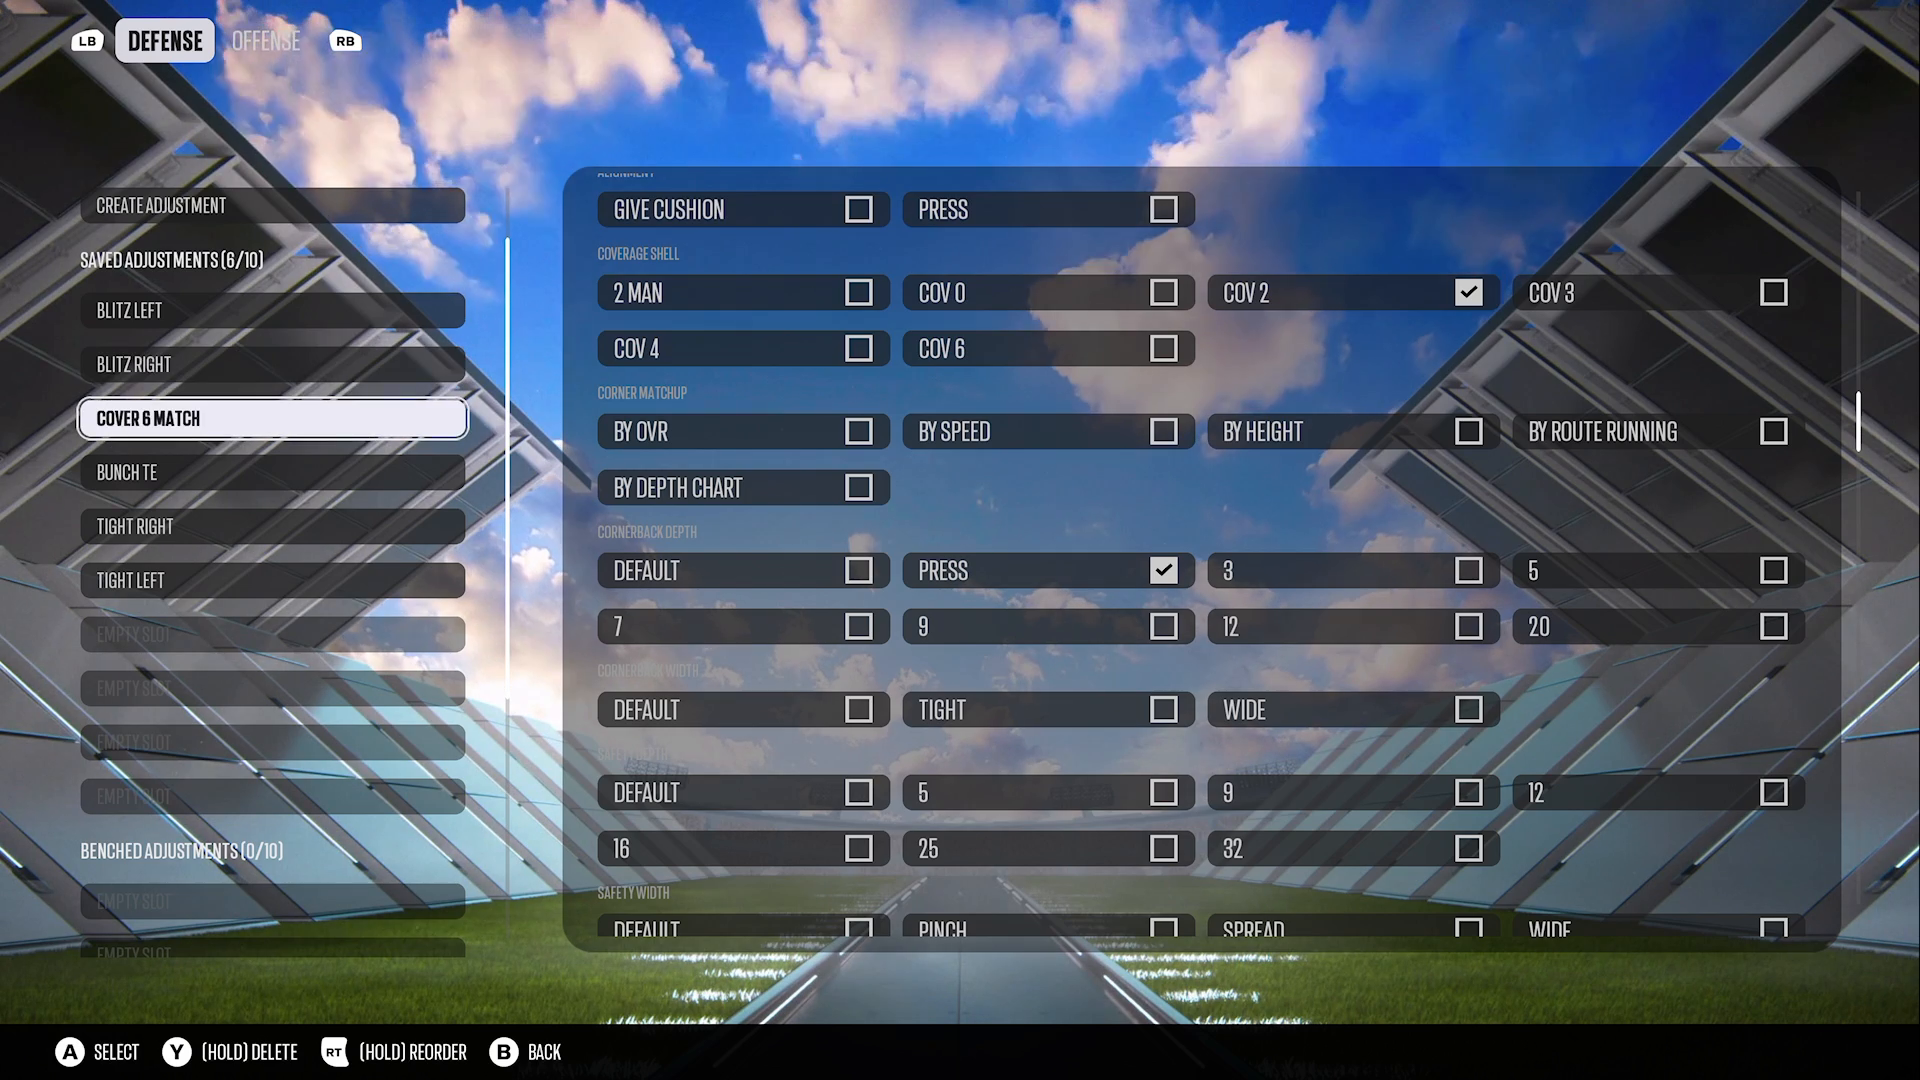
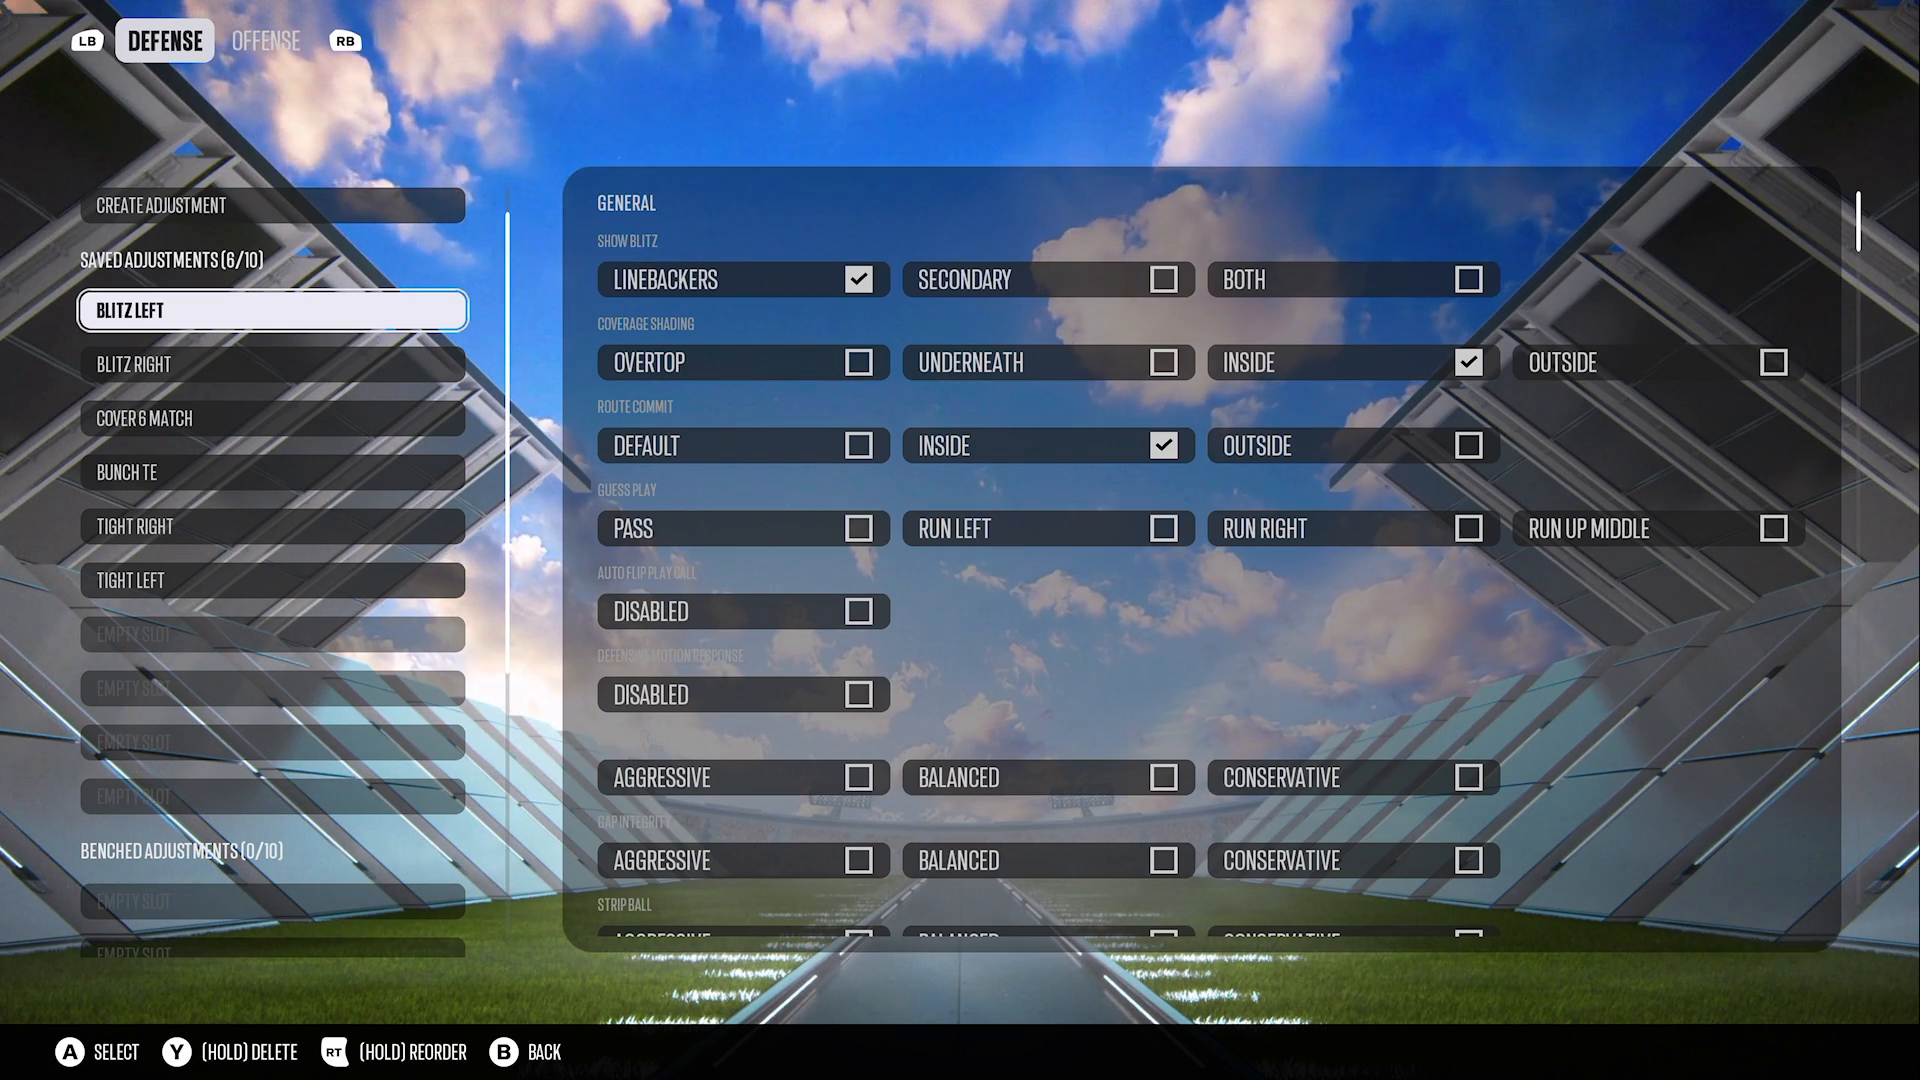
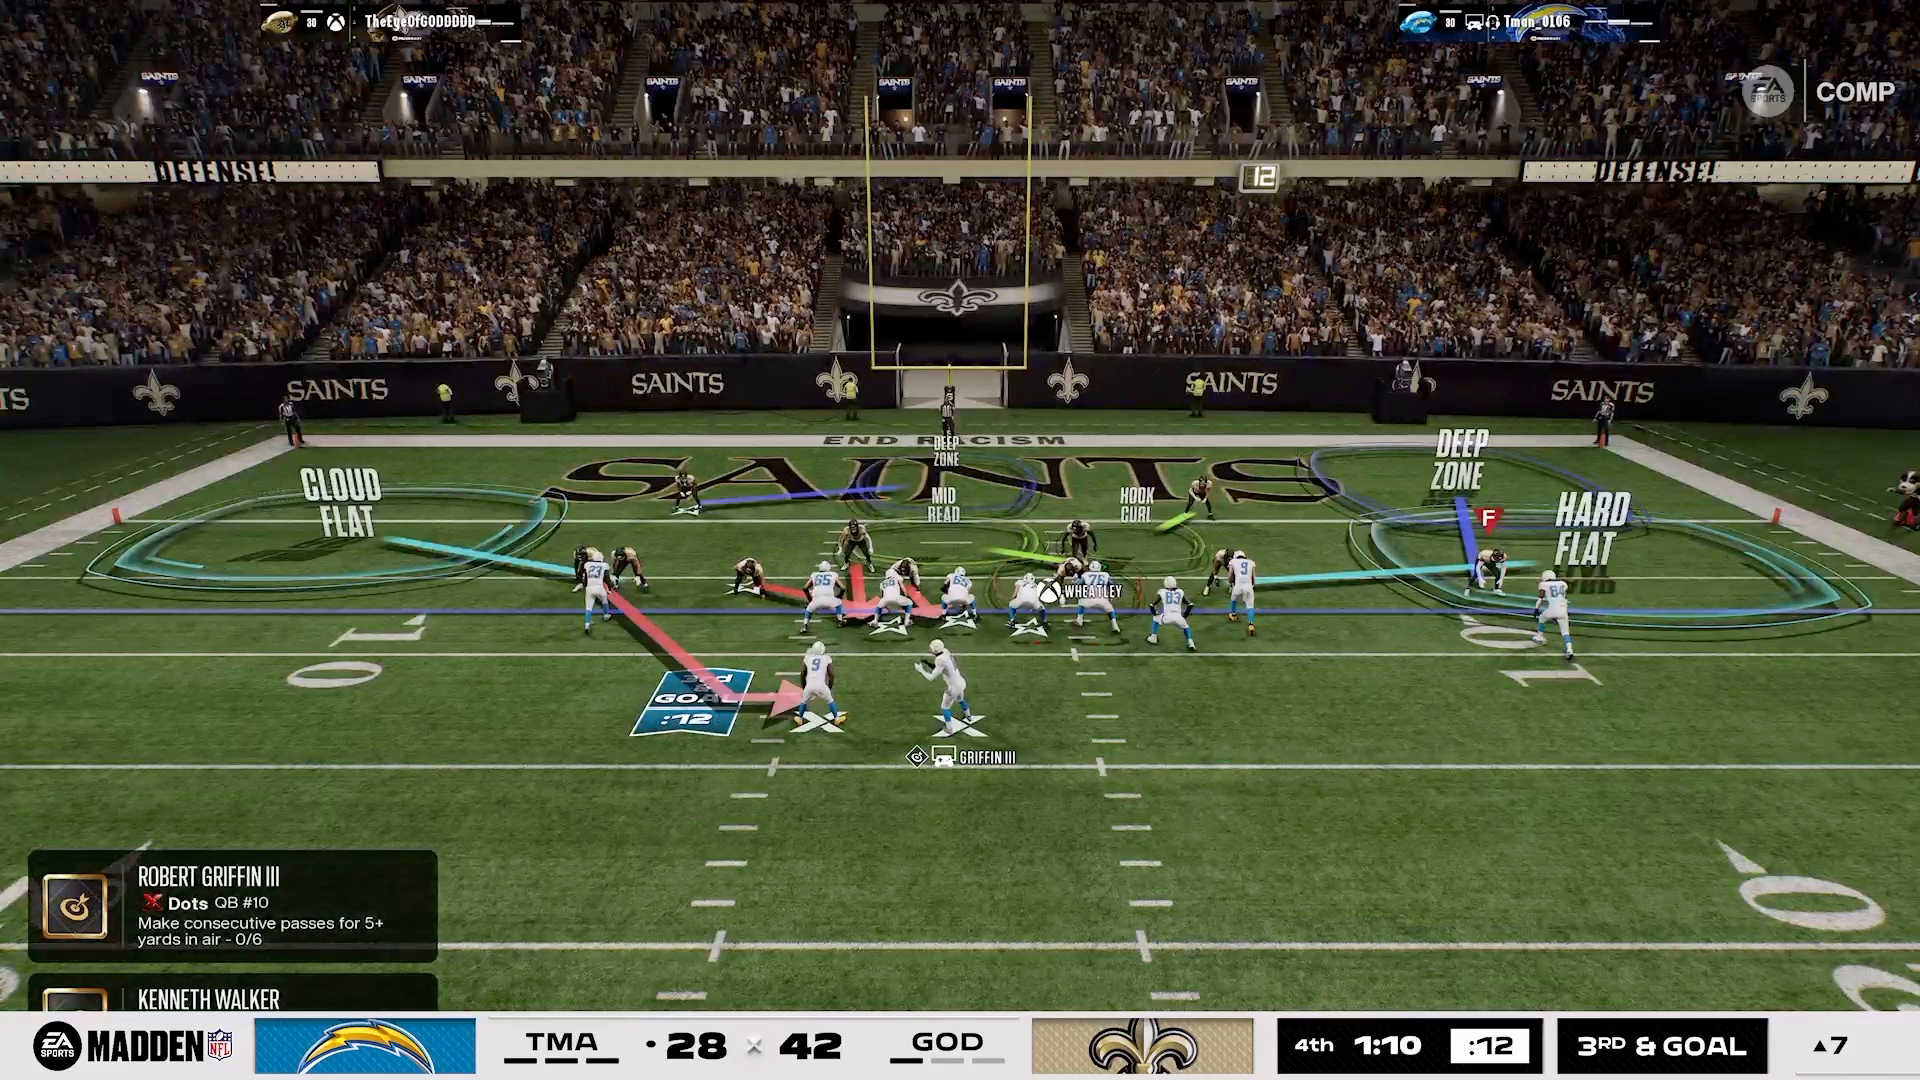
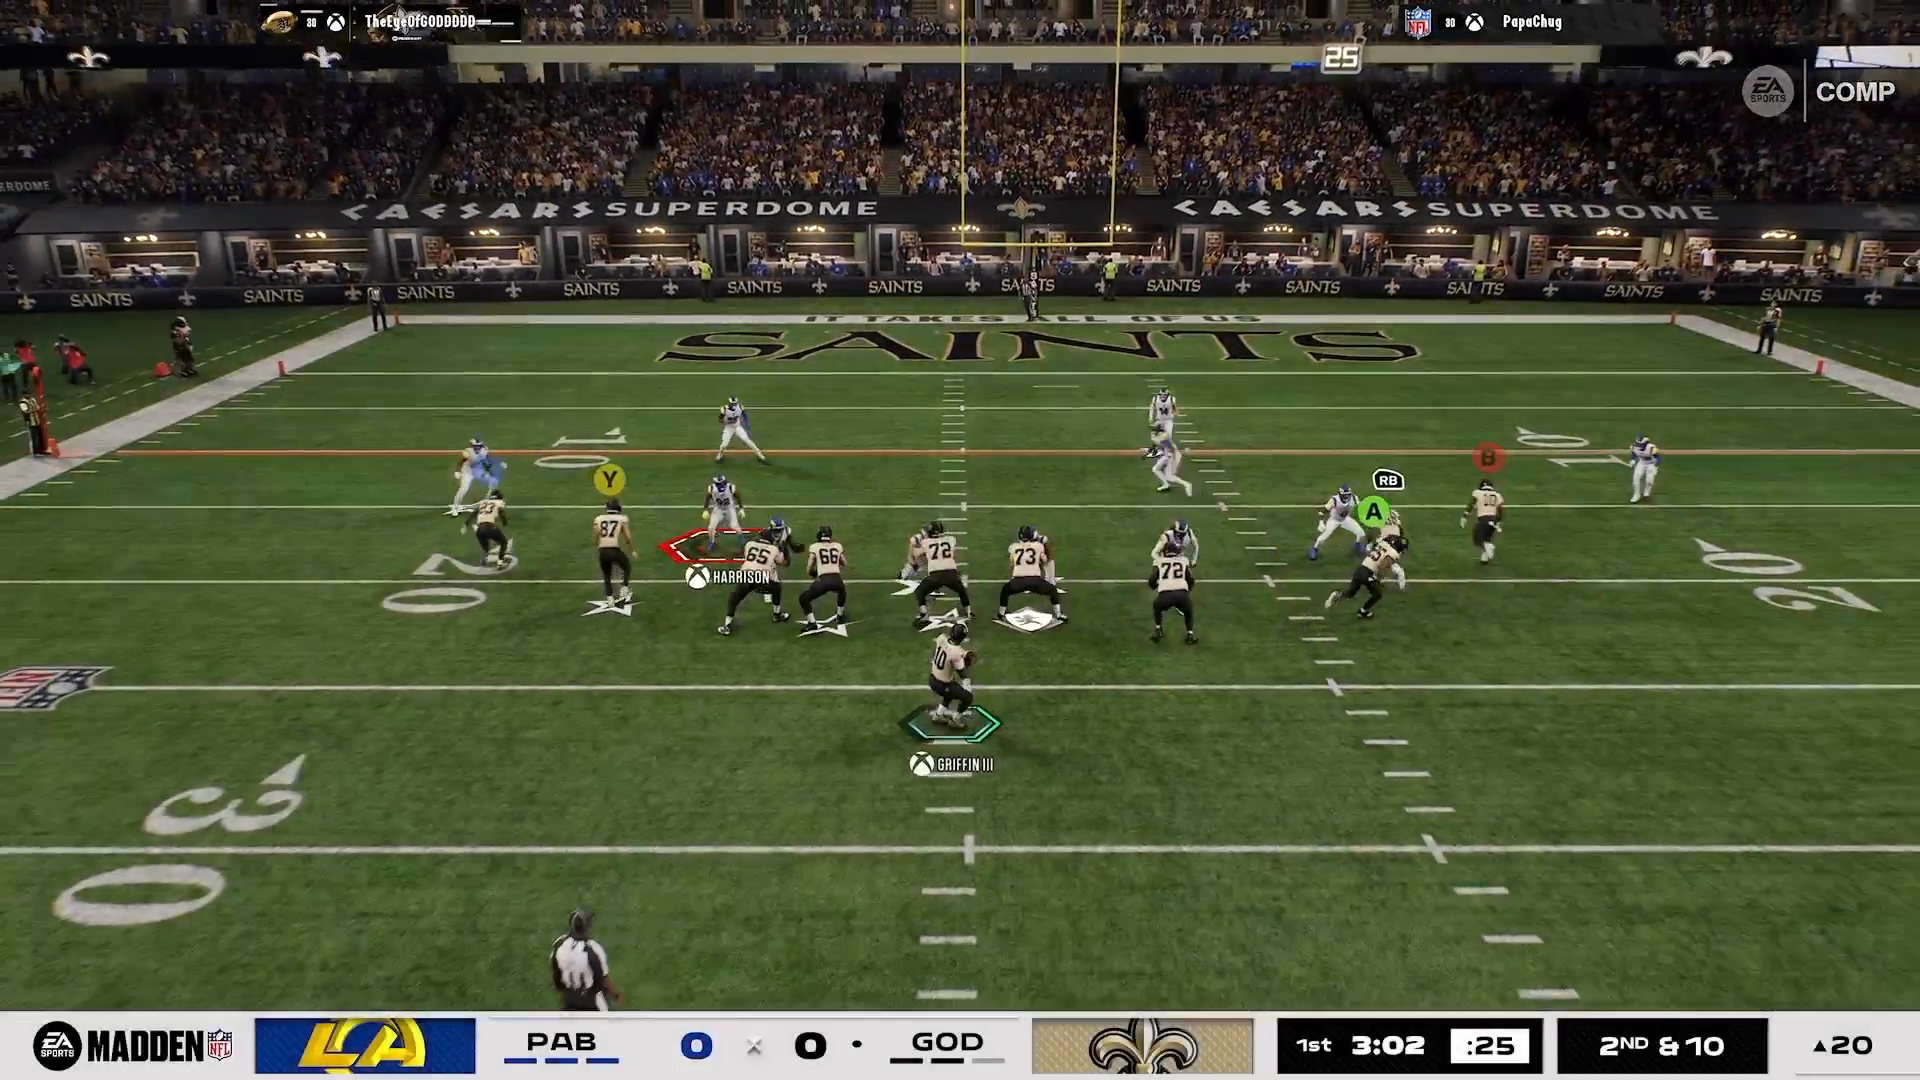
To counter your opponent’s adjustments, you must be prepared to double-flat the left side of the field. This entails deploying a cloud flat on the left along with a conservative approach, while also placing a linebacker on a hard flat. By forcing your opponent to double flat, you create a significant win on the field, disrupting their coverage schemes.
Remember, your primary focus should then be on guarding the post route on the backside of the play. This is where the 16 Spaces lens comes into play, allowing you to view the field strategically and make the best decisions to outplay your opponent.
Conclusion: Elevate Your Madden Game
Mastering these strategies against 6-1 formations in Madden NFL 27 will give you a distinct advantage on the field. By utilizing the Tampa Bay playbook and implementing the core principles of 16 Spaces, you can create a dynamic offense that keeps your opponents guessing. For more in-depth strategies and personalized coaching, consider exploring our 1-on-1 coaching with Manu. Elevate your gameplay and become a formidable competitor.