Mastering Defensive Macro vs Gun 5 Receiver Tight in Madden NFL 27
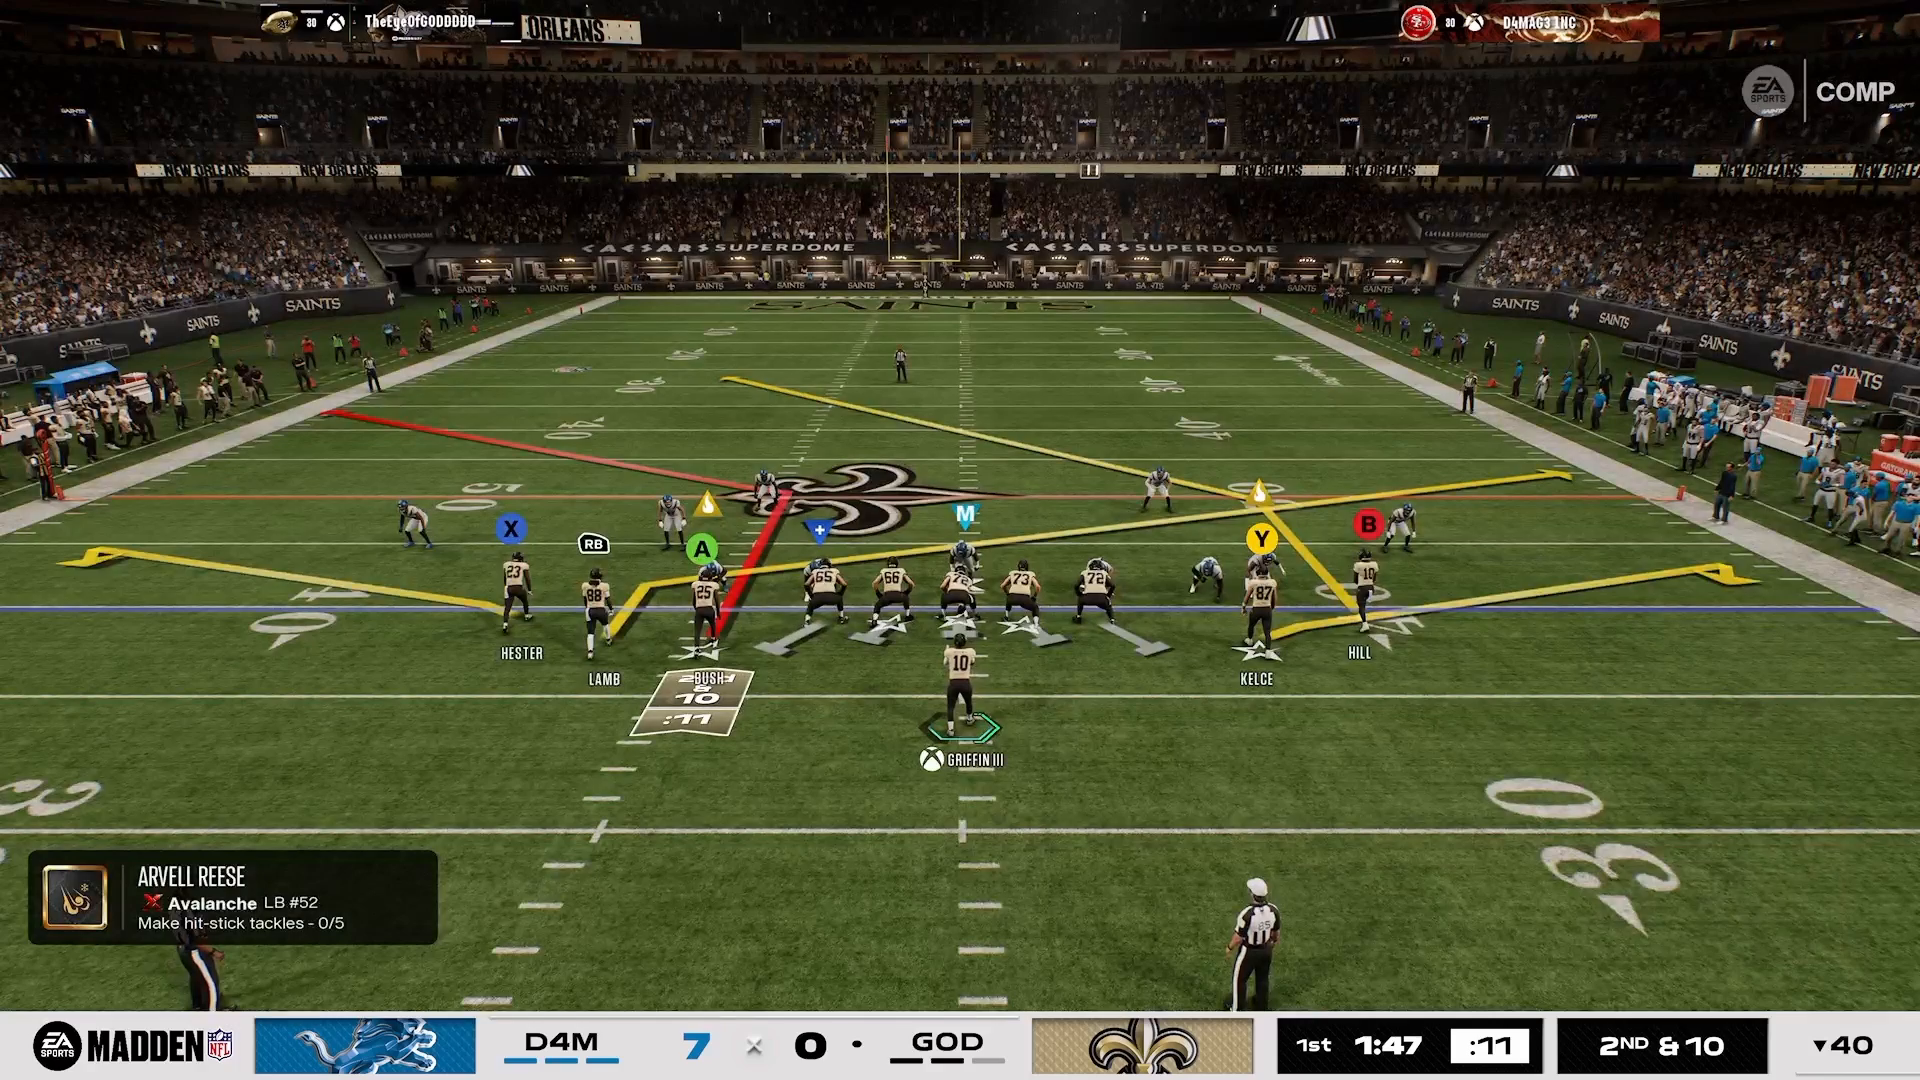
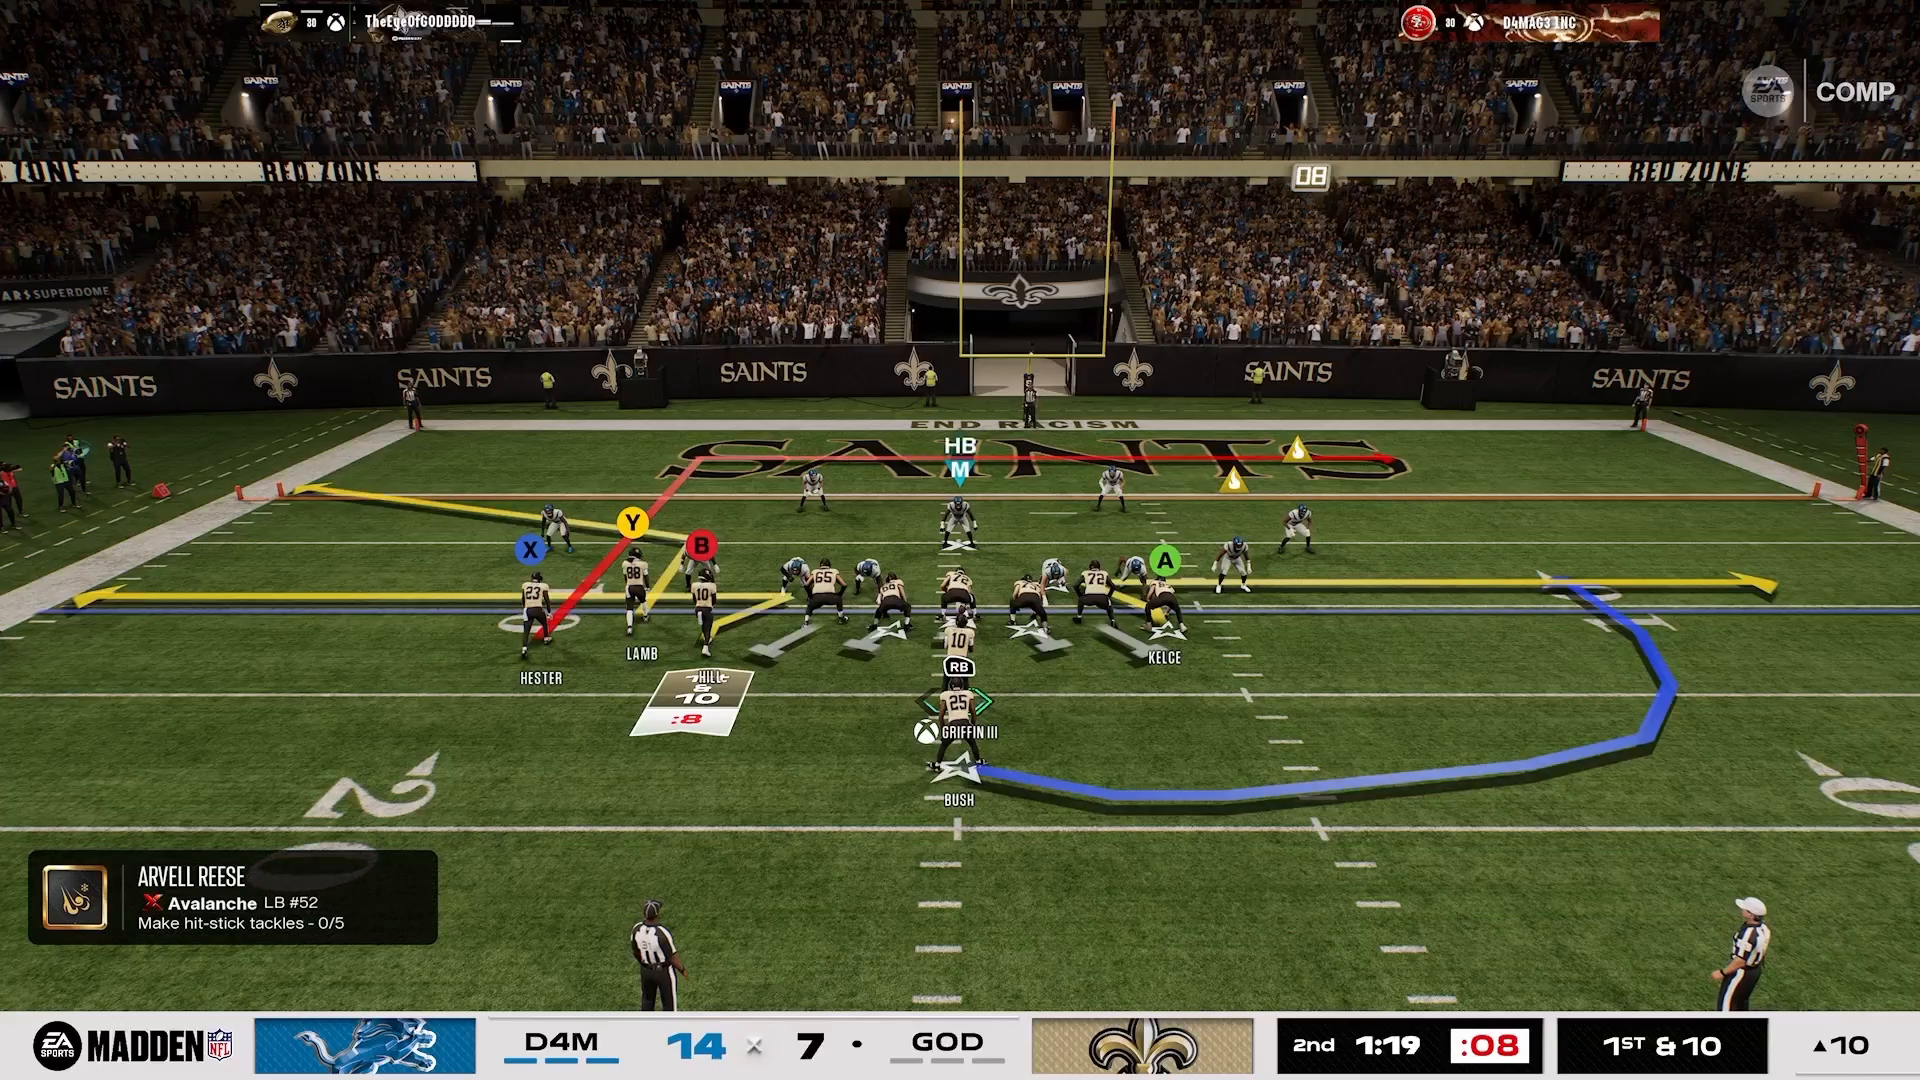
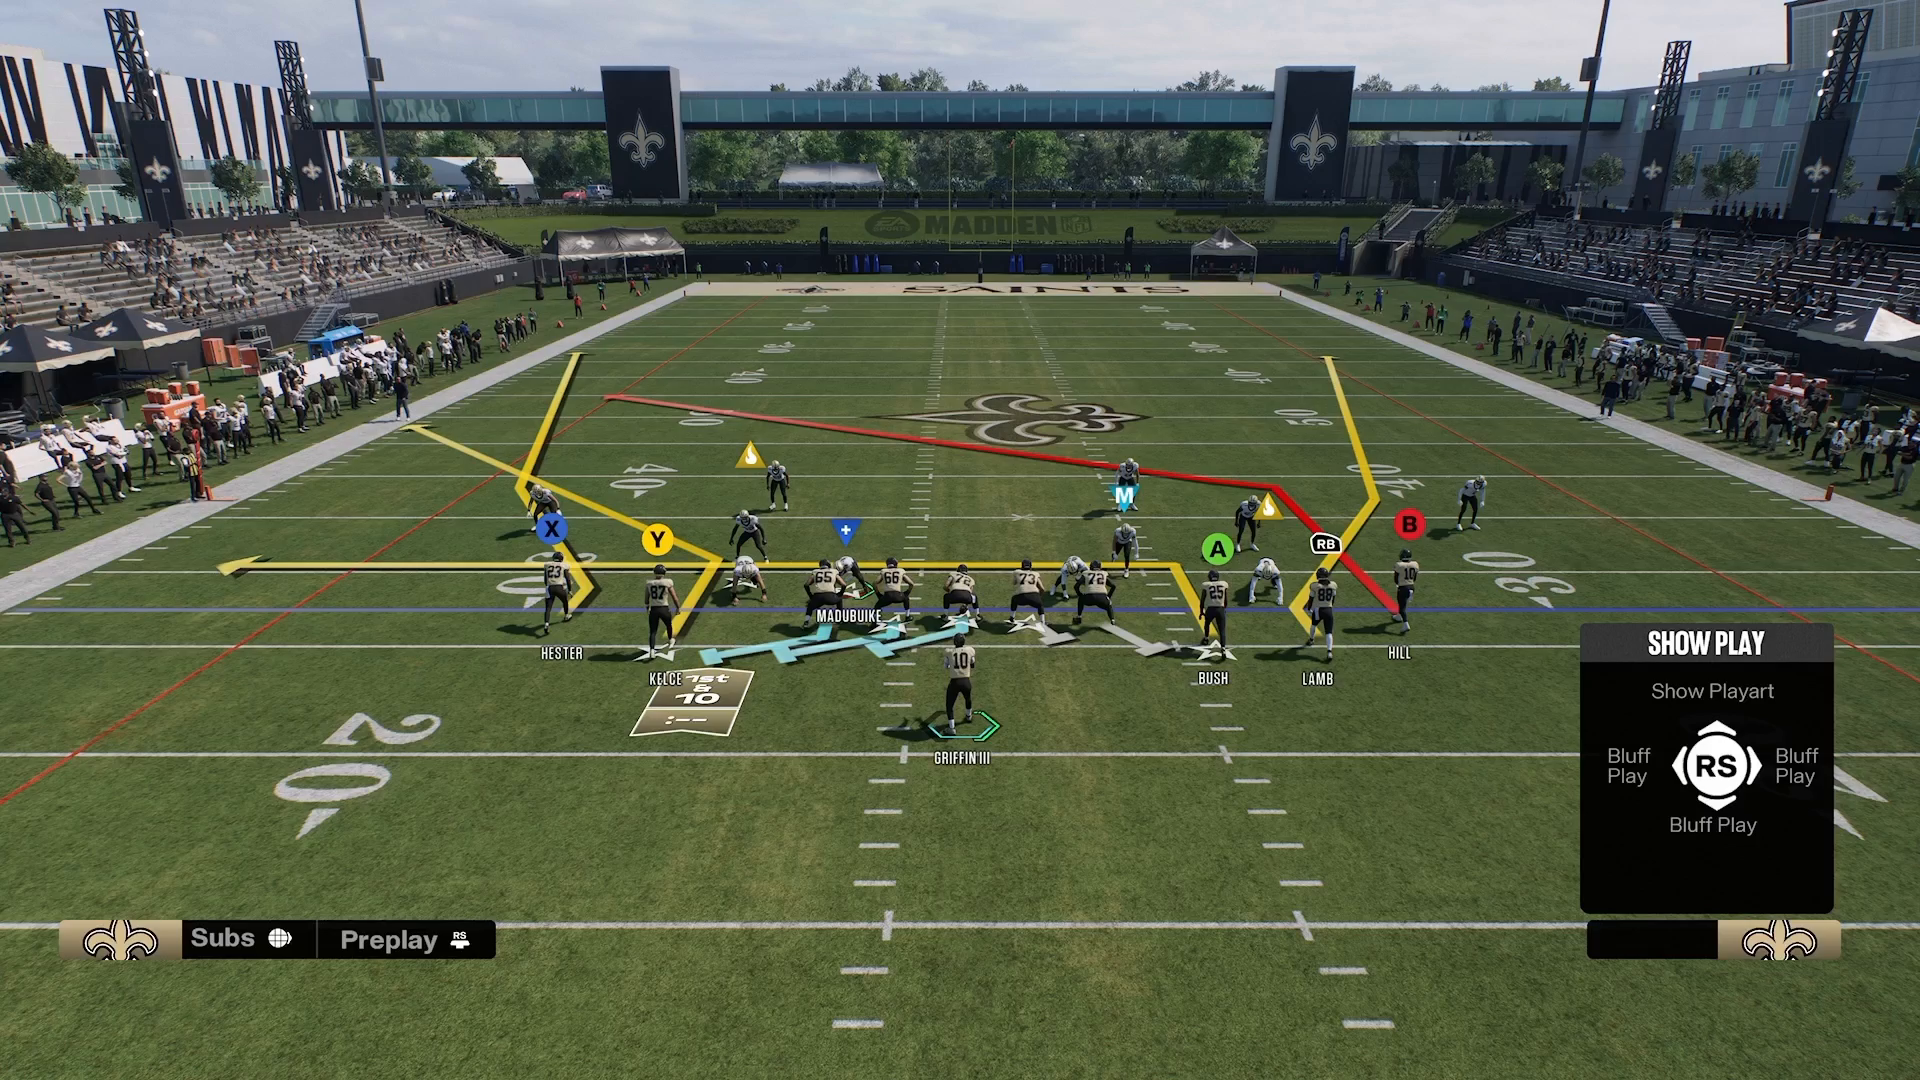
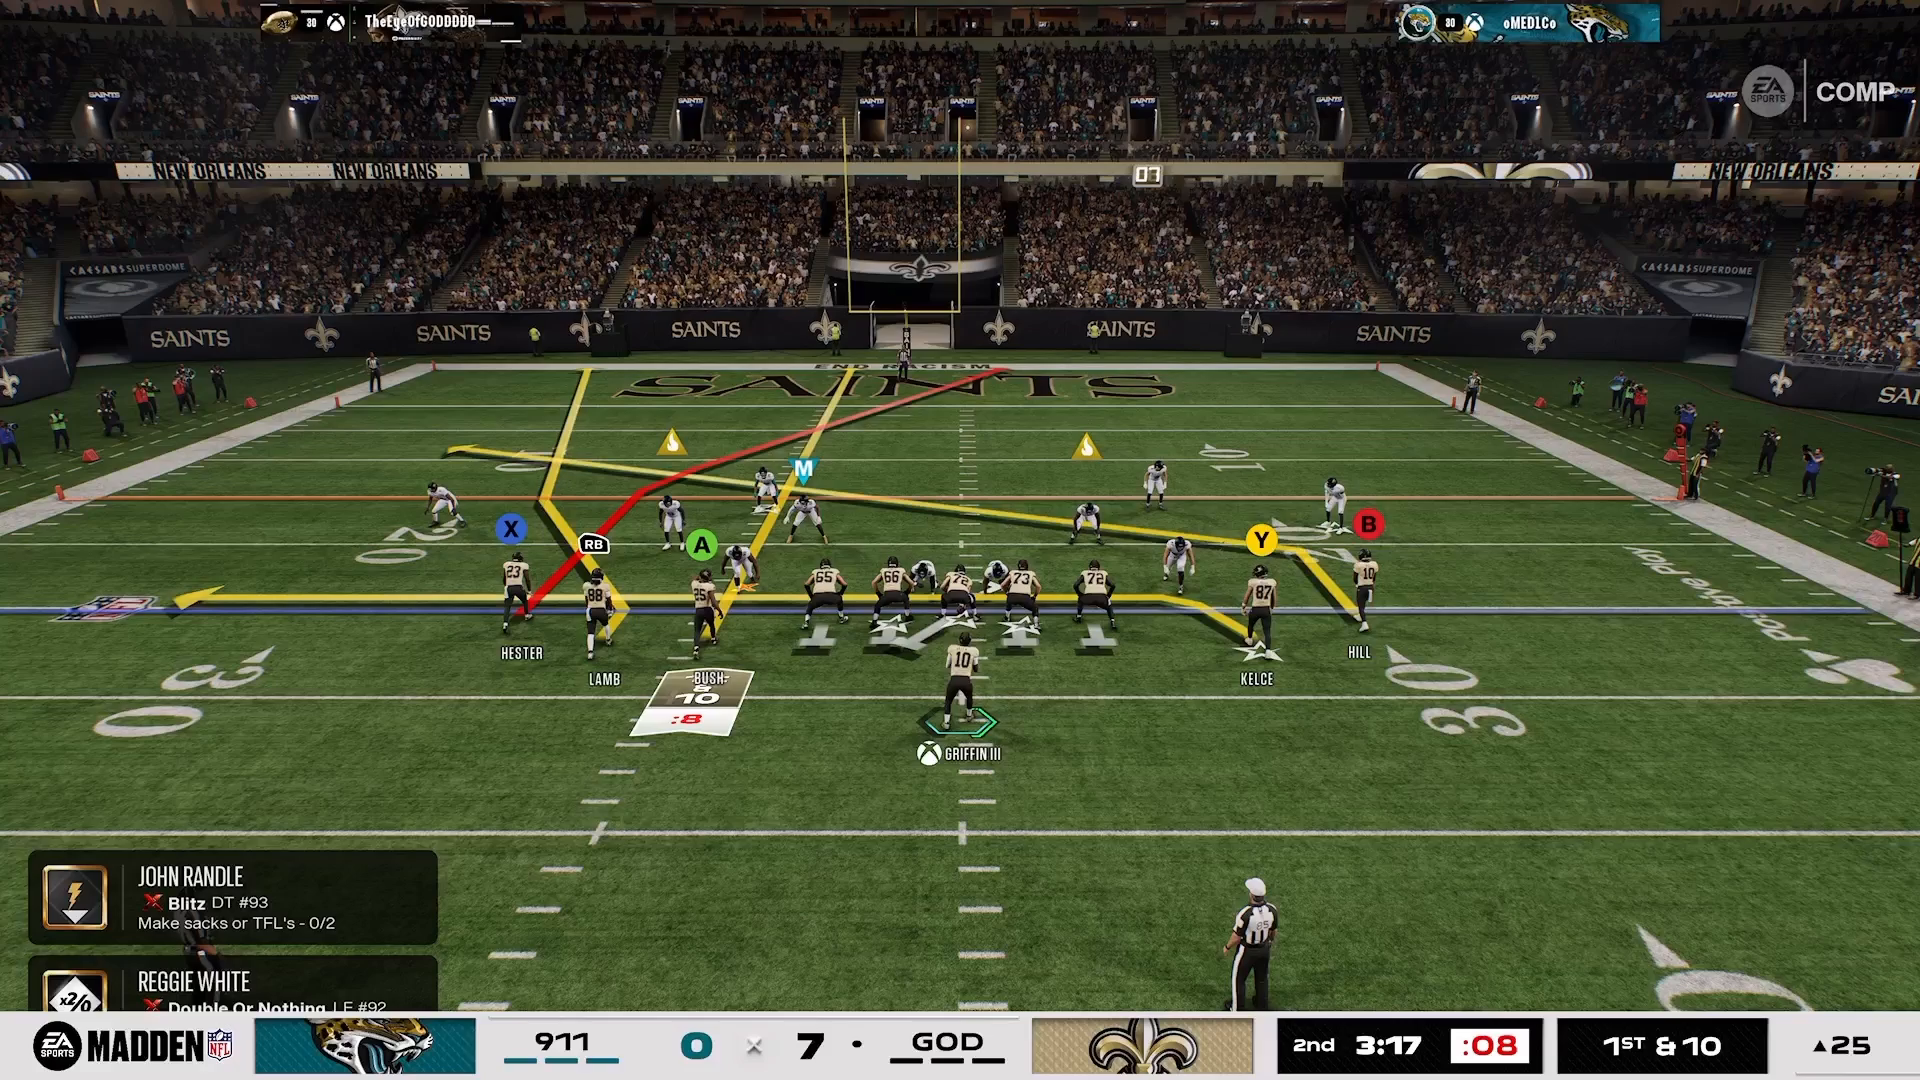
Defend Gun 5 Receiver Tight in Madden 27 with a Dime 3-2 / DB Fire 2 macro using bait and bail, the “5 Receiver Tight Right” custom adjustment, and switch-stick user control on the seam.
Defensive Macro vs Gun 5 Receiver Tight Madden 27: Dime 3-2 and DB Fire 2
- Use the Dime 3-2 and DB Fire 2 setups for a simple, high-pressure look that forces the opponent into predictable reads.
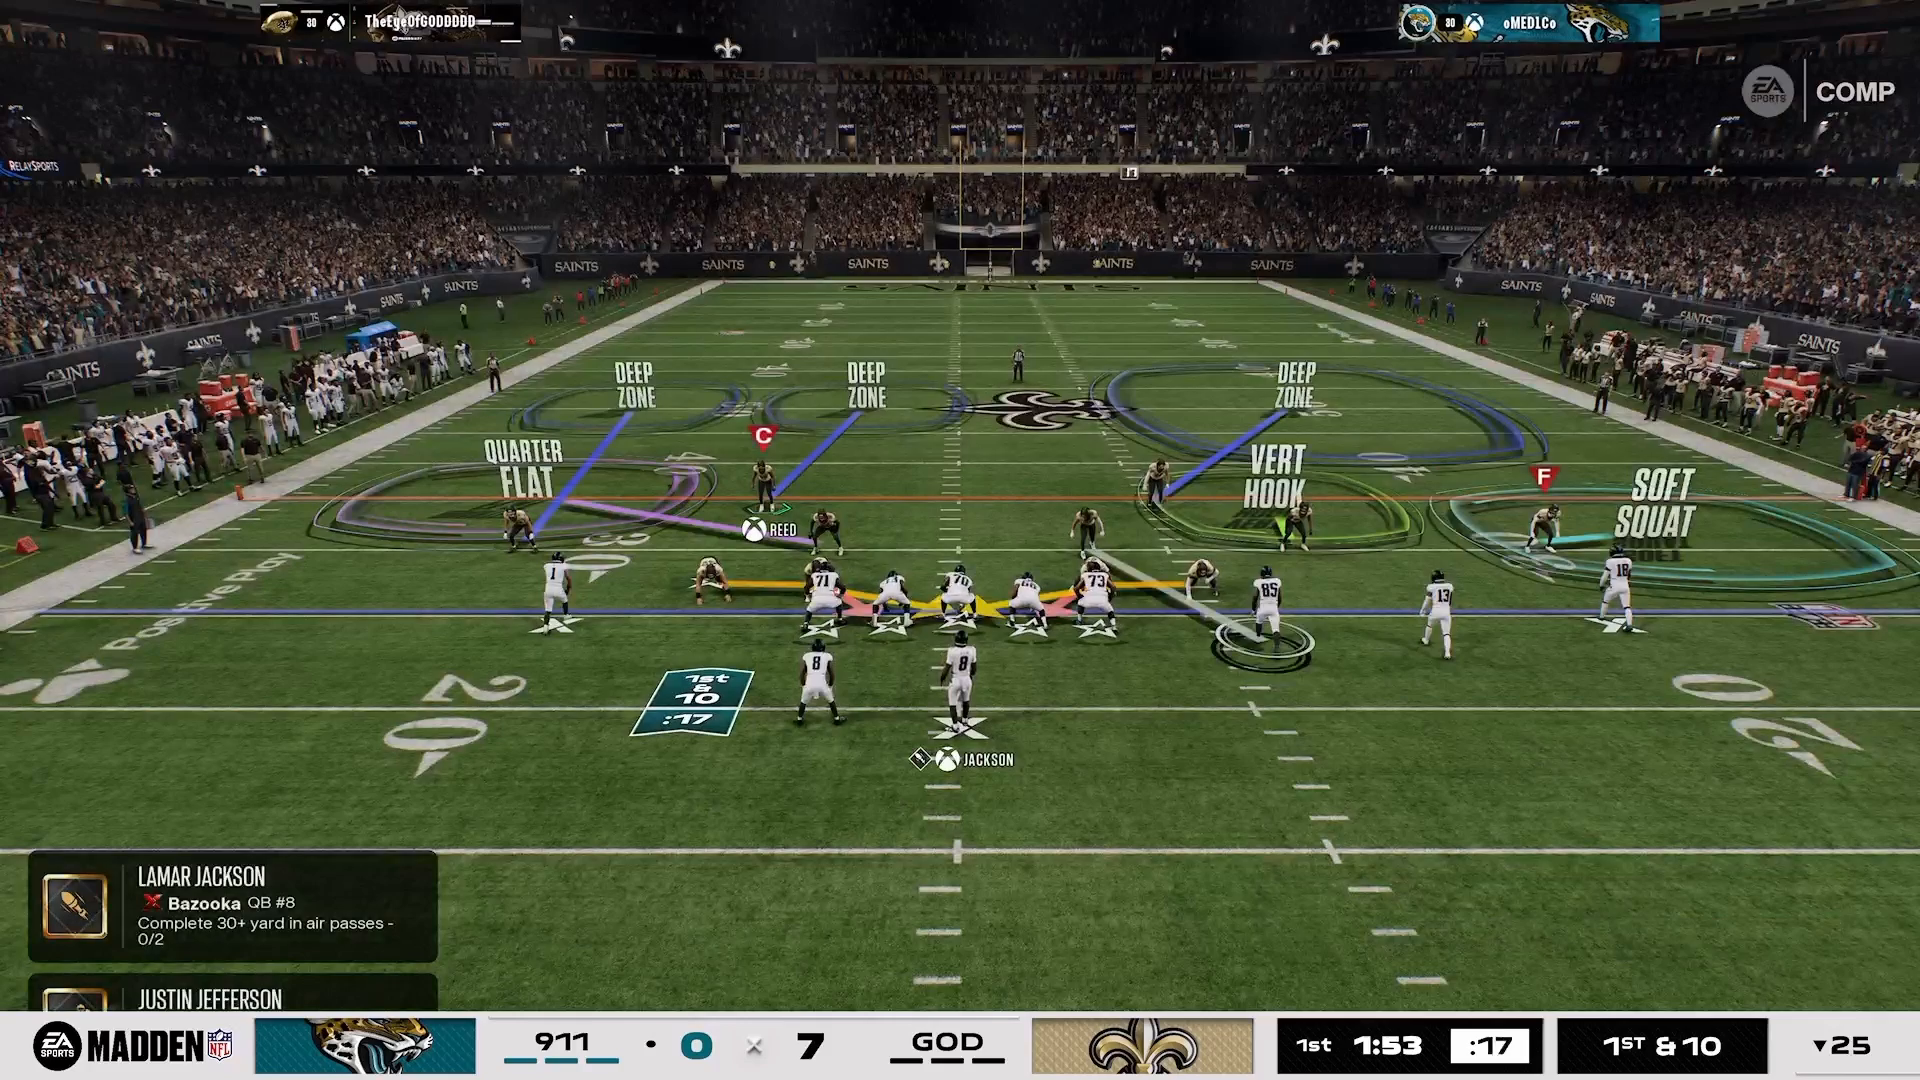
- Bait with an outside quarter and bail with a deep half over the top to protect against deep seams while playing aggressively.
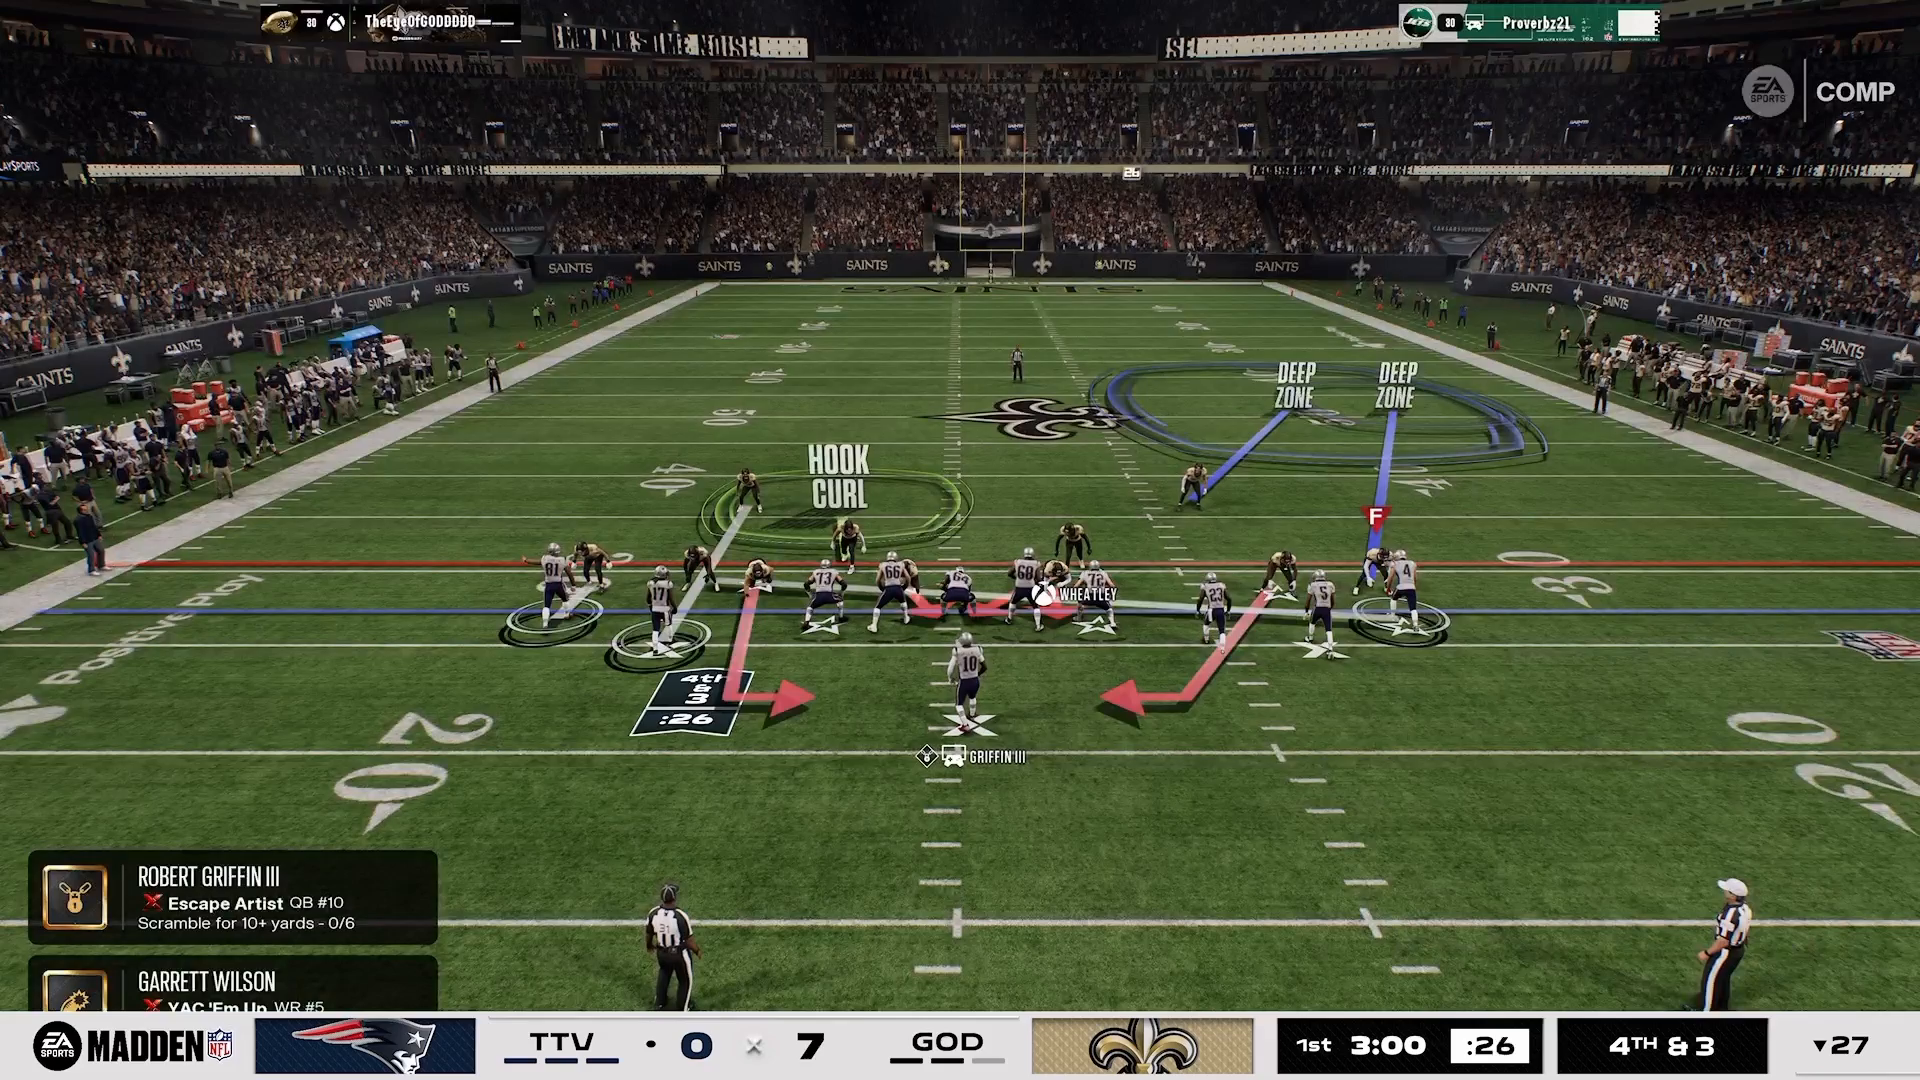
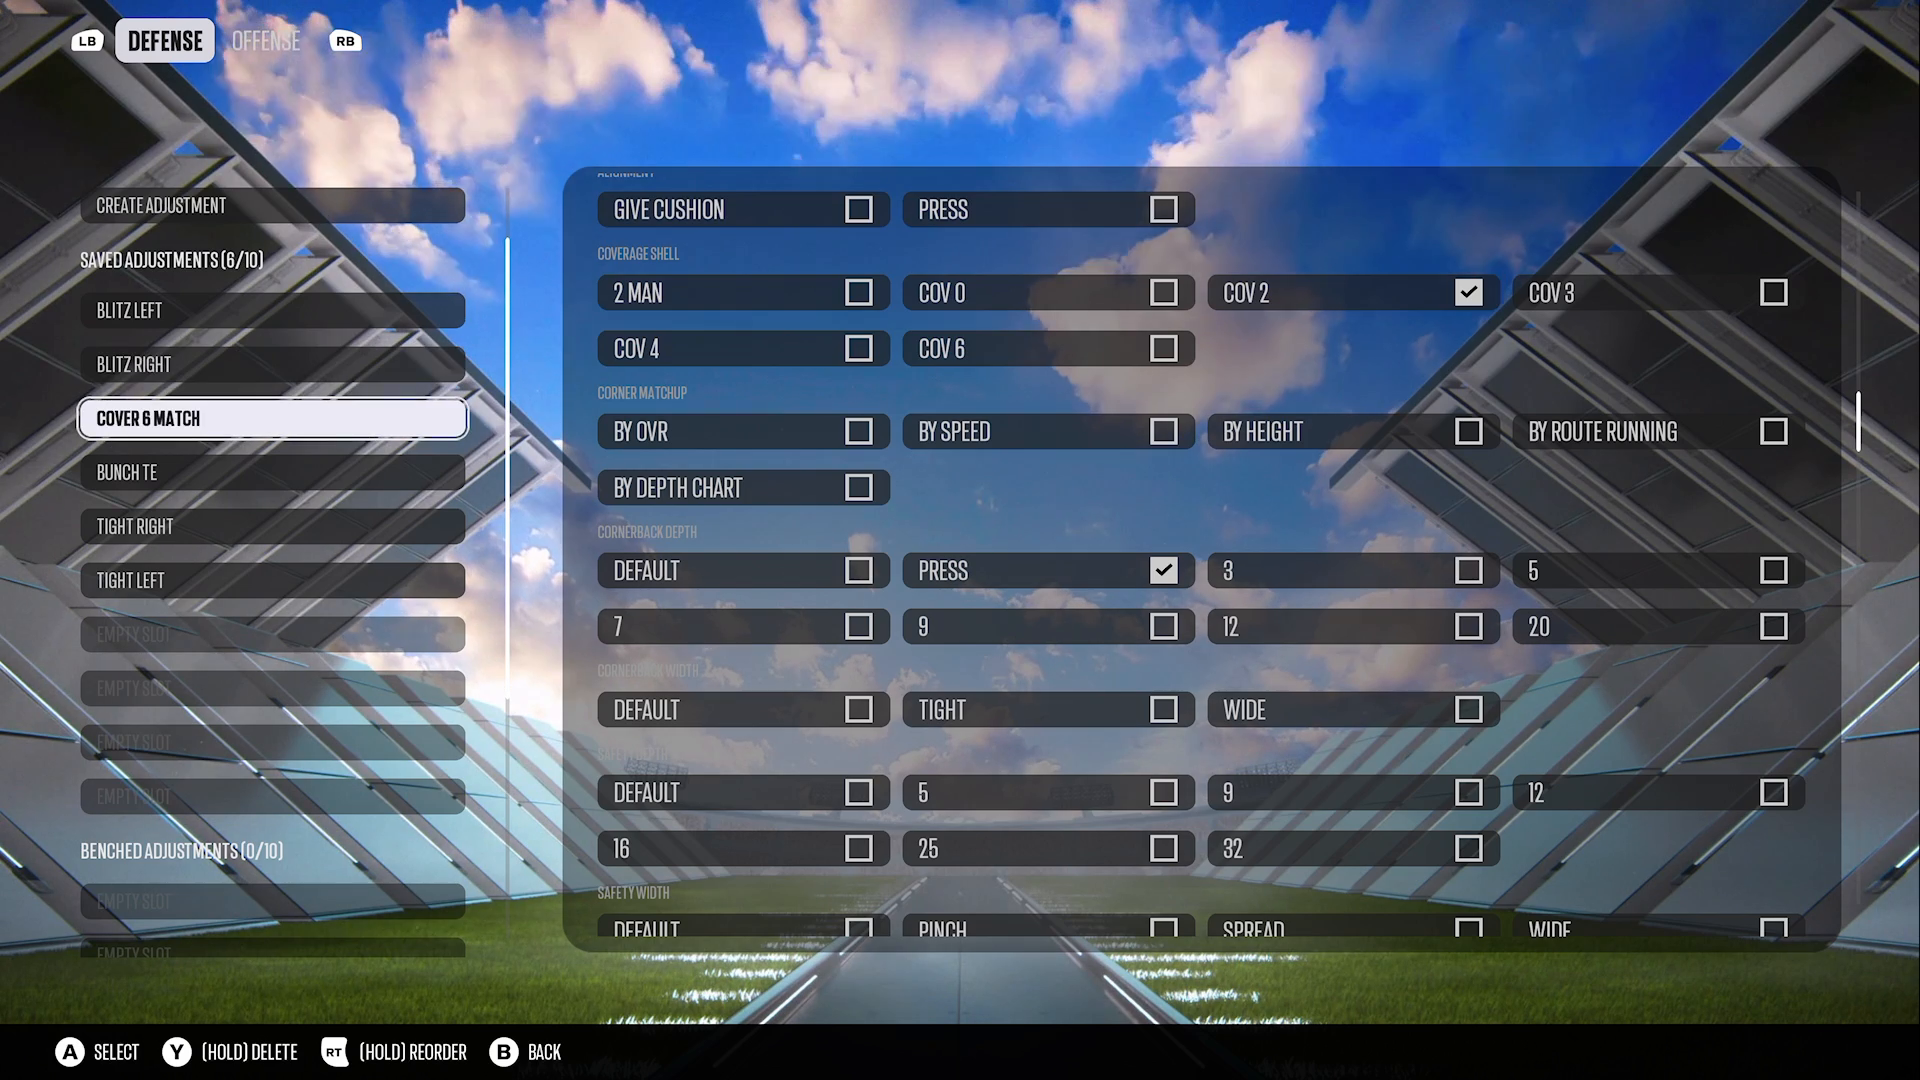
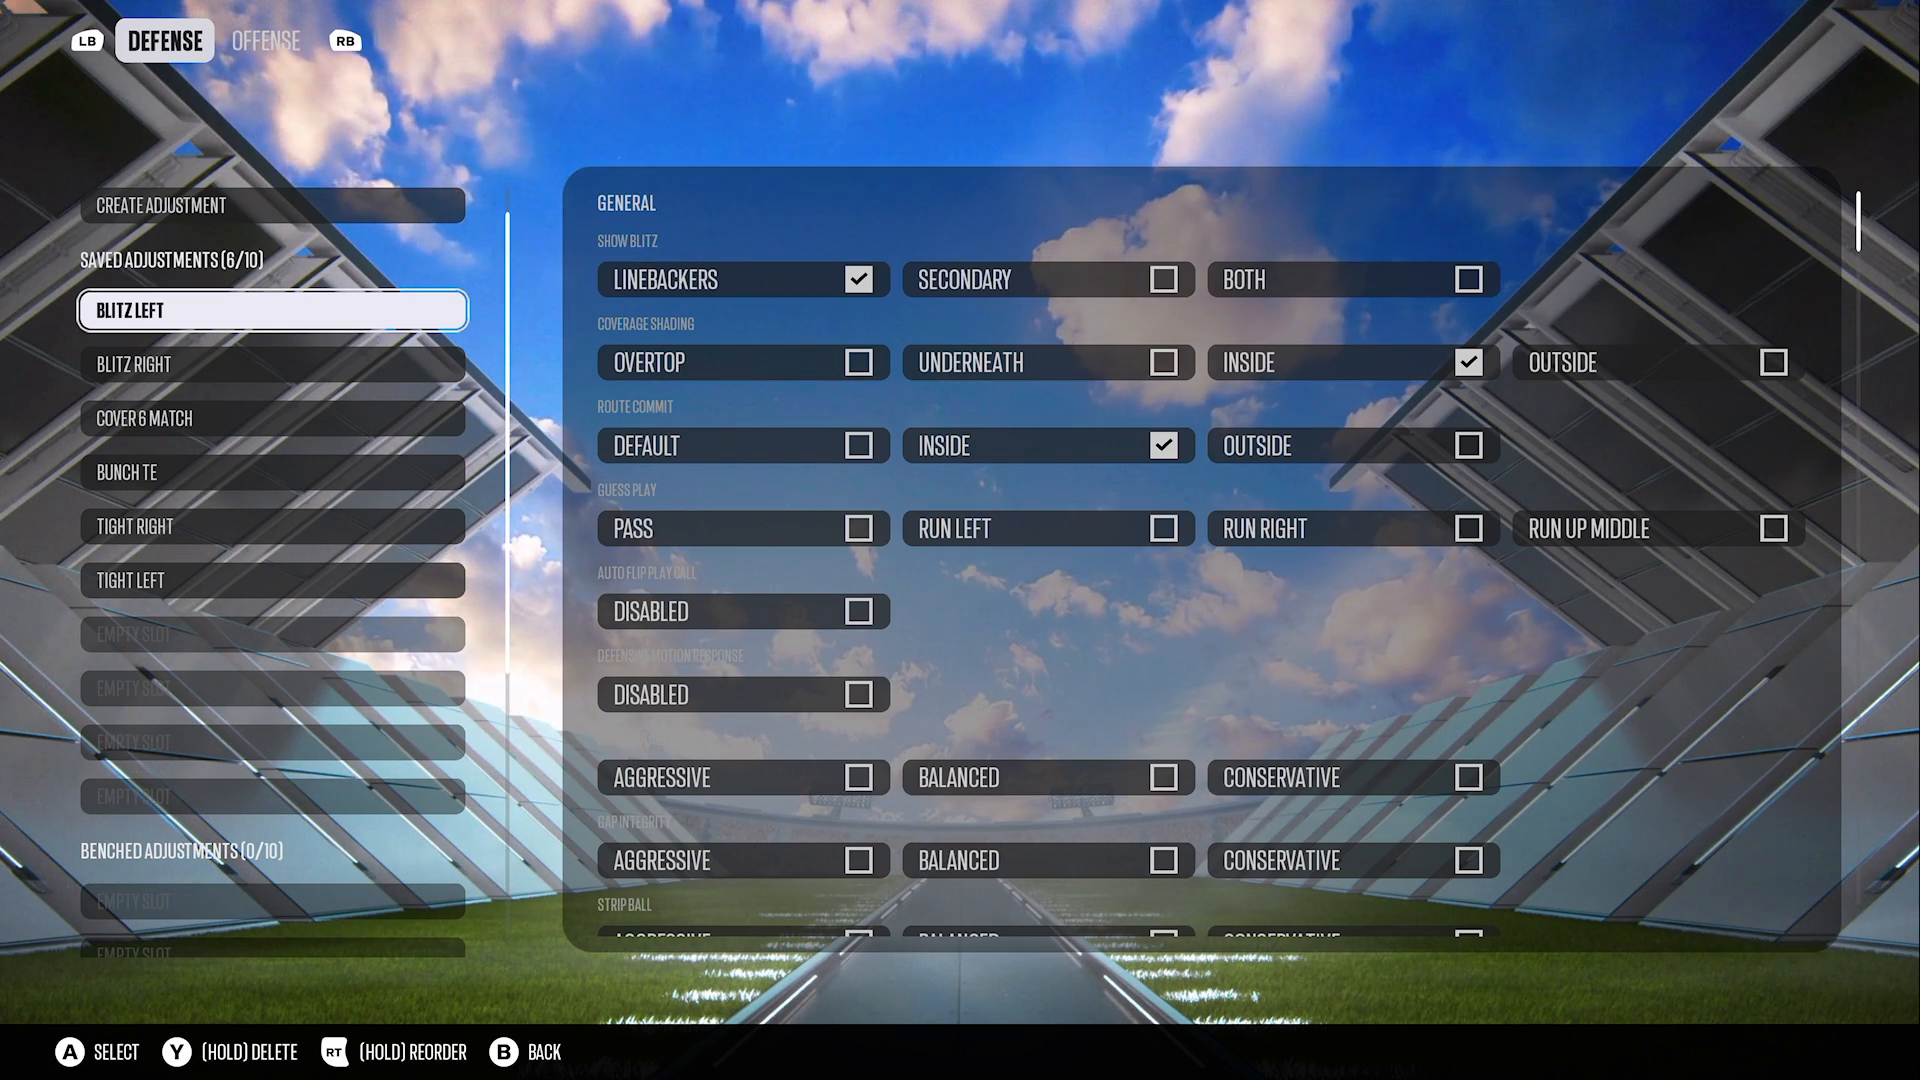
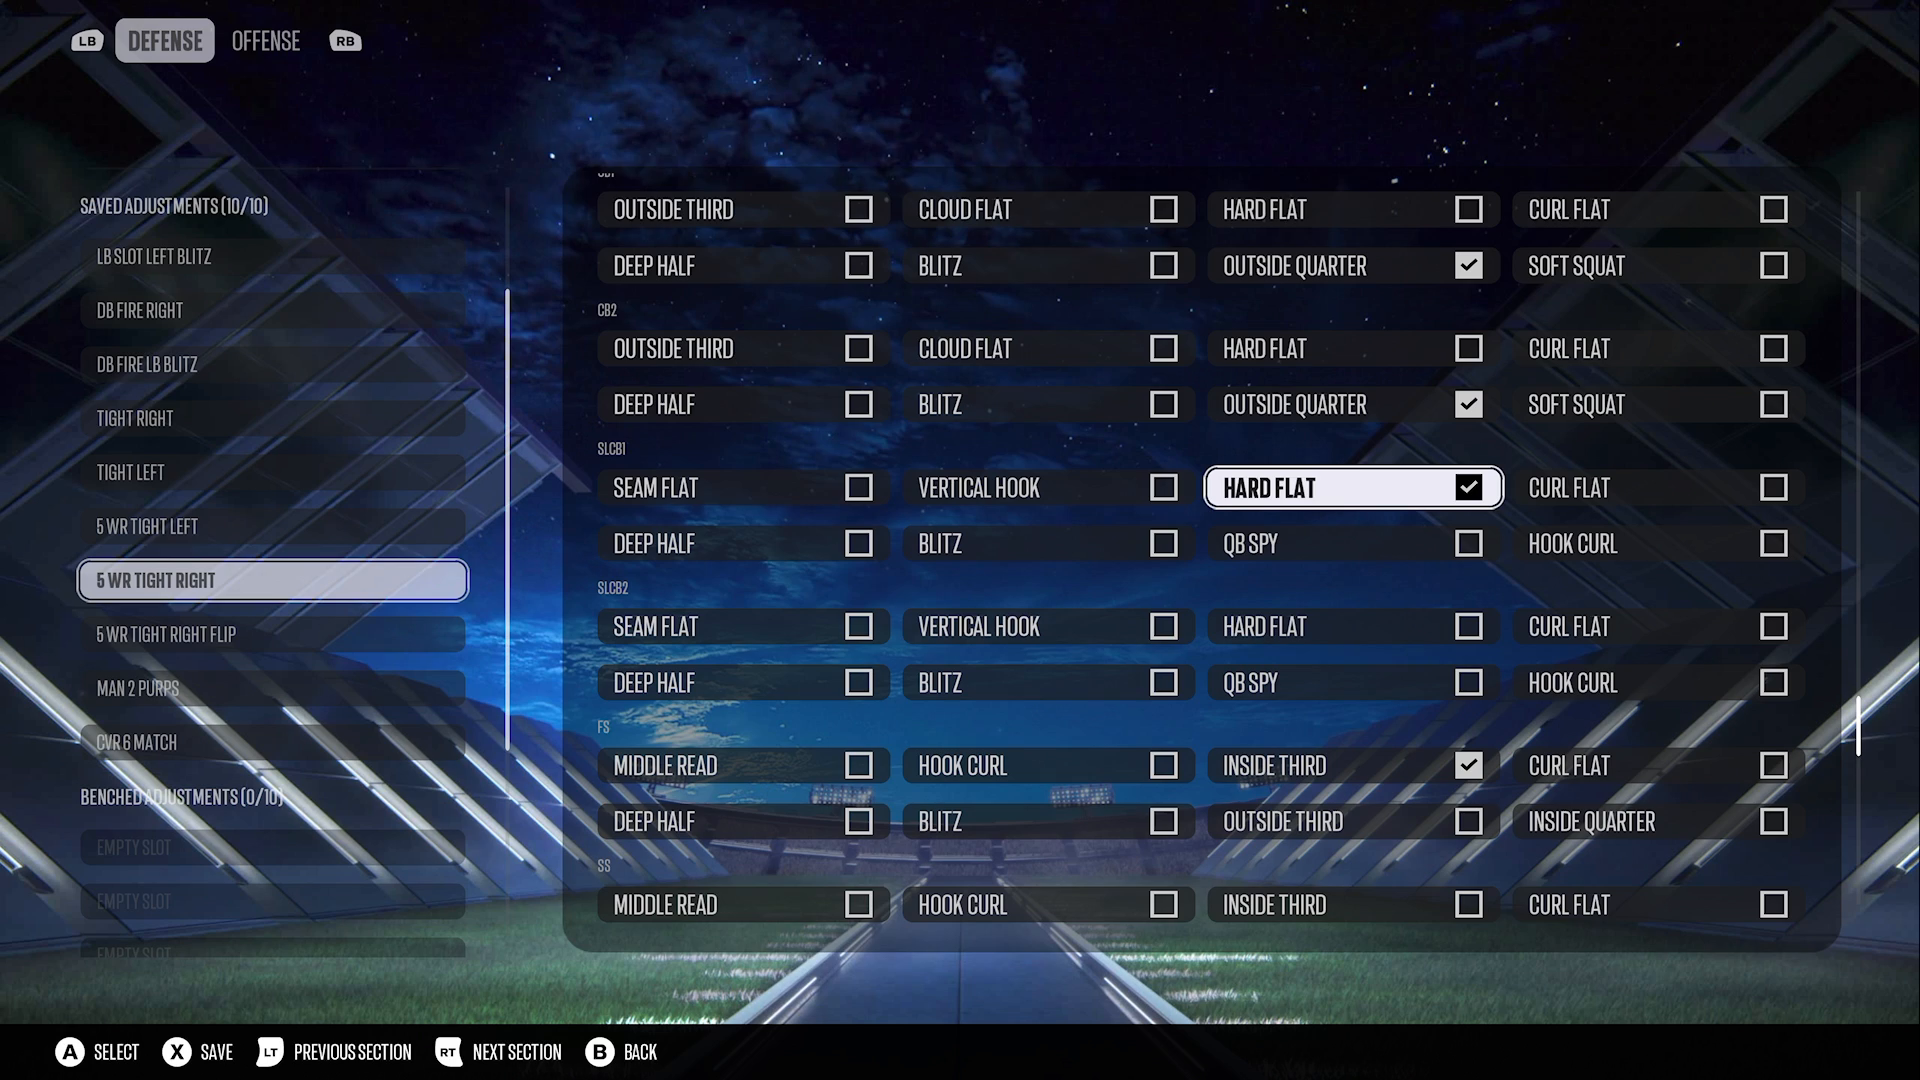
- Create the “5 Receiver Tight Right” custom adjustment, blitz the linebackers, route commit inside, and user the seam defender with the switch stick.
Understanding the Defensive Macro
In Madden NFL 27, when facing the Gun 5 Receiver Tight formation, utilizing a strategic defensive macro can make all the difference. The Dime 3-2 and DB Fire 2 setups are particularly effective, offering a simple yet high-pressure look that consistently applies pressure on the quarterback. Post-patch updates have kept this strategy relevant and effective, allowing you to force your opponent into predictable reads.
As part of the Madden Academy philosophy, focusing on winning the mental chess match is crucial. You want to dictate the game rather than merely reacting to your opponent’s moves.
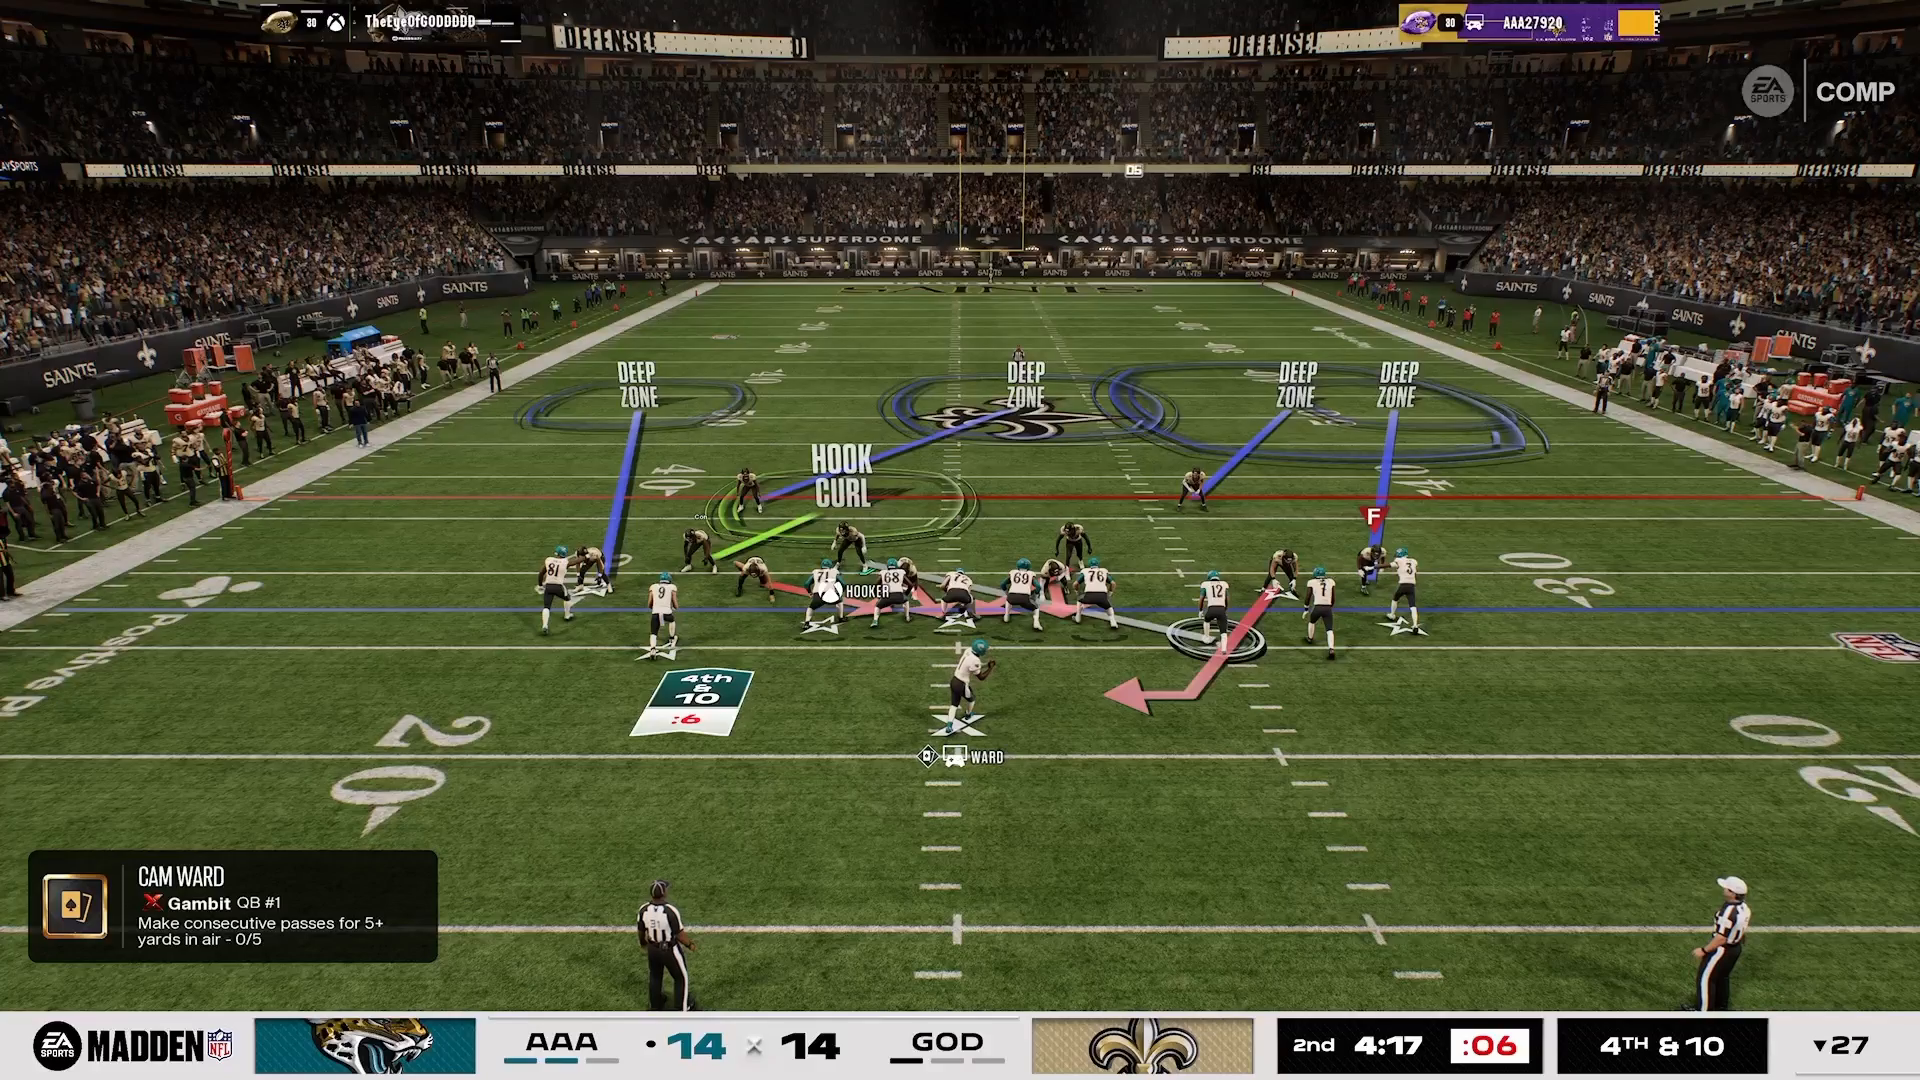
Bait and Bail Strategy
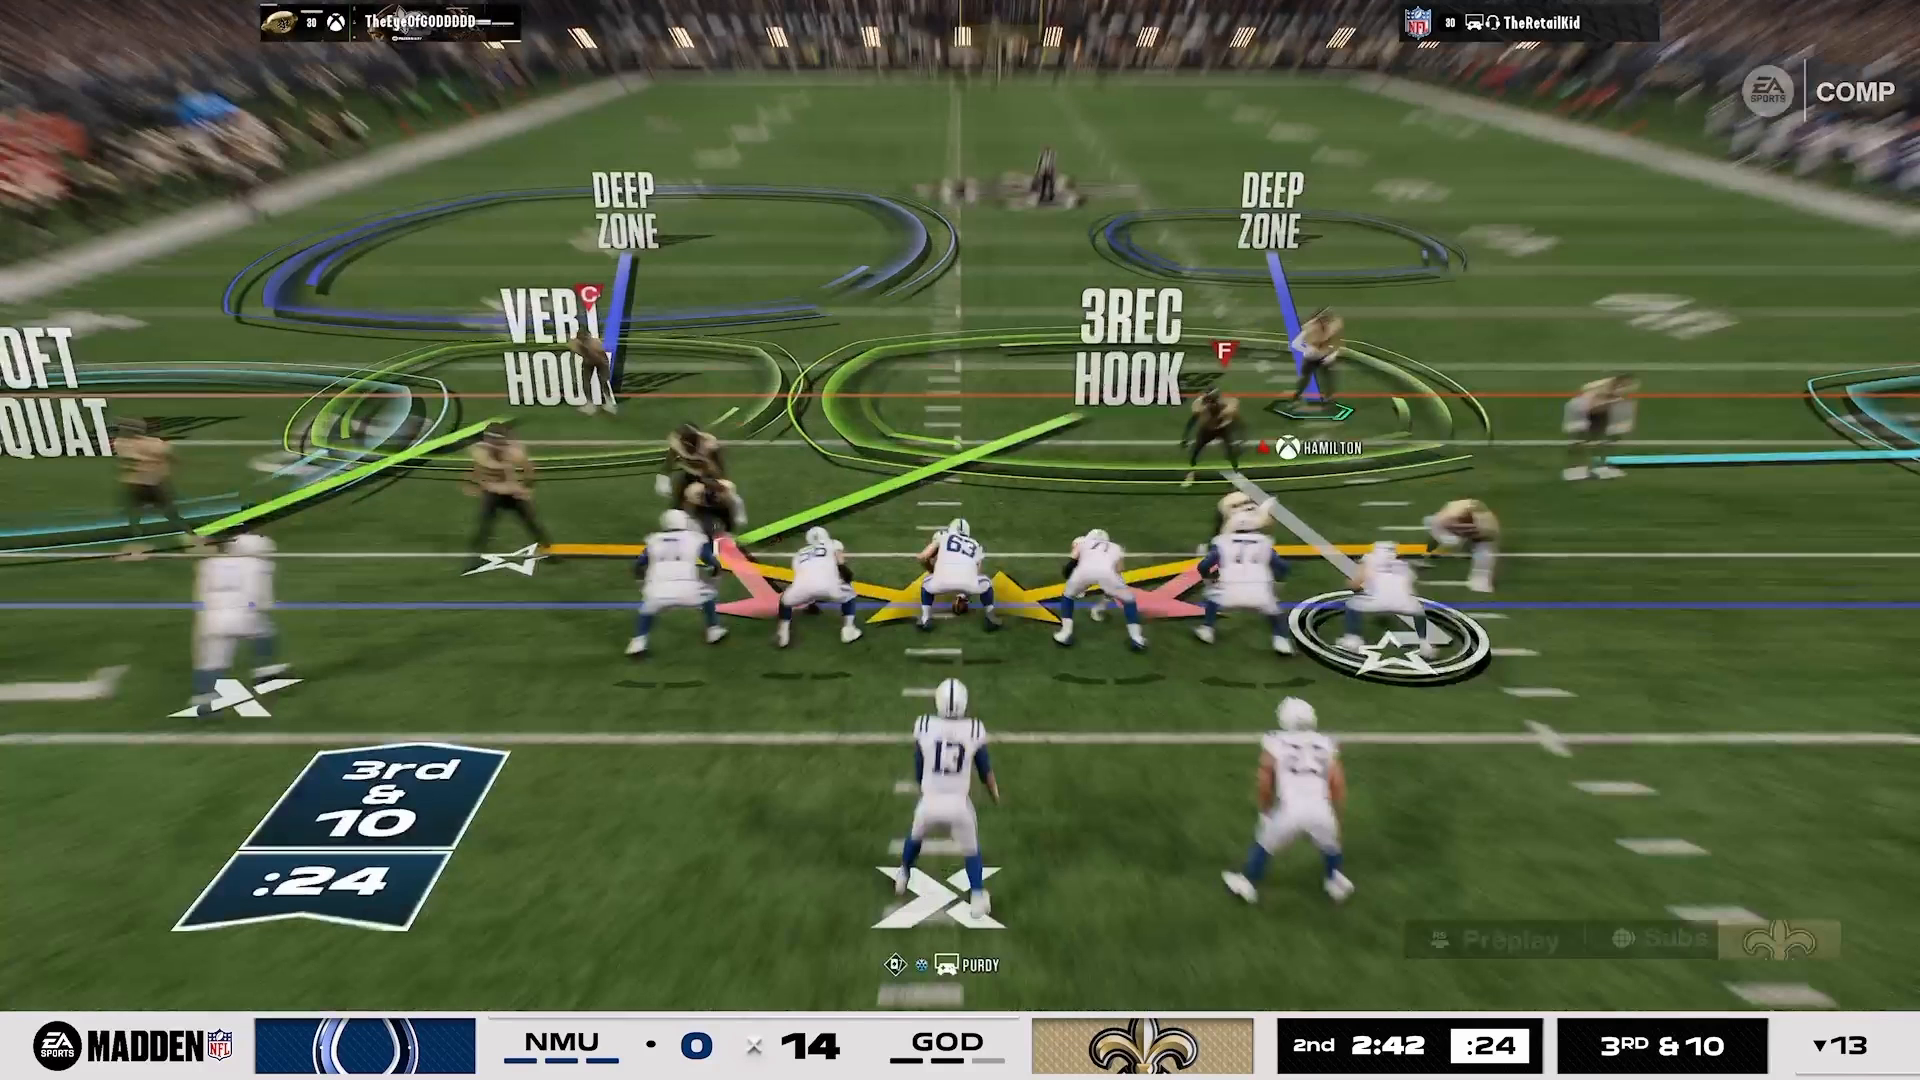
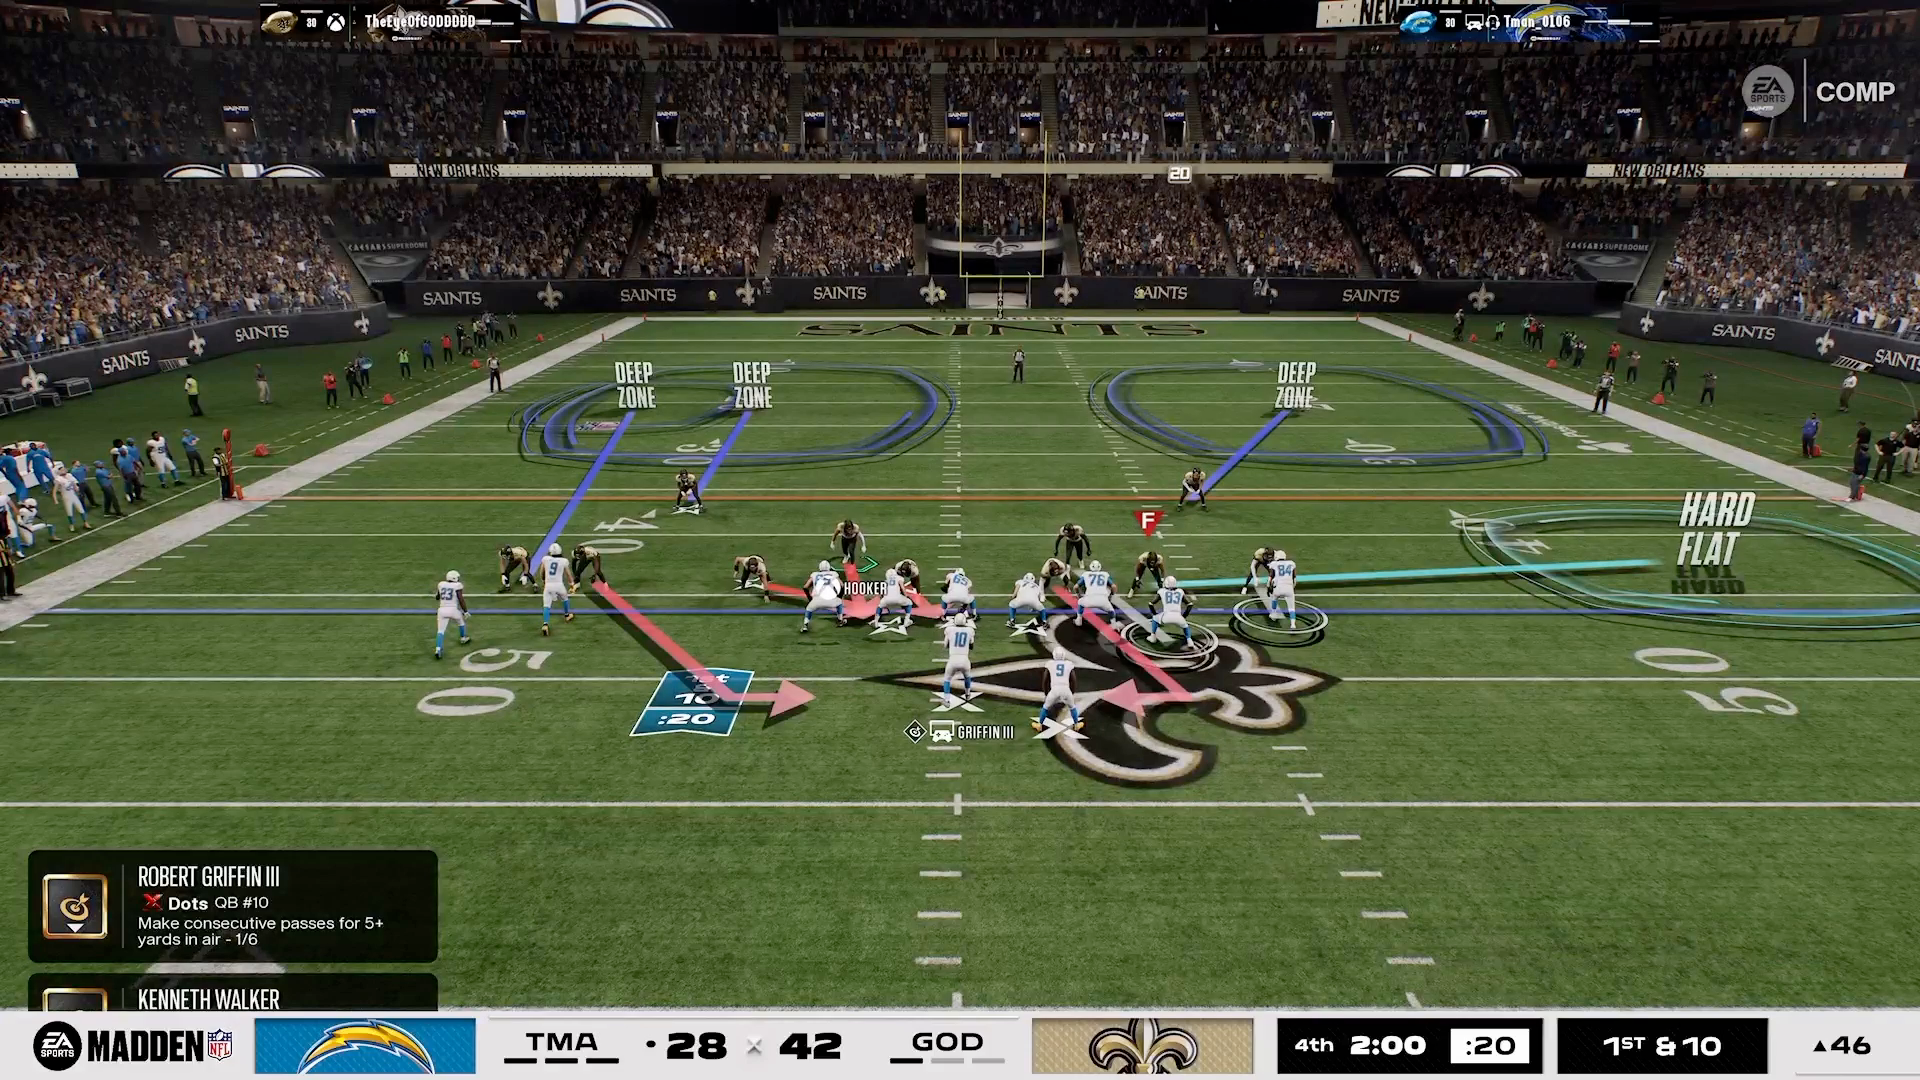
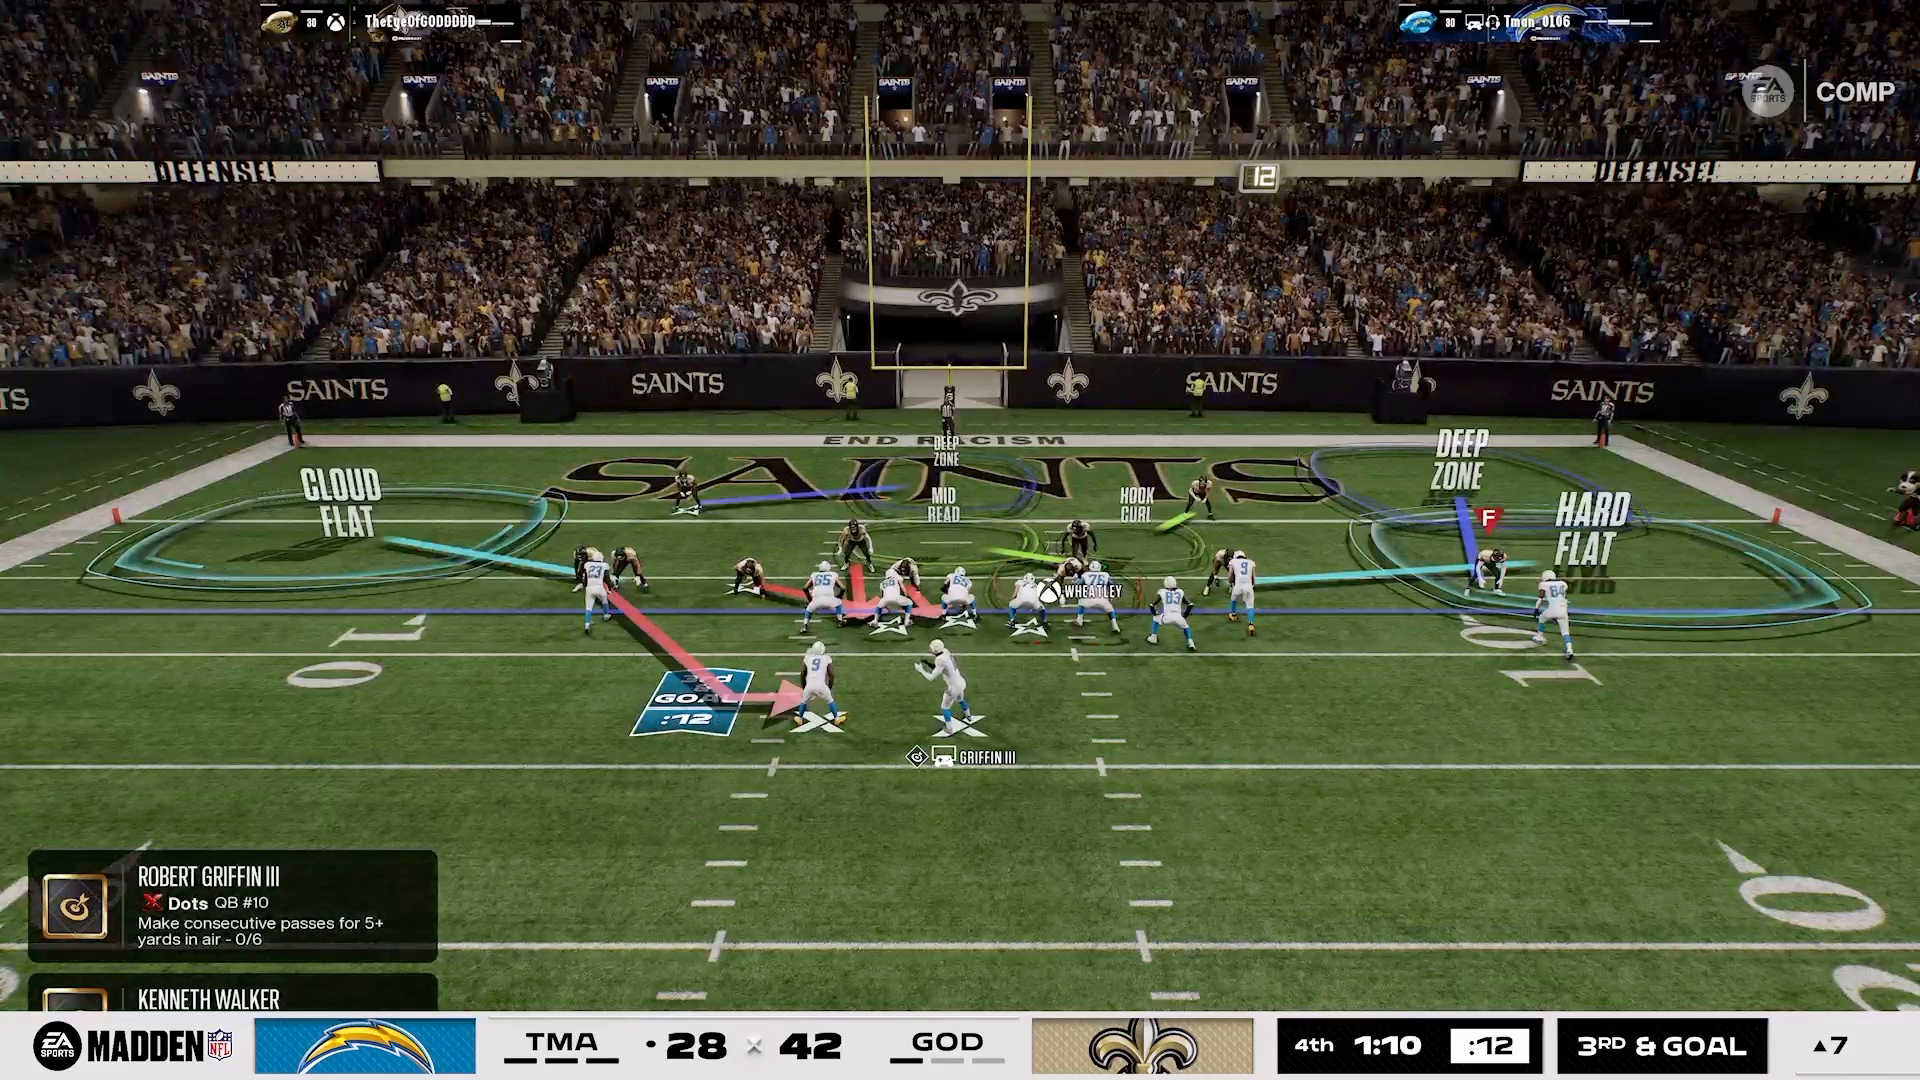
The concept of bait and bail is vital in this defensive macro. By utilizing an outside quarter as a bait defender, you can effectively lure the opposing quarterback into a false sense of security. Pair this with a deep half over the top as a bail defender, and you can play aggressively while still protecting against deep seams.
This combination allows you to control space efficiently, a key principle in the 16 Spaces System. This simple yet deadly tactic requires practice to master, but it can turn the tide of the game.
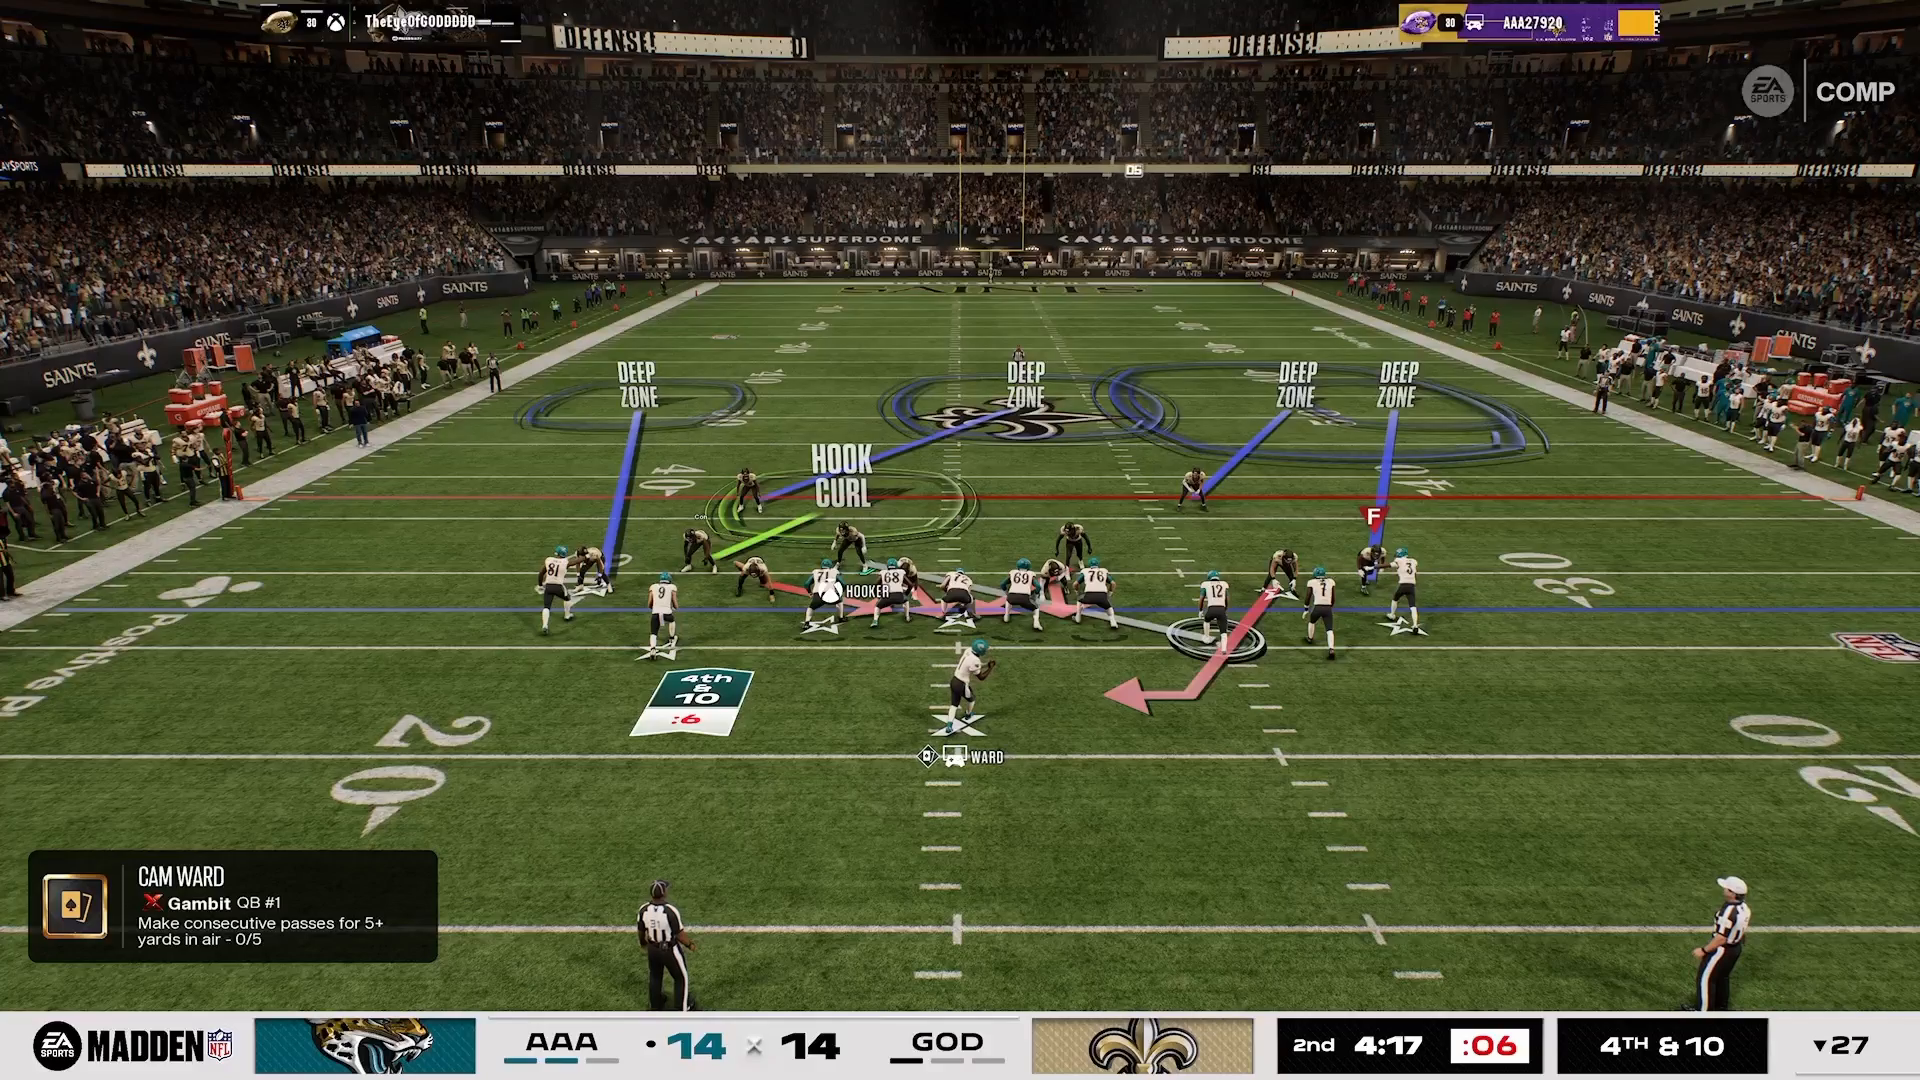
Custom Adjustments for Maximum Impact
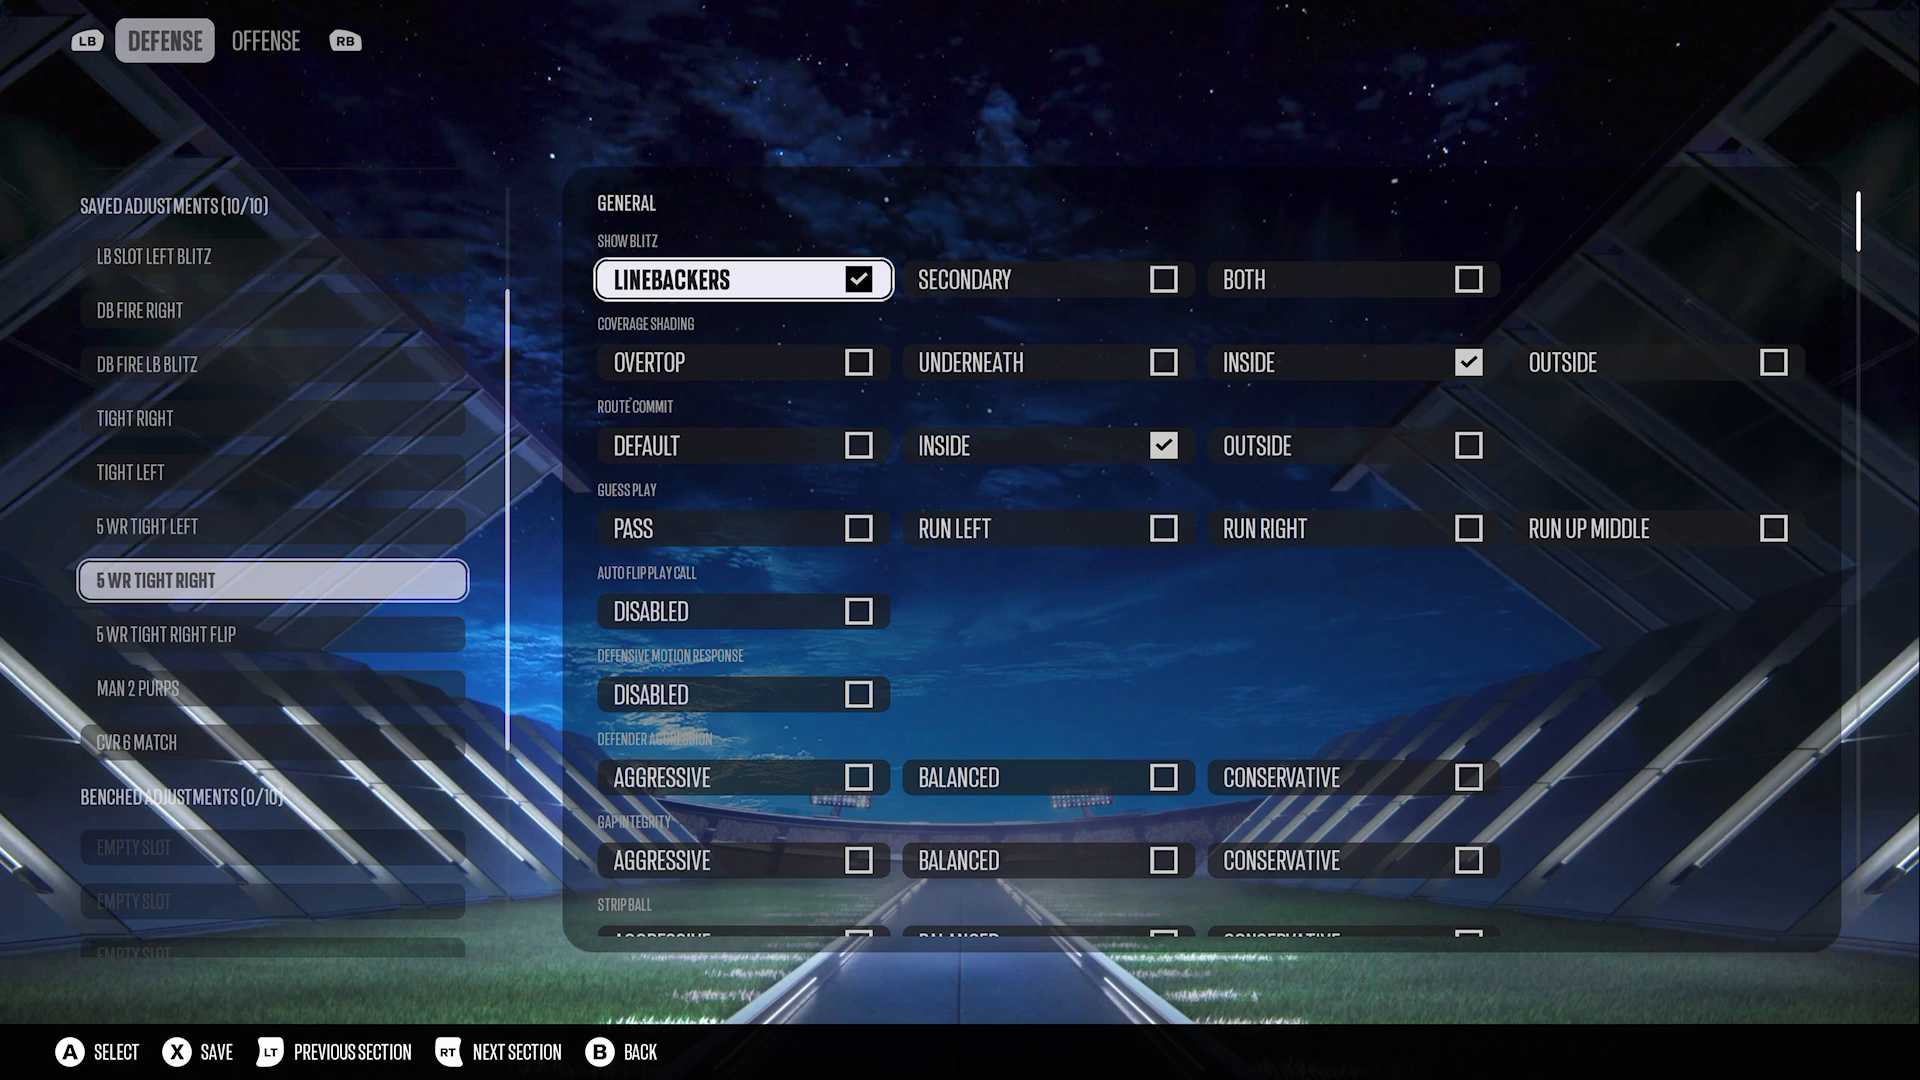
To maximize your effectiveness against the Gun 5 Receiver Tight formation, make sure to customize your adjustments. Create a new setup in Custom Adjustments and name it “5 Receiver Tight Right.” Blitz your linebackers and route commit inside while applying cover shade inside.
Blitz the slot corner and substitute your second linebacker, anticipating home pressure. This aggressive overall coverage is a hallmark of a Madden Academy-level setup, setting you up for success against even the toughest opponents.
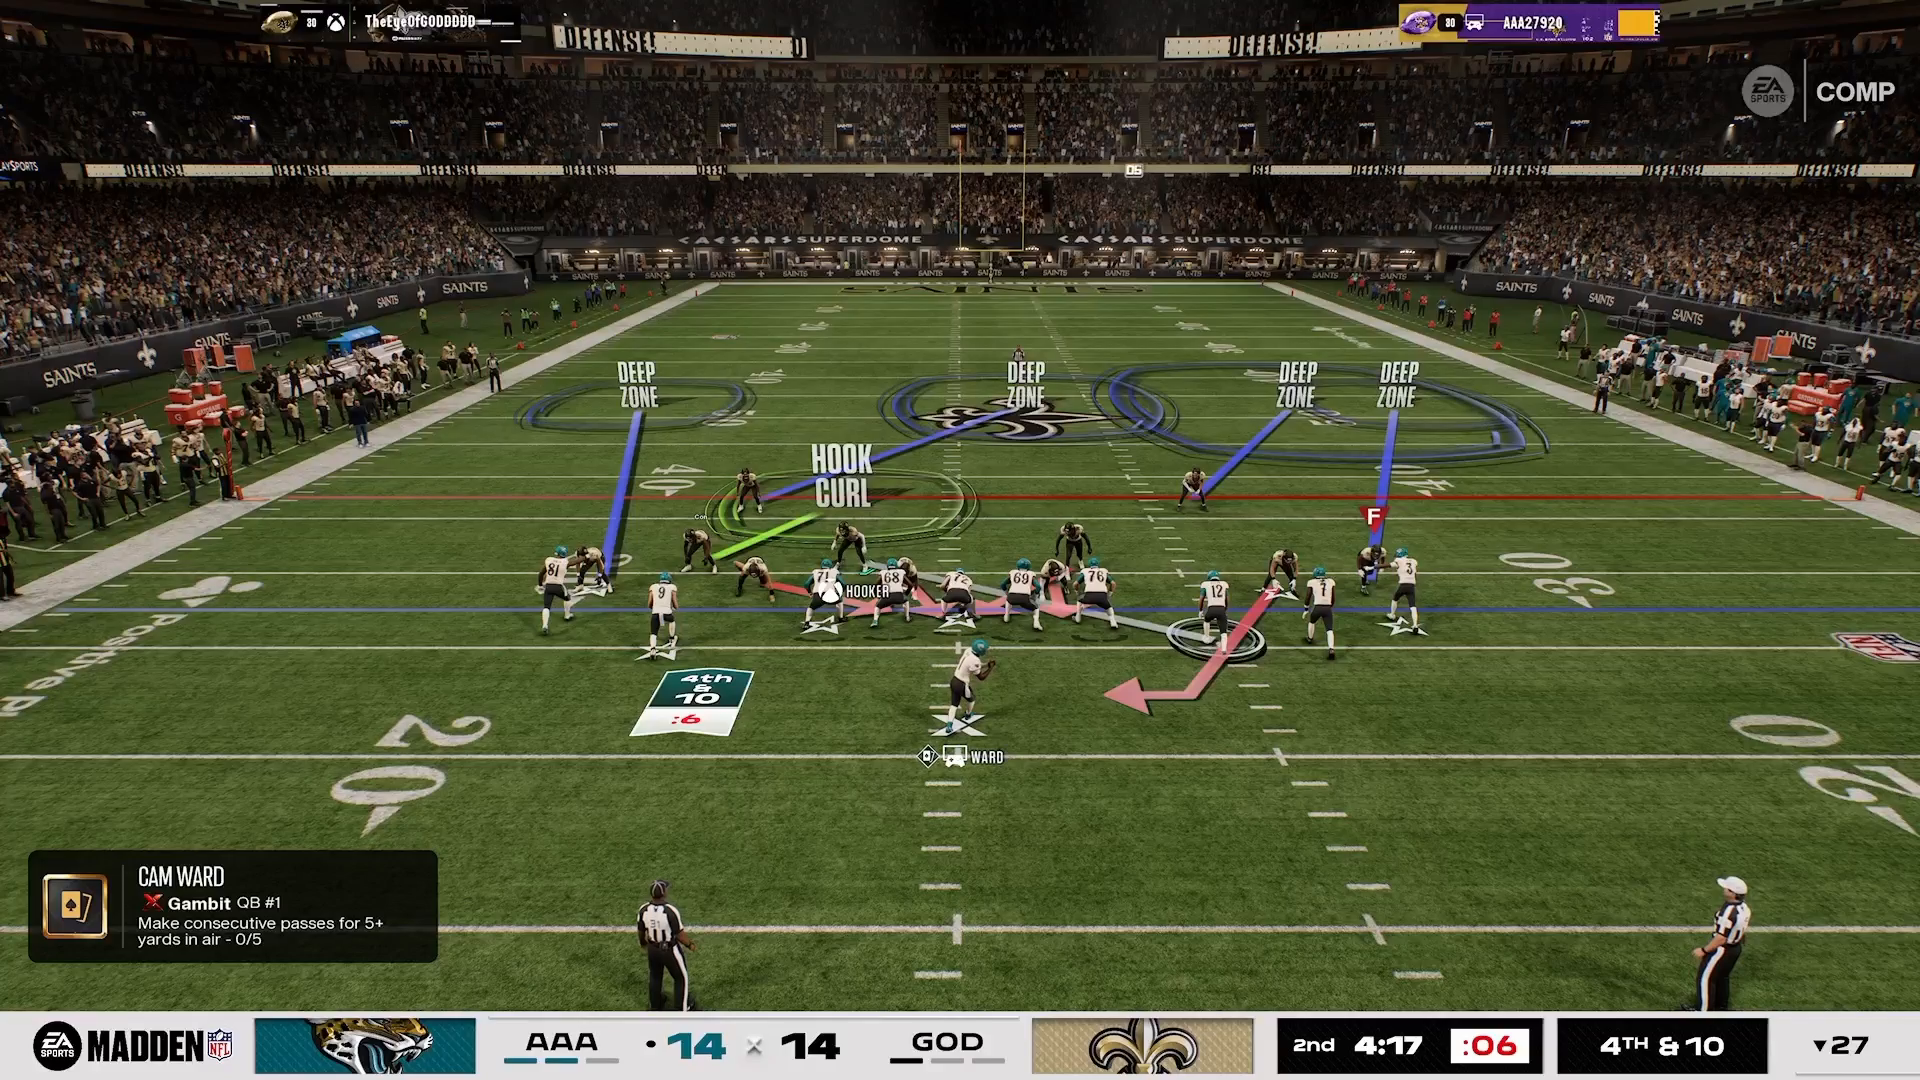
User Control and Switch Stick Techniques
Implementing effective user control is essential when defending against the seam route. You should take control of the player responsible for covering the seam to disrupt any potential streaks. Use the switch stick to transition onto the outside quarter for baiting corner routes.
Depending on the route your opponent runs, you can either run outward or inward to maintain effective coverage. If they fill the seam instantly, apply a D-path touch inwards to regain control. This user plus switch-stick strategy is fundamental to the 16 Spaces System and provides you with the versatility needed to adapt during plays.
Analyzing Results and Takeaways
Utilizing the above strategies leads to heavy pressure coming off the right side, whether through an A gap or an edge rush. This method has yielded positive results in various scenarios, including our gauntlet tests against multiple shotgun formations, not just the tight variant. Remember the rule: if you’re not thinking in 16 Spaces, you’re being reactive instead of proactive.
To elevate your playstyle, focus on learning the system rather than relying solely on presets. Adaptability and understanding are the keys to becoming a smarter player.
Conclusion
Mastering the defensive macro against Gun 5 Receiver Tight in Madden NFL 27 is not just about applying pressure; it’s about controlling the game through strategic adjustments and smart play. By implementing the bait and bail technique, customizing your adjustments, and utilizing user control effectively, you can transform your defense into a formidable wall. To further refine your skills and strategies, consider exploring more advanced tips at Madden Academy and elevate your gameplay to the next level.