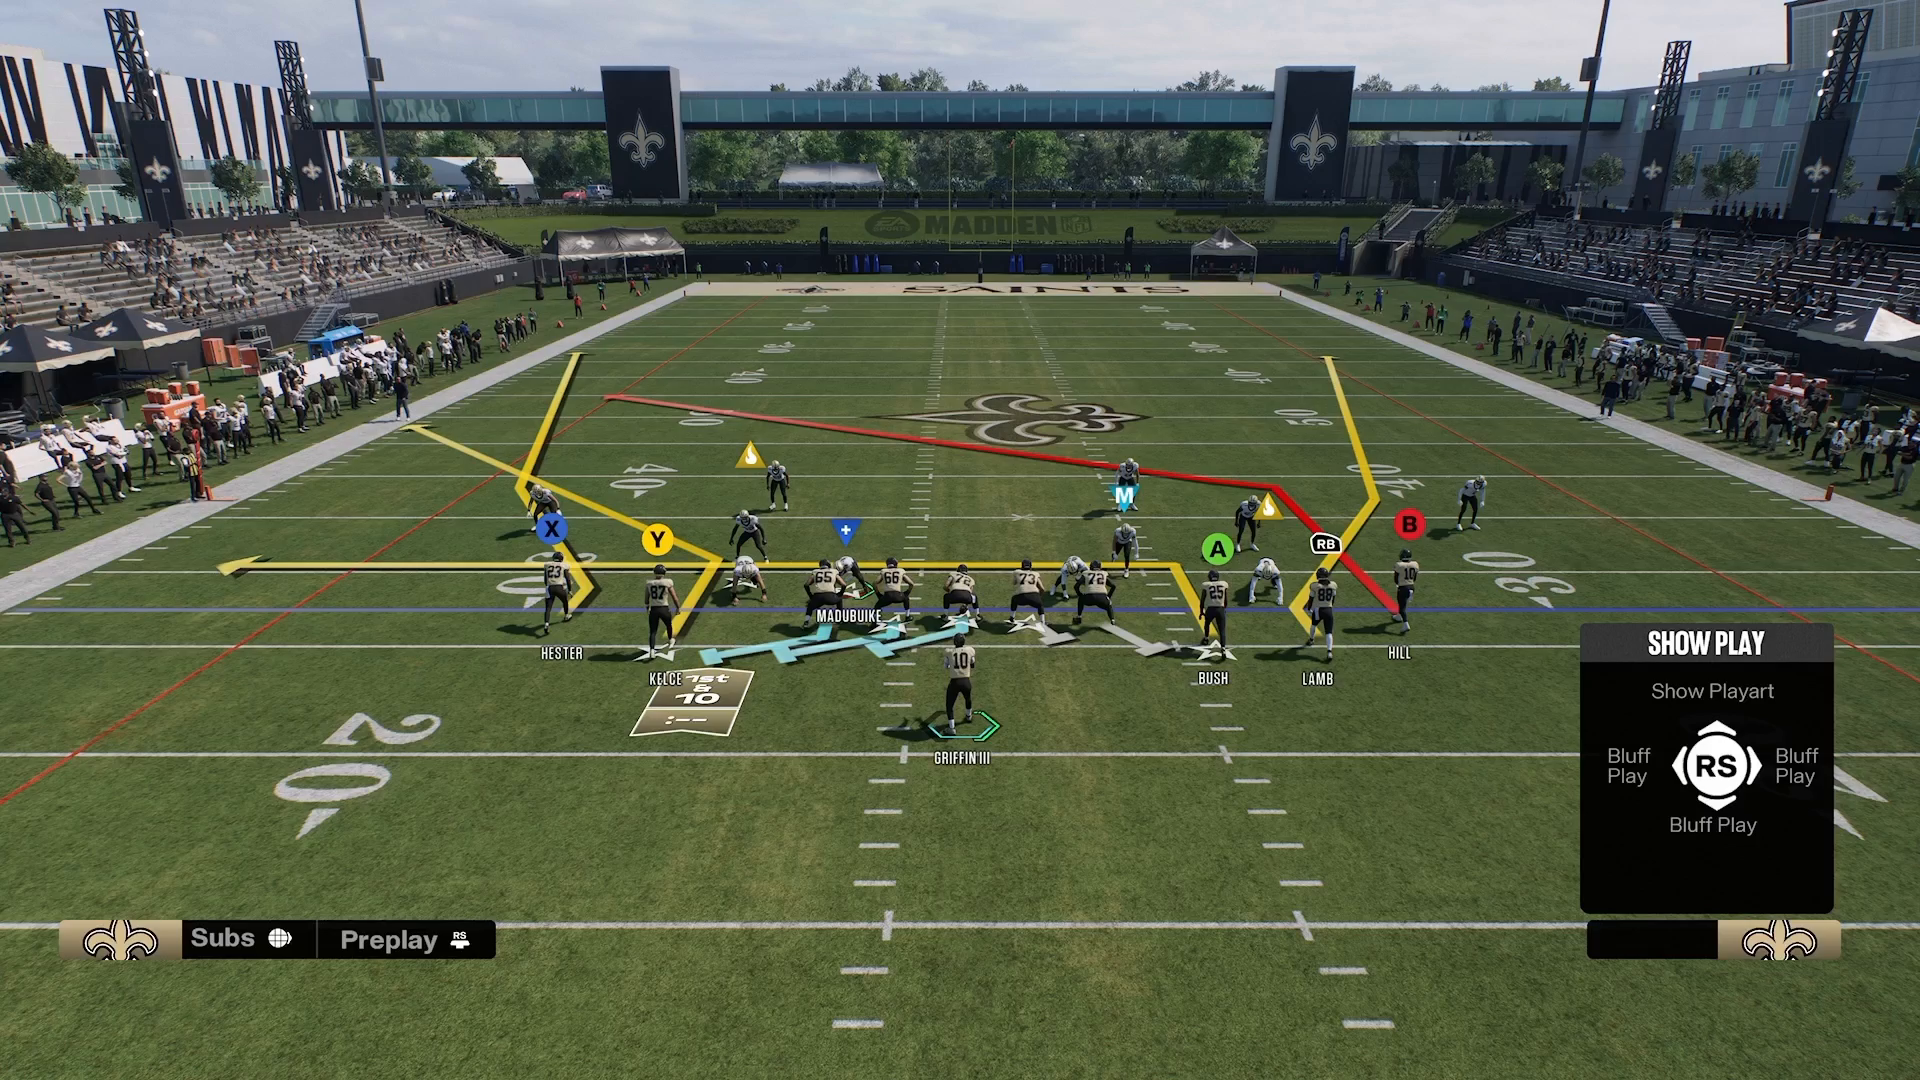
Best Blitz & Man Defense Strategies in Madden NFL 27

The best blitz and man defense in Madden 27 is San Francisco’s Dime 3-2 with DB Fire 2, using route commit inside, a Cover 4 shell with a deep half, and switch-stick coverage on the outside corner.

Best Blitz Man Defense Madden 27: Dime 3-2 and DB Fire 2

  1. Run the San Francisco Dime 3-2 setup with DB Fire 2, showing blitz with linebackers in Dollar formation near the line of scrimmage.
  2. Route commit inside and shade coverage inside to force quicker reads, route committing outside individually against corner throws.
  3. Base the defense in a Cover 4 shell with a deep half and switch stick on the outside cornerback a half-second after the snap, containing both edges and placing a defensive end in a hook or hard flat against rollouts.

Mastering the Blitz: San Francisco Defense Setup

In Madden NFL 27, having a reliable blitz strategy can change the course of a game. The San Francisco defense setup using the Dime 3-2 formation is particularly effective. Start by implementing the DB Fire 2 and showing blitz with your linebackers positioned in Dollar formation.

This positioning allows your linebackers to be near the line of scrimmage (LOS), which results in quicker pressure on the opposing quarterback. The macro principles behind this setup can be further explored through the 16 Spaces Playbook, which provides a comprehensive strategy for every situation you may encounter.
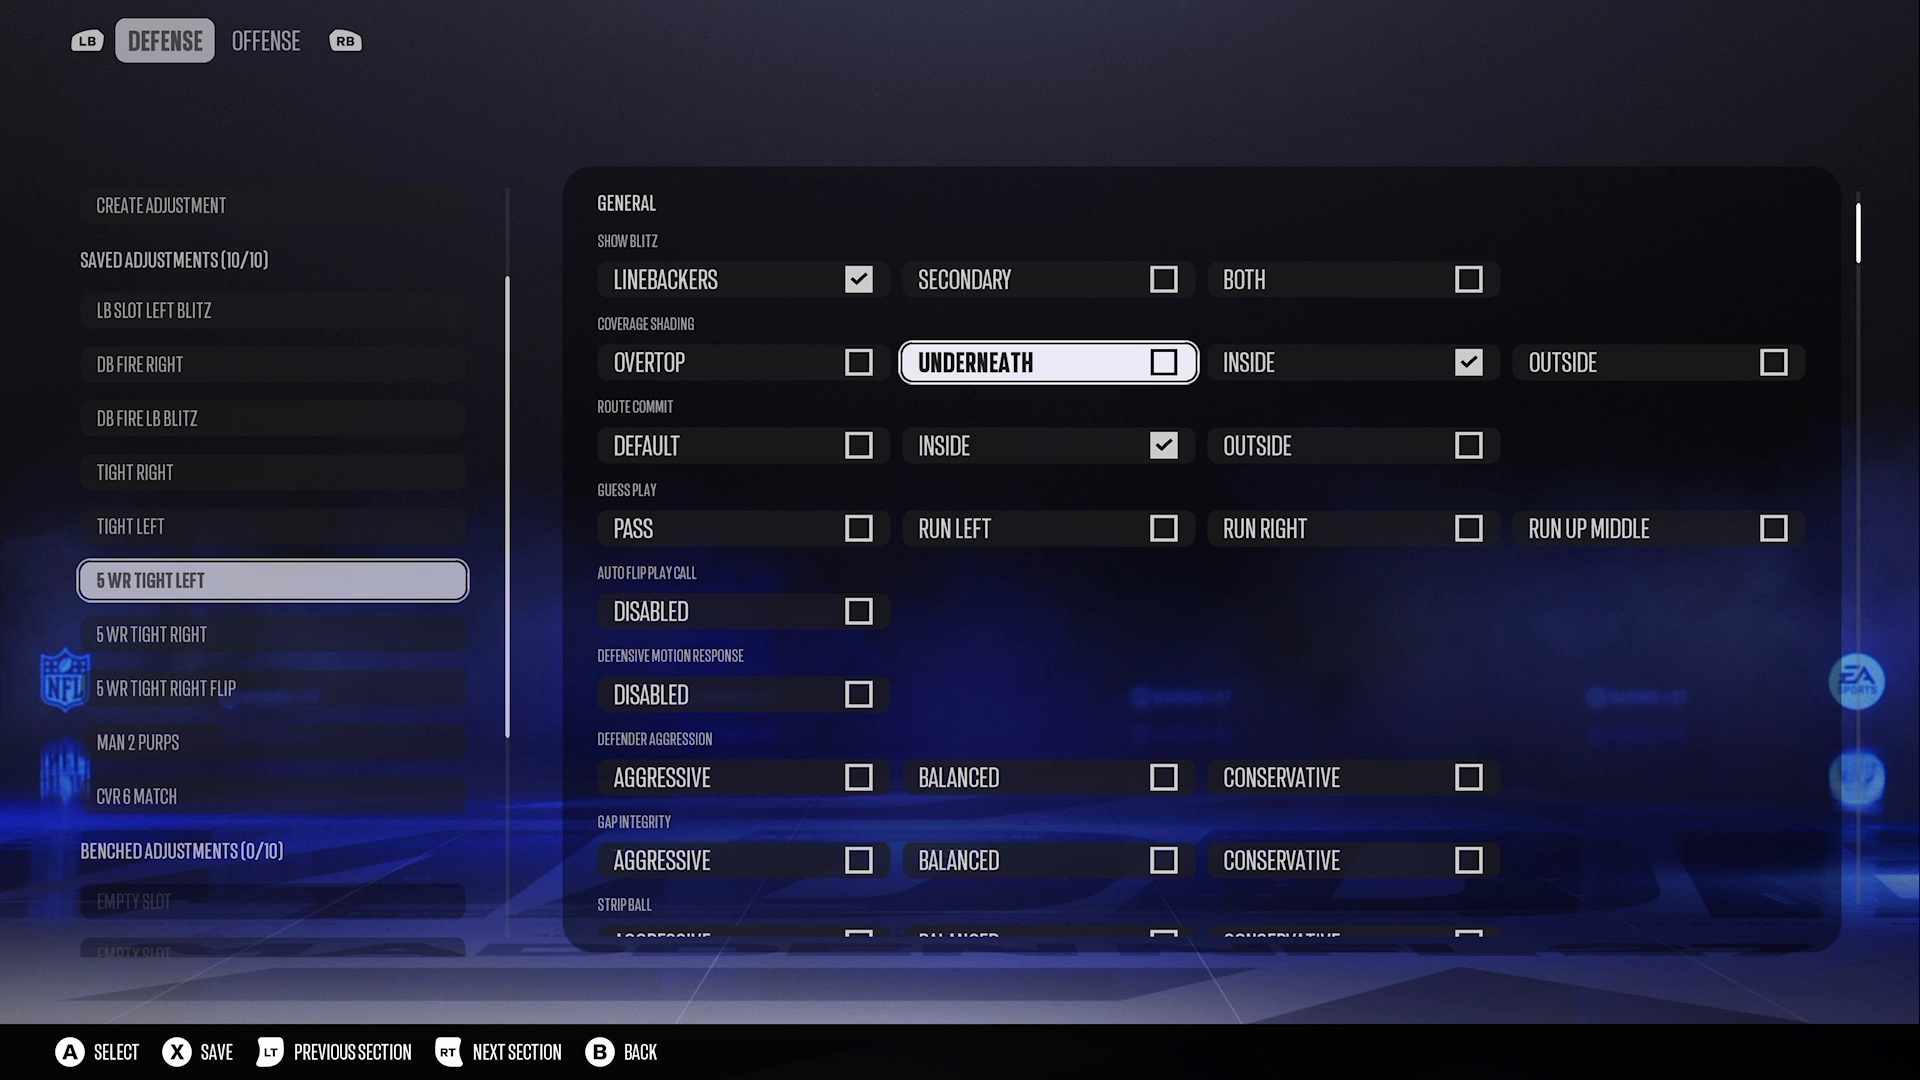
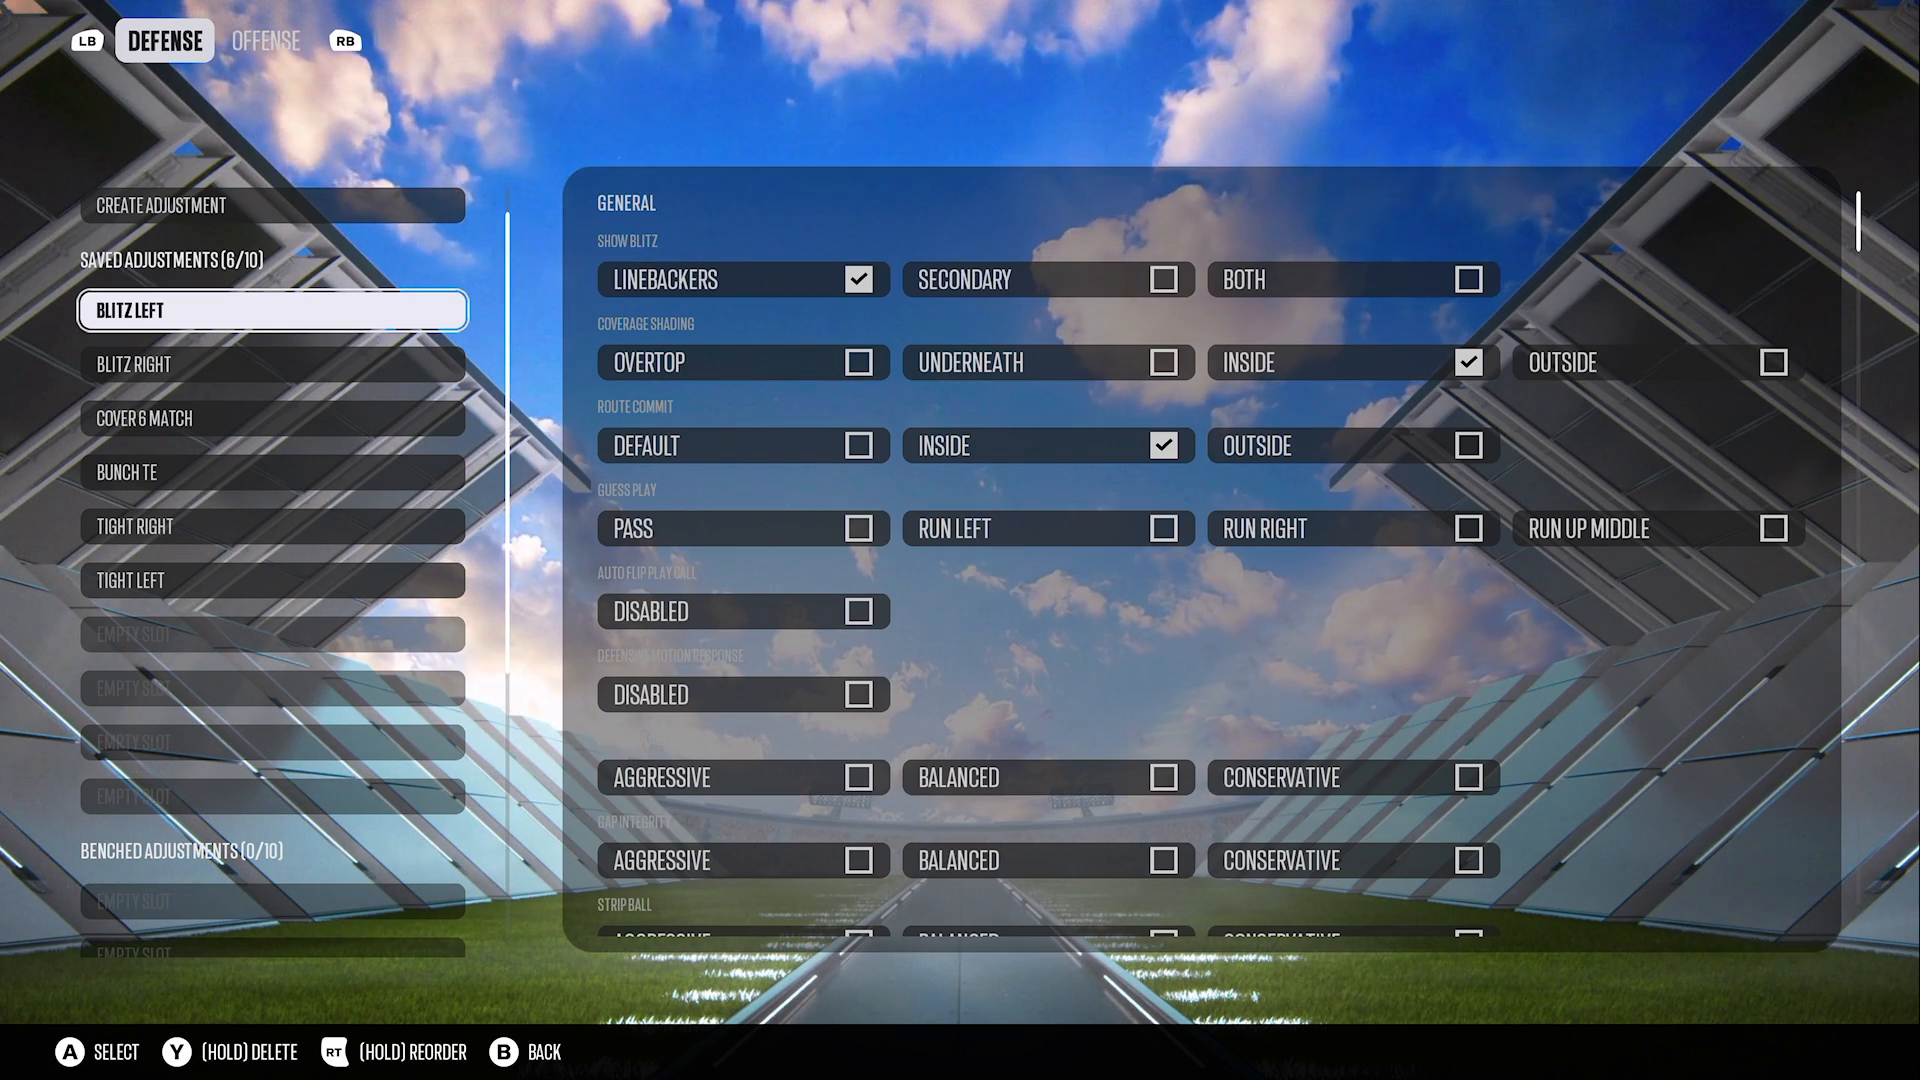
Madden 27 Create Adjustment menu showing general defensive settings with Show Blitz for linebackers checked, coverage shading inside checked, and route commit inside checked, with the saved adjustments list and 5 WR Tight Left selected

Utilizing Route Commit and Macro Principles

To enhance your defensive effectiveness, utilize route commit techniques. Route committing inside and shading coverage inside forces your opponent into quicker reads, which can lead to mistakes.

Additionally, consider individually route committing outside against corner throws. This tactical approach aligns with the 16 Spaces thinking, allowing you to anticipate your opponent’s moves and counter them effectively.
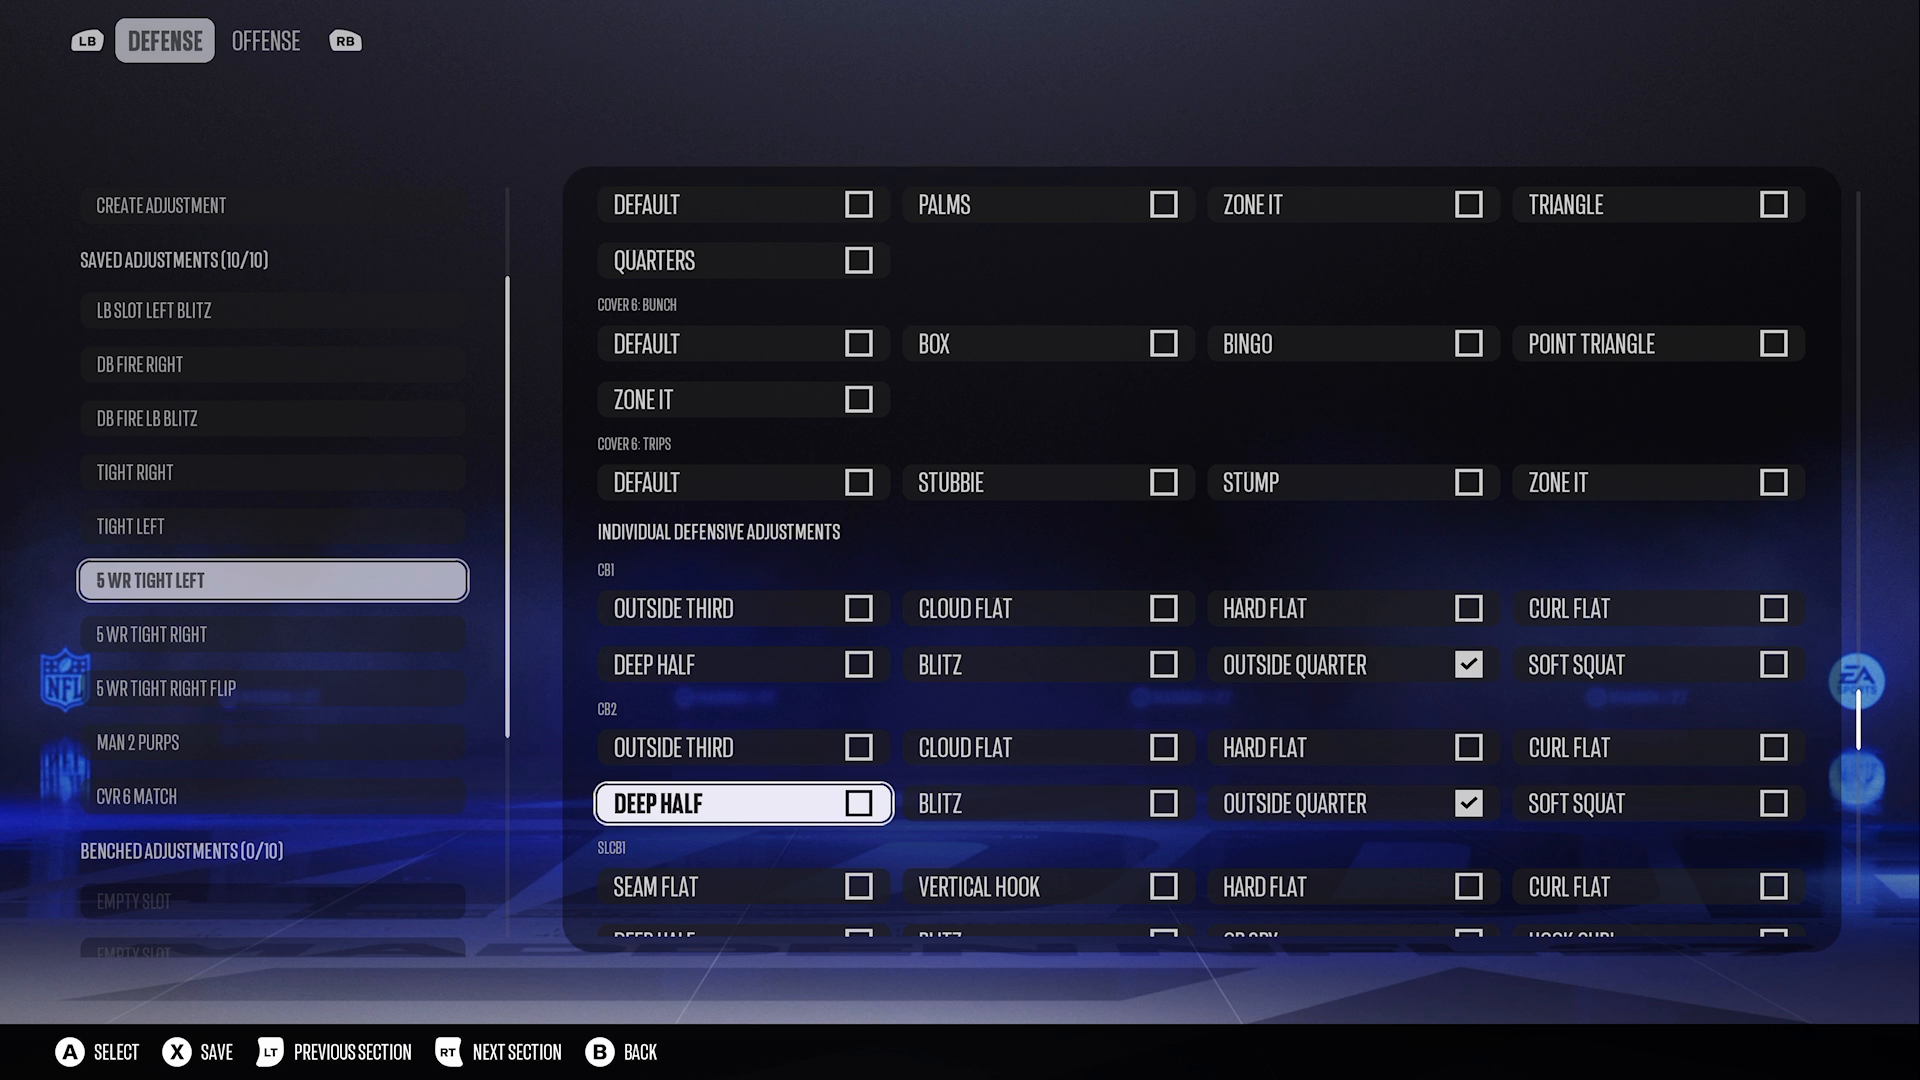
Madden 27 Create Adjustment menu showing individual defensive adjustments for cornerbacks, with Outside Quarter checked and Deep Half highlighted, and the saved adjustments list with 5 WR Tight Left selected

Understanding Cover Shells and Switch Stick

Your base defense should focus on a Cover 4 shell with a deep half, providing a solid foundation against various offensive plays. Implementing the switch stick technique on your outside cornerback just a half-second after the snap allows for aggressive play while ensuring the deep areas are covered. This strategy emphasizes spacing, a core principle of the 16 Spaces System, ensuring that your defense remains cohesive and prepared for any offensive threats.
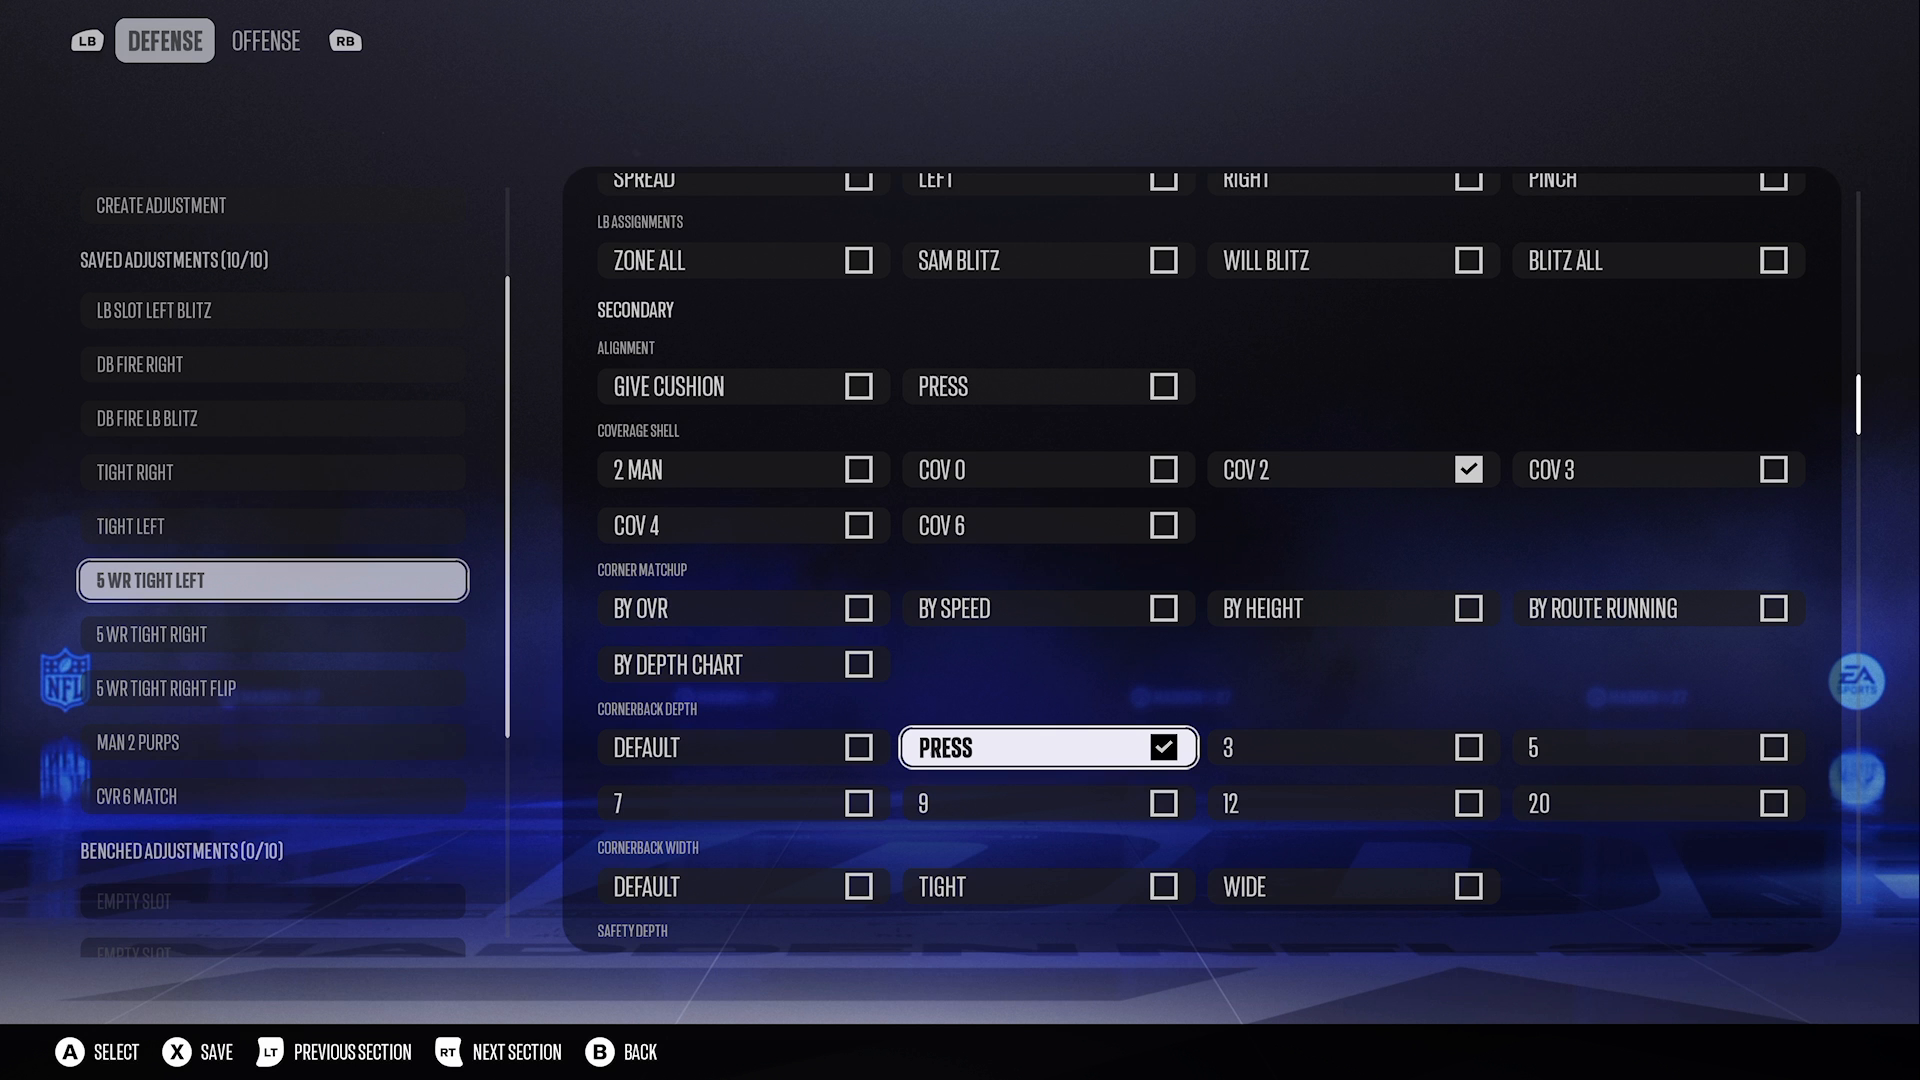
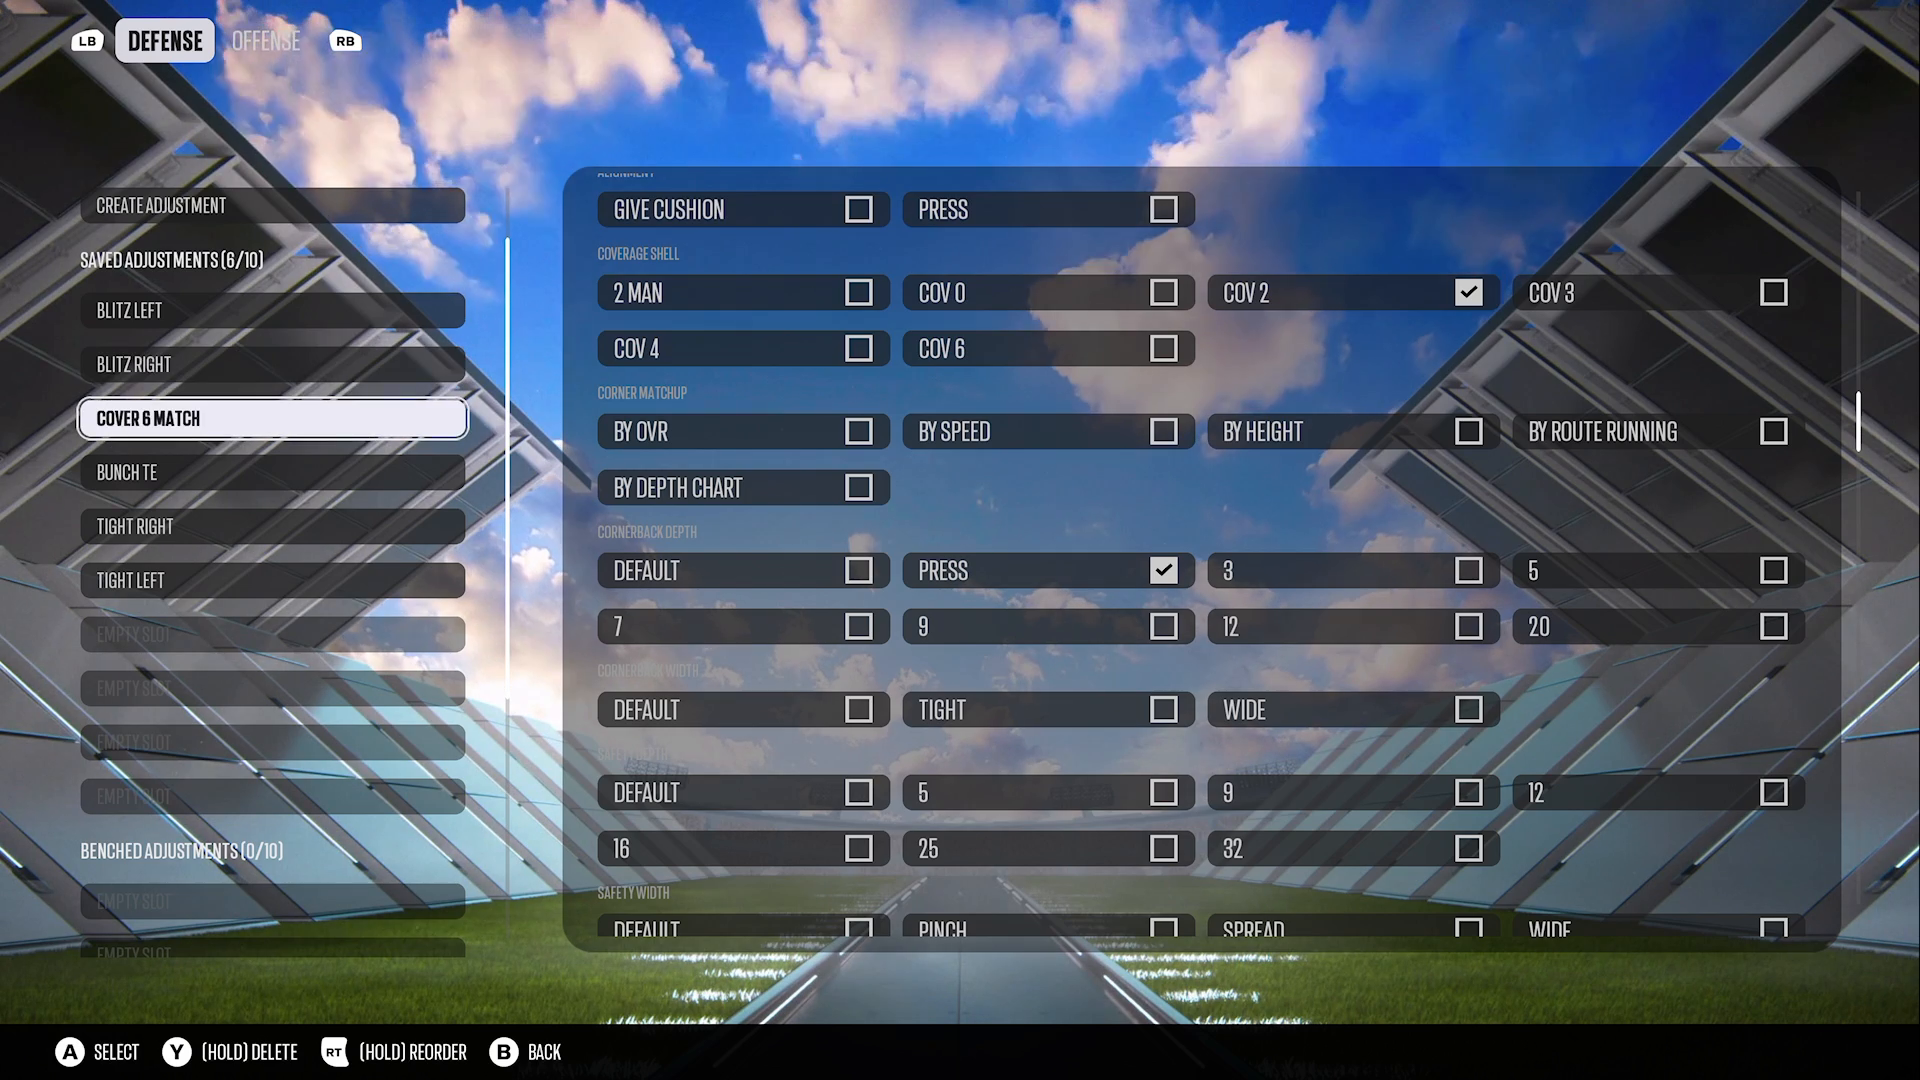
Madden 27 Create Adjustment menu showing secondary settings with the Cover 2 shell checked and Press cornerback depth selected, and the saved adjustments list with 5 WR Tight Left selected

Exploring Pressure Options

While blitzing five players is often effective, consider that you can also run a successful defense with just four. A critical adjustment is placing a defensive end (DE) in a hook or hard flat zone to match quarterback rollouts.

Remember to contain both edges; otherwise, you risk allowing the quarterback to escape the pocket. Employing multiple macros within the 16 Spaces System gives you leverage and flexibility in your defensive strategies.
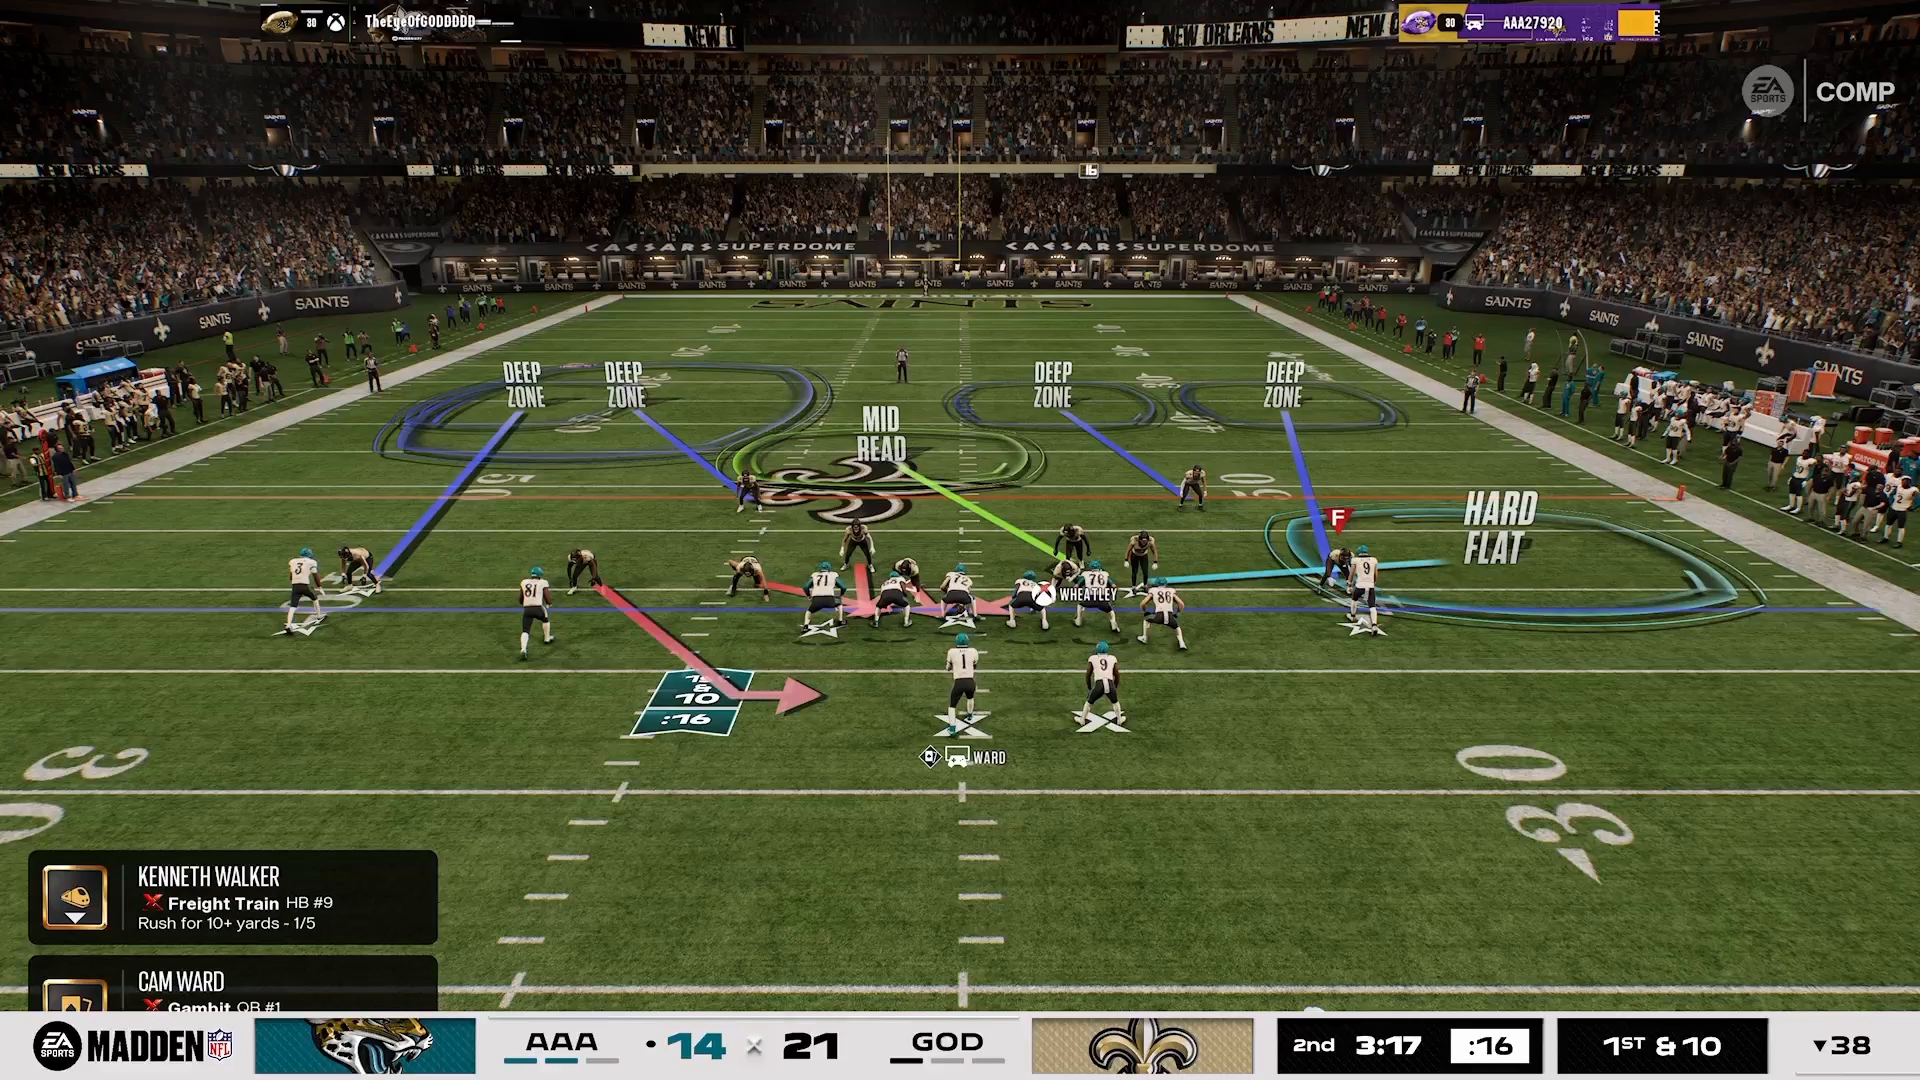
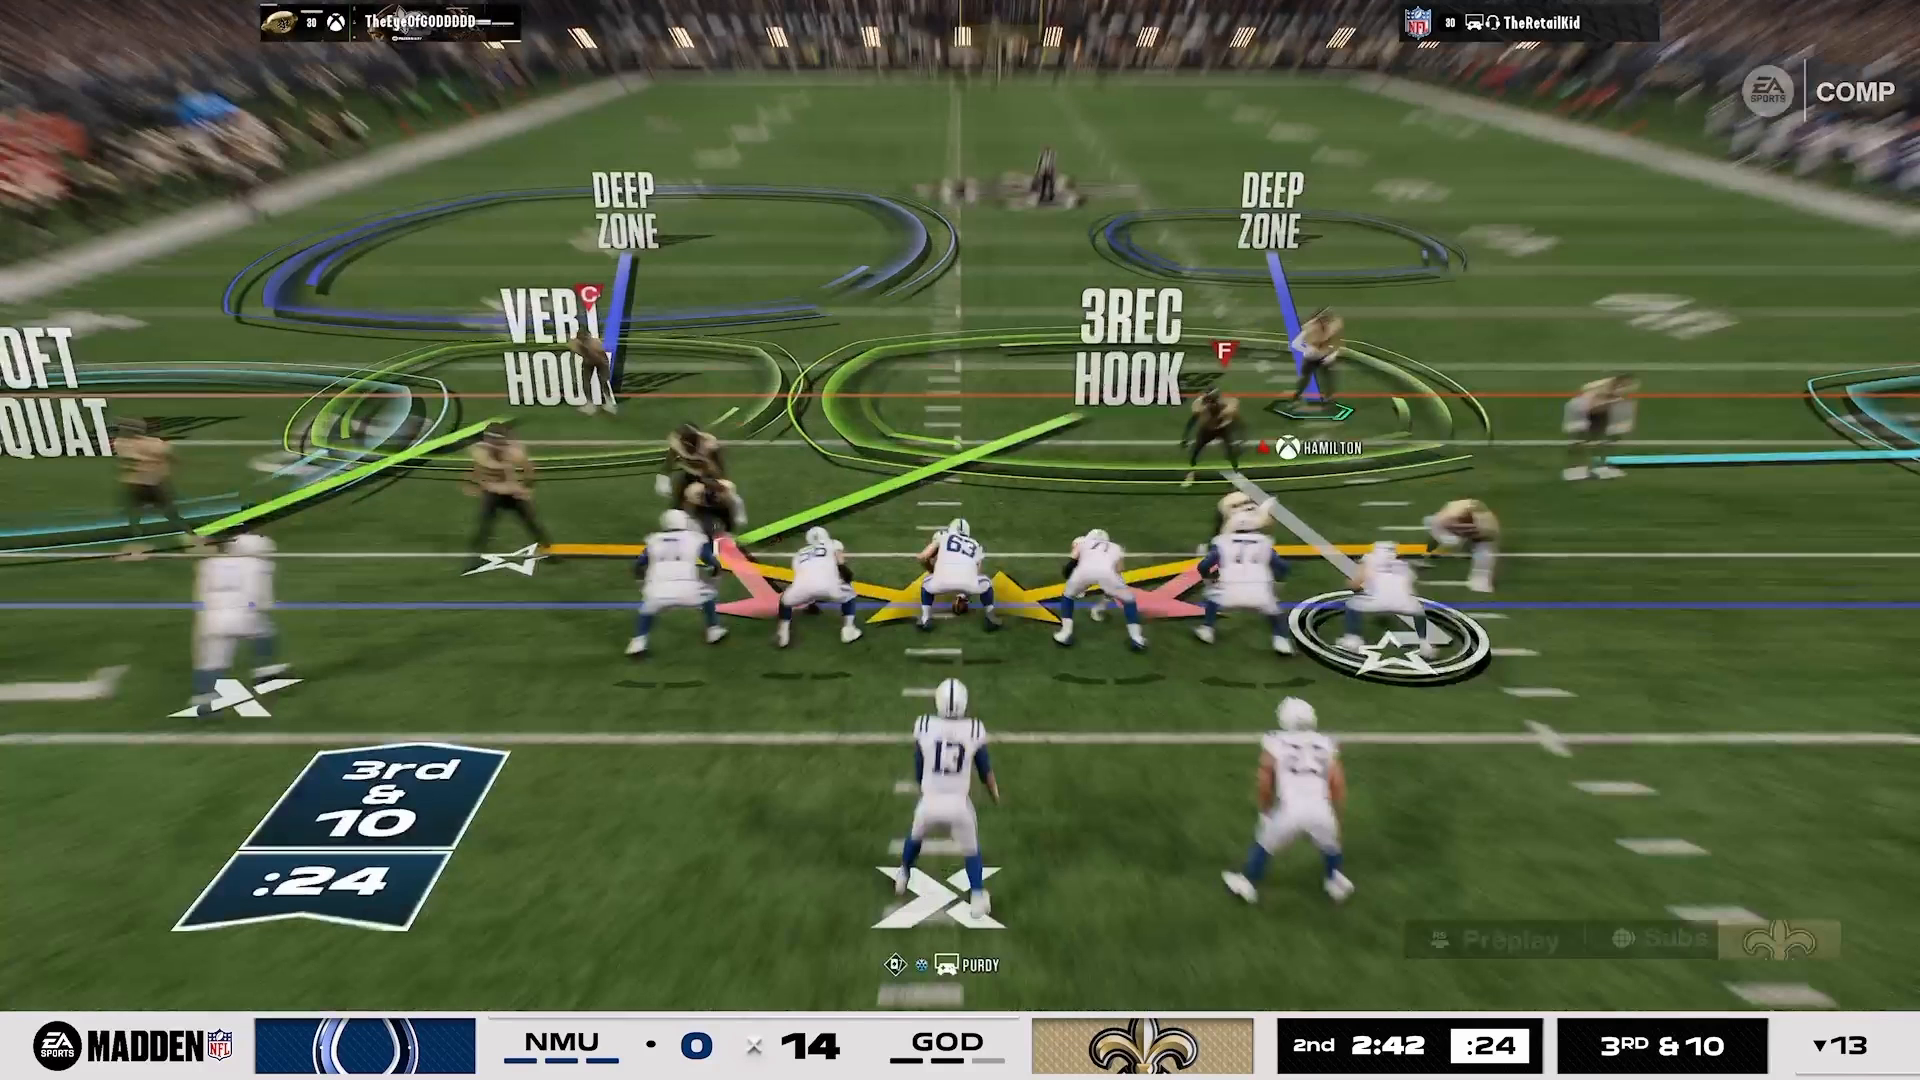
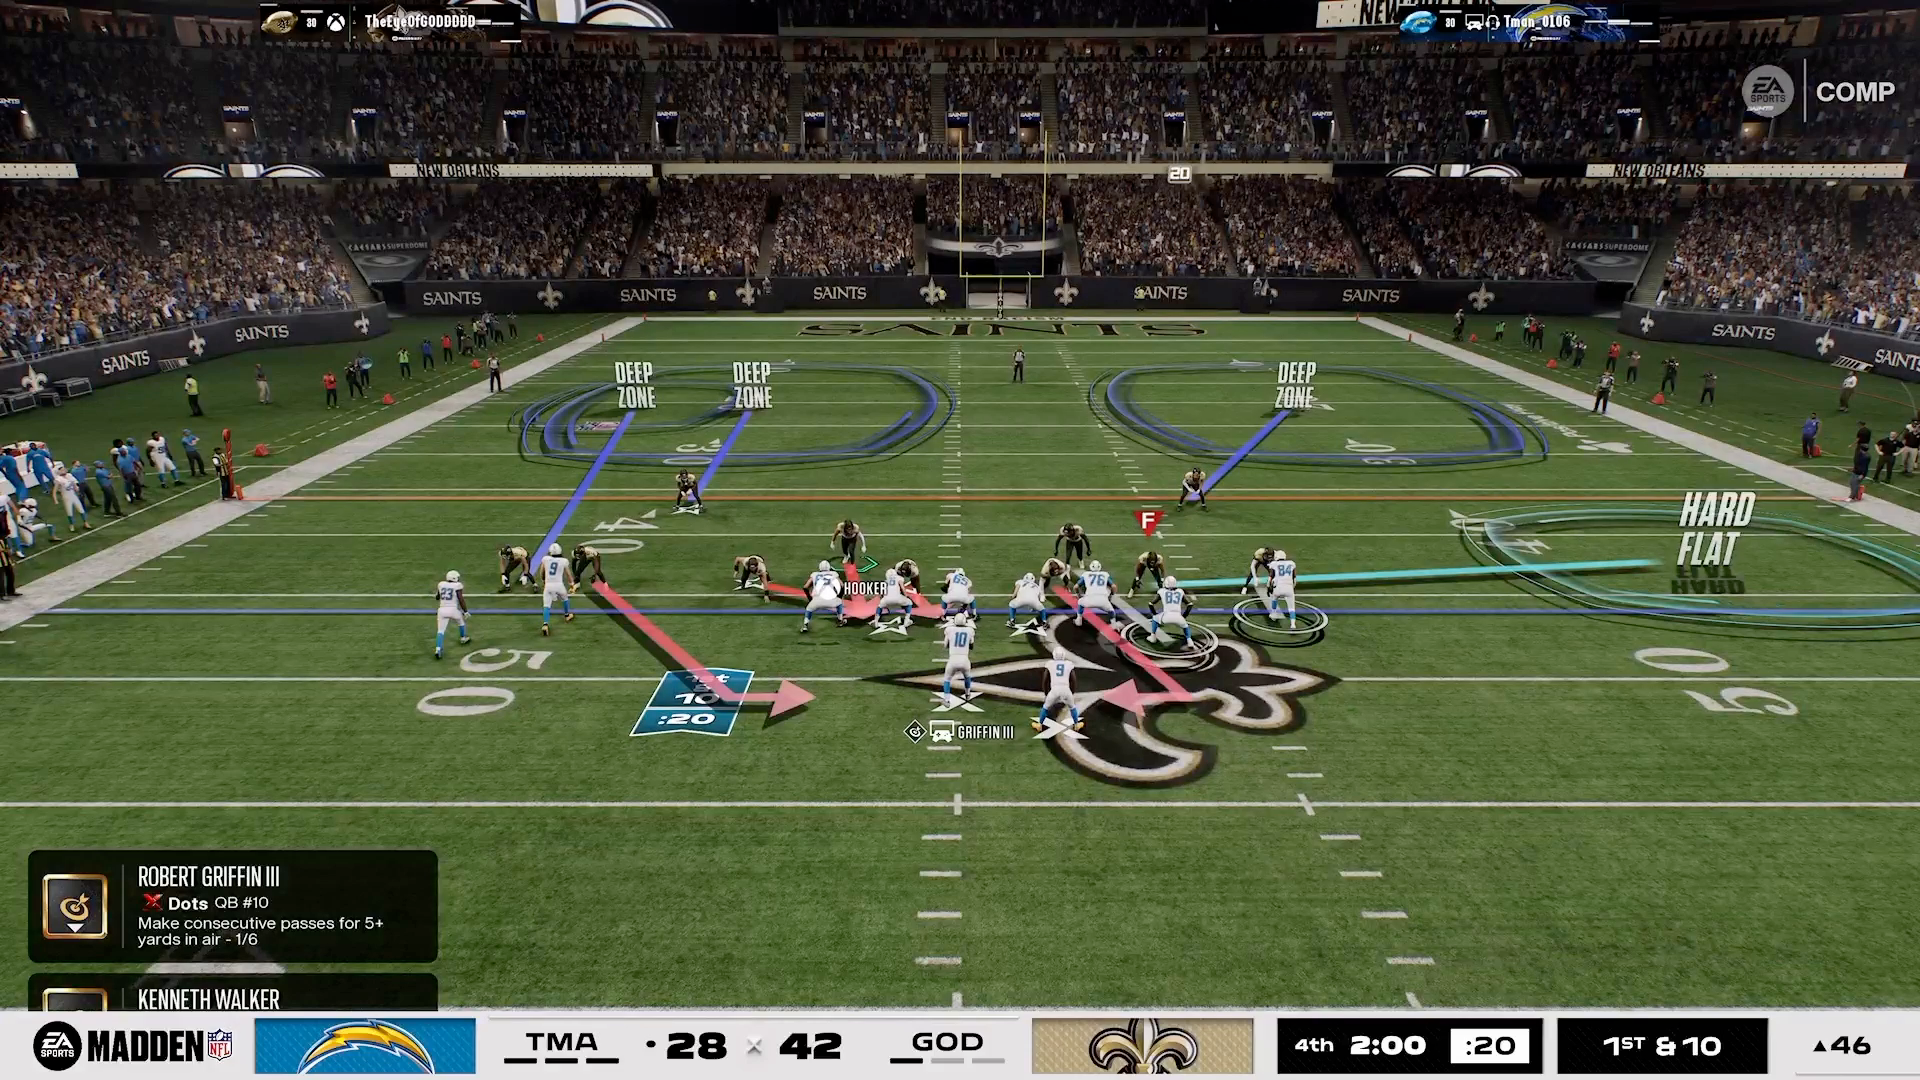
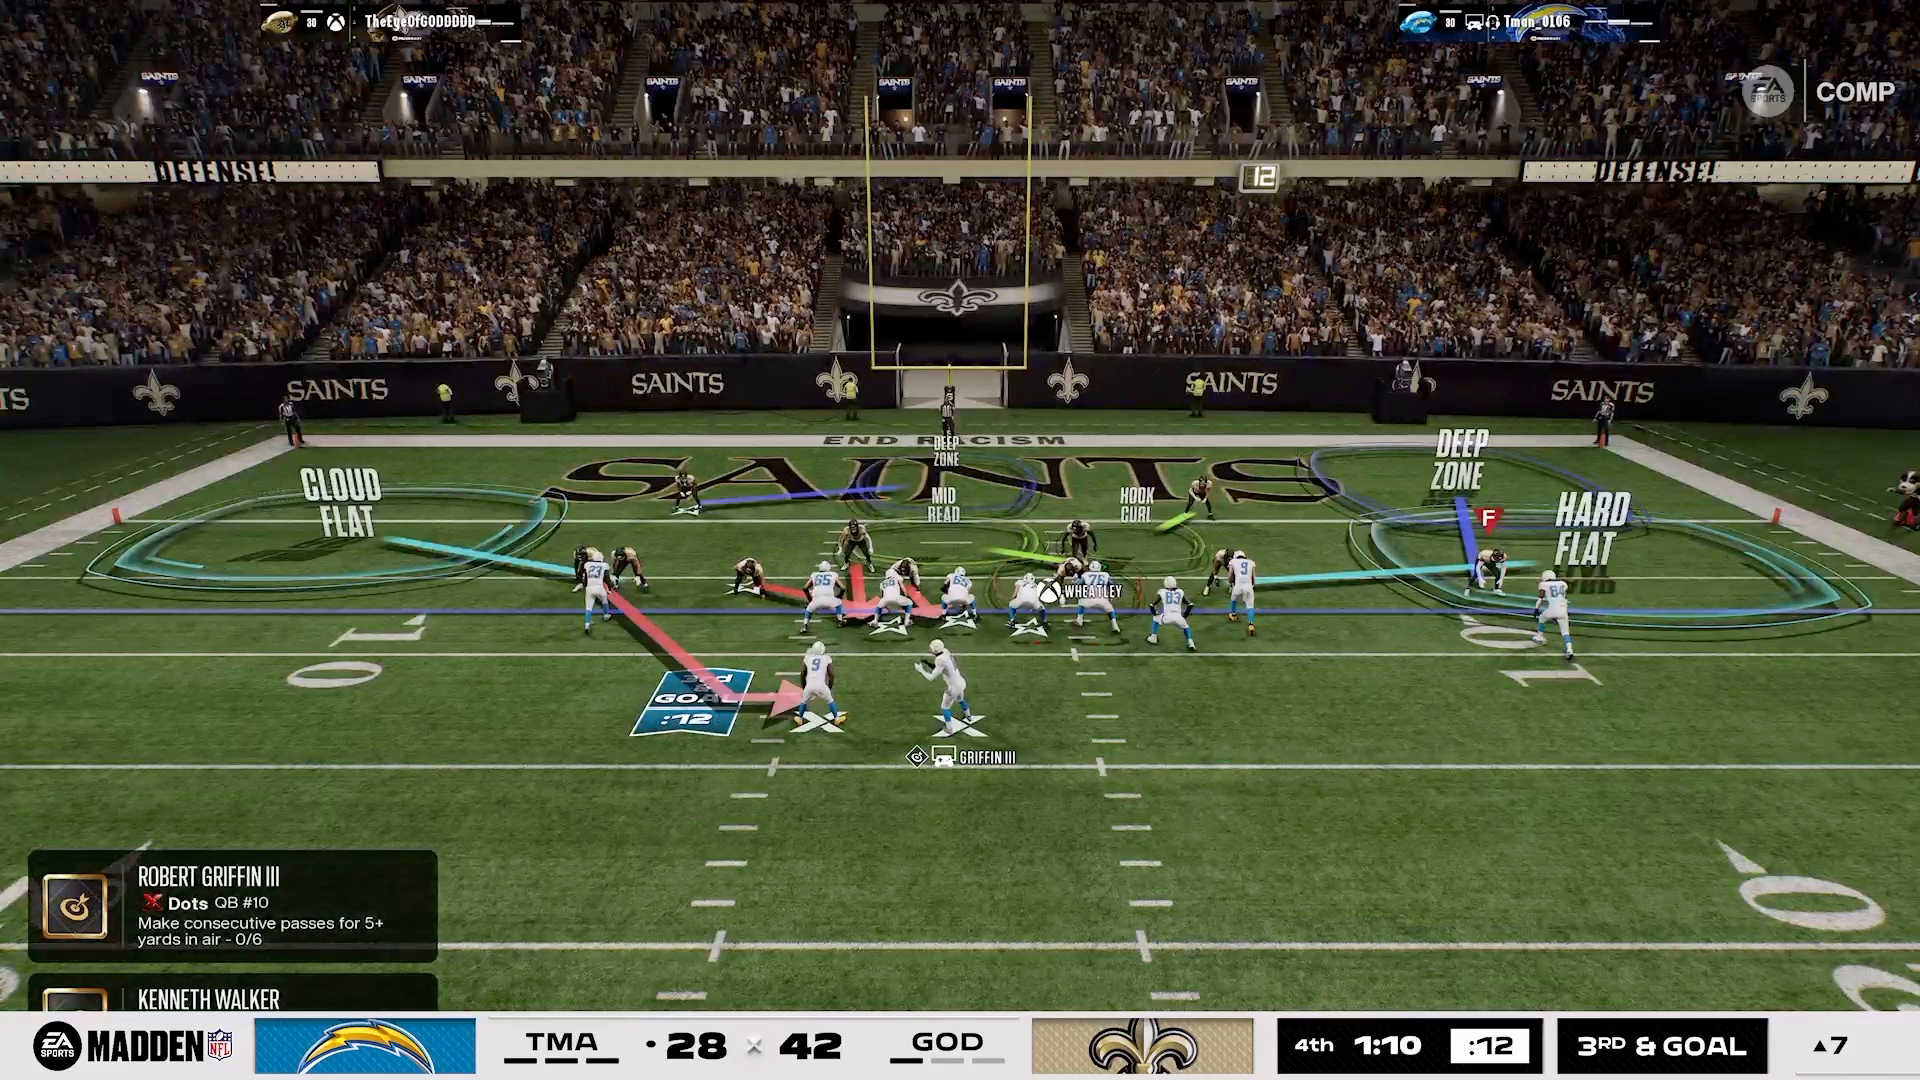
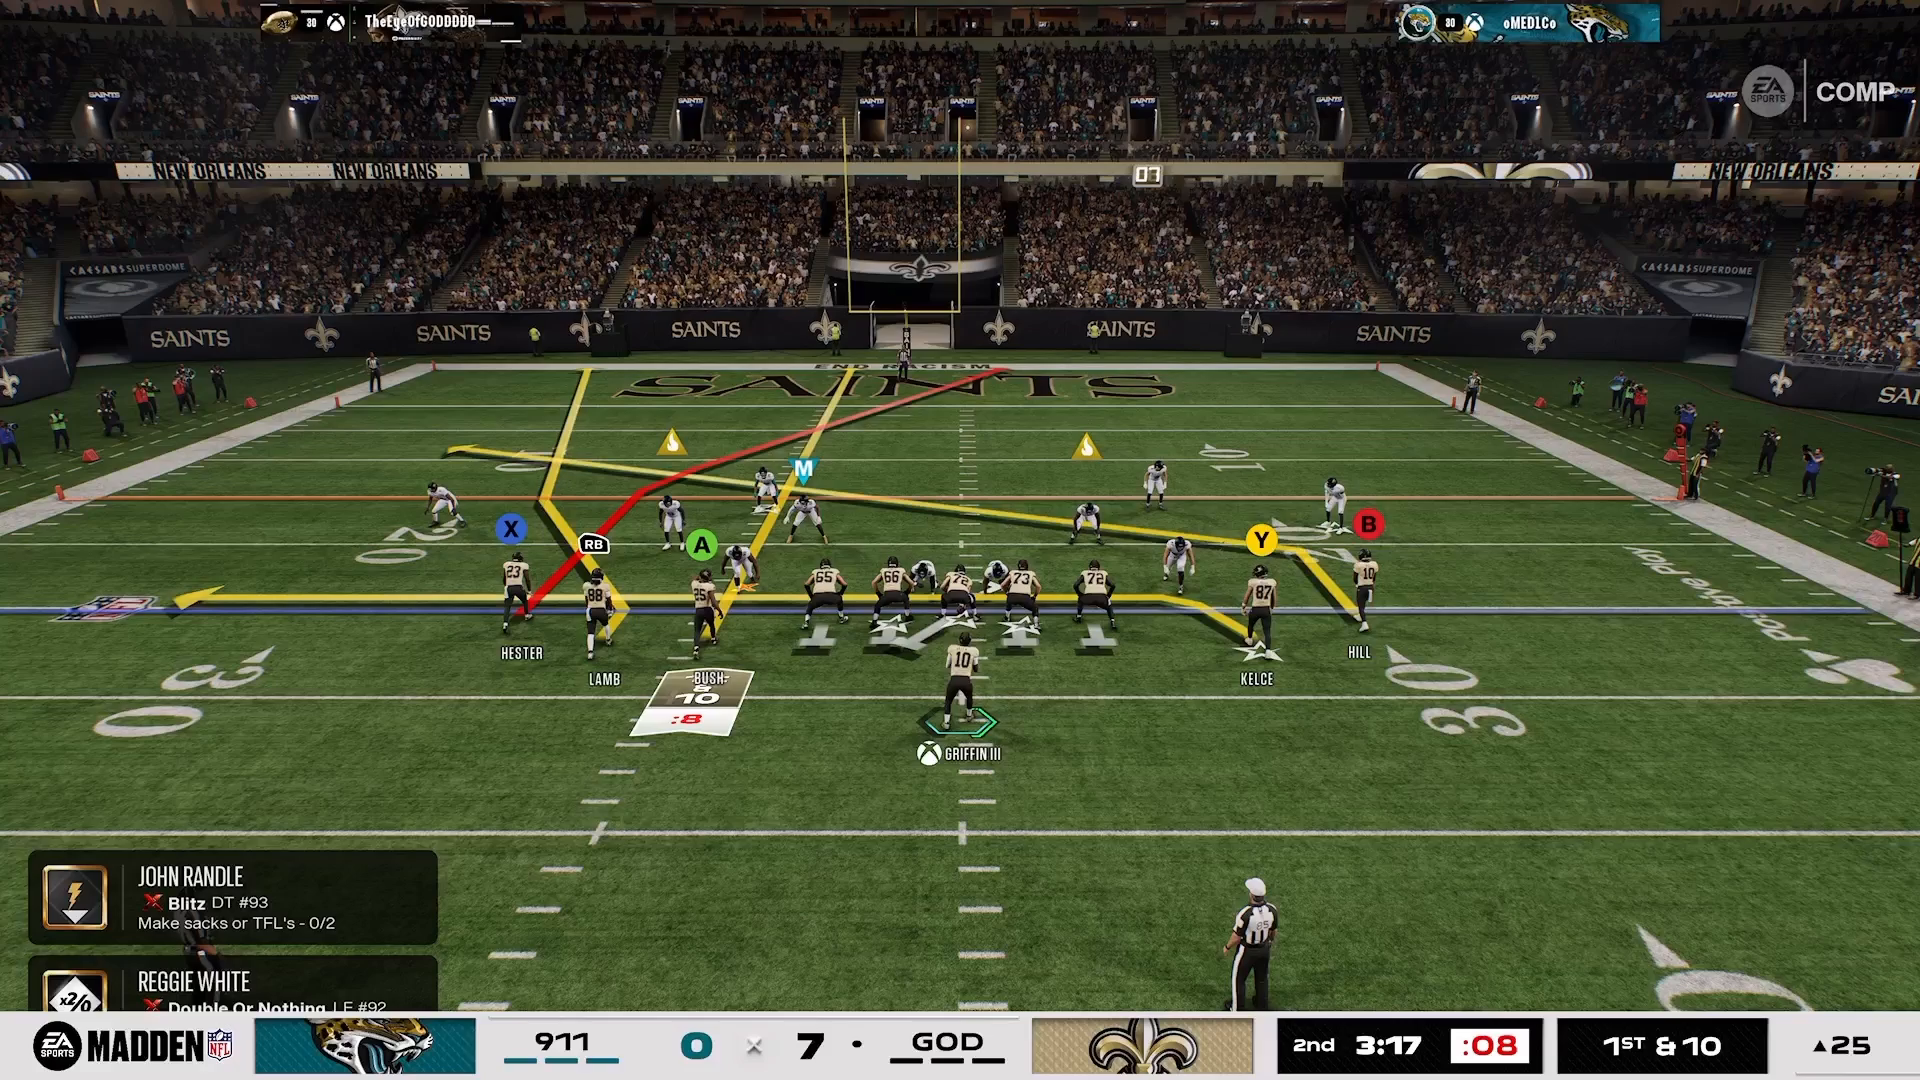
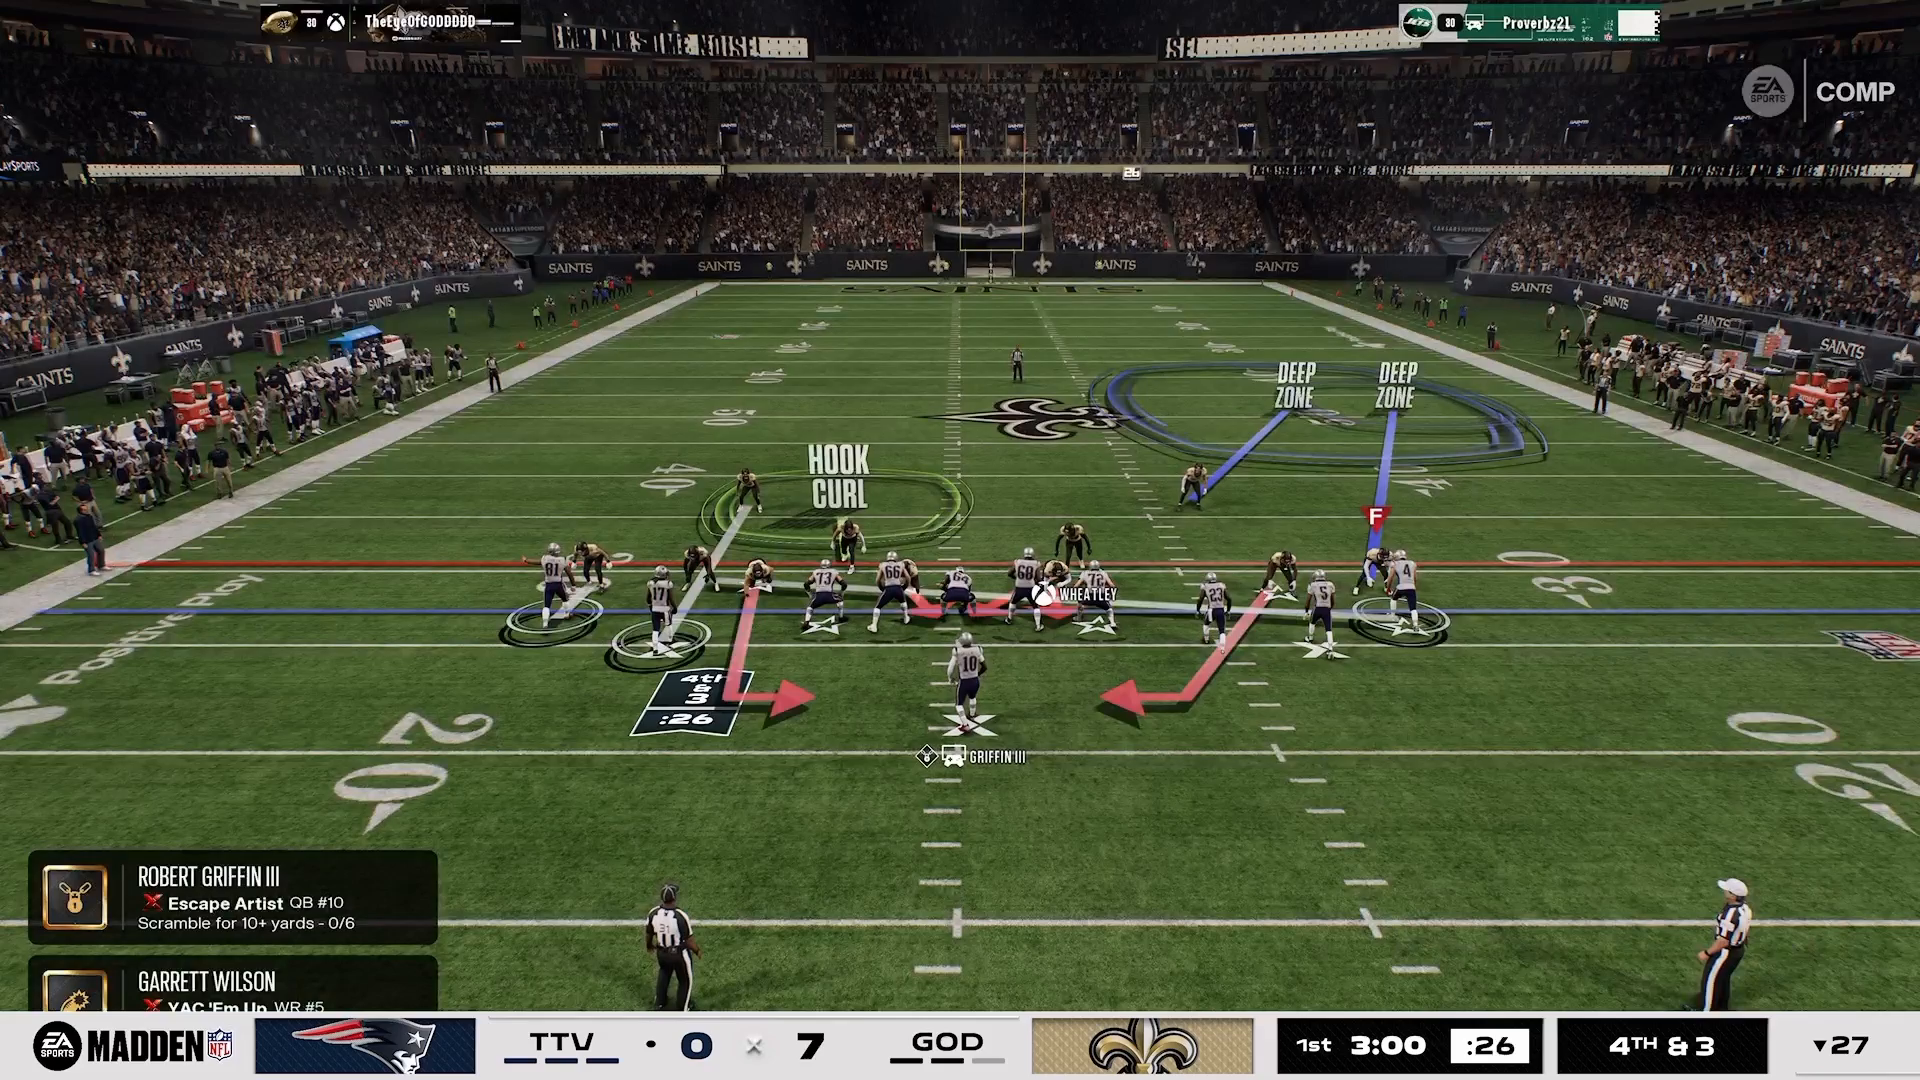
Madden 27 gameplay screenshot of a defensive coverage diagram in the Caesars Superdome with Deep Zone, Mid Read, and Hard Flat labels, players lined up at the line of scrimmage, and the scoreboard showing GOD leading AAA 21-14 in the second quarter at 1st and 10

Making Adjustments and Proving Effectiveness

Adjustments are key to adapting to your opponent’s offensive strategies. For instance, you might man your user on slants while assigning your outside cornerback to cover deep digs. This tactical maneuvering can lead to interceptions, as evidenced by picking off a drag route when a receiver was covered by a deep blue zone.

Even against a team with a blocked running back, your blitz should still apply pressure. However, this is only effective if you understand spacing—something that Madden Academy emphasizes throughout its resources.
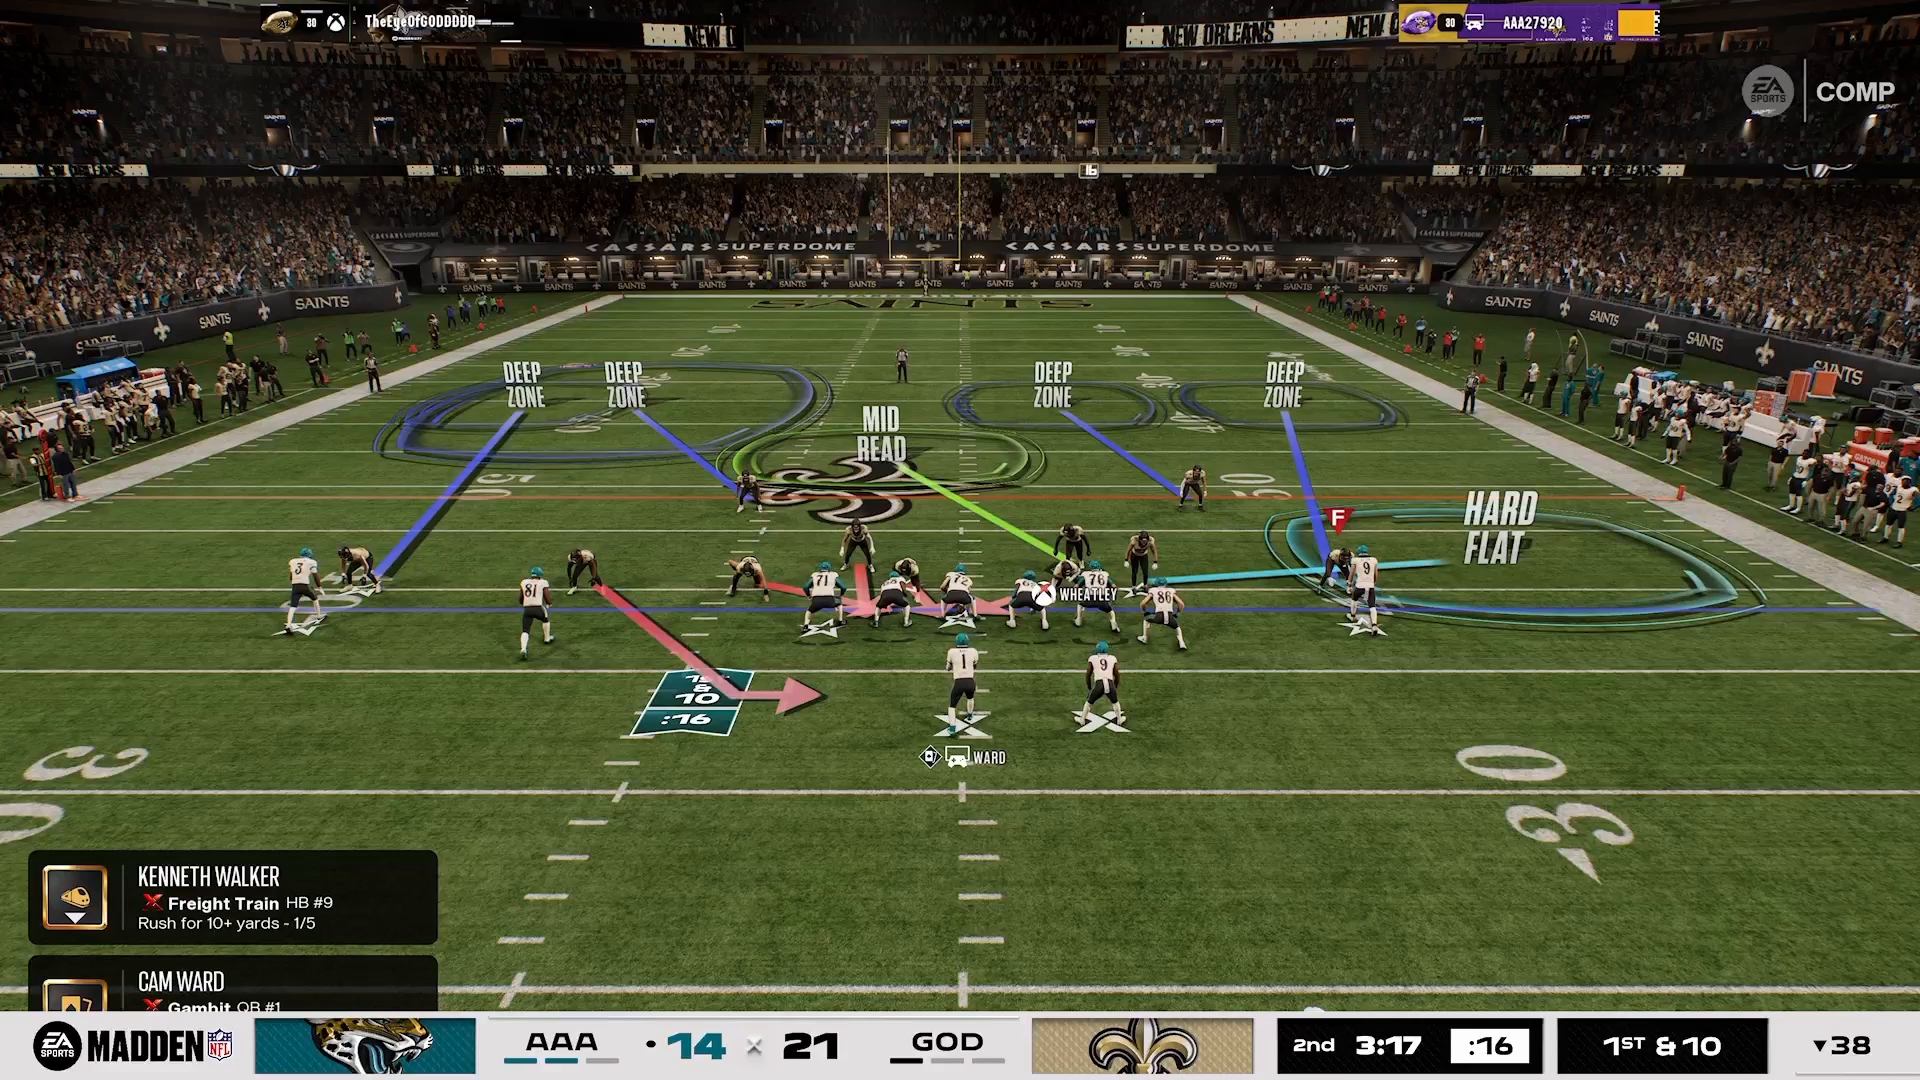
Madden 27 gameplay screenshot of a defensive coverage diagram in the Caesars Superdome with Deep Zone, Mid Read, and Hard Flat labels, players lined up at the line of scrimmage, and the scoreboard showing GOD leading AAA 21-14 in the second quarter at 1st and 10

Conclusion: Master Your Defense

Implementing these blitz and man defense strategies in Madden NFL 27 can give you a competitive edge. By mastering setups, macro principles, and making in-game adjustments, you can elevate your gameplay. For more in-depth strategies and tips, explore our Madden tips and stay ahead of your opponents.
Recent Posts

Defensive setup in Madden 27 with Nickel Single Mug

Mastering the Best Defensive Macro vs Gun Trips X Nasty in Madden 27

Mastering the Best Defensive Macro vs Gun Trips X Nasty in Madden 27 Understanding the Defensive Setup in Madden 27 In Madden NFL 27, defending ...
Read More →
defensive macro Madden 27 — image 1

Mastering Defensive Strategies Against Gunfire Receiver Tight in Madden 27

Mastering Defensive Strategies Against Gunfire Receiver Tight in Madden 27 In Madden 27, stop the 5-receiver tight formation with a man-up defensive macro that uses ...
Read More →
Defensive alignment against Bunch TE formation

Mastering Madden NFL 27: Defending Auto-Motion & Bunch TE

Mastering Madden NFL 27: Defending Auto-Motion & Bunch TE Defend Bunch TE auto-motion in Madden 27 by aligning four defenders left, doubling the flat on ...
Read More →
Madden 27 gameplay showing 2-man under press beater

Mastering the Best 2-Man Under Press Beater in Madden 27

Mastering the Best 2-Man Under Press Beater in Madden 27 The best 2-man under press beater in Madden 27 is the Smash Corner concept from ...
Read More →
Defensive setup against Bunch Head End in Madden NFL 27

Mastering Madden NFL 27: Stop RPOs and Dominate Bunch Head End

Mastering Madden NFL 27: Stop RPOs and Dominate Bunch Head End Stop RPOs against Bunch Head End in Madden 27 by protecting the RPO bubble ...
Read More →
San Francisco Nickel Single Mug formation diagram

Best Defense to Stop Trips Head In: San Francisco Nickel Single Mug

Best Defense to Stop Trips Head In: San Francisco Nickel Single Mug The best defense to stop Trips Head in Madden 27 is San Francisco ...
Read More →
Dime 3-2 defensive formation setup

Mastering Madden NFL 27: Stop Doubles Clamp Stack with These Defensive Macros

Understanding the Challenge of Doubles Clamp Stack In Madden NFL 27, facing the Doubles Clamp Stack can be a daunting task for any player. This ...
Read More →
Setup of hybrid shell for red zone defense

Mastering Red Zone Defense in Madden NFL 27: Best Macro Guide

Introduction Defending in the red zone can be a pivotal moment in your Madden NFL 27 games. The stakes are high, and the right defensive ...
Read More →
Madden NFL 27 Smash Corner play setup

Mastering Madden NFL 27: Beat Nickel Single Mug with 2 Macros

Understanding the Nickel Single Mug Defense When you face the Nickel Single Mug defense in Madden NFL 27, it can feel like an uphill battle. ...
Read More →
Spot Y Option Madden — image 1

Master the Red Zone with Spot Y Option in Madden NFL 27

Master the Red Zone with Spot Y Option in Madden NFL 27 Master the red zone in Madden 27 with Spot Y Option from Pistol ...
Read More →
designed rollouts — image 1

Mastering Designed Rollouts to Beat Stunts in Madden NFL 27

Understanding Why Rollouts Work Rollouts are an essential part of your offensive strategy in Madden NFL 27, particularly when facing defensive stunts. Stunts are designed ...
Read More →
Offensive setup in Madden NFL 27

Master the Best Match Beater in Madden NFL 27

Master the Best Match Beater in Madden NFL 27 The best match beater in Madden 27 is the Mills deep out from Gun 5 Receiver ...
Read More →