Introduction
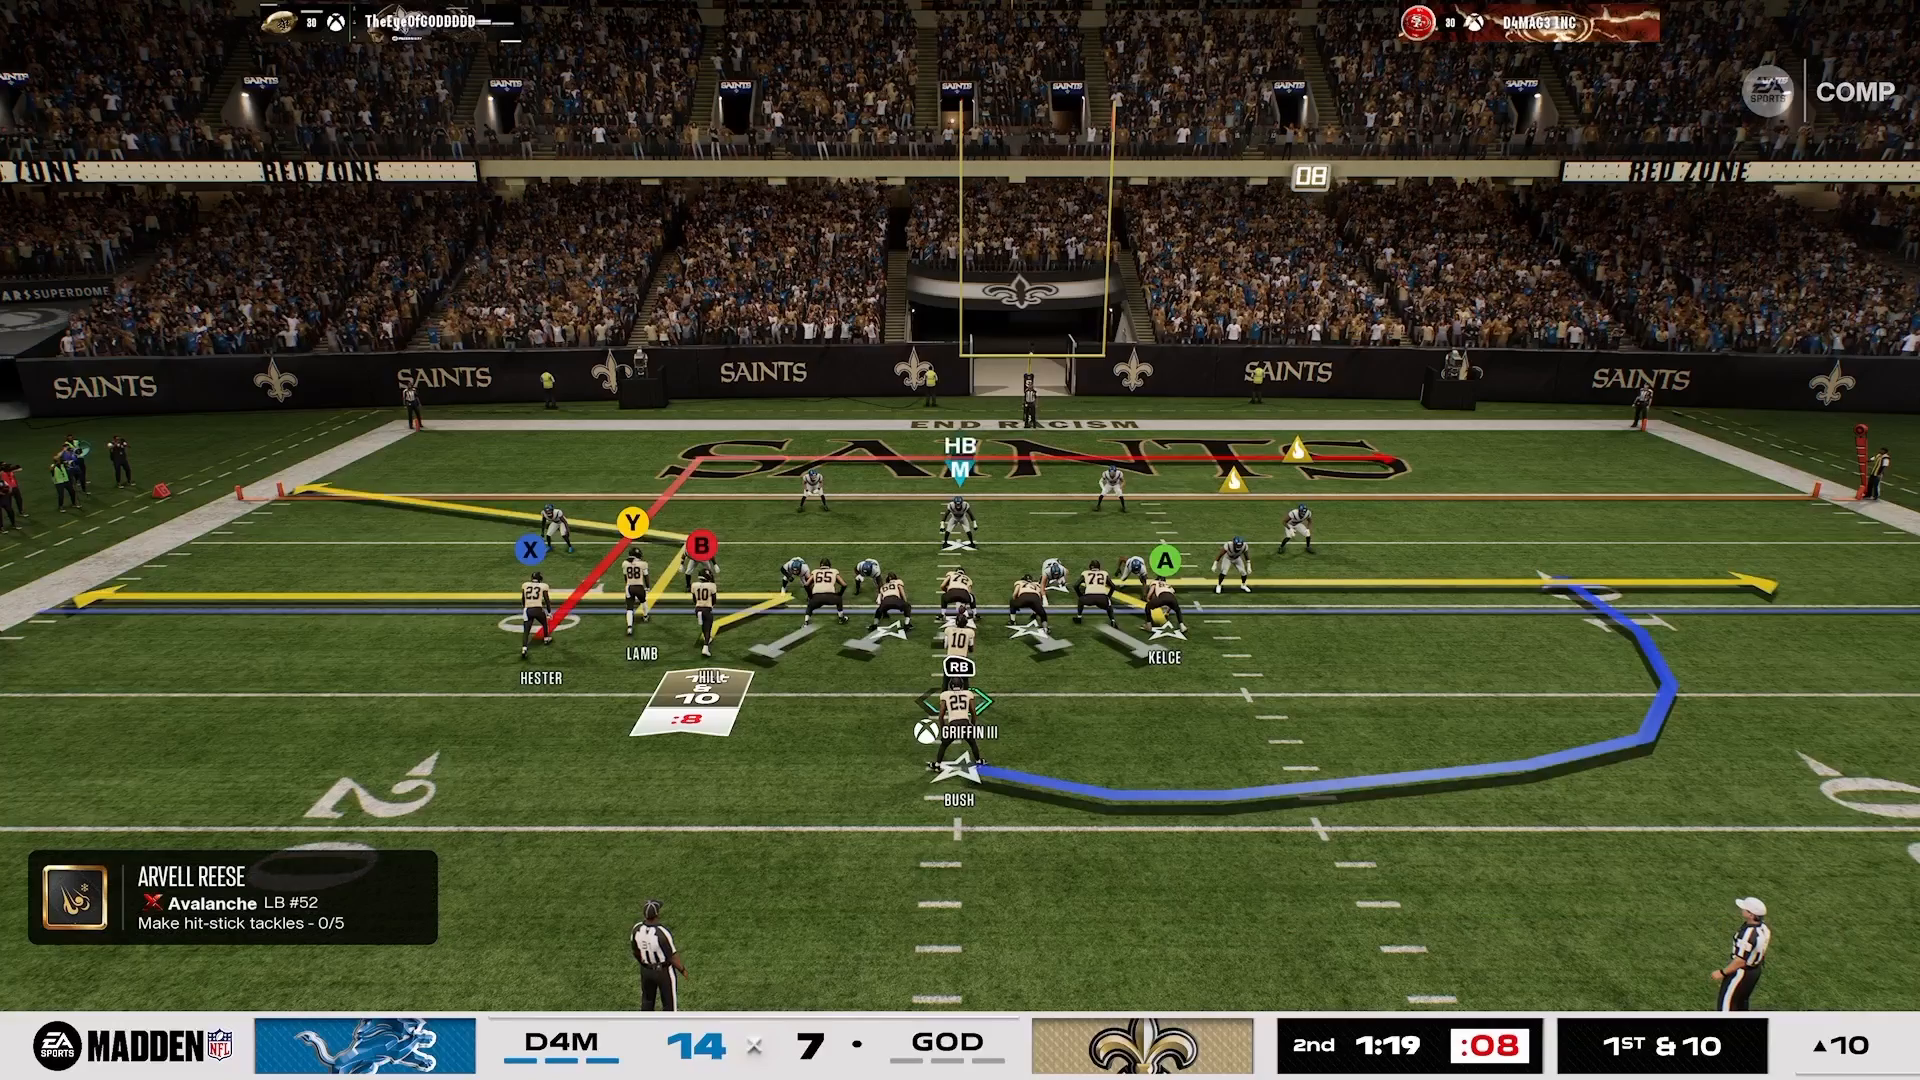
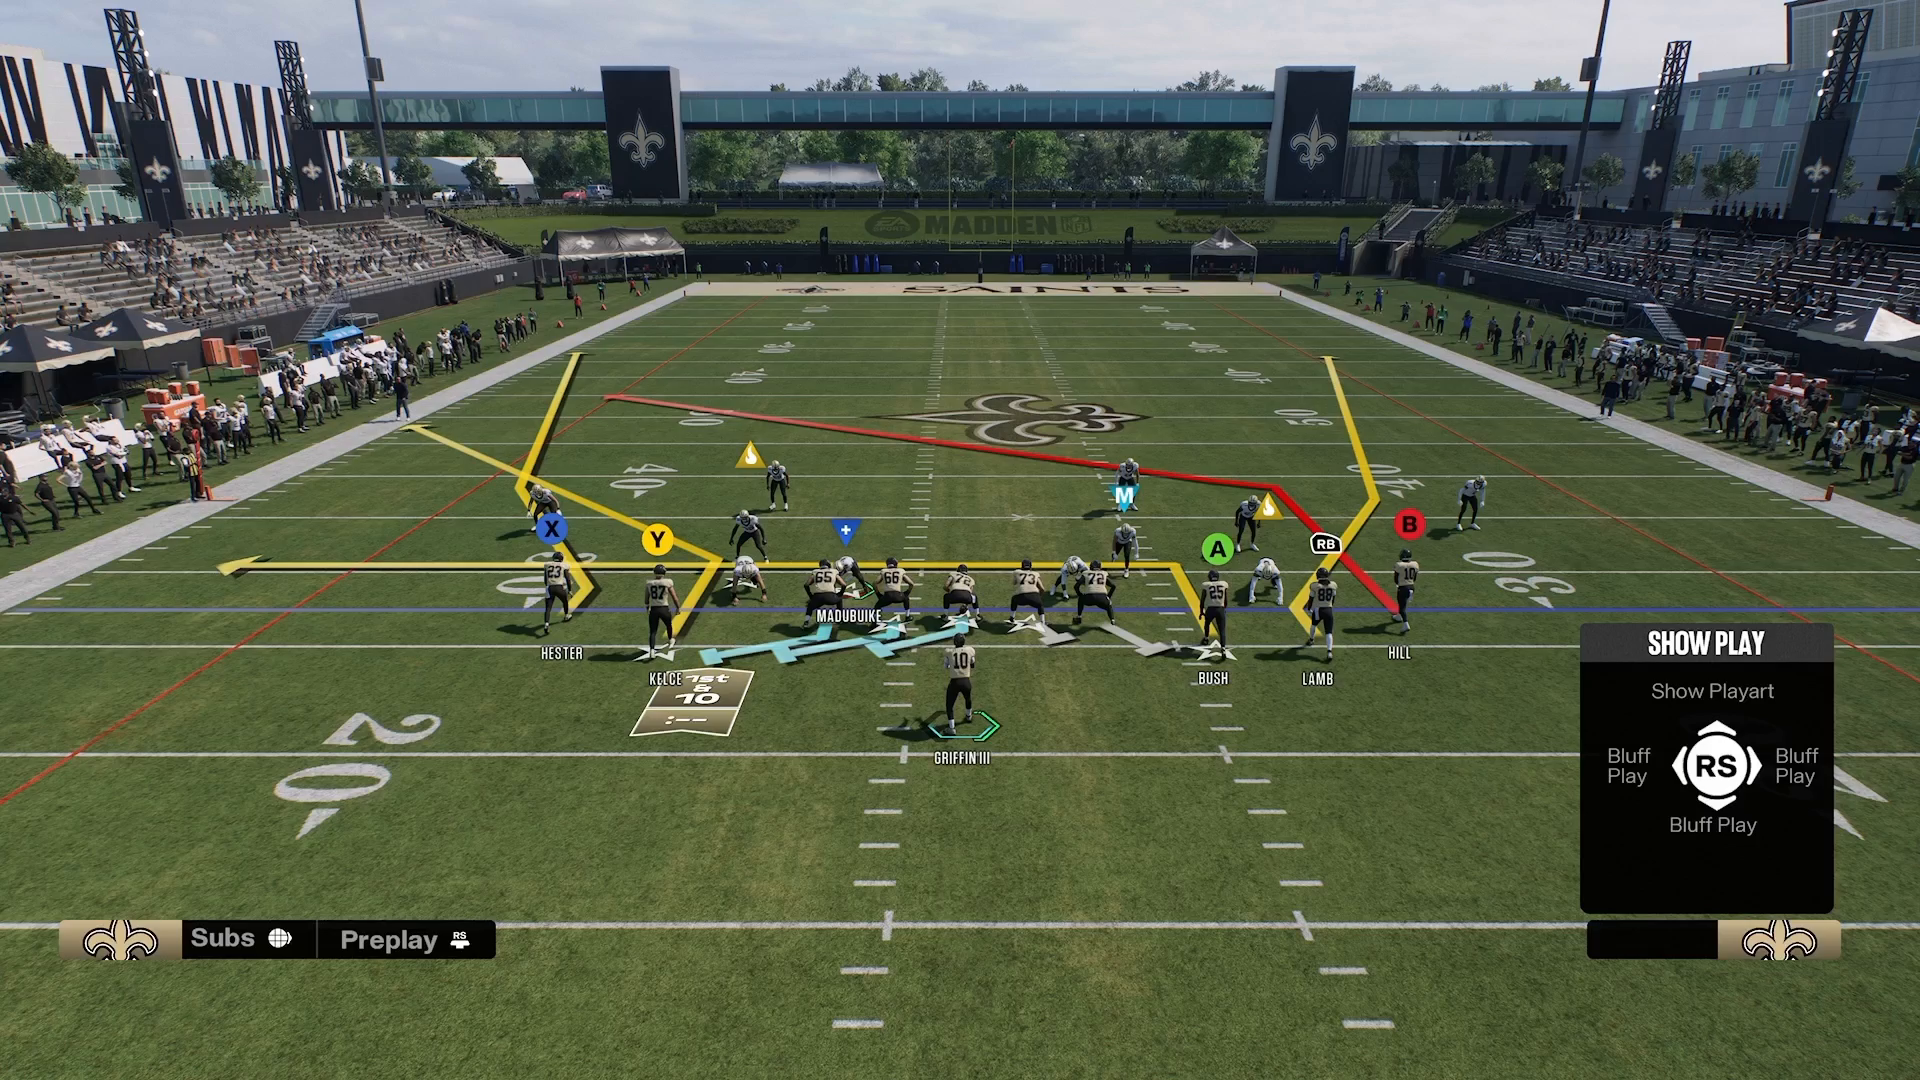
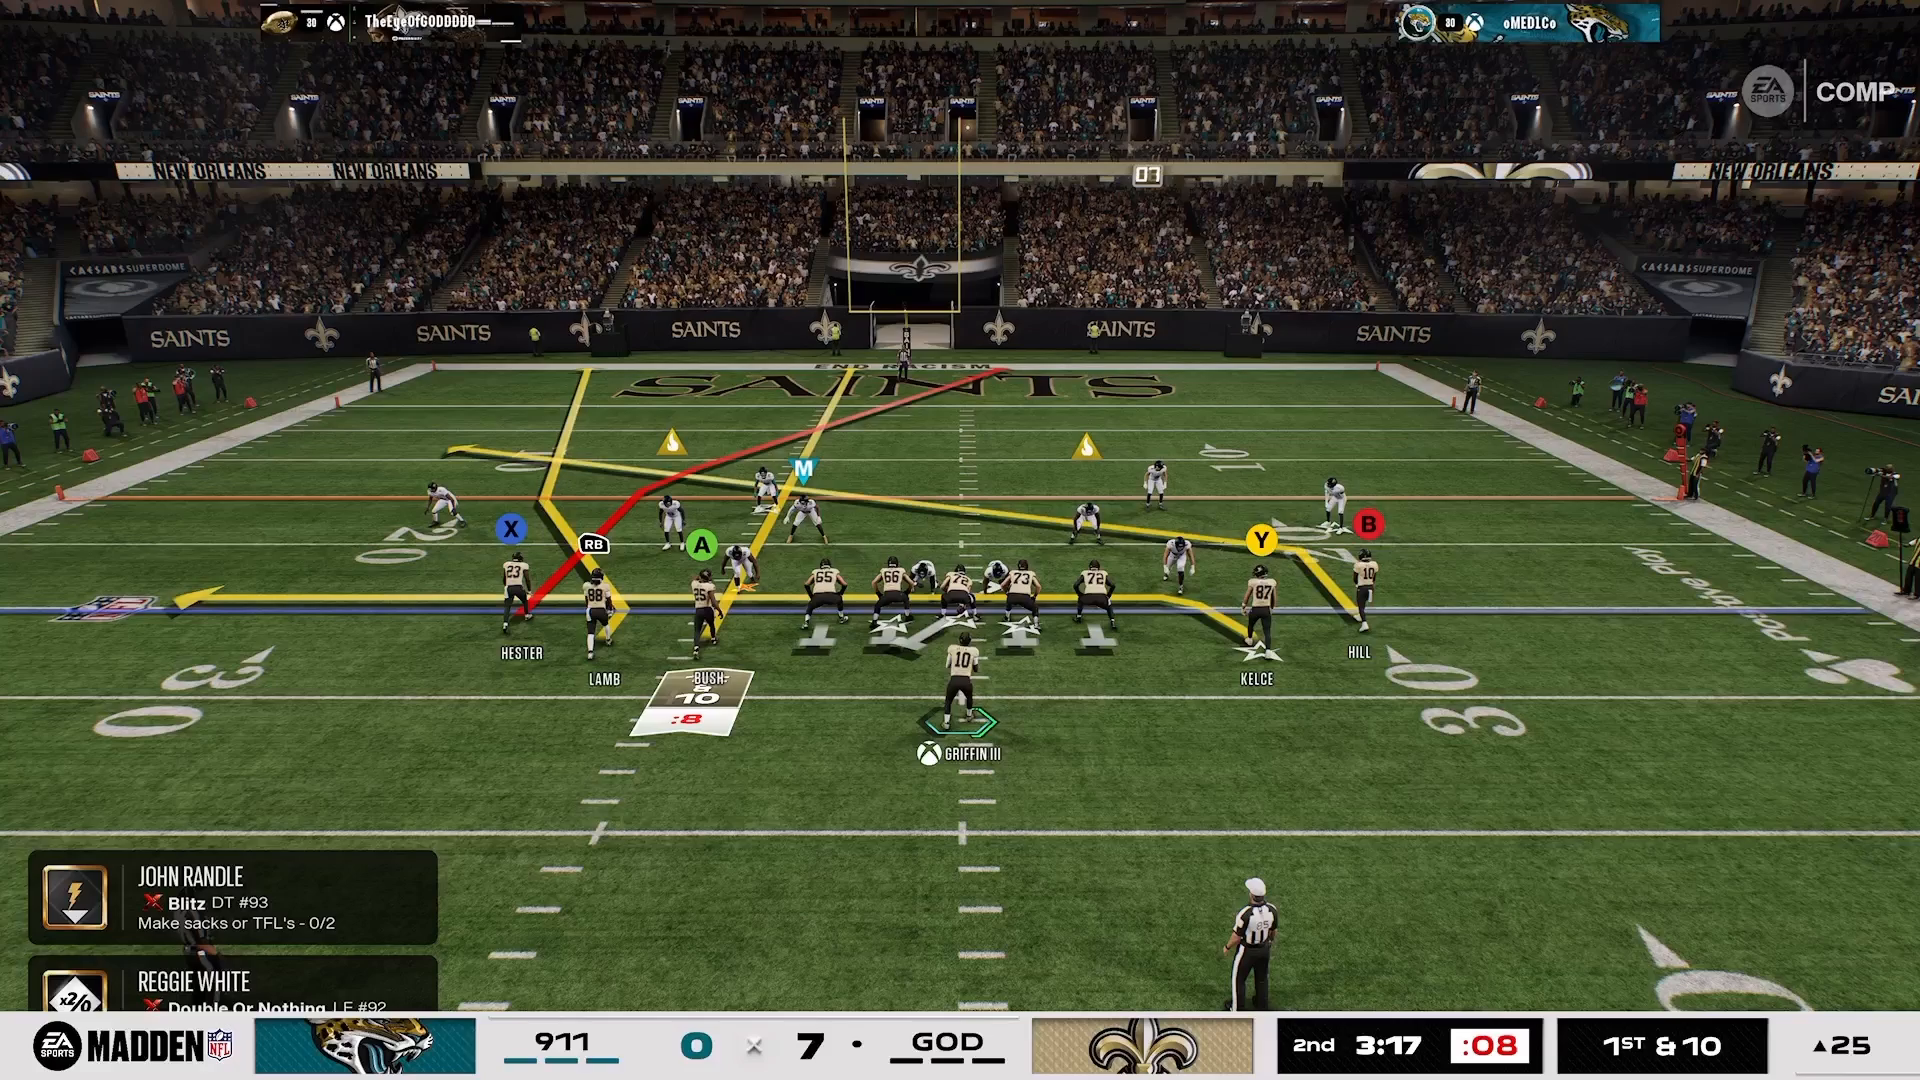
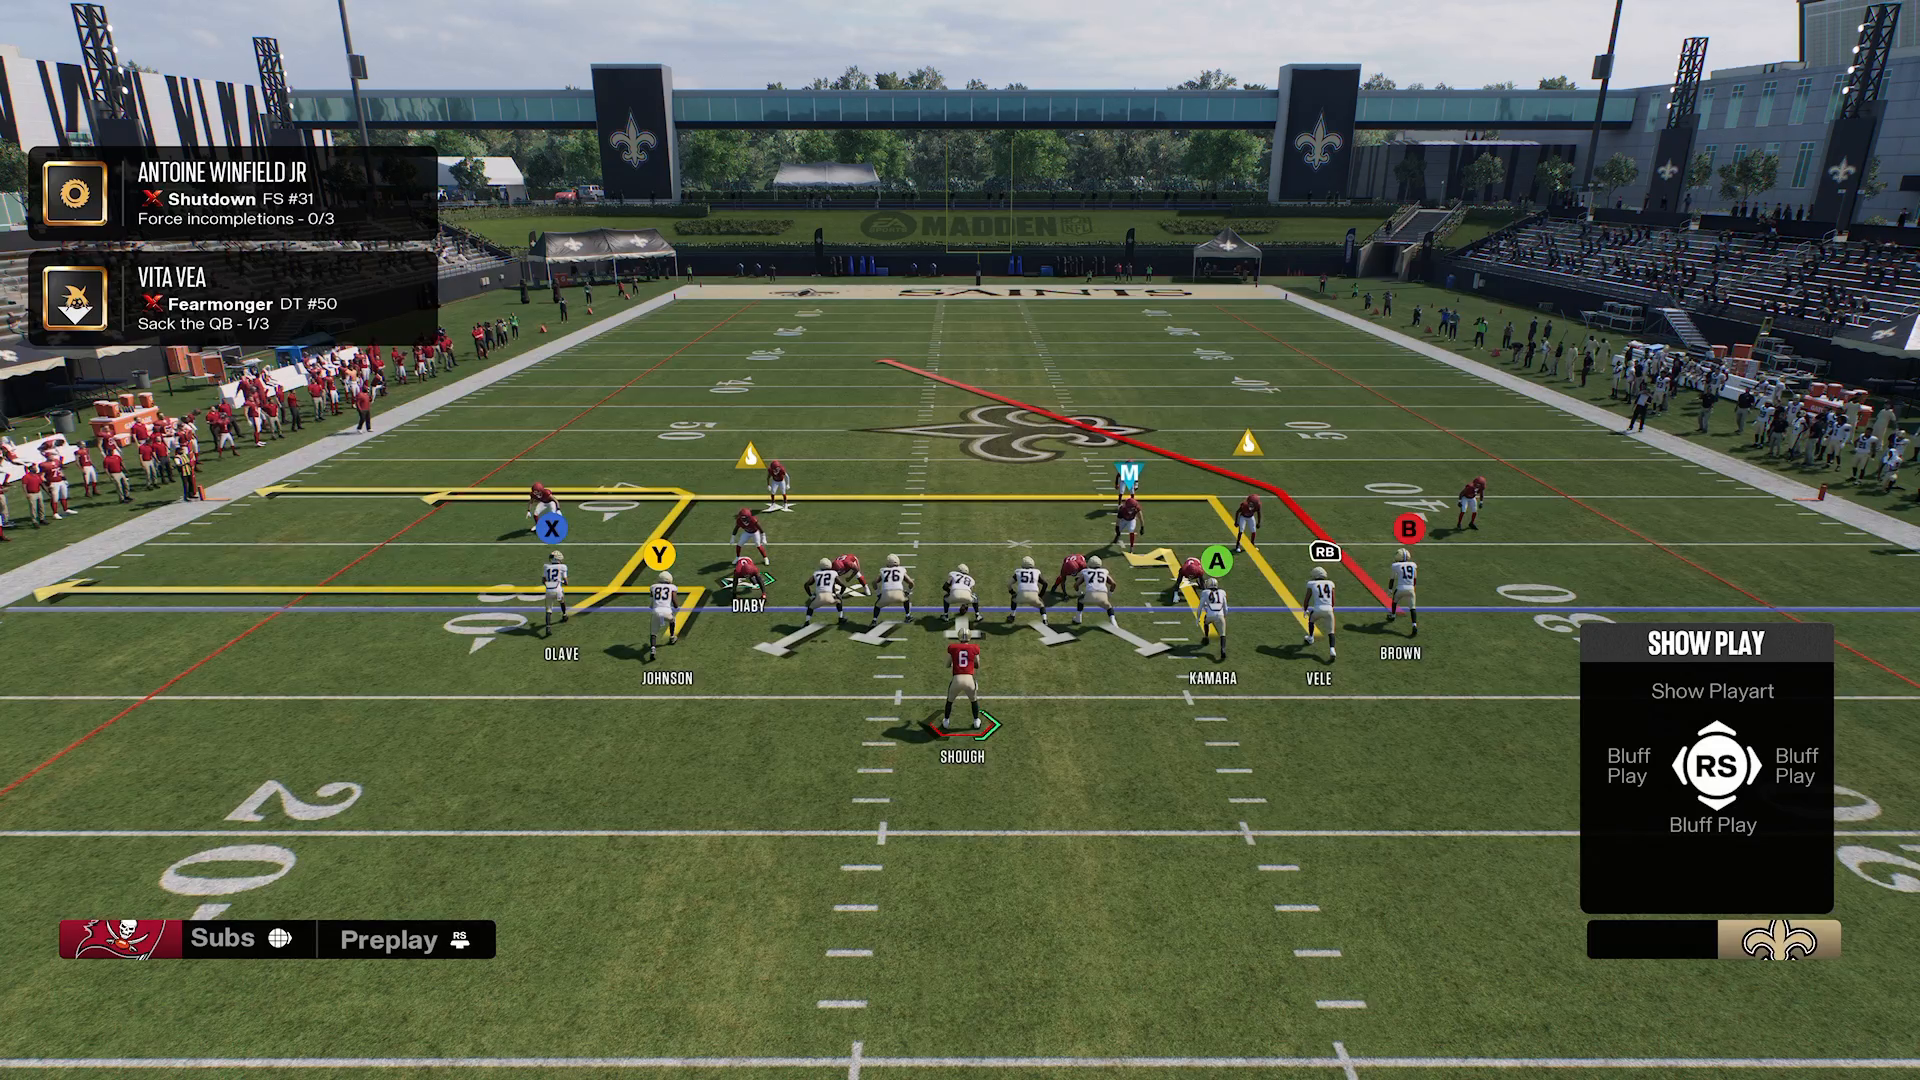
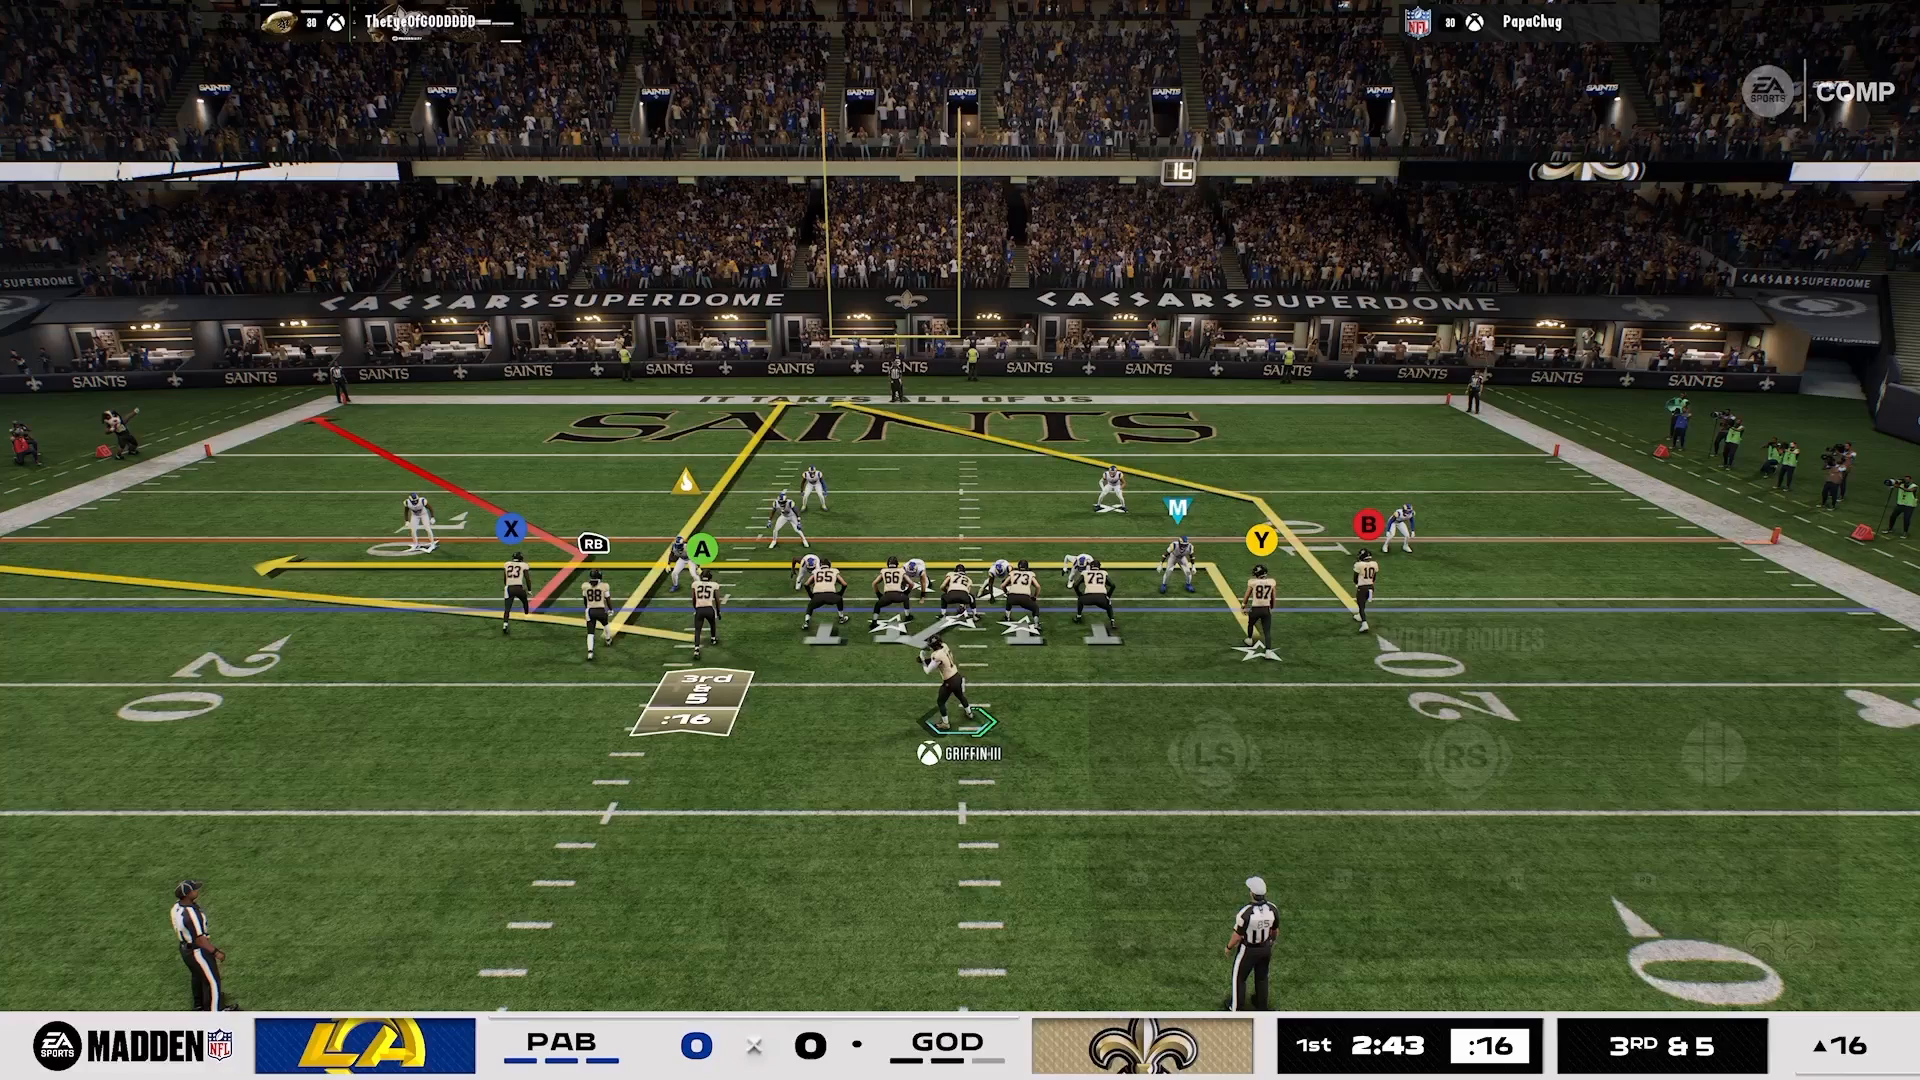
Defending in the red zone can be a pivotal moment in your Madden NFL 27 games. The stakes are high, and the right defensive strategy can determine whether you force a turnover or allow a touchdown. One of the best macros for red zone defense involves using the San Francisco Dime 3-2 formation, specifically the DB Fire 2 scheme. By mastering this approach, you can effectively shut down your opponent’s scoring opportunities and turn the tide in your favor.
Setting Up the Shell
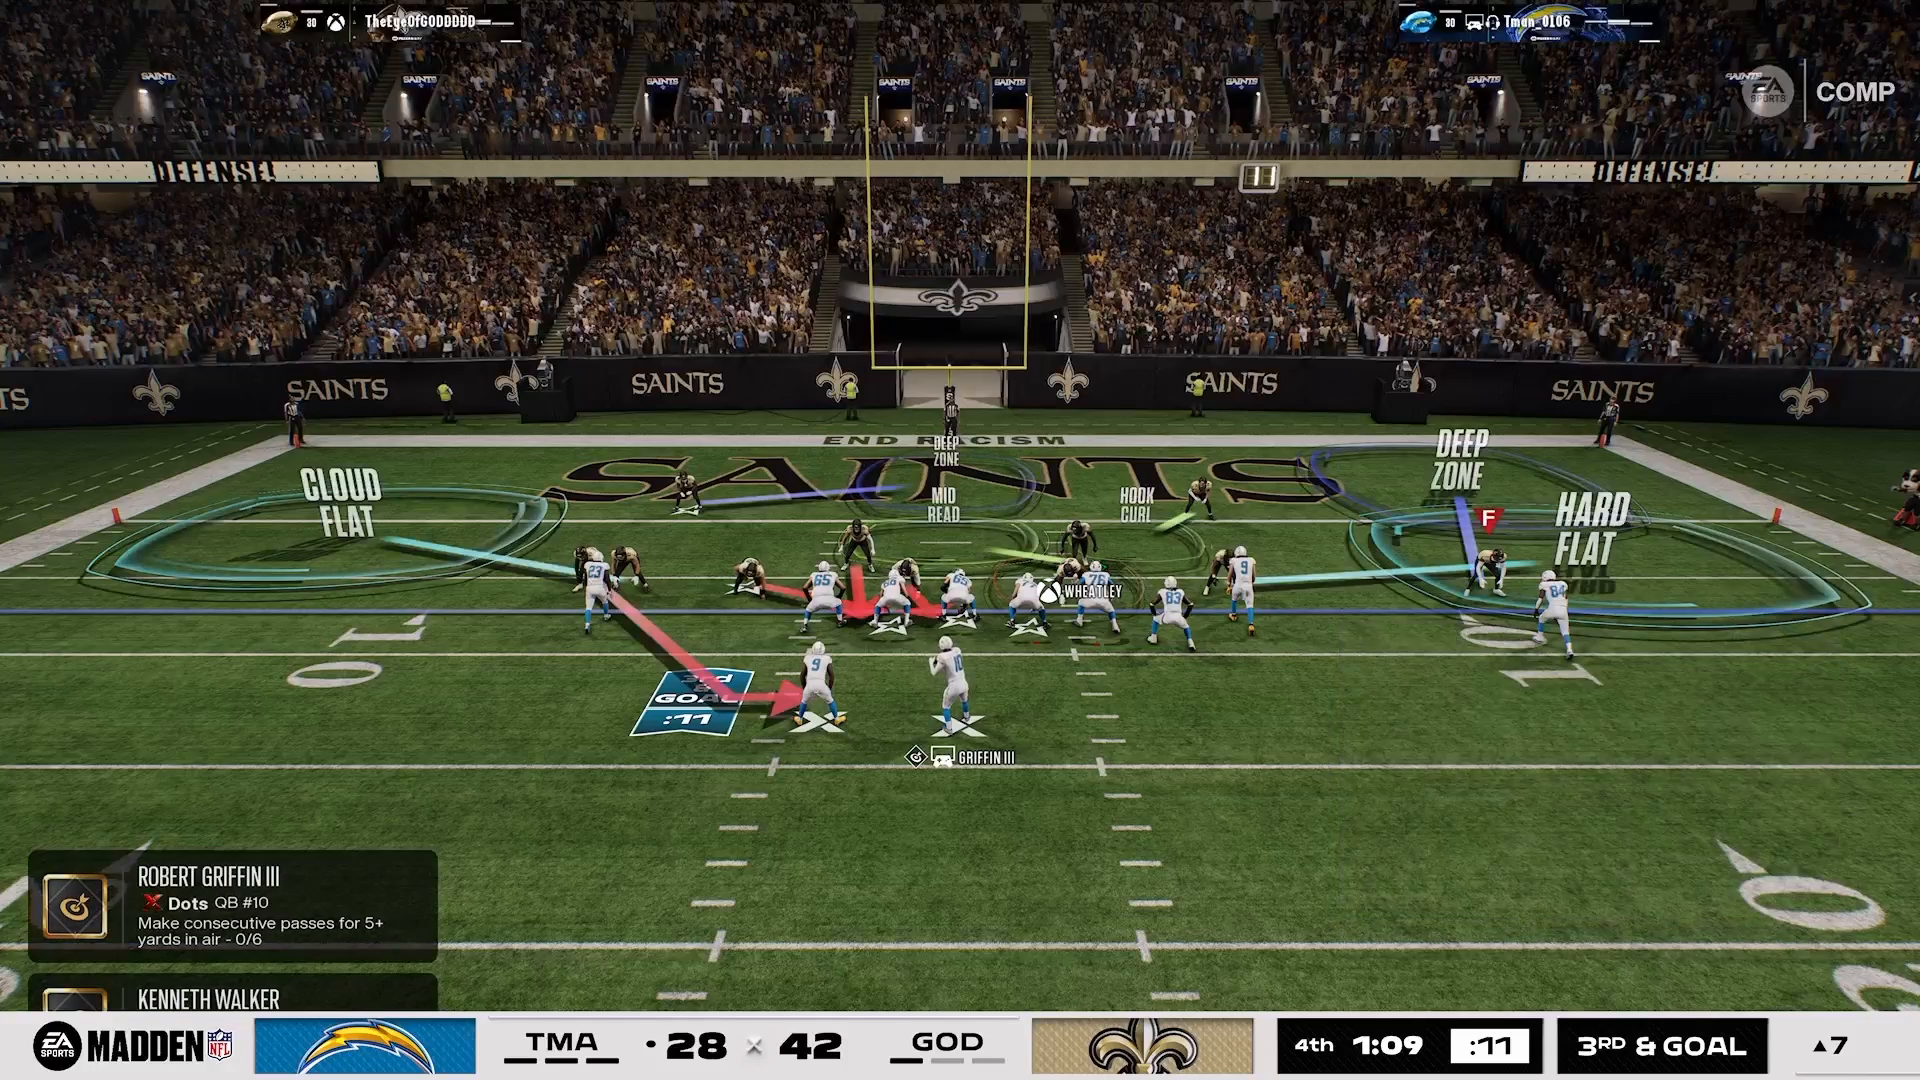
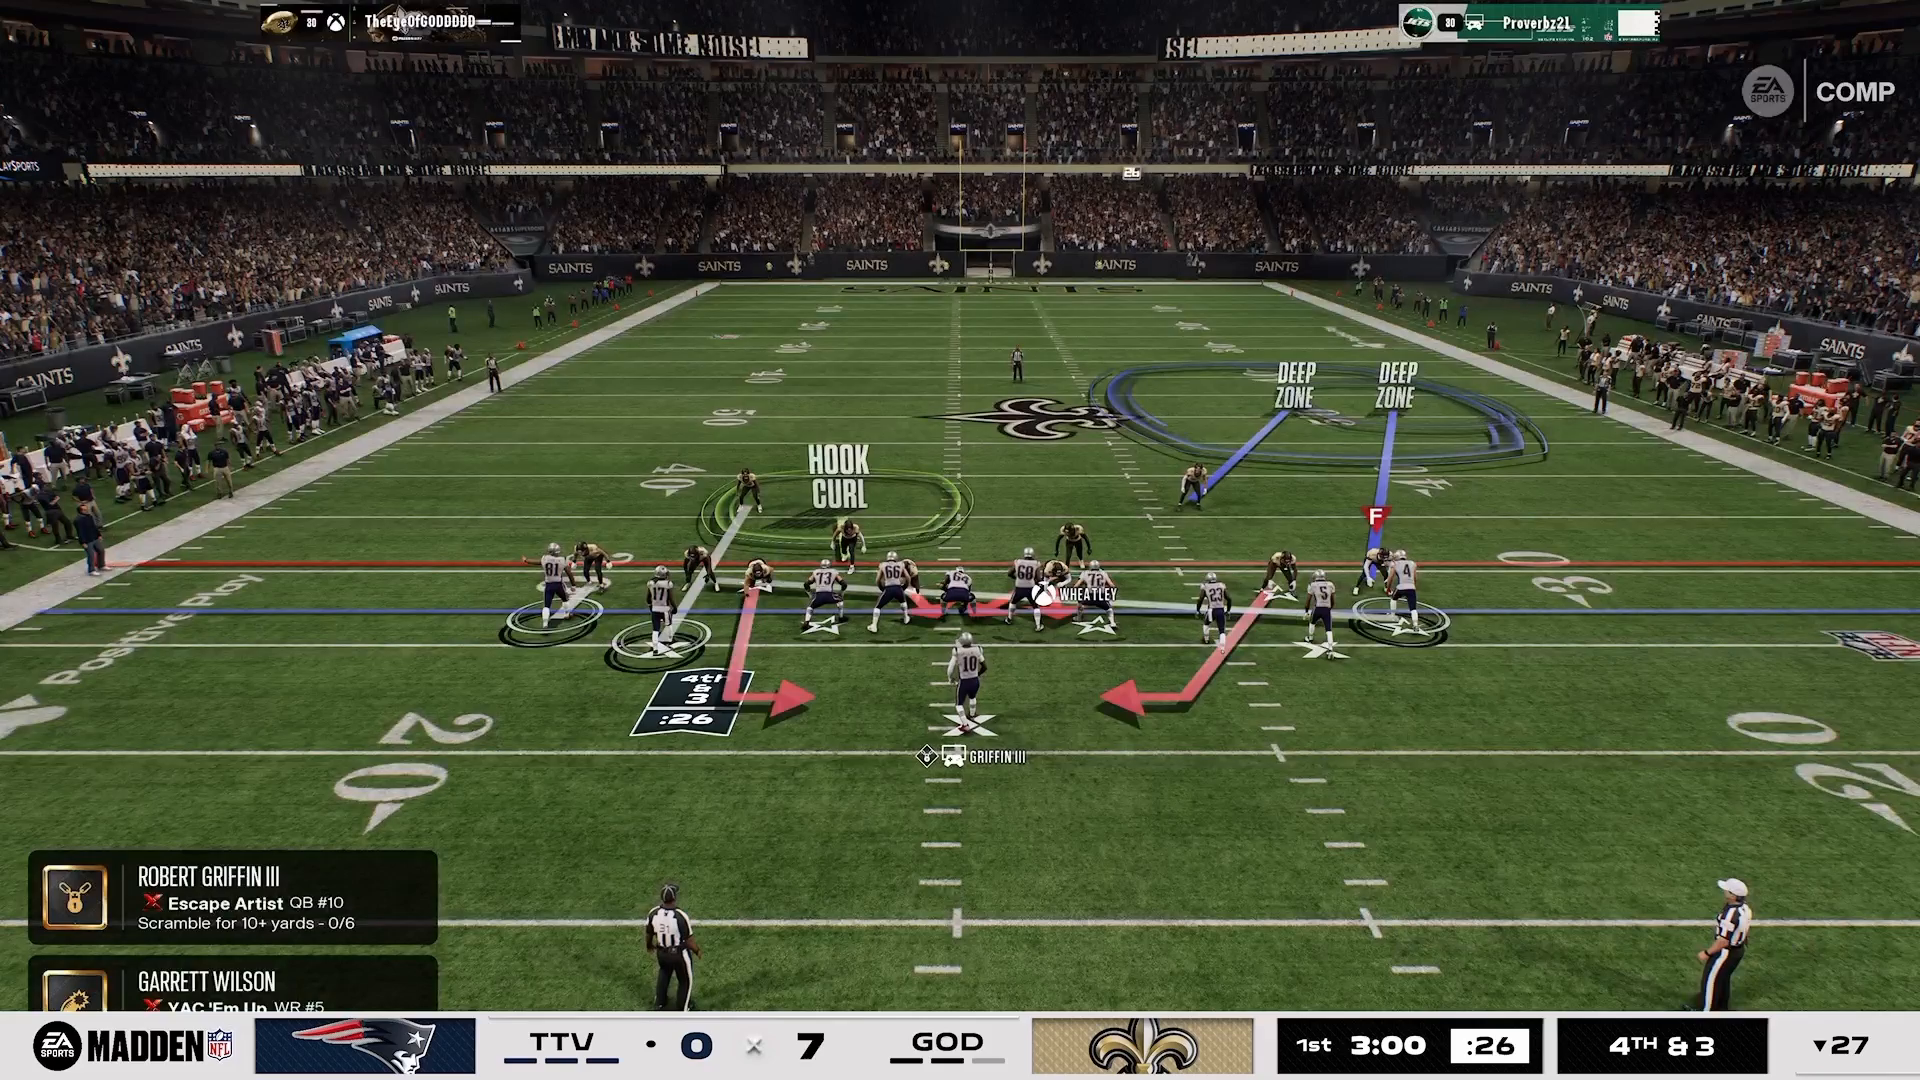
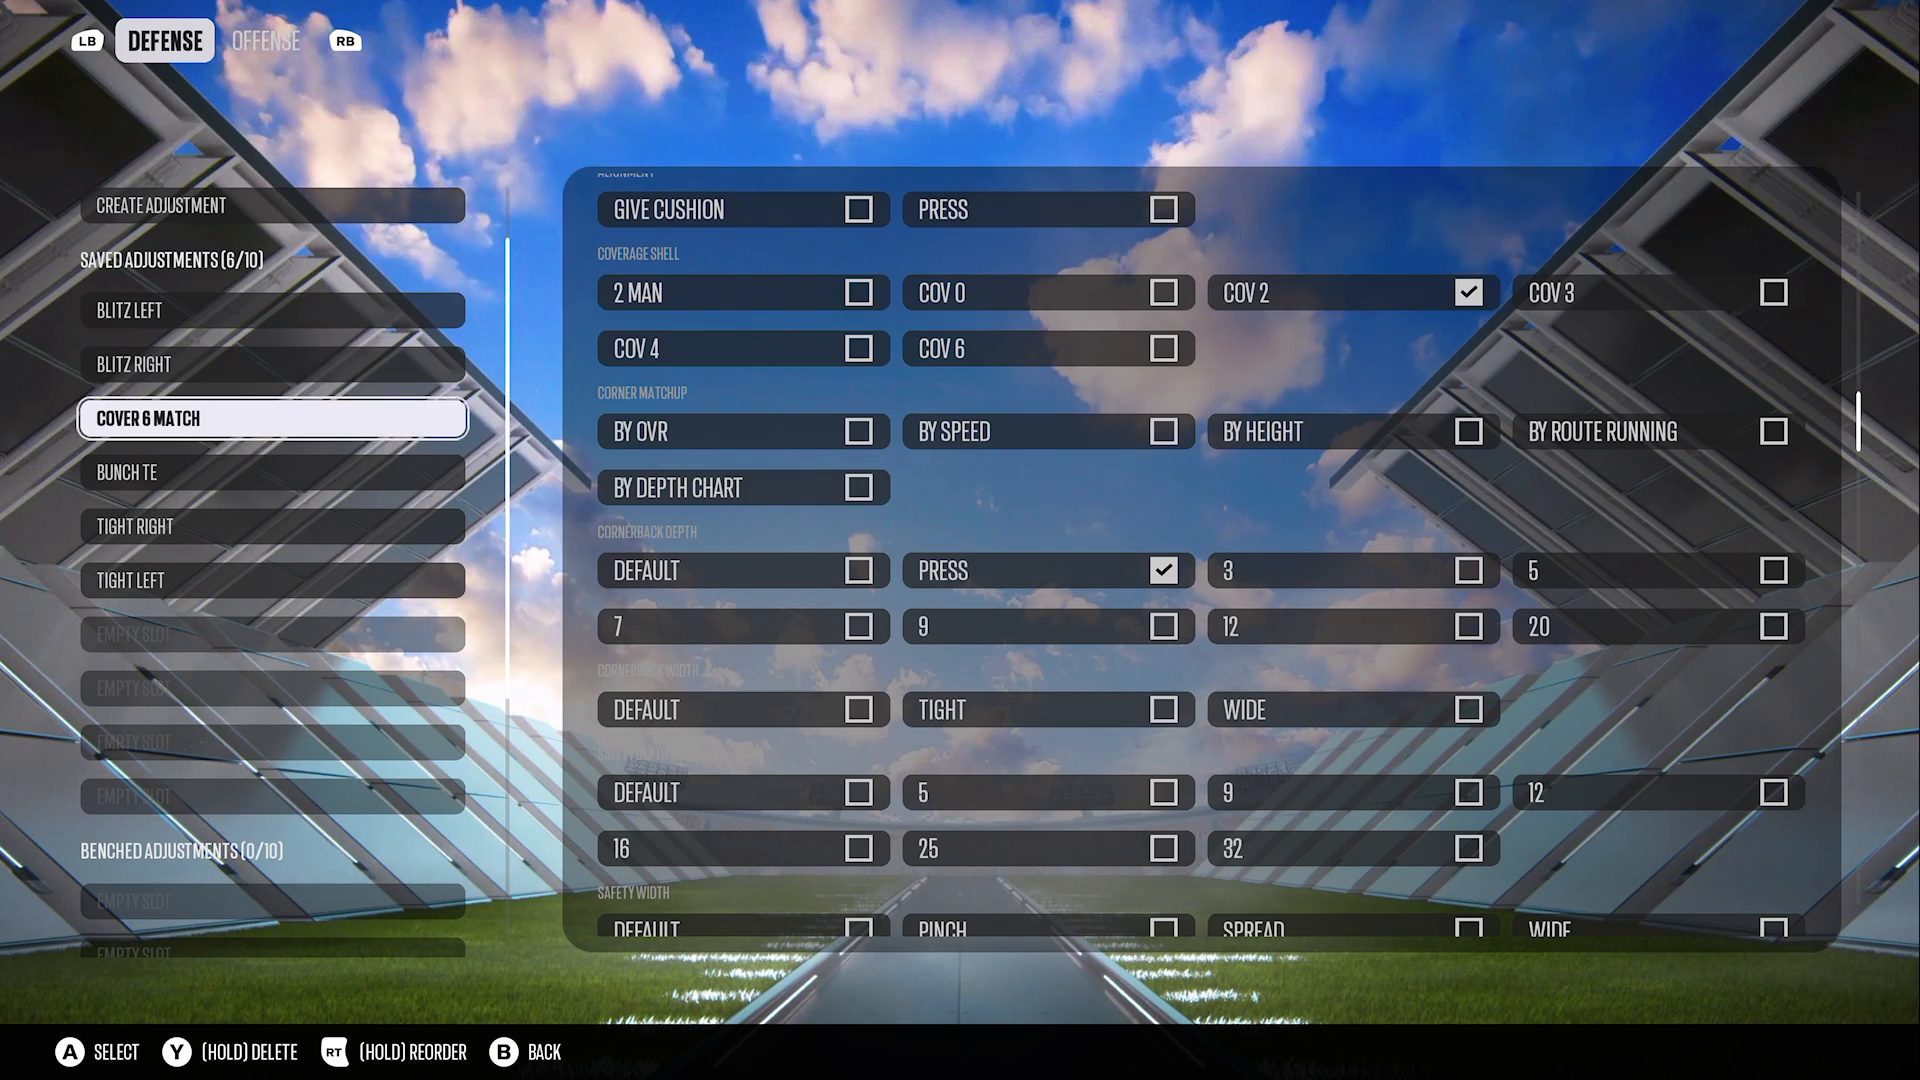
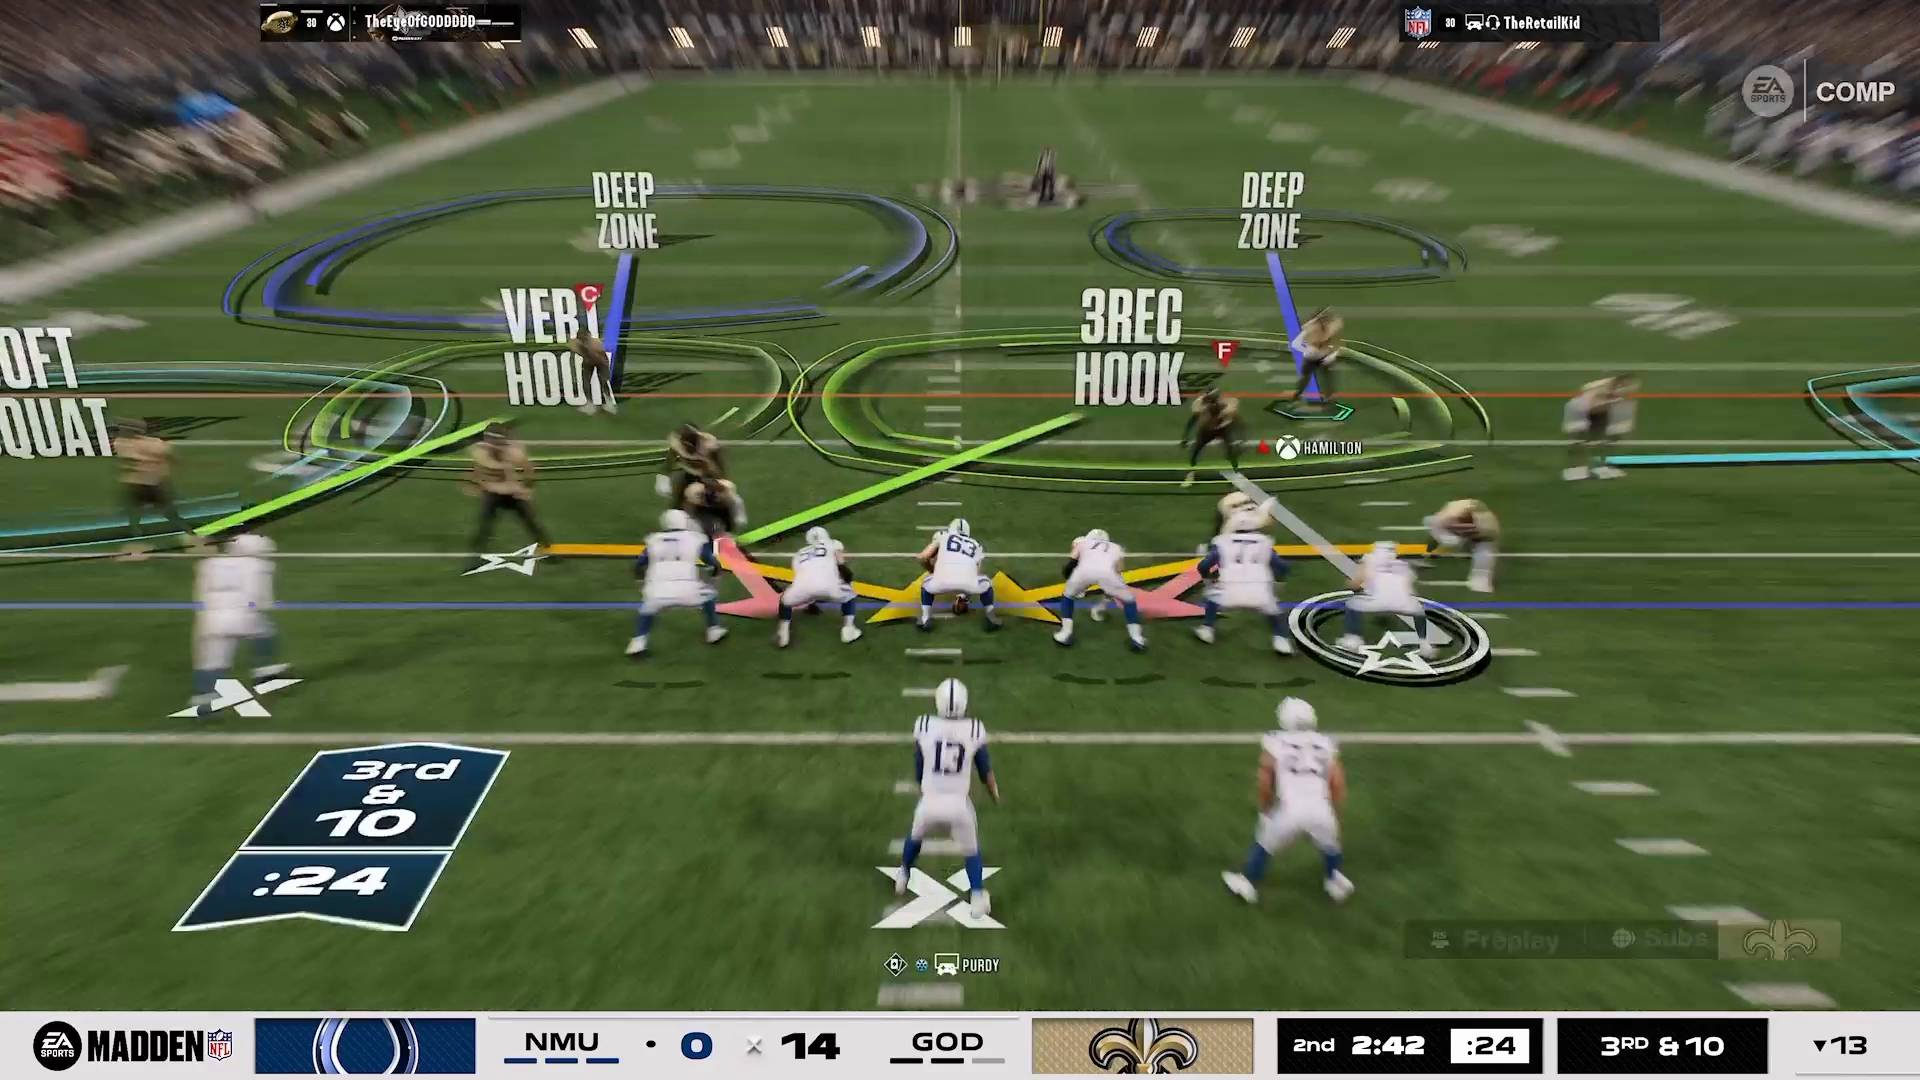
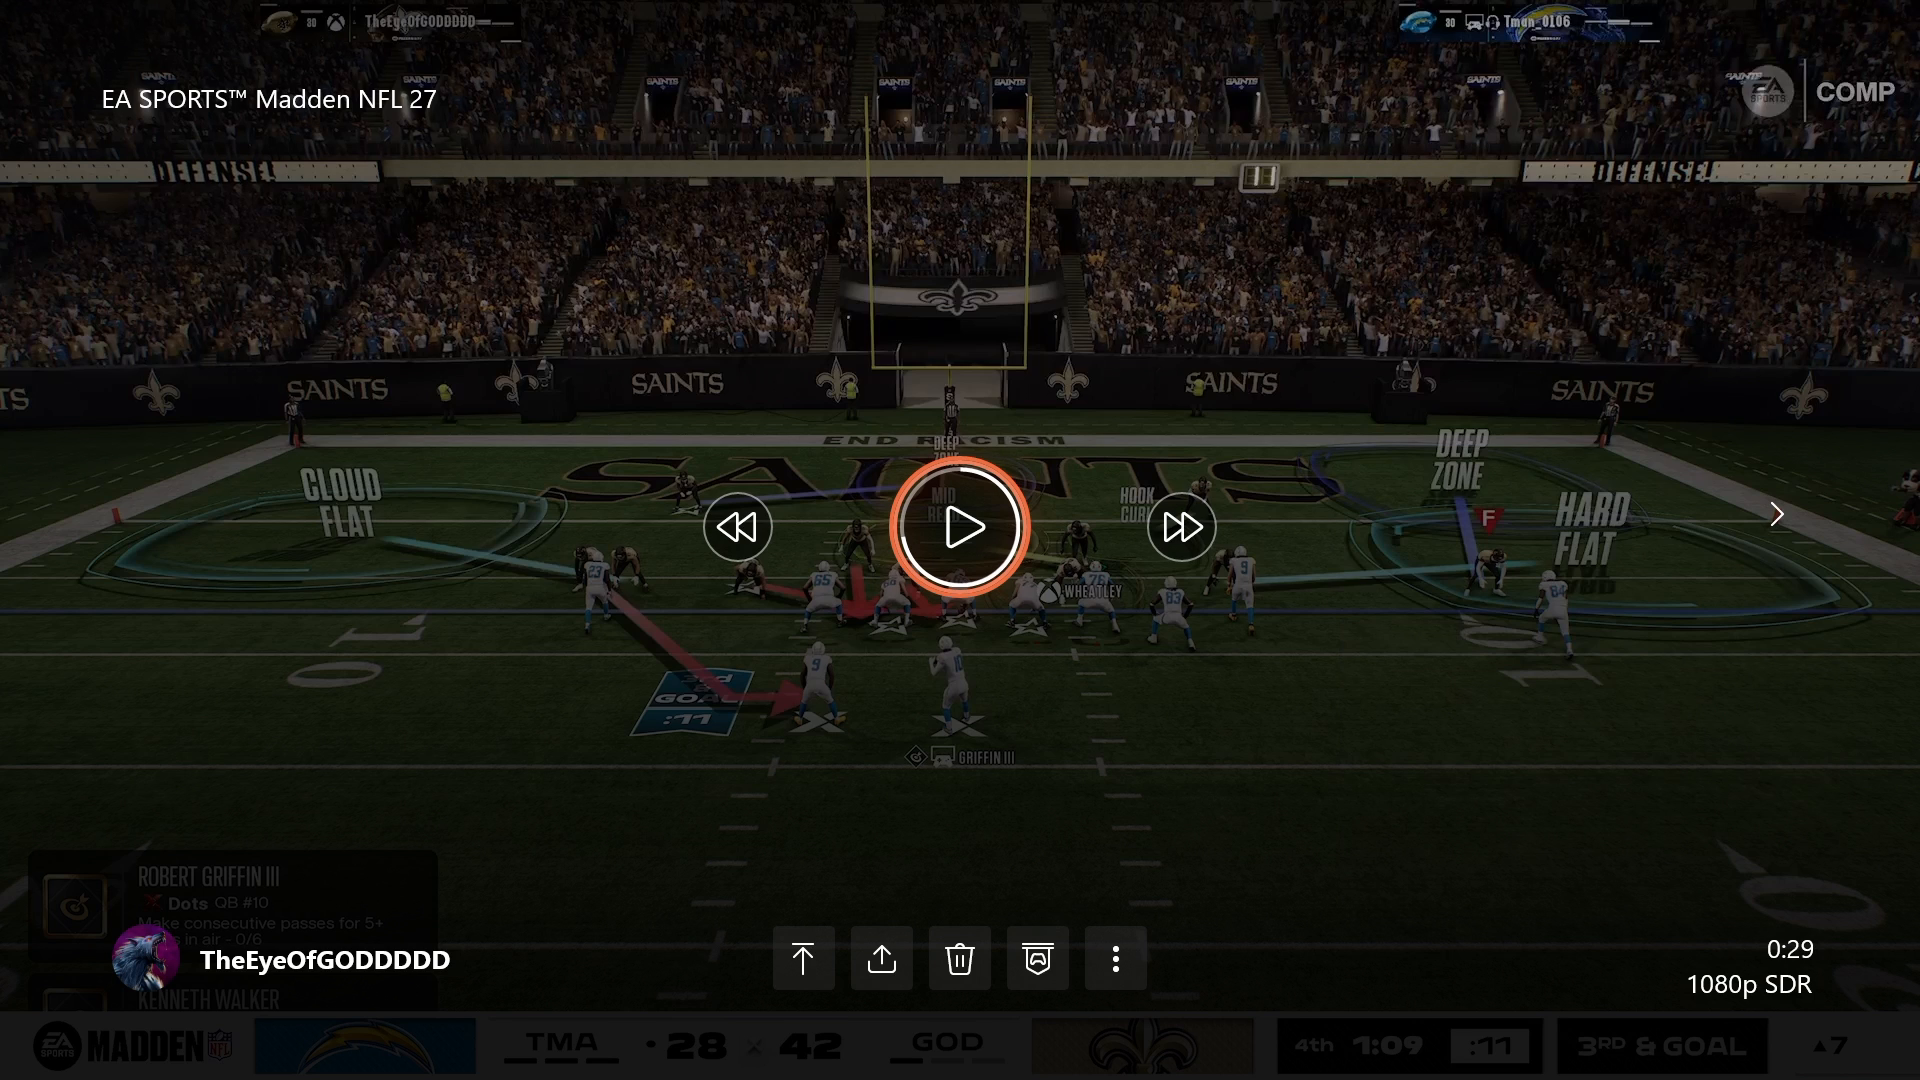
The first step in executing a strong red zone defense is establishing a solid defensive shell. The hybrid shell you should aim for combines elements of Cover 2 and Cover 3, allowing for flexible coverage that adapts to your opponent’s formation. Depending on what your opponent presents, you can adjust your shell accordingly.
Utilizing the 16 Spaces System will help you identify which areas of the field your opponent is likely to target. This system makes decisions intuitive, especially when deploying the DB Fire 2 macro. The shell choice is crucial, as it sets the tone for your defensive response.
Utilizing Outside Quarters
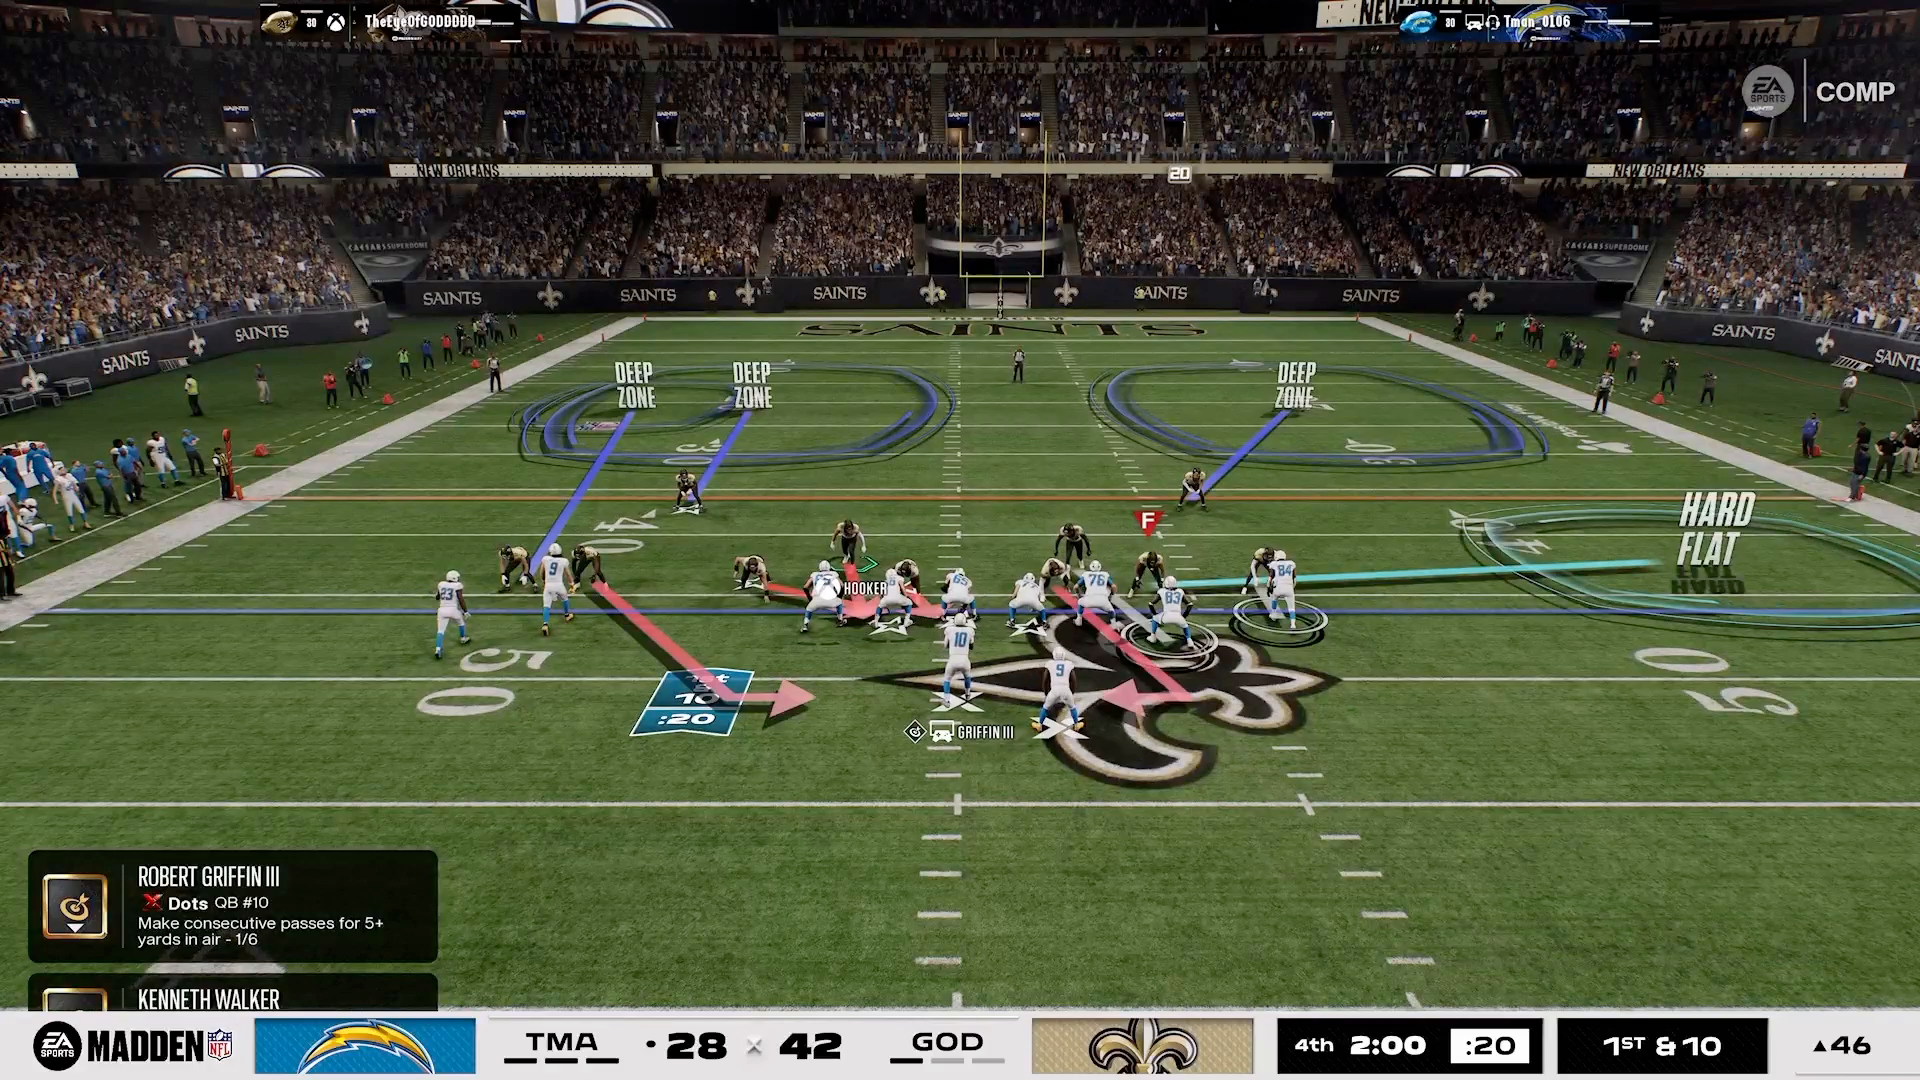
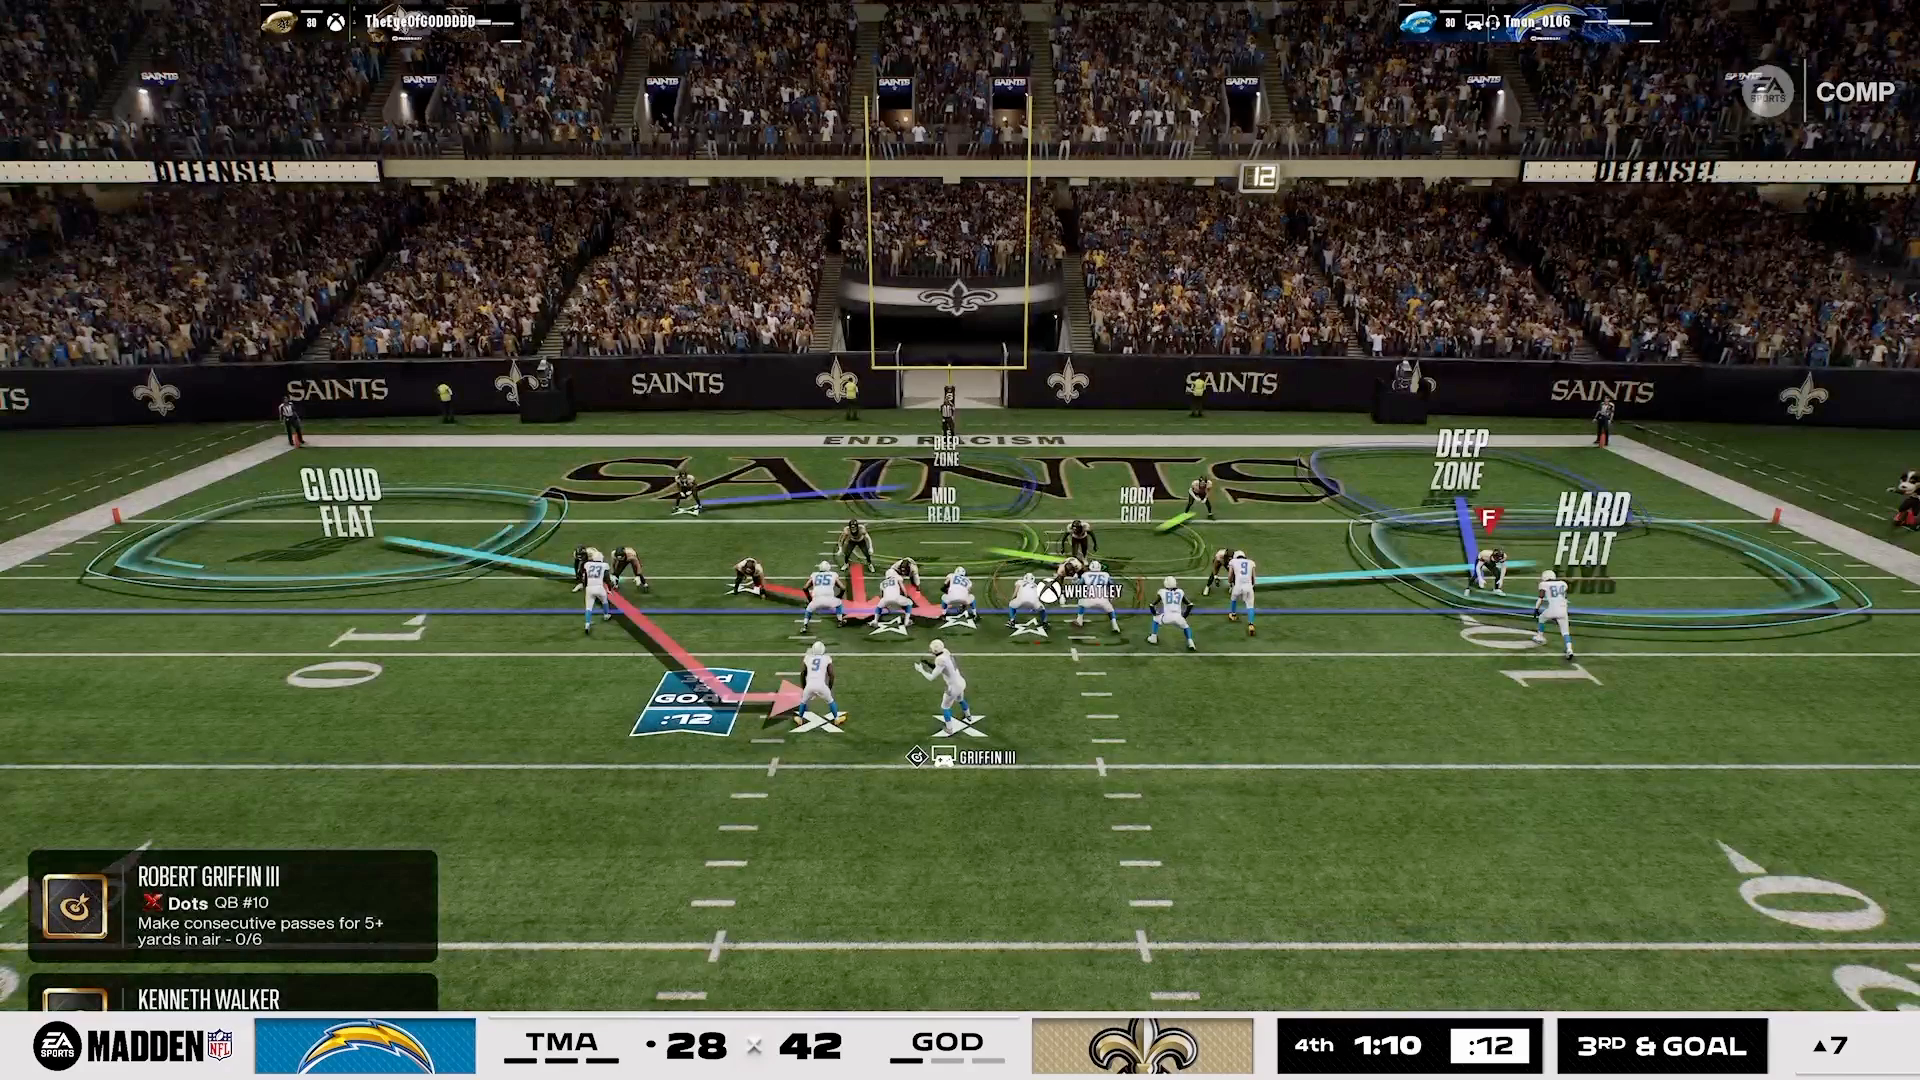
When defending the edges, avoid using claw flats on the outside unless your opponent is heavily favoring one side. Claw flats can be a liability; they often get sucked down into shallow routes, leaving gaps for corner routes and post in-routes behind the end zone. Instead, outside quarters are your best bet. They provide better edge control and align perfectly with the principles of the 16 Spaces logic, allowing you to manage both horizontal and vertical threats effectively.
Implementing Hooks and Hard Flats
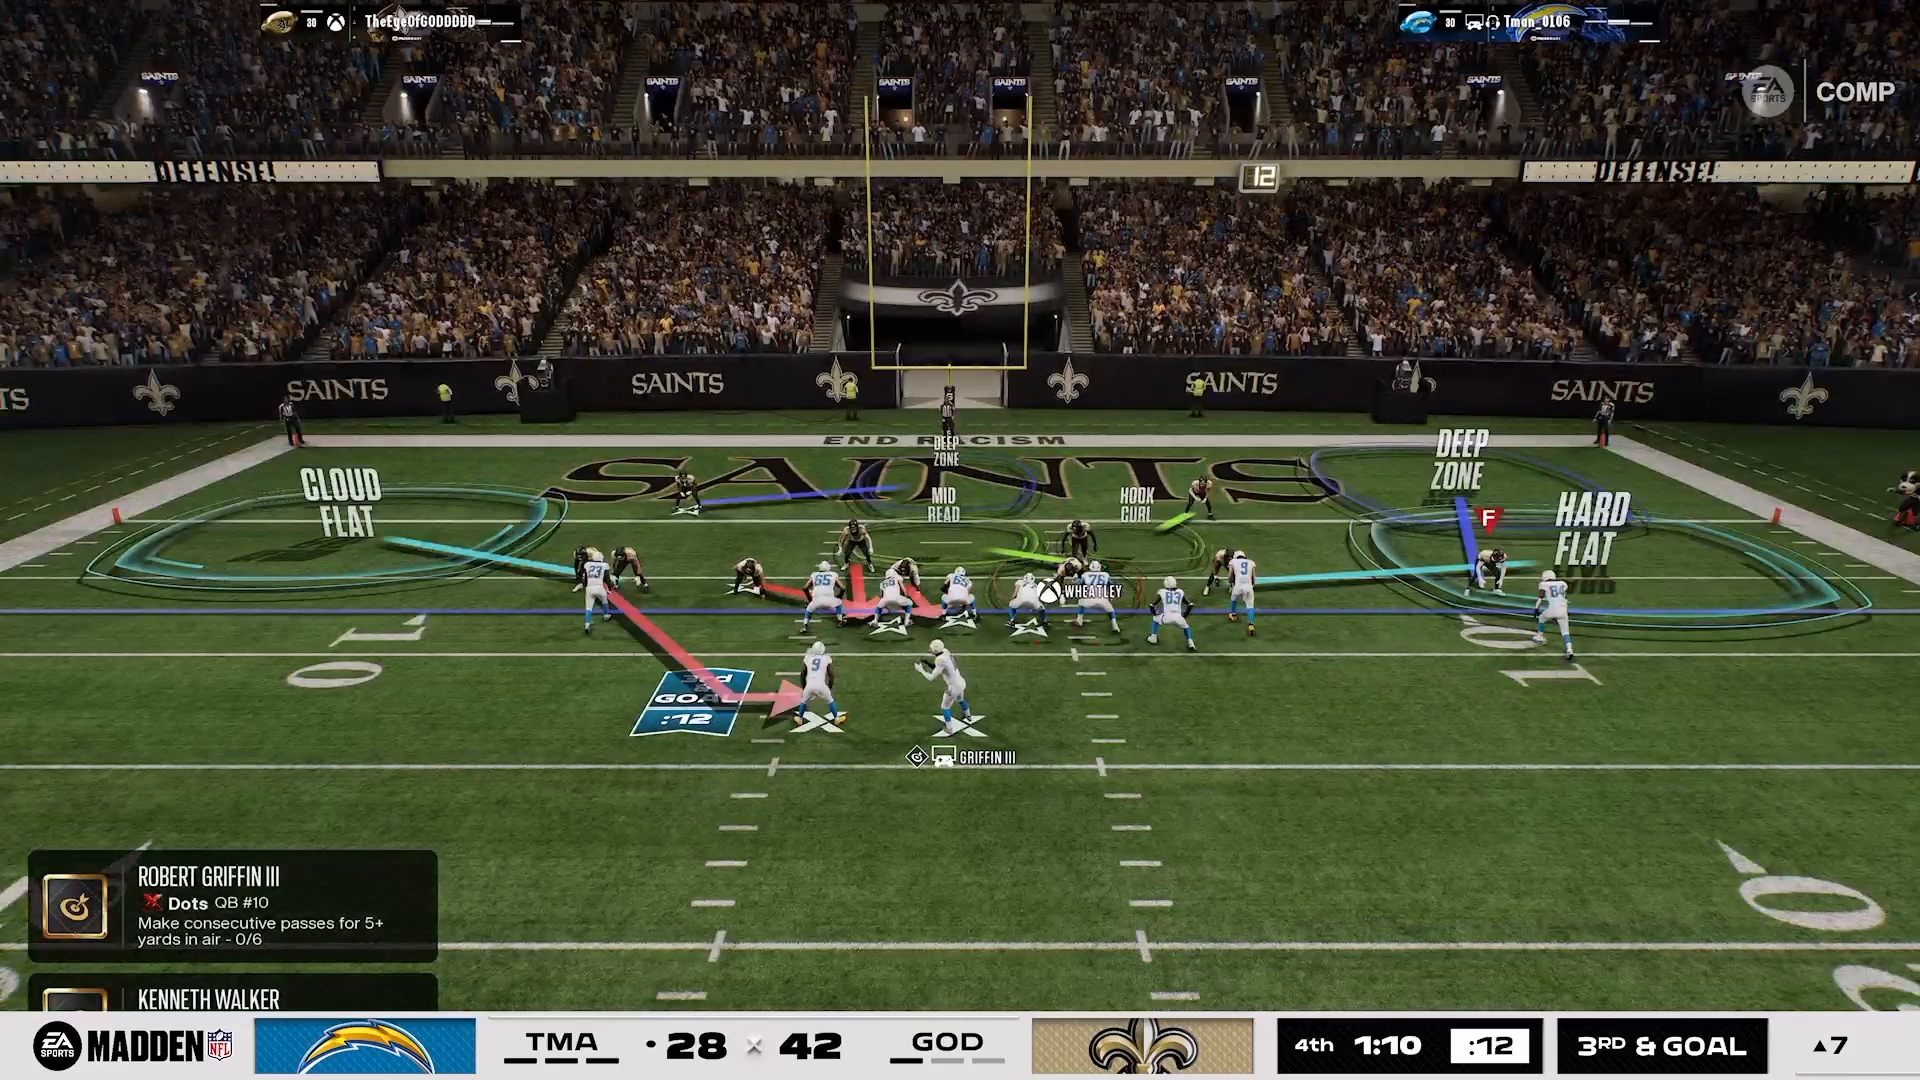
In the red zone, prioritize hard flats instead of curl-flats. Hard flats are designed to play both low and high, effectively taking away quick snap throws that can catch a defense off-guard. A critical component of this strategy is ensuring you have at least two hooks on the field at all times.
Positioning a safety hook to the right while supporting with an inside-third coverage on the lone side creates a straightforward yet effective coverage scheme. This setup not only disrupts the quarterback’s options but also aligns with the 16 Spaces System, making it easier to anticipate and counter your opponent’s plays.
Blitz and Spy Strategy
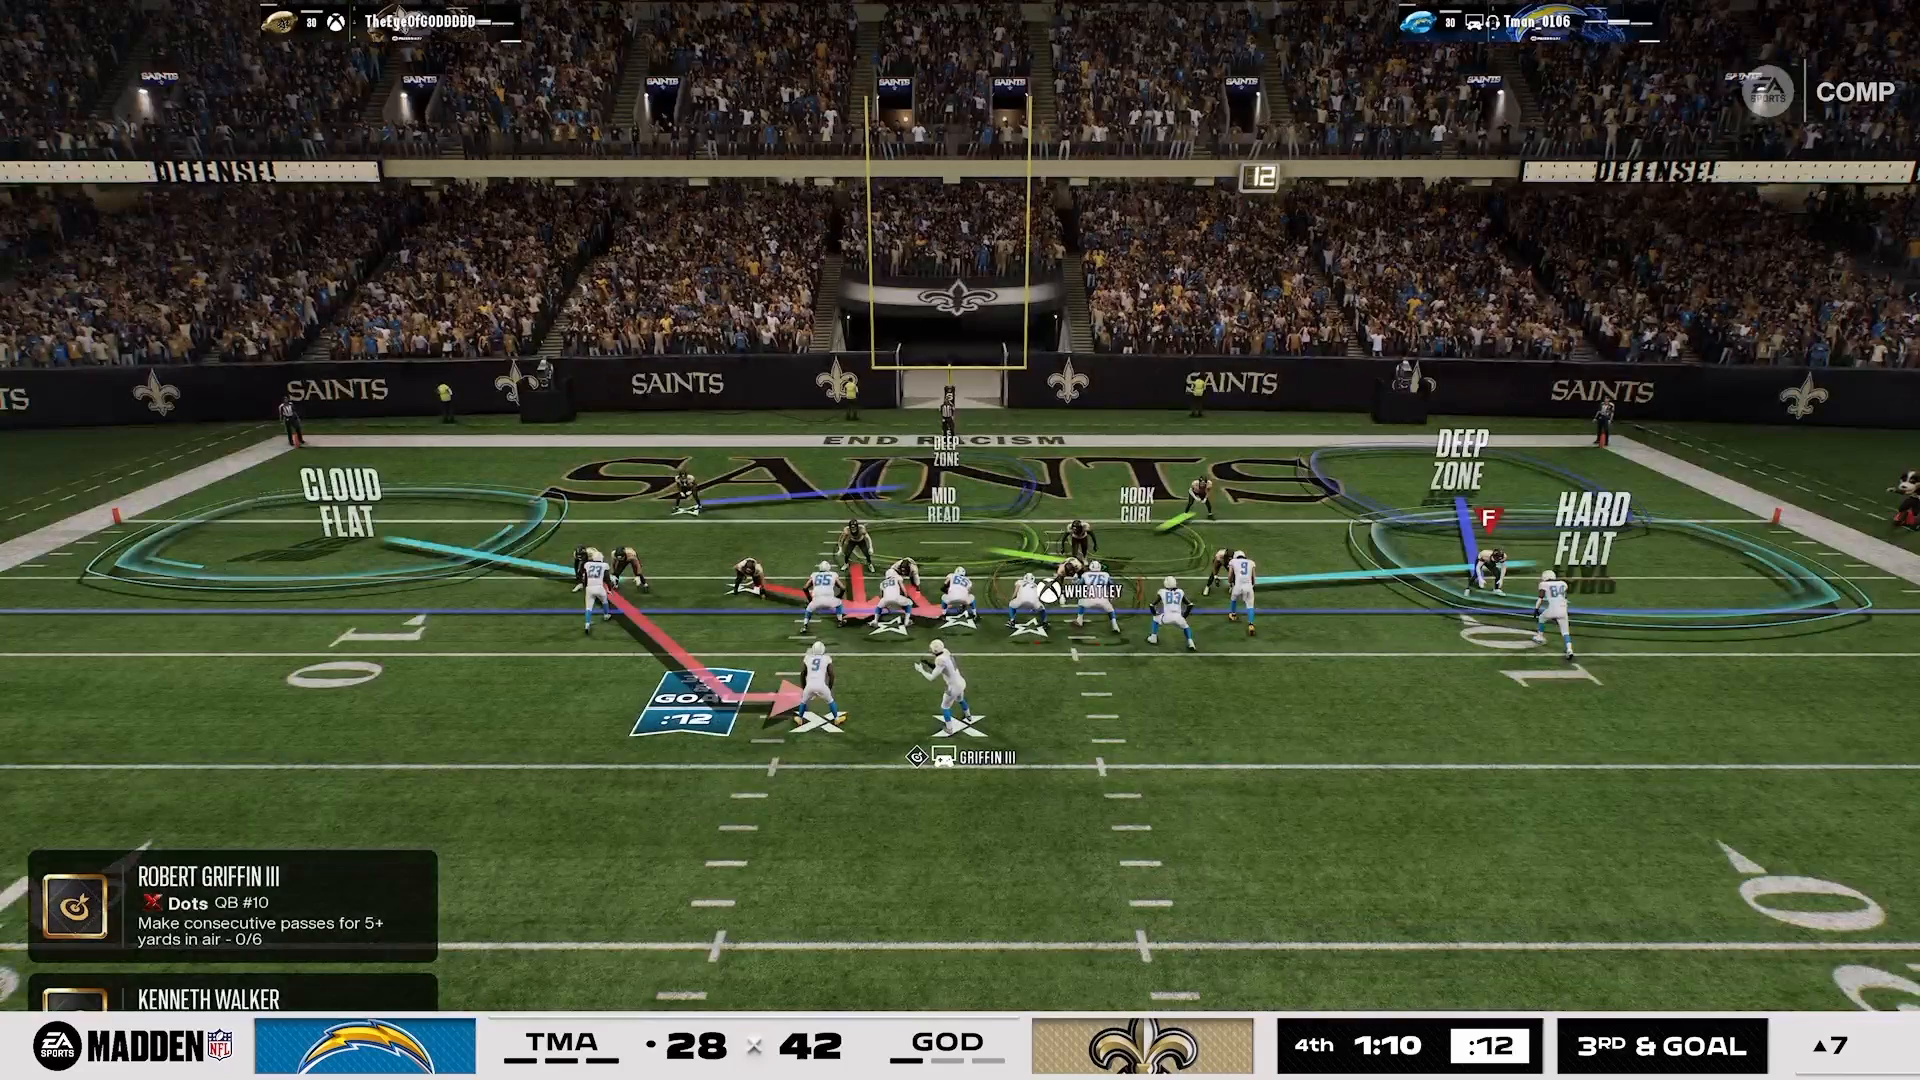
A four-man blitz with a contain element is an essential part of your red zone defense. This blitz is effective in pressuring the quarterback before he has the chance to set up for a speed-drag or other quick routes. To further enhance your defensive strategy, deploy a spy to handle any potential quarterback scrambles. The spy is crucial; without it, your opponent can exploit open lanes and gain valuable yardage.
The combination of blitzing and having a spy forces the quarterback into making rushed decisions, often leading to risky throws that can result in interceptions or incompletions. This is where the mental chess aspect of Madden comes into play, as you manipulate your opponent’s expectations and choices.
Owning the Mental Chess
Red zone defense transcends mere schemes and tactics; it’s about making the right decisions under pressure. While many players focus on gimmicks or flashy plays, true mastery lies in understanding the mental chess game. To enhance your decision-making skills, consider dedicating time to practice and study. A 7-day commitment at Madden Academy can significantly elevate your understanding of these concepts.
This isn’t about rote memorization of plays; it’s about creating a decision-making framework that integrates seamlessly with the 16 Spaces principles. Mastering these aspects will make you a formidable opponent in the red zone.