Understanding the Dime 3-2 DB Fire 2 Setup
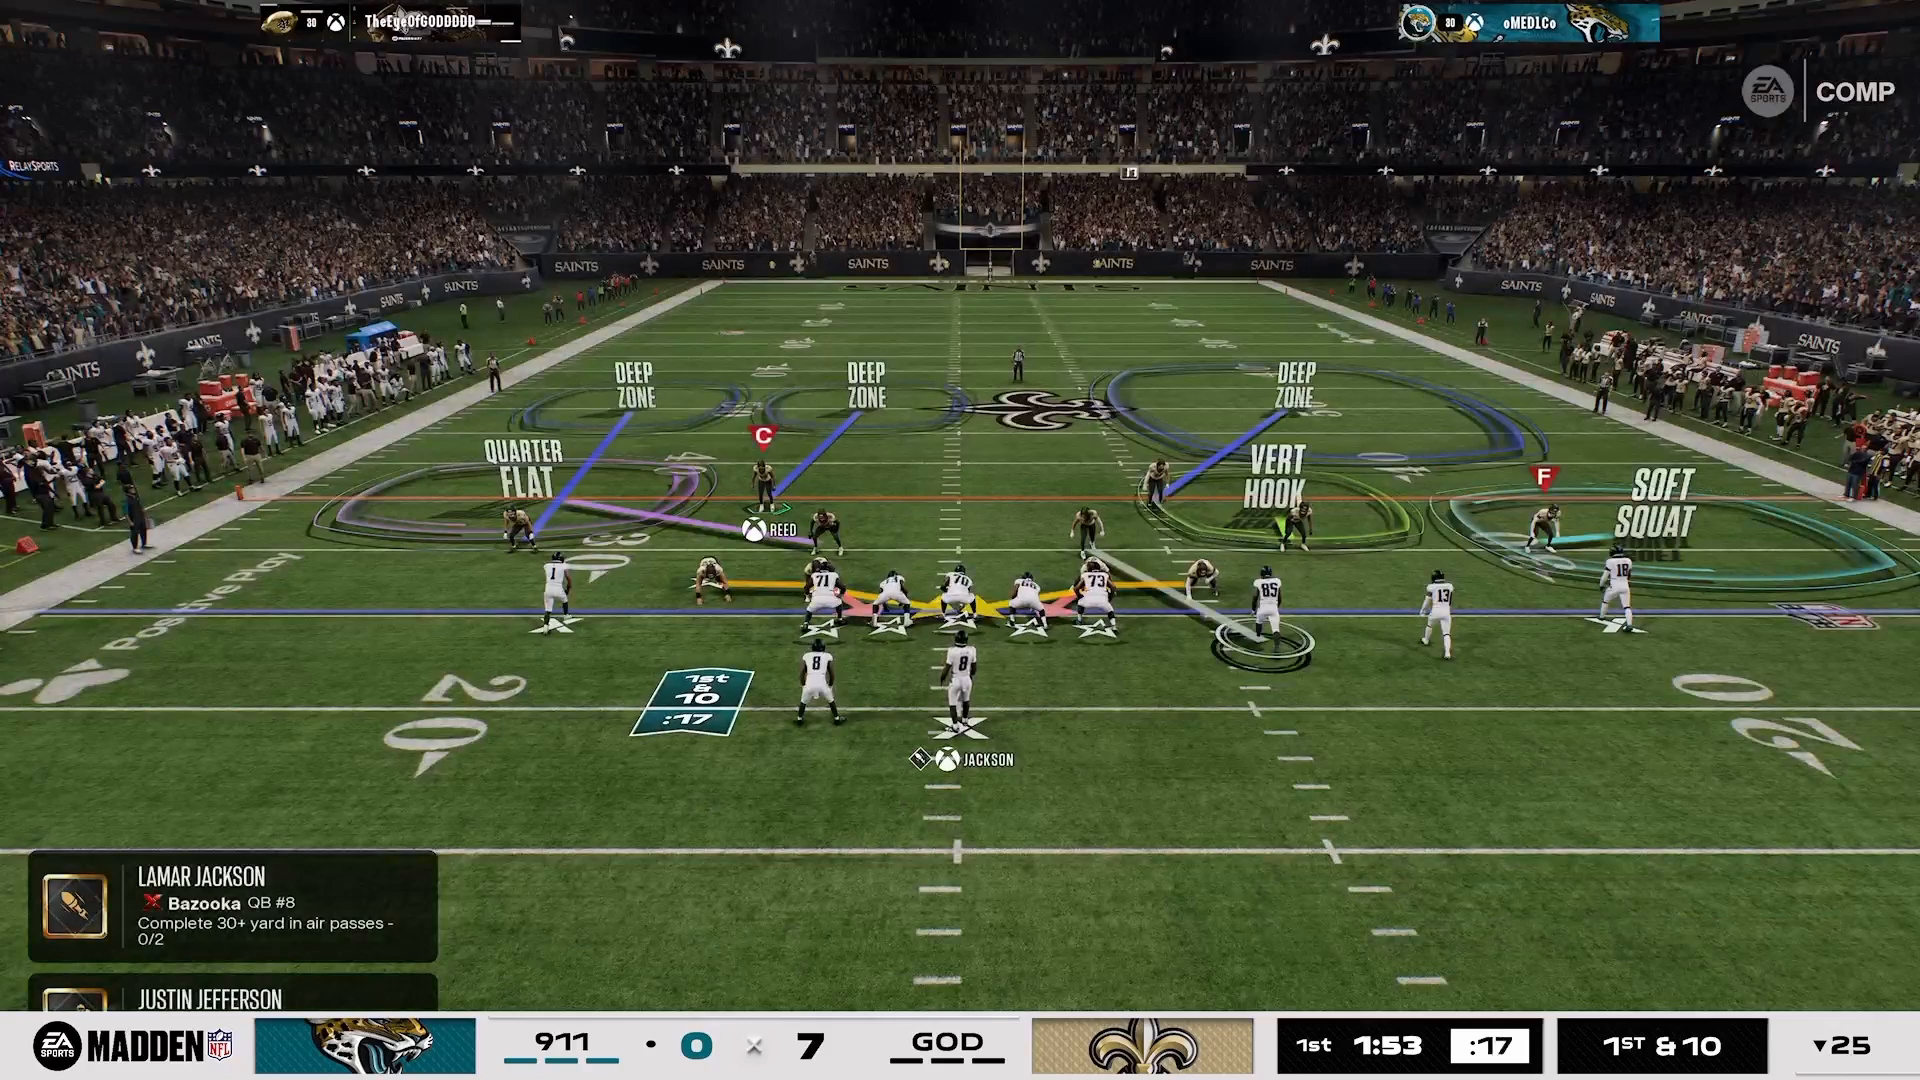
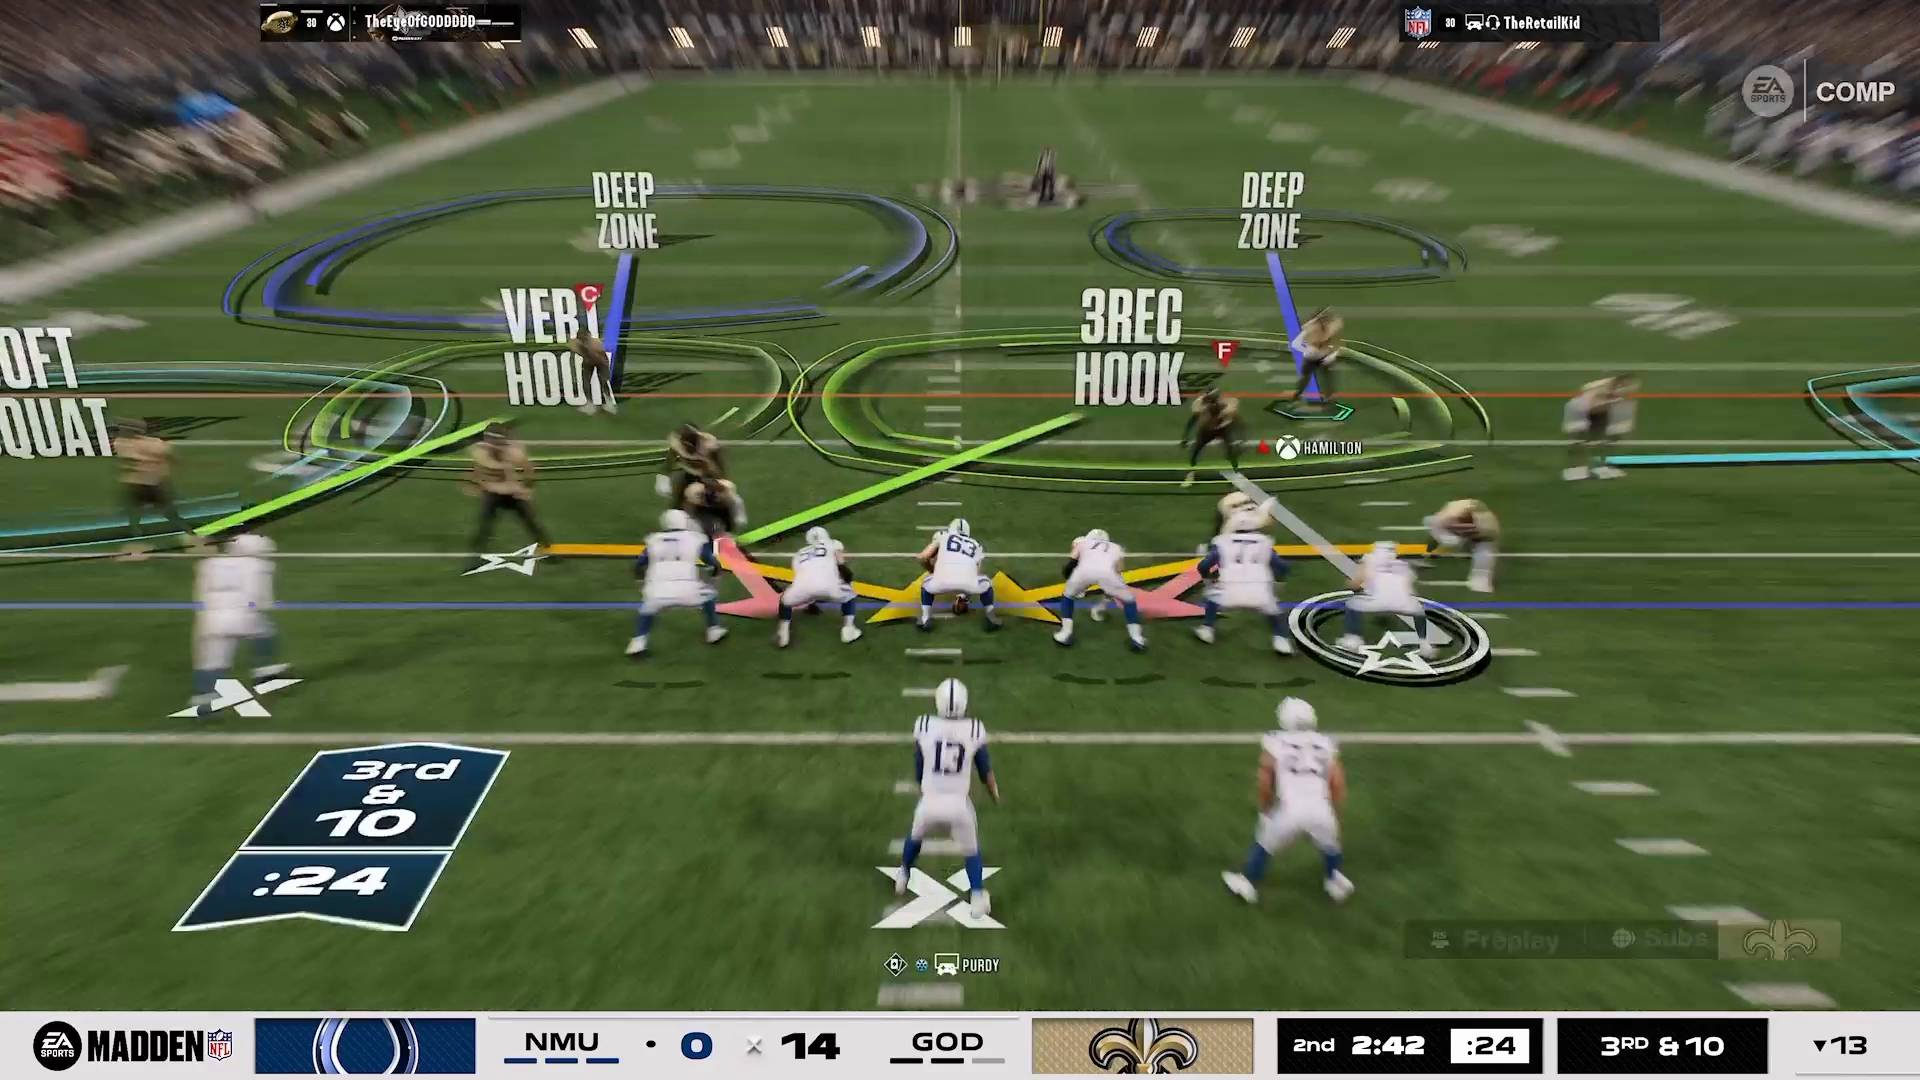
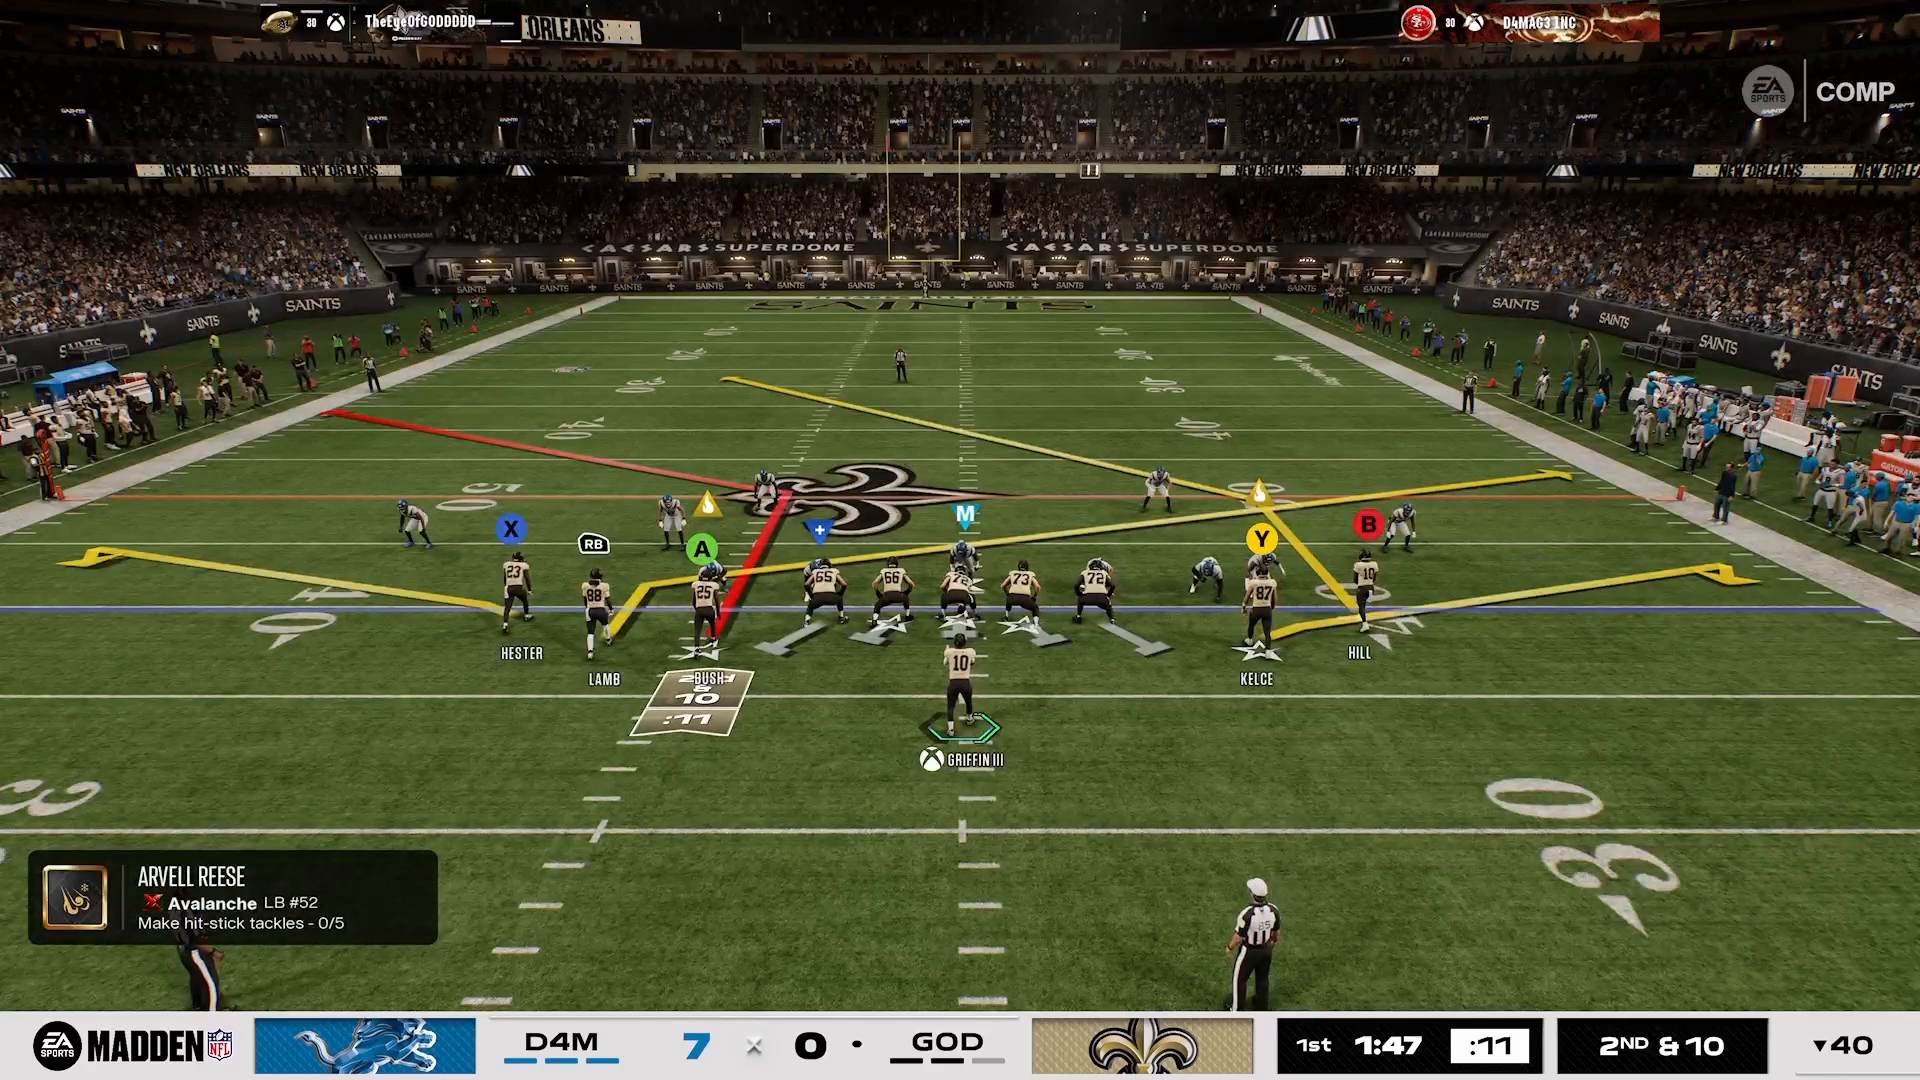
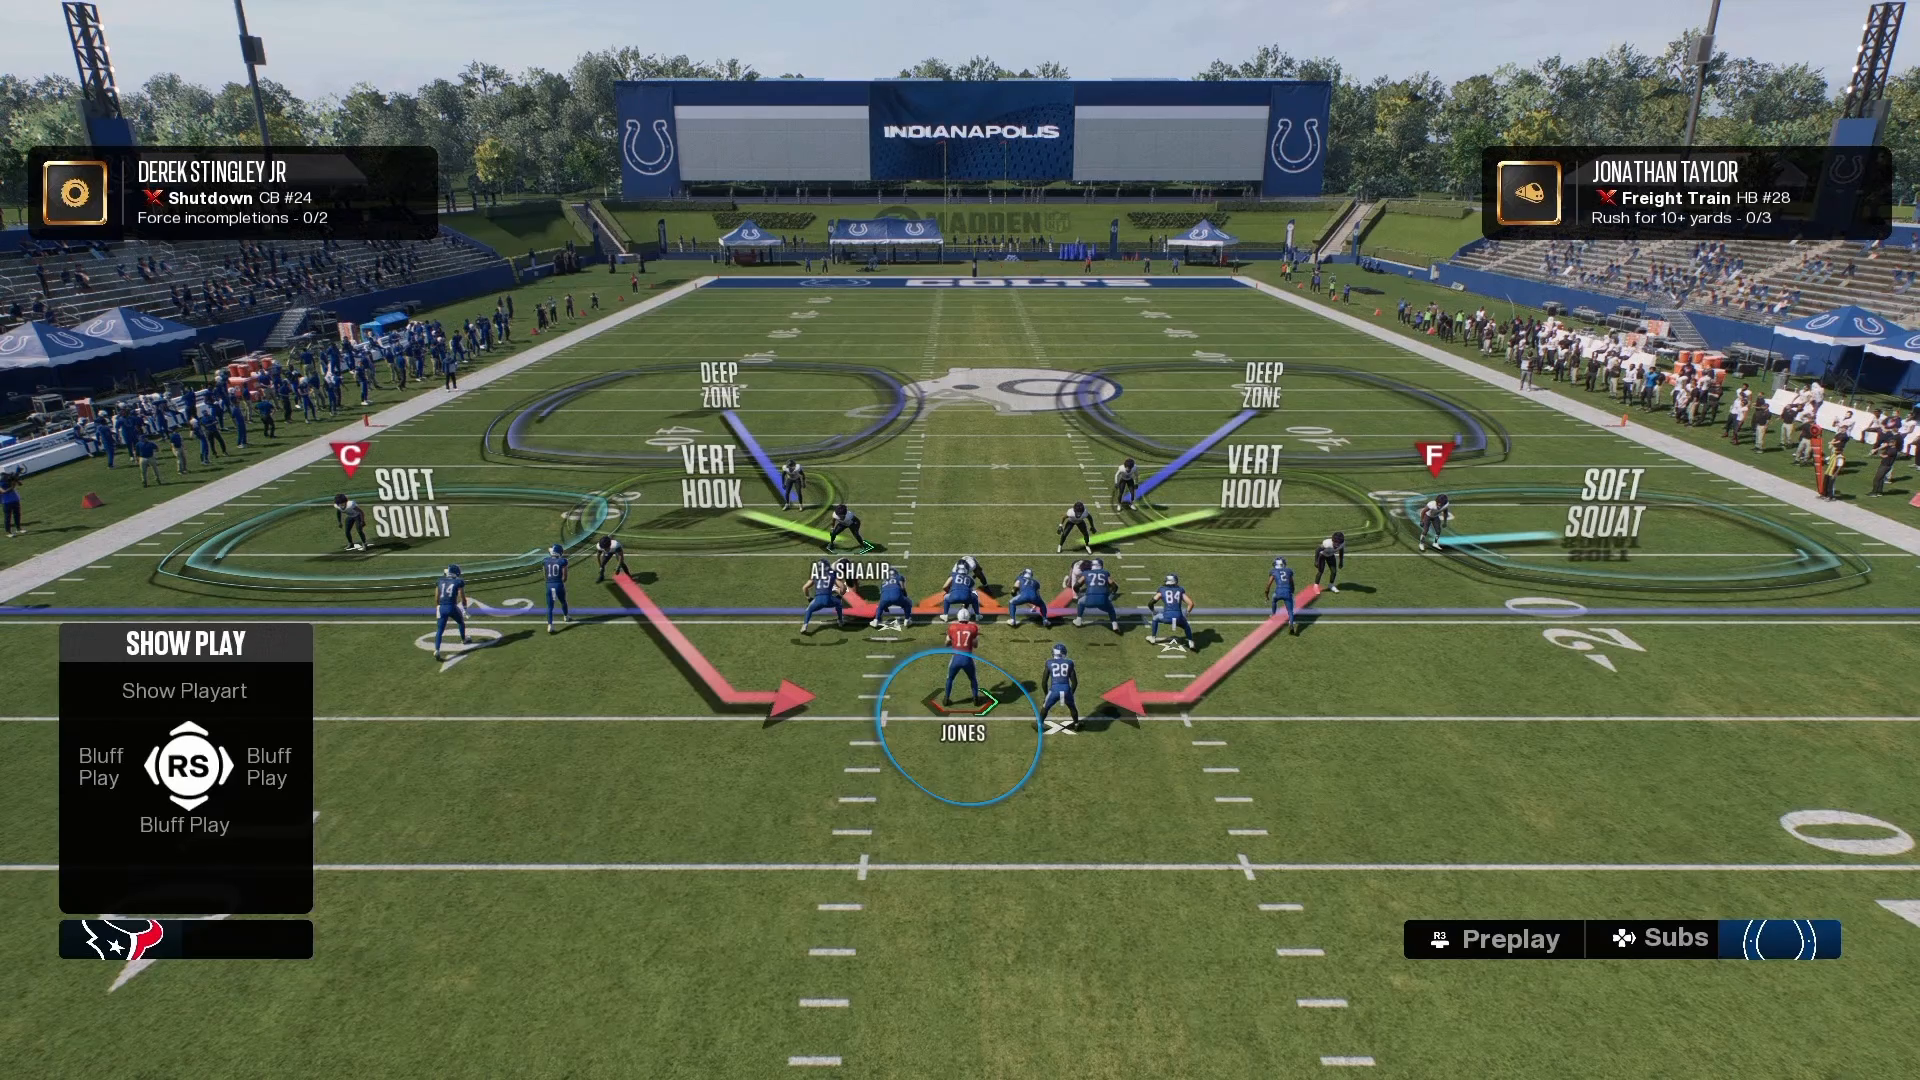
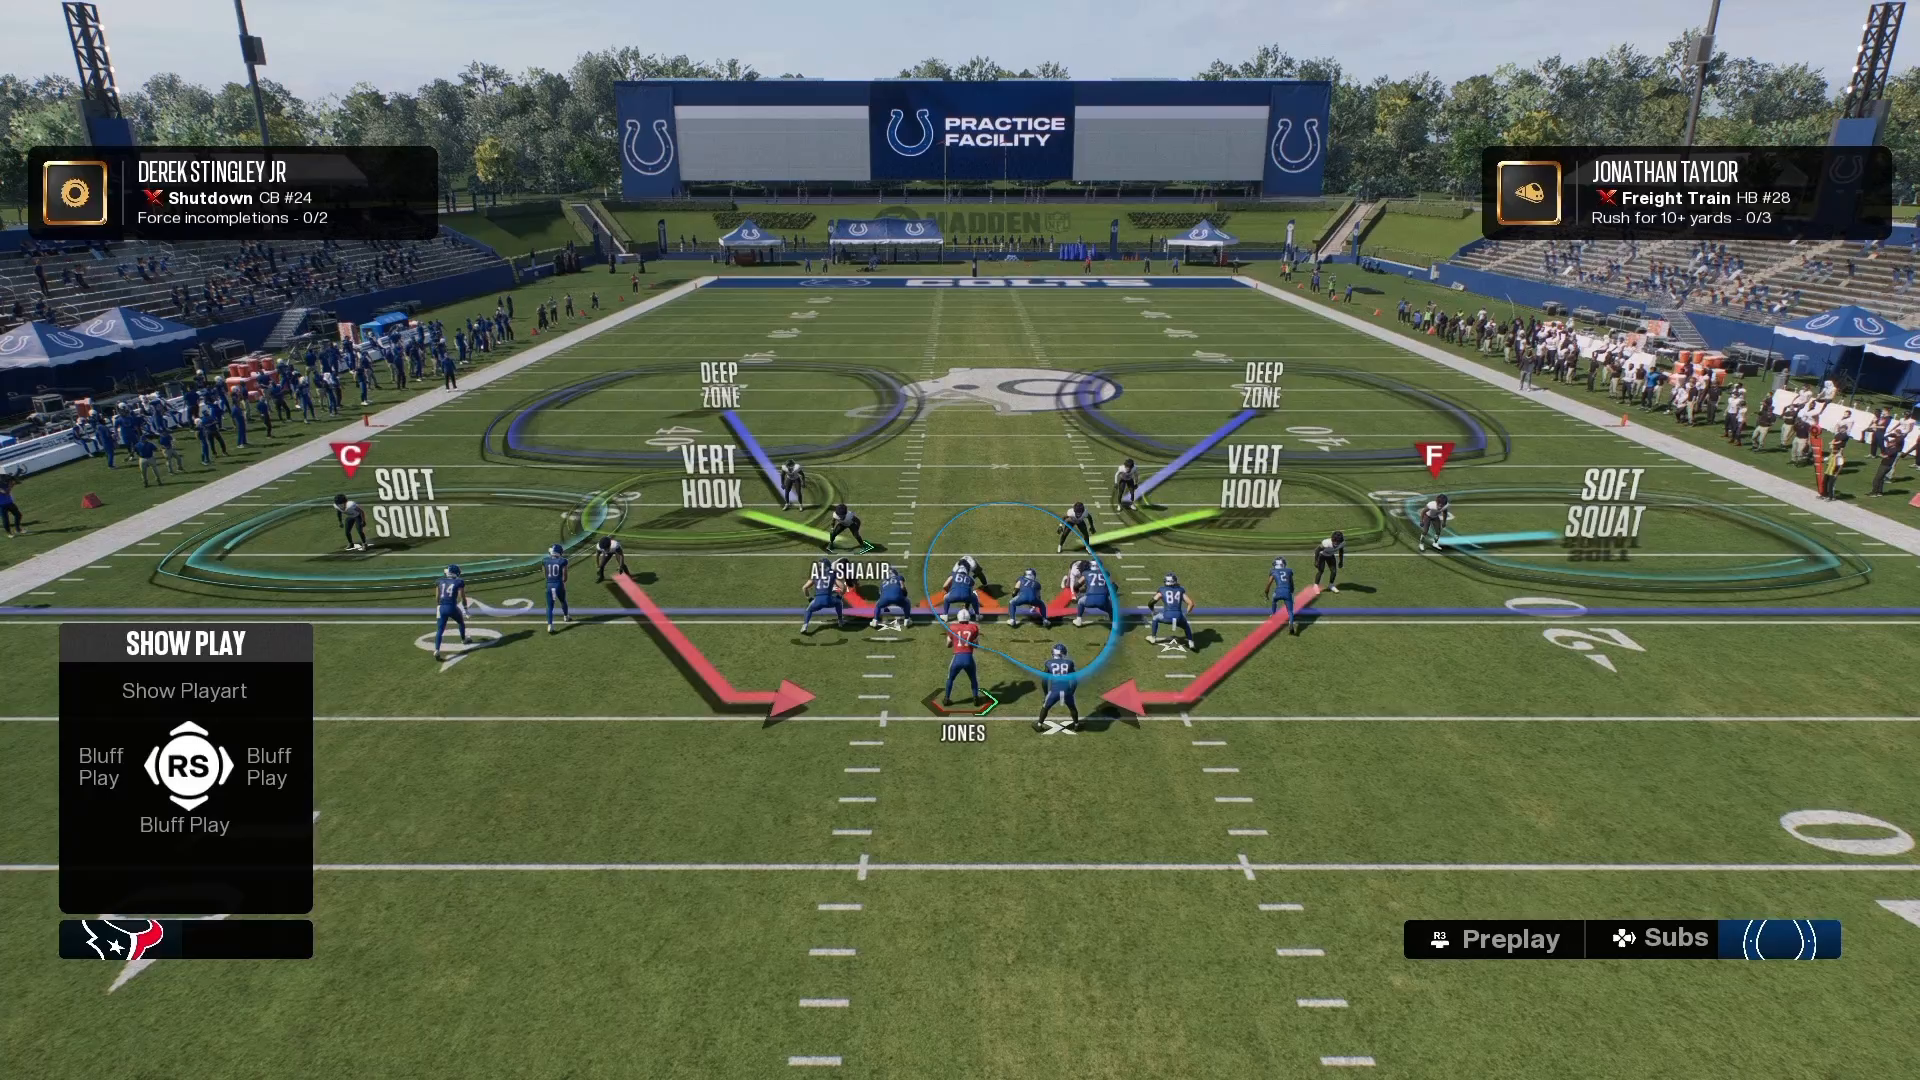
The DB Fire 2 blitz, particularly from the San Francisco playbook, is not just a defensive strategy; it’s a game-changer that can turn the tide in your favor. Setting it up correctly is crucial to maximizing its effectiveness. Start by selecting the Dime 3-2 formation and navigate to DB Fire 2. To enhance your setup, flip the formation so that the slot cornerback lines up lower, opposite the running back. This simple adjustment can create confusion for your opponent’s offensive line.
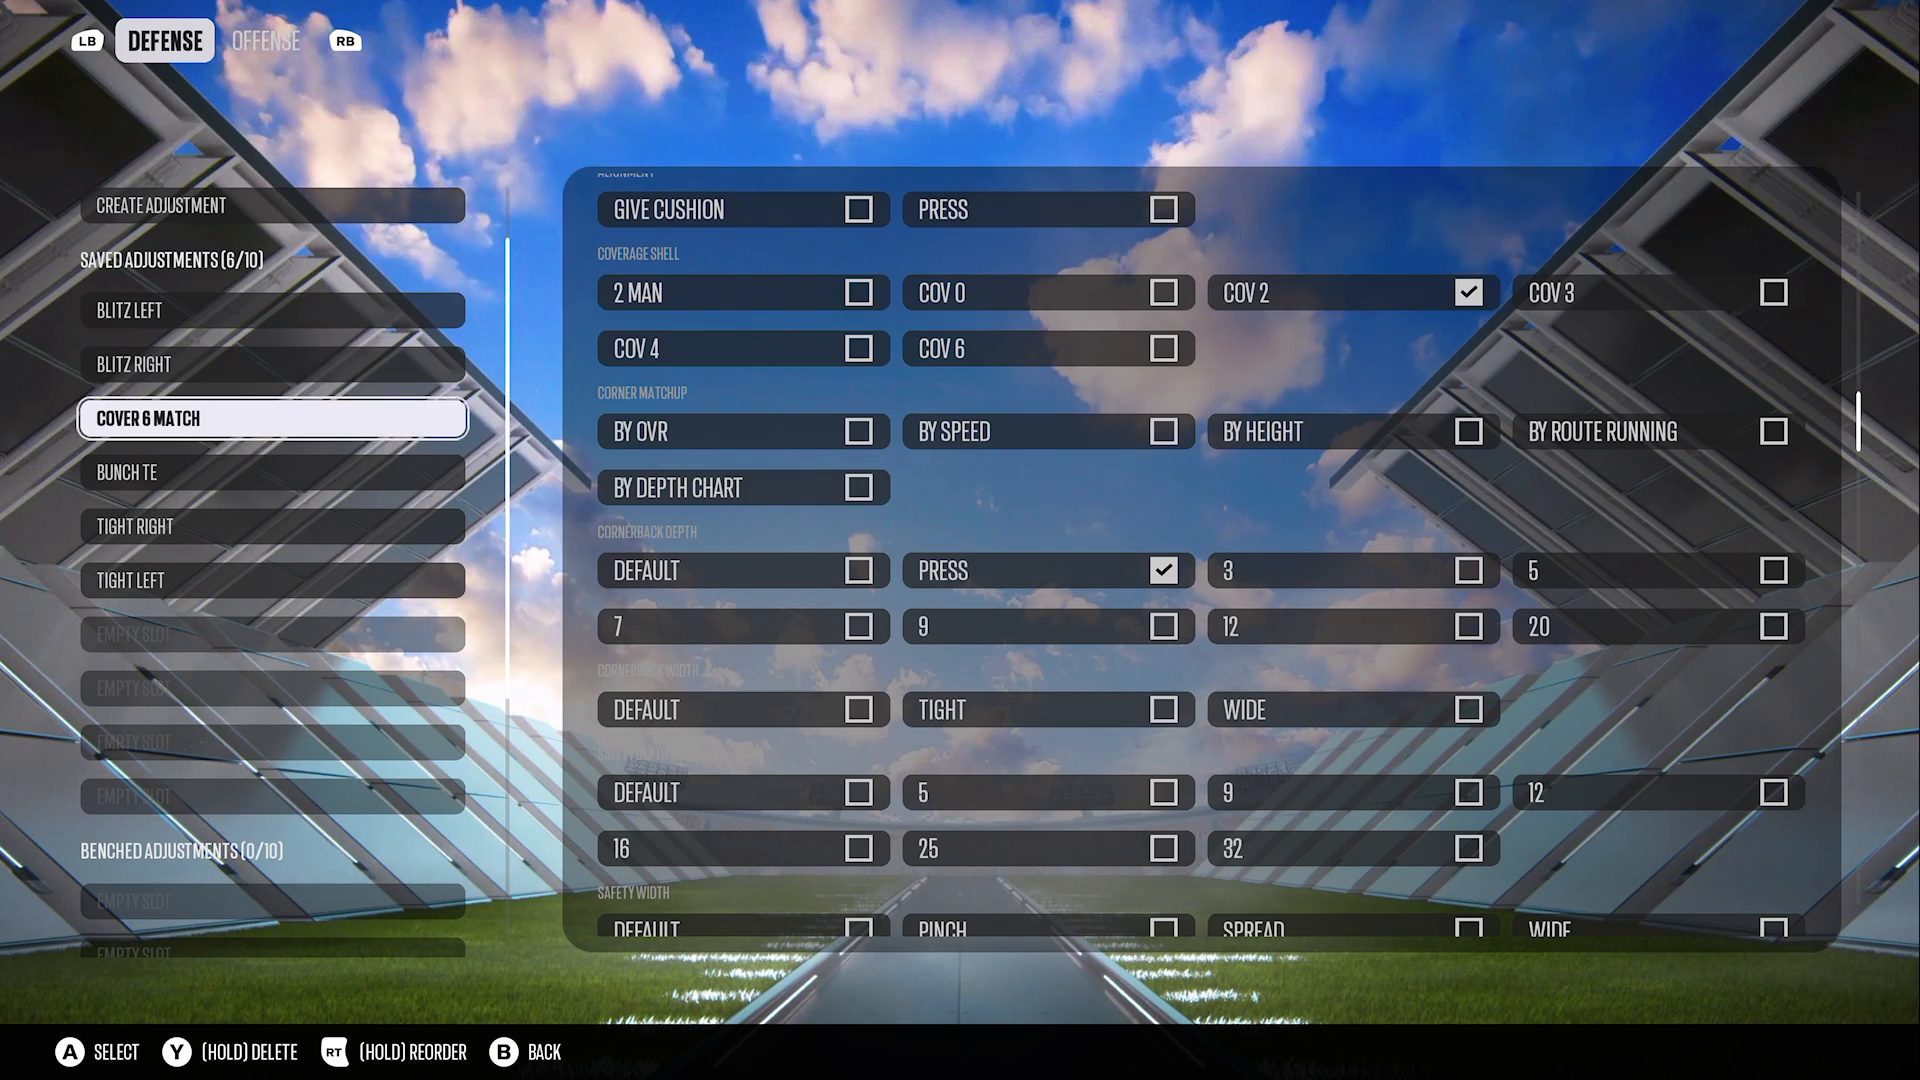
Next, manually move down the right slot cornerback. This positioning is essential for creating a pressure point against your opponent’s quarterback. Additionally, you should pinch your defensive line and instruct them to contain the quarterback. Remember, spacing matters—force the running back away from the chip. This creates a more favorable environment for your blitz to thrive, aligning perfectly with the concepts in our 16 Spaces Playbook.
Avoiding the Show-Blitz Backfire
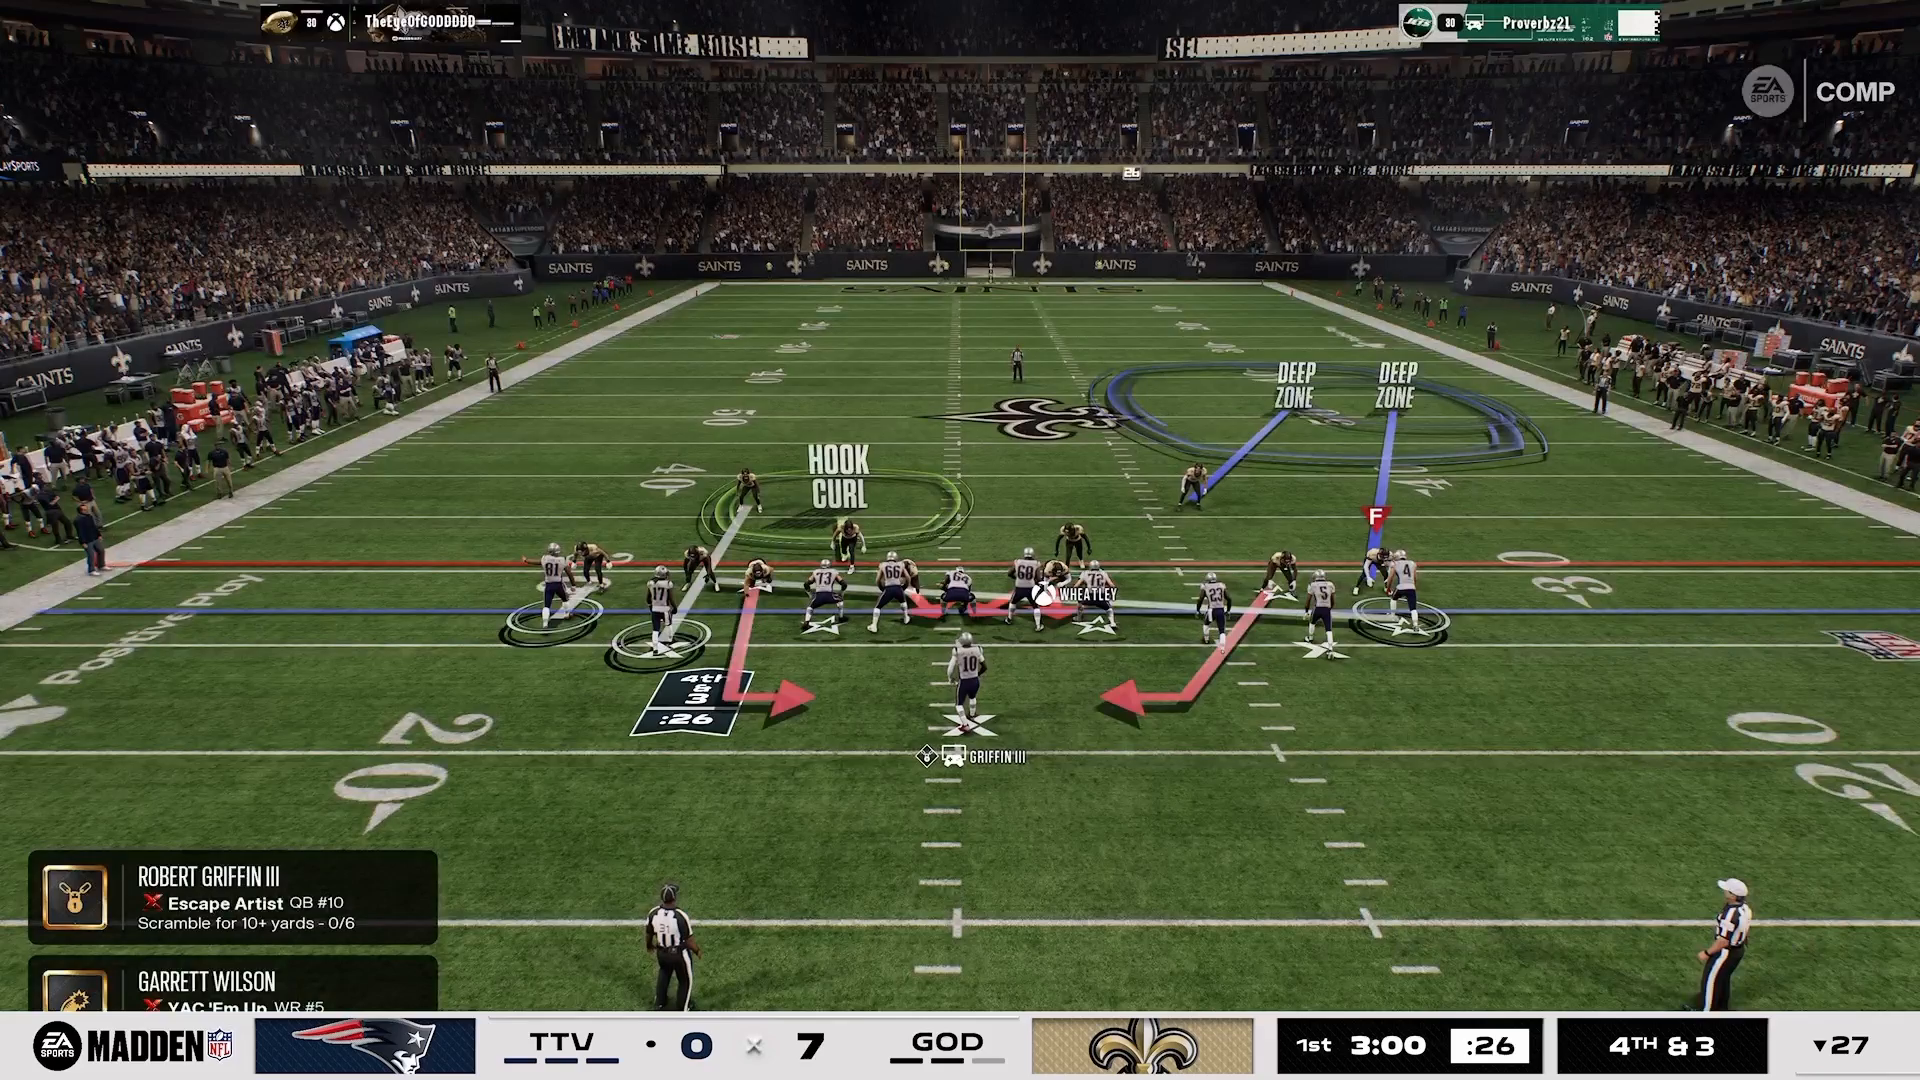
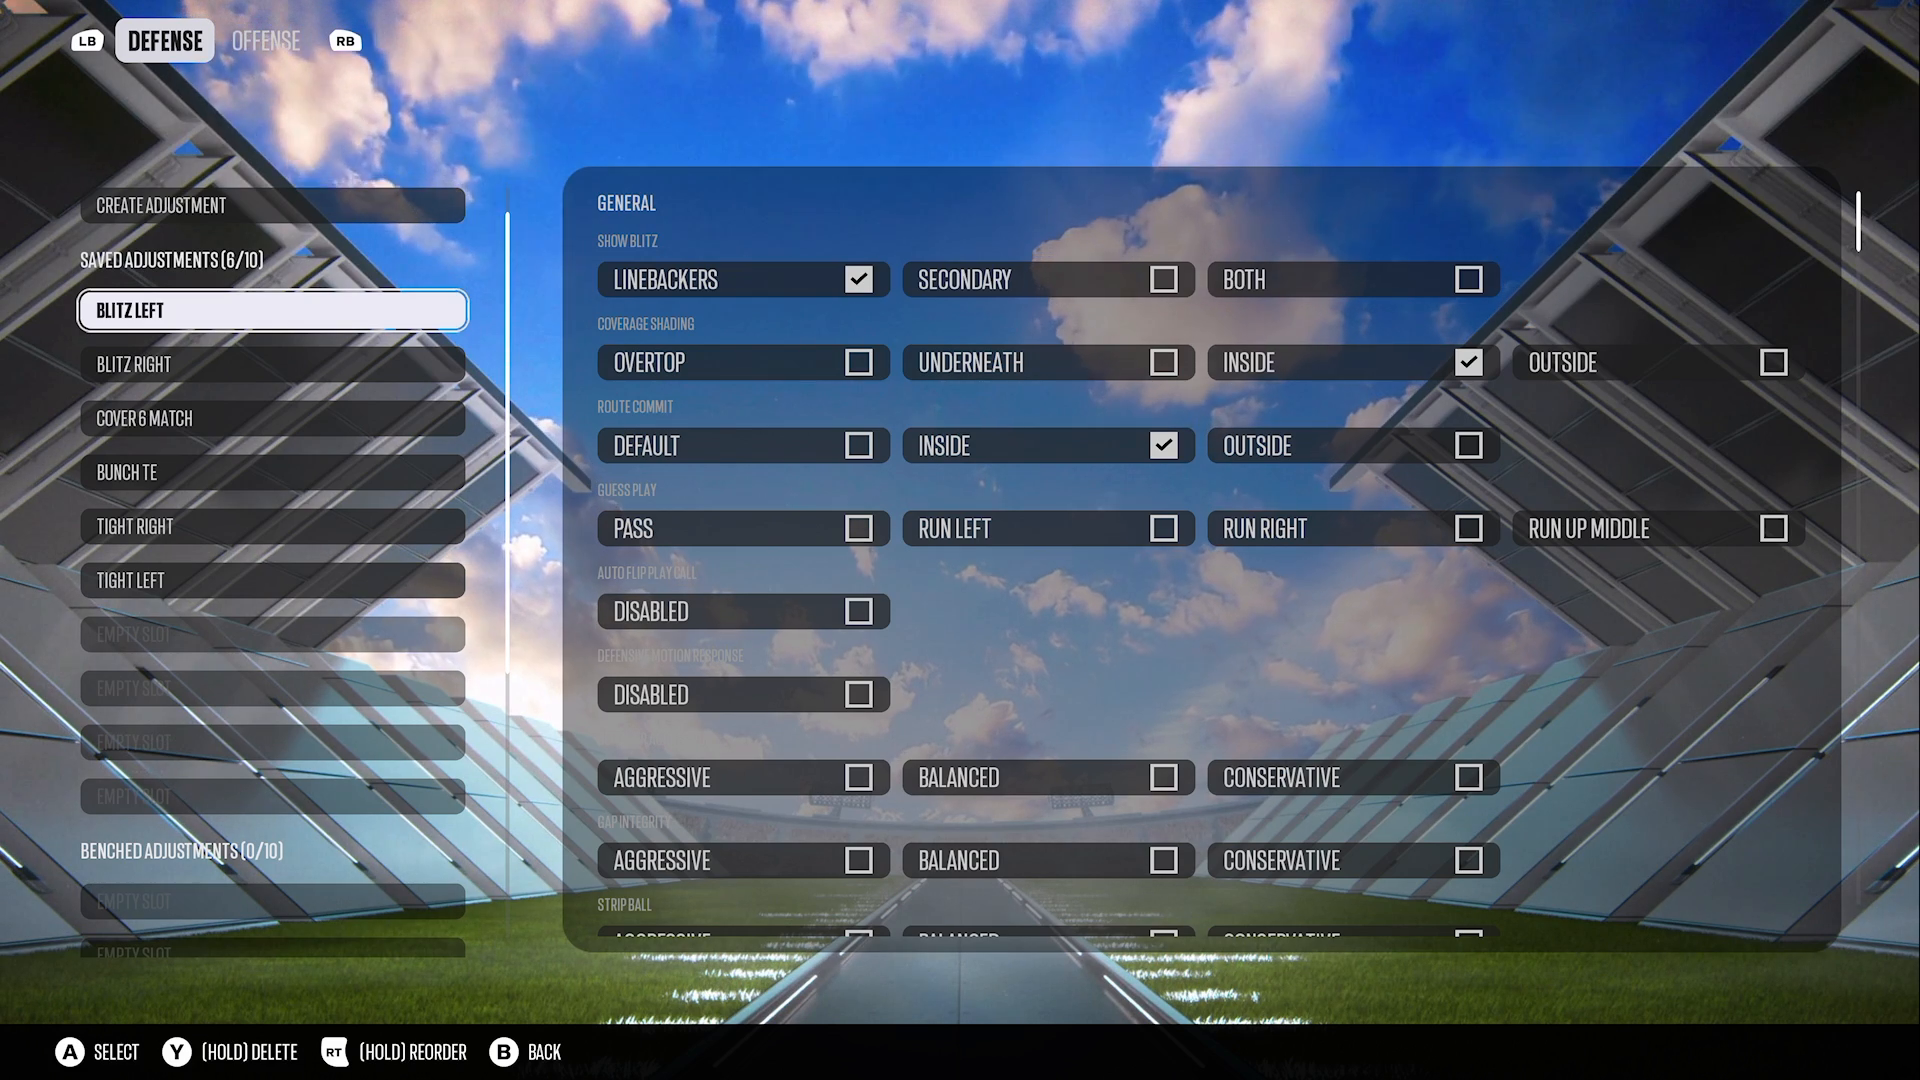
One common mistake players make is showing blitz with their linebackers. It may seem like a strategy to intimidate your opponent, but it can actually backfire and disrupt your rush. Opponents can counter this by utilizing half-slide left protections and identifying the Mike linebacker, allowing them to block your blitz cleanly.
The key takeaway here is that deception is often more effective than signaling your intentions. This is a cornerstone of the 16 Spaces mindset. Instead of revealing your blitzing plans, create uncertainty and keep your opponent guessing.
Understanding the Pass Protection Trap
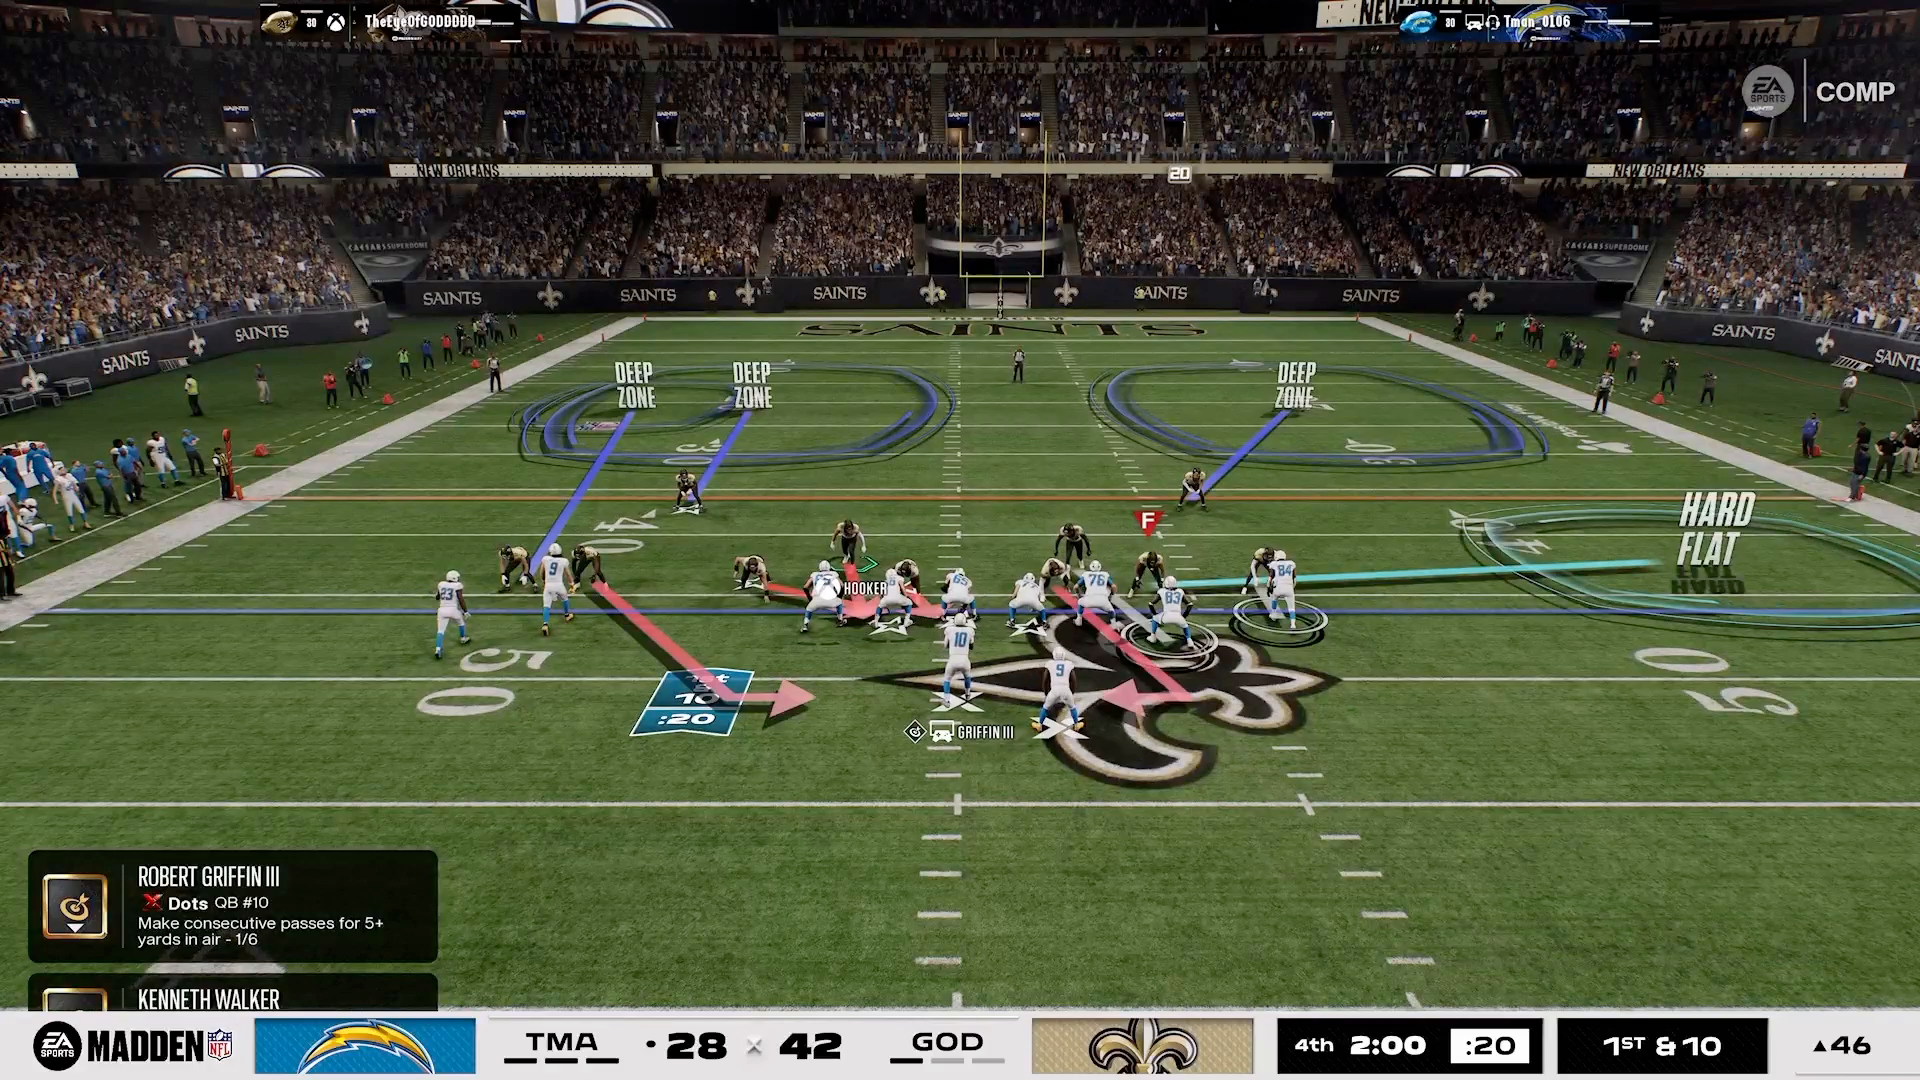
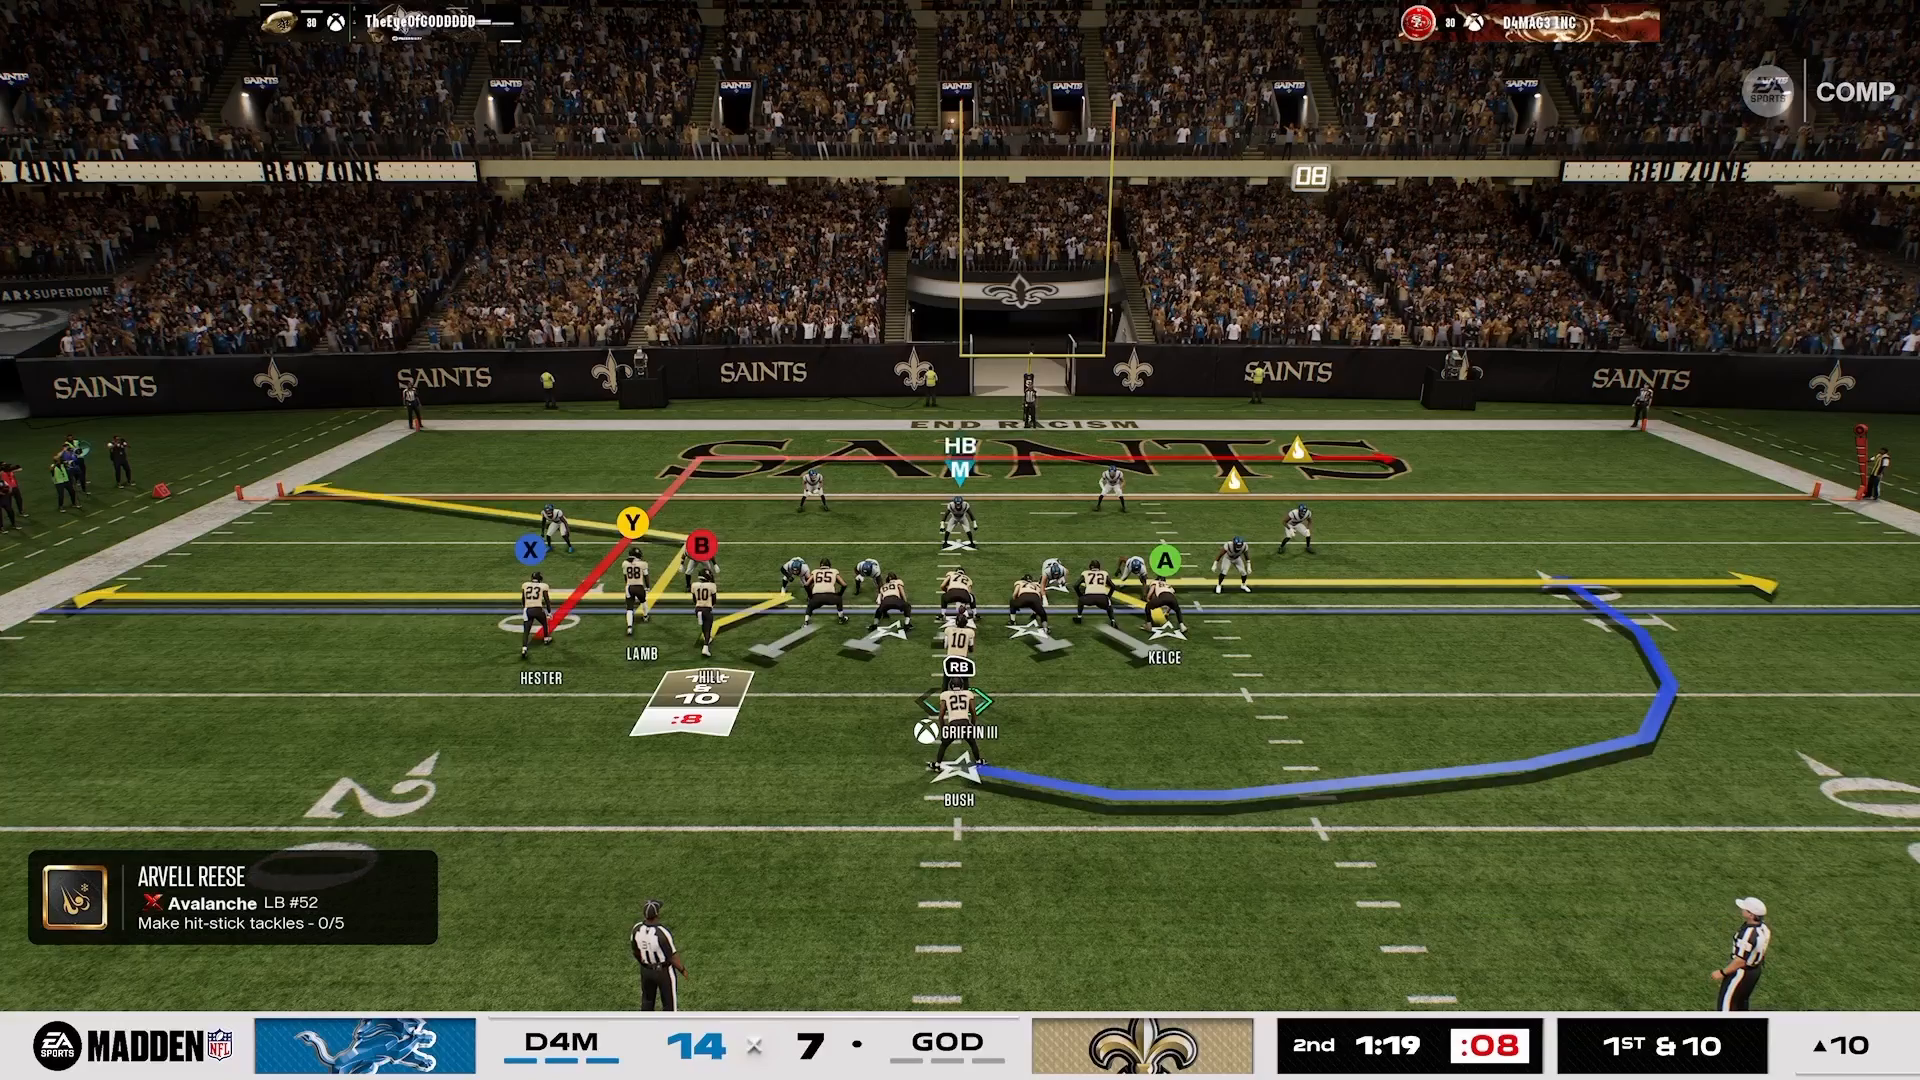
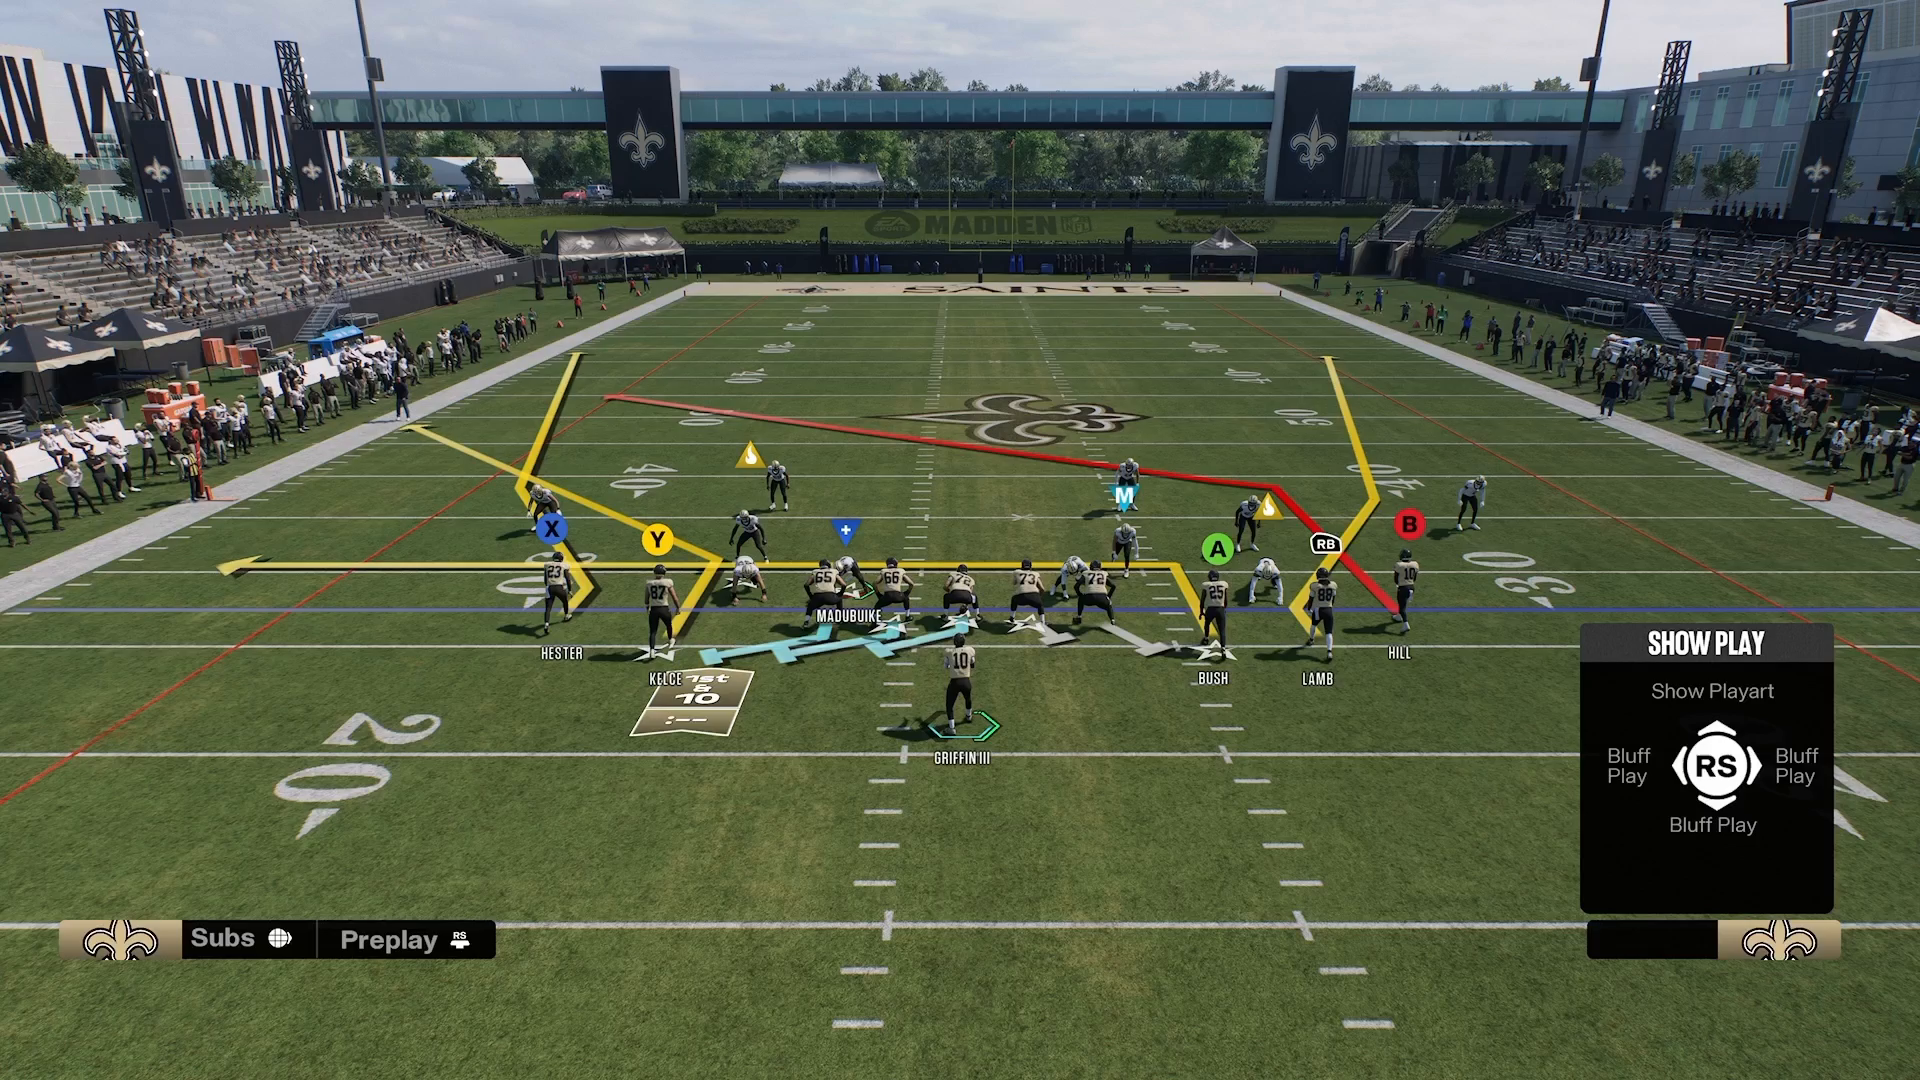
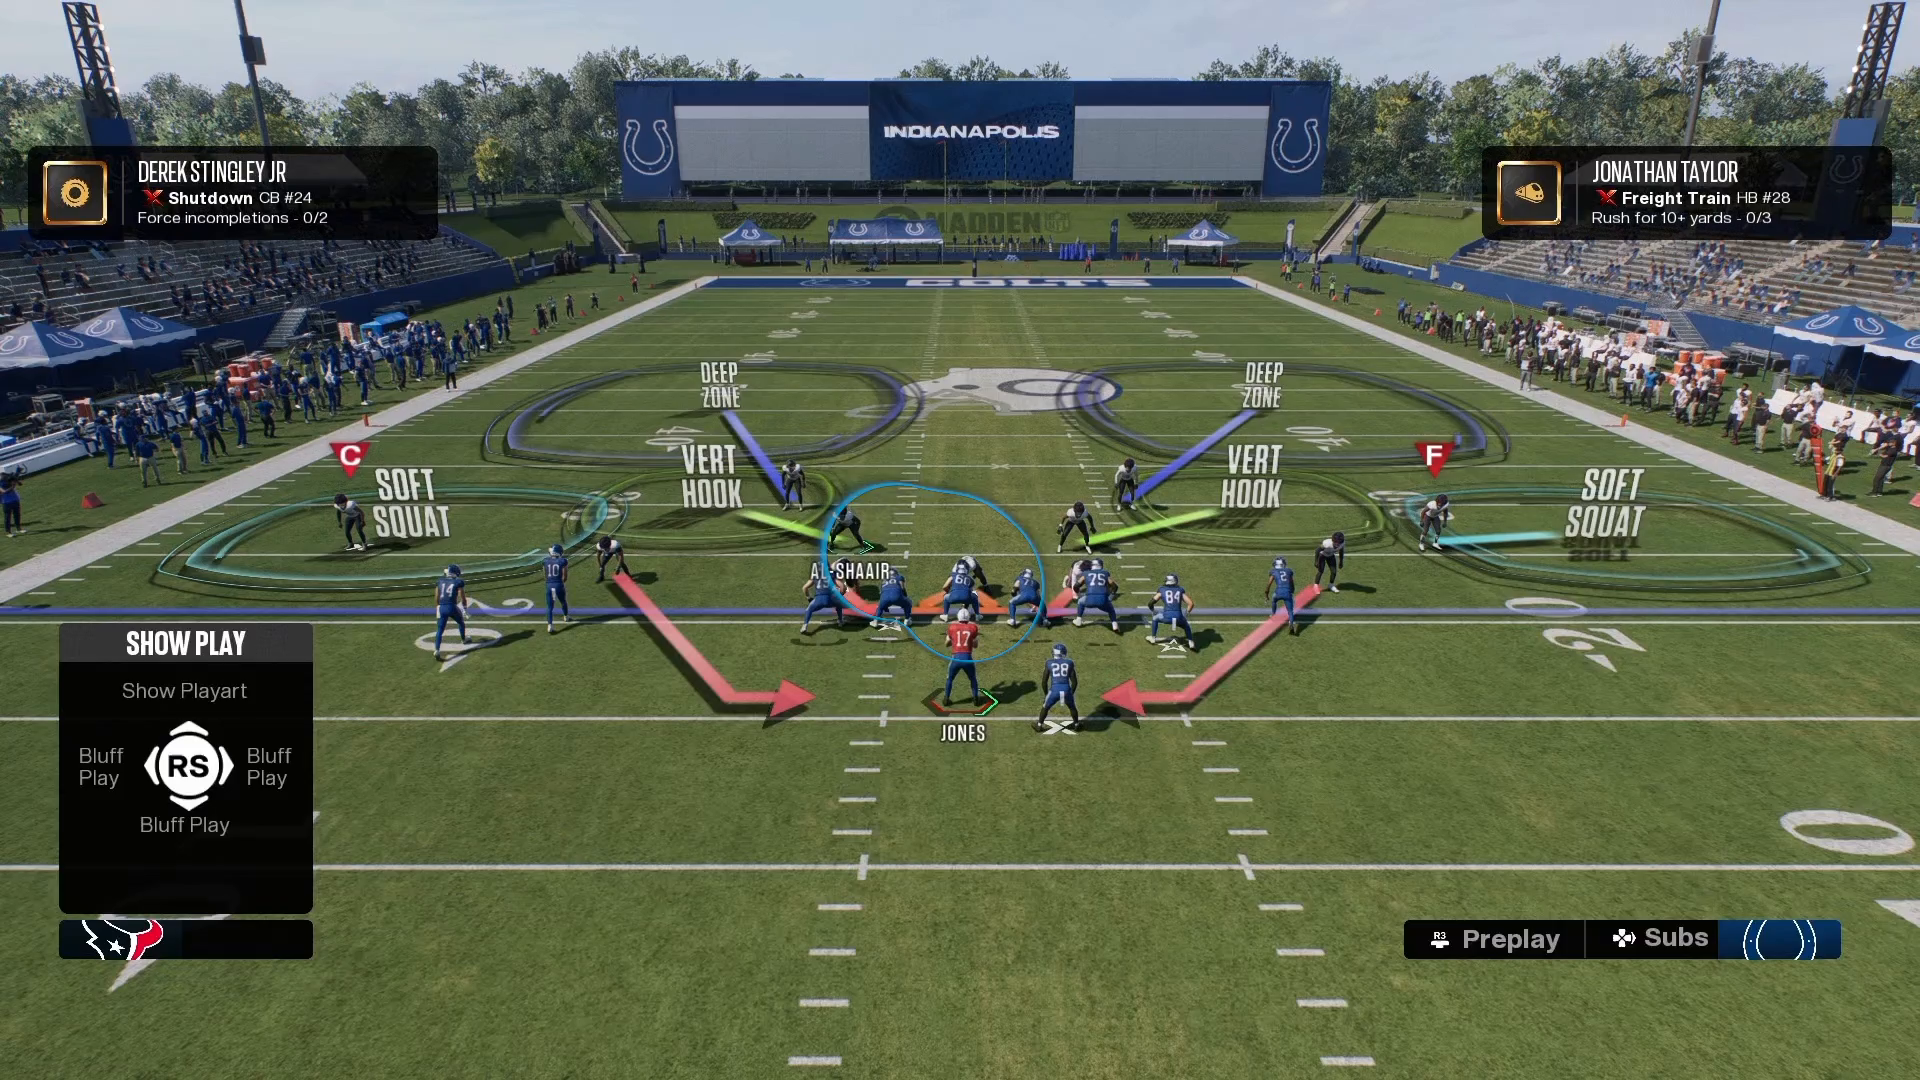
When you notice the orange fire icon hovering over your slot cornerbacks, it indicates that the offensive line is instructed to ignore these blitzers. This situation can render your blitz ineffective unless you intervene. To ensure your slot corners remain a threat, never allow them to be untargeted by the offensive line.
Control the offensive line’s targeting priorities to keep your rushers free. This is another crucial point that aligns with the principles of our 16 Spaces Playbook. By manipulating these priorities, you can maintain pressure on your opponent and tilt the game in your favor.
Countering the Opposition’s Adjustments
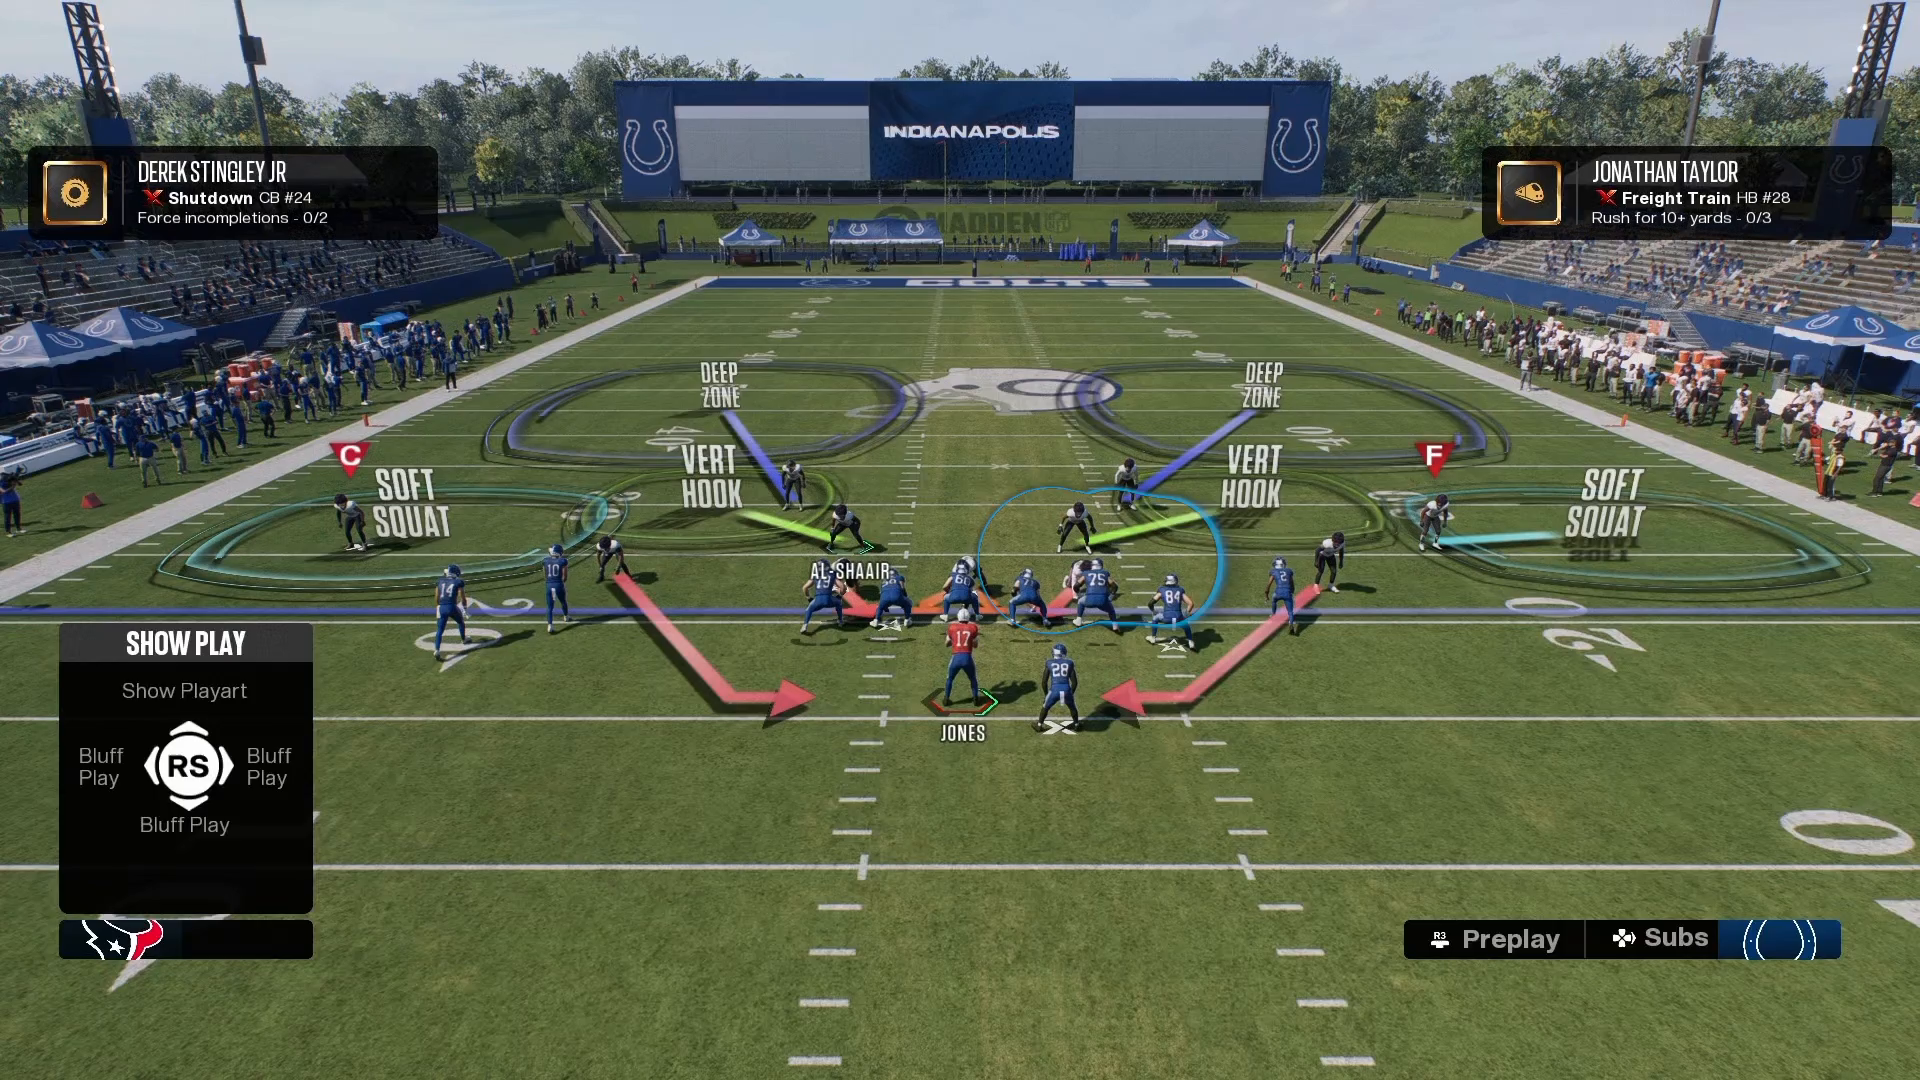
If your opponent manages to untarget both linebackers, removing the fire off your slot corners, it’s time to adapt. Identify the Mike linebacker on the side where your slot corner shows fire. This adjustment forces the offensive line to prioritize blocking the slot corners, allowing your blitz to maintain its effectiveness.
This strategy showcases the chess-like nature of Madden 27. You need to manipulate pass protection targeting, creating layers of complexity that your opponent may struggle to navigate. It’s not chaos; it’s calculated strategy.
Executing a Counter-Counter Strategy
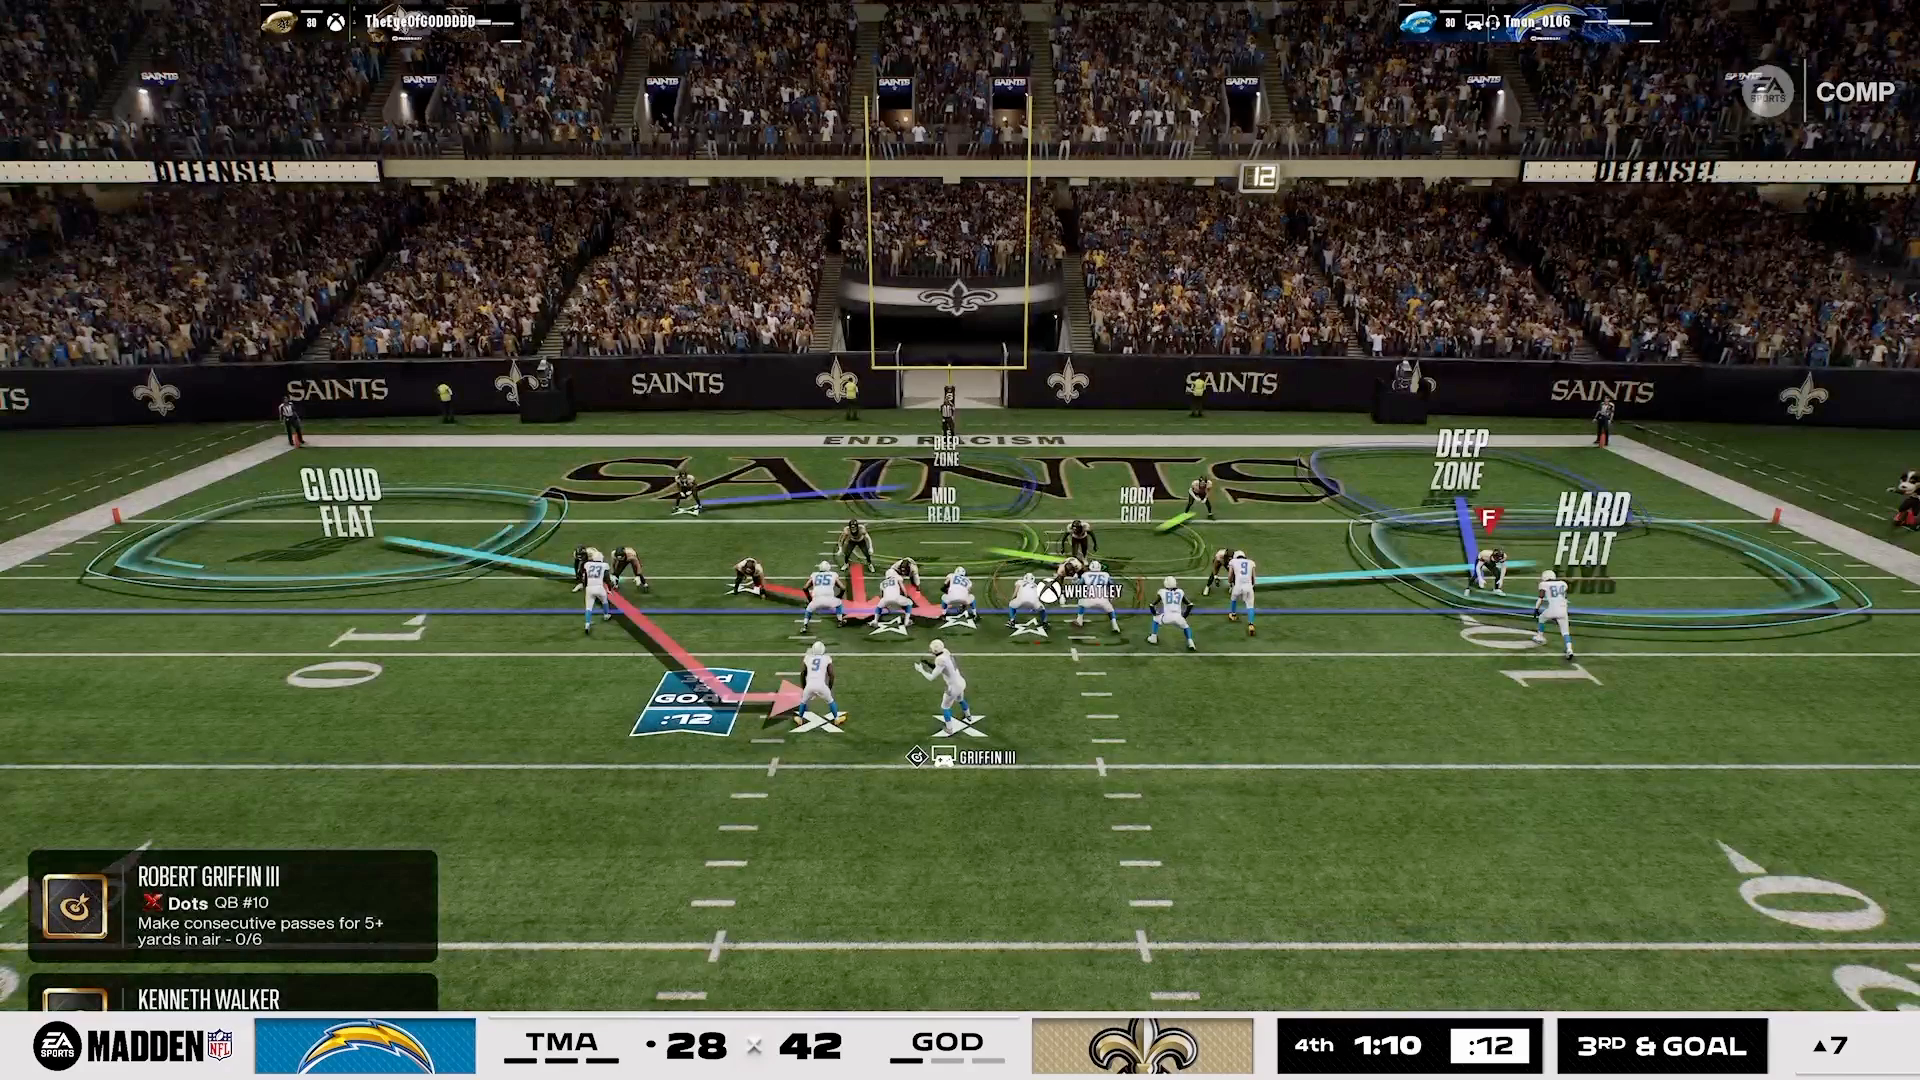
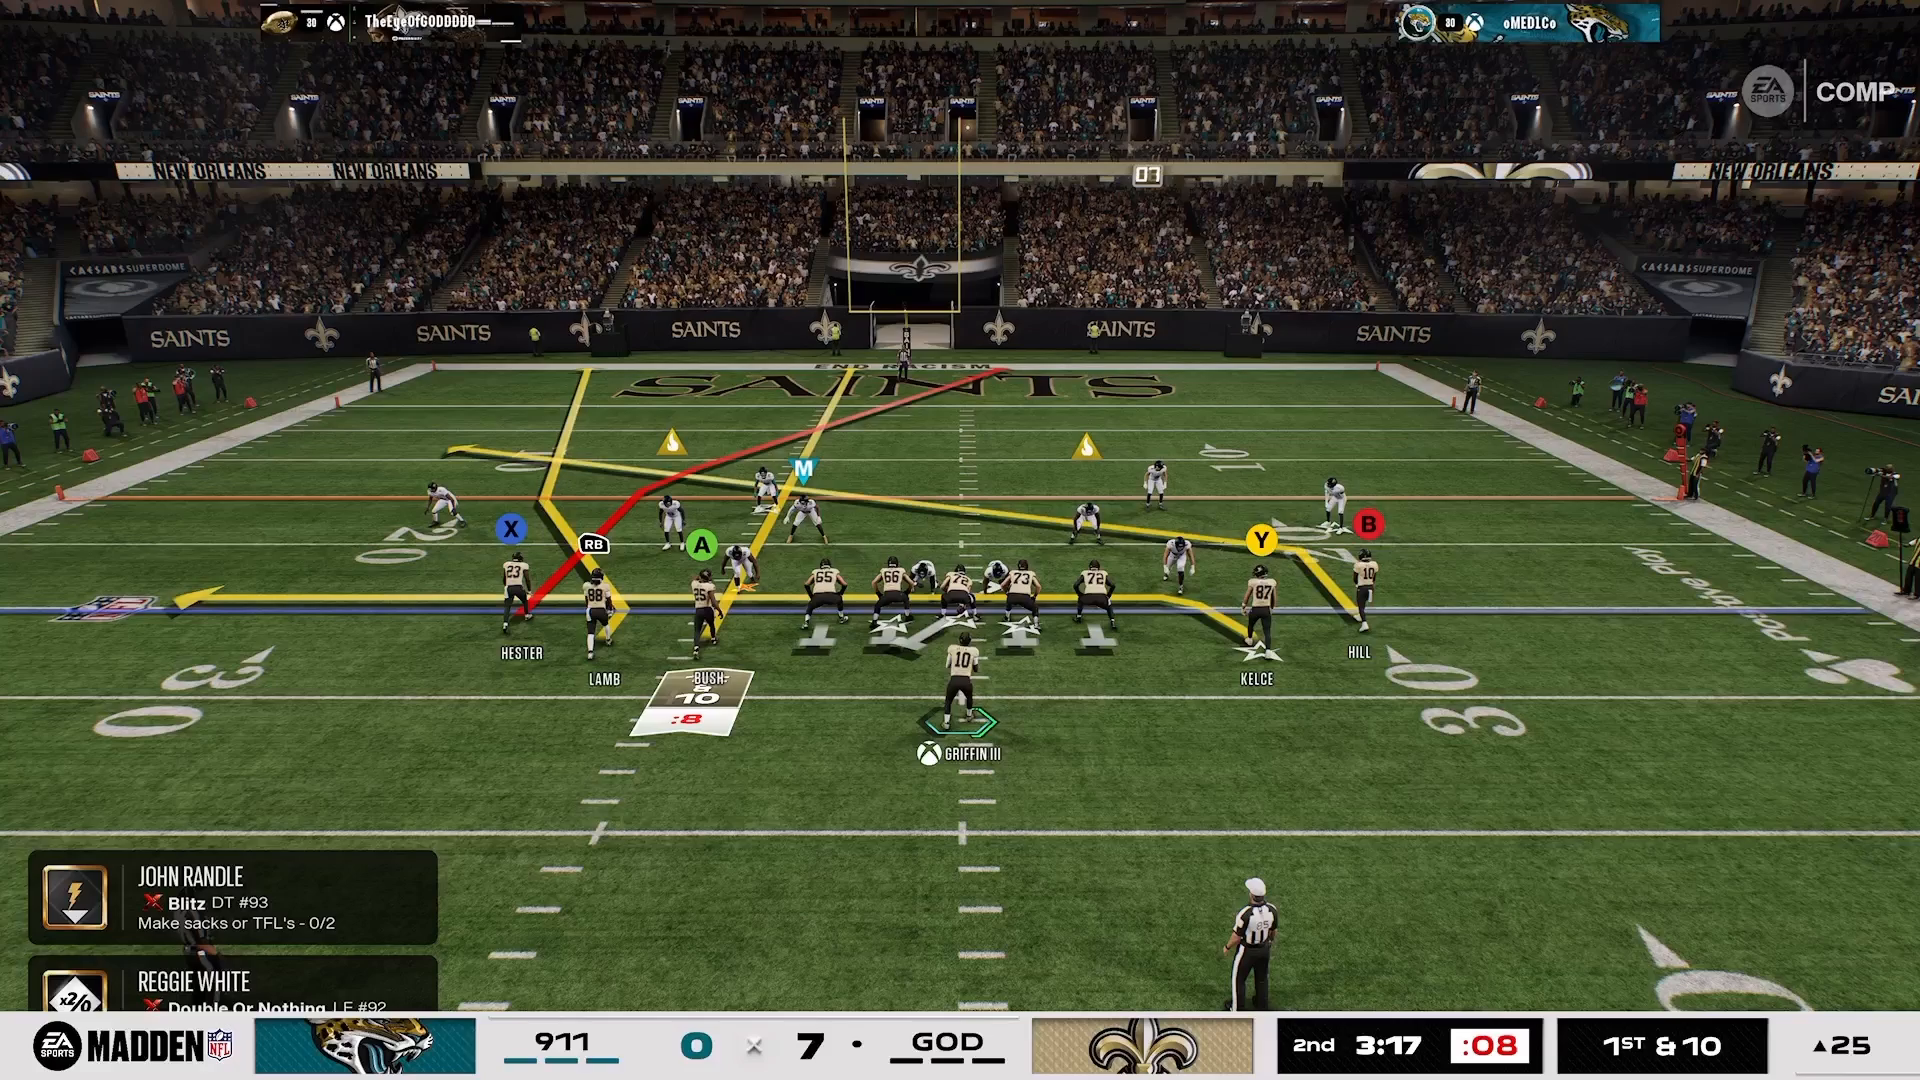
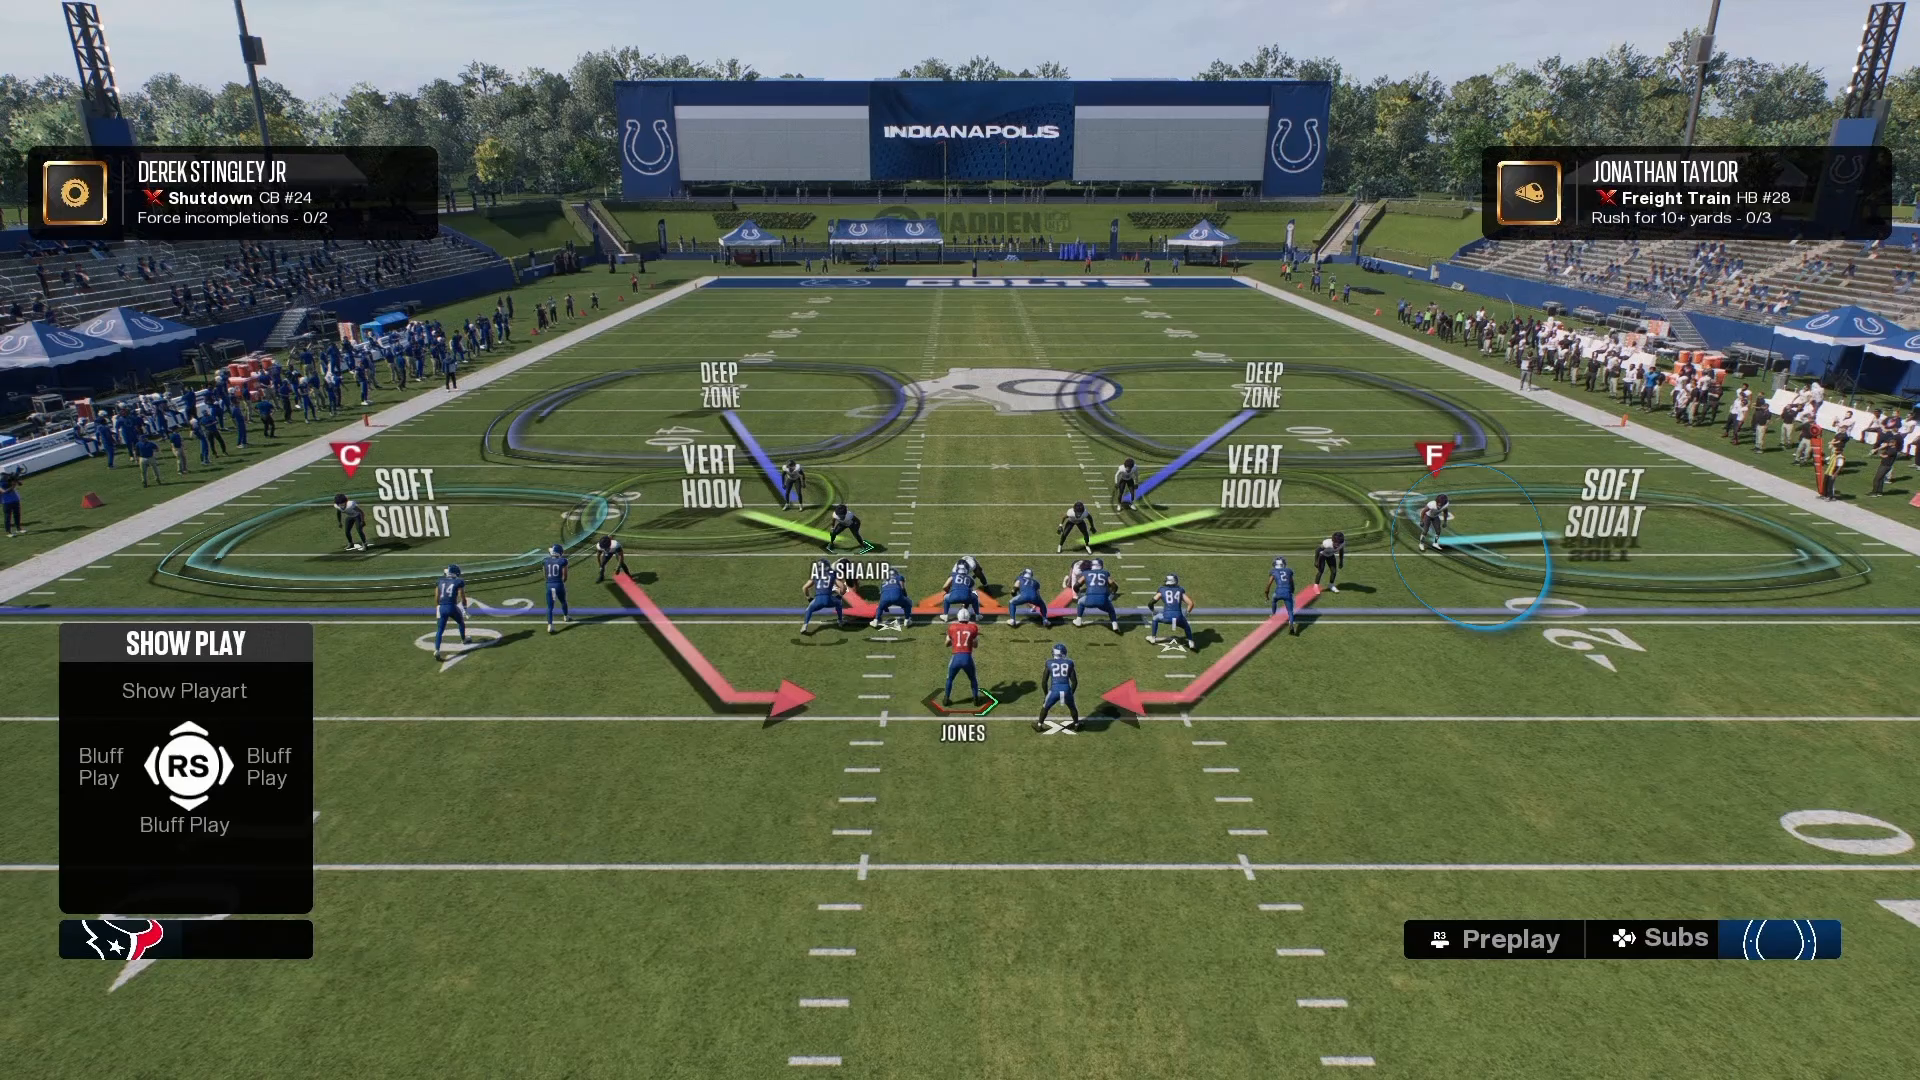
Your opponent might attempt to untarget your linebackers to shift the offensive line’s focus to the slot corners. When this happens, don’t hesitate to blitz your linebackers. Pinch your defensive line and send your linebackers on a blitz. This counter-counters their strategy and keeps the pressure on their offensive line.
This layered approach not only confuses your opponent but also reinforces the idea that Madden is a chess match. Consistency is key, and you can macro this strategy for reliable execution in high-pressure situations. Remember, layered thinking wins games.
Conclusion
Mastering the DB Fire 2 blitz in Madden 27 involves understanding setup, counters, and counter-counters. As you implement these strategies, you’ll find that your defensive game becomes significantly more formidable. For more in-depth strategies and expert tips, consider exploring our Grandmaster 27 lifetime membership, which provides access to a wealth of resources designed to elevate your game.