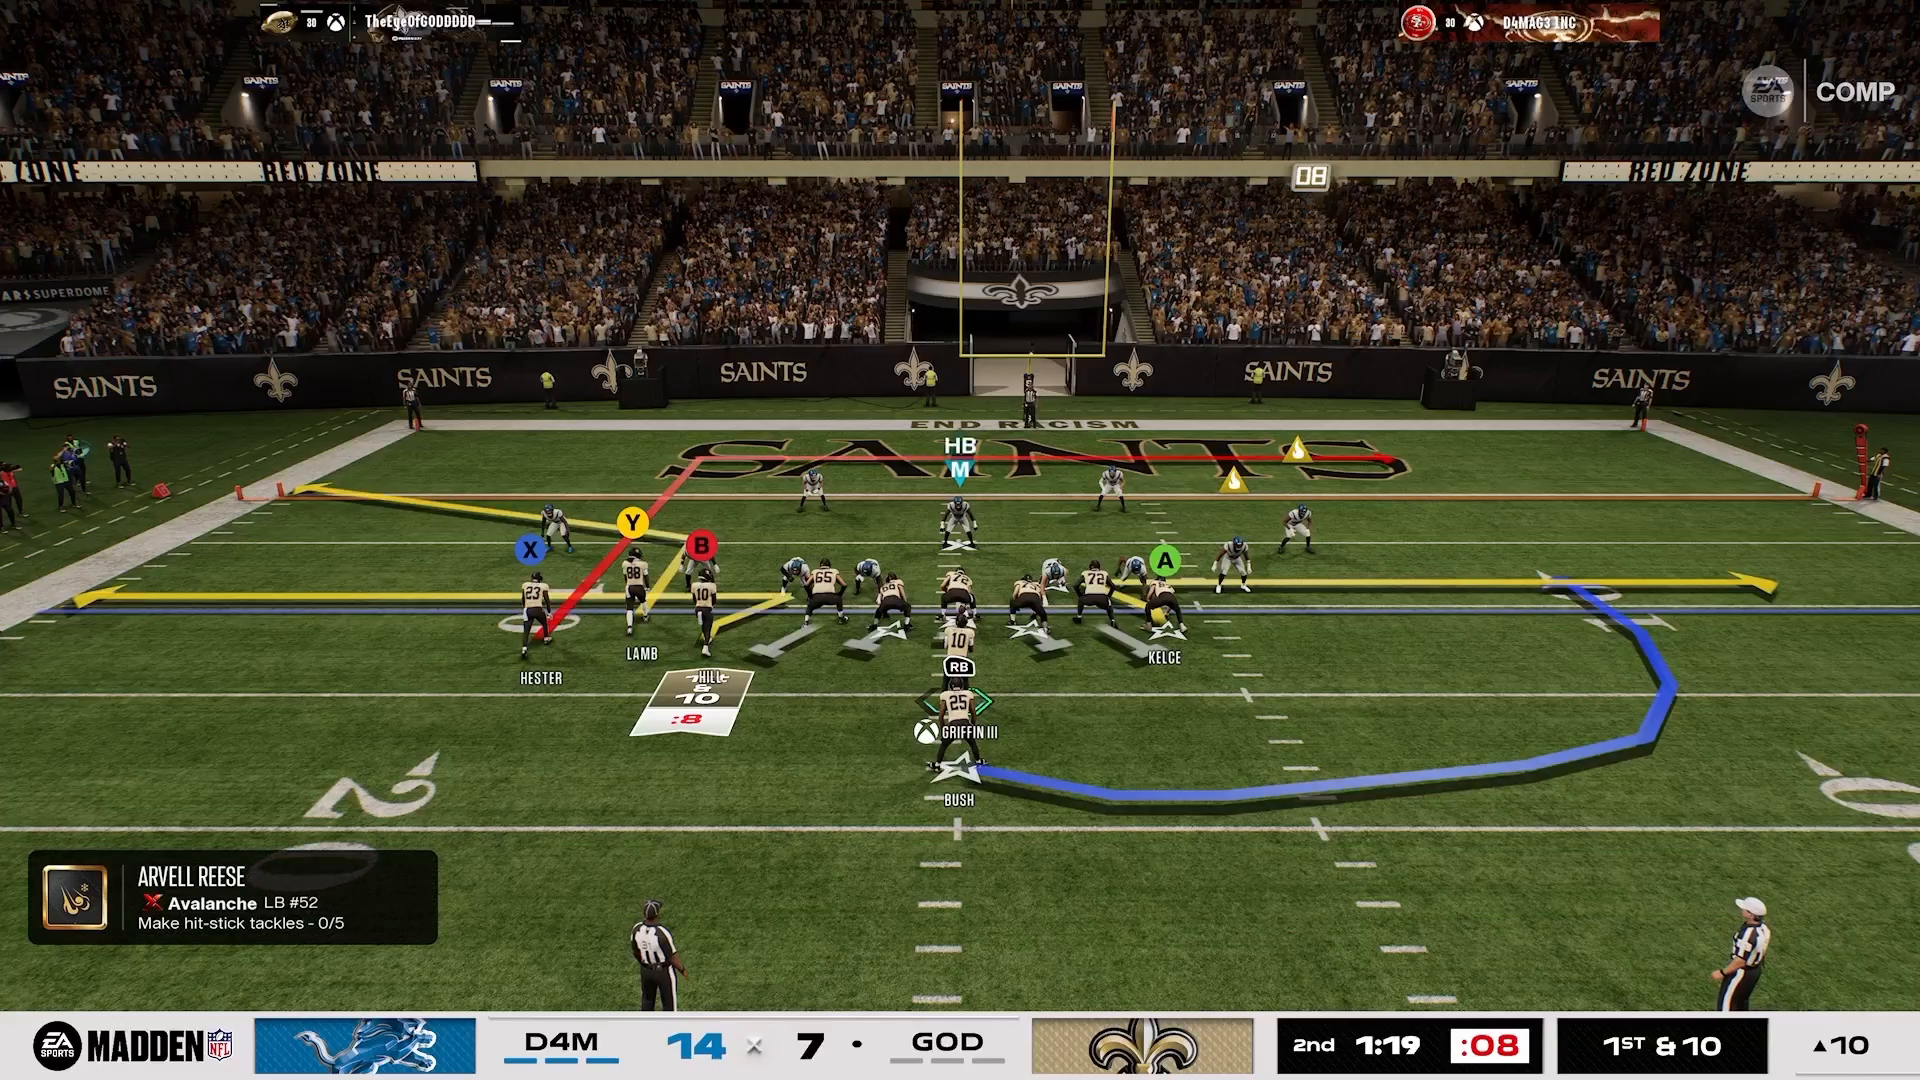
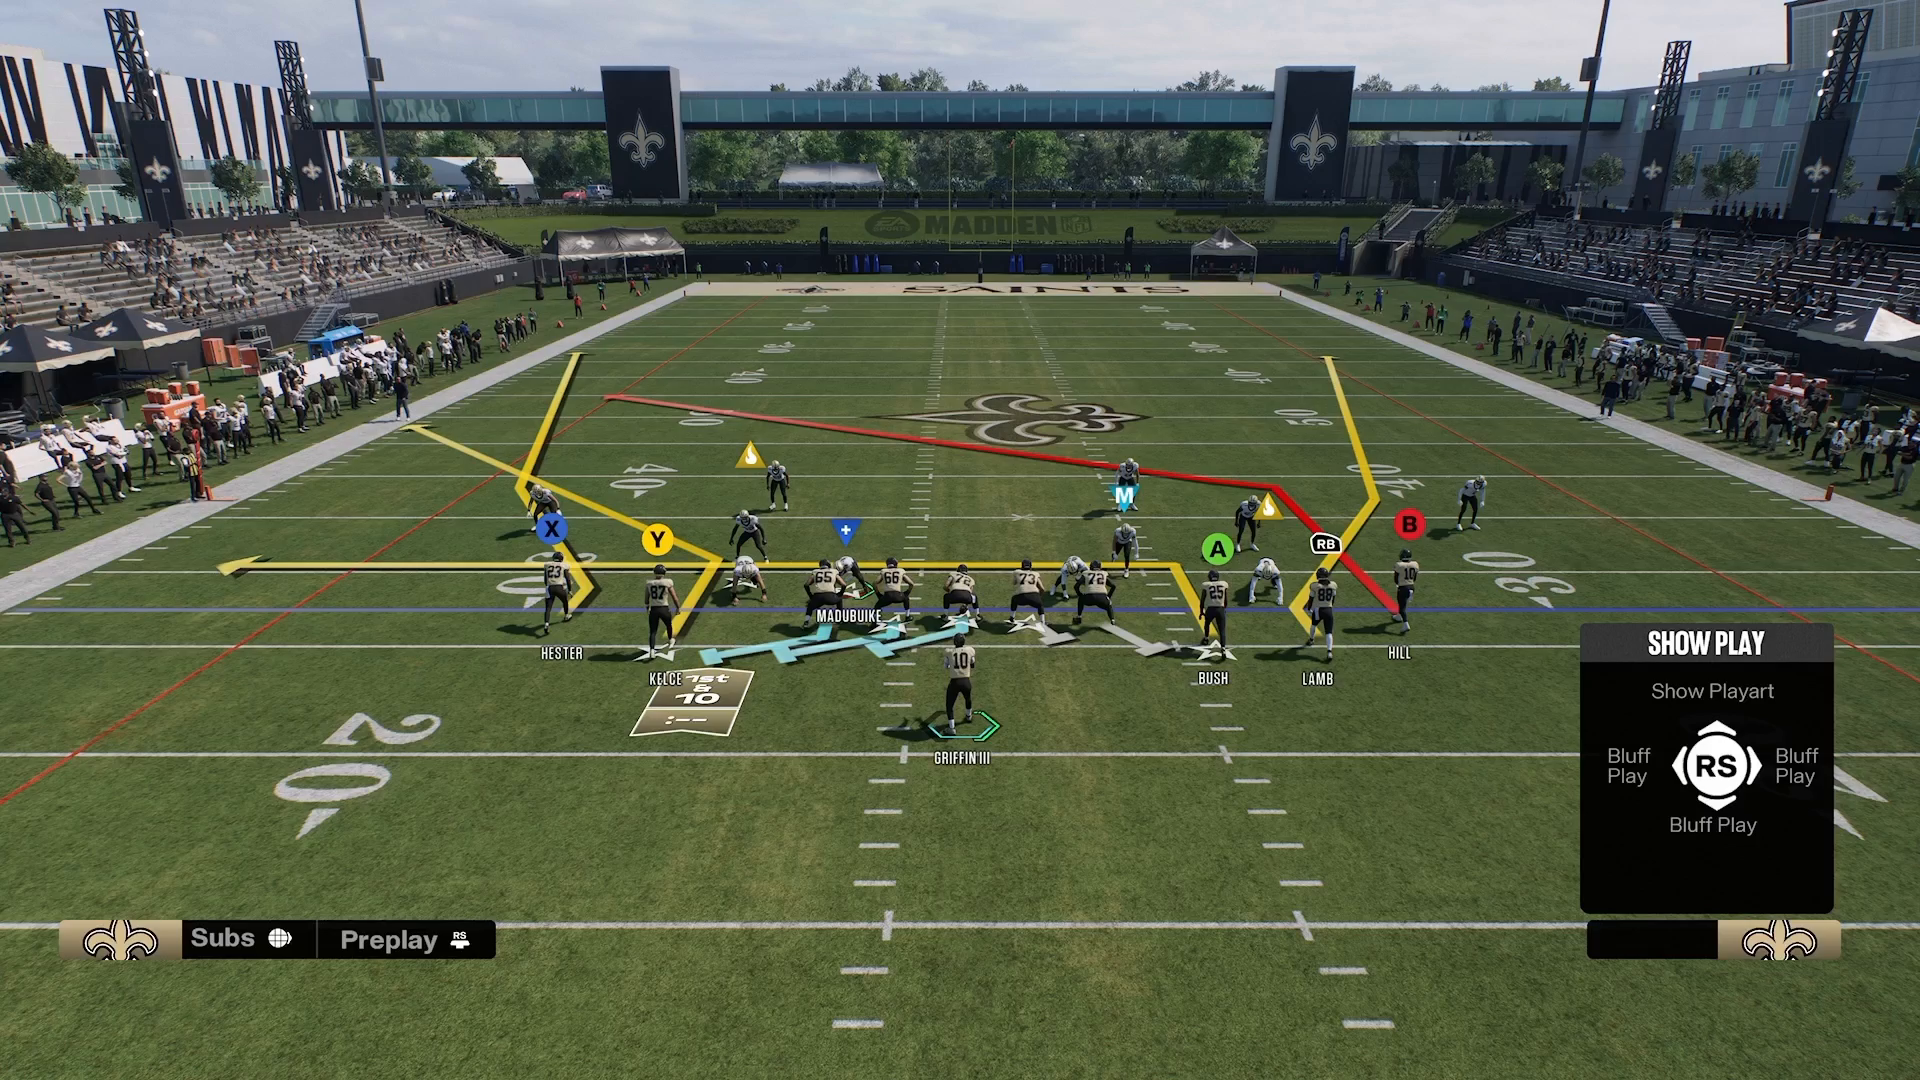
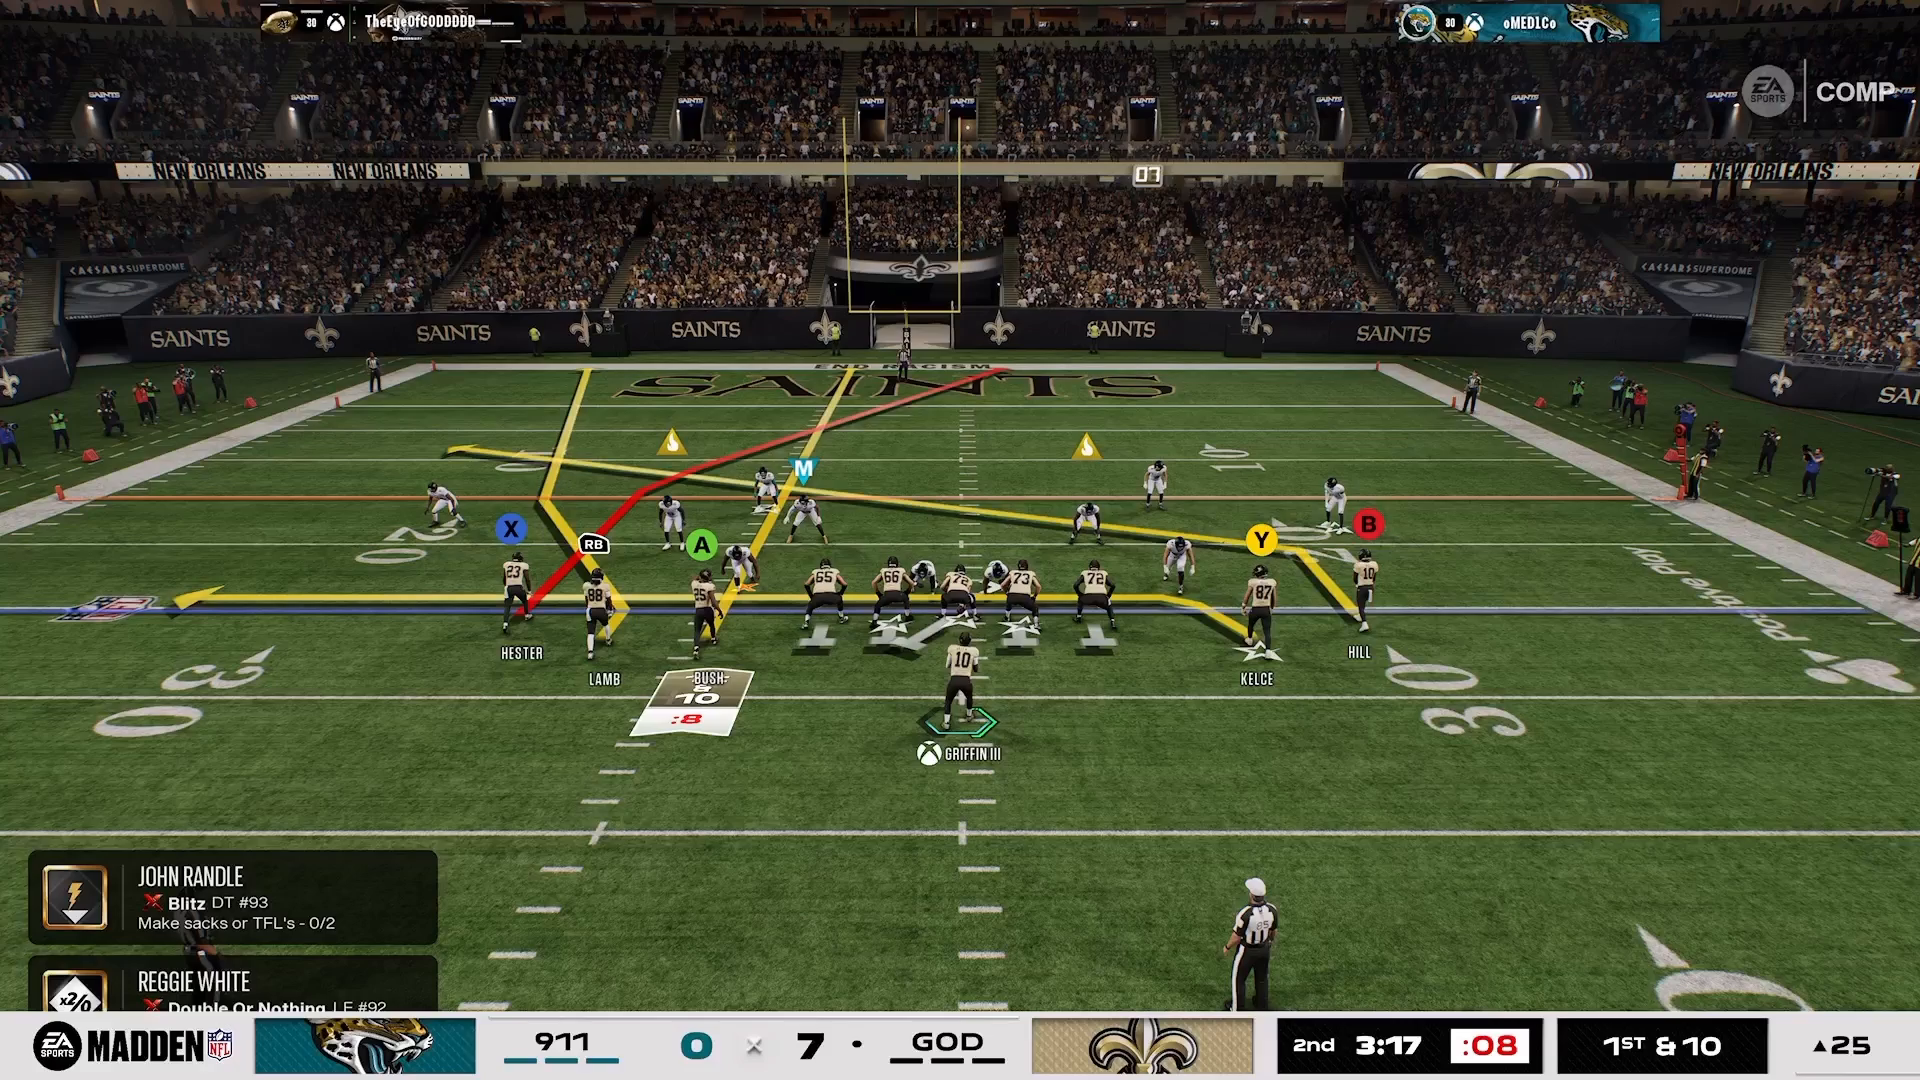
Master the Best One-Play Touchdown in Madden 27

The best one-play touchdown in Madden 27 is Clear Deep from Tampa Bay’s Gun 5 Receiver Tight, creating a 2-on-1 against Cover 4 where the strong safety can only cover the streak or the fade.

Best One Play Touchdown Madden 27: Clear Deep

  1. Call Clear Deep from the Tampa Bay playbook in Gun 5 Receiver Tight, placing the B receiver on a corner route as the single vertical threat.
  2. Send three players vertically to the right half of the field, with the A receiver on a streak, the outside fade on the outside quarter, and the corner route drawing the outside cornerback.
  3. Read the strong safety’s choice in the 2-on-1 against Cover 4, throwing to the fade if he focuses on the A streak and to the streak if he bites on the fade.

Setup for Success

In Madden NFL 27, executing a one-play touchdown can change the outcome of your game. A prime example is found in the Tampa Bay offensive playbook using the Gun 5 Receiver Tight formation with the play Clear Deep. The key to this play lies in its simplicity.

For optimal results, place your receiver (designated as B) on a corner route. This setup creates a single vertical threat that can exploit your opponent’s defensive weaknesses.

Mastering this play is part of the 16 Spaces Playbook, which emphasizes spacing and strategic route running.
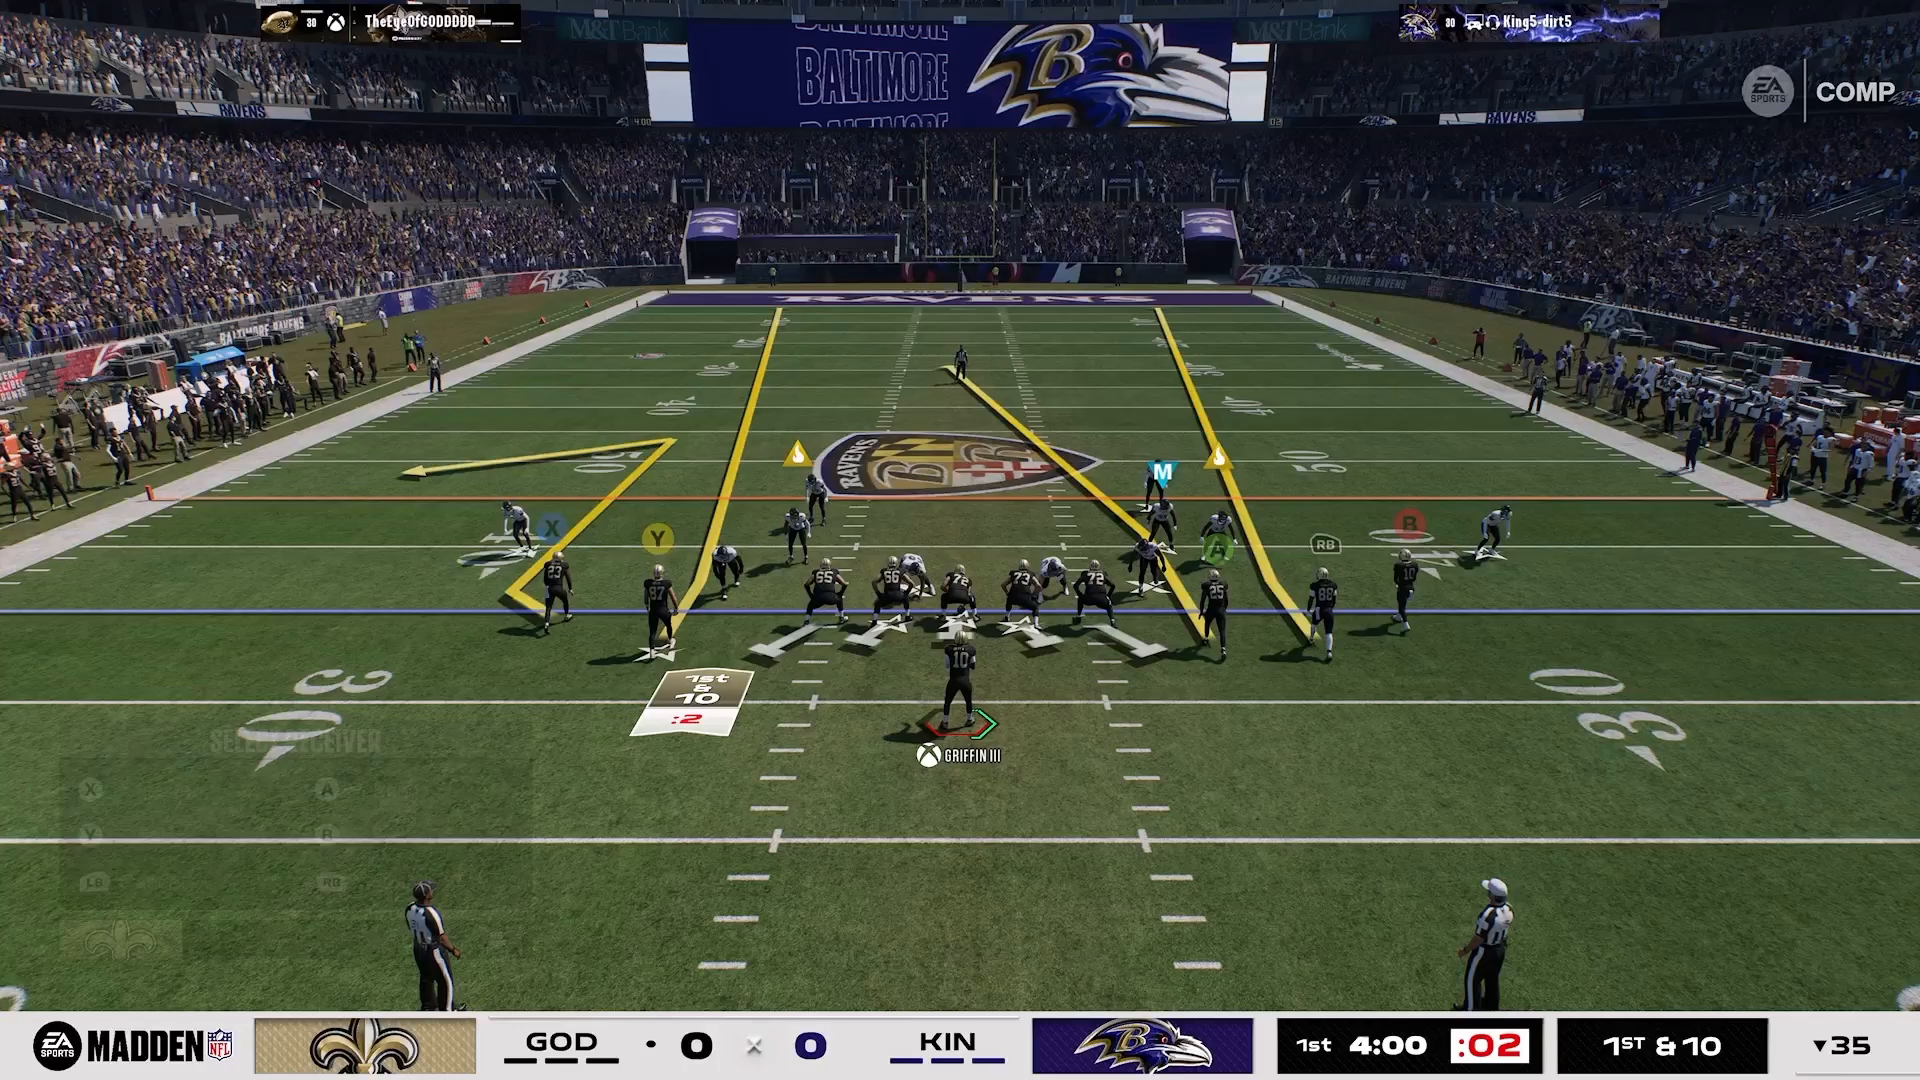
Madden 27 gameplay screenshot of an offensive play diagram in the Baltimore Ravens stadium with yellow route arrows, receiver labels, and quarterback Griffin III at 1st and 10, with the scoreboard showing a scoreless first quarter

The Routes Explained

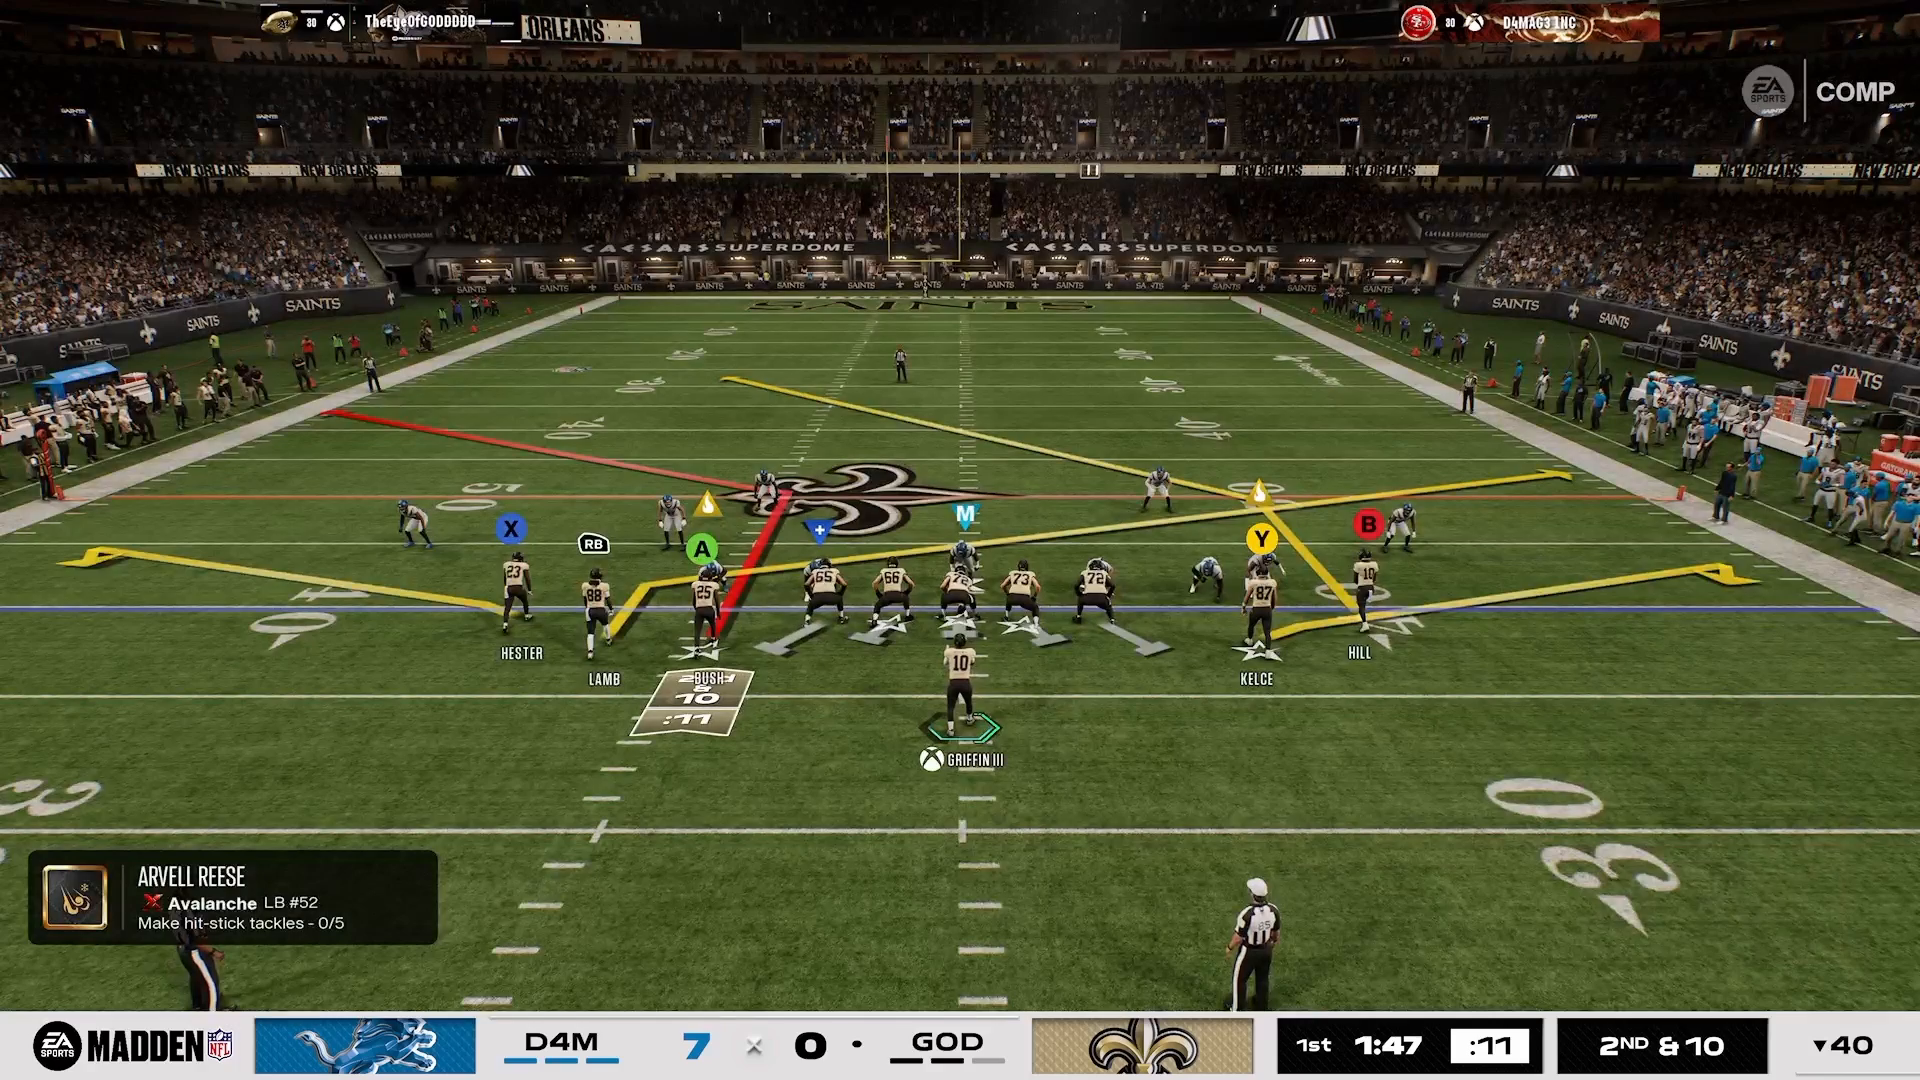
Understanding the routes is crucial for executing the Clear Deep play effectively. In this setup, three players run vertically towards the right half of the field.

The A receiver runs a streak route that attacks the inside third of the defense, while the outside fade targets the outside quarter. The corner route, executed by B, draws the attention of the outside cornerback.

This route configuration creates golden spacing, allowing you to manipulate defensive coverages. As you learn to implement the 16 Spaces philosophy, you’ll recognize how these routes create opportunities for big plays.
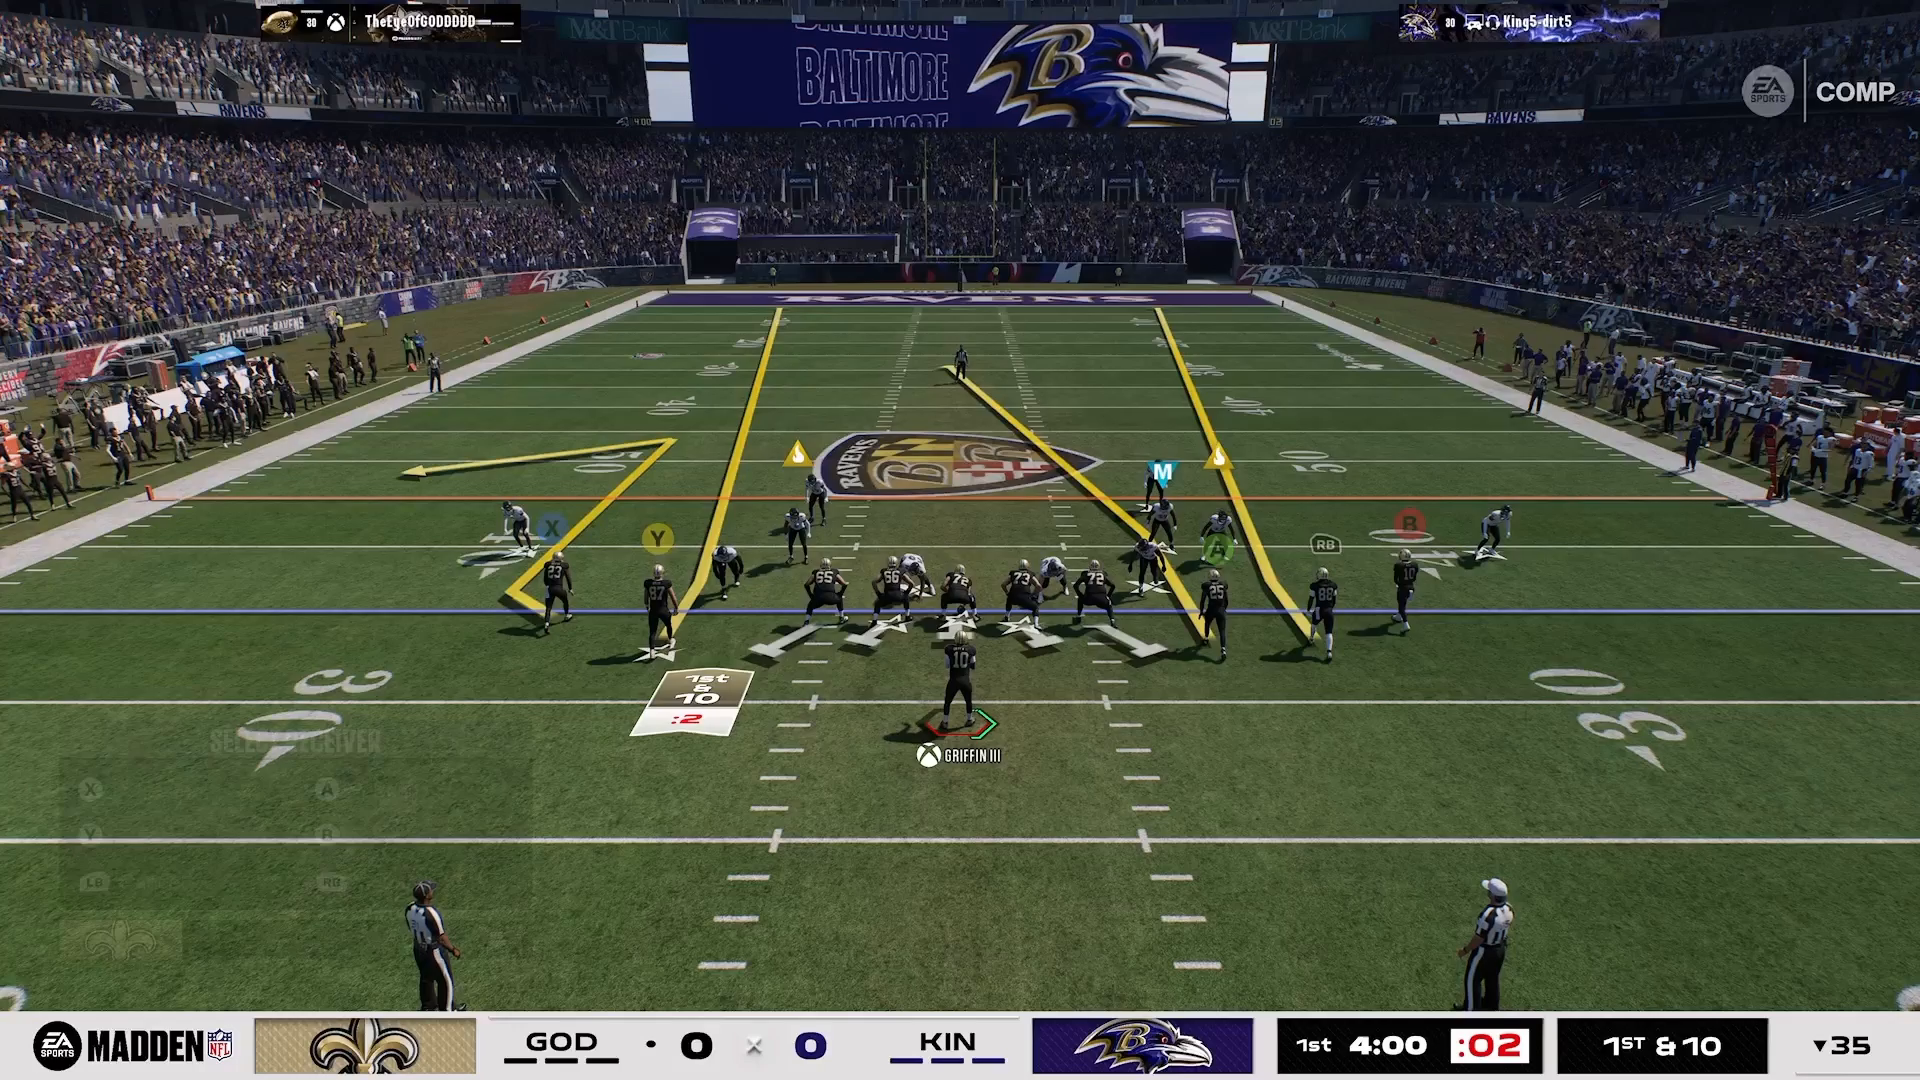
Madden 27 gameplay screenshot of an offensive play diagram in the Baltimore Ravens stadium with yellow route arrows, receiver labels, and quarterback Griffin III at 1st and 10, with the scoreboard showing a scoreless first quarter

Why This Strategy Works

The brilliance of this play lies in its ability to create a 2-on-1 situation against defenses like Cover 4. When executed correctly, the strong safety is put in a tough spot; he can only cover one player.

If he chooses to focus on the A streak, throw to the receiver running the fade. If he bites on the fade, the streak becomes your primary target.

This chess-like approach to play calling exemplifies 16 Spaces thinking. It’s not just about the routes; it’s about winning the space read and making the right decision based on how the defense reacts.
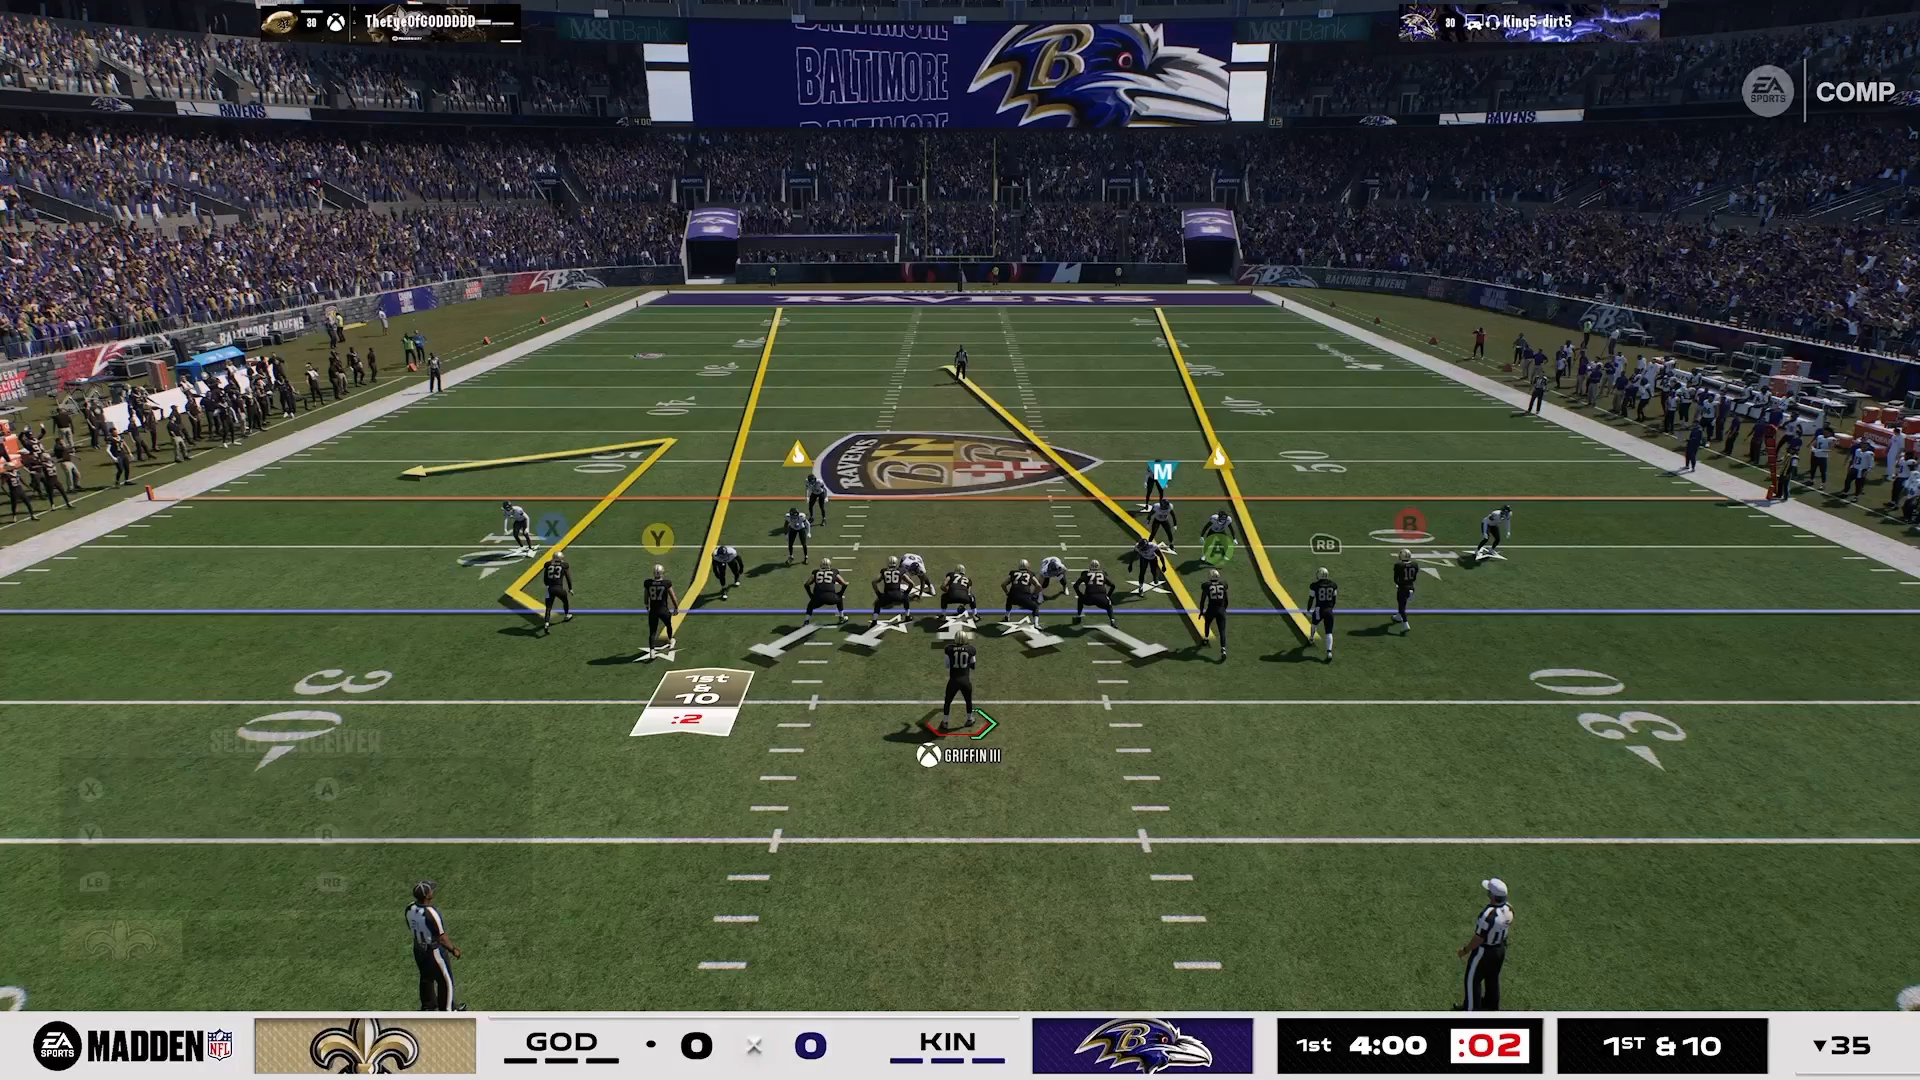
Madden 27 gameplay screenshot of an offensive play diagram in the Baltimore Ravens stadium with yellow route arrows, receiver labels, and quarterback Griffin III at 1st and 10, with the scoreboard showing a scoreless first quarter

Countering the Play

As effective as the Clear Deep play can be, it can become predictable if not adjusted. One of the best counters to this strategy is to deploy a Cover 2 defense with a mid-read.

This forces the mid-read defender to follow the A streak while the deep half takes care of the running back fade. If the defense employs a cornerback on the right side, consider clouding that side with a conservative flat coverage.

Understanding these counters will help you stay one step ahead of your opponent. Adjusting your play calling based on how your opponent reacts is key to maintaining an offensive edge.
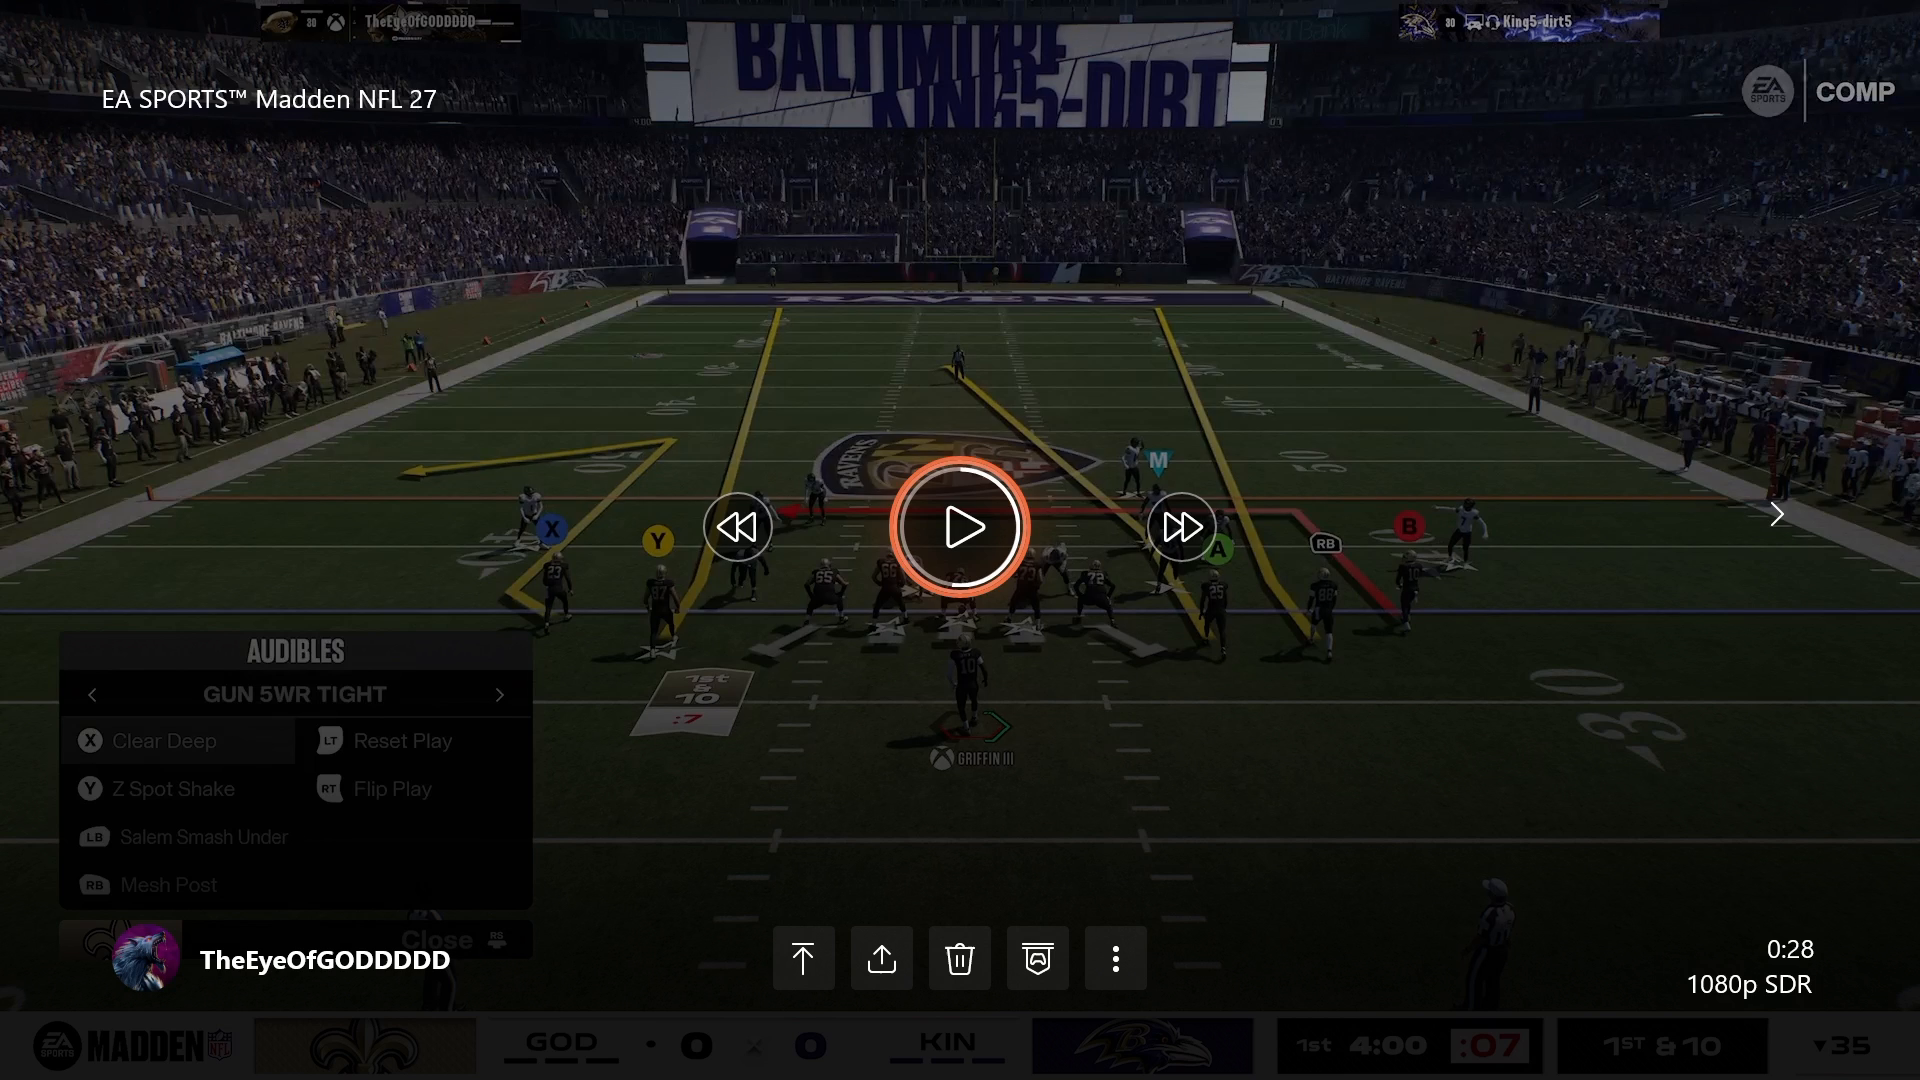
Madden 27 video replay view of the Clear Deep play in the Ravens stadium with playback controls and an Audibles panel for Gun 5WR Tight listing Clear Deep, Z Spot Shake, Salem Smash Under, and Mesh Post

Key Takeaways for One-Play Touchdowns

Achieving a one-play touchdown requires more than just executing a play; it demands an understanding of spacing and reads. This strategy is only effective if you can force your opponent to make tough choices. Learn to master the reads and the counters, and you’ll transform into a significantly smarter player in just a week using our 16 Spaces Playbook.

As you continue to refine your skills in Madden NFL 27, remember that it’s all about strategic thinking and making the right reads at the right time. Embrace this mindset to elevate your game.
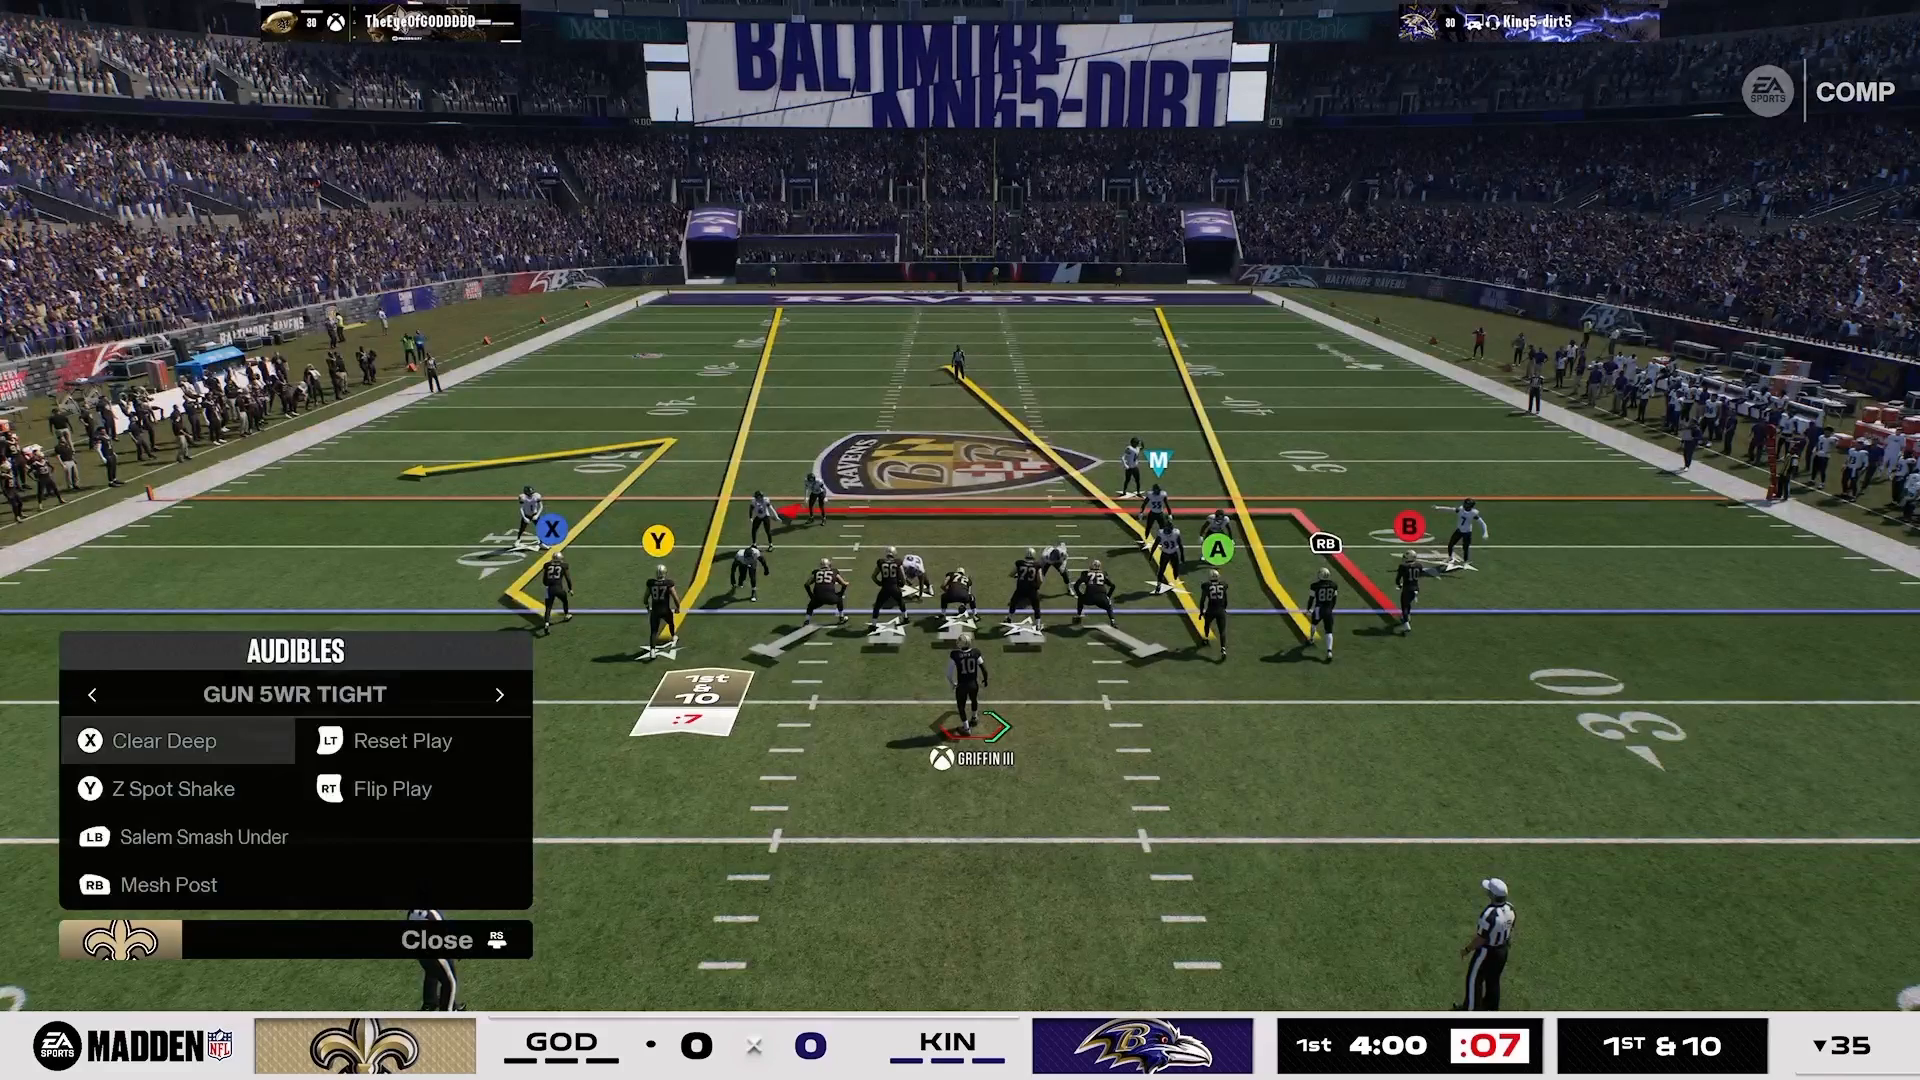
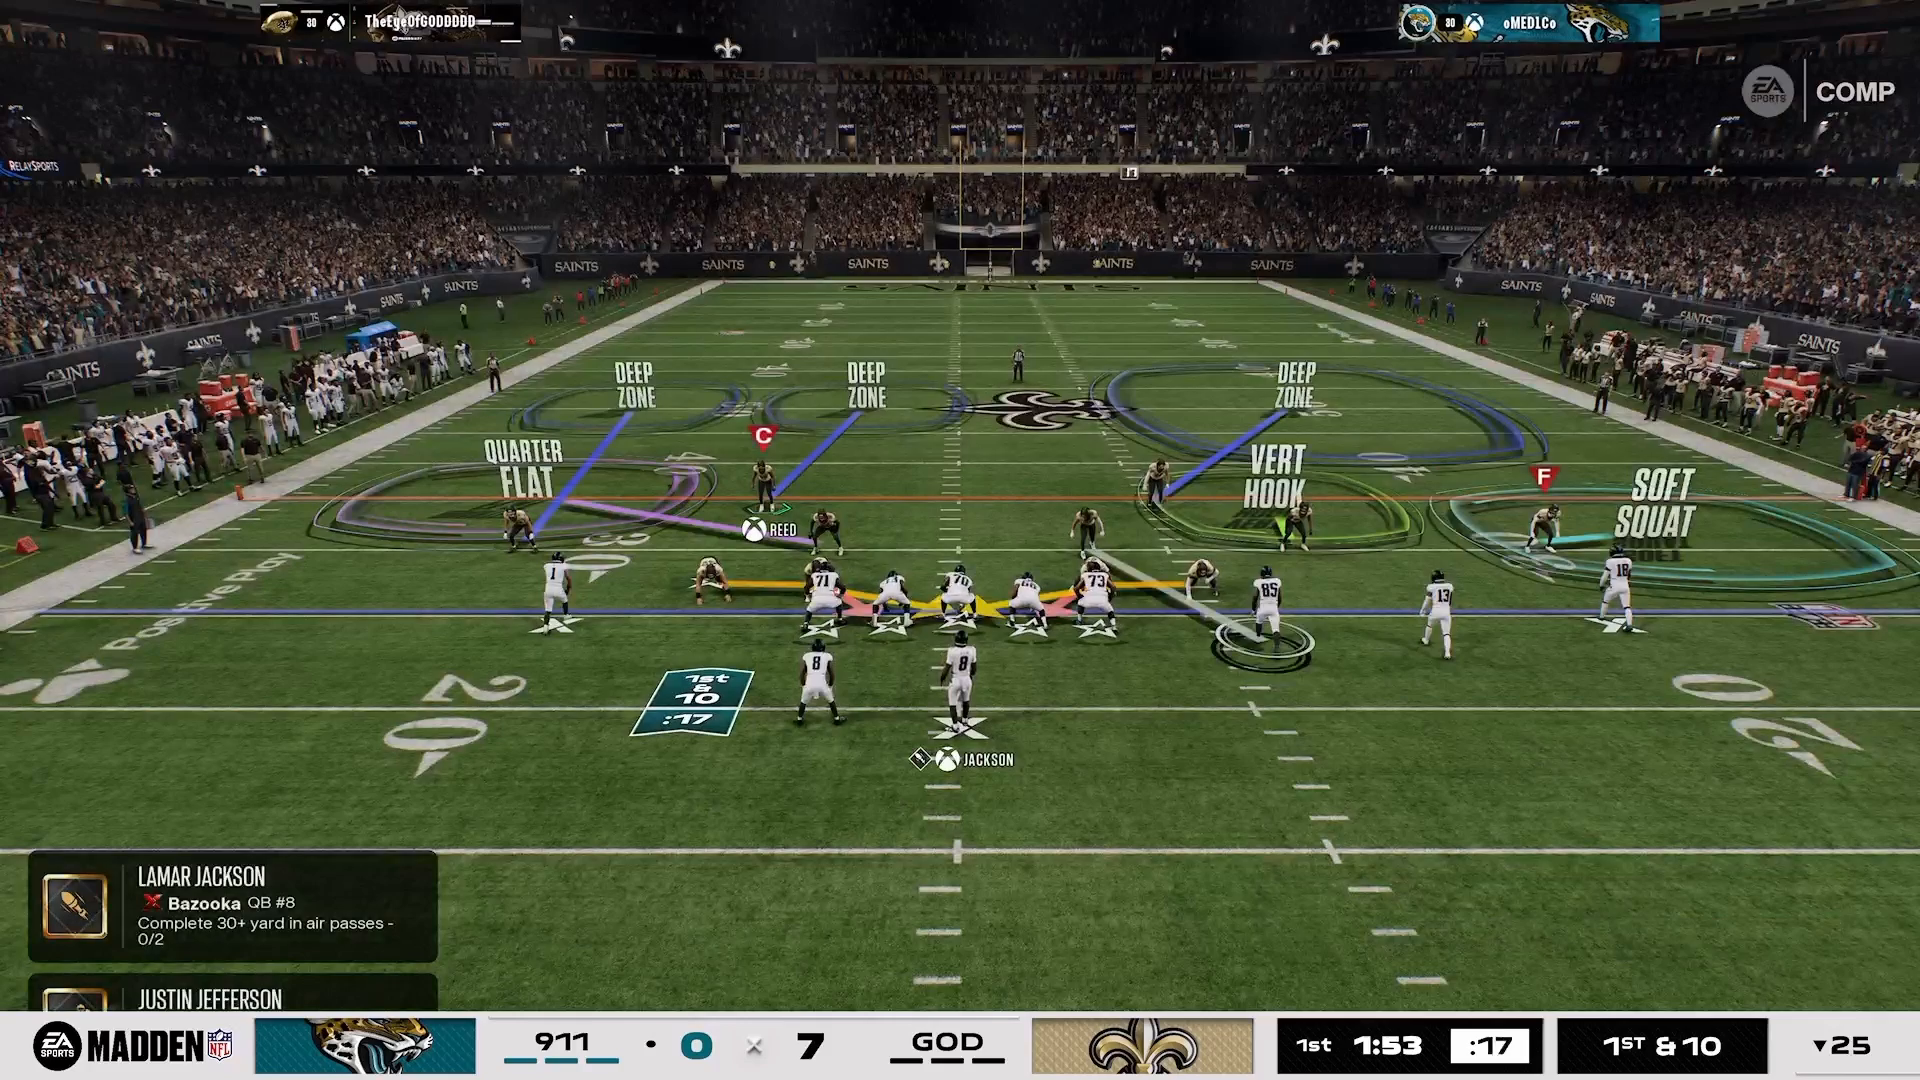
Madden 27 gameplay screenshot of the Clear Deep play in the Ravens stadium with yellow and red route arrows and an Audibles panel for Gun 5WR Tight listing Clear Deep, Z Spot Shake, and Salem Smash Under

Conclusion

Madden tips and elevate your game to the next level.

Recent Posts

Defensive setup in Madden 27 with Nickel Single Mug

Mastering the Best Defensive Macro vs Gun Trips X Nasty in Madden 27

Mastering the Best Defensive Macro vs Gun Trips X Nasty in Madden 27 Understanding the Defensive Setup in Madden 27 In Madden NFL 27, defending ...
Read More →
defensive macro Madden 27 — image 1

Mastering Defensive Strategies Against Gunfire Receiver Tight in Madden 27

Mastering Defensive Strategies Against Gunfire Receiver Tight in Madden 27 In Madden 27, stop the 5-receiver tight formation with a man-up defensive macro that uses ...
Read More →
Defensive alignment against Bunch TE formation

Mastering Madden NFL 27: Defending Auto-Motion & Bunch TE

Mastering Madden NFL 27: Defending Auto-Motion & Bunch TE Defend Bunch TE auto-motion in Madden 27 by aligning four defenders left, doubling the flat on ...
Read More →
Madden 27 gameplay showing 2-man under press beater

Mastering the Best 2-Man Under Press Beater in Madden 27

Mastering the Best 2-Man Under Press Beater in Madden 27 The best 2-man under press beater in Madden 27 is the Smash Corner concept from ...
Read More →
Defensive setup against Bunch Head End in Madden NFL 27

Mastering Madden NFL 27: Stop RPOs and Dominate Bunch Head End

Mastering Madden NFL 27: Stop RPOs and Dominate Bunch Head End Stop RPOs against Bunch Head End in Madden 27 by protecting the RPO bubble ...
Read More →
San Francisco Nickel Single Mug formation diagram

Best Defense to Stop Trips Head In: San Francisco Nickel Single Mug

Best Defense to Stop Trips Head In: San Francisco Nickel Single Mug The best defense to stop Trips Head in Madden 27 is San Francisco ...
Read More →
Dime 3-2 defensive formation setup

Mastering Madden NFL 27: Stop Doubles Clamp Stack with These Defensive Macros

Understanding the Challenge of Doubles Clamp Stack In Madden NFL 27, facing the Doubles Clamp Stack can be a daunting task for any player. This ...
Read More →
Setup of hybrid shell for red zone defense

Mastering Red Zone Defense in Madden NFL 27: Best Macro Guide

Introduction Defending in the red zone can be a pivotal moment in your Madden NFL 27 games. The stakes are high, and the right defensive ...
Read More →
Madden NFL 27 Smash Corner play setup

Mastering Madden NFL 27: Beat Nickel Single Mug with 2 Macros

Understanding the Nickel Single Mug Defense When you face the Nickel Single Mug defense in Madden NFL 27, it can feel like an uphill battle. ...
Read More →
Spot Y Option Madden — image 1

Master the Red Zone with Spot Y Option in Madden NFL 27

Master the Red Zone with Spot Y Option in Madden NFL 27 Master the red zone in Madden 27 with Spot Y Option from Pistol ...
Read More →
designed rollouts — image 1

Mastering Designed Rollouts to Beat Stunts in Madden NFL 27

Understanding Why Rollouts Work Rollouts are an essential part of your offensive strategy in Madden NFL 27, particularly when facing defensive stunts. Stunts are designed ...
Read More →
Offensive setup in Madden NFL 27

Master the Best Match Beater in Madden NFL 27

Master the Best Match Beater in Madden NFL 27 The best match beater in Madden 27 is the Mills deep out from Gun 5 Receiver ...
Read More →