Understanding the Coverage Shell

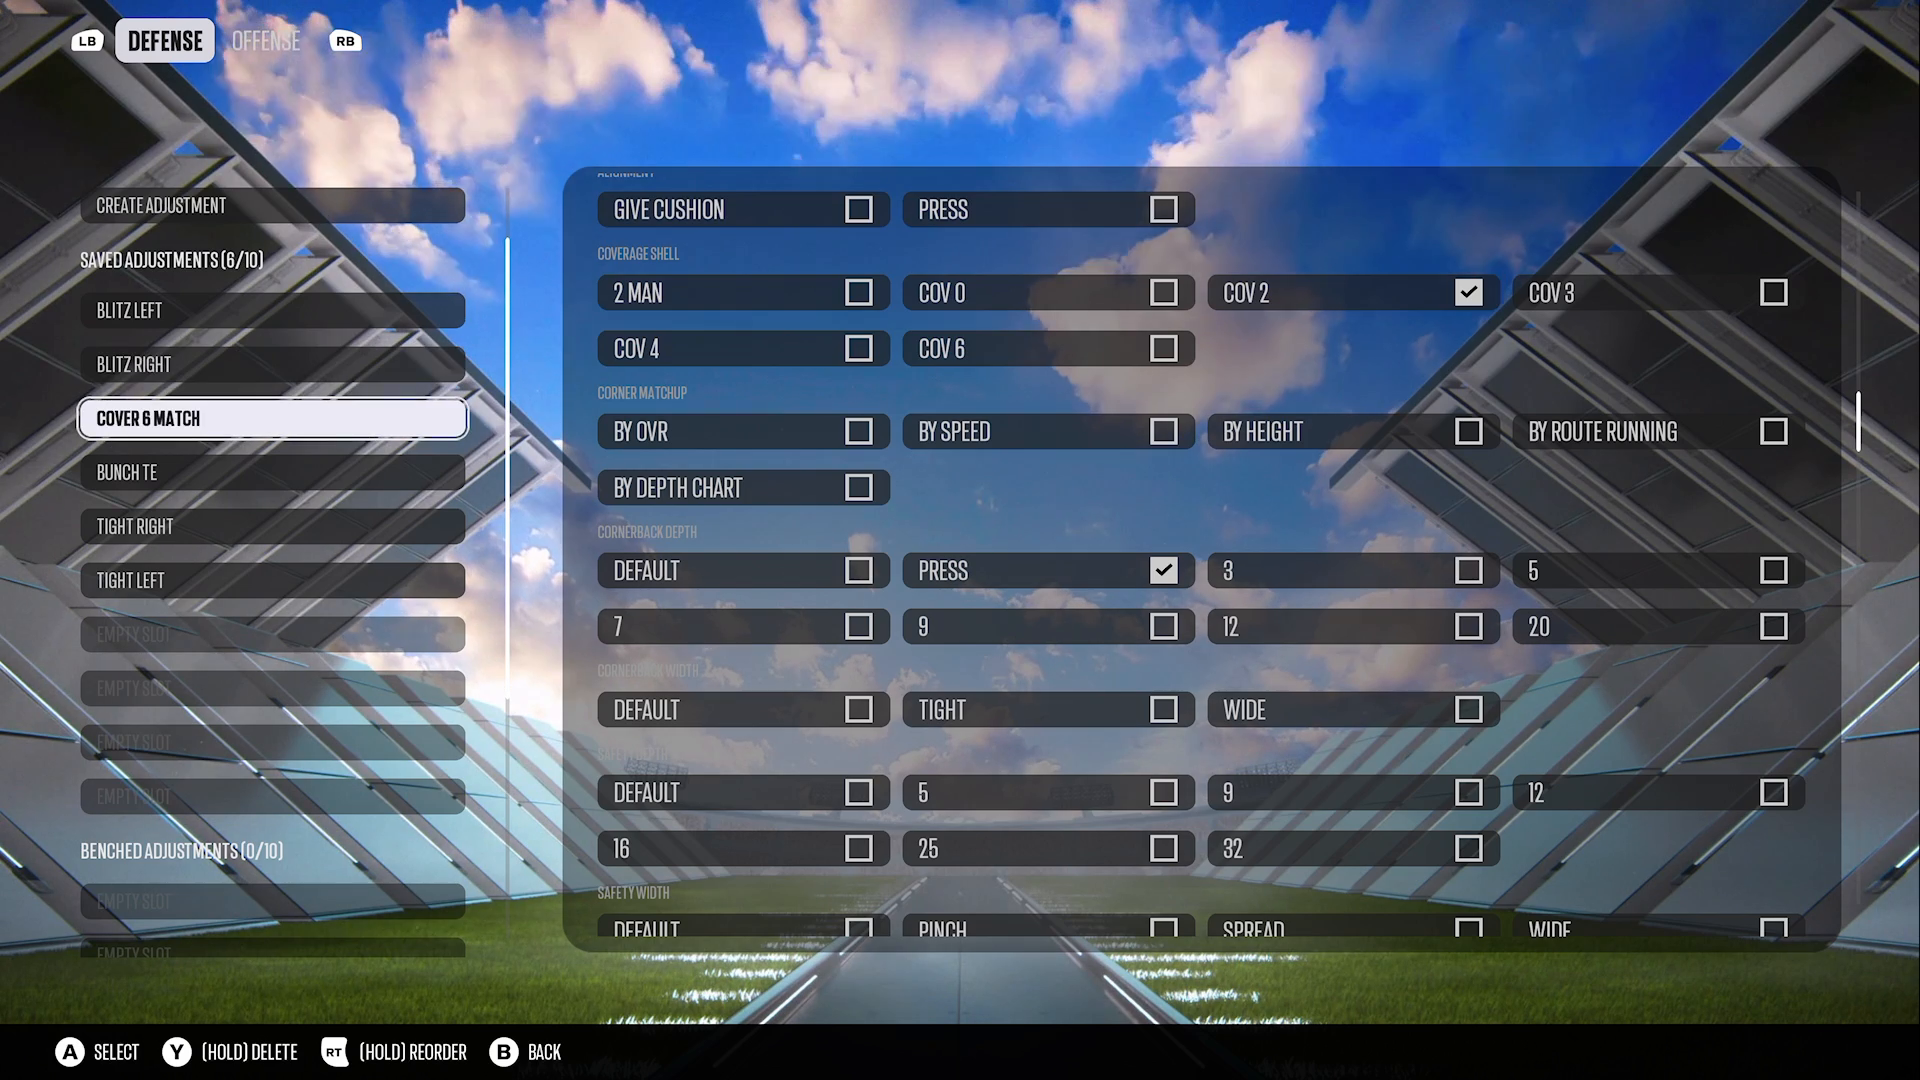
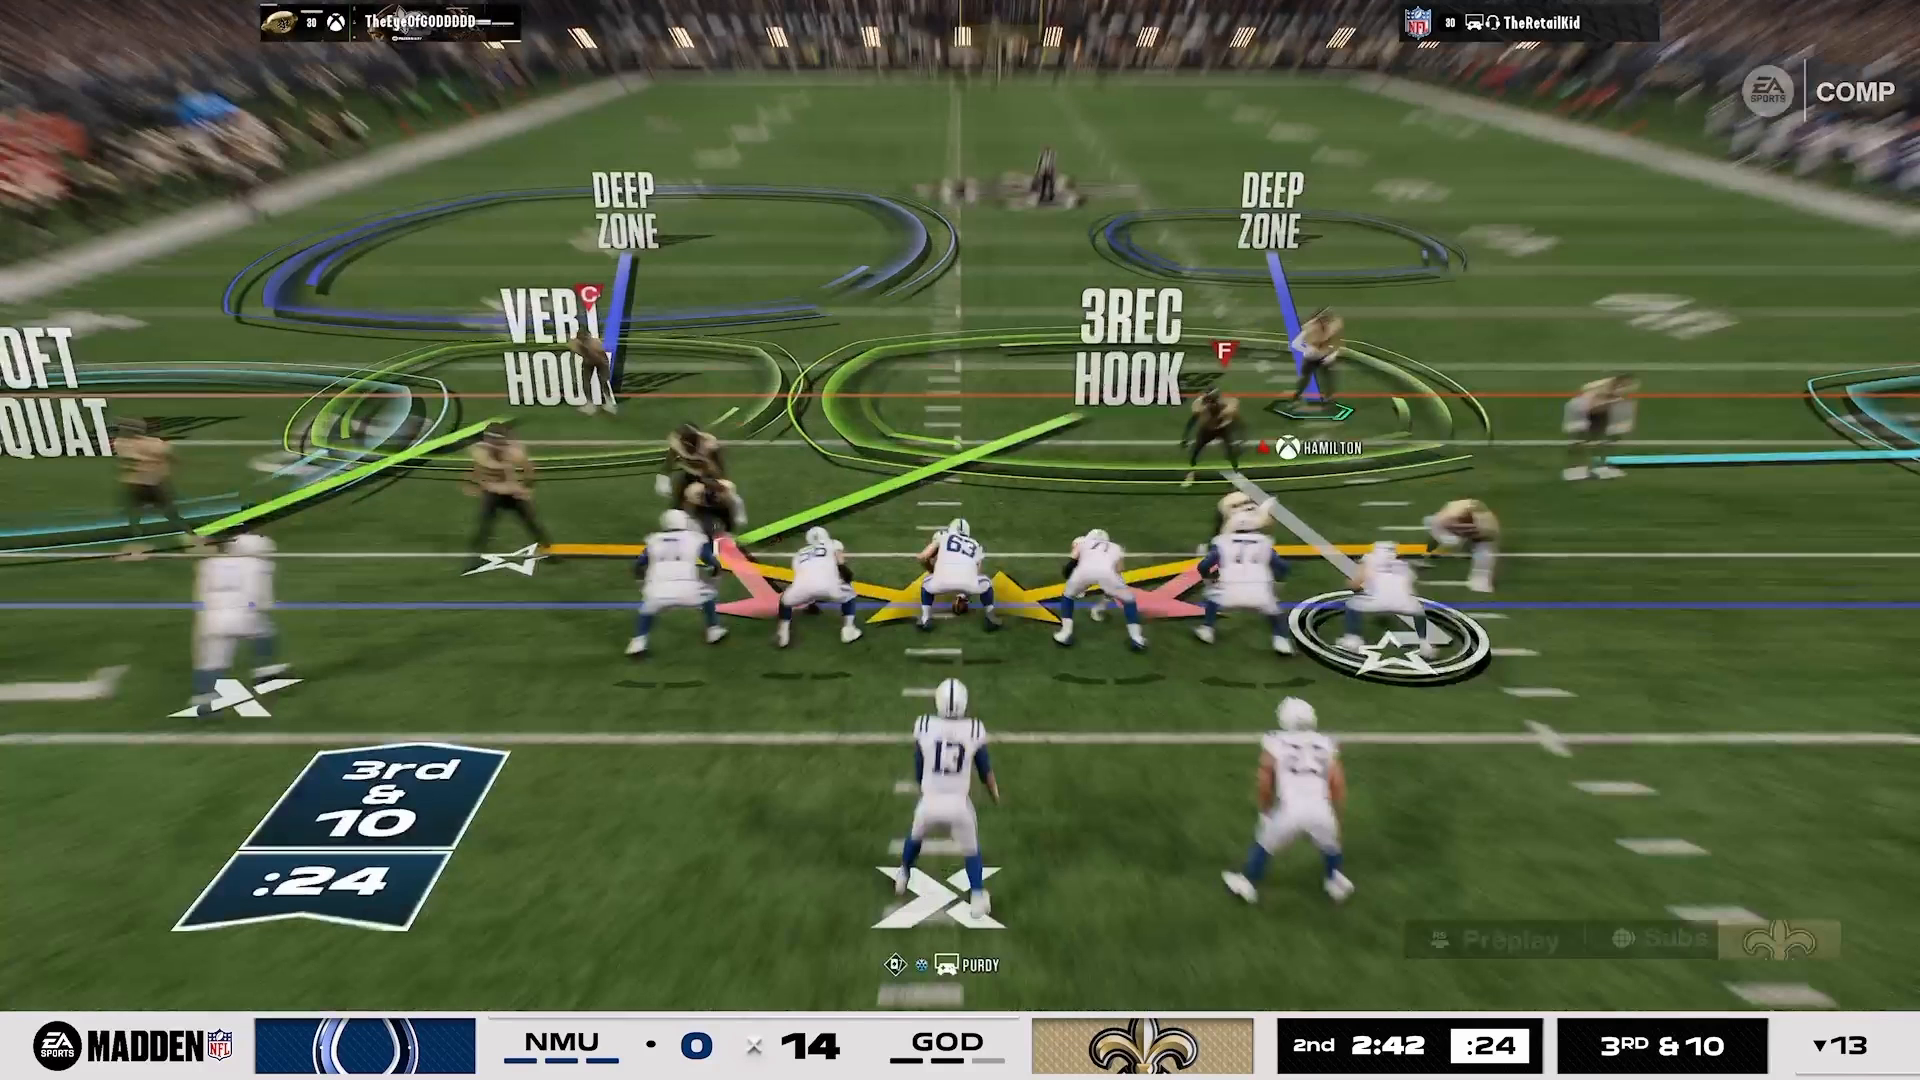
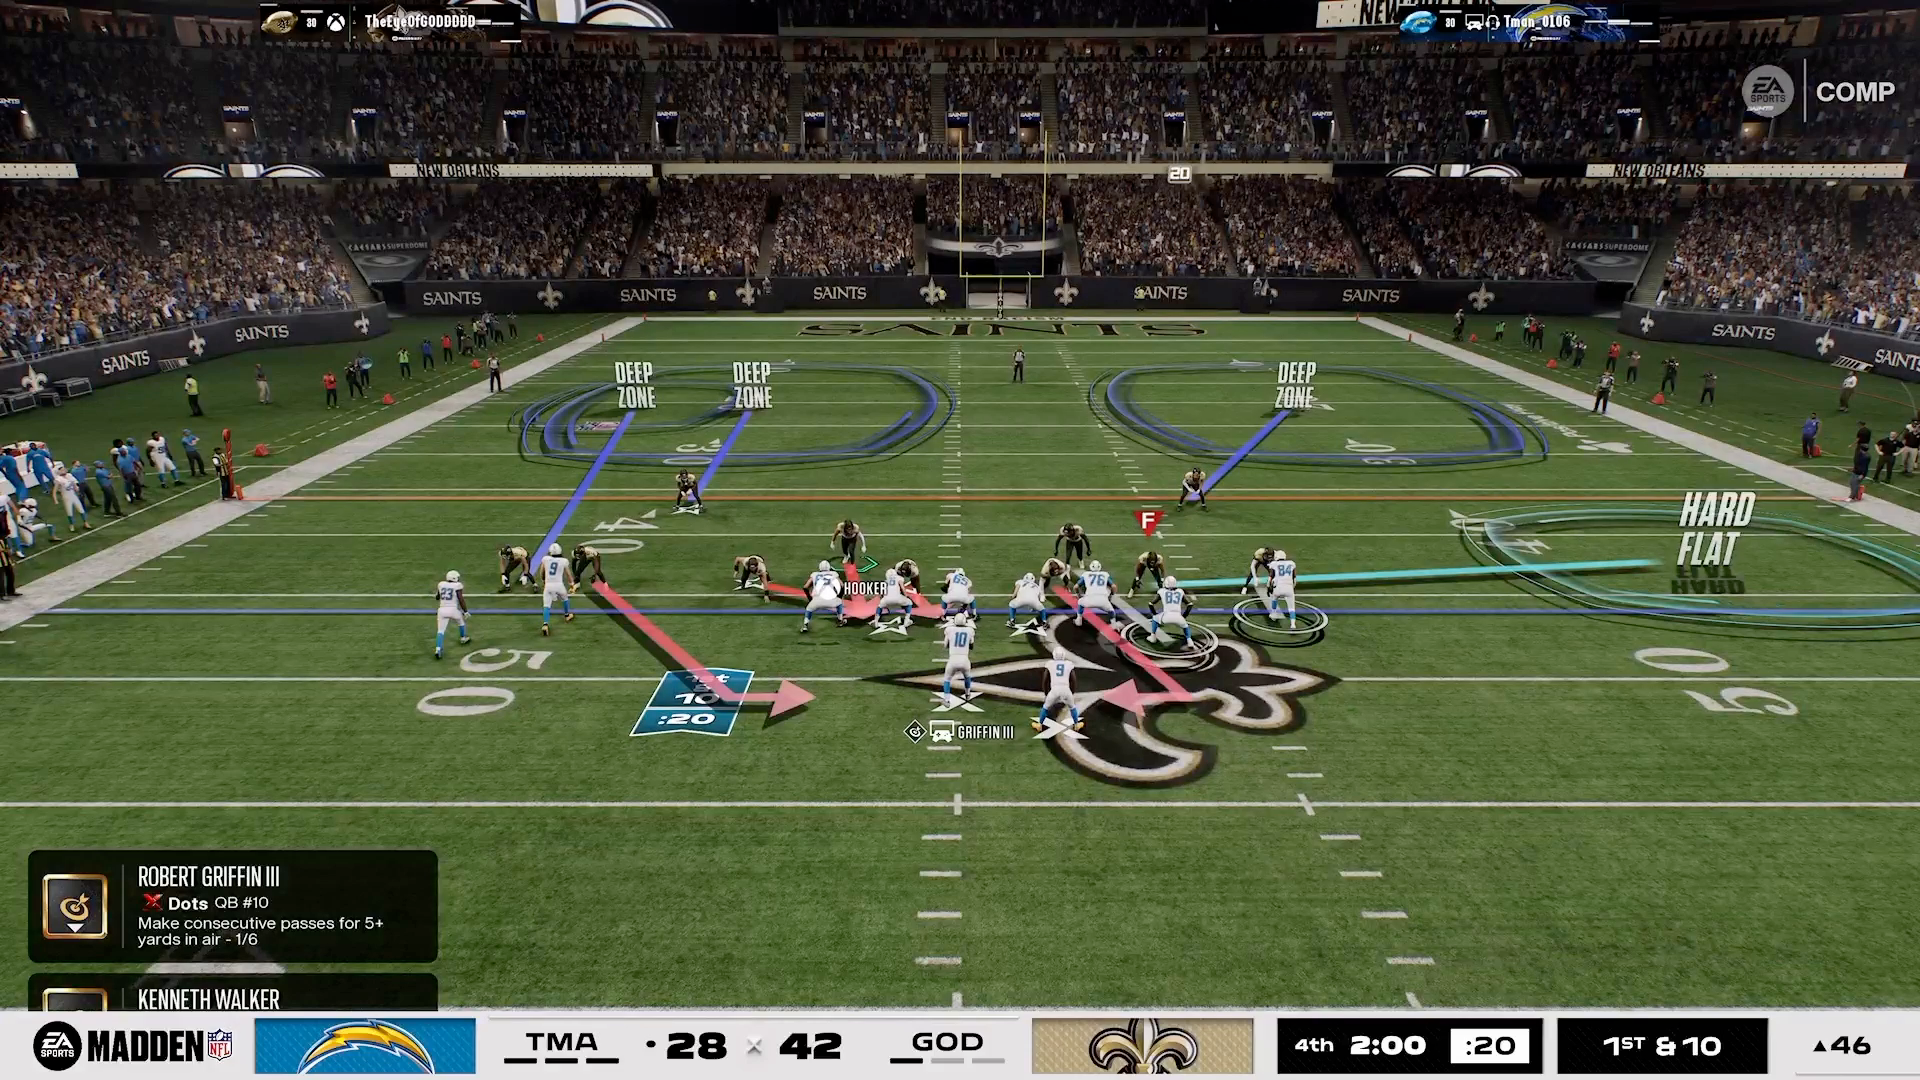
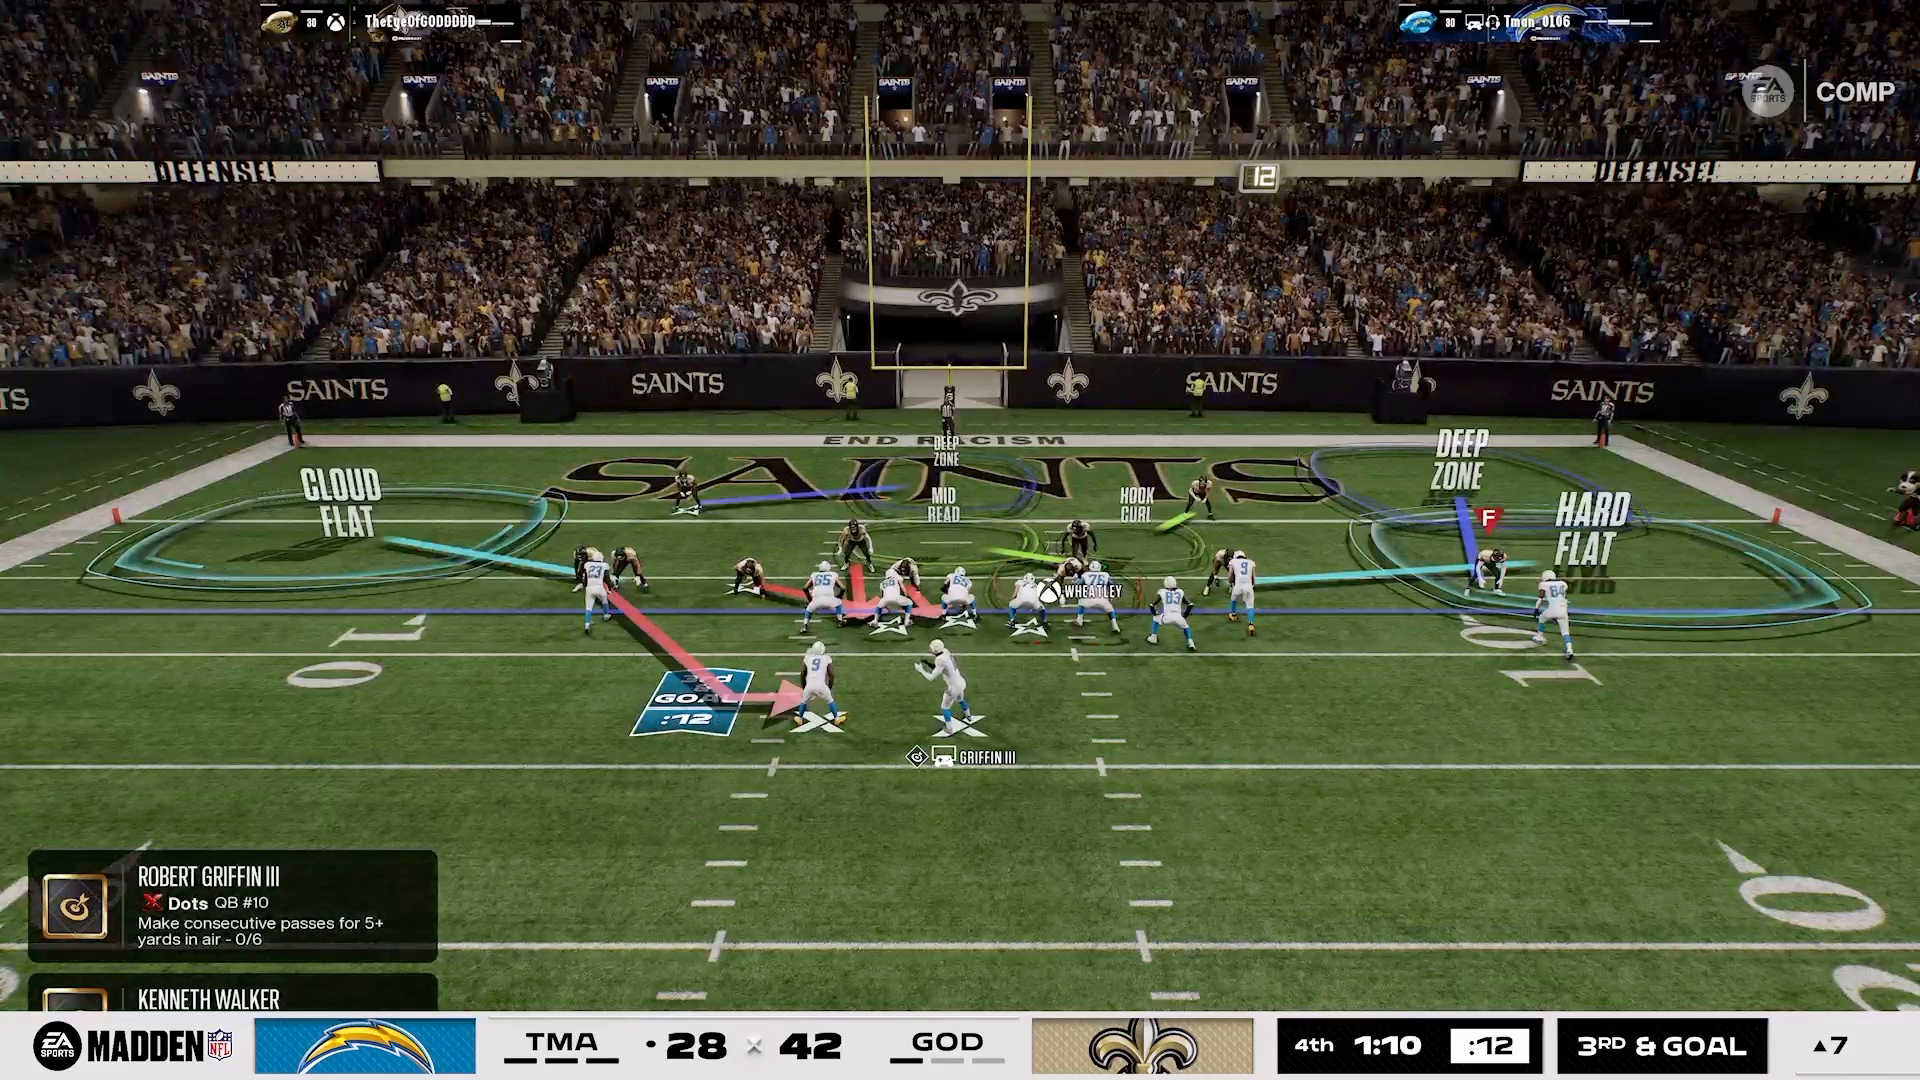
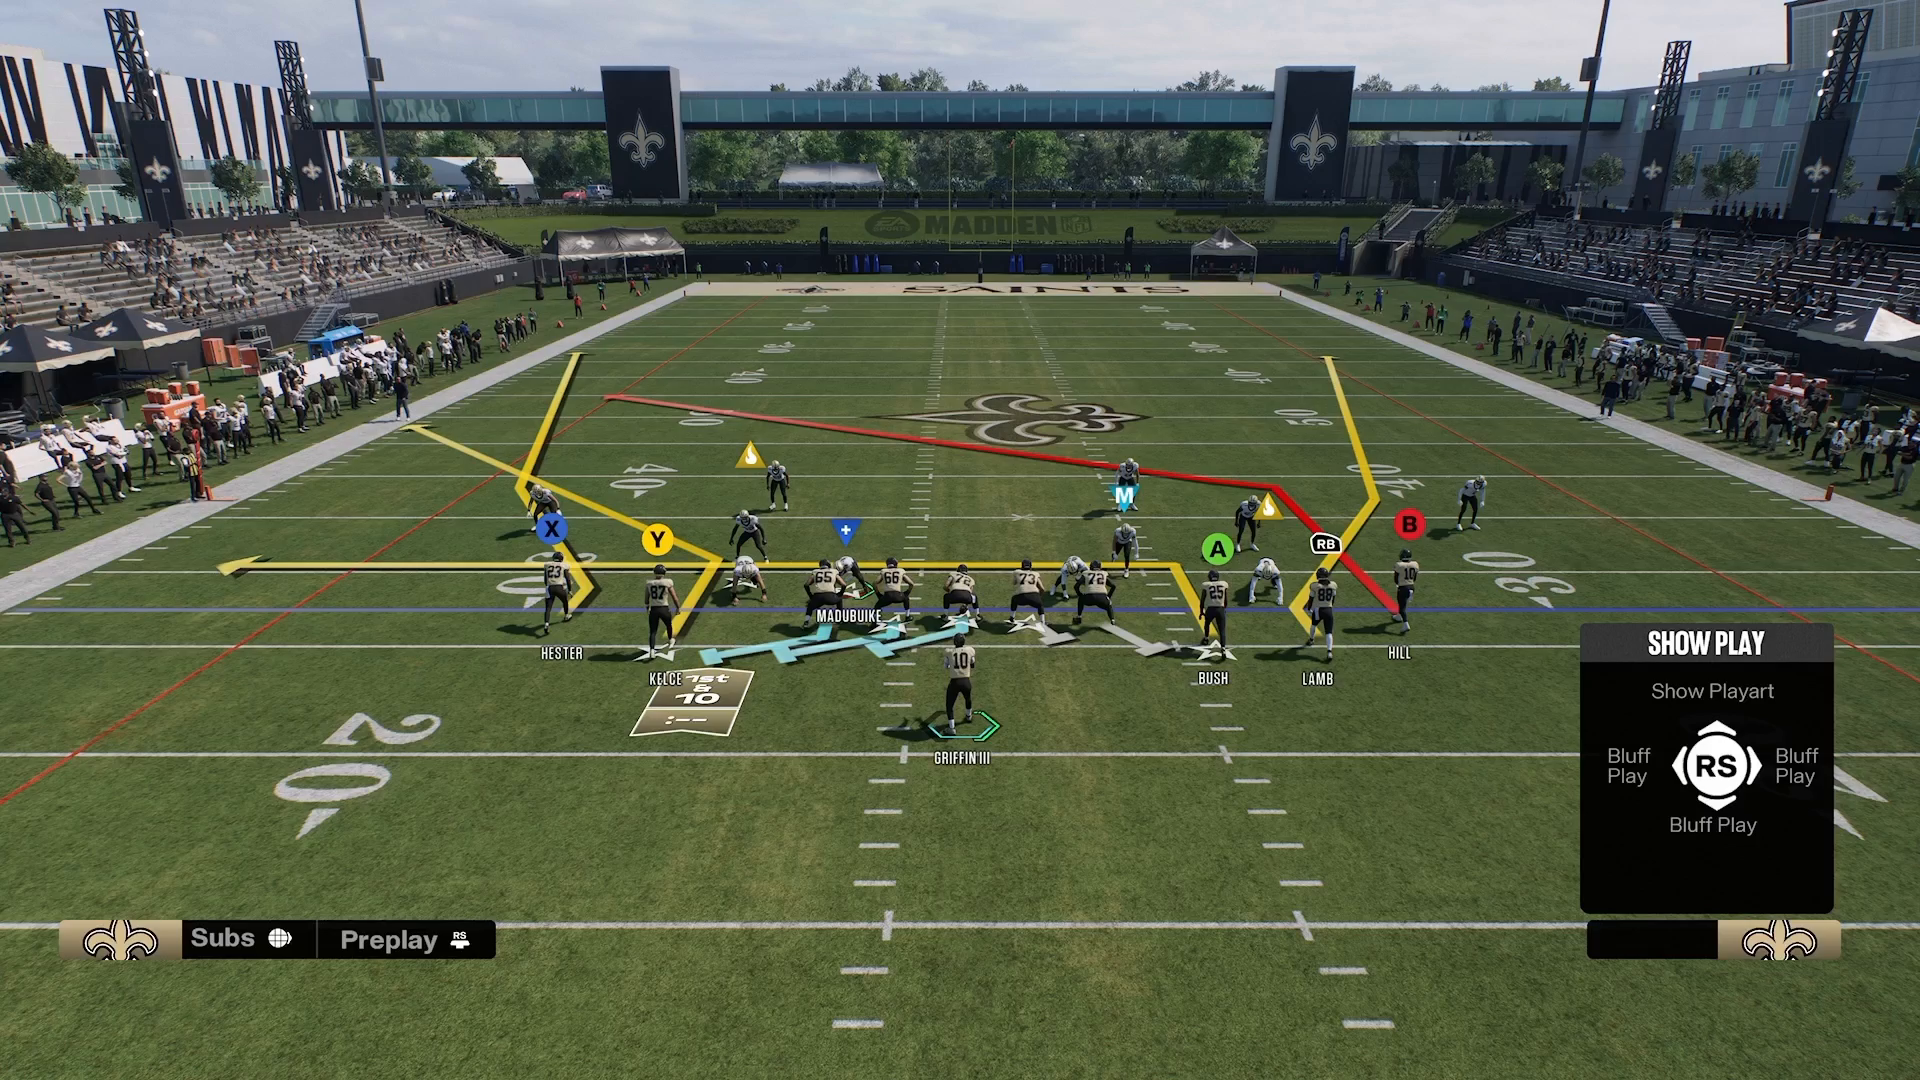
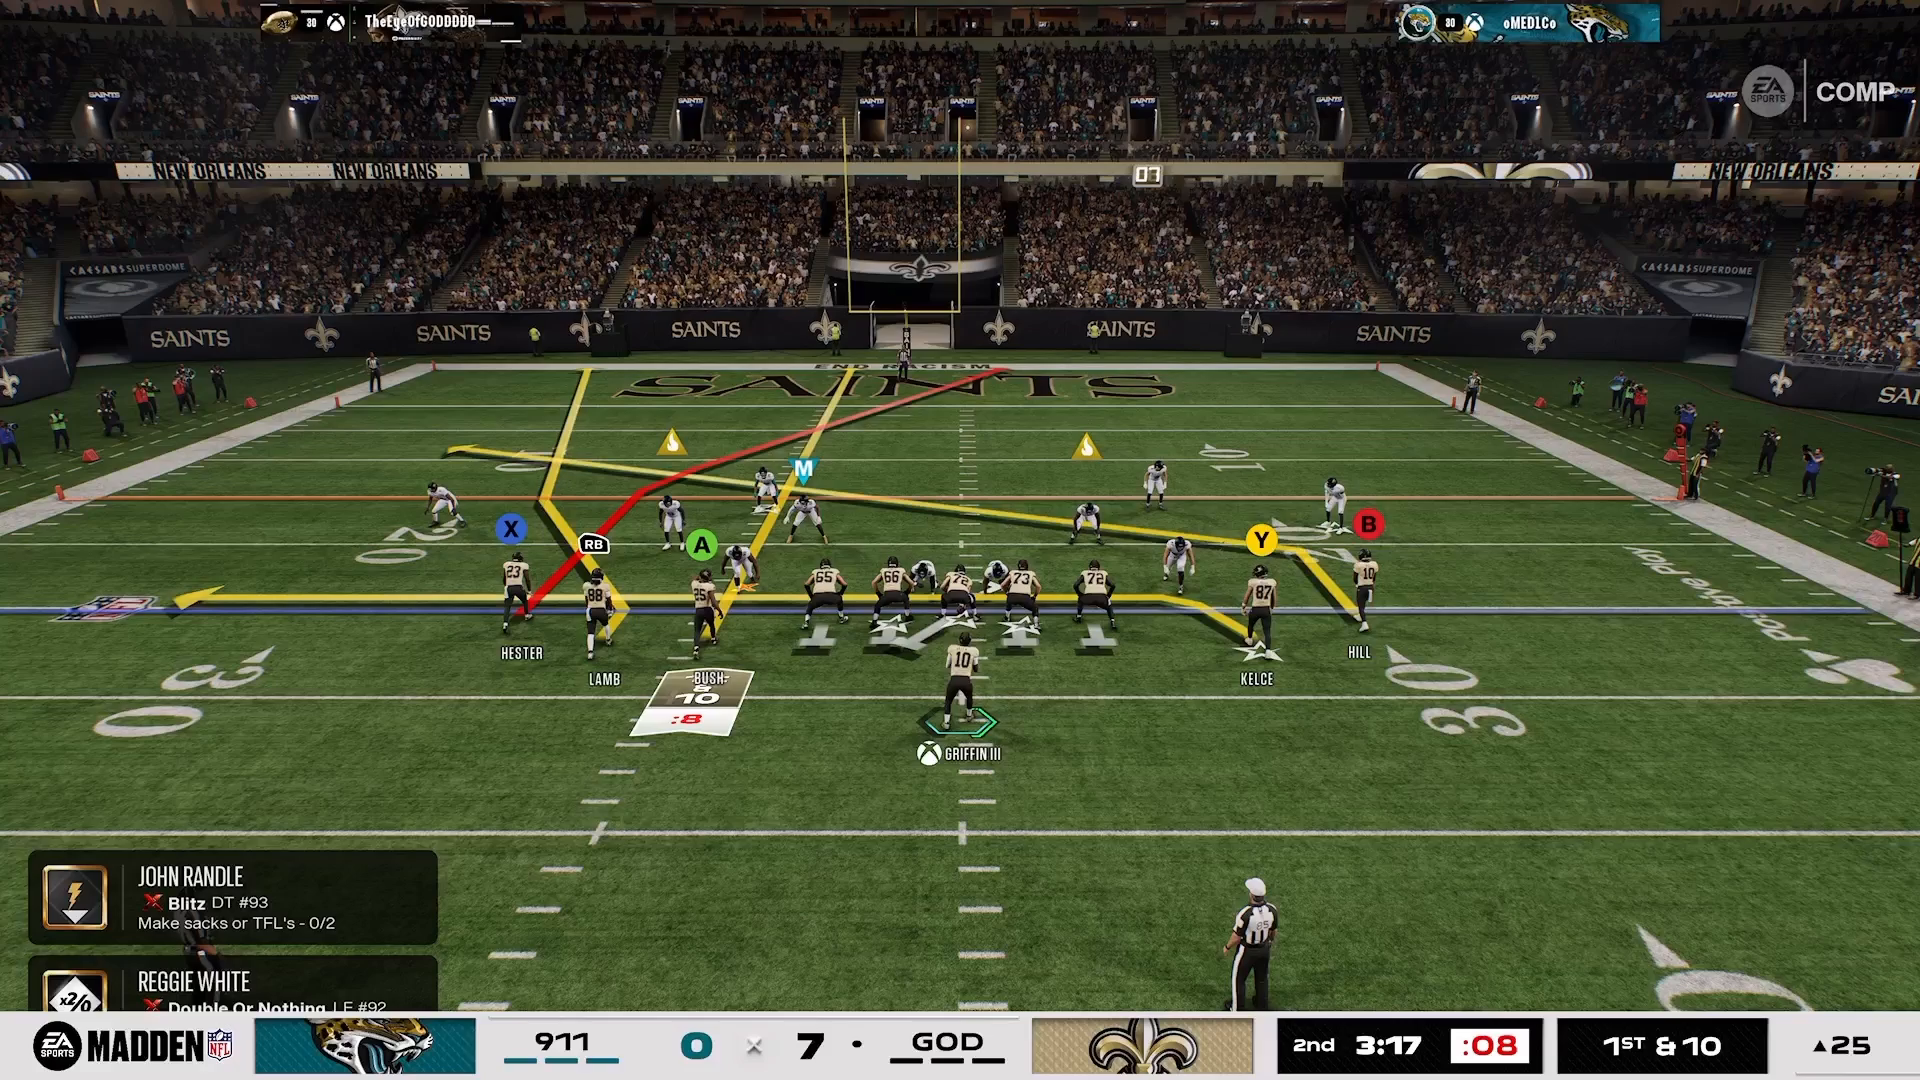
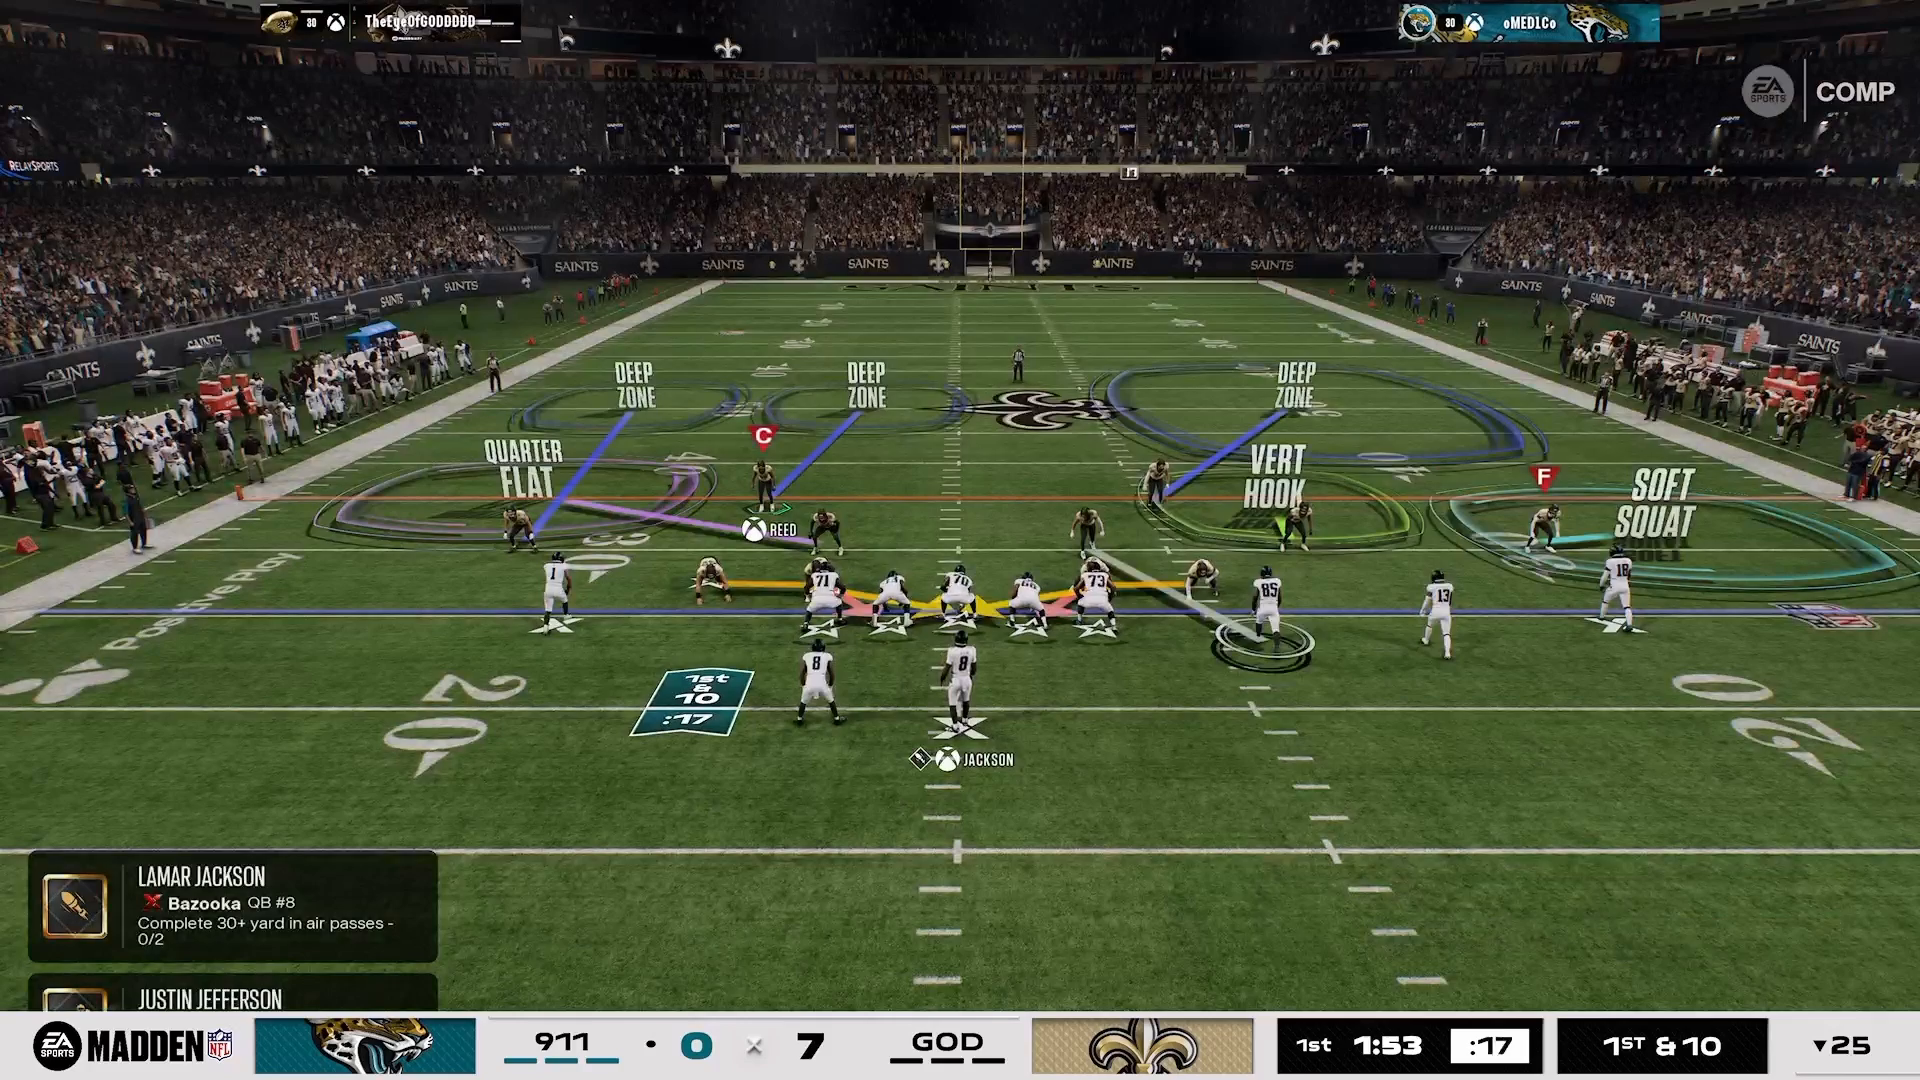
The coverage shell is the cornerstone of any successful defensive strategy in Madden 27. It might look unconventional at first, especially when you see a deep half and an outside quarter covering the same space. However, this overlap is intentional and serves a vital purpose when employing the switch stick technique. You need a bailout defender ready to step in when you bait an opponent into a poor throw. Think of it as a part of the Core 16 Spaces System; it’s about understanding spaces and repositioning your zones effectively.
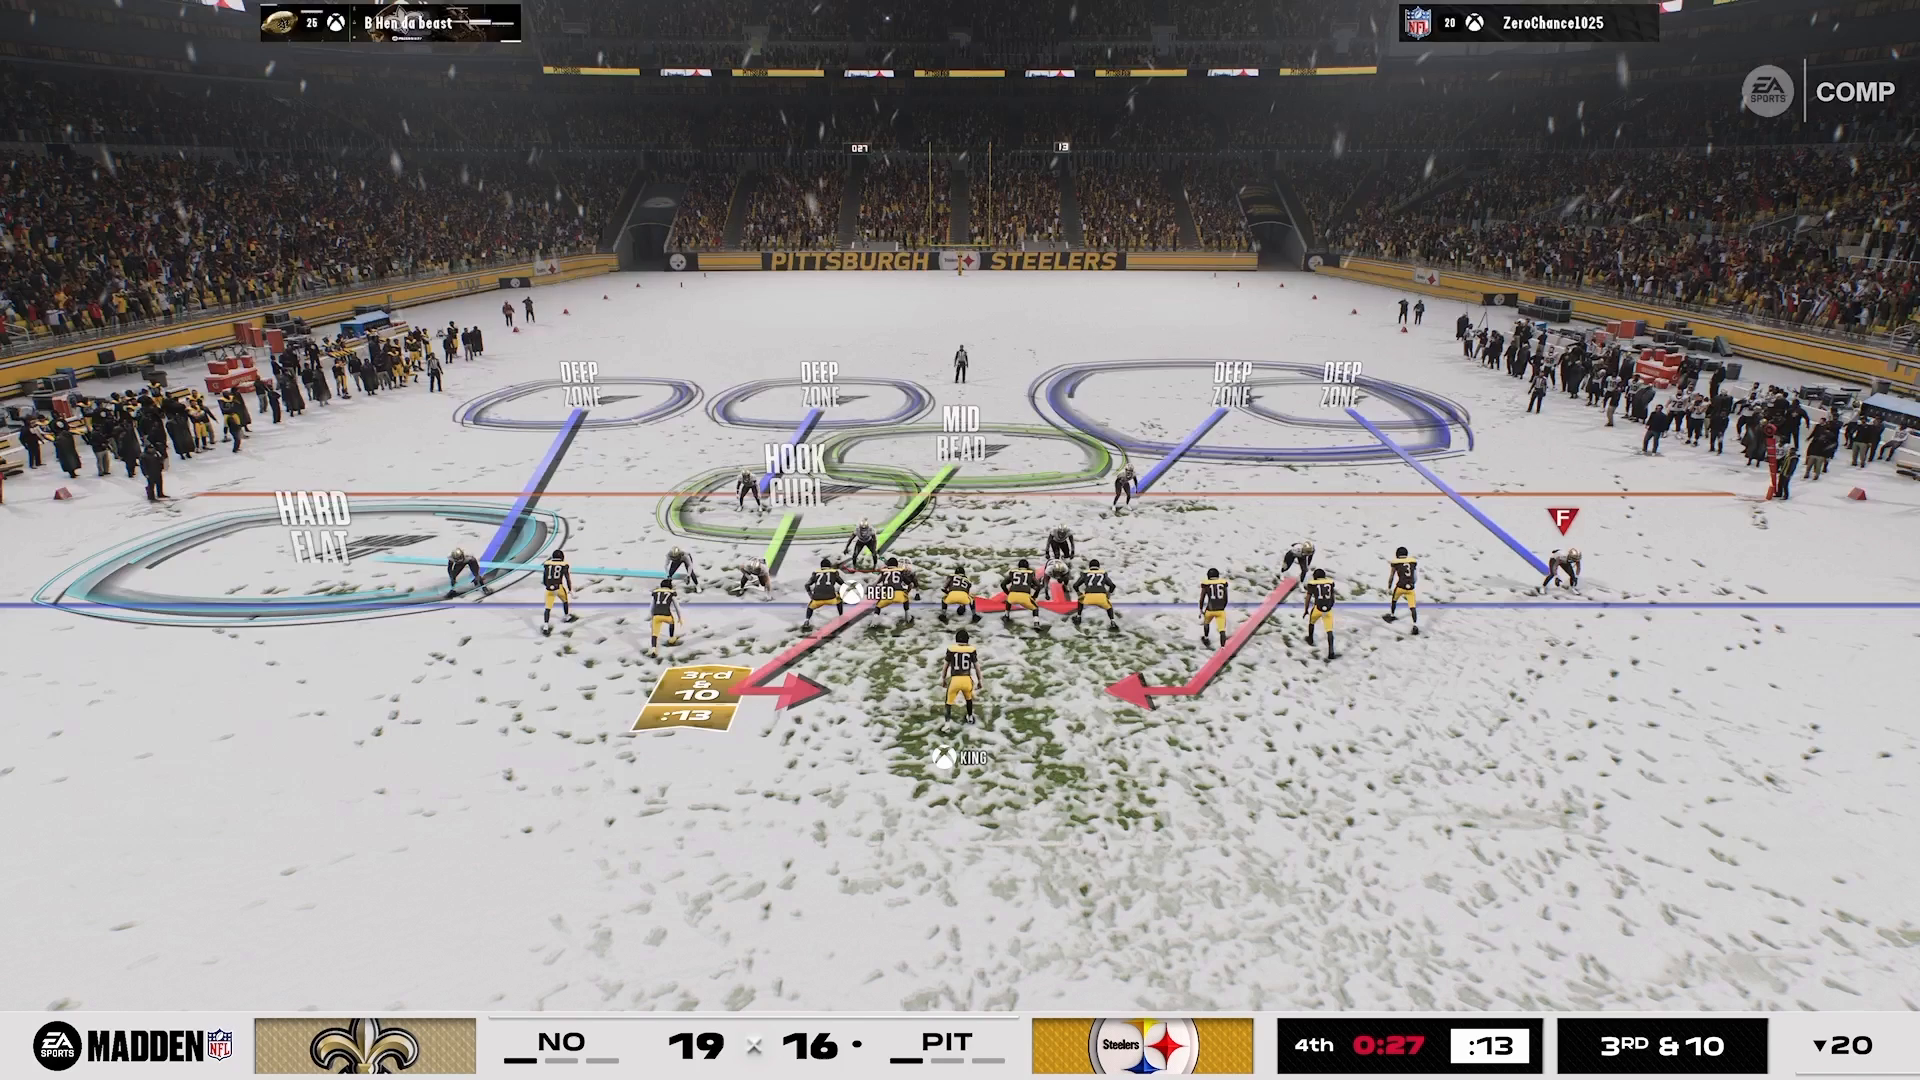
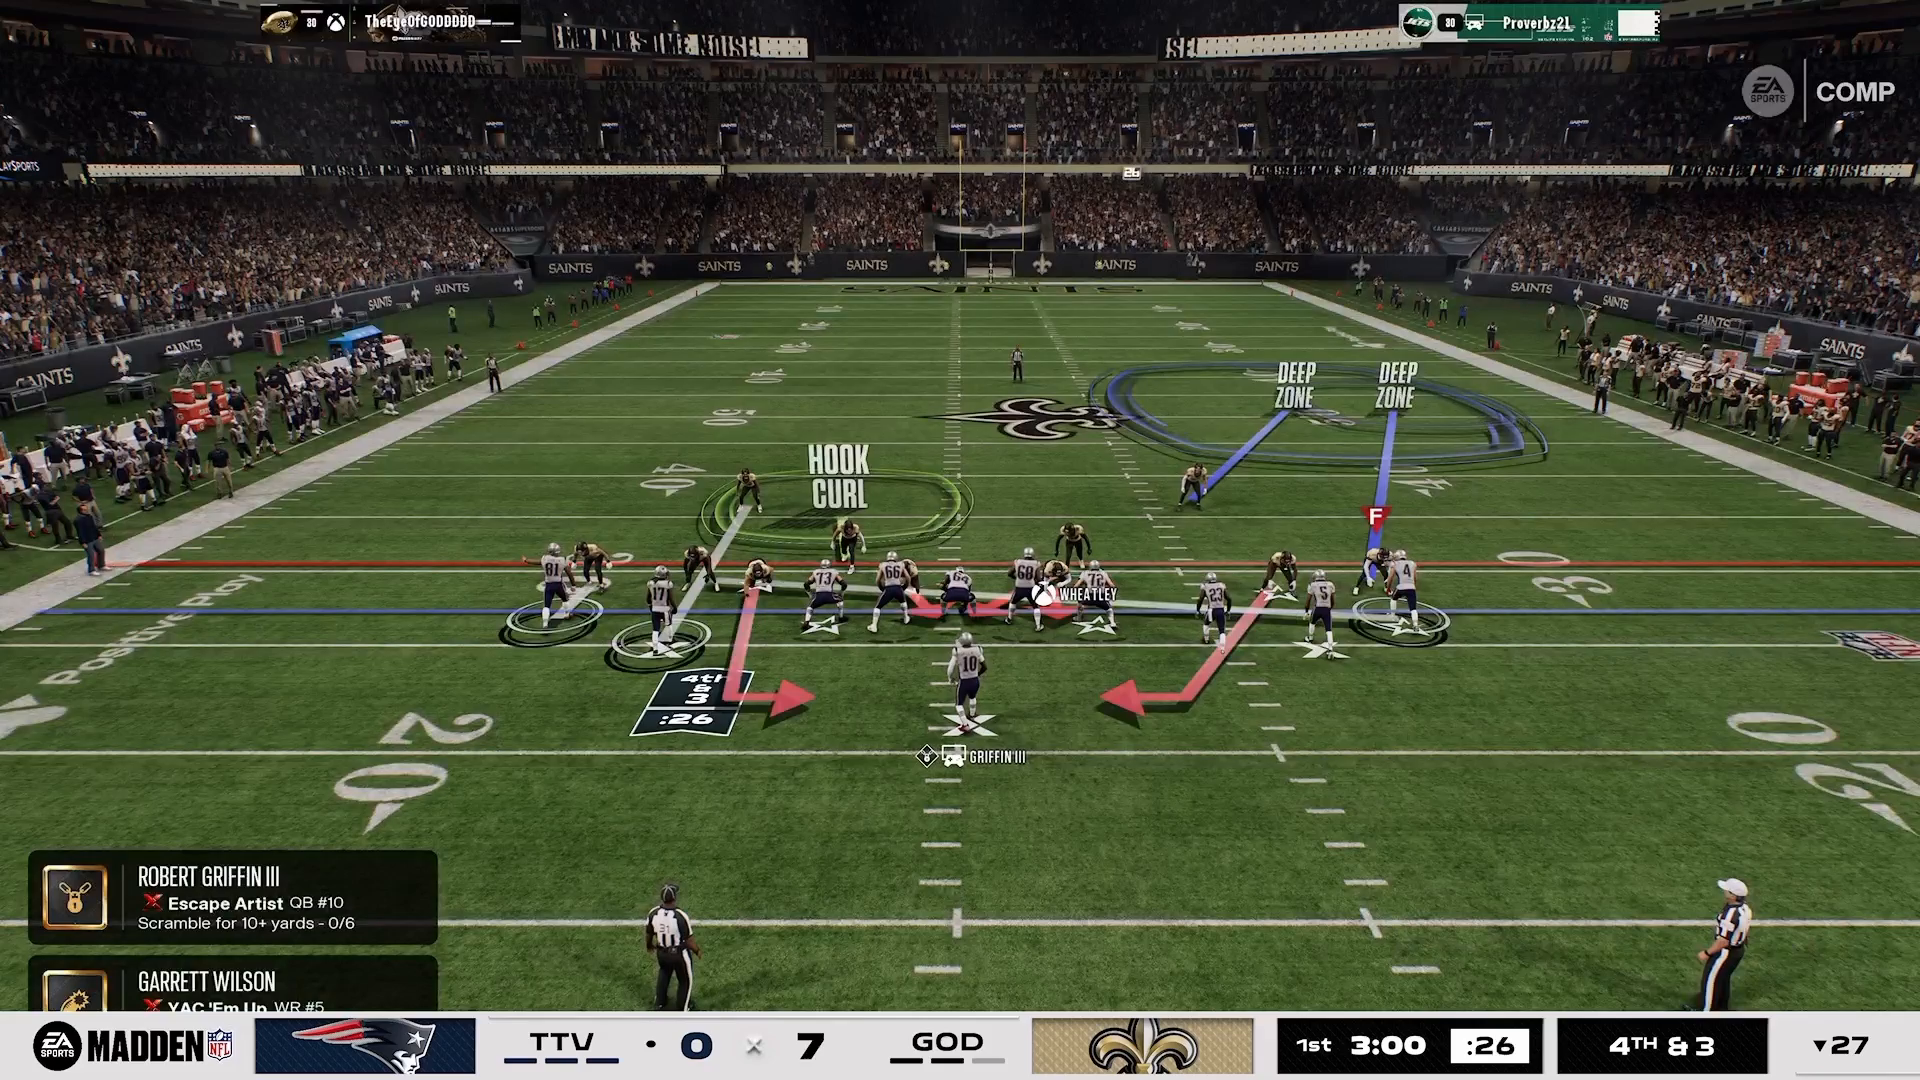
Diagram illustrating coverage shell in Madden 27

The Bait & Bail Technique

Baiting and bailing are essential to your defensive strategy. The bait occurs primarily with your outside cornerback, who lures the quarterback into throwing a risky pass. On the right side of your screen, the deep half acts as your safety net. Without this bail defender, a slot fade can quickly turn into an easy touchdown. By having that extra layer of protection, you can play aggressively, knowing you have help behind you. This method allows you to disrupt plays without leaving your secondary vulnerable.
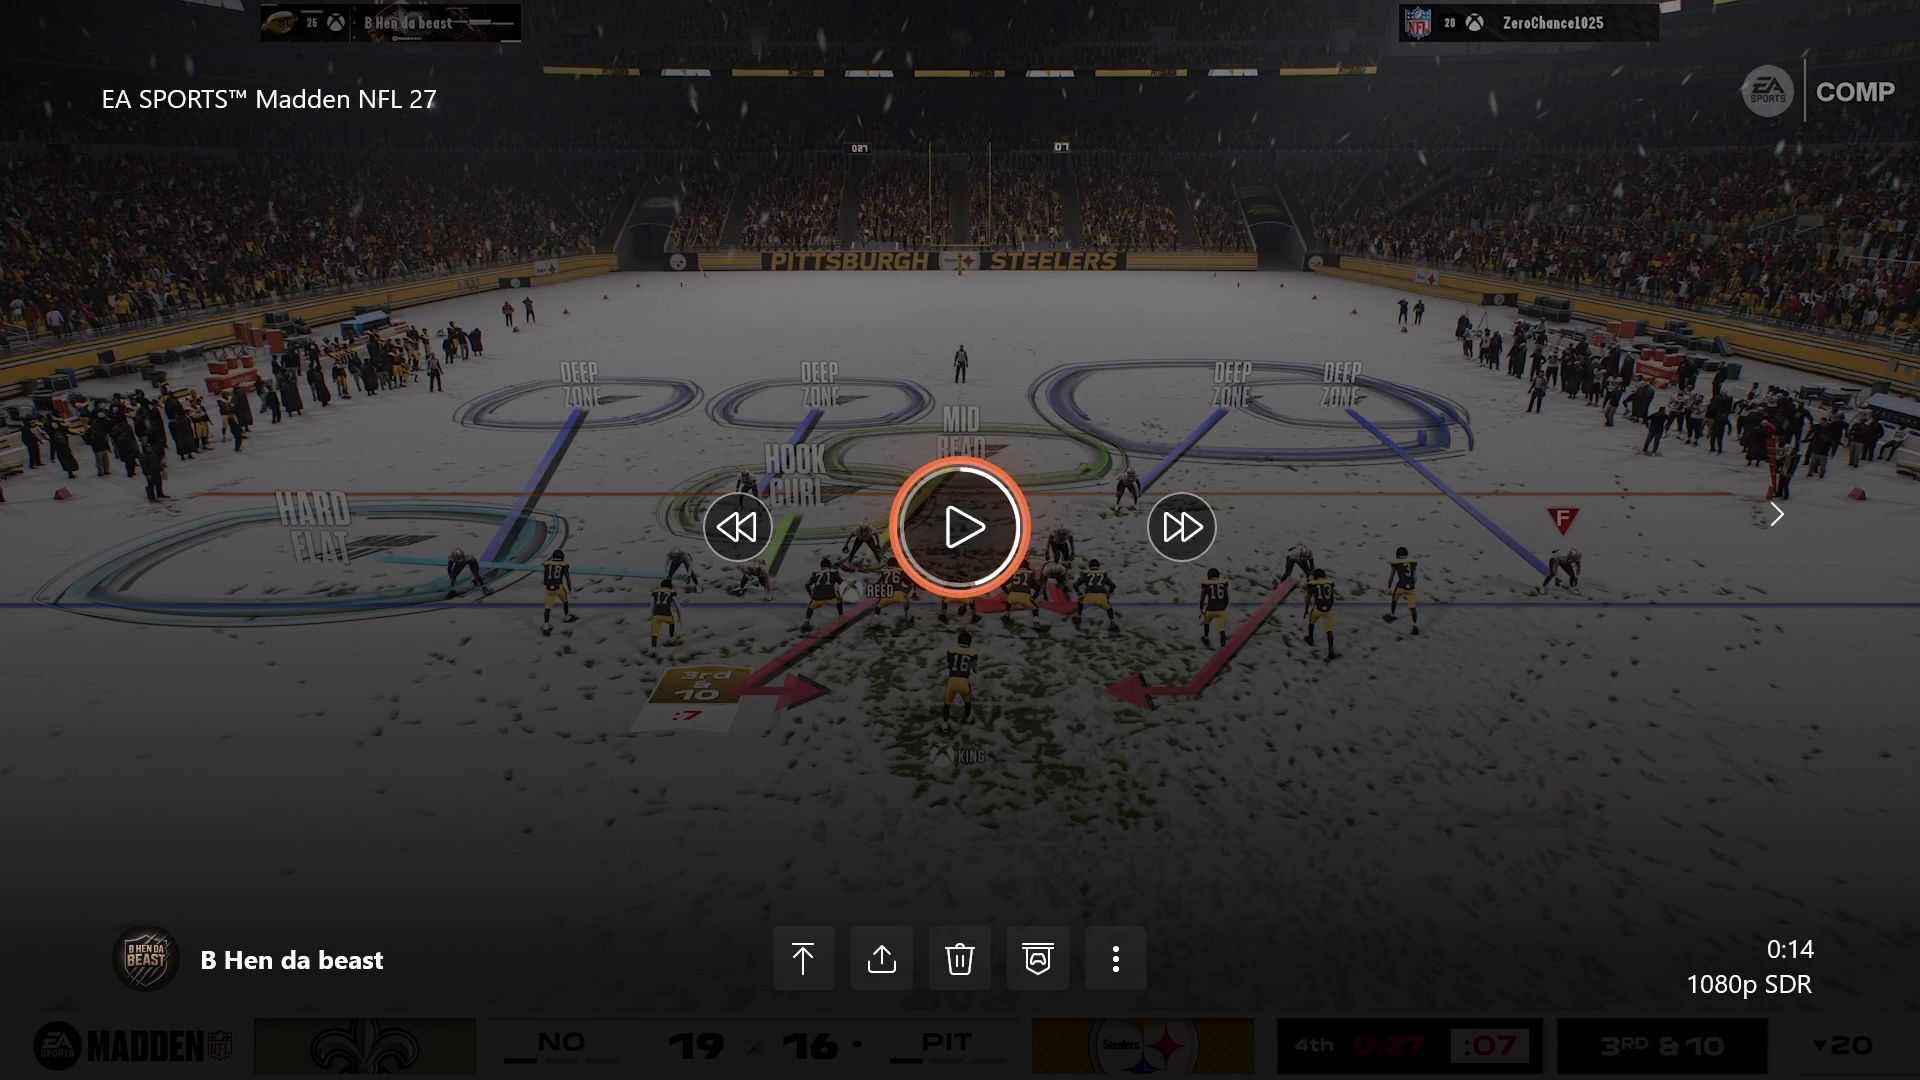
Visual representation of bait and bail technique

Pre-Snap Diagnosis for Success

Before the snap, take a moment to analyze the offense. Identify one receiver who could exploit your defense, and take mental notes of the 16 spaces on the field. For example, if you recognize weakness in the seam, keep a close eye on the tight end, often numbered 16. Understanding which spaces are open before the snap allows for a more strategic movement post-snap. This mindset is what sets apart Madden Academy players from the rest.
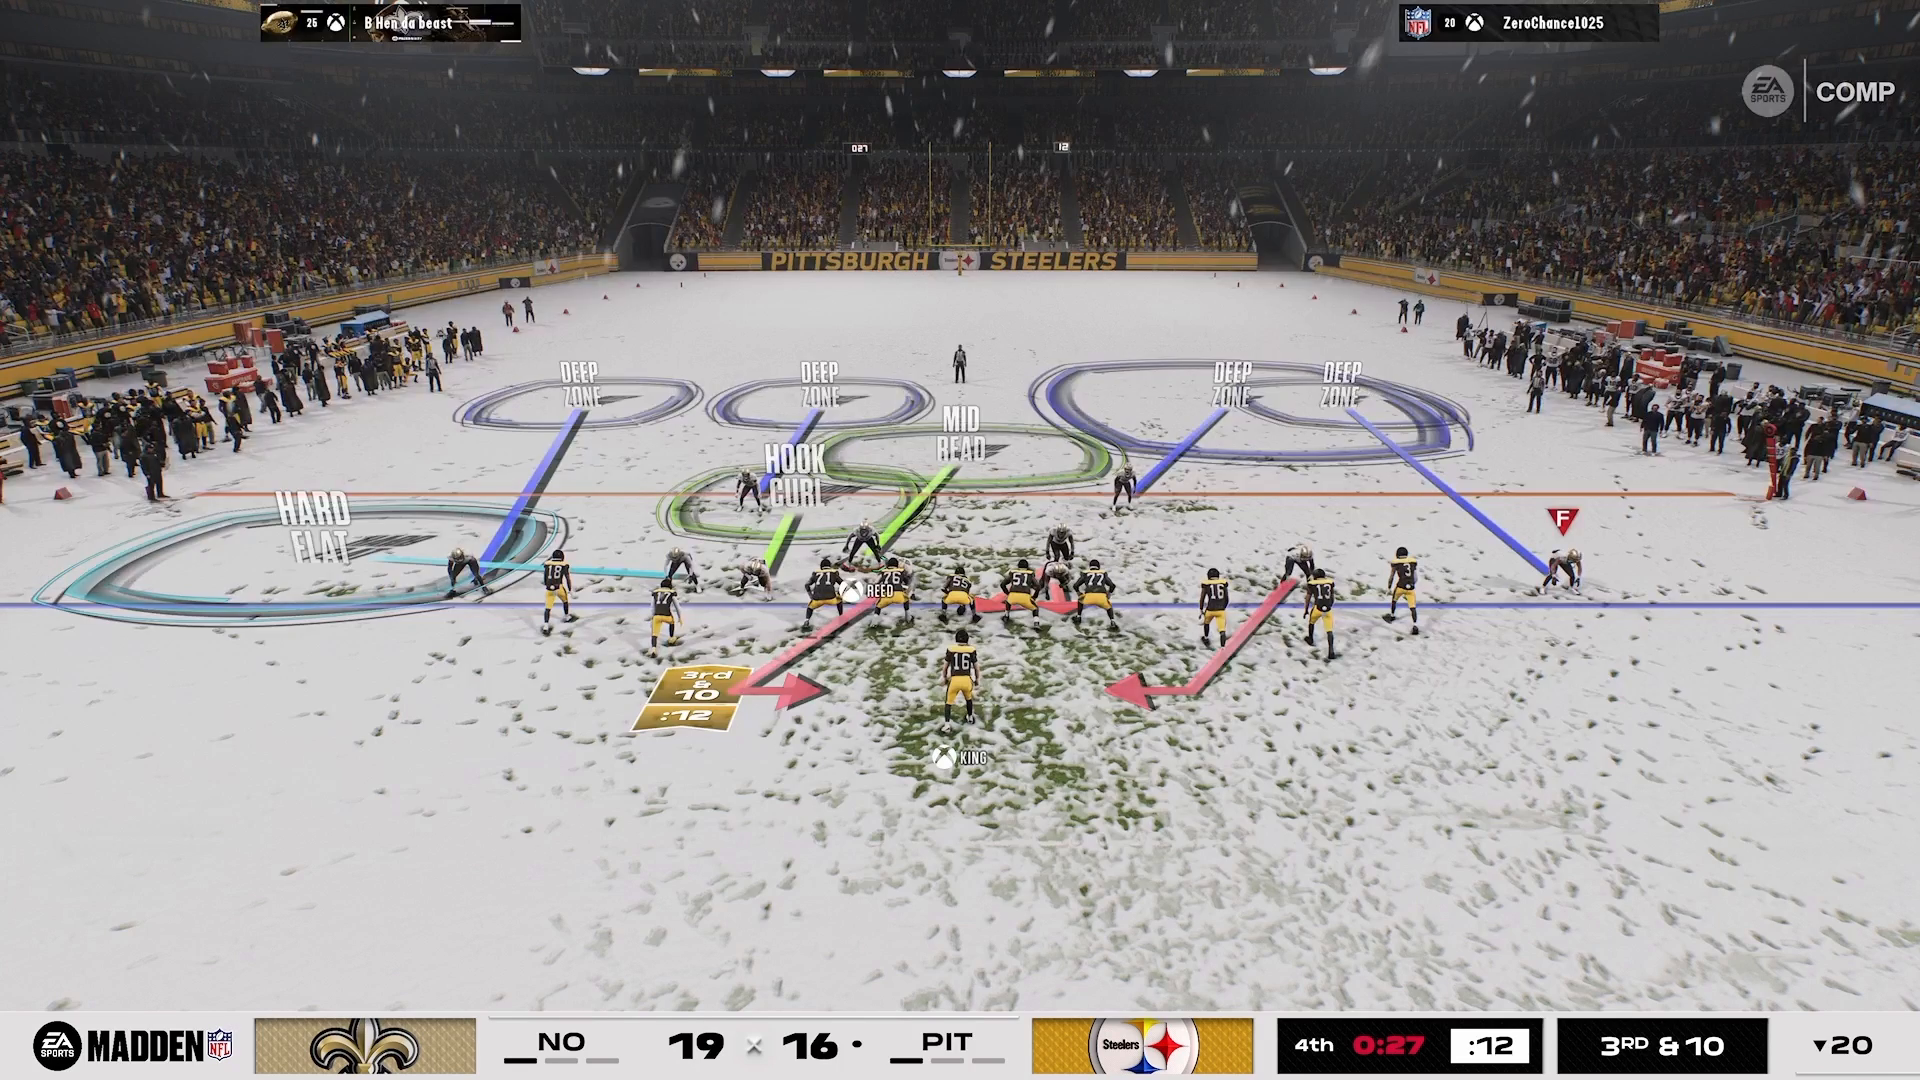
Pre-snap diagnosis strategy in Madden gameplay

Executing the Switch Stick Effectively

When the tight end runs a seam route, this is where the switch stick execution comes into play. Quickly switch to the defender responsible for the deep path and slightly reposition him inside to counter any seam streaks. The deep half remains intact, ensuring that your strong safety is available to bail over the top. This technique enables you to bait the quarterback effectively without giving away a deep sideline touchdown, keeping the pressure on your opponent.
Execution of switch stick with tight end seam route

Playing Aggressively and Confidently

The ideal shell allows you to switch stick aggressively with your deep blues. You can jump inside to defend against corner routes, but be mindful of the need for support over the top. If you solely rely on outside quarters, your defense becomes timid and susceptible to giving up points. By adopting a spaces-first mindset, you’re not only preparing for a single game—you’re building a consistent and repeatable defense within the 16 Spaces System.
Aggressive defensive play strategy in Madden 27

Conclusion

Mastering the advanced switch stick strategy can elevate your defensive gameplay in Madden 27. By understanding the coverage shell, effectively baiting and bailing, diagnosing pre-snap situations, executing precise switch stick movements, and playing aggressively, you can transform your defense into a formidable barrier against any opponent. For further insights and gameplay tips, consider exploring our range of resources at Madden Academy.
Recent Posts

Defensive setup in Madden 27 with Nickel Single Mug

Mastering the Best Defensive Macro vs Gun Trips X Nasty in Madden 27

Understanding the Defensive Setup In Madden NFL 27, defending against the Gun Trips X Nasty formation requires a well-thought-out approach. Start by selecting the Nickel ...
Read More →
defensive macro Madden 27 — image 1

Mastering Defensive Strategies Against Gunfire Receiver Tight in Madden 27

Understanding the Need for This Defensive Macro In Madden NFL 27, the Gunfire Receiver Tight formation poses significant challenges for defenders. It’s crucial to develop ...
Read More →
Defensive alignment against Bunch TE formation

Mastering Madden NFL 27: Defending Auto-Motion & Bunch TE

Understanding the Importance of Numbers In Madden NFL 27, one of the most critical aspects of your defensive strategy is how you align your players, ...
Read More →
Madden 27 gameplay showing 2-man under press beater

Mastering the Best 2-Man Under Press Beater in Madden 27

Unlocking the Best 2-Man Under Press Beater In Madden 27, mastering the art of offensive plays is crucial to outsmarting your opponents. One of the ...
Read More →
Defensive setup against Bunch Head End in Madden NFL 27

Mastering Madden NFL 27: Stop RPOs and Dominate Bunch Head End

Bunch Head End Basics In Madden NFL 27, stopping the Run Pass Option (RPO) is crucial, especially when facing formations like Bunch Head End. The ...
Read More →
San Francisco Nickel Single Mug formation diagram

Best Defense to Stop Trips Head In: San Francisco Nickel Single Mug

Why This Set Works The San Francisco Nickel Single Mug with COVID 9 formation is a game-changer when you’re up against the Trips Head In ...
Read More →
Dime 3-2 defensive formation setup

Mastering Madden NFL 27: Stop Doubles Clamp Stack with These Defensive Macros

Understanding the Challenge of Doubles Clamp Stack In Madden NFL 27, facing the Doubles Clamp Stack can be a daunting task for any player. This ...
Read More →
Setup of hybrid shell for red zone defense

Mastering Red Zone Defense in Madden NFL 27: Best Macro Guide

Introduction Defending in the red zone can be a pivotal moment in your Madden NFL 27 games. The stakes are high, and the right defensive ...
Read More →
Madden NFL 27 Smash Corner play setup

Mastering Madden NFL 27: Beat Nickel Single Mug with 2 Macros

Understanding the Nickel Single Mug Defense When you face the Nickel Single Mug defense in Madden NFL 27, it can feel like an uphill battle. ...
Read More →
Spot Y Option Madden — image 1

Master the Red Zone with Spot Y Option in Madden NFL 27

Understanding the Spot Y Option Setup When you step into the red zone in Madden NFL 27, having a reliable play can make all the ...
Read More →
designed rollouts — image 1

Mastering Designed Rollouts to Beat Stunts in Madden NFL 27

Understanding Why Rollouts Work Rollouts are an essential part of your offensive strategy in Madden NFL 27, particularly when facing defensive stunts. Stunts are designed ...
Read More →
Offensive setup in Madden NFL 27

Master the Best Match Beater in Madden NFL 27

Understanding the Best Match Beater in Madden NFL 27 Madden NFL 27 introduces new strategies and formations that can change the way you approach the ...
Read More →