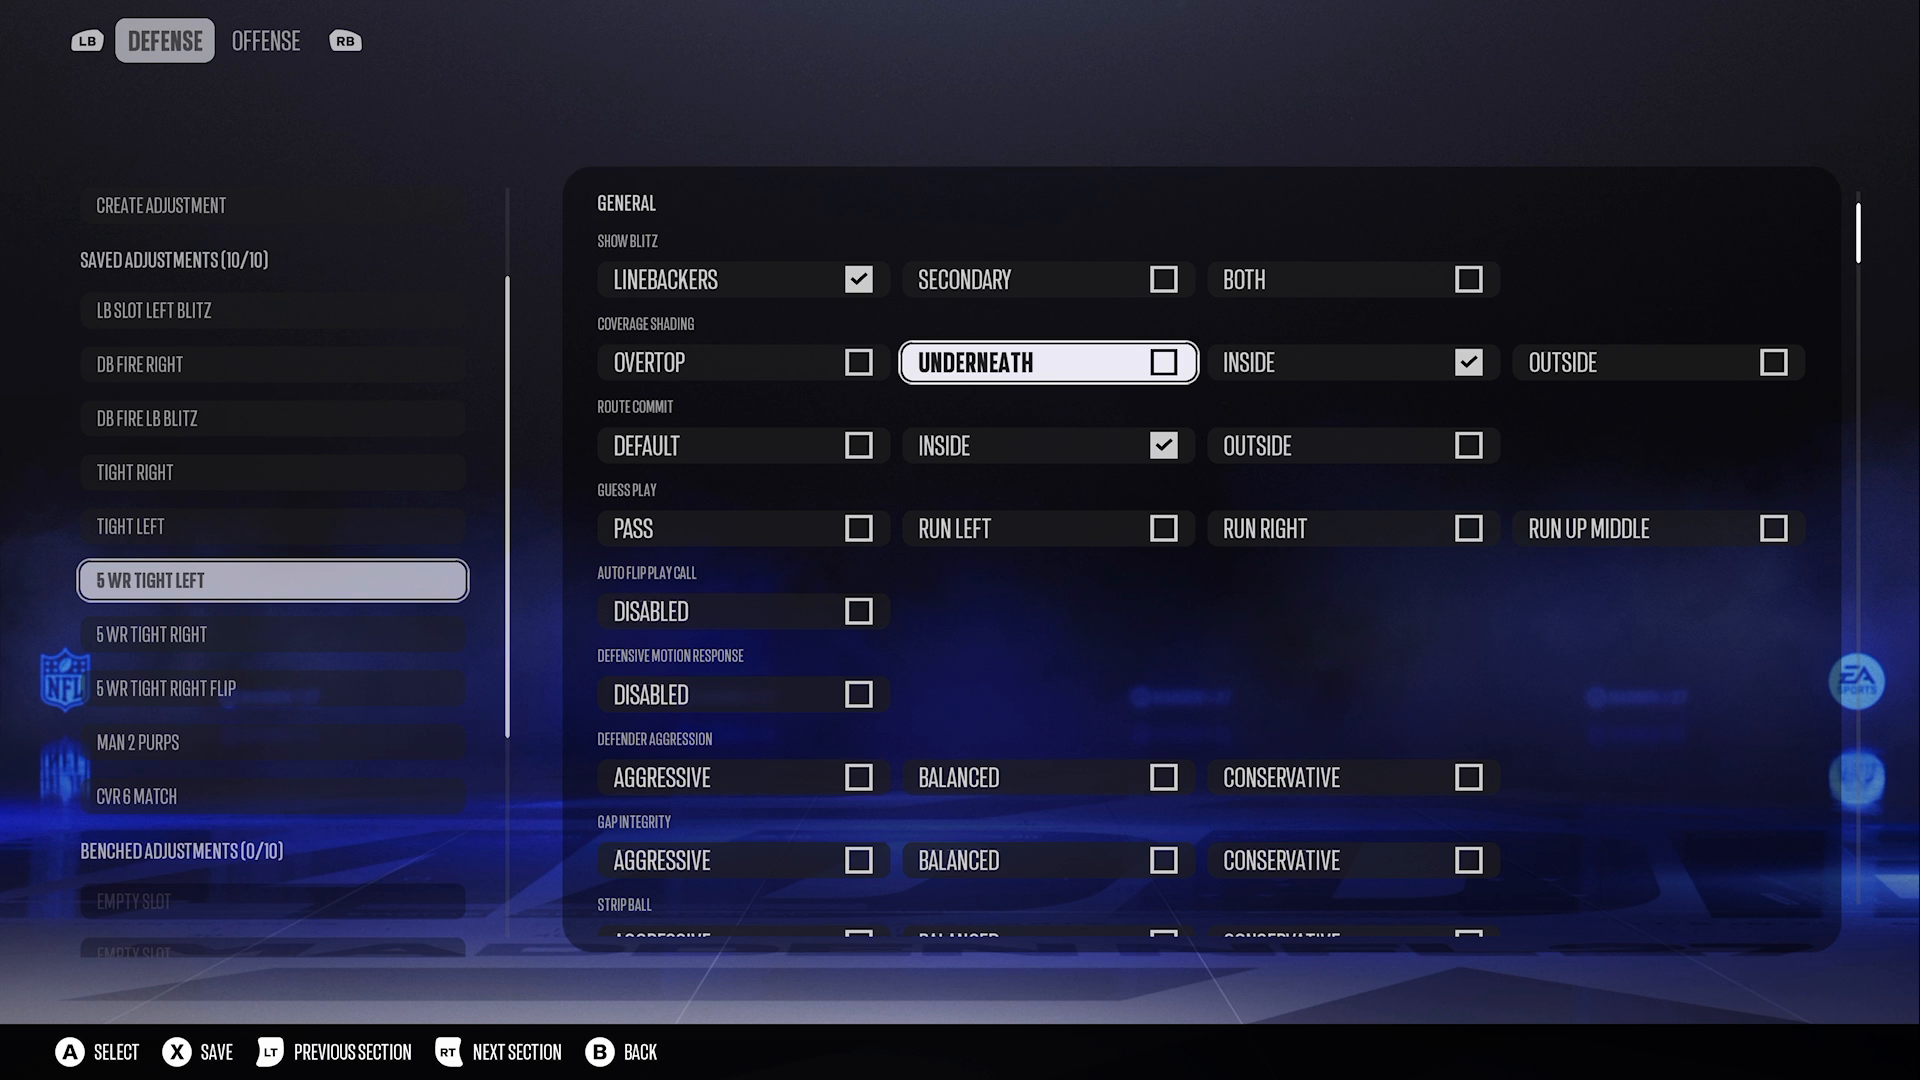
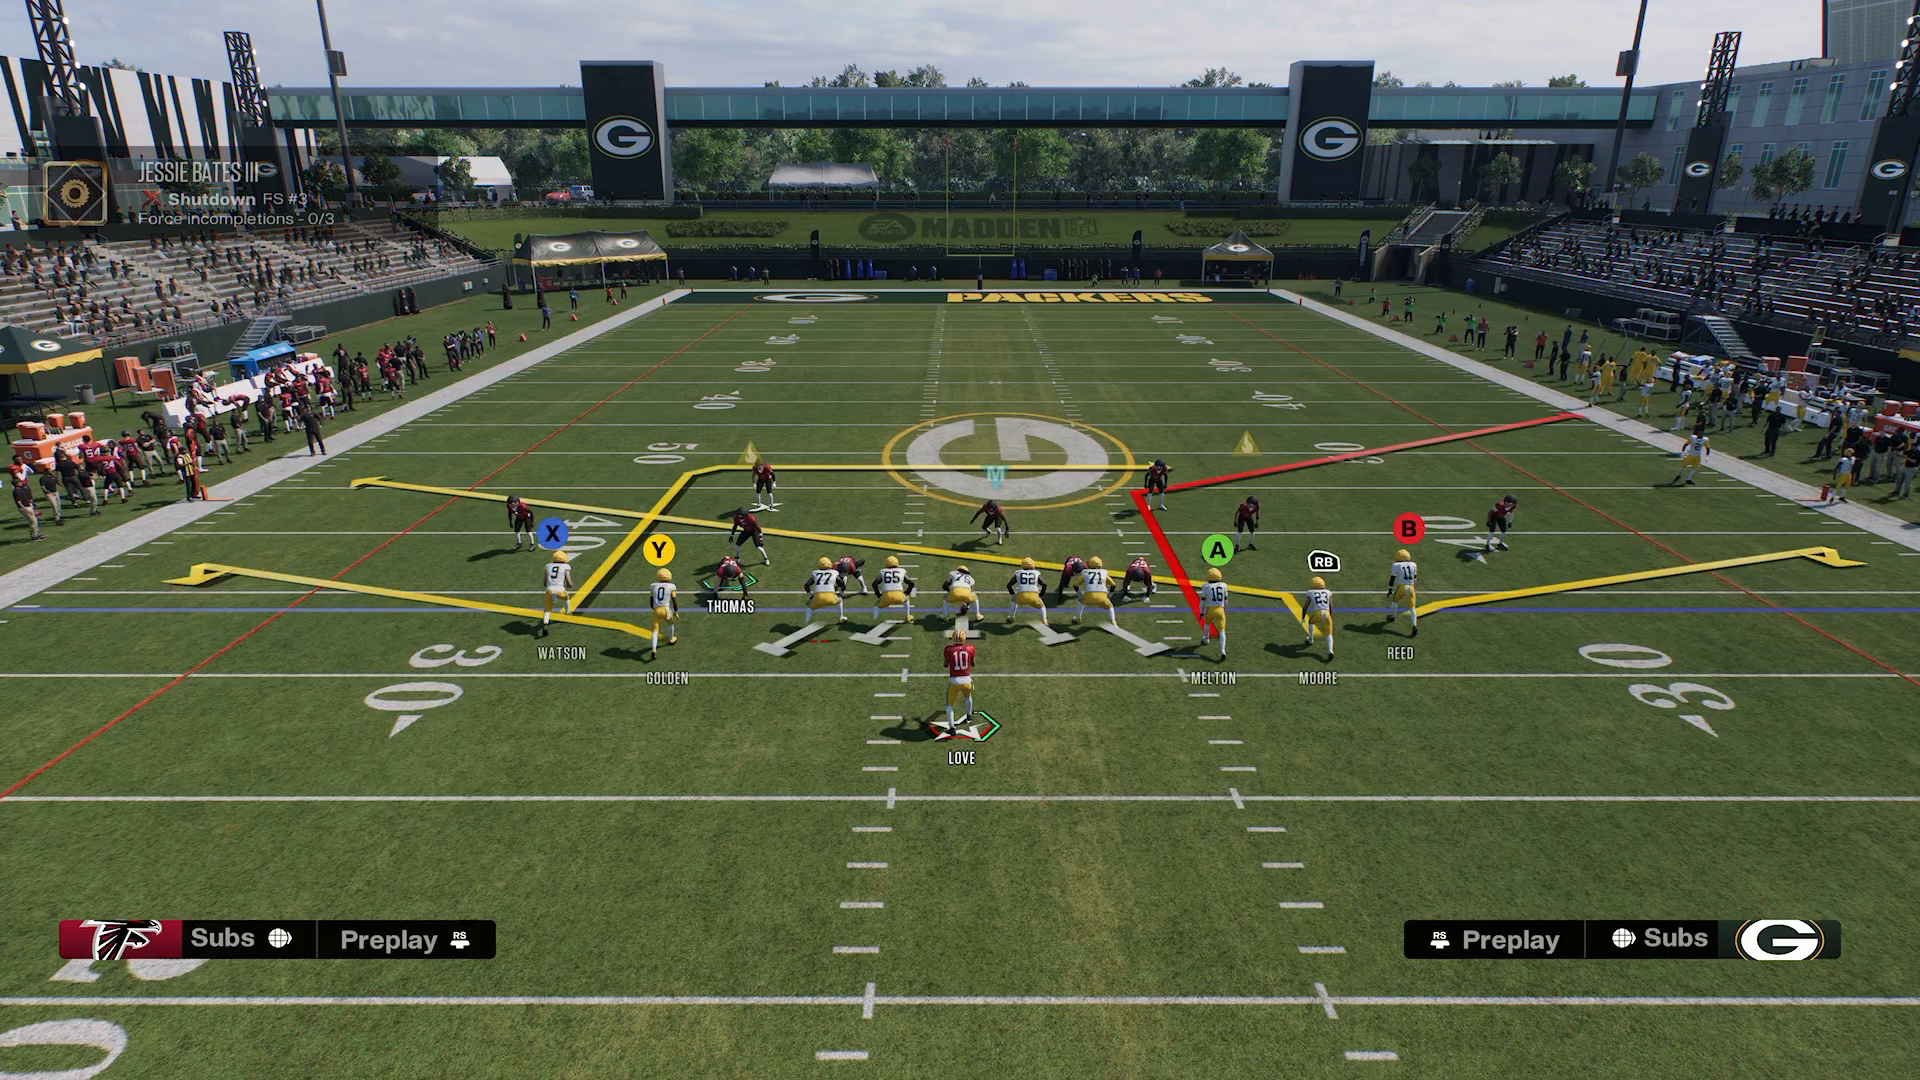
Understanding the Ultimate Switch Stick Guide

The switch stick mechanic in Madden NFL 27 isn’t just a technique; it’s a critical mental framework that can elevate your defensive game. With the right mindset and understanding of the 16 Spaces System, you can dominate opponents by making quick decisions and effectively countering their plays. This guide breaks down the five essential steps to mastering the switch stick, ensuring you’re always a step ahead on the field.

Step 1: Find the Open Space

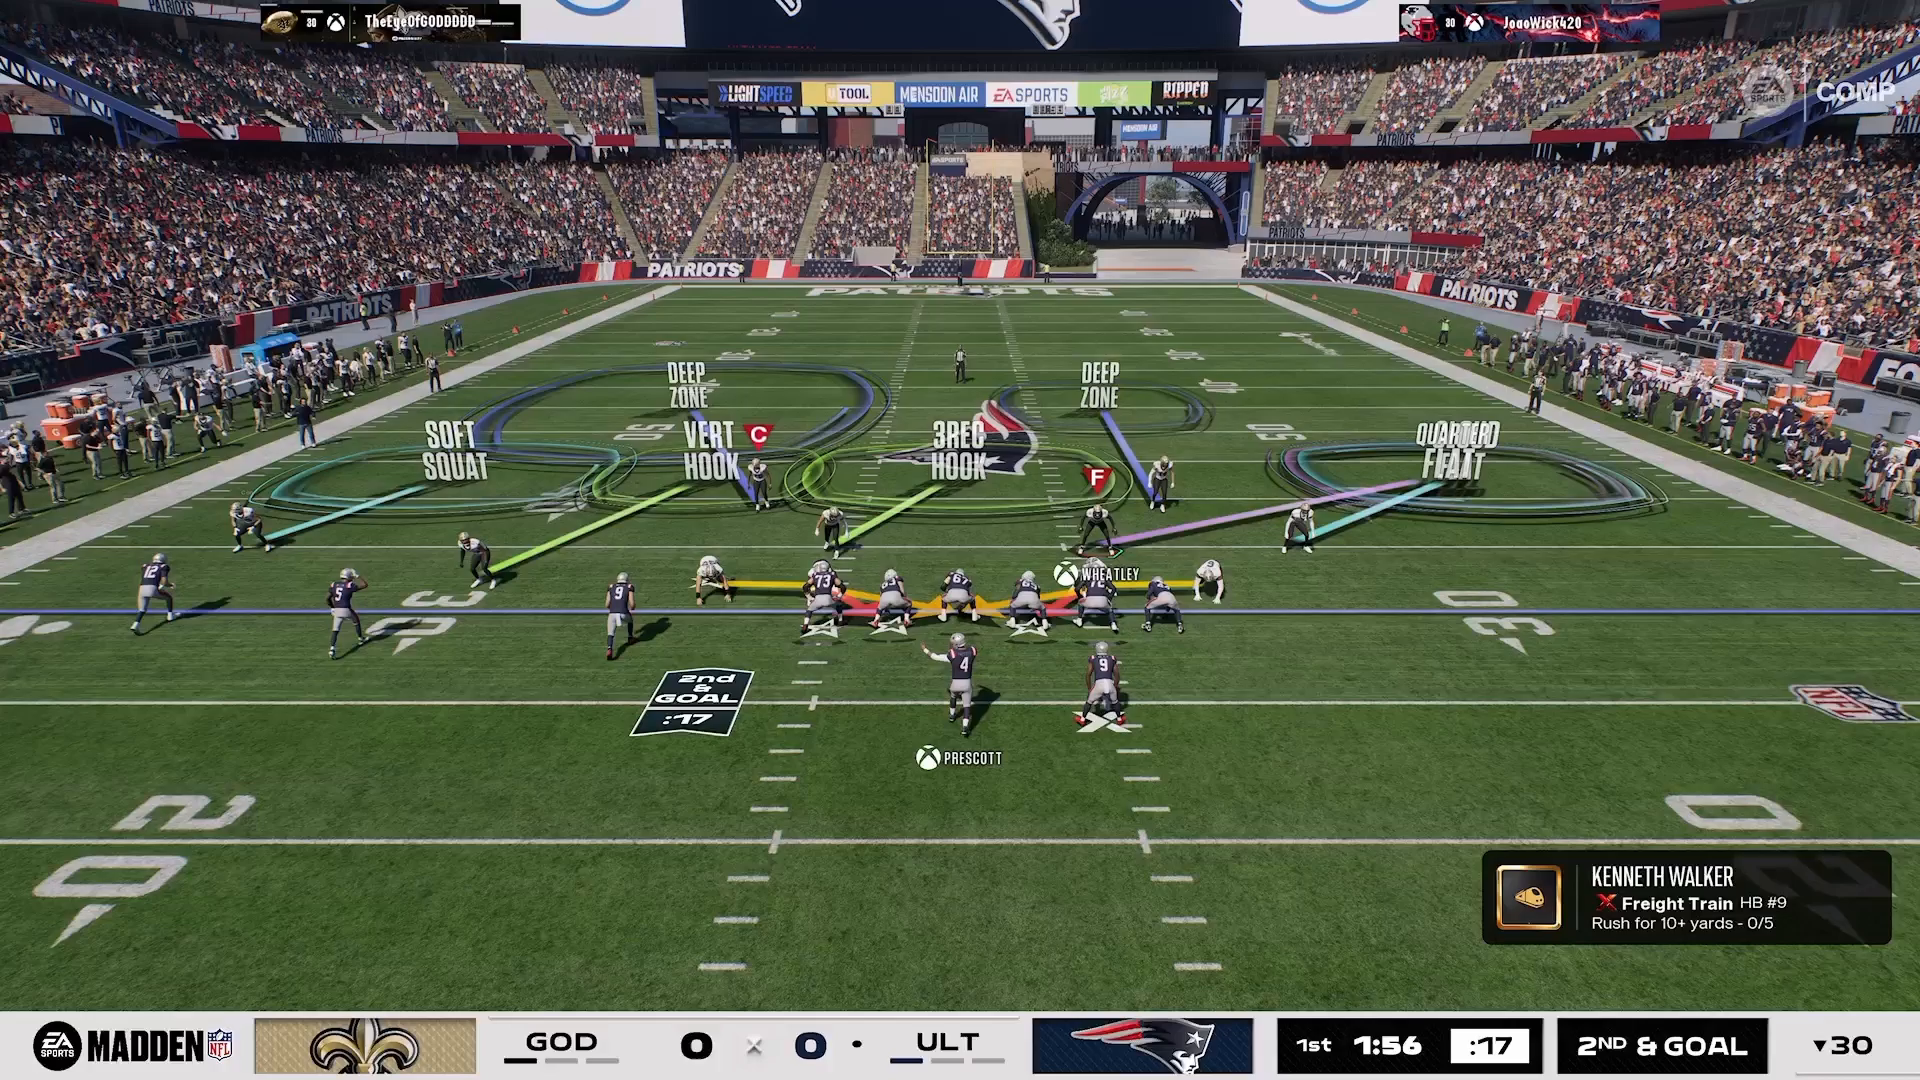
To effectively utilize the switch stick, you first need to identify which of the 16 spaces on the field you are leaving open. For example, if you have a deep half covering the sideline, that area becomes vulnerable. This scenario corresponds to seam/row 2 in the 16 Spaces System. If you can’t pinpoint the space, you’re merely guessing, which puts you at a significant disadvantage. Recognizing these areas allows you to anticipate where your opponent might exploit your defense.
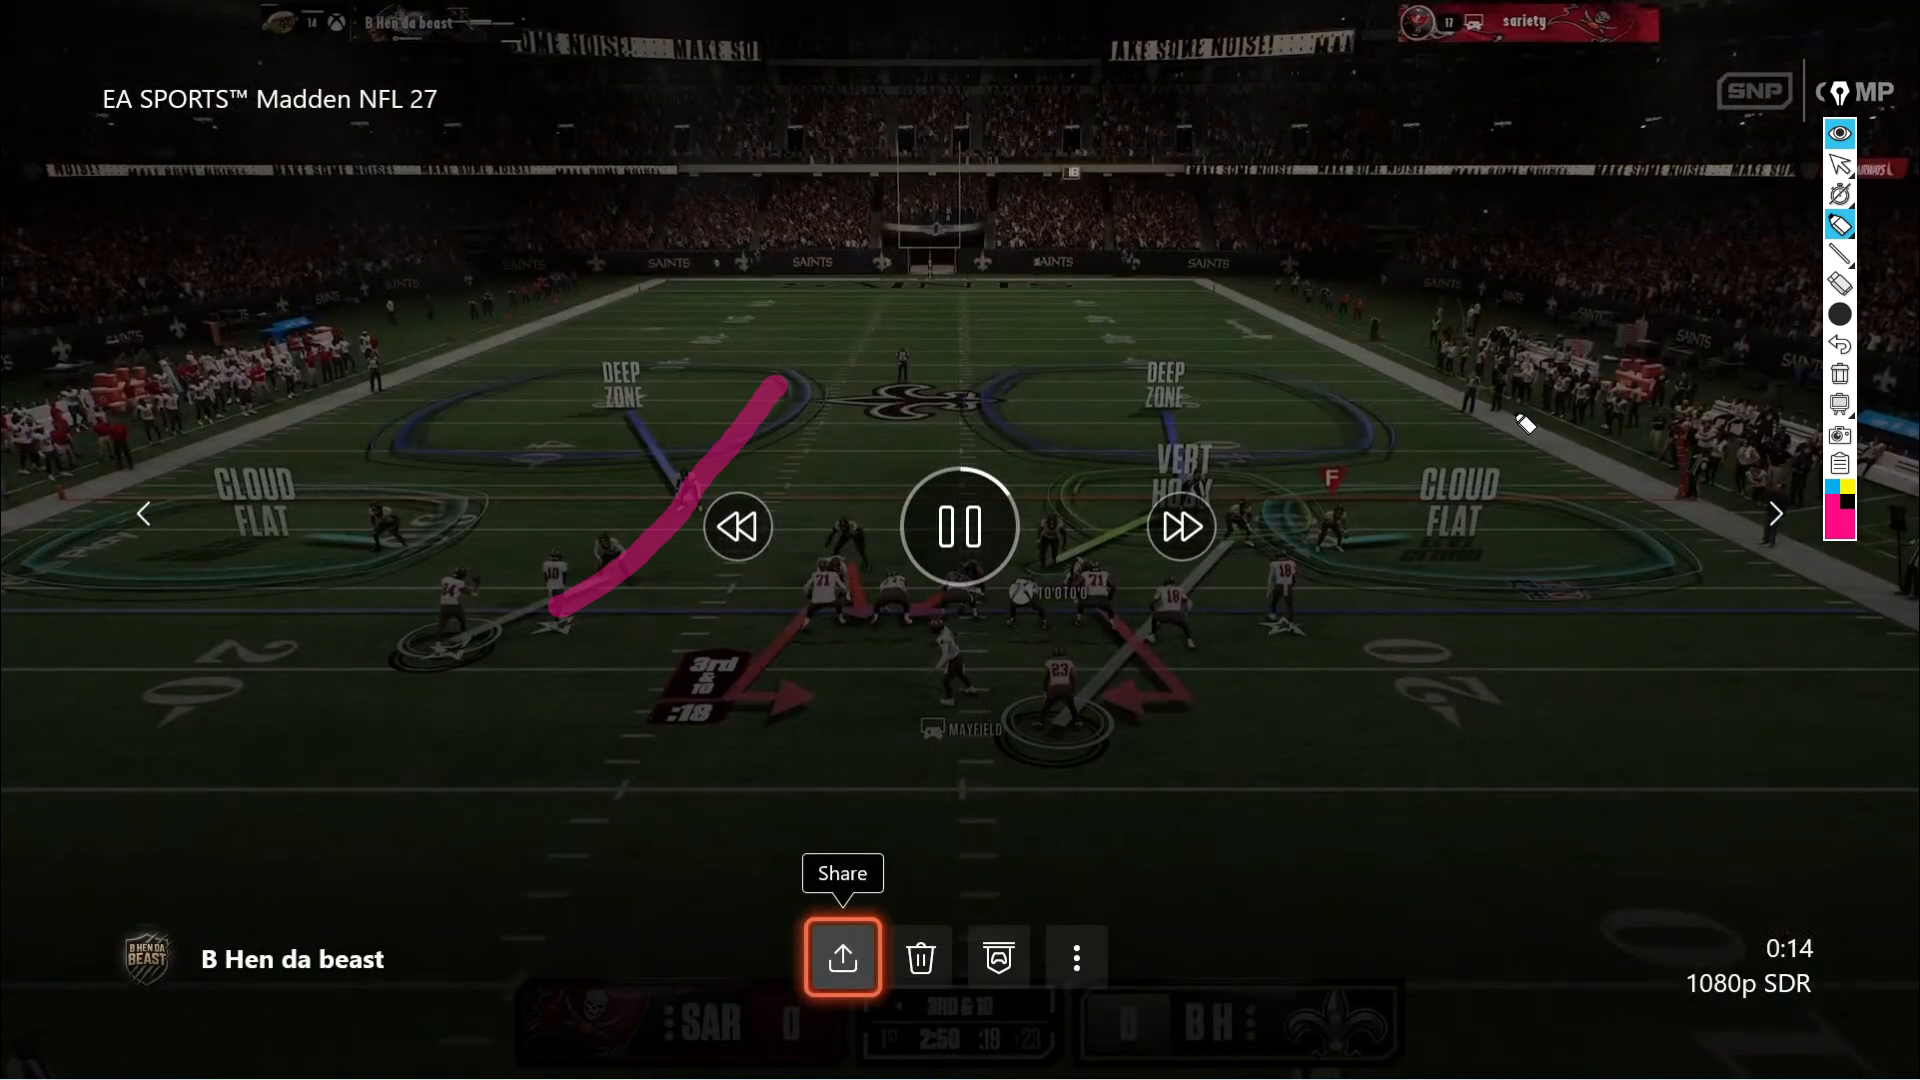
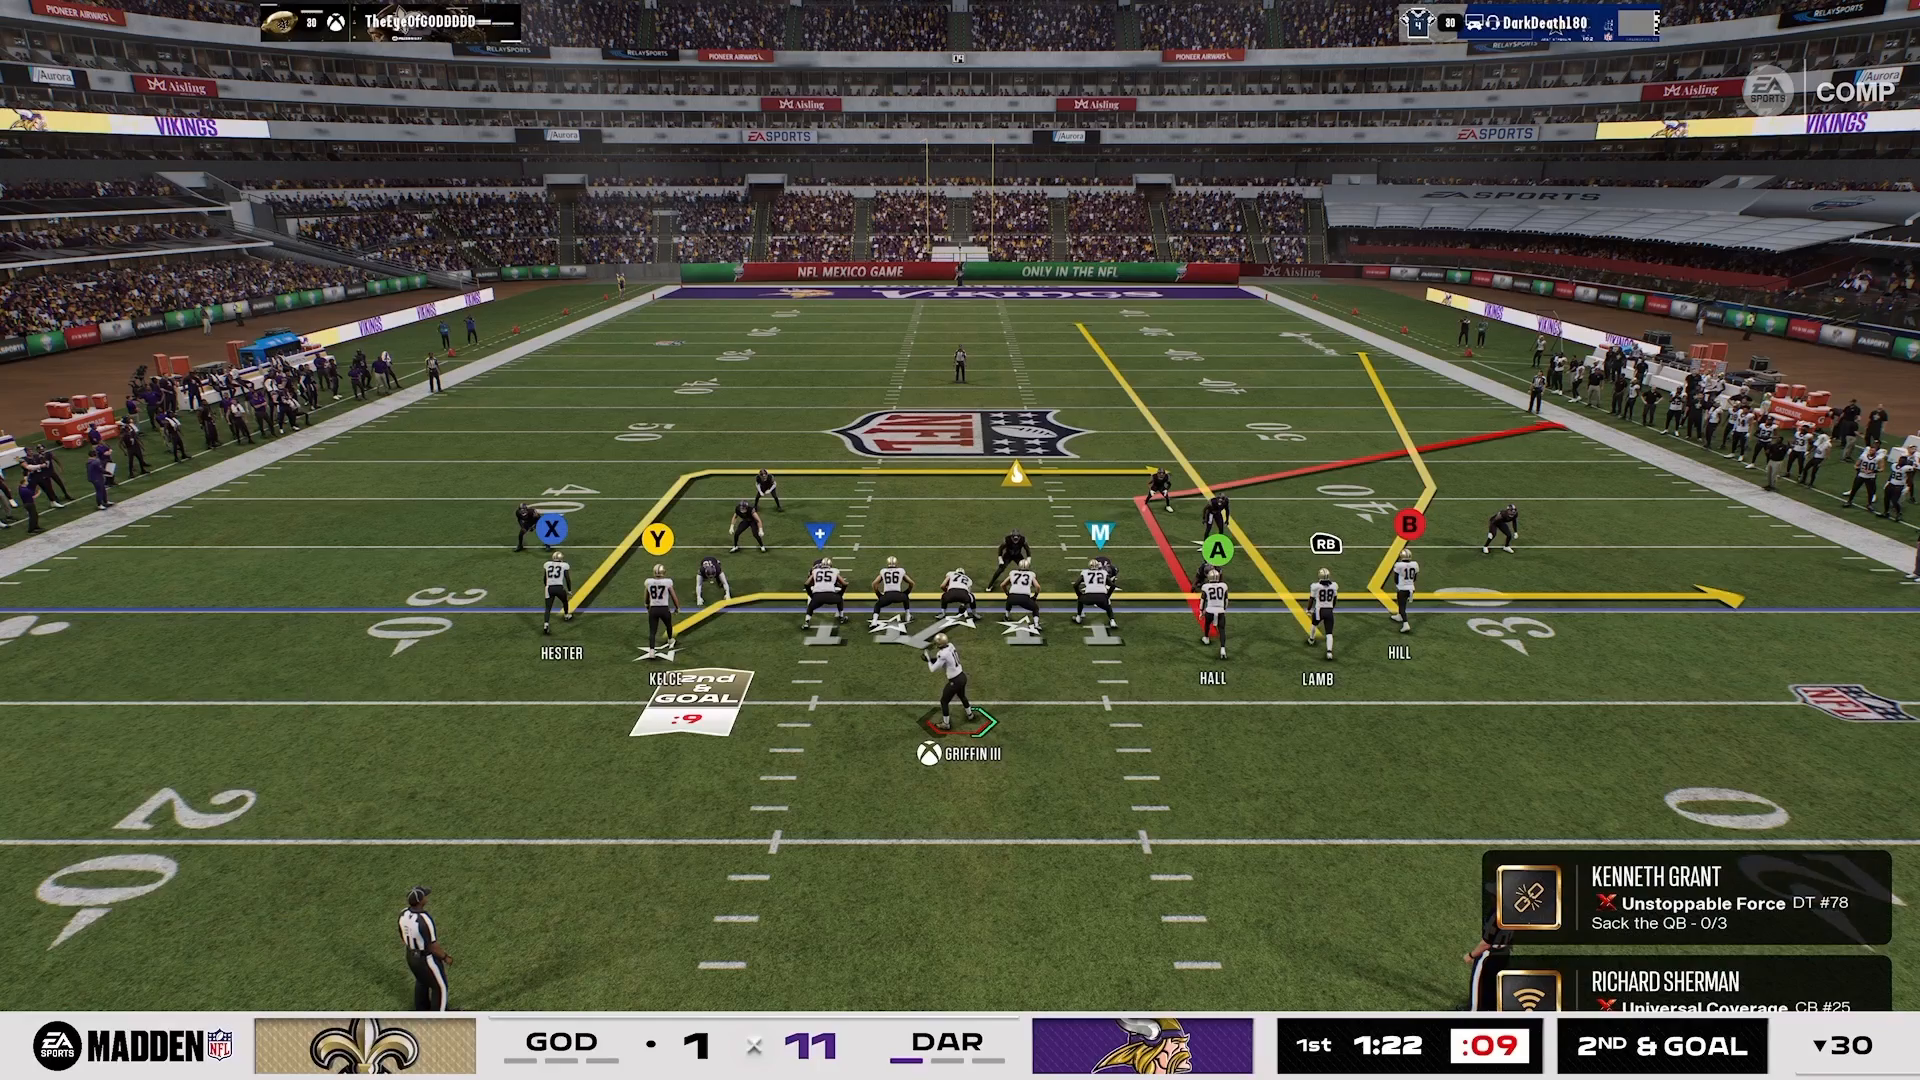
Illustration of the 16 spaces system in Madden 27

Step 2: Pre-Snap Scout

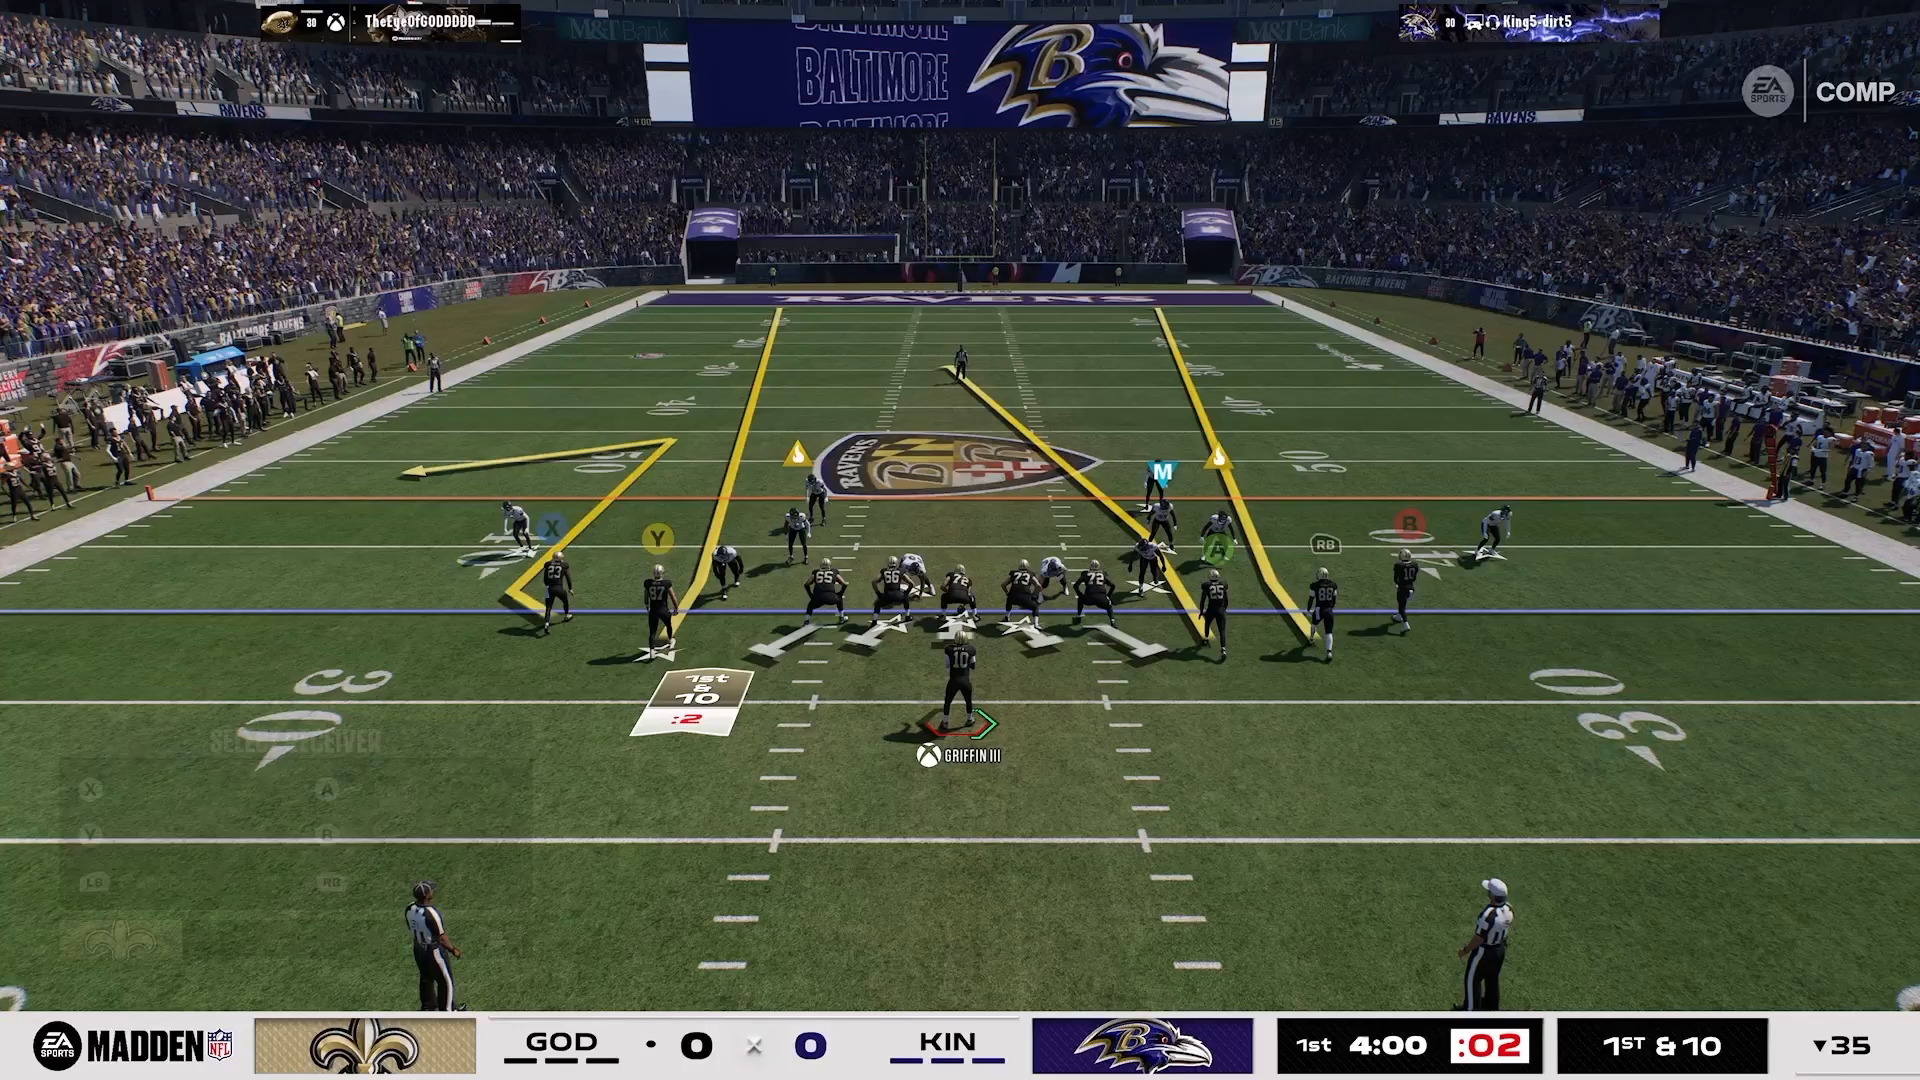
Effective defense starts before the snap. Pre-snap scouting involves identifying which receiver you need to watch closely. Take formations like Gun Doubles Clamp Stack, where the left slot receiver often runs a seam streak. By honing in on this pre-snap read, you can determine your switch-stick path. This is an excellent example of 16 Spaces thinking—planning your moves before the action begins can be the difference between a successful defense and a blown coverage.
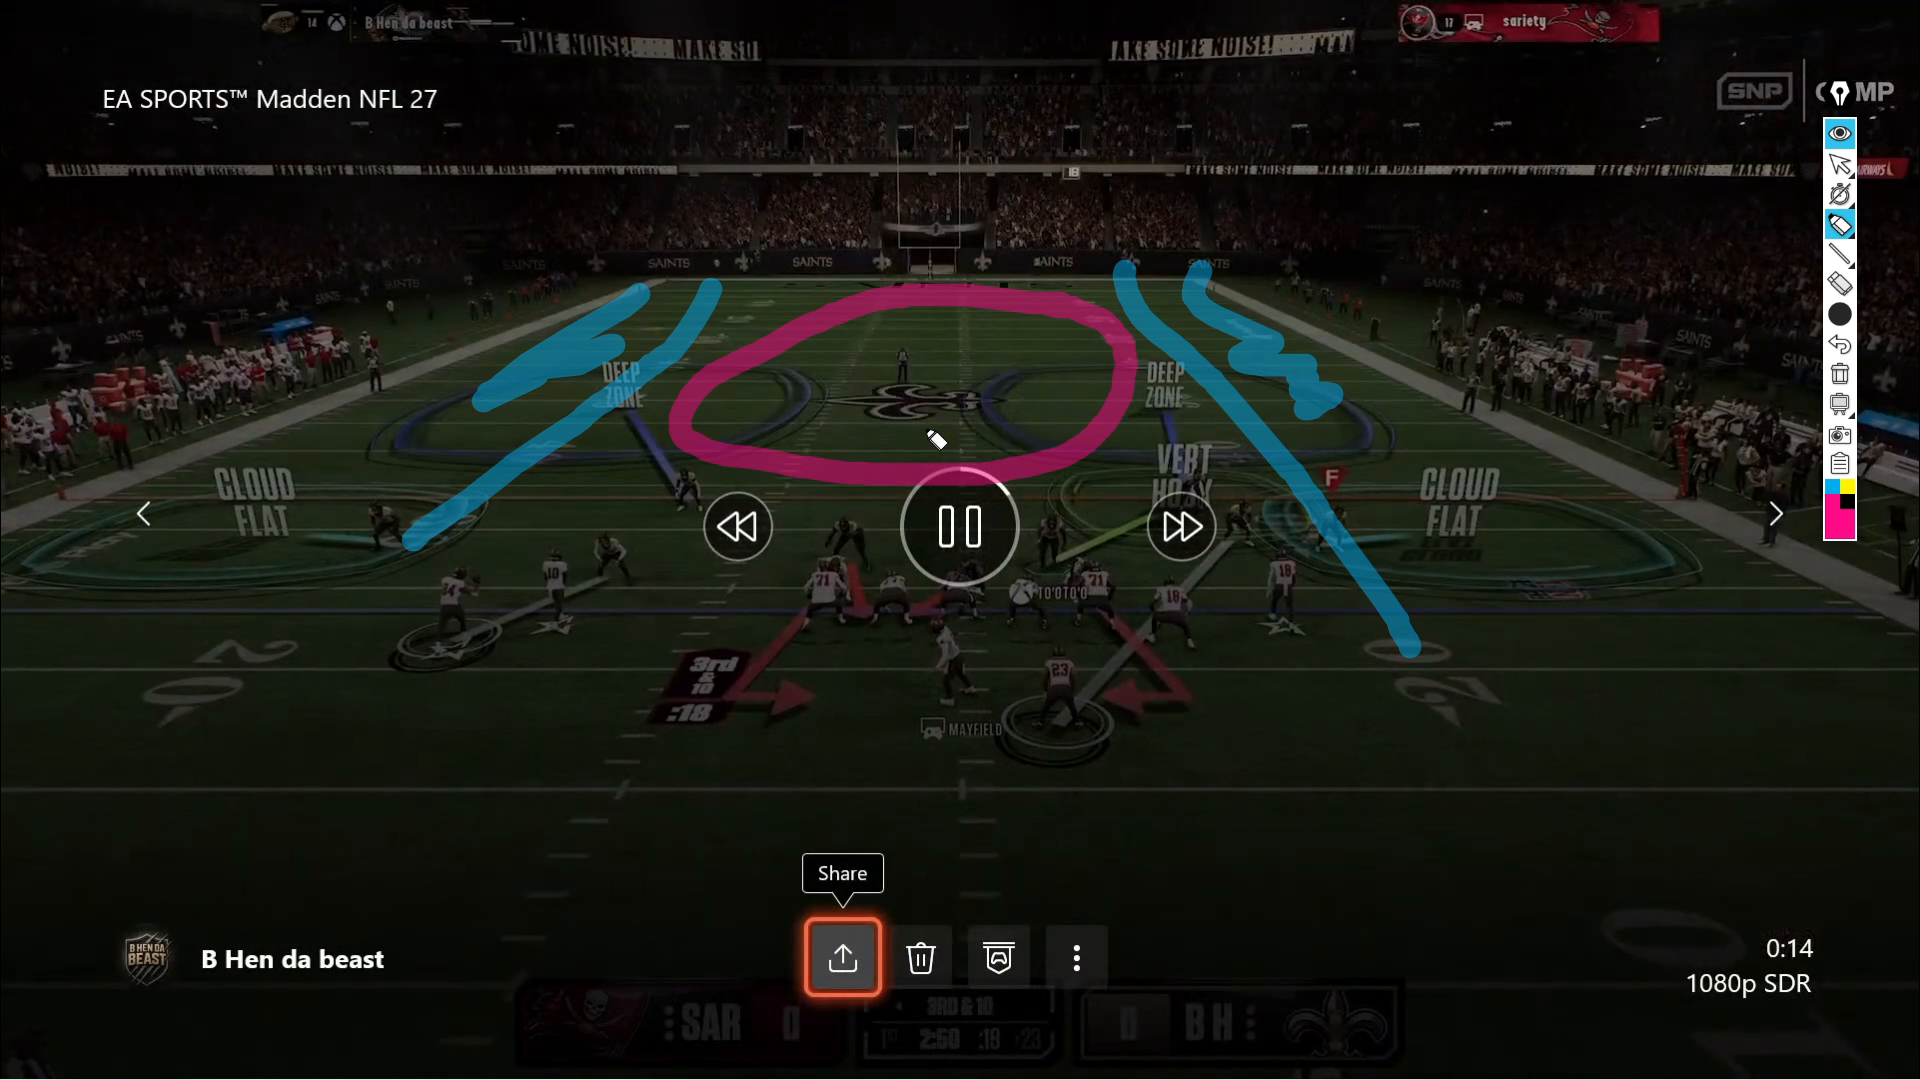
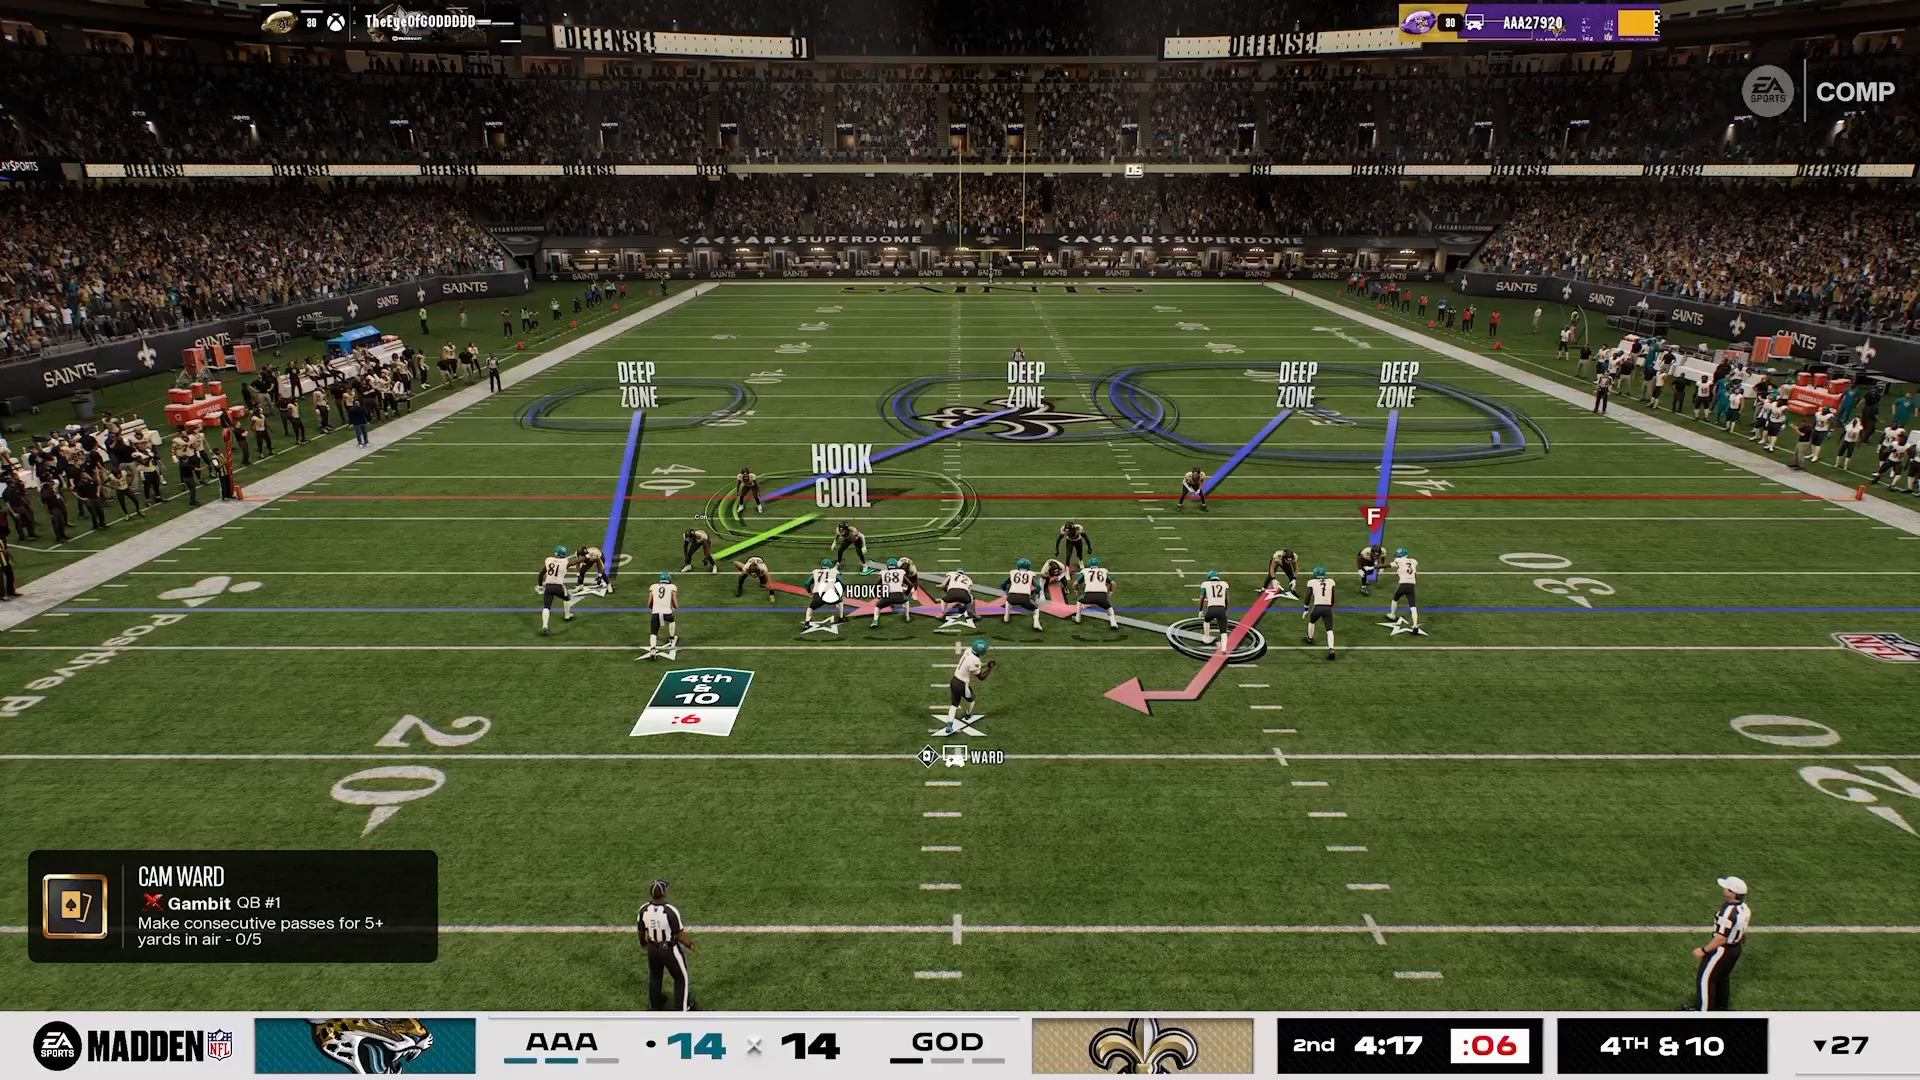
Pre-snap scouting techniques in Madden

At the Snap: The Trigger

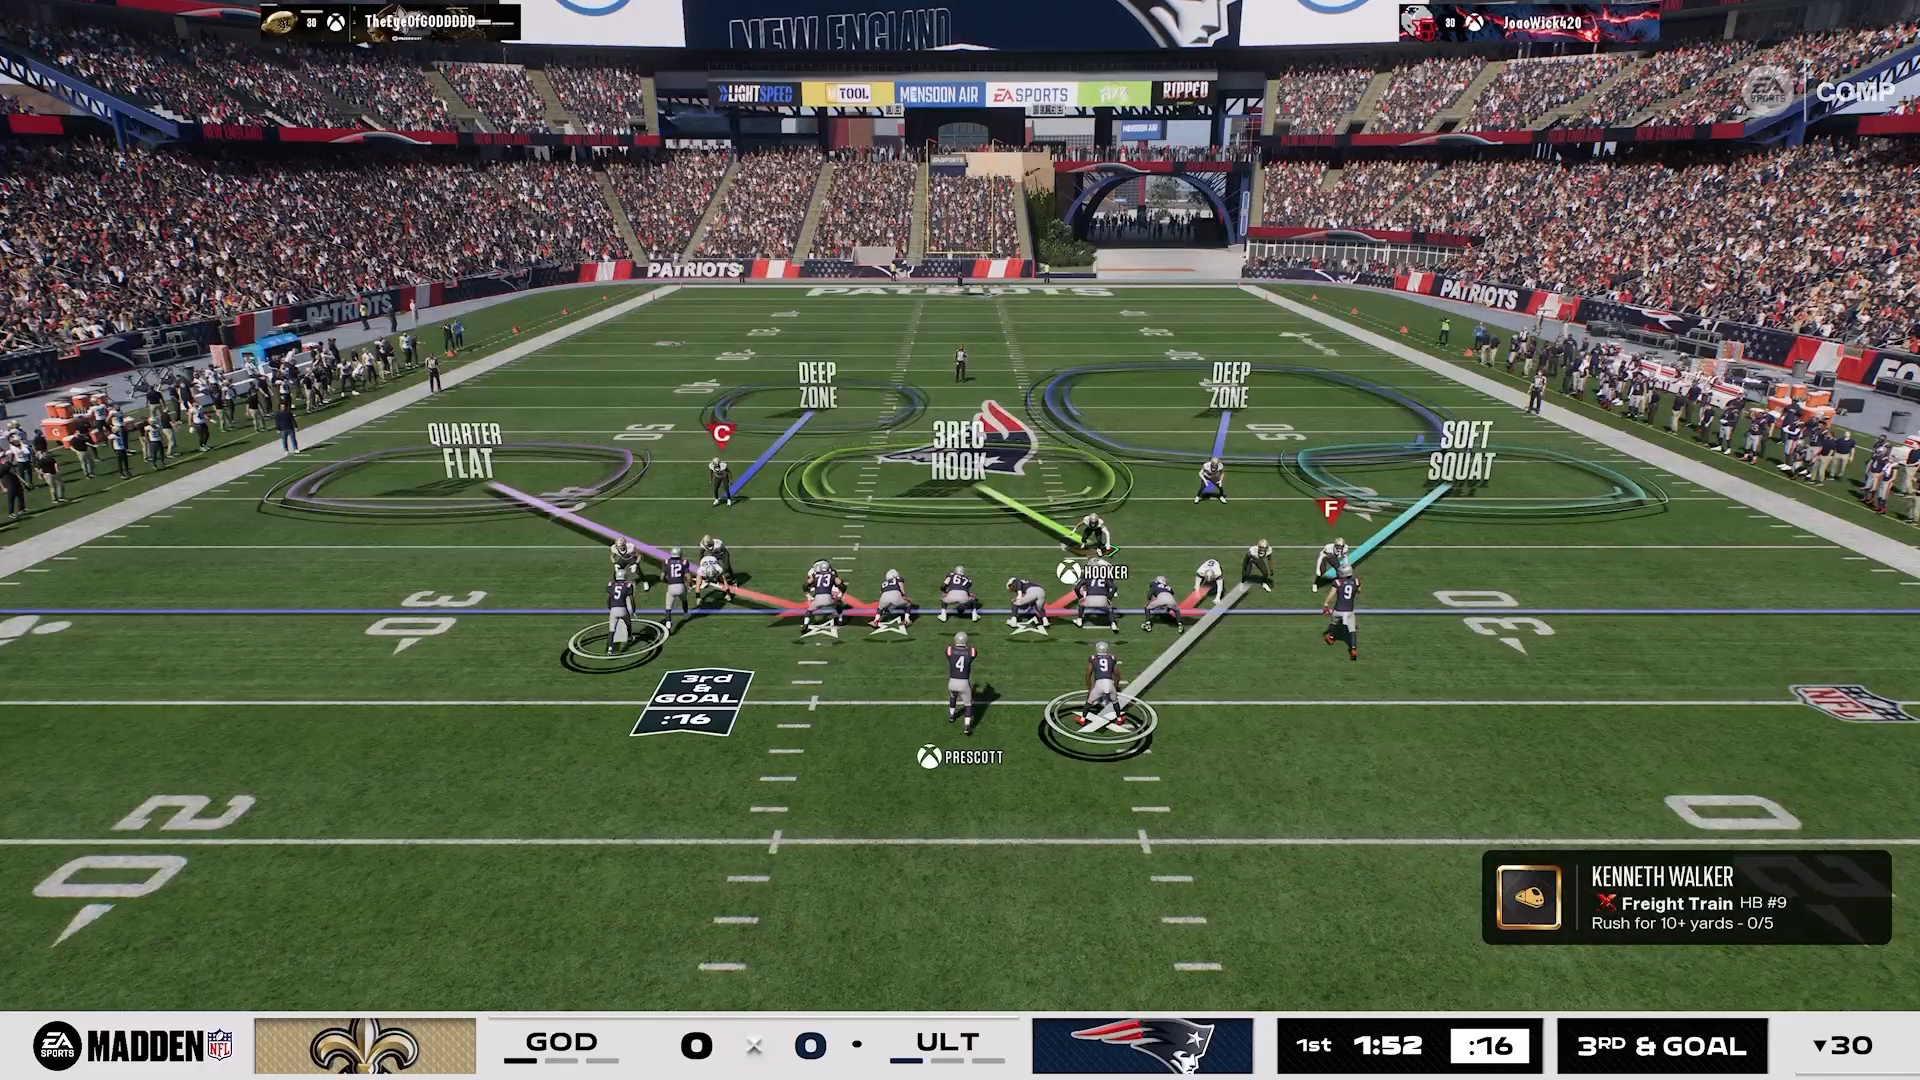
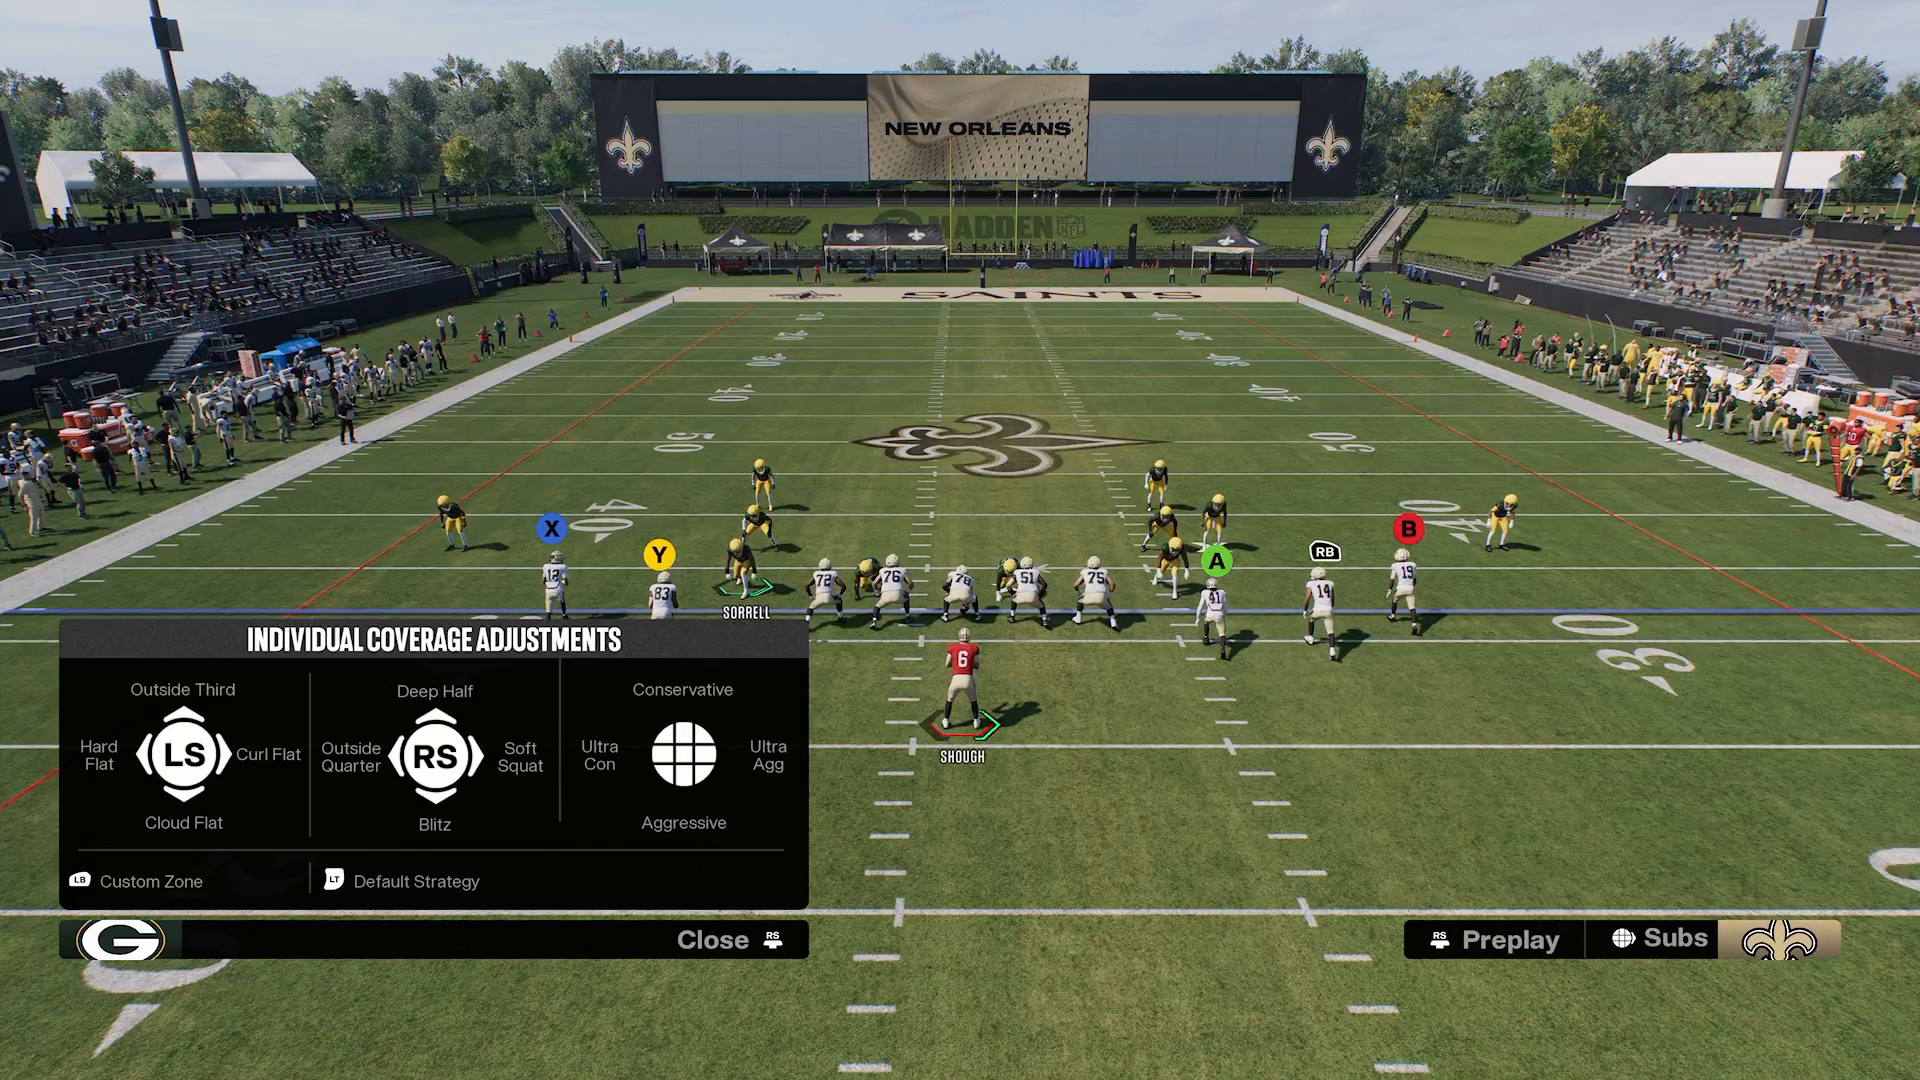
The moment the ball is snapped, your attention should be on that target receiver. If he bursts off the line on a seam streak, it’s time to switch-stick to the free safety. This action allows you to redirect that deep half coverage into an inside-quarter look. Fast reactions are crucial in Madden; the 16 Spaces System equips you with a roadmap for your next move, enabling you to adjust quickly and effectively.
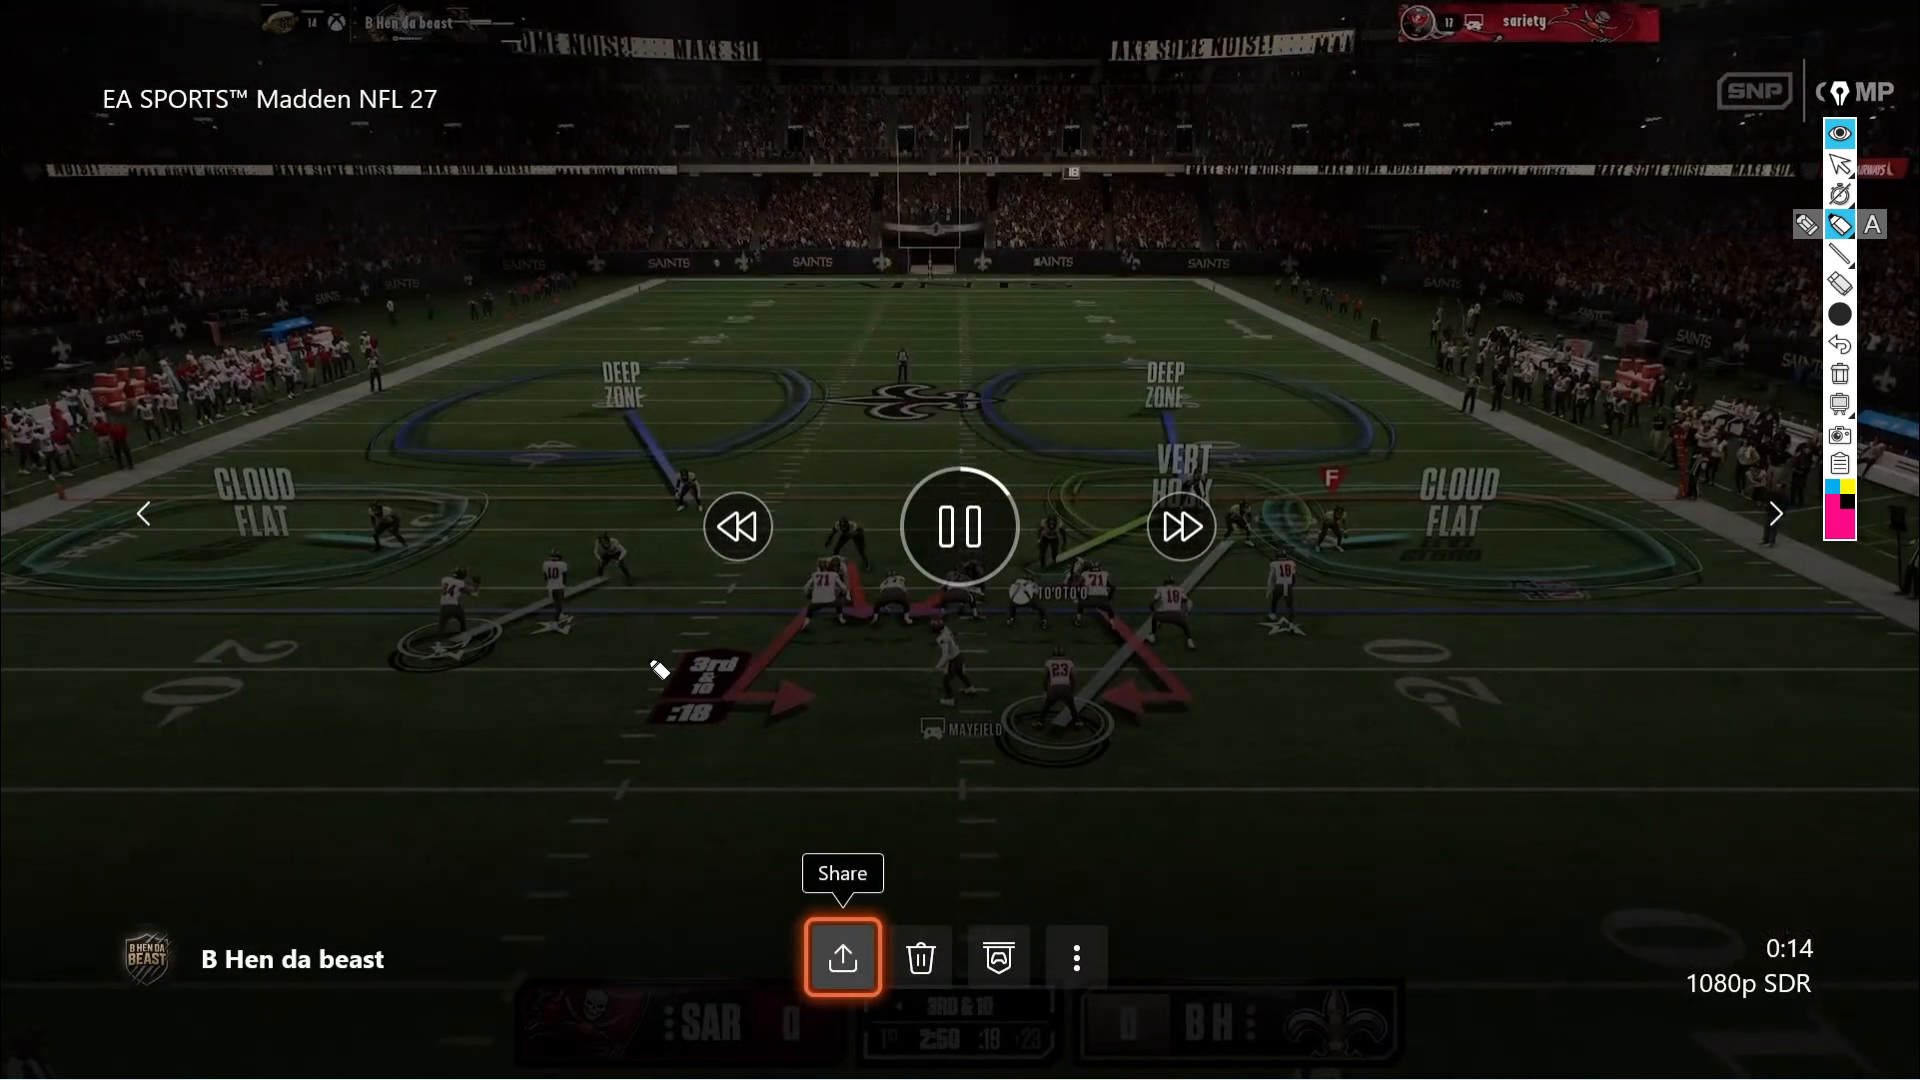
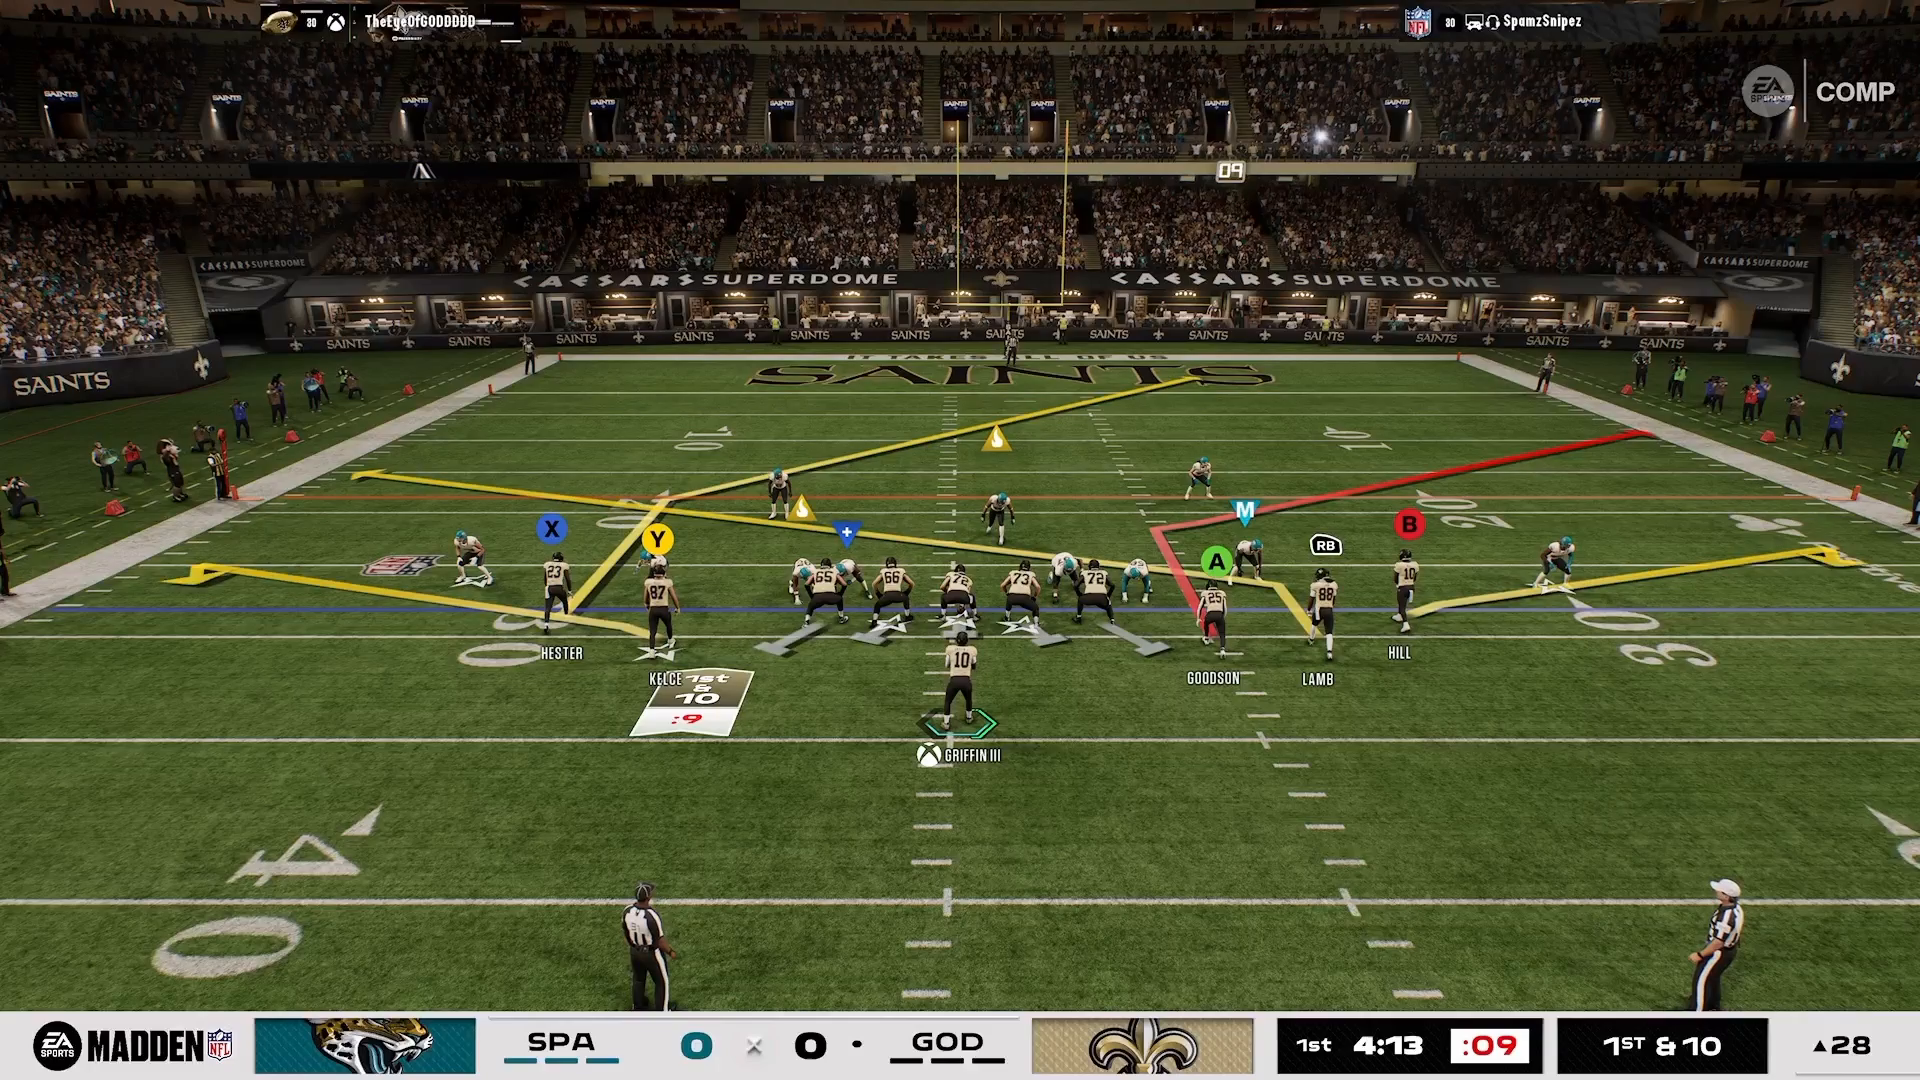
Visual of switch-stick mechanics at the snap

Be Greedy — Redirect & Cover

Once you’ve successfully identified the seam route, be prepared for the offense to complement it with additional routes, such as a post. In this case, you would switch to the cloud flat and redirect it back toward the middle, effectively covering row 2. This strategy emphasizes that switch-stick should be used to reassign zones rather than simply chasing players around the field. This approach exemplifies the Madden Academy mindset: control spaces instead of just reacting to routes.
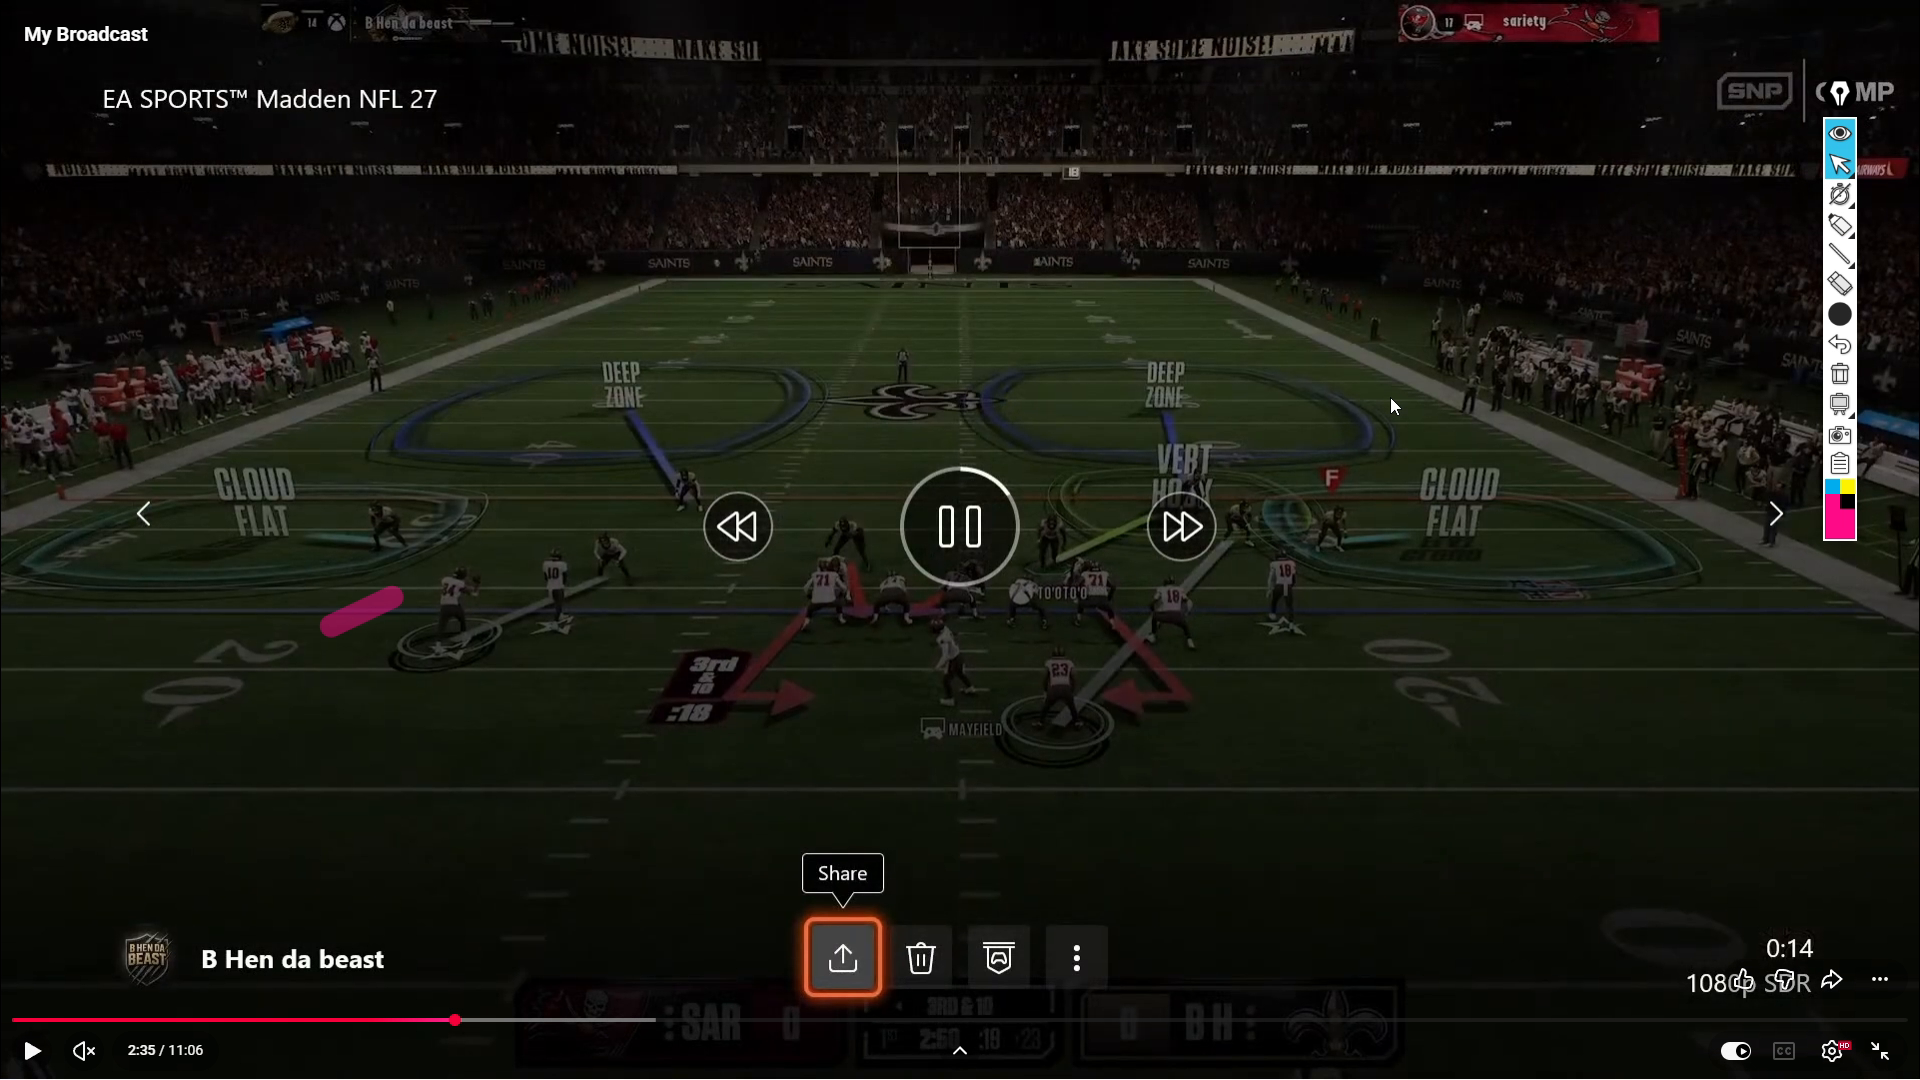
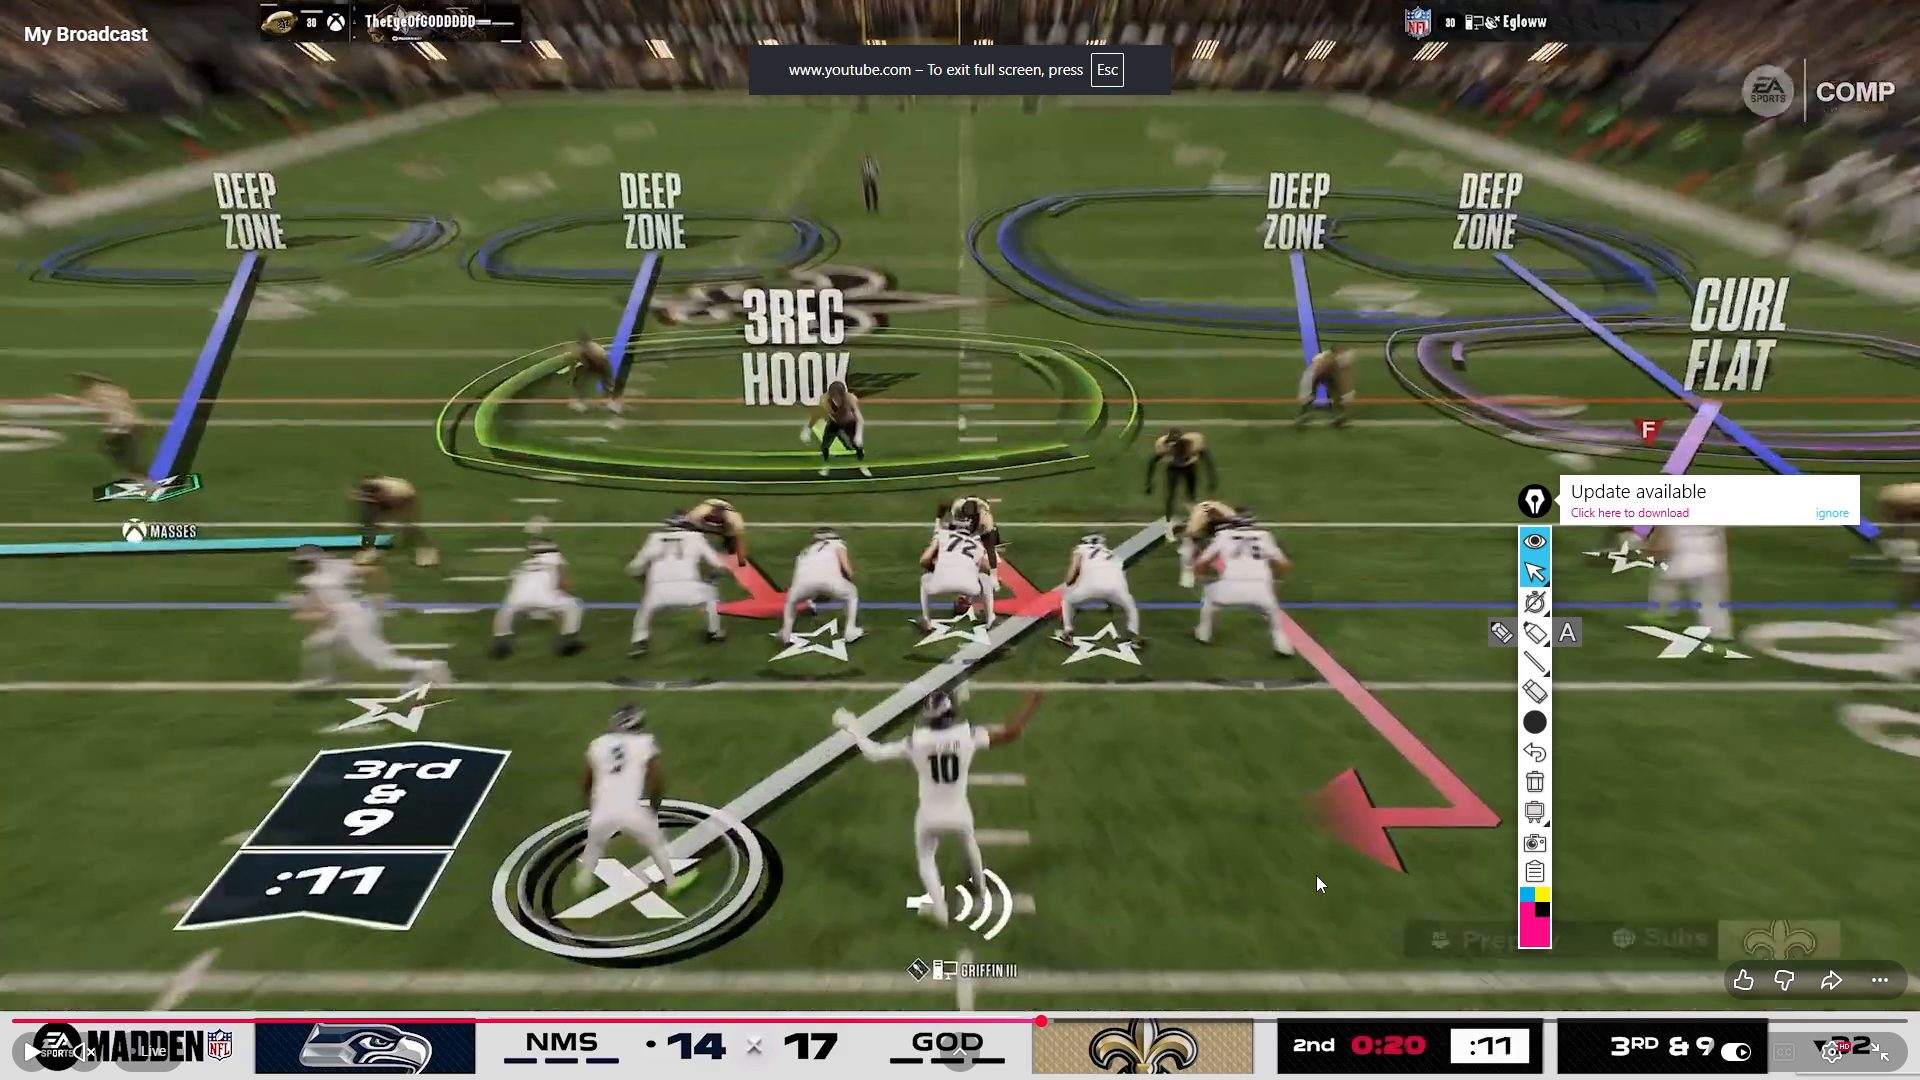
Redirecting coverage using switch-stick in Madden

Practice: Watch, Learn, Repeat

Becoming proficient with the switch stick requires practice. Study high-level gameplay to familiarize yourself with common route combinations. Create a switch-stick path for each formation using the 16 Spaces System. The more you practice your reads live, the more automatic your reactions will become. It’s important to note that many successful players balance their work and gaming lives by mastering the mental aspects, rather than focusing solely on in-game mechanics.
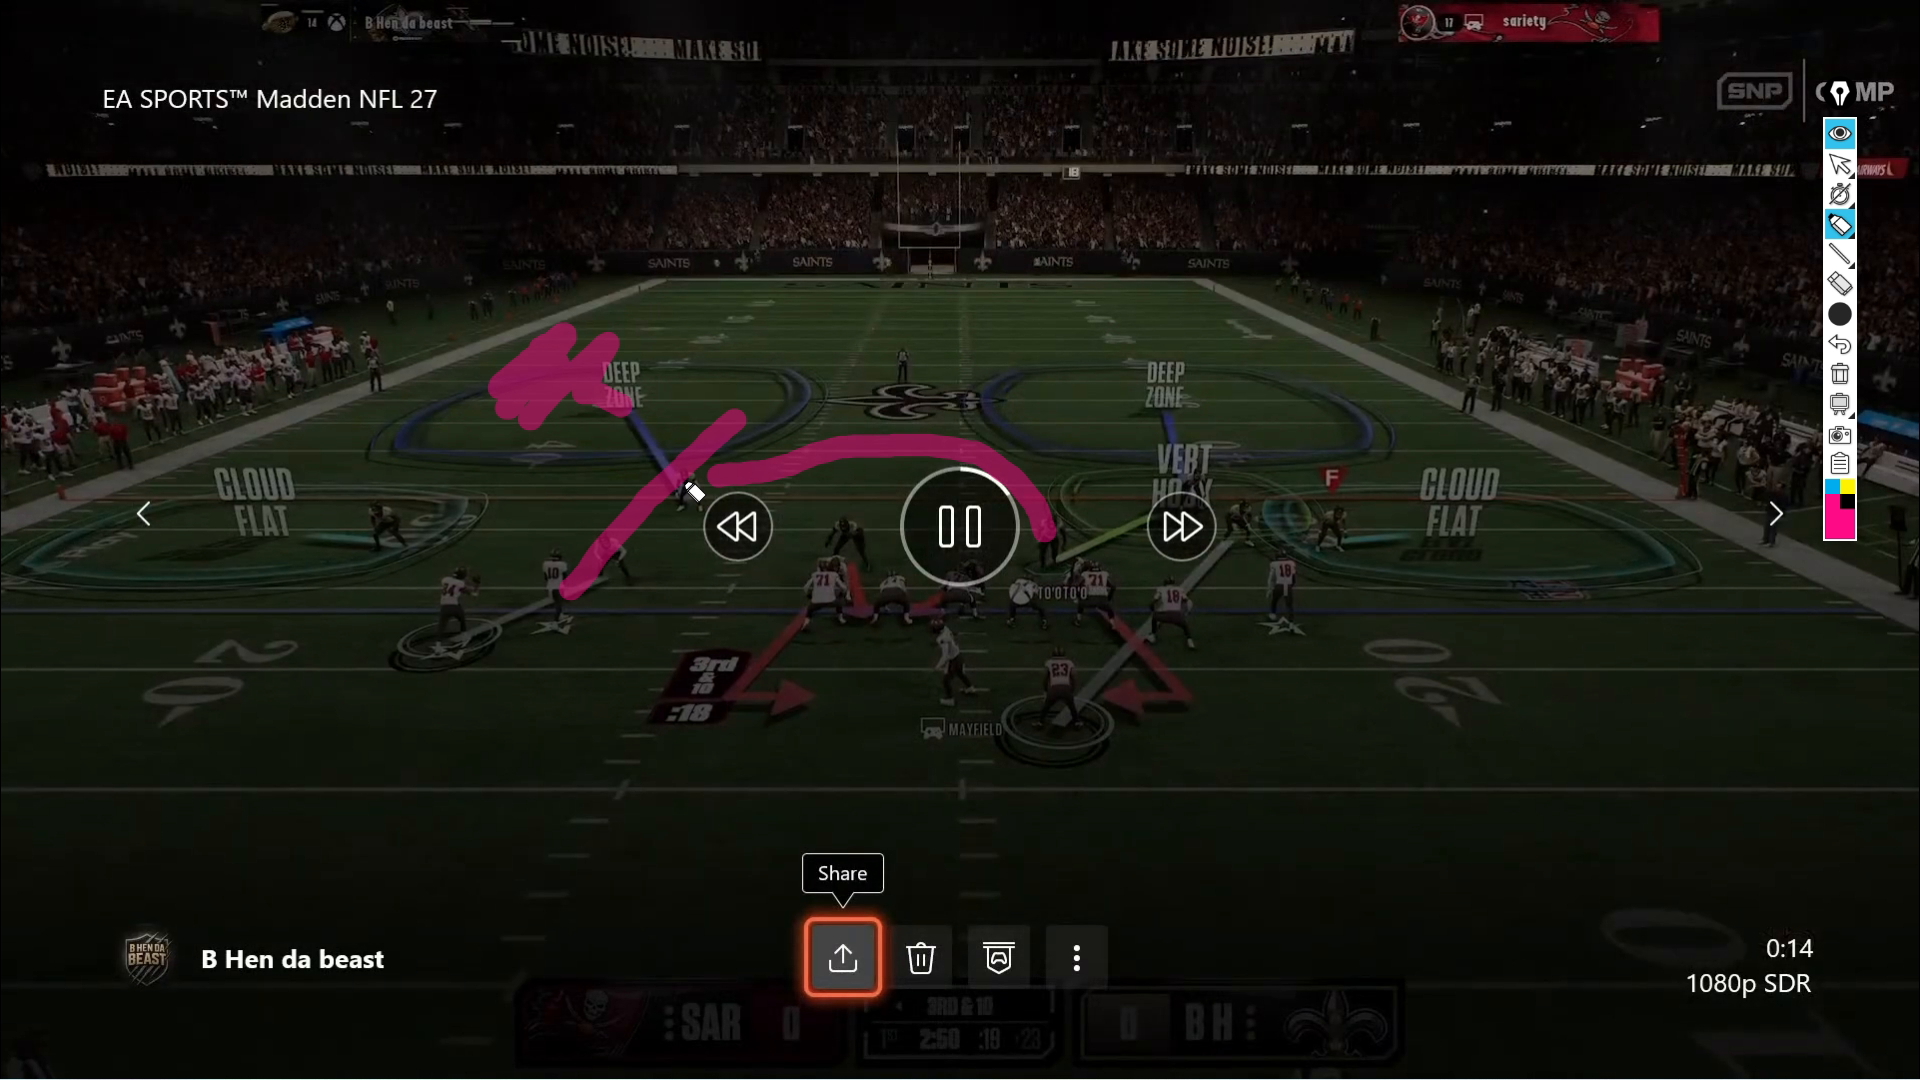
Practicing switch-stick strategies in Madden gameplay

Conclusion

Mastering the switch stick in Madden NFL 27 is about much more than just reflexes; it’s about developing a keen understanding of the game’s strategies and spaces. By following the steps outlined in this guide, you can enhance your gameplay and start dominating your opponents. For even more insights and advanced techniques, check out our Madden tips to elevate your skills to the next level.
Recent Posts

Madden NFL 27 strategies — image 1

Mastering the Best Macro vs 6-1 in Madden NFL 27

Setup Your Offense with Tampa Bay’s Gun 5 Receiver Tight To effectively attack a 6-1 defense in Madden NFL 27, begin by selecting the Tampa ...
Read More →
Cover 2 Match defense adjustment in Madden NFL 27

Shut Down Slot Fades: Madden NFL 27 Cover 2 Match Fix

The Problem with Slot Fades in Cover 2 Match Slot fades can be a significant headache when you’re running a Cover 2 Match defense in ...
Read More →
Madden 27 trips defense — image 1

Effective Macro for Stopping Trips in Madden 27: San Francisco Nickel Single Mug

Understanding the Macro Setup To effectively counter trip formations in Madden 27, you need a solid macro setup that leverages the San Francisco playbook. Start ...
Read More →
Diagram of defensive macro strategy against Gun Tight Doubles

Mastering the Best Defensive Macro vs Gun Tight Doubles in Madden 27

Understanding the Effectiveness of This Defensive Macro The Gun Tight Doubles formation can present a significant challenge in Madden NFL 27, particularly when it comes ...
Read More →
Madden 27 Smash Corner — image 1

Master the Smash Corner Macro in Madden NFL 27

Why This Macro Wins The Smash Corner macro, utilizing the Tampa Bay playbook, is a powerful strategy to exploit Match coverage in Madden NFL 27. ...
Read More →
Tampa Bay playbook overview

Master the Best One-Play Touchdown in Madden 27

Setup for Success In Madden NFL 27, executing a one-play touchdown can change the outcome of your game. A prime example is found in the ...
Read More →
Offensive line positioning for double-teaming a defensive tackle

Mastering Blocking for Stunts in Madden NFL 27

Understanding the Importance of Double-Teaming the Defensive Tackle In Madden NFL 27, protecting your quarterback from stunts is crucial for a successful offense. One of ...
Read More →
Dime 3-2 formation diagram

Mastering Defensive Macro vs Gun 5 Receiver Tight in Madden NFL 27

Understanding the Defensive Macro In Madden NFL 27, when facing the Gun 5 Receiver Tight formation, utilizing a strategic defensive macro can make all the ...
Read More →
Tampa Bay offensive playbook setup in Madden 27

Best Play Calling vs Match Coverage in Madden 27

Setup Your Offense with the Right Playbook To excel in Madden 27, selecting the right offensive playbook is crucial. The Tampa Bay offensive playbook stands ...
Read More →
Setup for DB Fire 2 in Madden 27

Mastering the Best Defensive Macro in Madden 27: San Francisco Nickel Single Mug

Setup for Success with DB Fire 2 When it comes to dominating on defense in Madden 27, utilizing the right setup is key. The DB ...
Read More →
Madden NFL 27 blitz defense — image 1

Best Blitz & Man Defense Strategies in Madden NFL 27

Mastering the Blitz: San Francisco Defense Setup In Madden NFL 27, having a reliable blitz strategy can change the course of a game. The San ...
Read More →
Pre-snap alignment in Madden 27

Mastering Match Defense in Madden 27: Tampa Bay Tips

Understanding Match Defense in Madden 27 As you step onto the virtual gridiron in Madden NFL 27, knowing how to beat match coverage can significantly ...
Read More →