Mastering the Switch Stick in Madden NFL 27: A Comprehensive Guide
To use the switch stick in Madden 27, focus on one receiver chosen by the open space you leave behind, prioritise spaces over reading the whole field, and switch to the safety when a seam streak or post route develops.
How to Use Switch Stick Madden 27 on One Receiver
- Concentrate on one specific target pre-snap instead of trying to read the entire field.
- Choose that receiver based on the open space you leave behind, using the 16 spaces to predict the play before it unfolds.
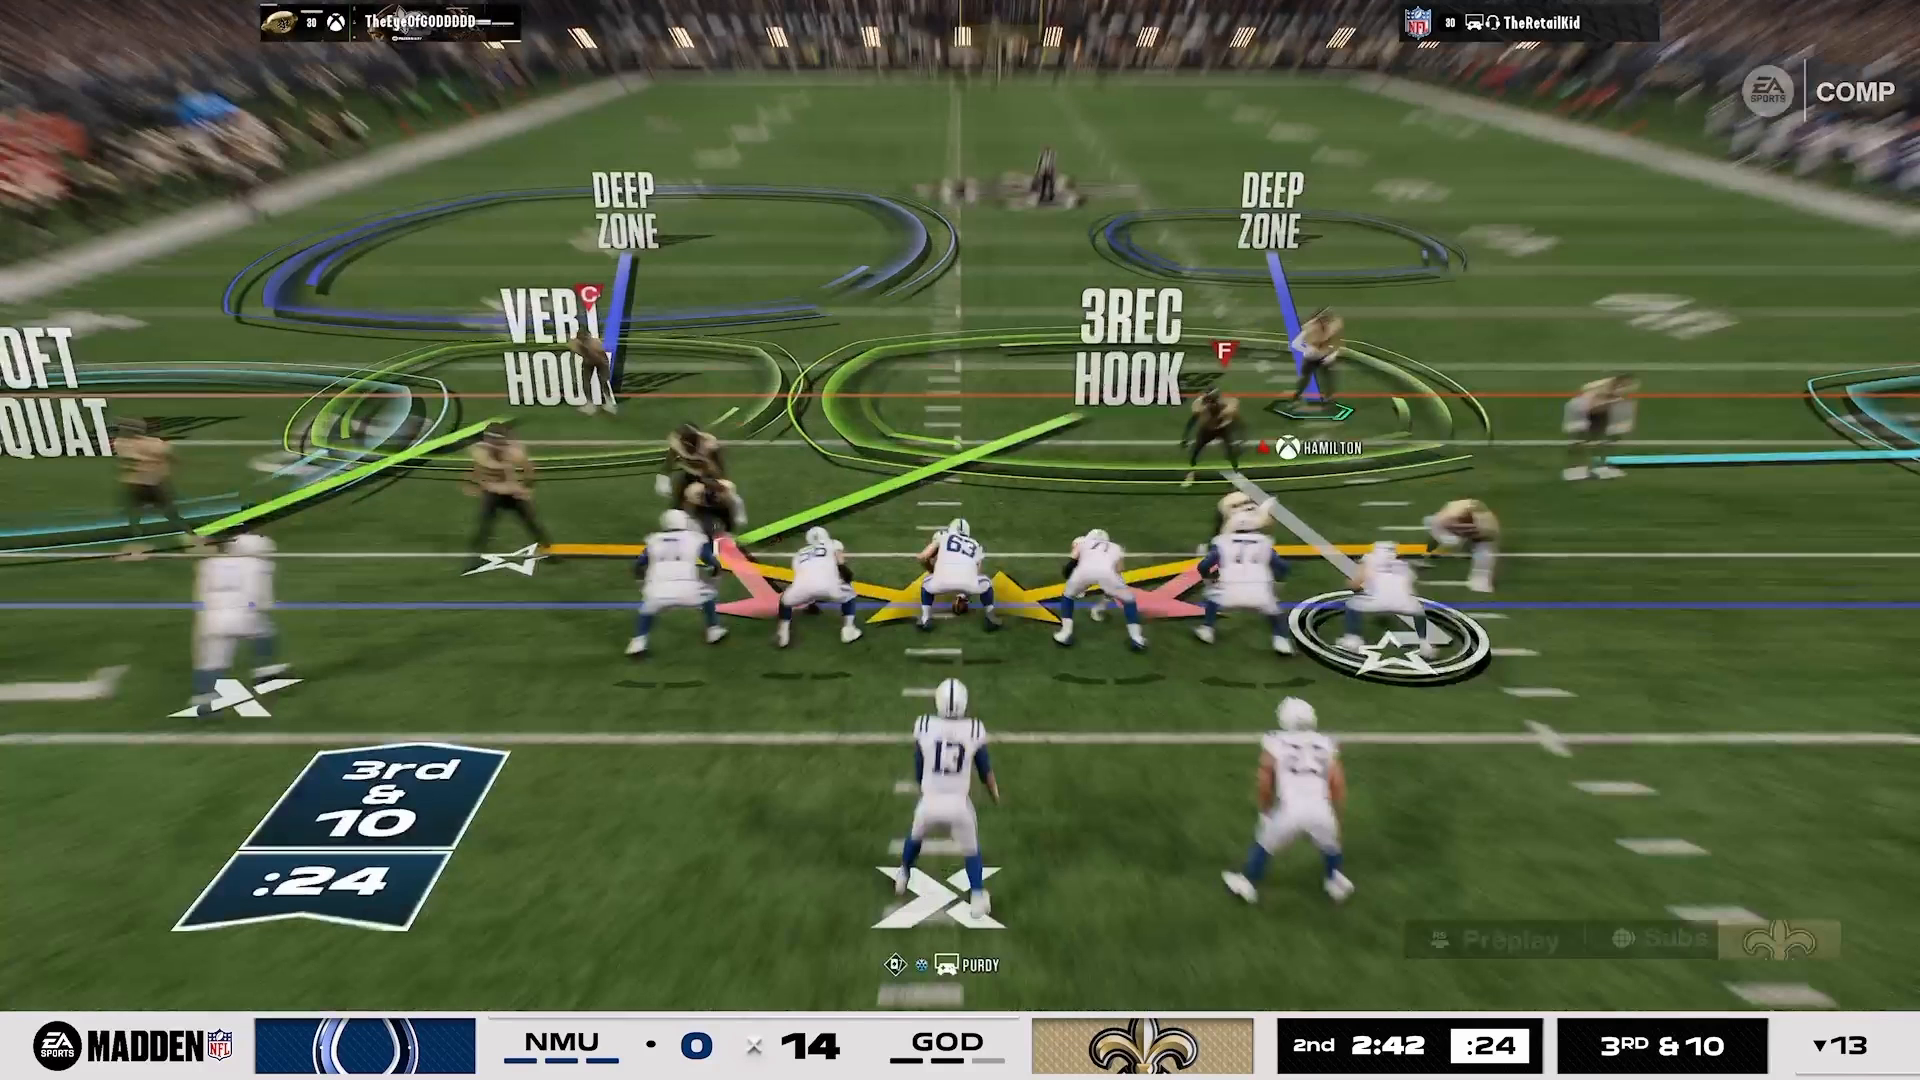
- When a seam streak develops, switch to the safety immediately, and against a slot fade consider switching to the strong safety to cover the seam or post route.
The Myth of Reading the Whole Field
In the world of Madden NFL 27, one of the most common misconceptions is that you must read the entire field to succeed. This notion can overwhelm you, especially when faced with complex defensive setups. However, the reality is that unless you can process multiple routes simultaneously, focusing on the entire field can often lead to confusion and mistakes.
Instead of attempting to read every receiver, concentrate on one specific target pre-snap. This strategy not only simplifies your decision-making but also enhances your overall gameplay.
By employing the 16 Spaces System, you can infer what to do next without overthinking. It’s straightforward and effective.
Choosing Your Receiver Wisely
Once you’ve decided to focus on a single receiver, the next step is to select who that will be. Choose your receiver based on the open space you leave behind. This mental shortcut, offered by the Madden Academy, allows you to narrow down your options significantly.
By analyzing the field through the lens of the 16 spaces, you can predict the play even before it unfolds. For instance, if you anticipate that one space will be weak, direct your attention there and select the corresponding receiver. This approach minimizes your cognitive load and positions you for success.
Understanding Spaces Over Vision
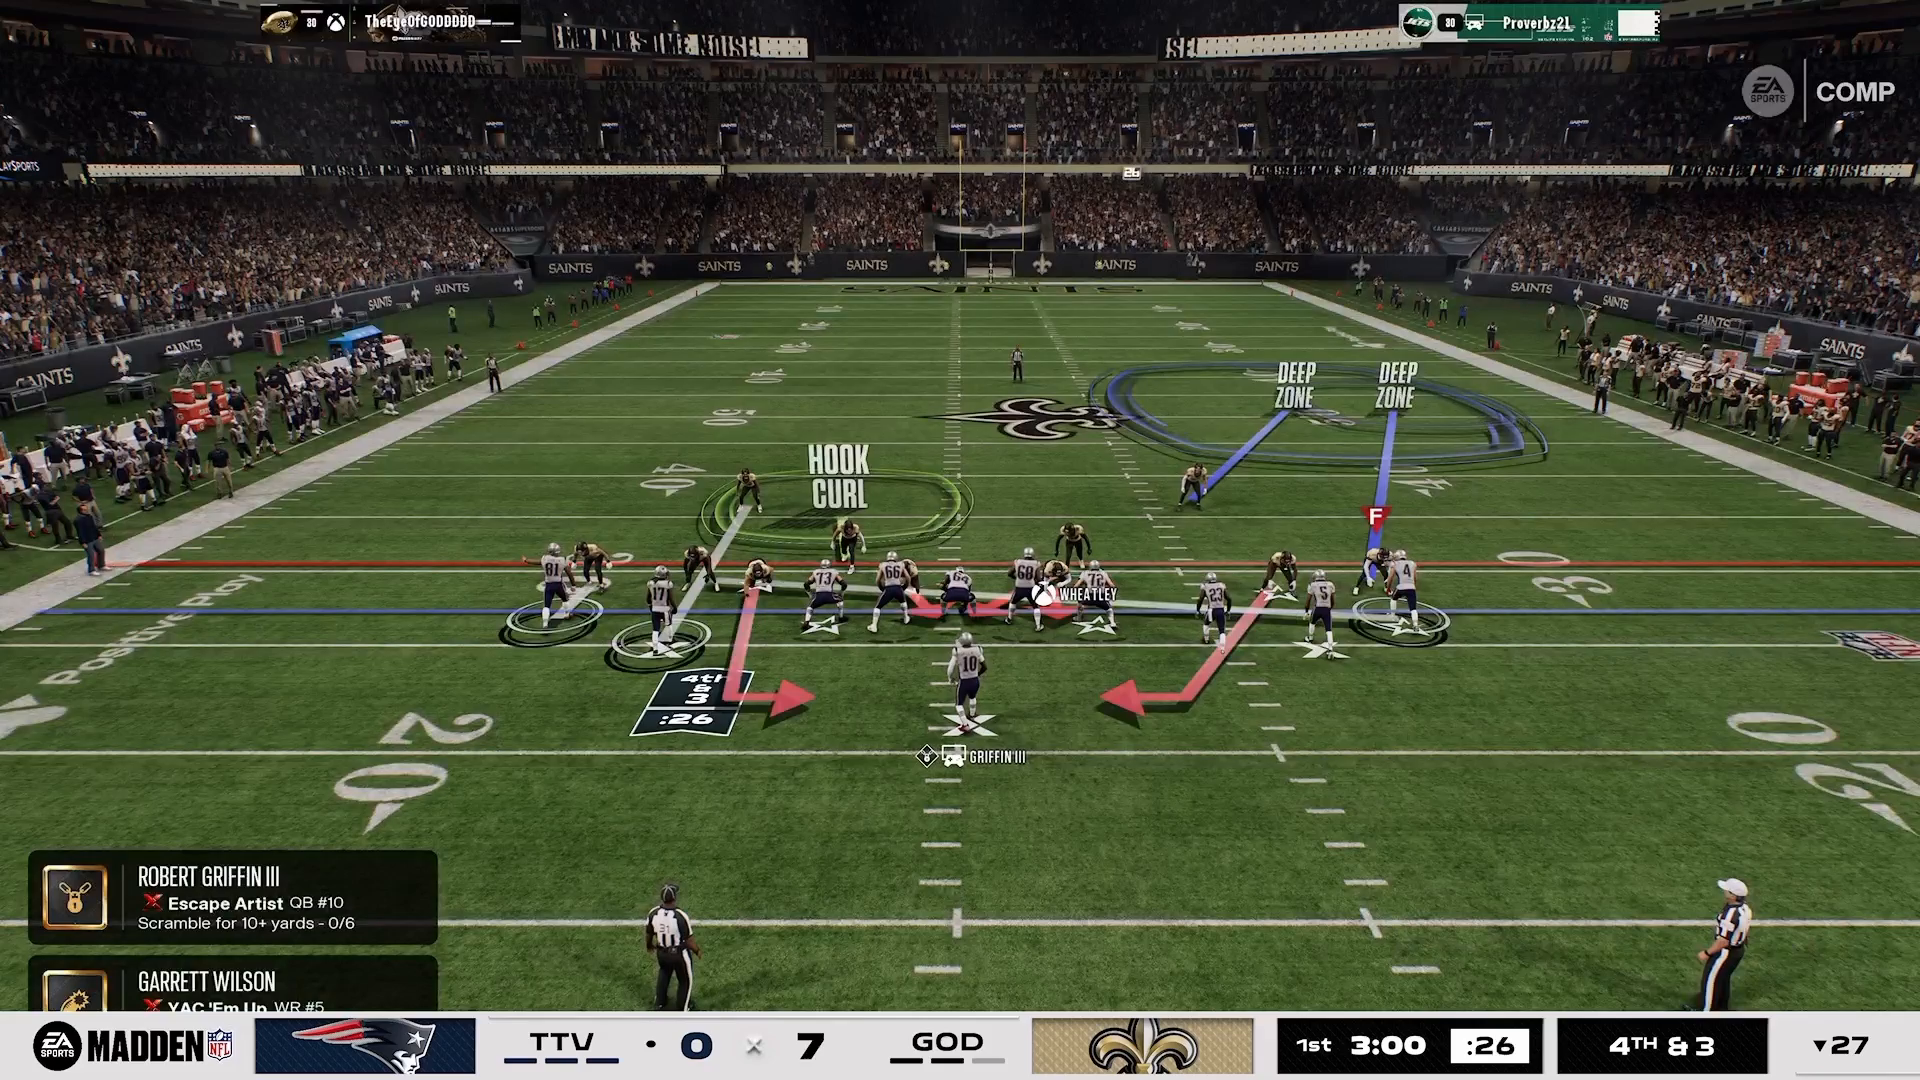
When it comes to Madden 27, prioritizing the concept of spaces over traditional reading techniques is essential. Instead of trying to analyze every route on the field, focus on identifying which space is vulnerable to an offensive play.
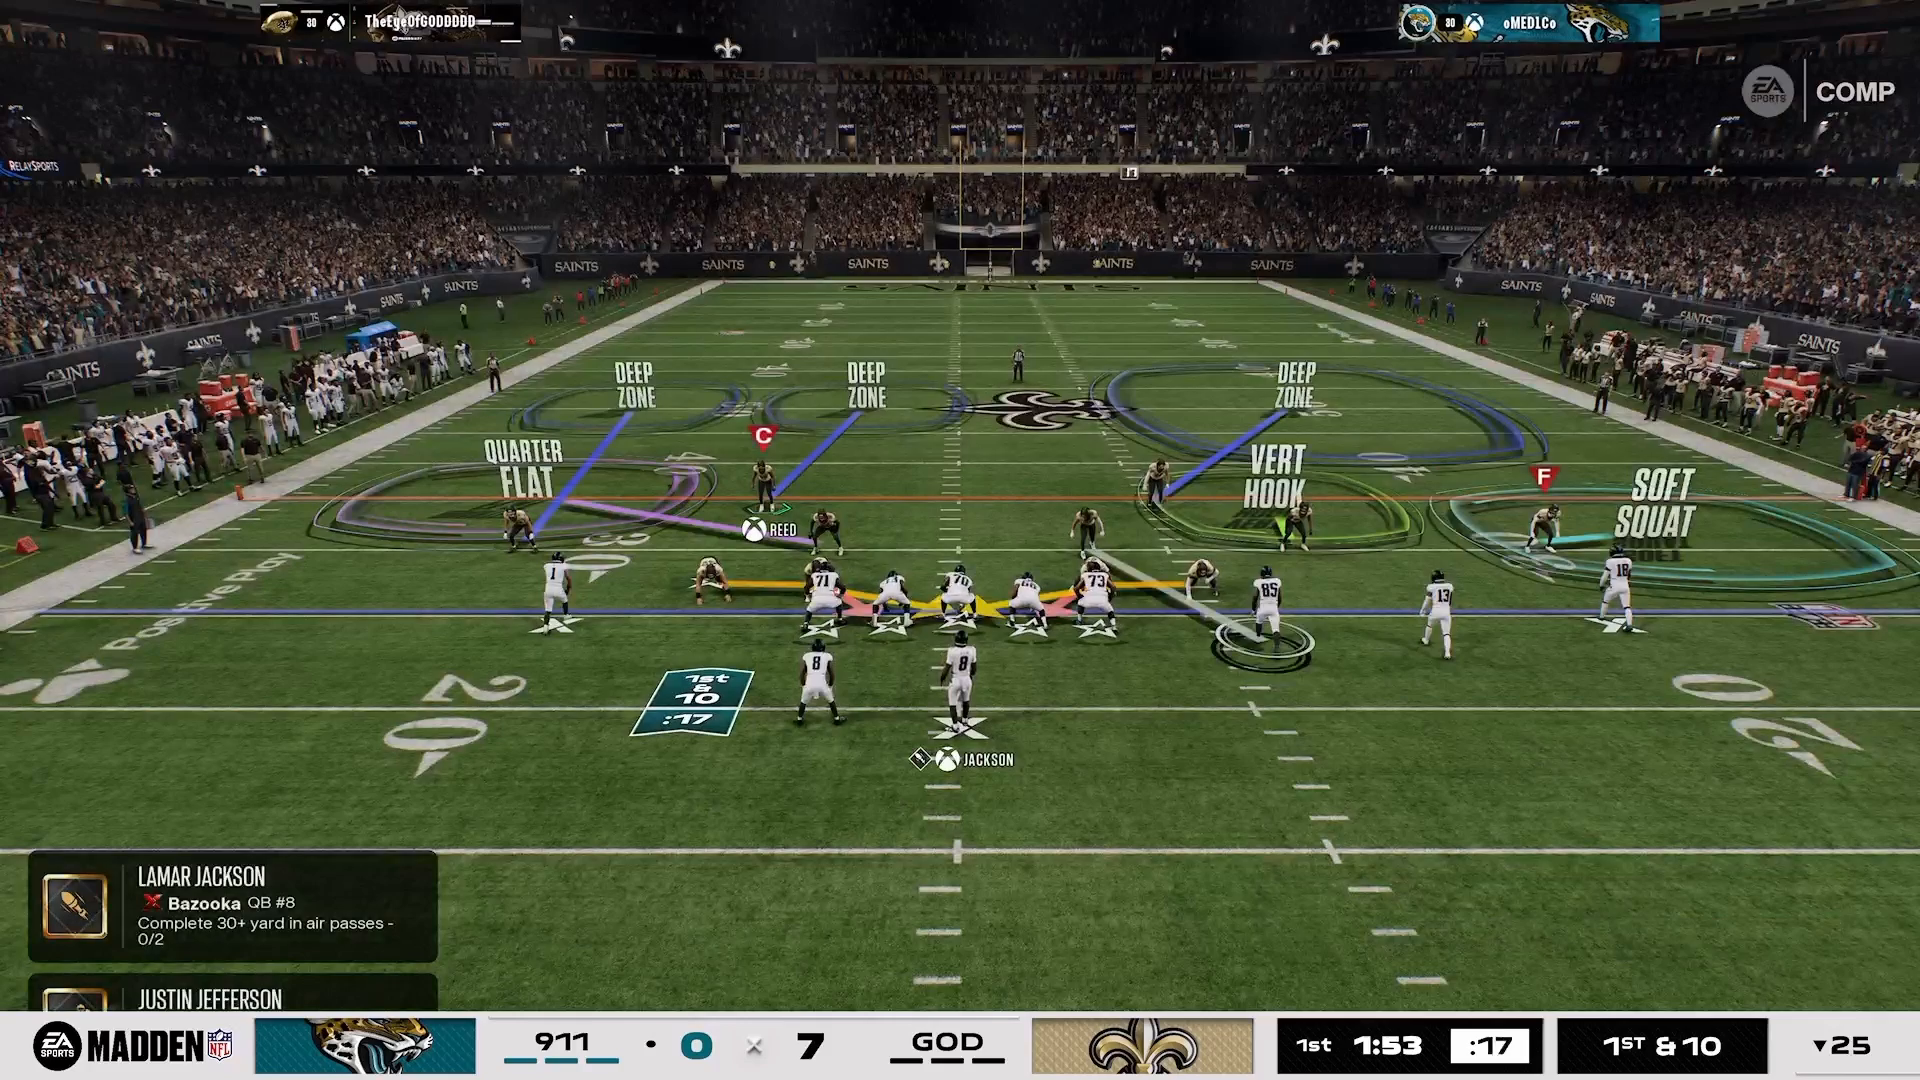
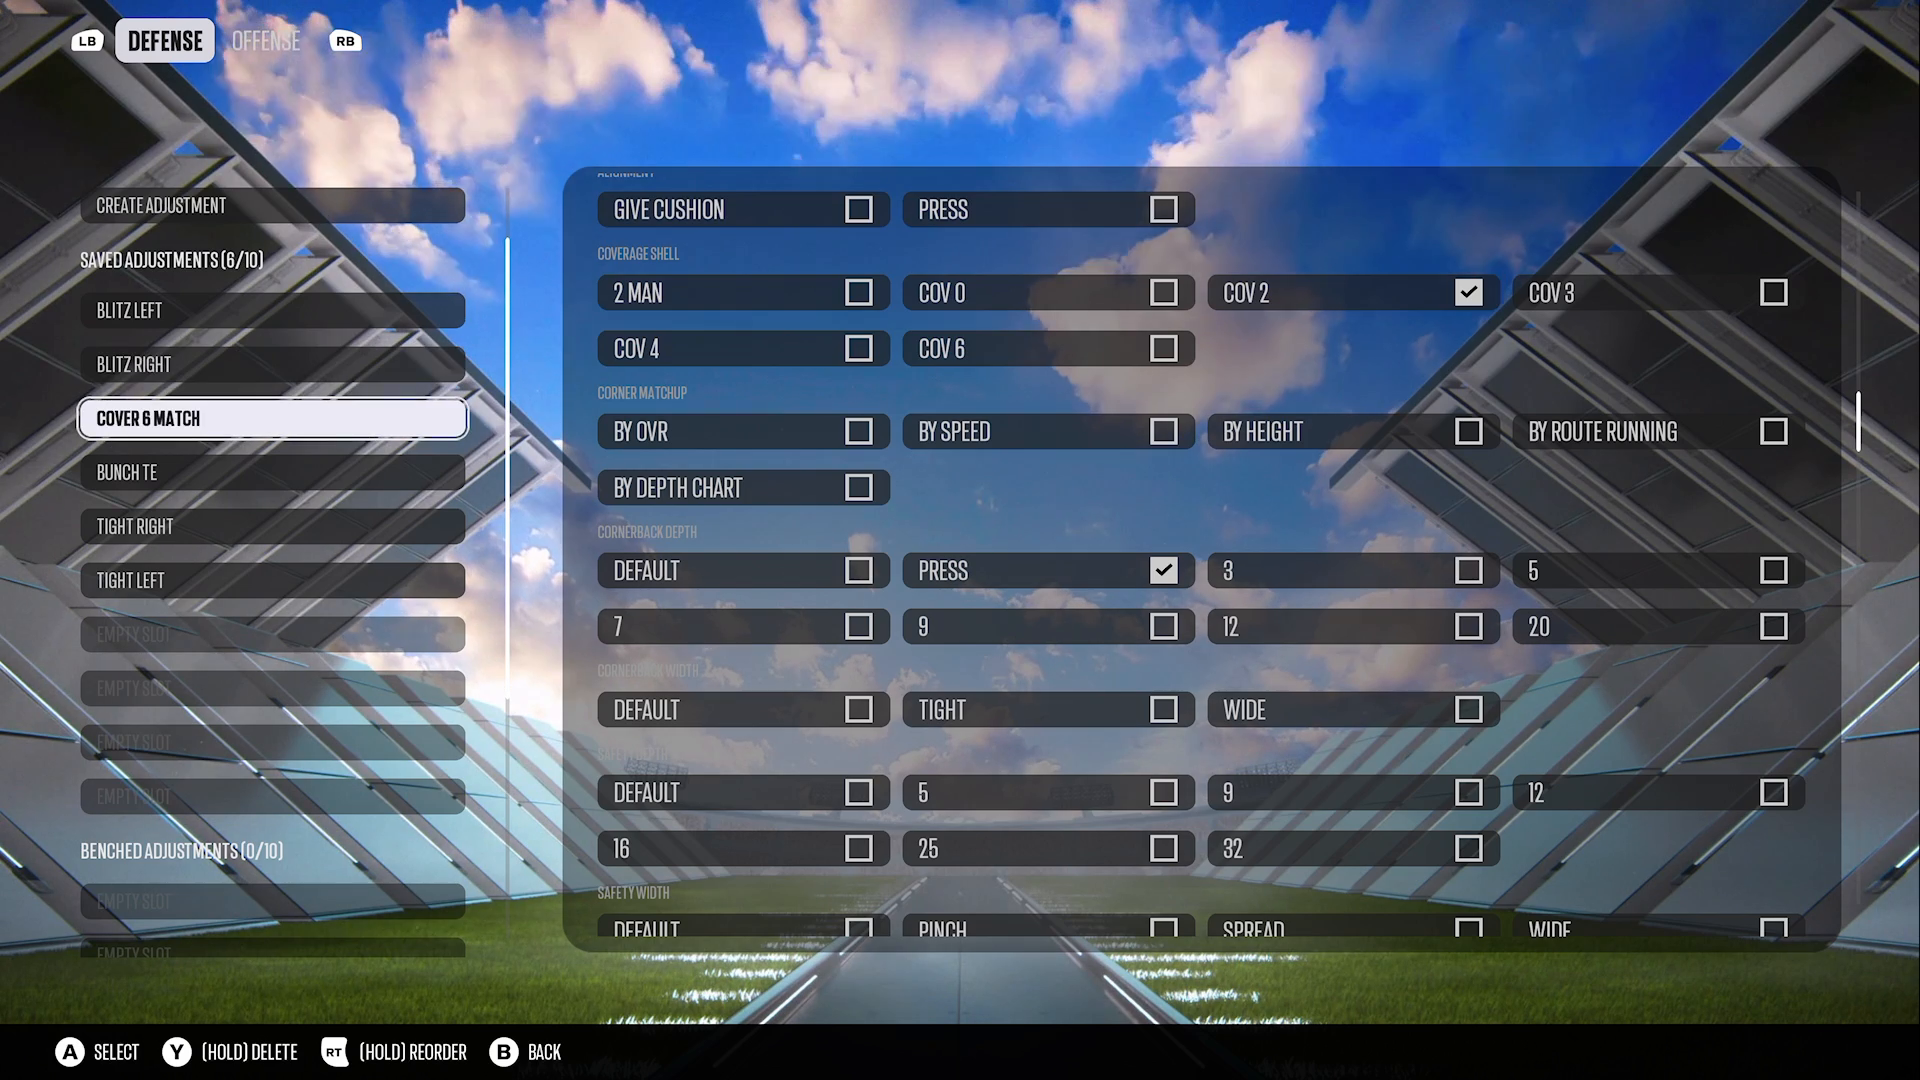
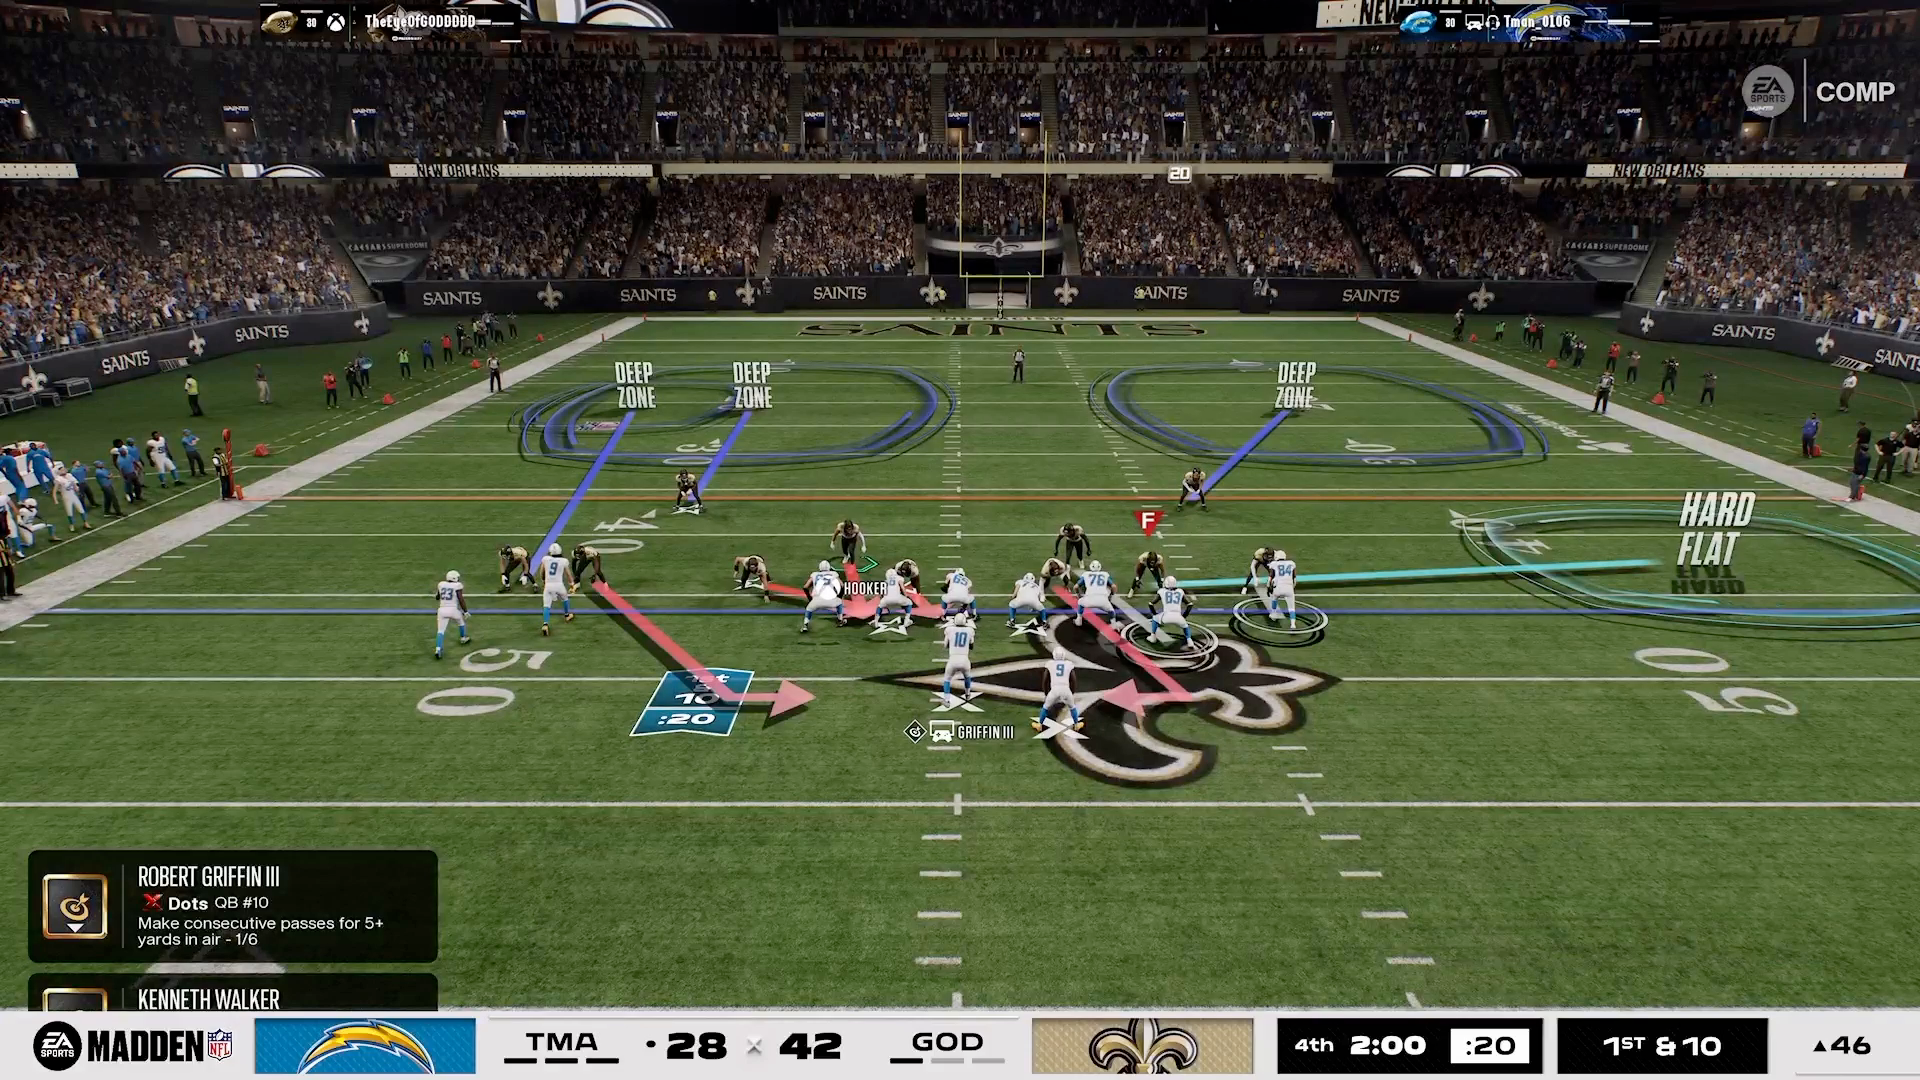
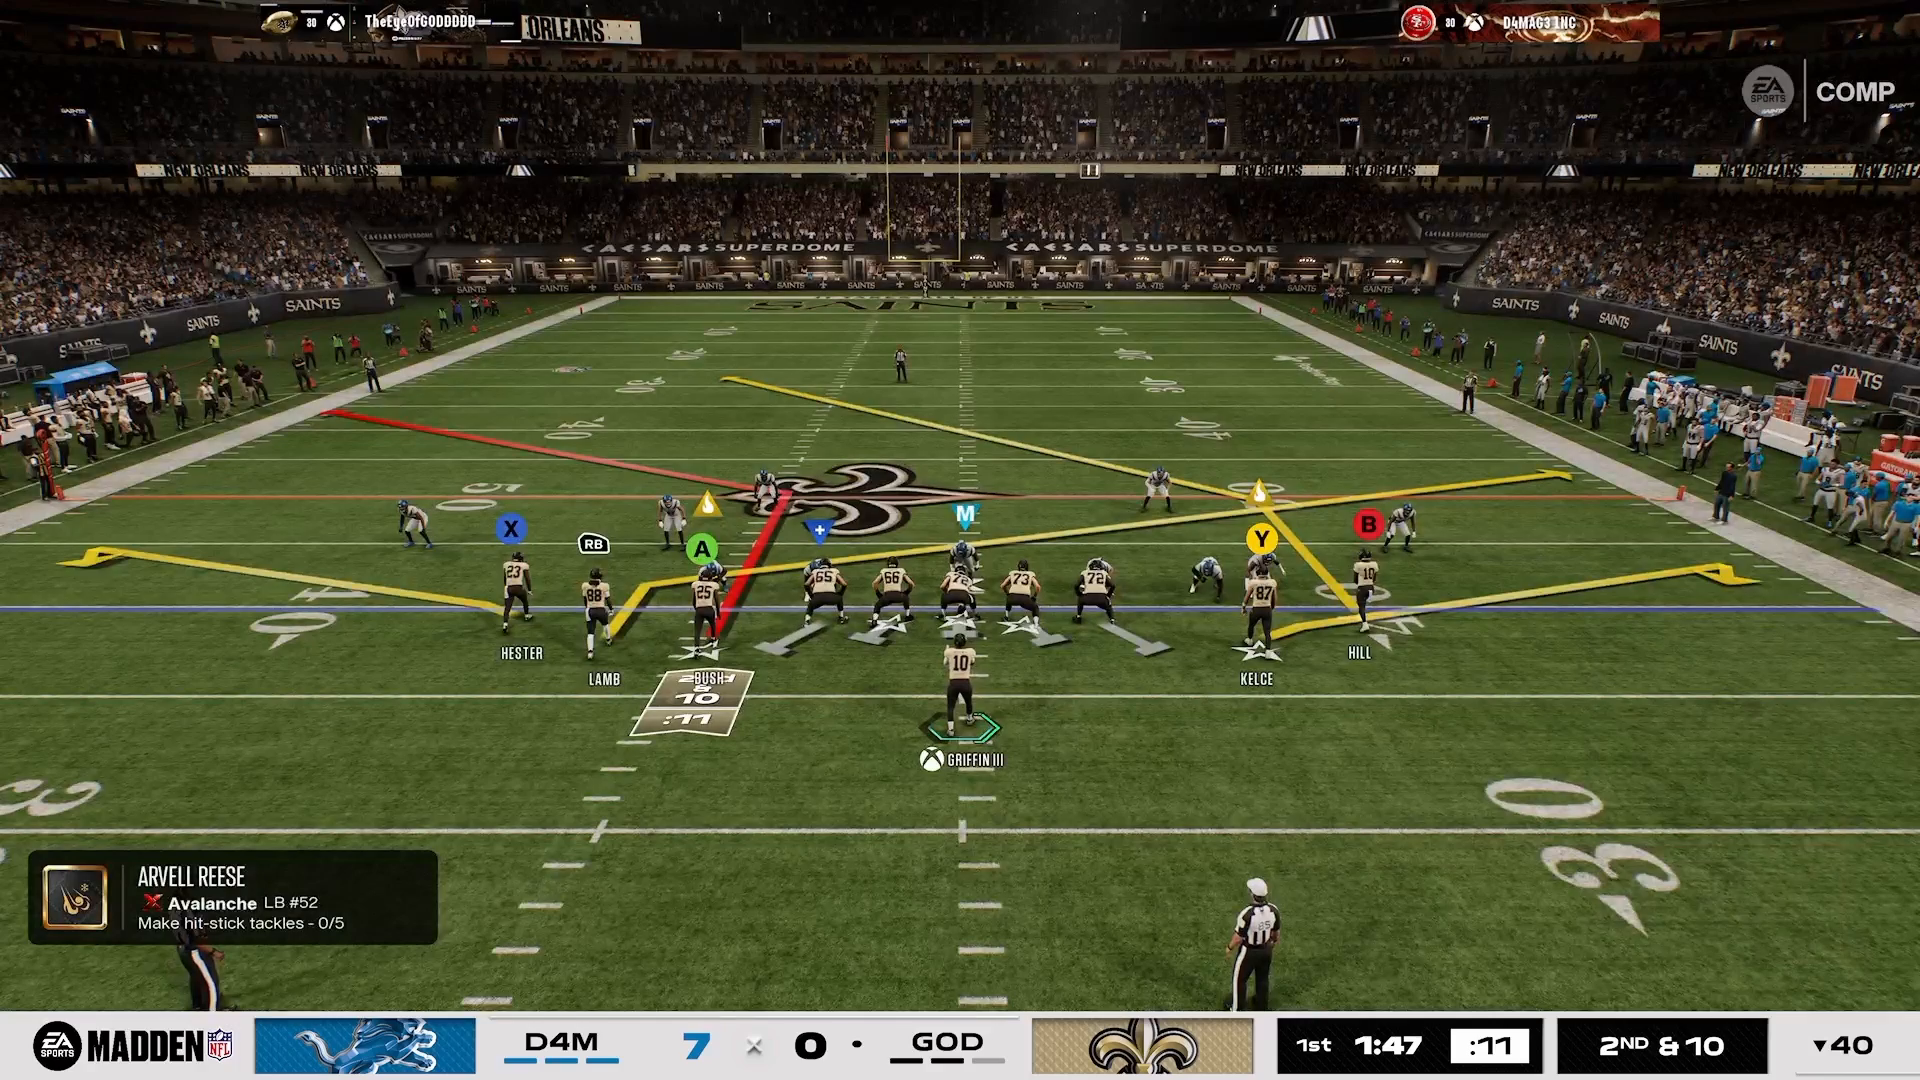
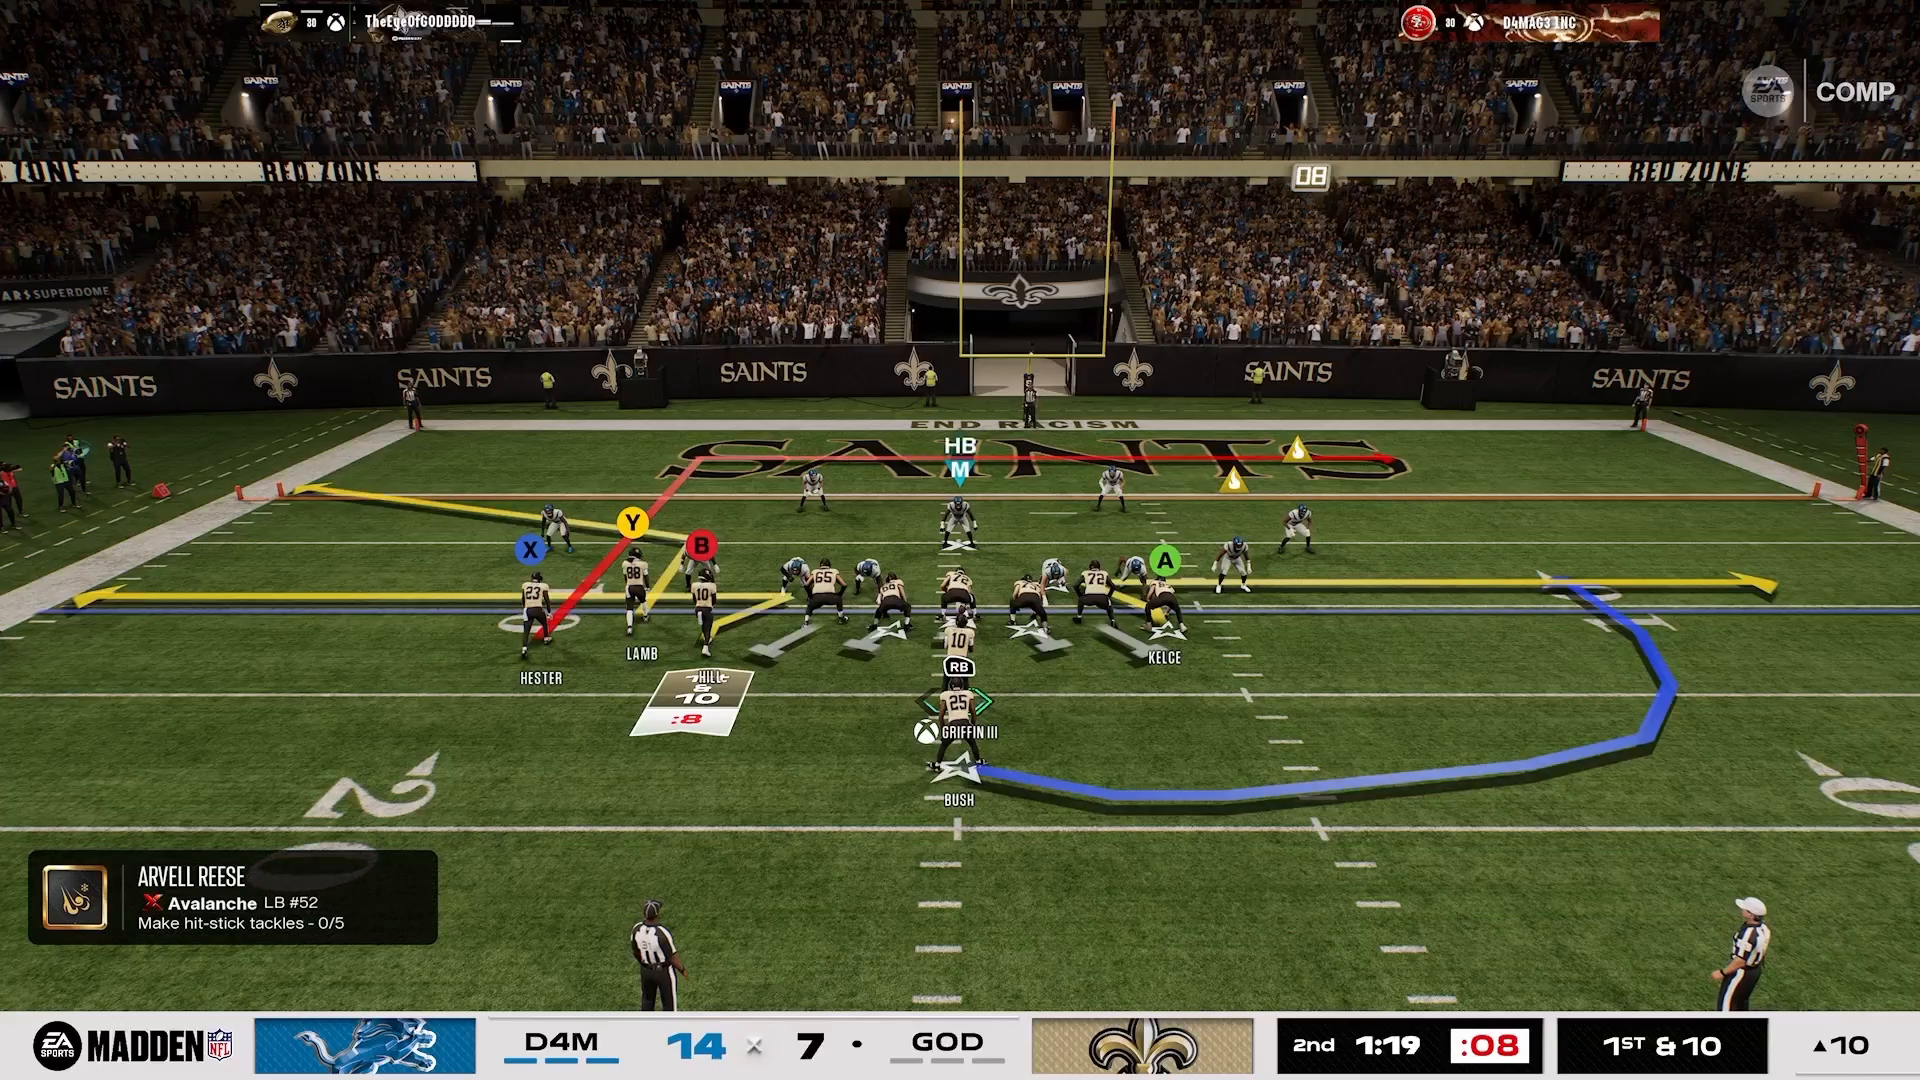
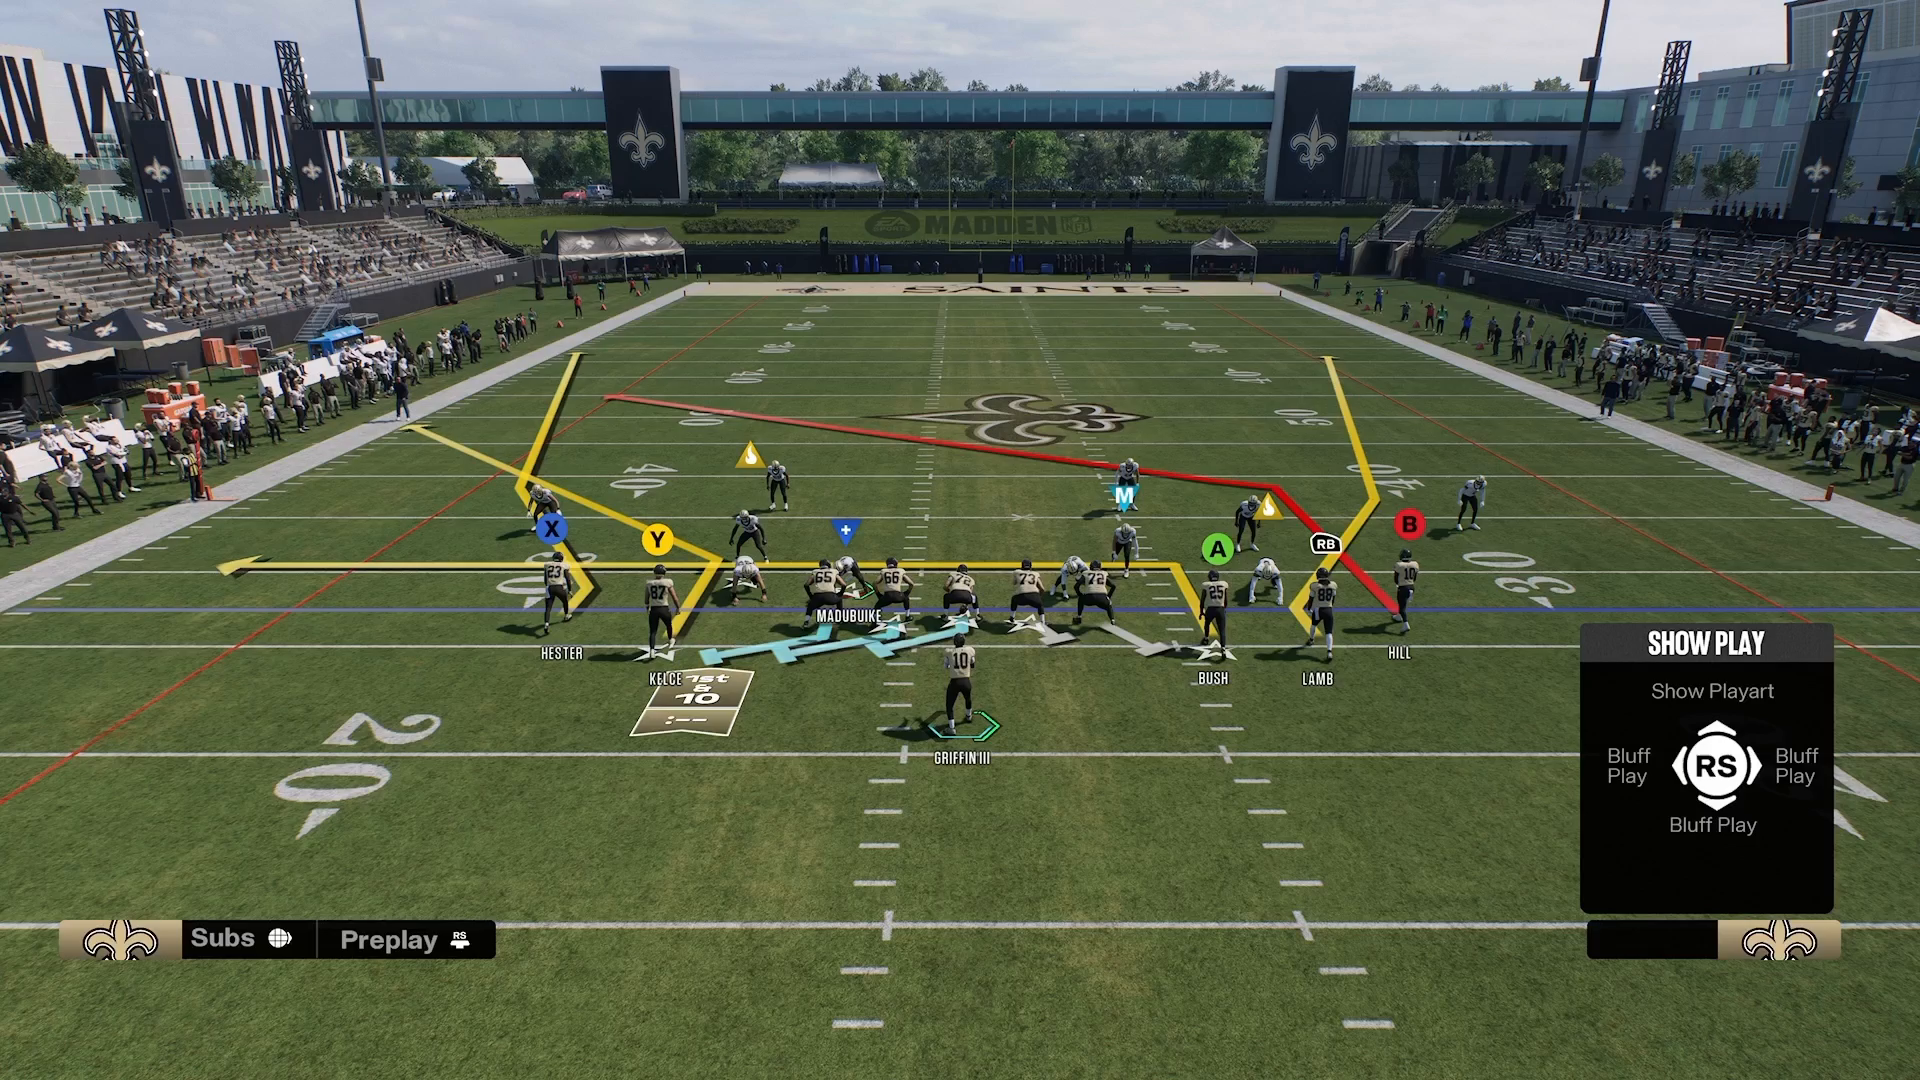
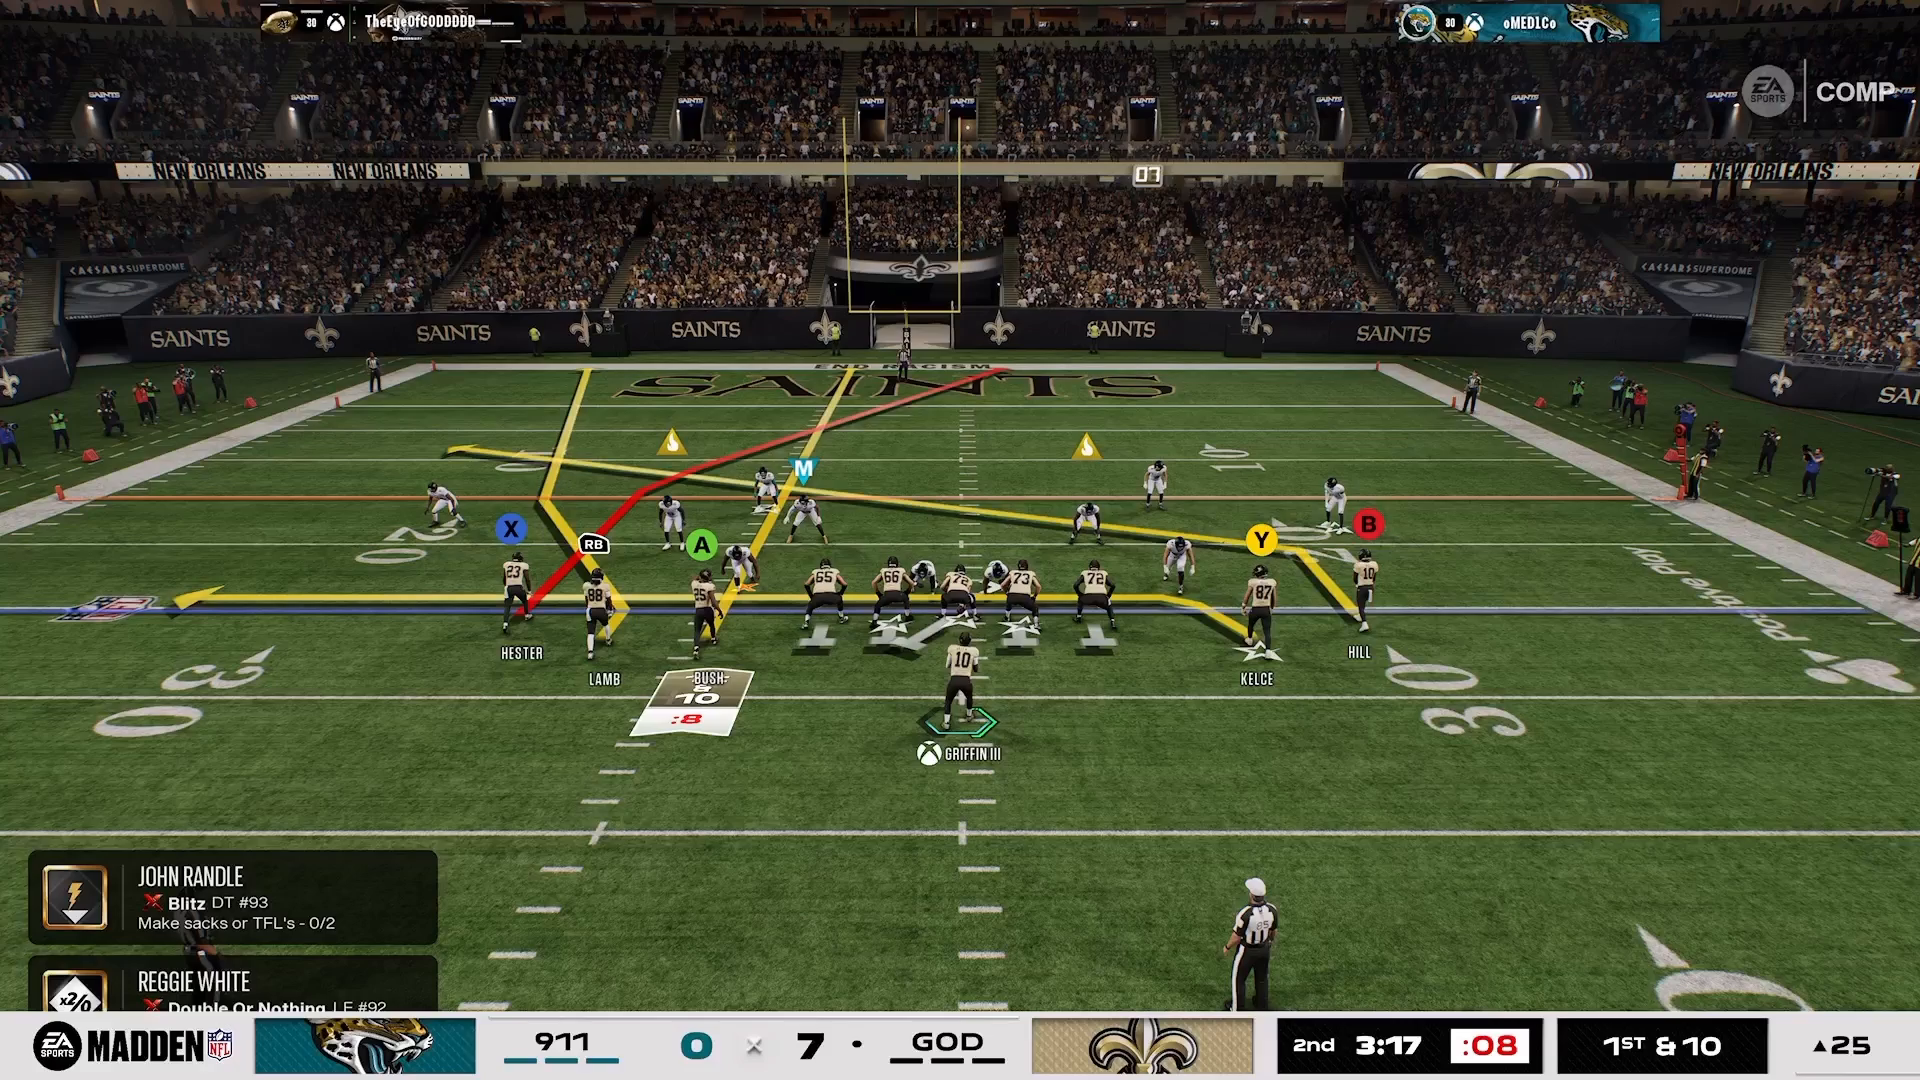
For example, if you find yourself in a Cover 2 shell while running the Gun Devil’s Clamp formation, take note that the seam area is typically the weak point. This understanding allows you to hone in on the receiver who occupies that space, setting you up for better defensive maneuvers.
Recognizing and Exploiting Seams
Once you identify a weak space, your next move is to recognize seams. In a Cover 2 defense, the weak point often manifests as seam streaks. Typically, these routes originate from the slot on the left side of the screen.
At the snap, shift your focus left and look for any seam streaks developing. If you spot one, switch to the safety immediately. This quick transition can make all the difference, allowing you to intercept or disrupt the pass effectively.
Jumping the Post Route
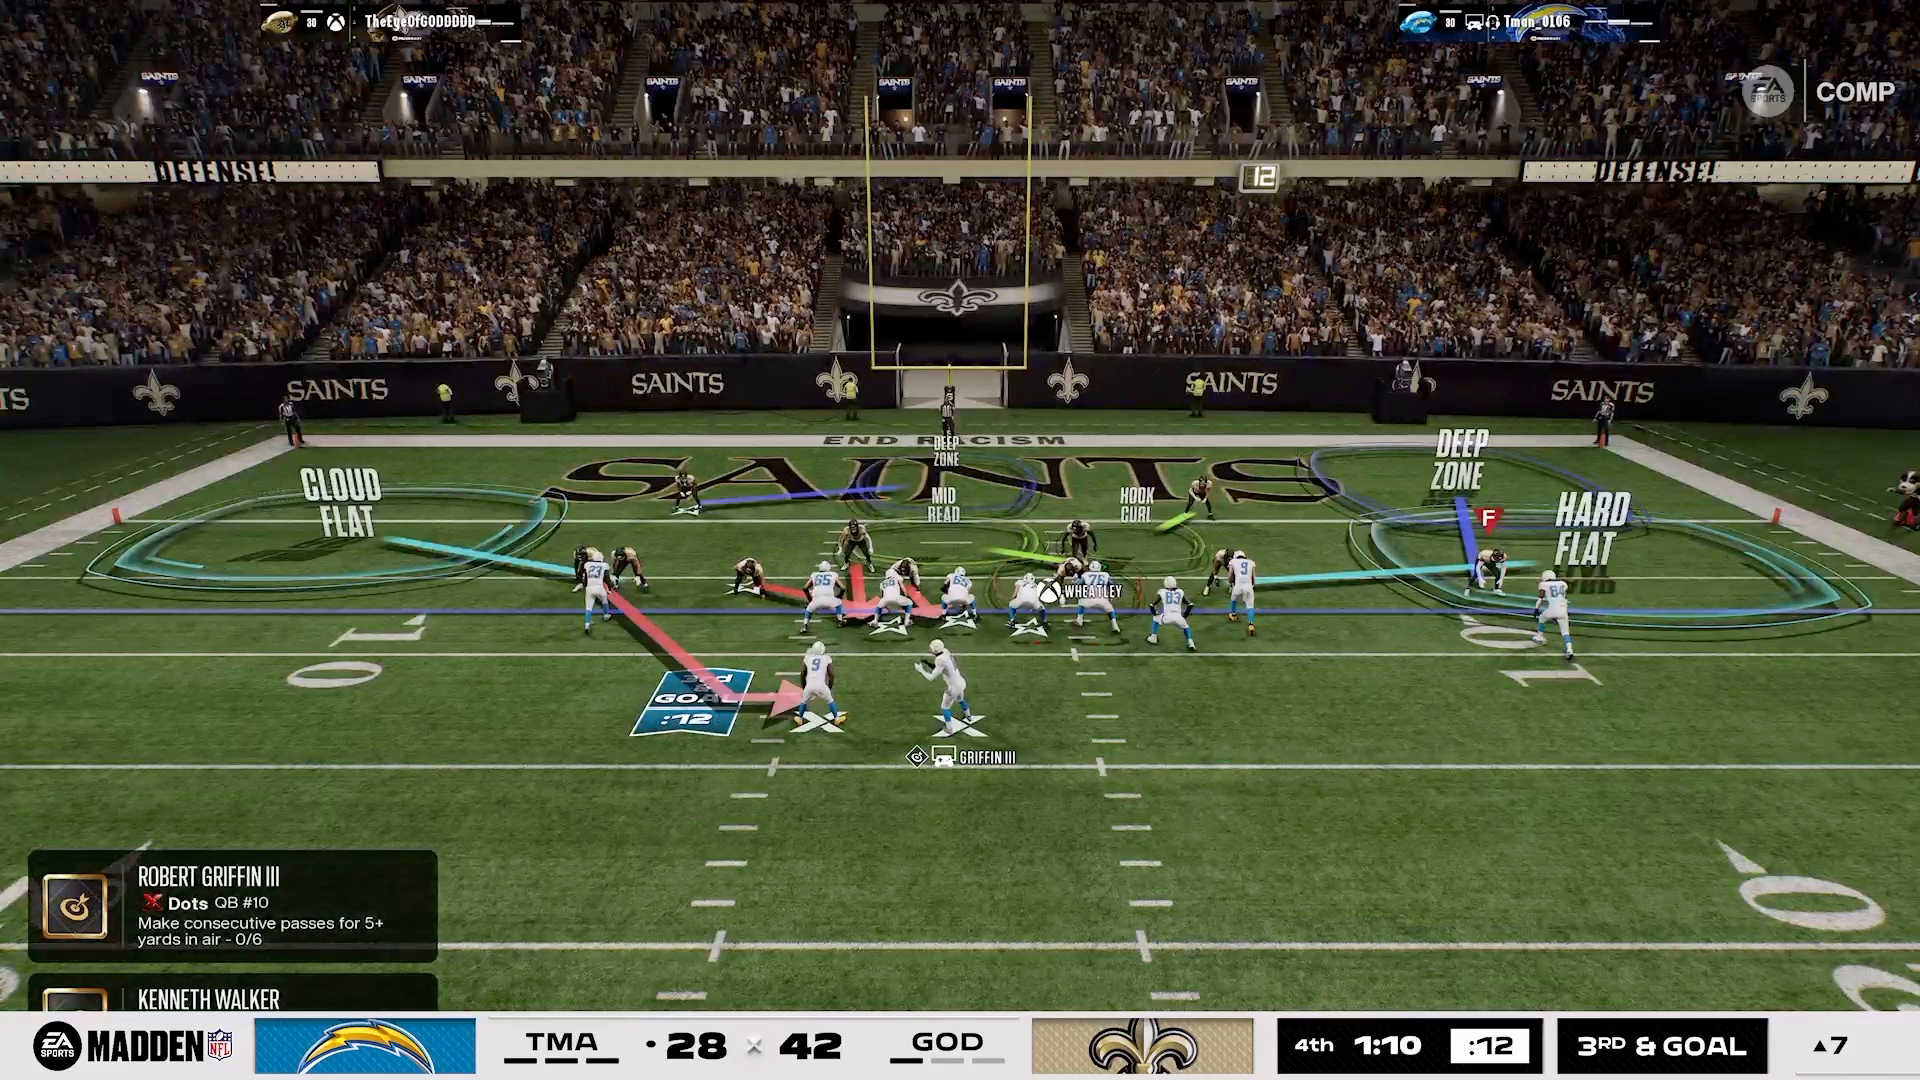
When you’re defending against a slot fade, your initial instinct might be to jump to the deep half. Instead, consider switching to the strong safety to cover the seam or post route. This strategic move positions you better for the next natural look, which is often the running back.
If the RB is running a streak combined with other route combinations, you can effectively jump inside to make a stop. The synergy of the 16 Spaces System and consistent practice with routes will lead to repeatable wins on the field.
Conclusion
Mastering the Switch Stick in Madden NFL 27 is about simplifying your approach and focusing on strategic elements like receiver selection and space recognition. By applying the techniques outlined here, you’ll enhance your defensive gameplay and enjoy greater success. For even more insights and strategies, consider exploring our Madden tips section for additional resources to elevate your game.