Bunch Head End Basics
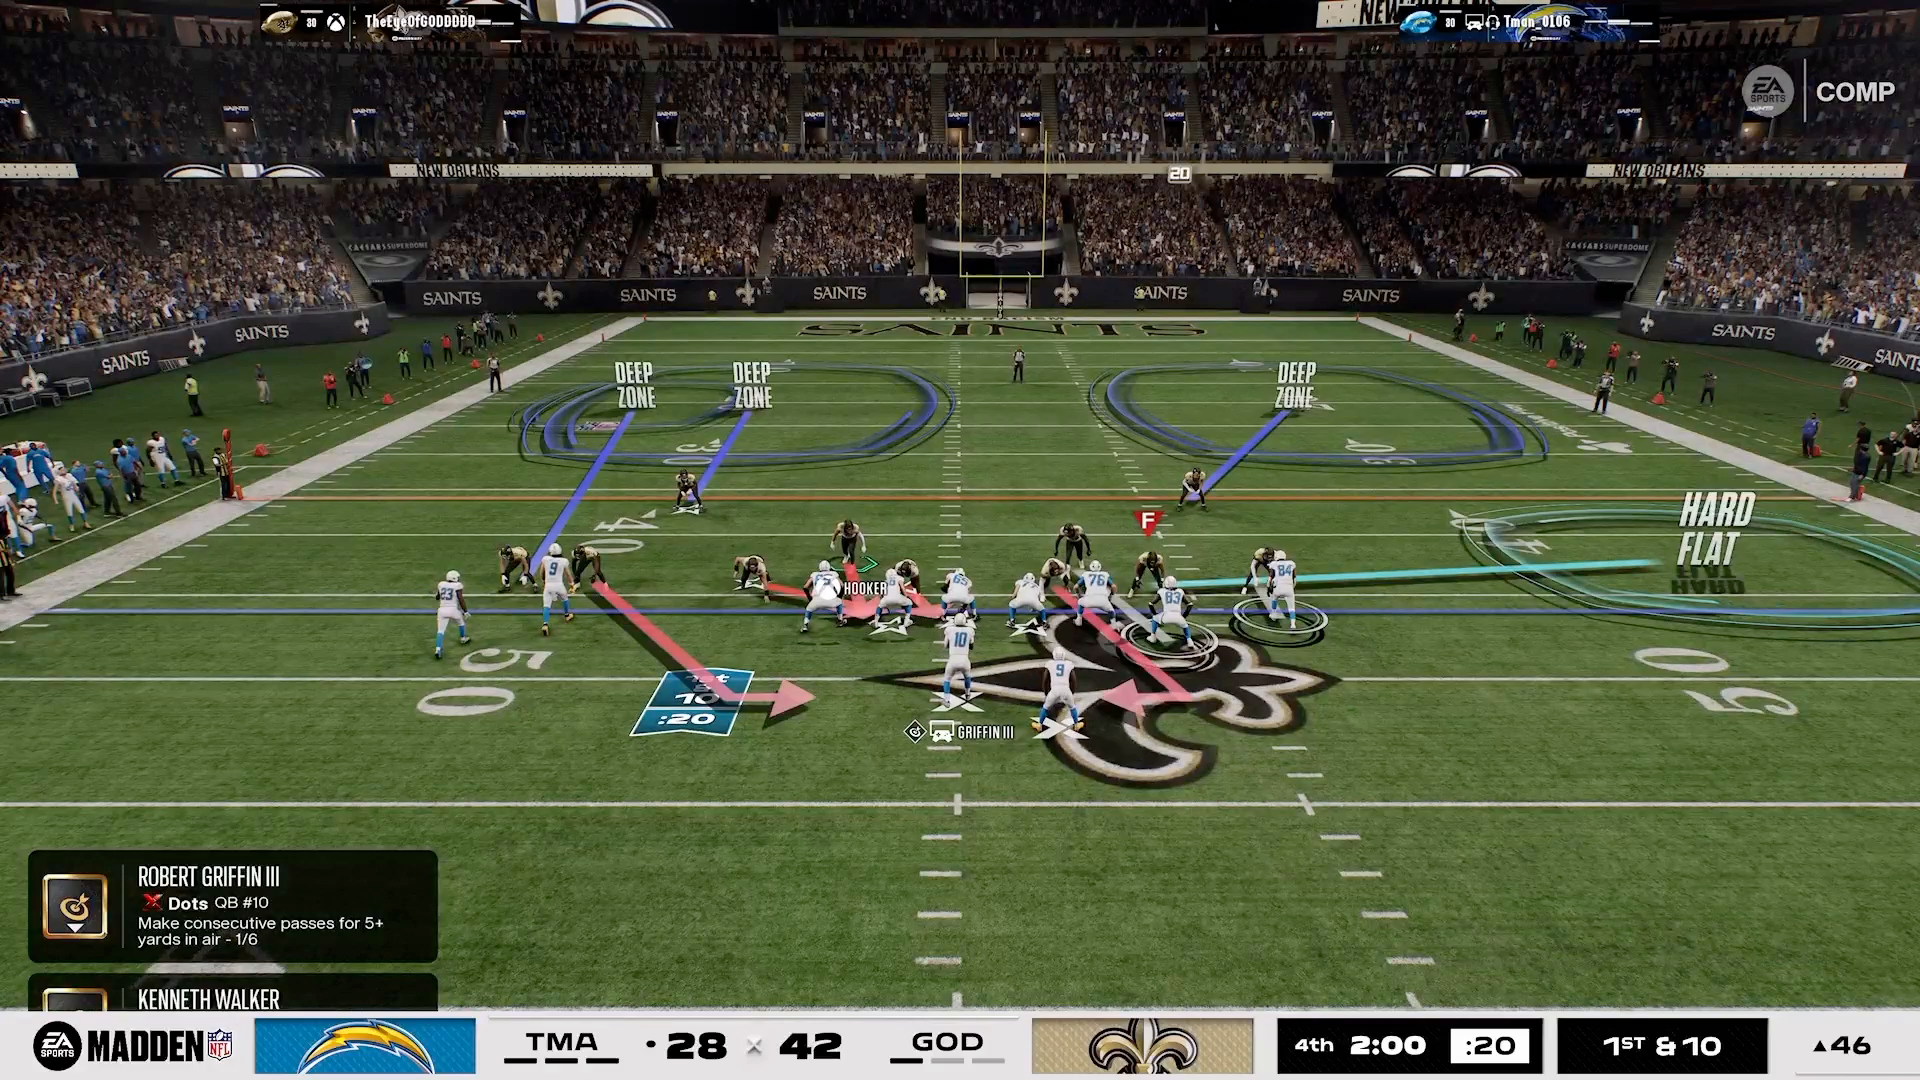
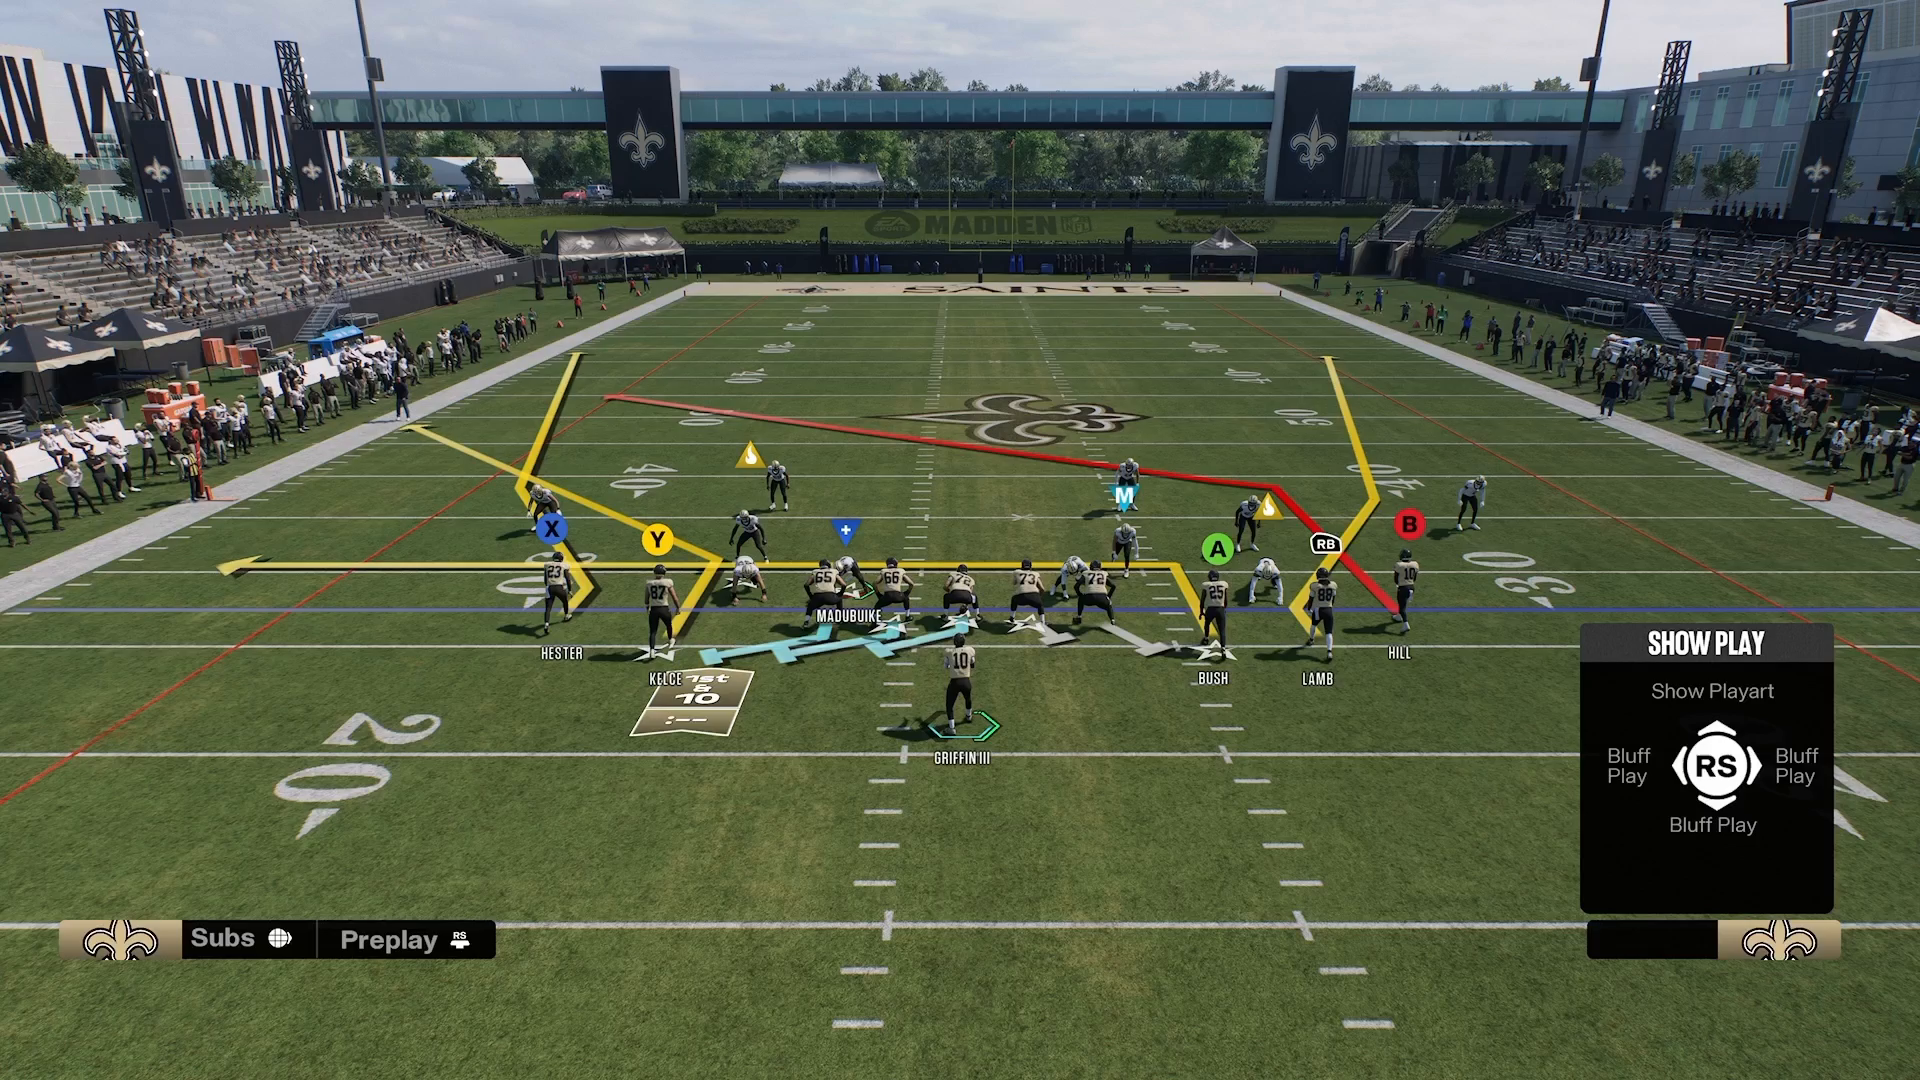
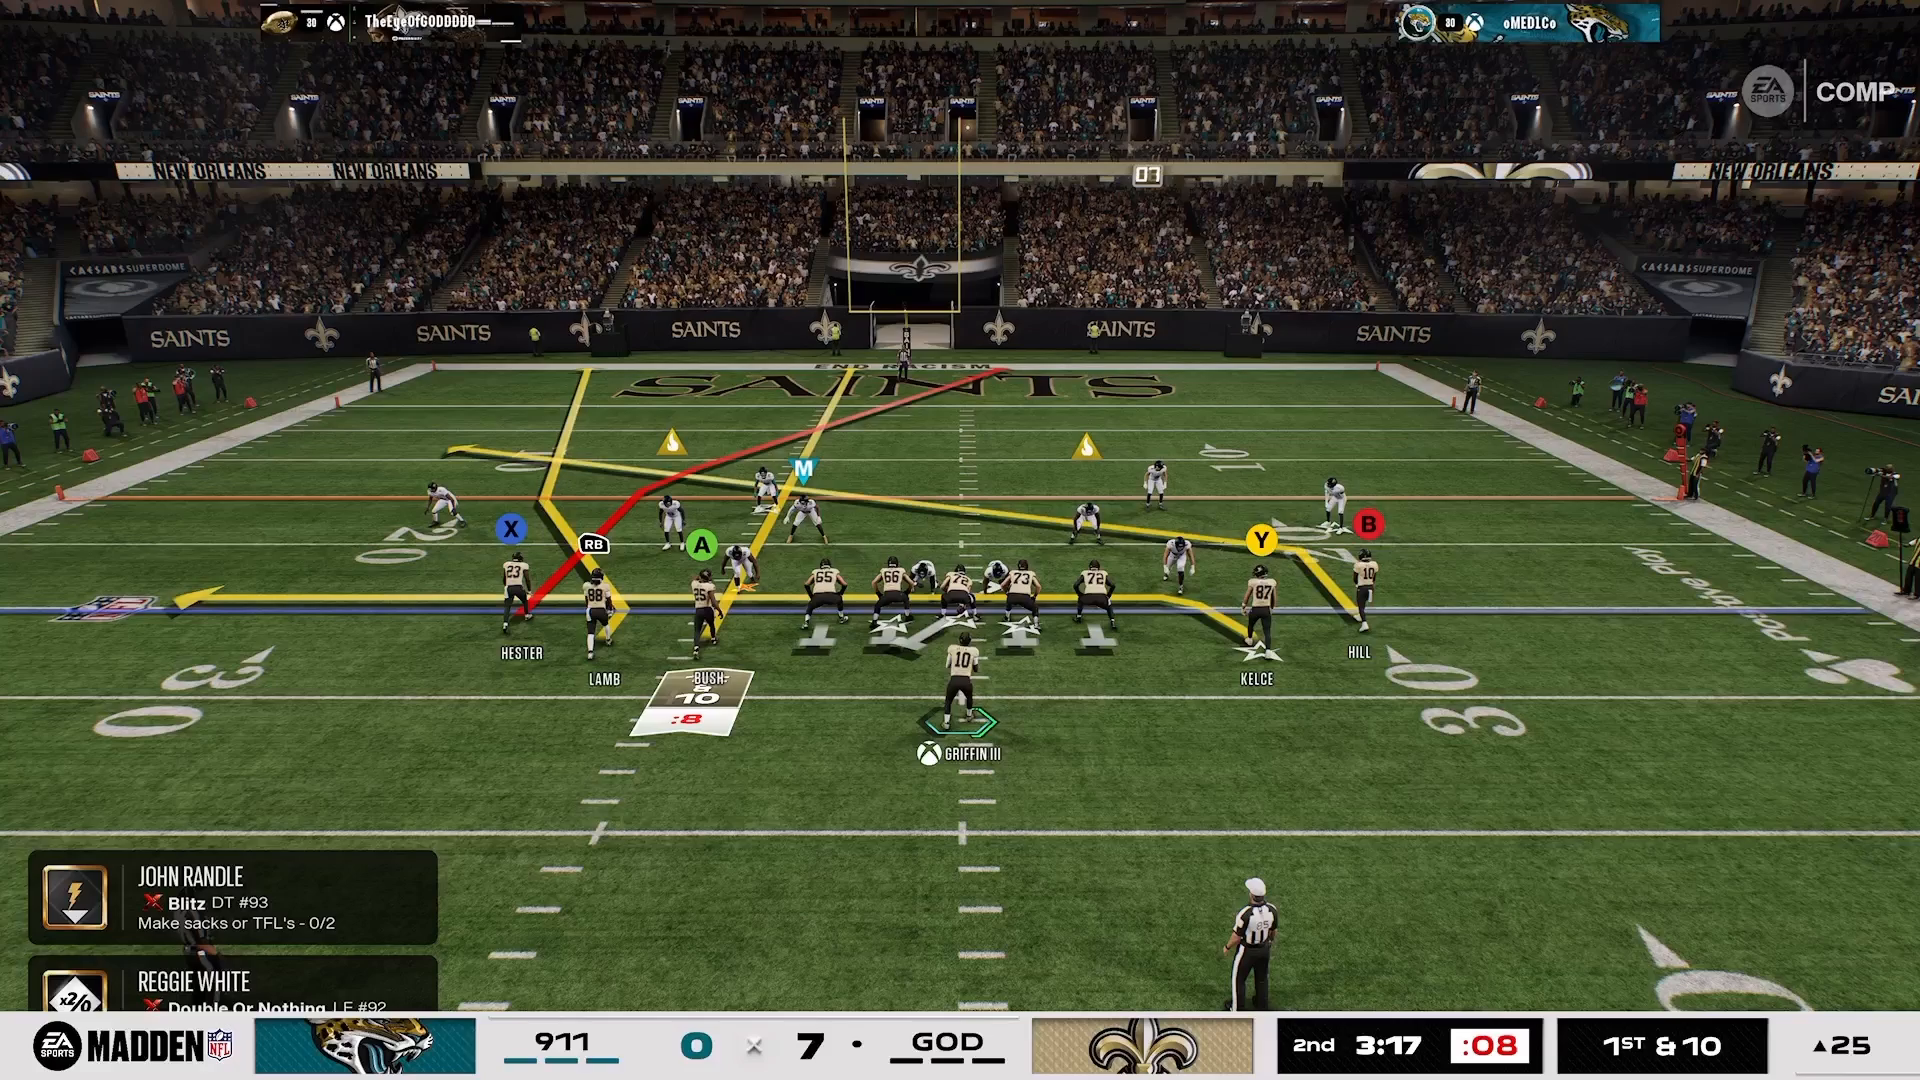
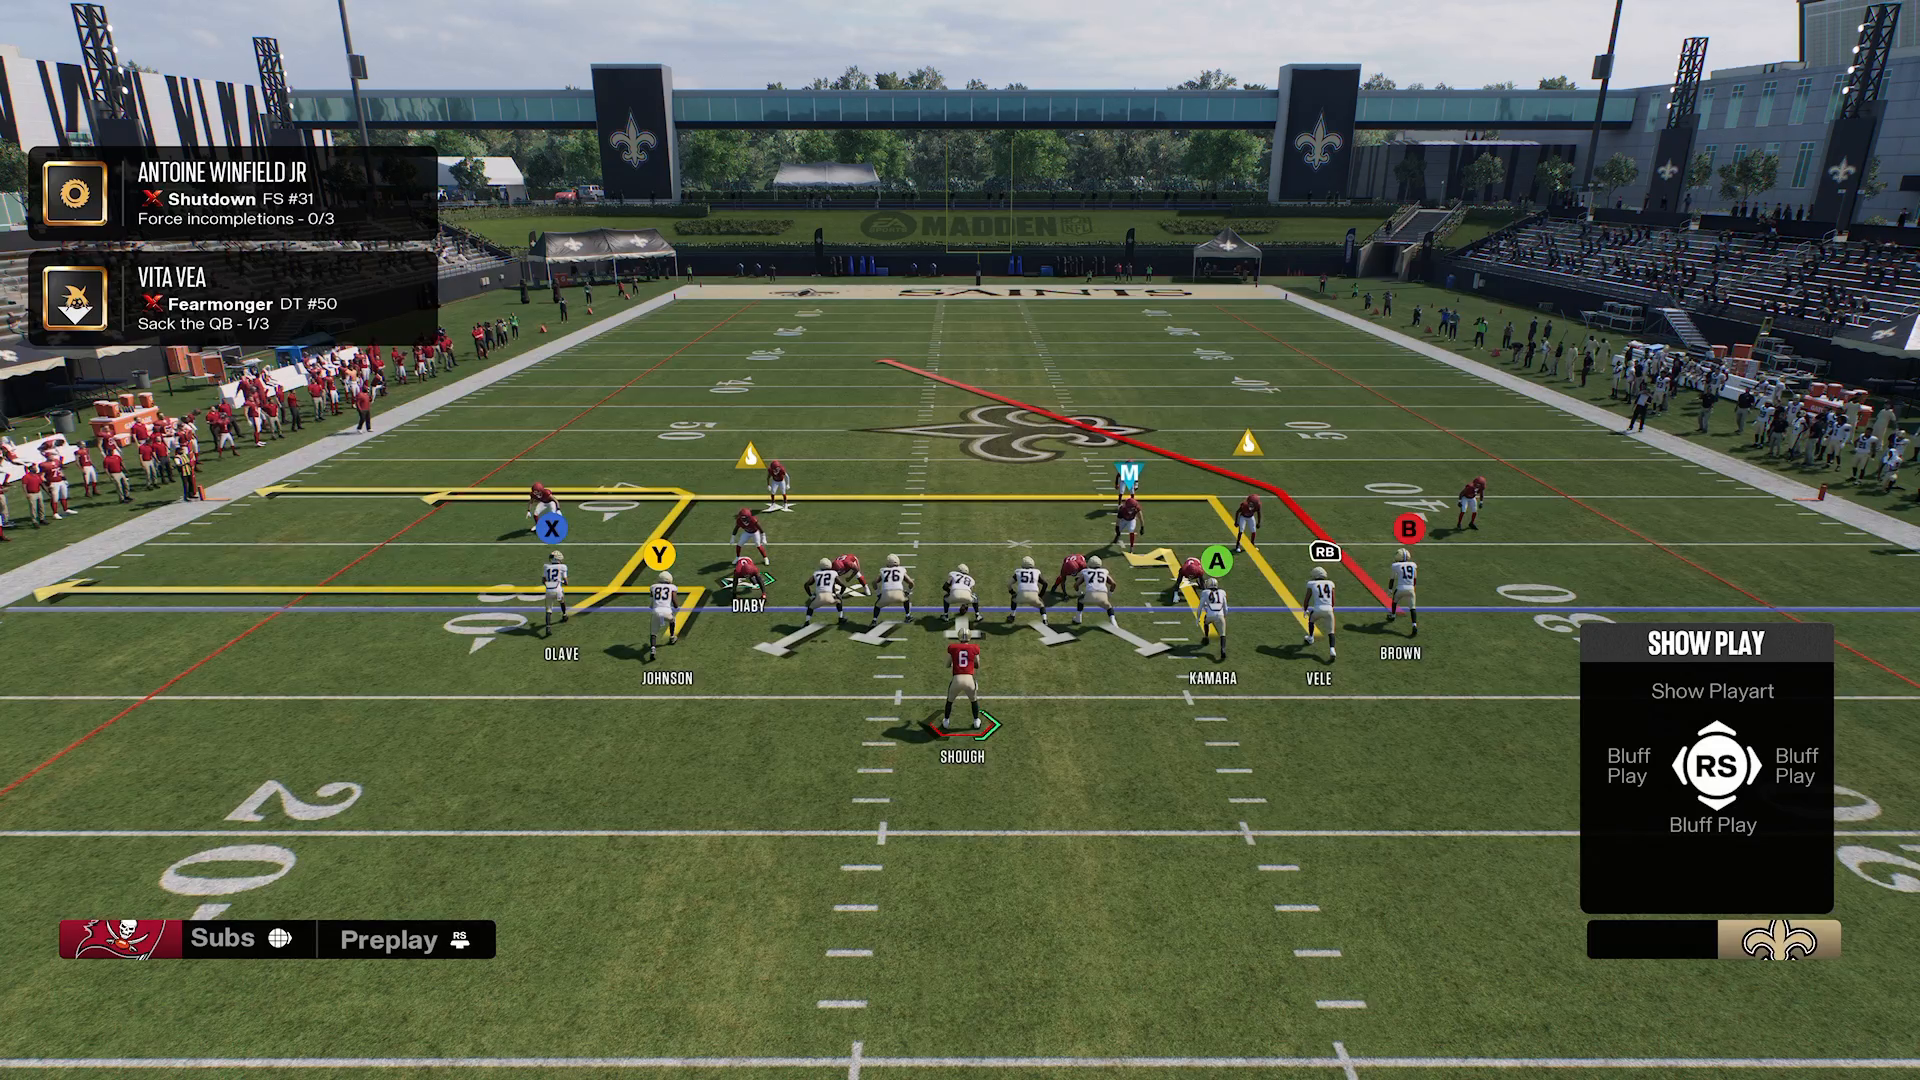
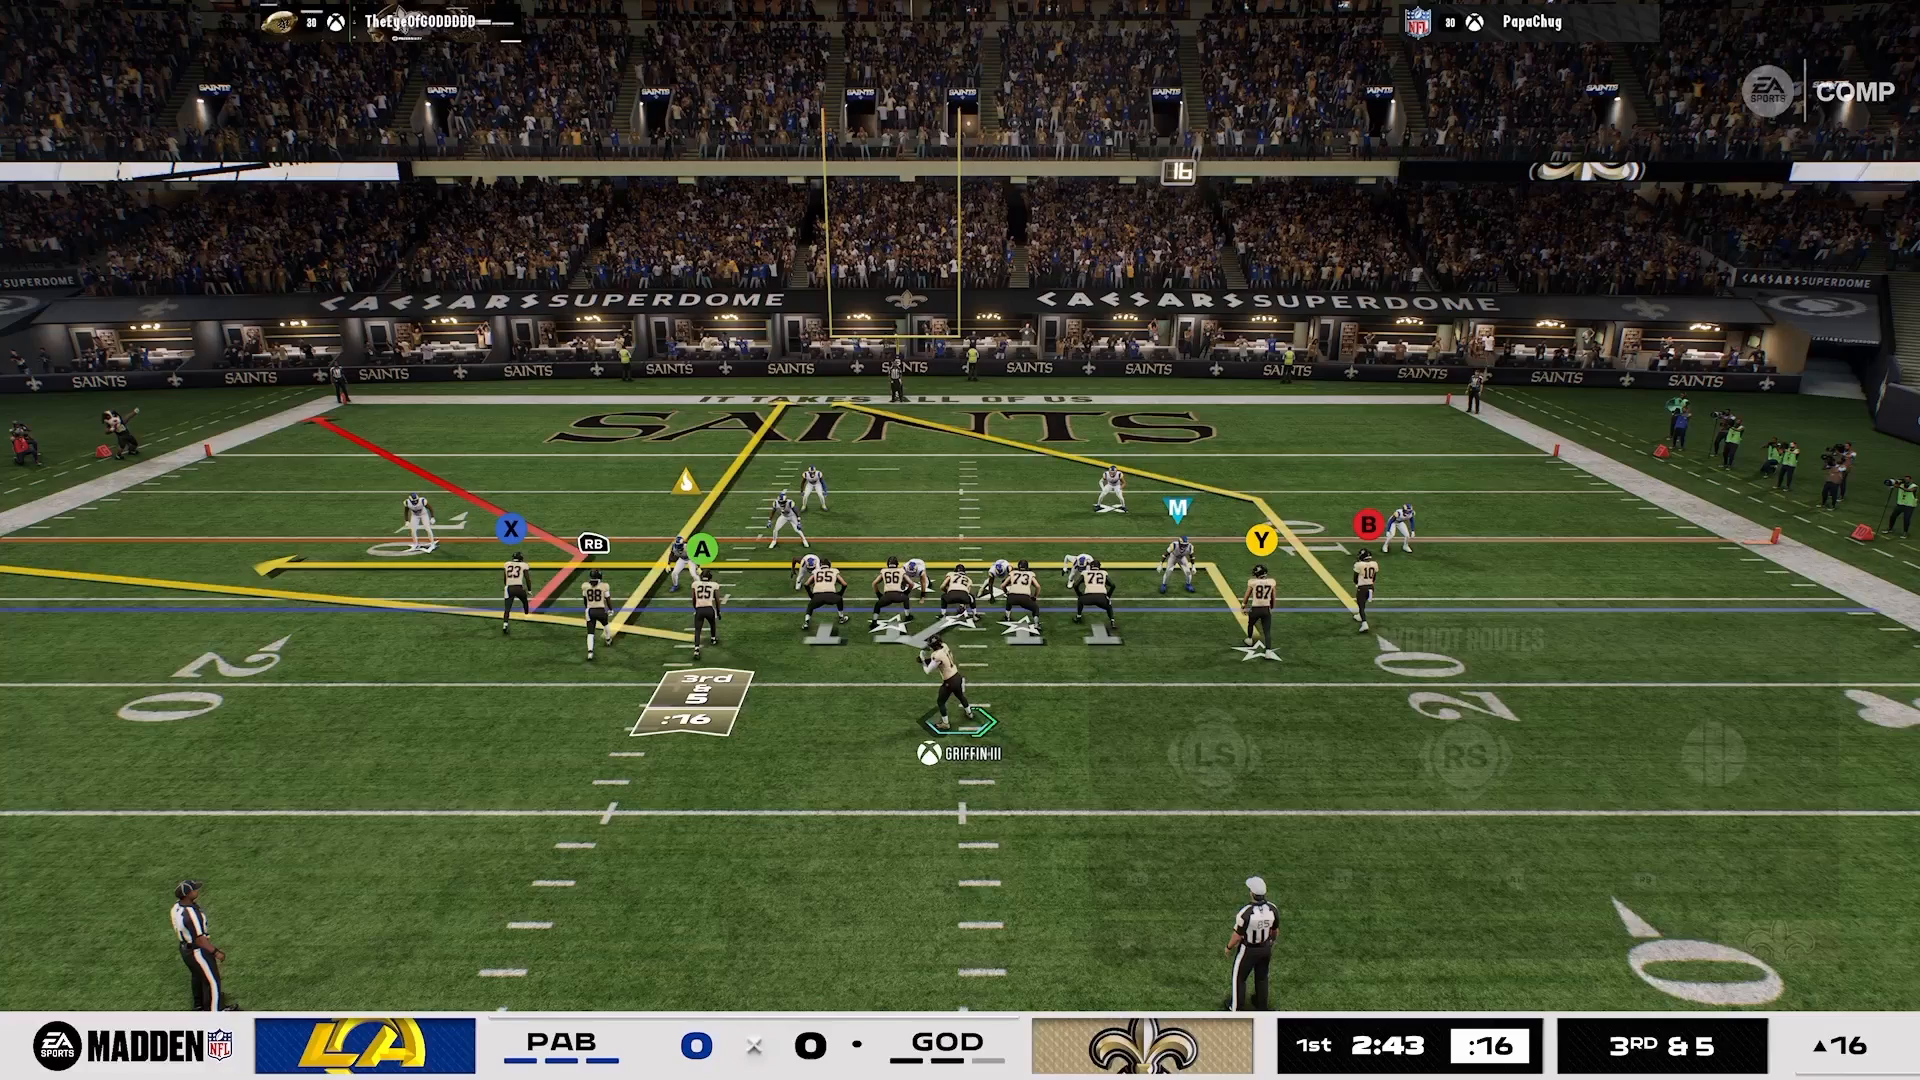
In Madden NFL 27, stopping the Run Pass Option (RPO) is crucial, especially when facing formations like Bunch Head End. The first step is to protect the RPO bubble, which serves as the primary threat. By implementing hard flats, you can effectively counter both snap-throw flats and running back auto-motion plays. Prioritizing the quick flat reads is essential because if you allow them to succeed, your defense can quickly break down.
This strategy aligns with the 16 Spaces thinking philosophy: focus on protecting space 14 before anything else. This approach ensures you can contain the offensive threats and limits their options before they develop into bigger plays. When you establish control over this area, you significantly increase your chances of success on defense.
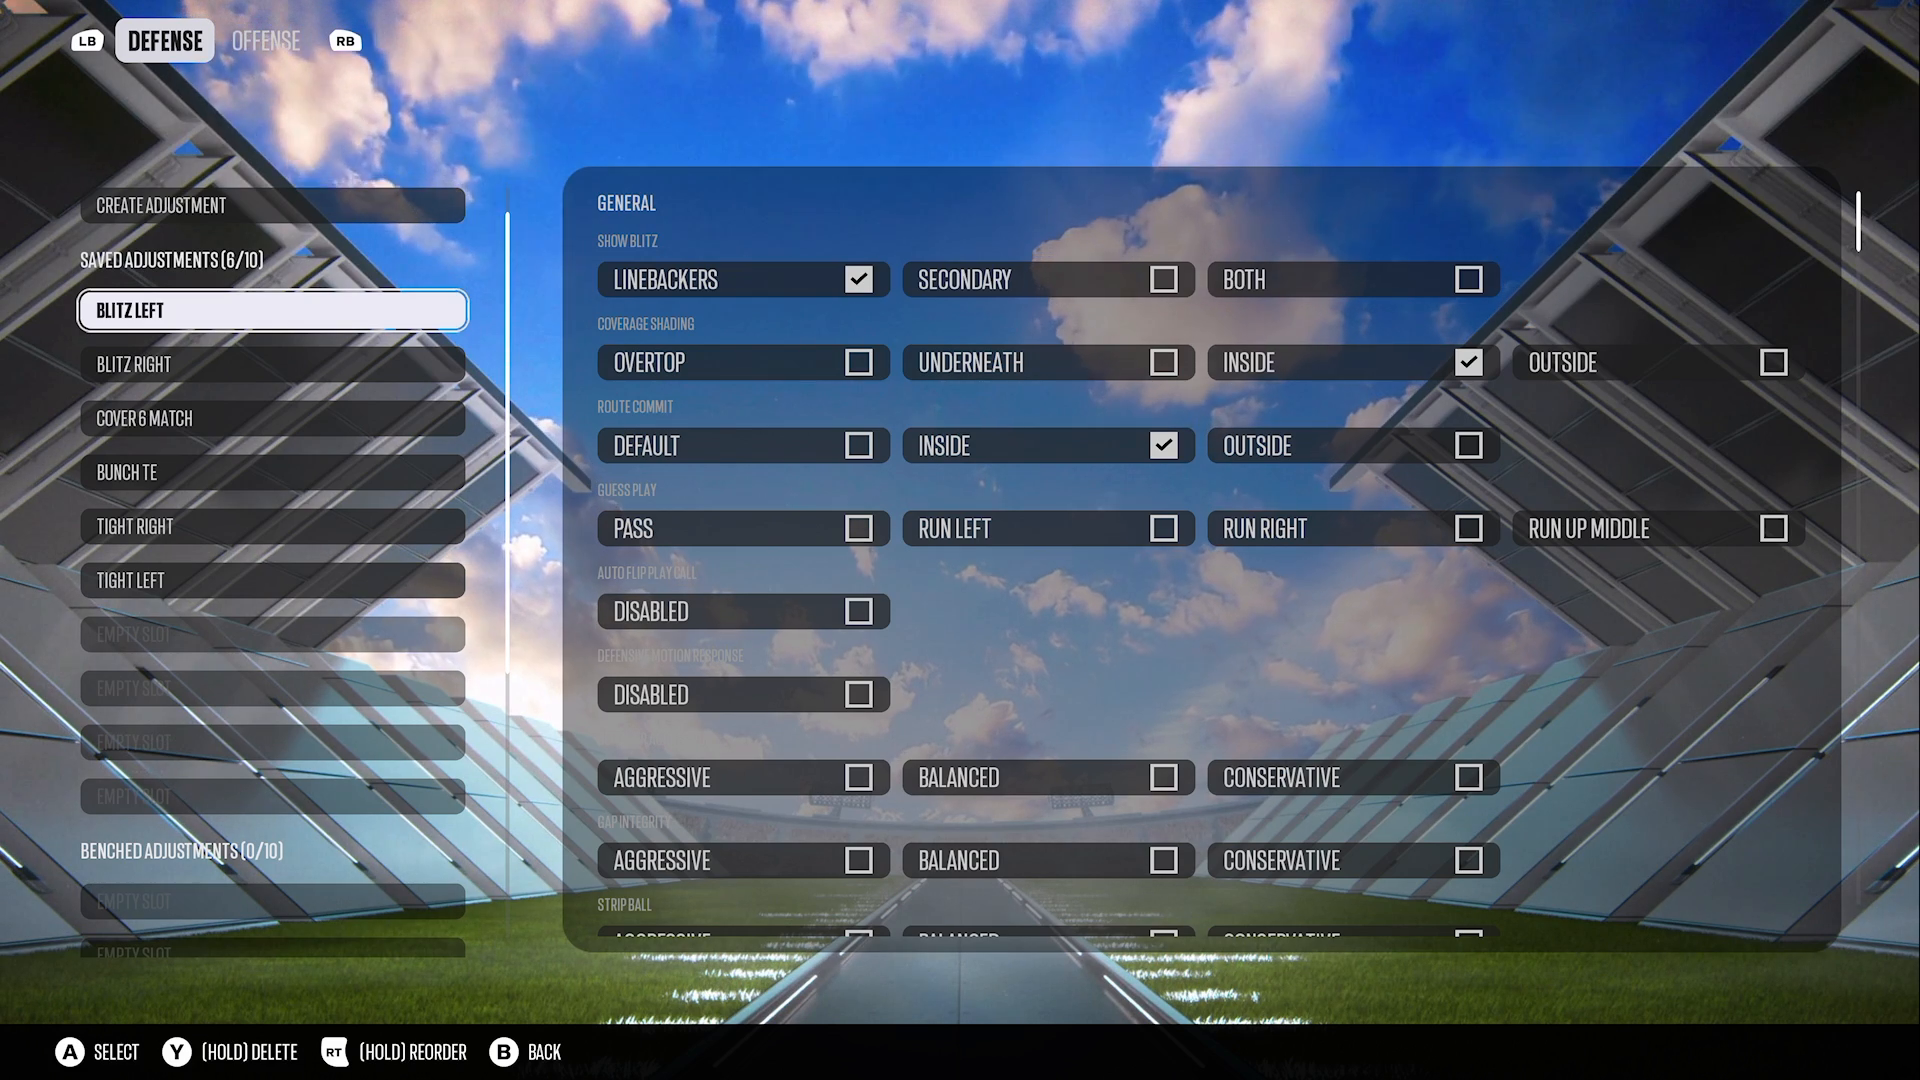
Hook Curl vs. Drags
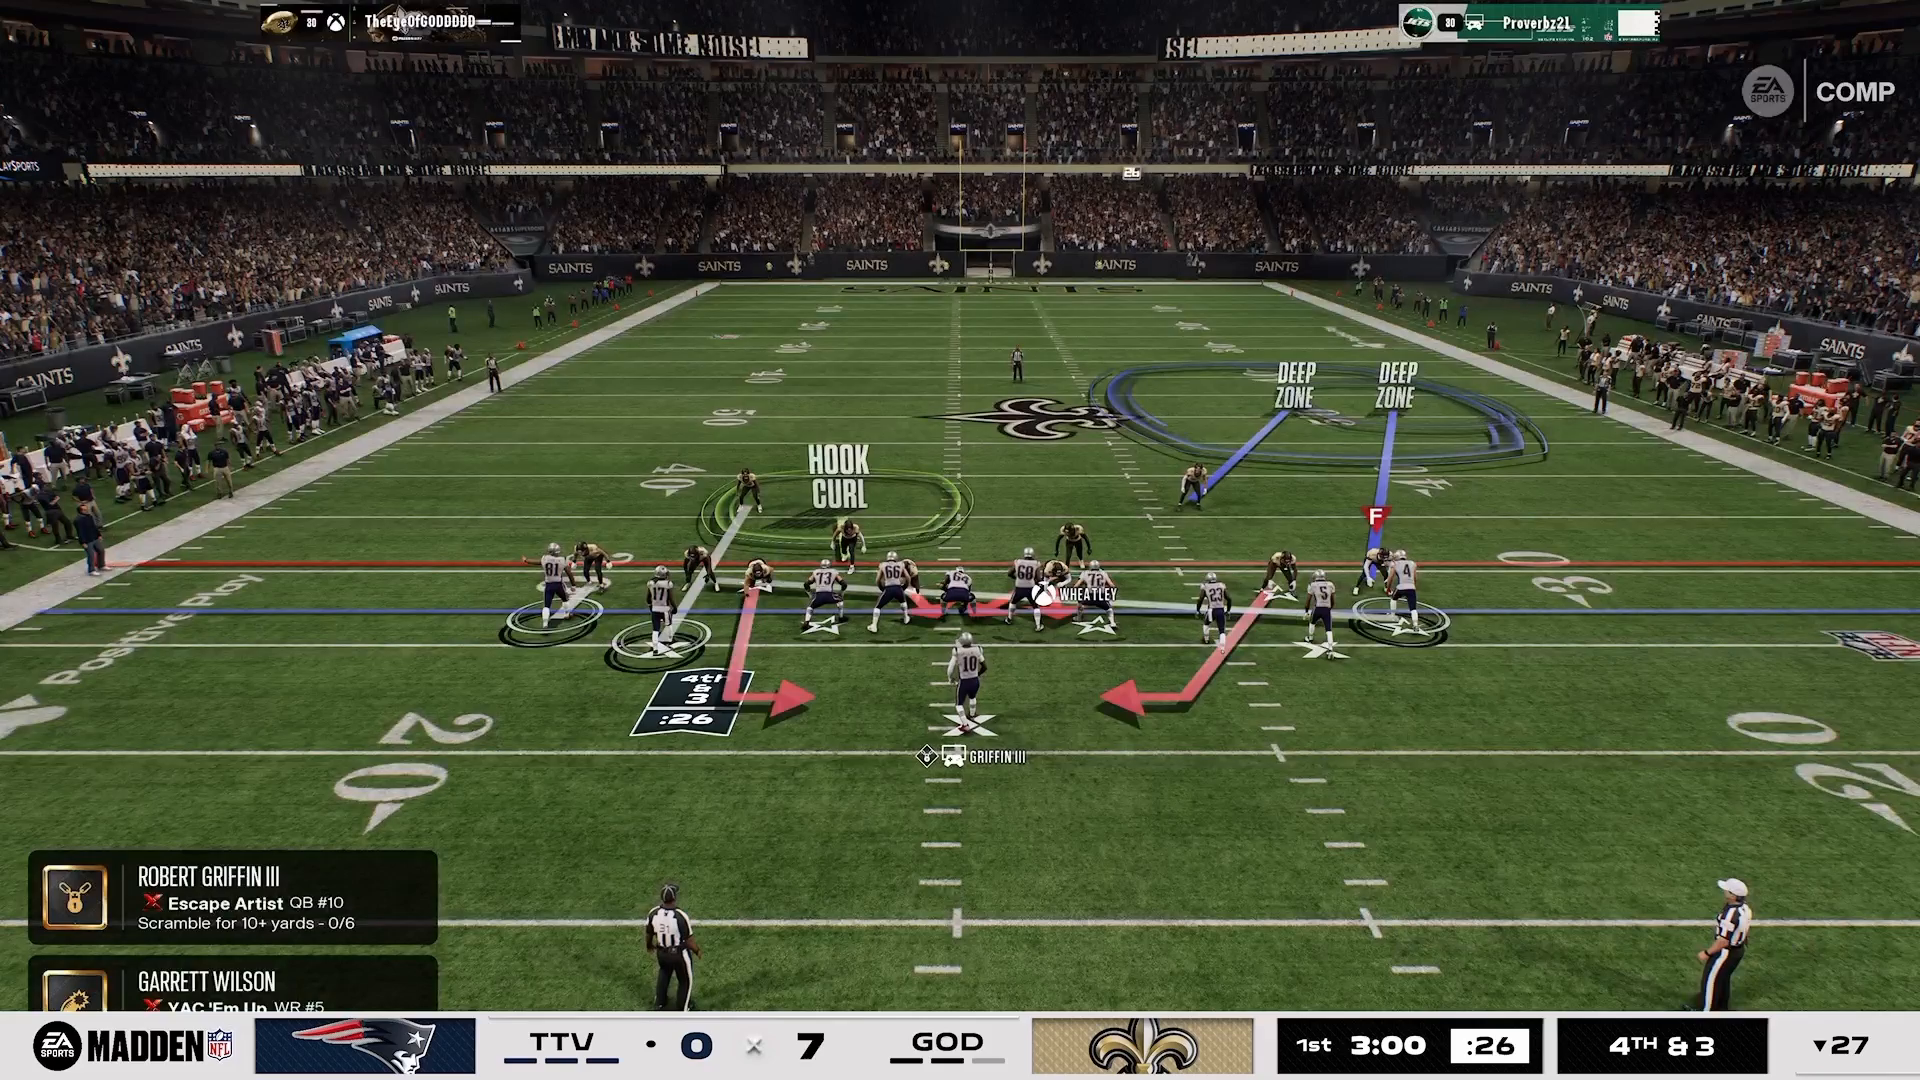
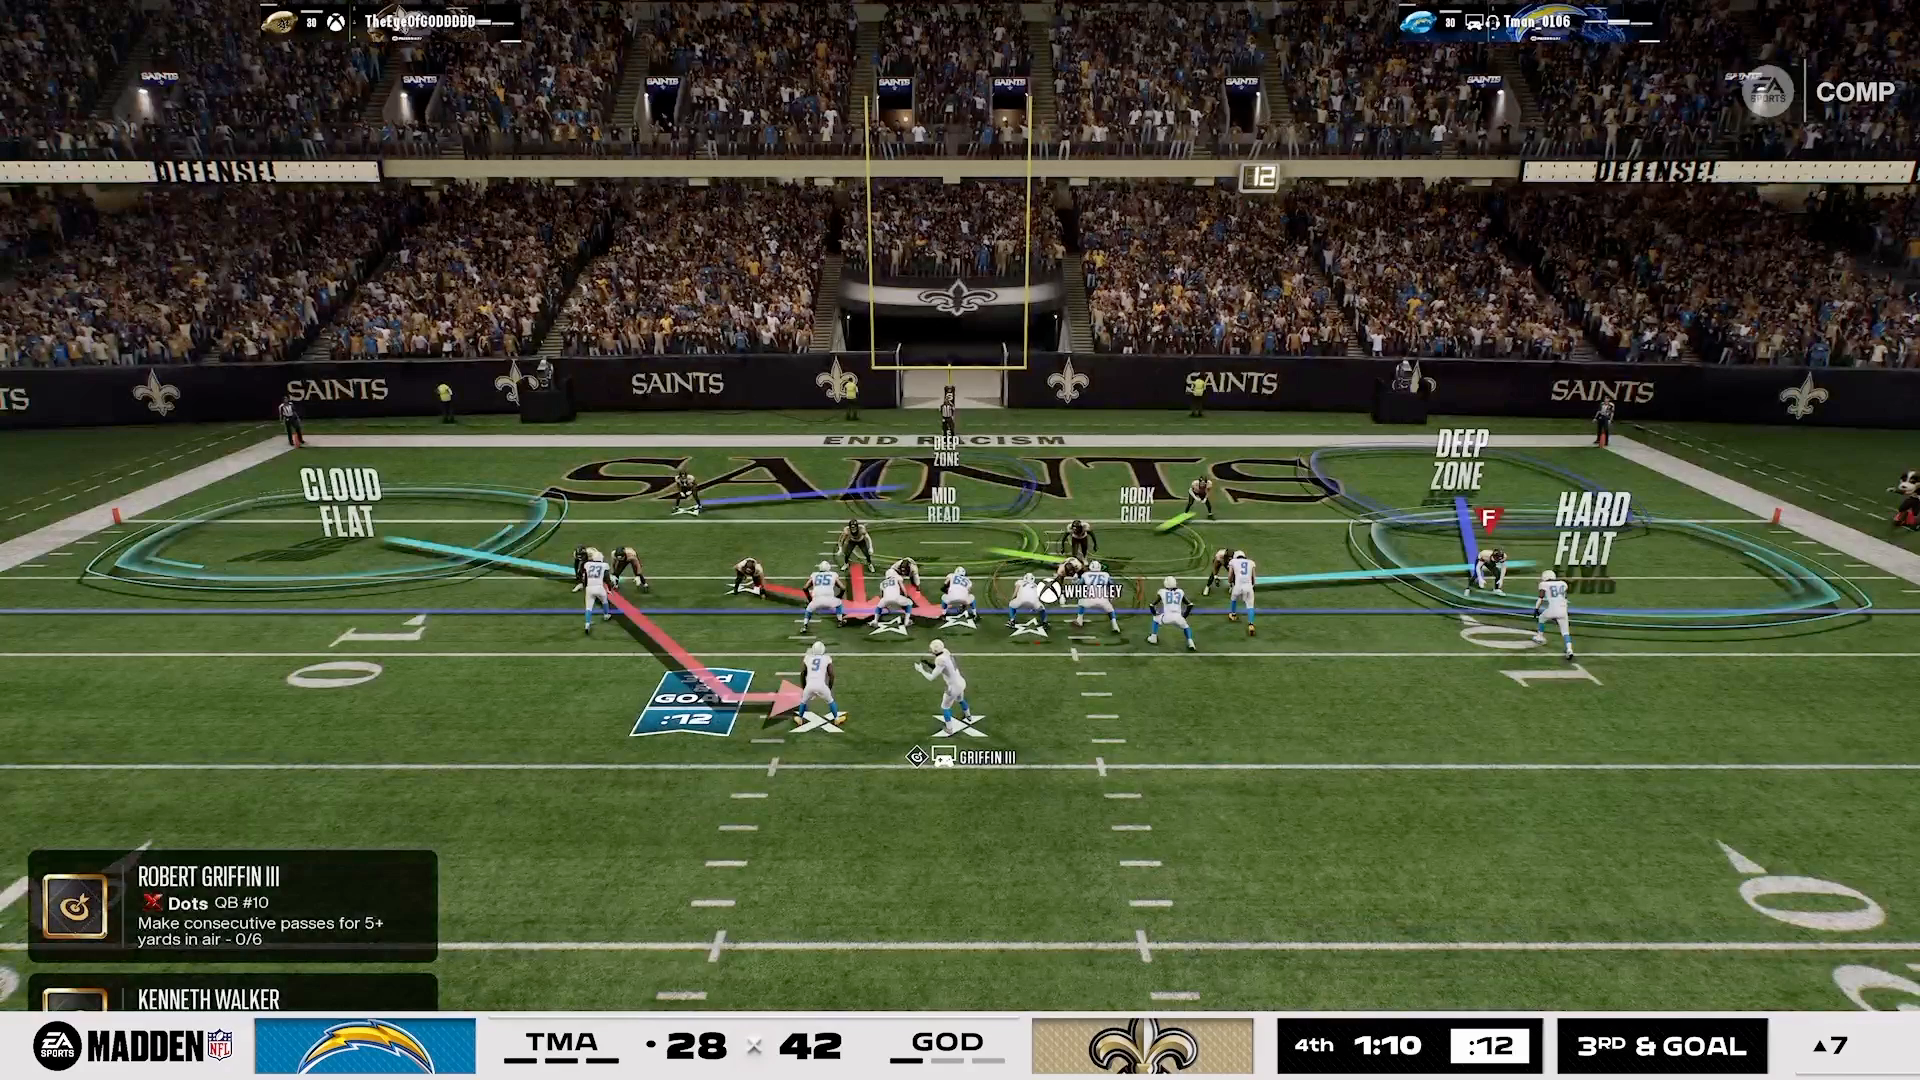
When it comes to defending against drags, placing your linebacker on a hook curl can be a game-changer. This tactic is particularly effective when your reads favor it. By positioning the hook curl on the left side, you can take away space 14 far more effectively than if you were to focus on spaces 15 or 16.
If you anticipate a lot of Titan drags or snap-throw drags, consider switching the linebacker to Ultra AG. This adjustment helps shut down those quick passes, forcing the opponent to rethink their strategy. Remember, this isn’t about simply copying plays but rather making informed decisions based on the 16 Spaces system.
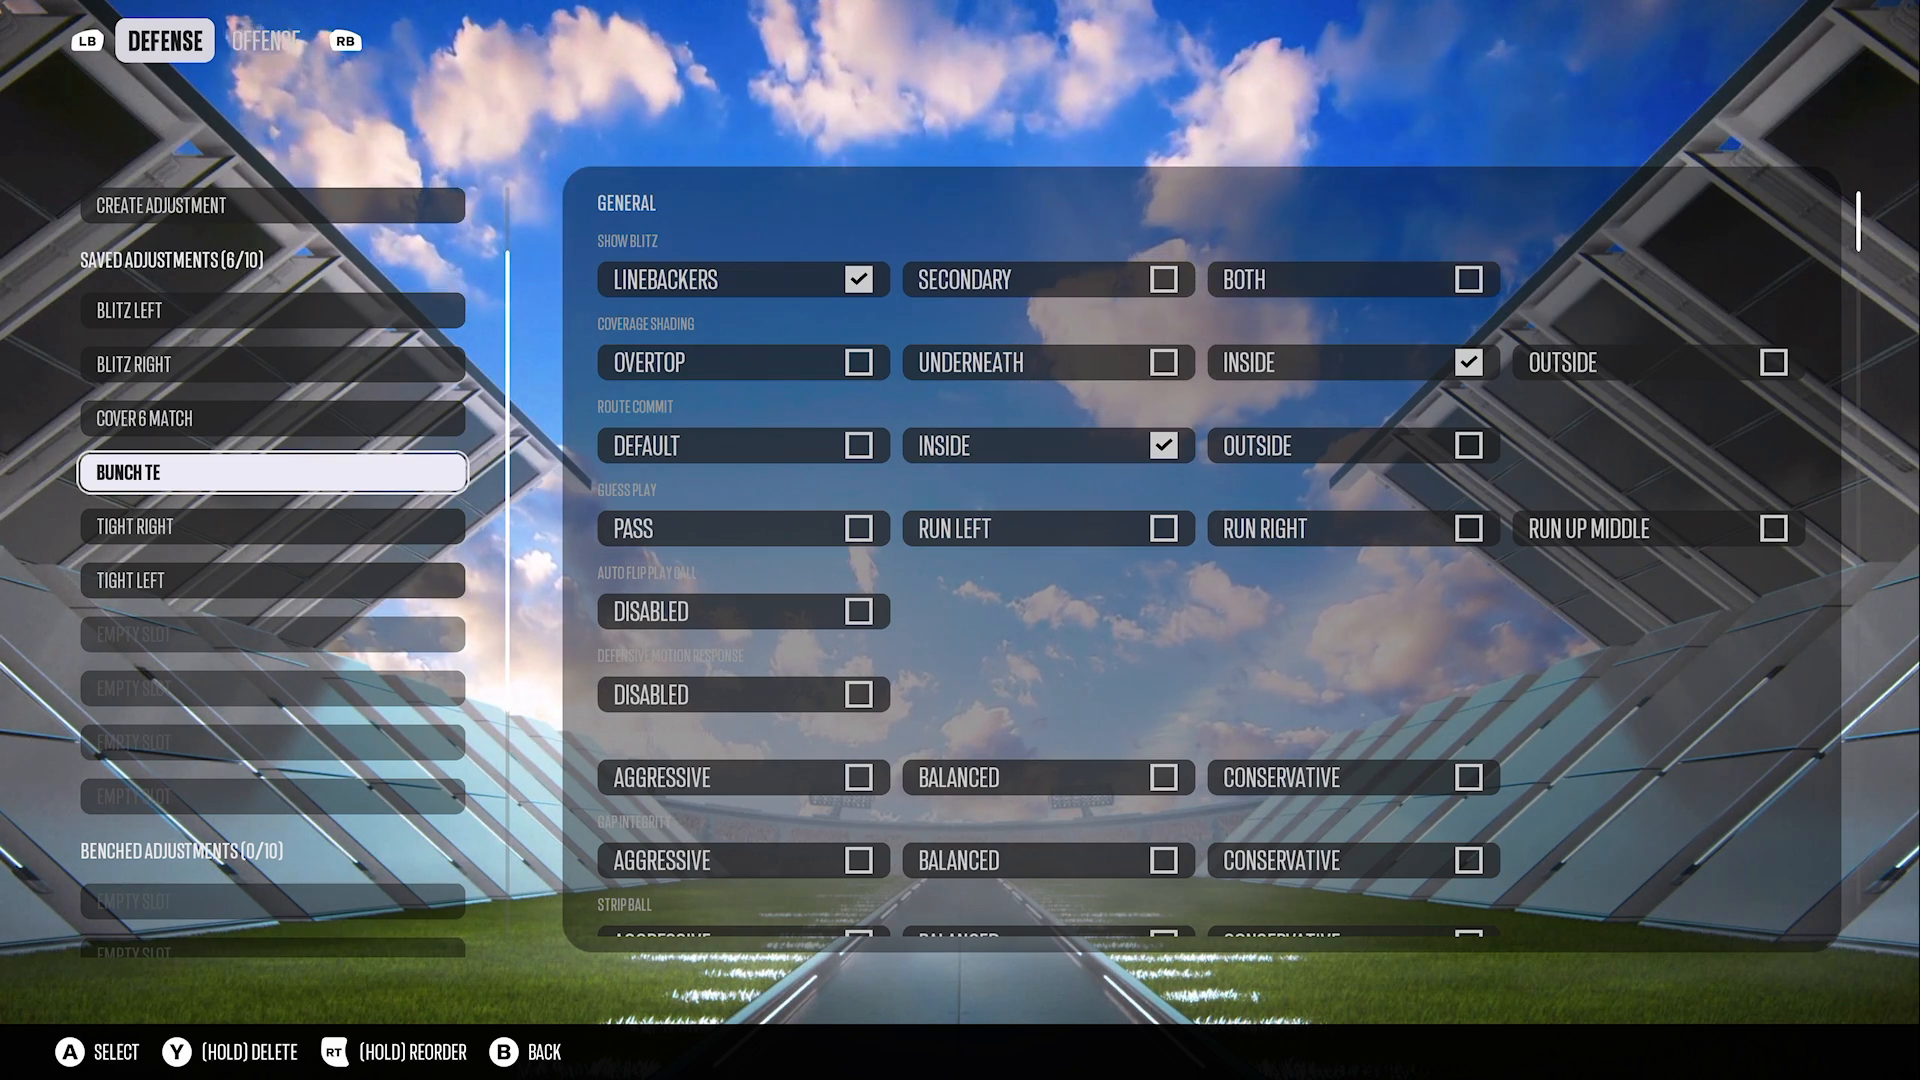
Auto Motion & Man/Rock
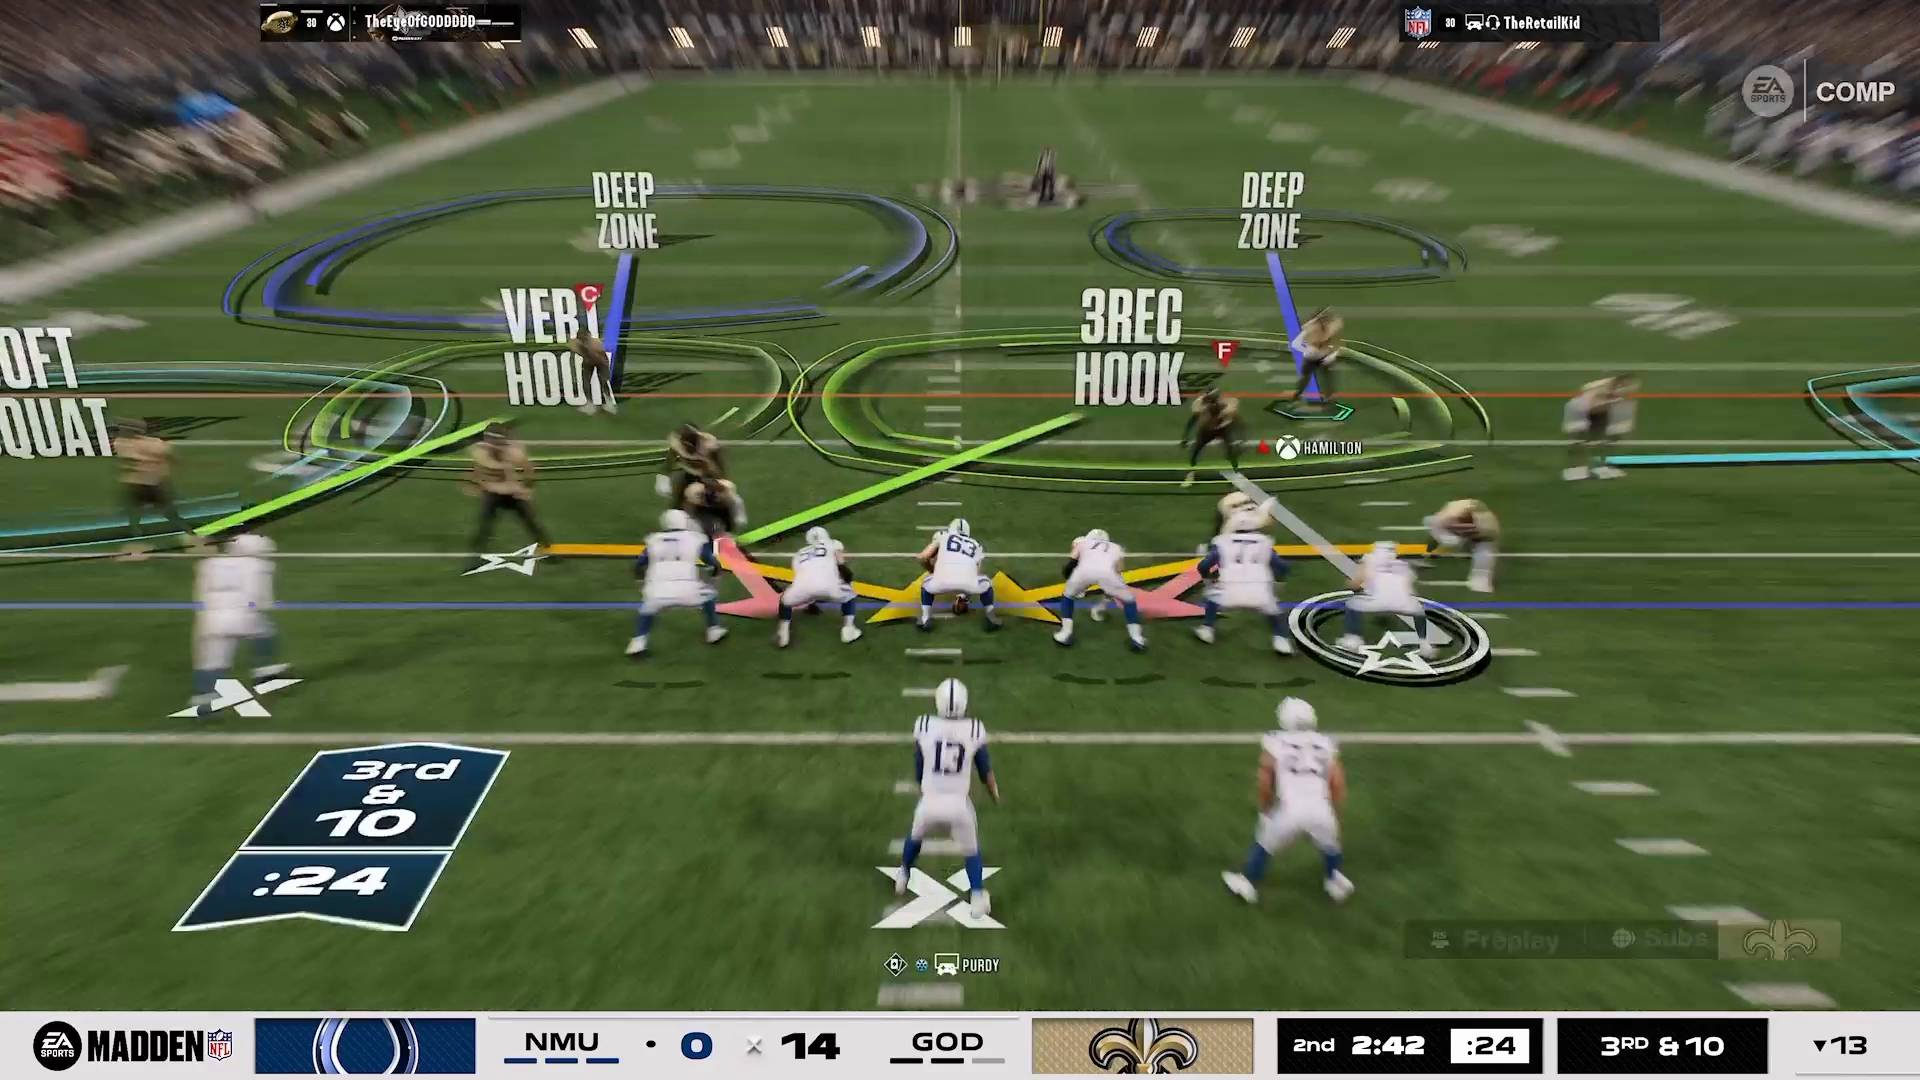
Auto motion flats can pose a significant challenge, but you can neutralize them by employing a man-up triangle and rocking your safety inside. By using a hard flat on the tight-end side, you can effectively counter the motion flat and drag routes. Additionally, it’s vital to user the strong safety inside to cover tight-end streaks, ensuring that you maintain a solid defensive front.
This approach allows you to manage responsibilities effectively—one deep responsibility and one plug. This strategic thinking positions you as a chess player, outsmarting your opponent rather than relying on spam tactics. Understanding these dynamics is what elevates your gameplay.
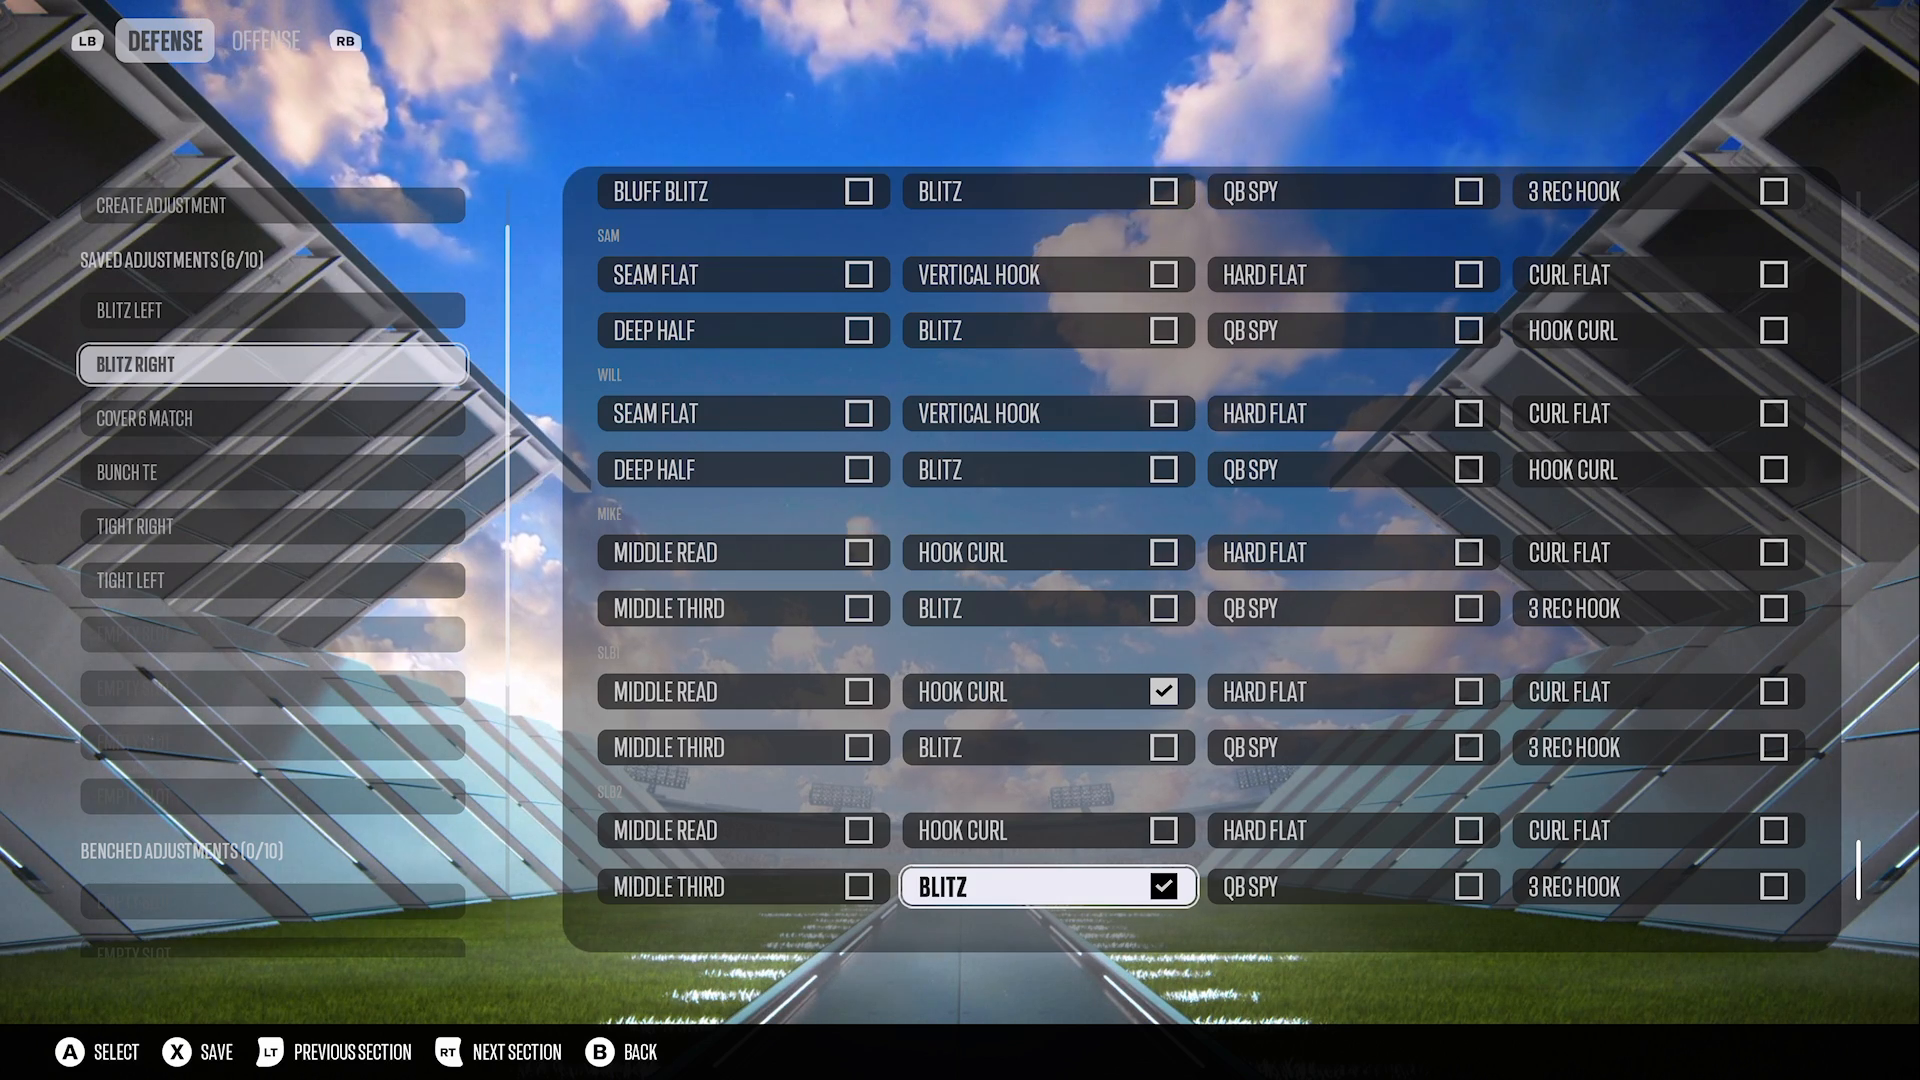
Blitz + Press Corners
When you expect a blitz, running two hard flats becomes essential. Pressing your outside corners will help disrupt the stem-down corner stems, which can throw off your opponent’s timing. Combining DB Fire 2 with a show blitz on your linebackers generates the pressure you need to force mistakes.
Utilizing press man coverage also conceals your defensive intentions, minimizing tells and maximizing your chances of success. This is a pivotal aspect of the 16 Spaces system, allowing you to adapt and react effectively to your opponent’s offensive strategies.
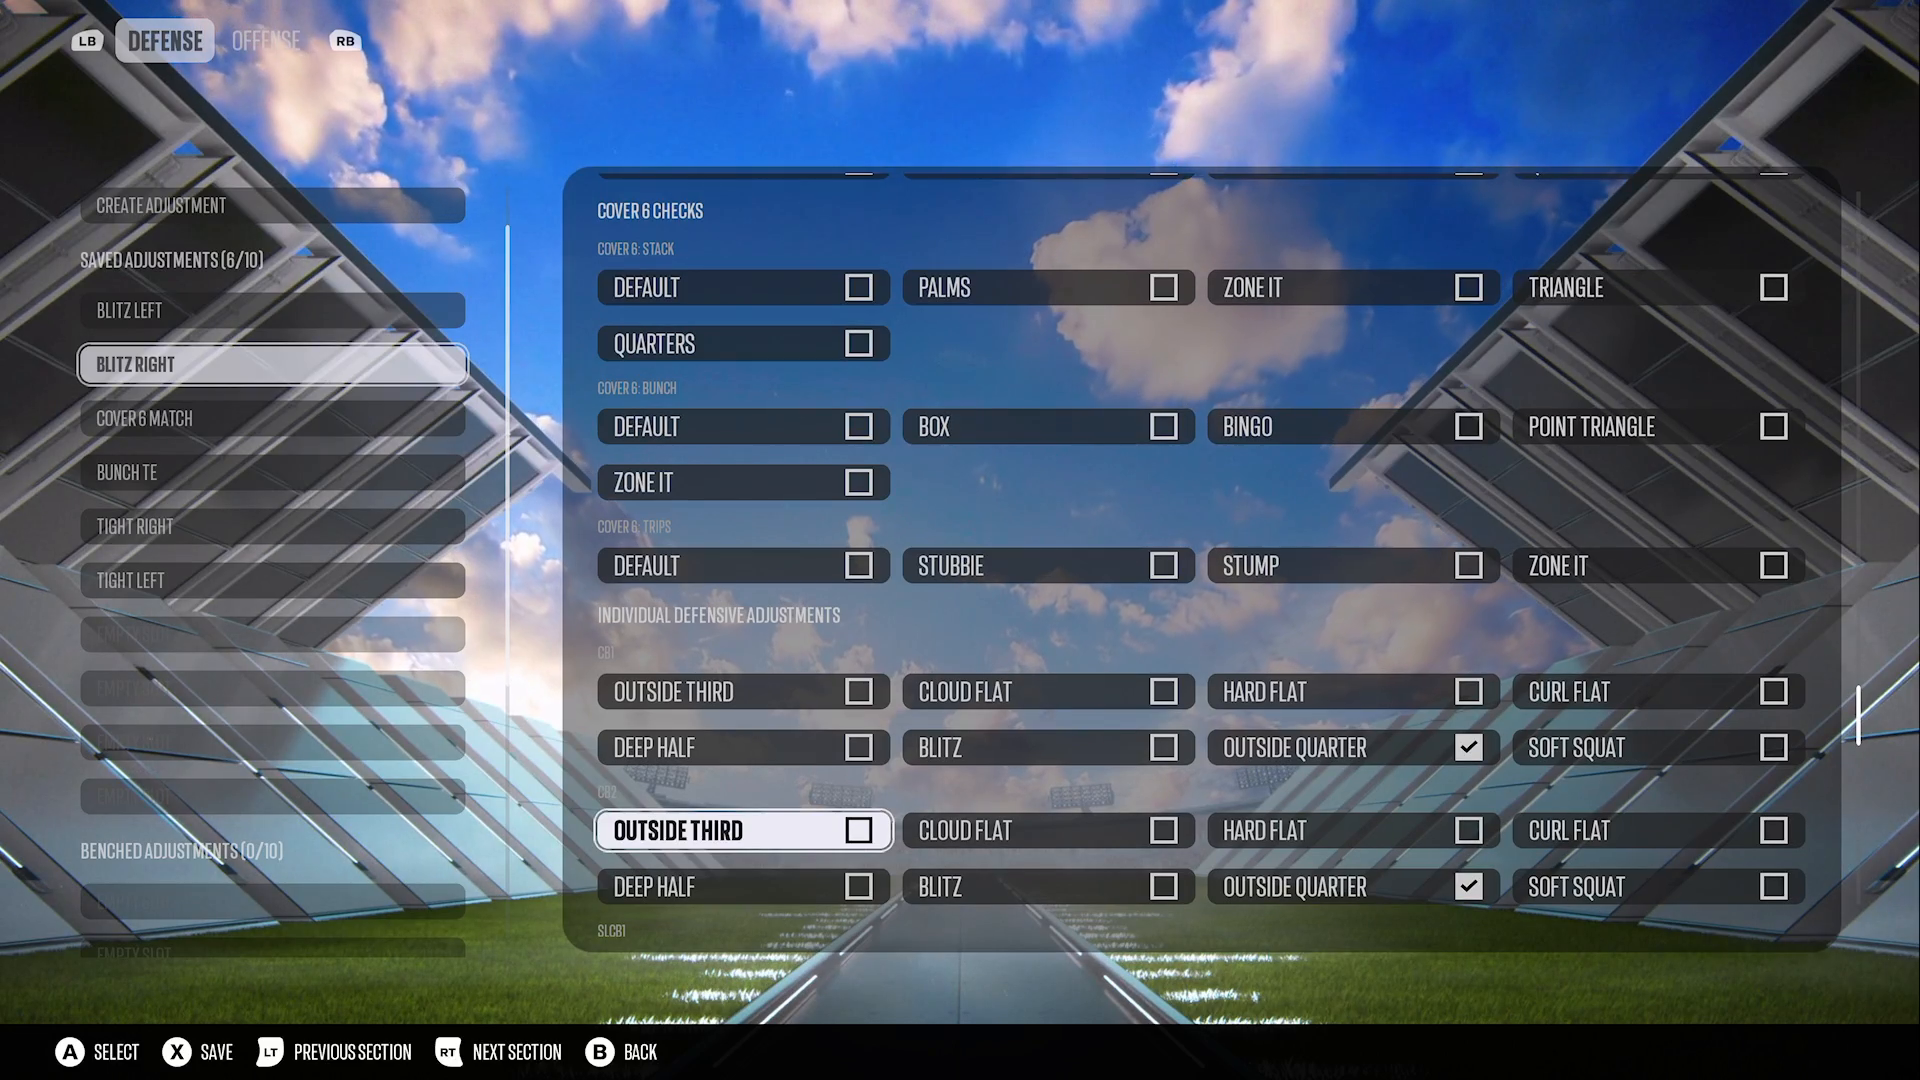
Macros & Playbook Notes
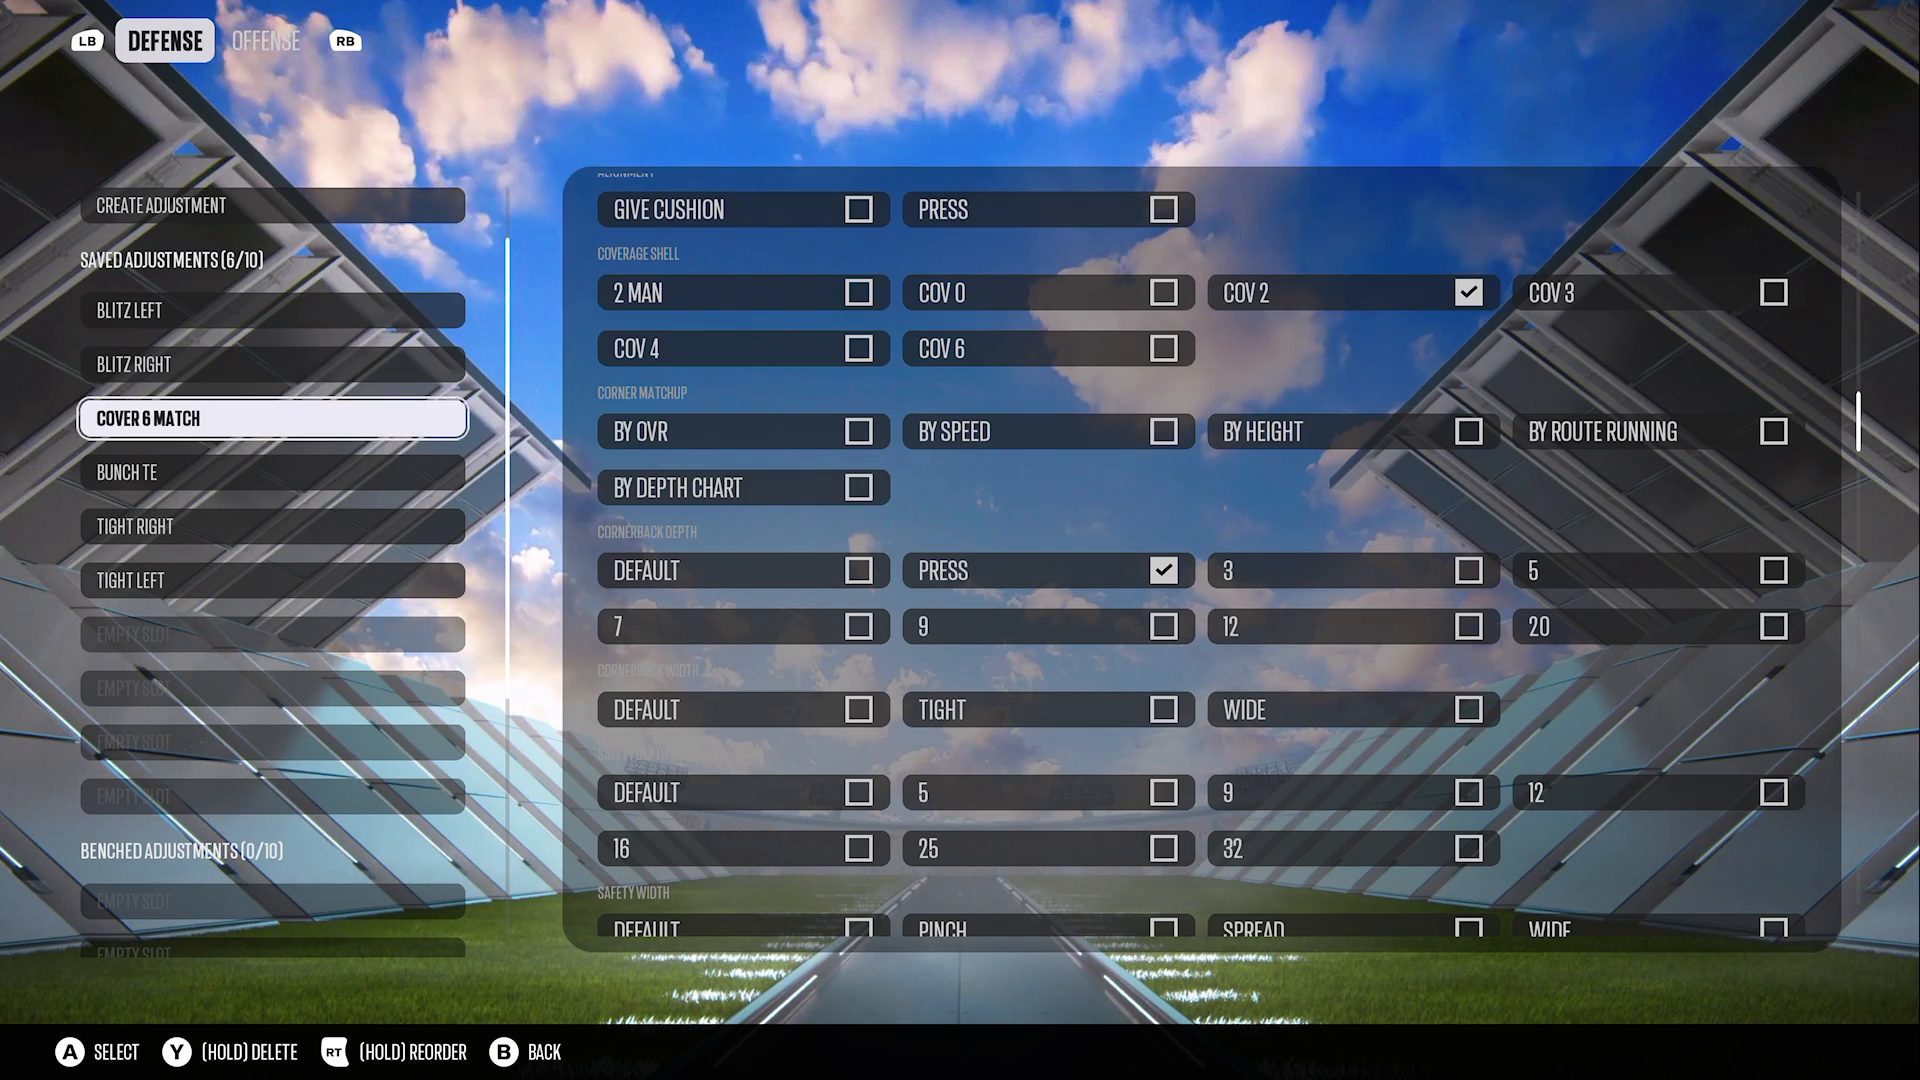
As you develop your defensive strategy, think about coverage macros first, then split your coverage when your opponent adapts. The playbook of choice here is San Francisco, utilizing Dime 3-2 and DB Fire 2 formations. The key takeaway is that this strategy isn’t merely about following meta or ebook plays—it’s about cultivating sound decision-making.
By learning the intricacies of the 16 Spaces system, your reactions become more intuitive, allowing you to anticipate your opponent’s moves and counter effectively. This skill set transforms you from a novice into a formidable opponent on the field.
For those looking to take their game to the next level, consider exploring more Madden tips or even enrolling in 1-on-1 coaching with Manu to refine your skills further.
In conclusion, mastering these strategies can significantly improve your gameplay in Madden NFL 27. By focusing on stopping RPOs and dominating the Bunch Head End, you position yourself as a well-rounded player who understands the importance of strategic decision-making. To continue enhancing your Madden expertise, check out the more Madden tips available on The Madden Academy.