Master the Smash Corner Macro in Madden NFL 27

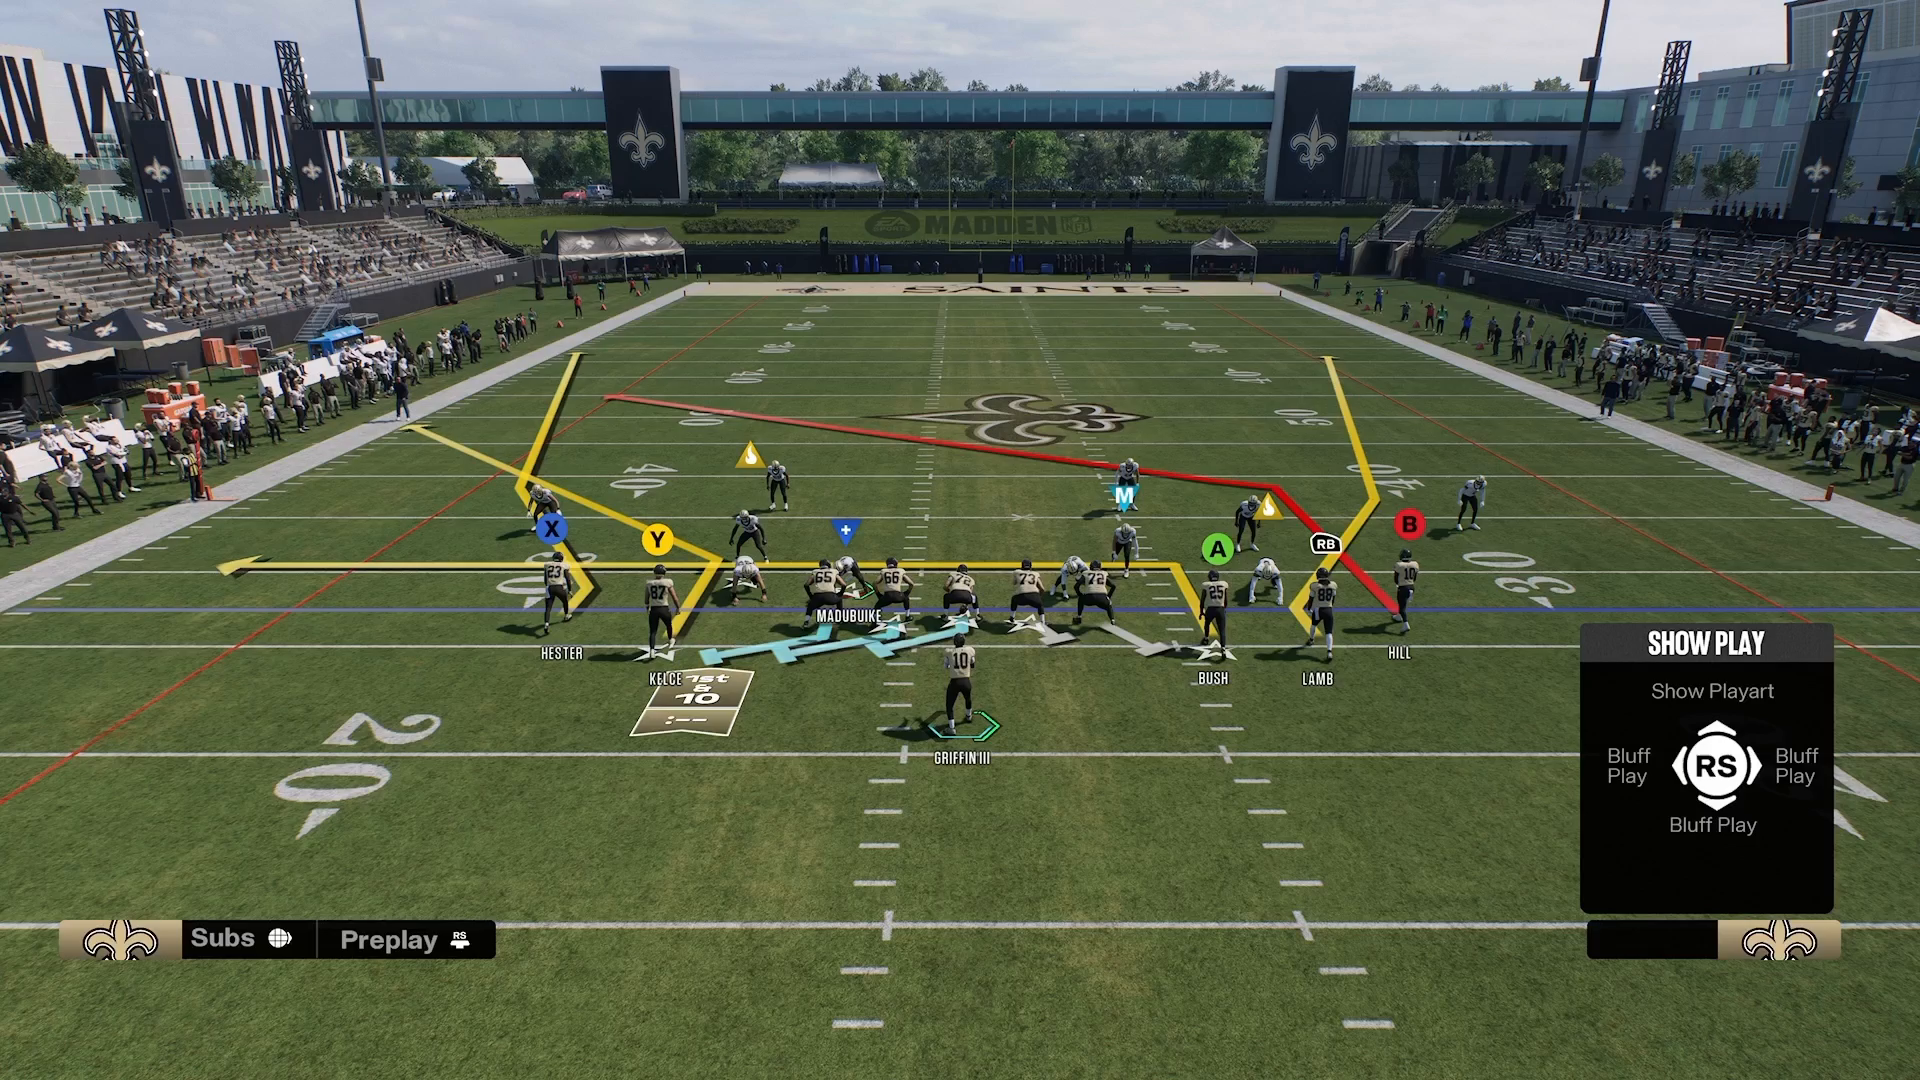
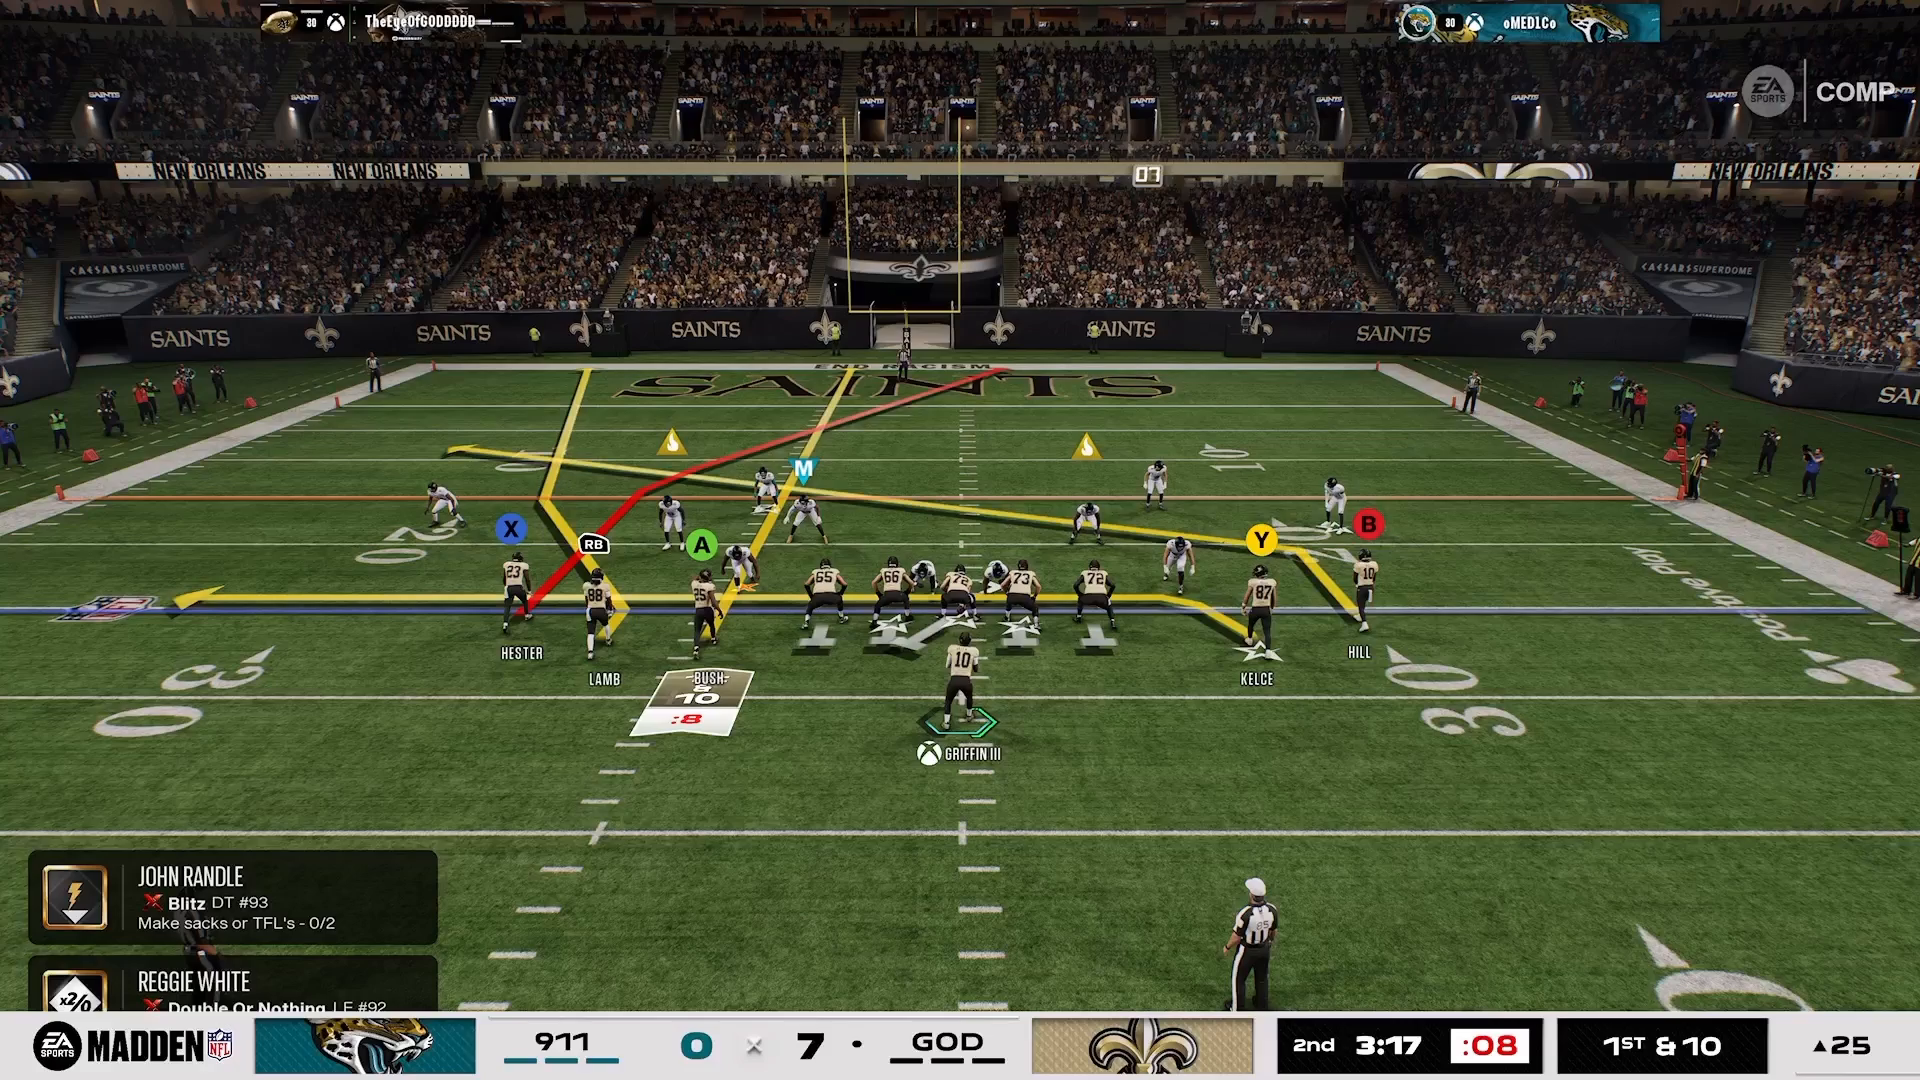
The Smash Corner macro in Madden 27 uses Tampa Bay’s Gun 5 Receiver Tight stock routes to punish match coverage, loading the middle with posts, slants, and drags to create mismatches.

Smash Corner Macro Madden 27: Stock Routes vs Match Coverage

  1. Call Smash Corner from the Tampa Bay playbook in Gun 5 Receiver Tight, keeping stock routes with a 3-1-1 personnel distribution.
  2. Load the middle of the field with in-breaking posts, slants, and drags to rub defenders and open the window for the B receiver and the slant route.
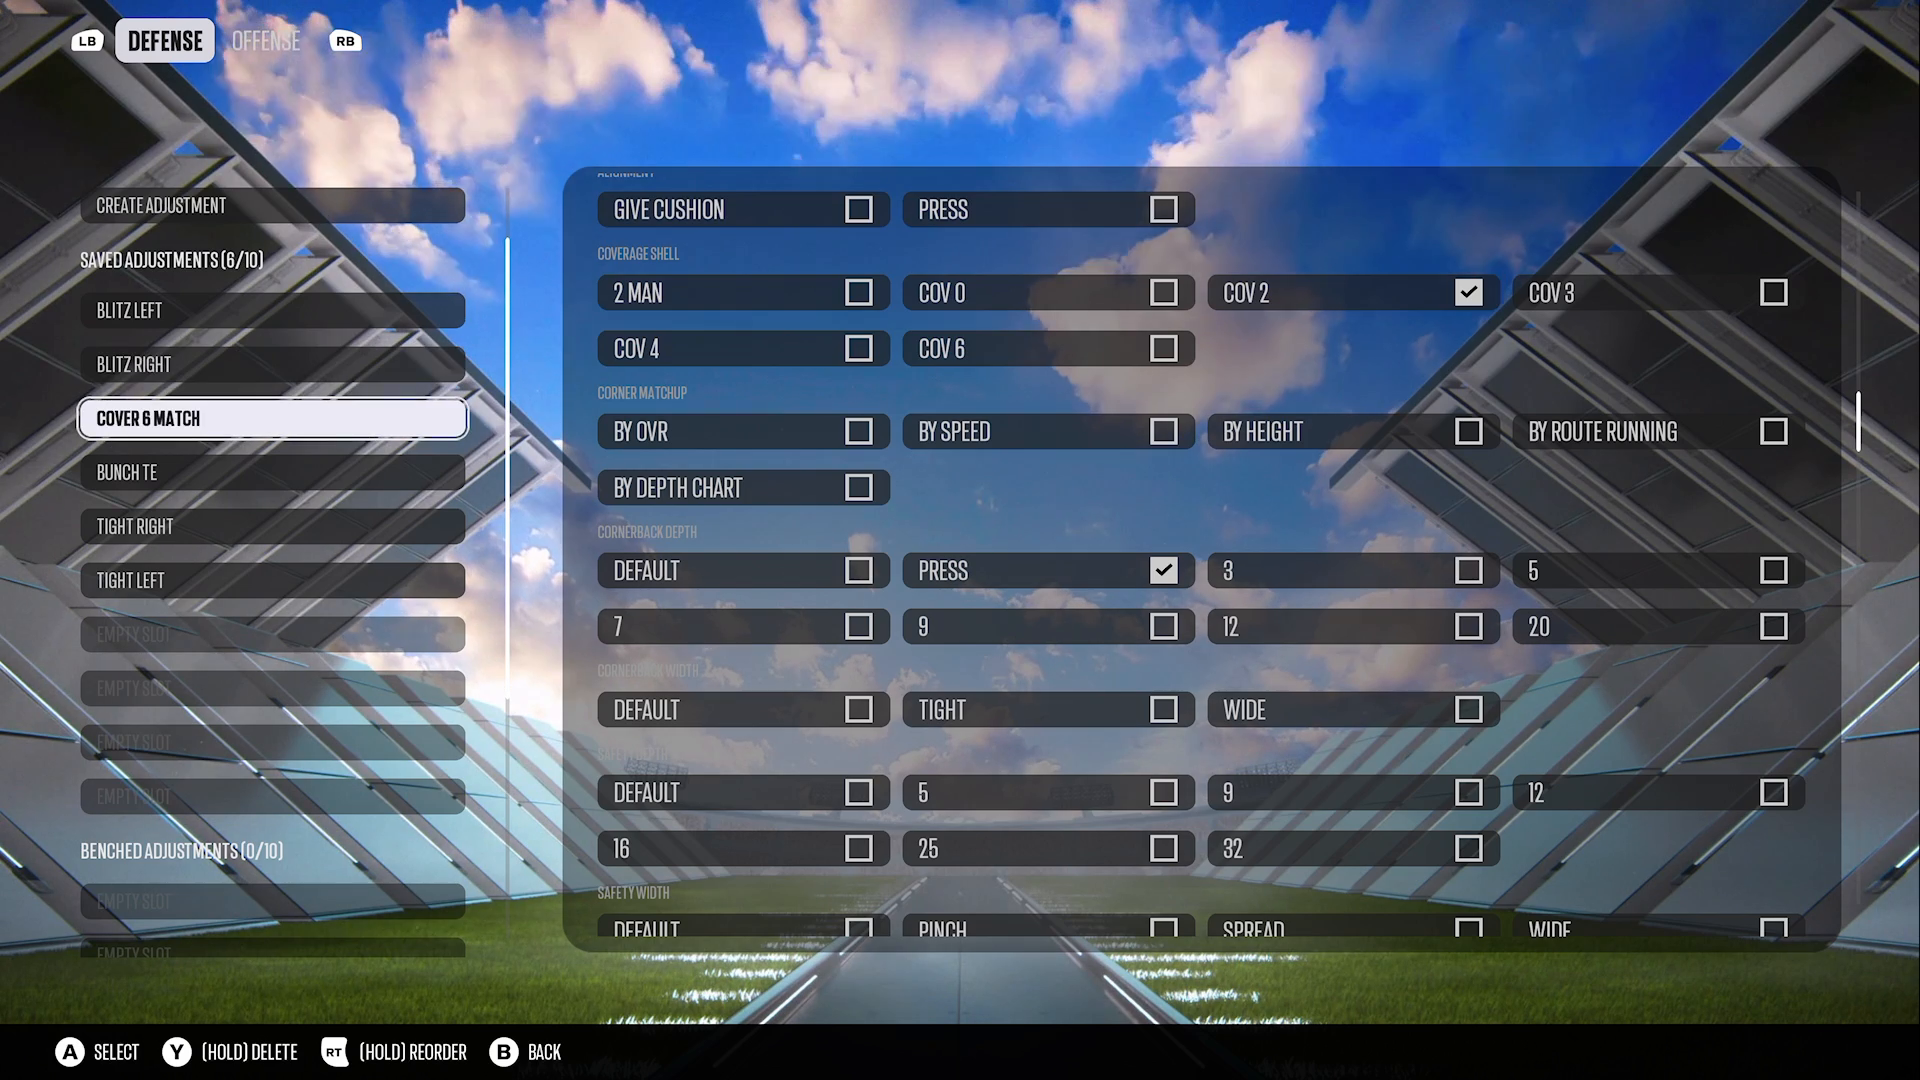
  3. Adjust against Cover 2 by changing the spaces attacked, and save the setup as “Cover 4 Match Settings” in Custom Adjustments with Receiver 1 on a post, Receiver 5 on a drag, and the running back on a post.

Why This Macro Wins

The Smash Corner macro, utilizing the Tampa Bay playbook, is a powerful strategy to exploit Match coverage in Madden NFL 27. This macro leverages stock routes effectively, punishing defenses that rely on Match principles. When you incorporate slants and posts, you can manipulate linebackers and slot corners, creating mismatches that can lead to big plays.

As the cornerback is forced to follow the inside release of the B receiver, he becomes a liability if you read the defensive responsibilities correctly. The 16 Spaces Playbook provides insights into the lanes you’re targeting, allowing you to attack with precision and purpose.
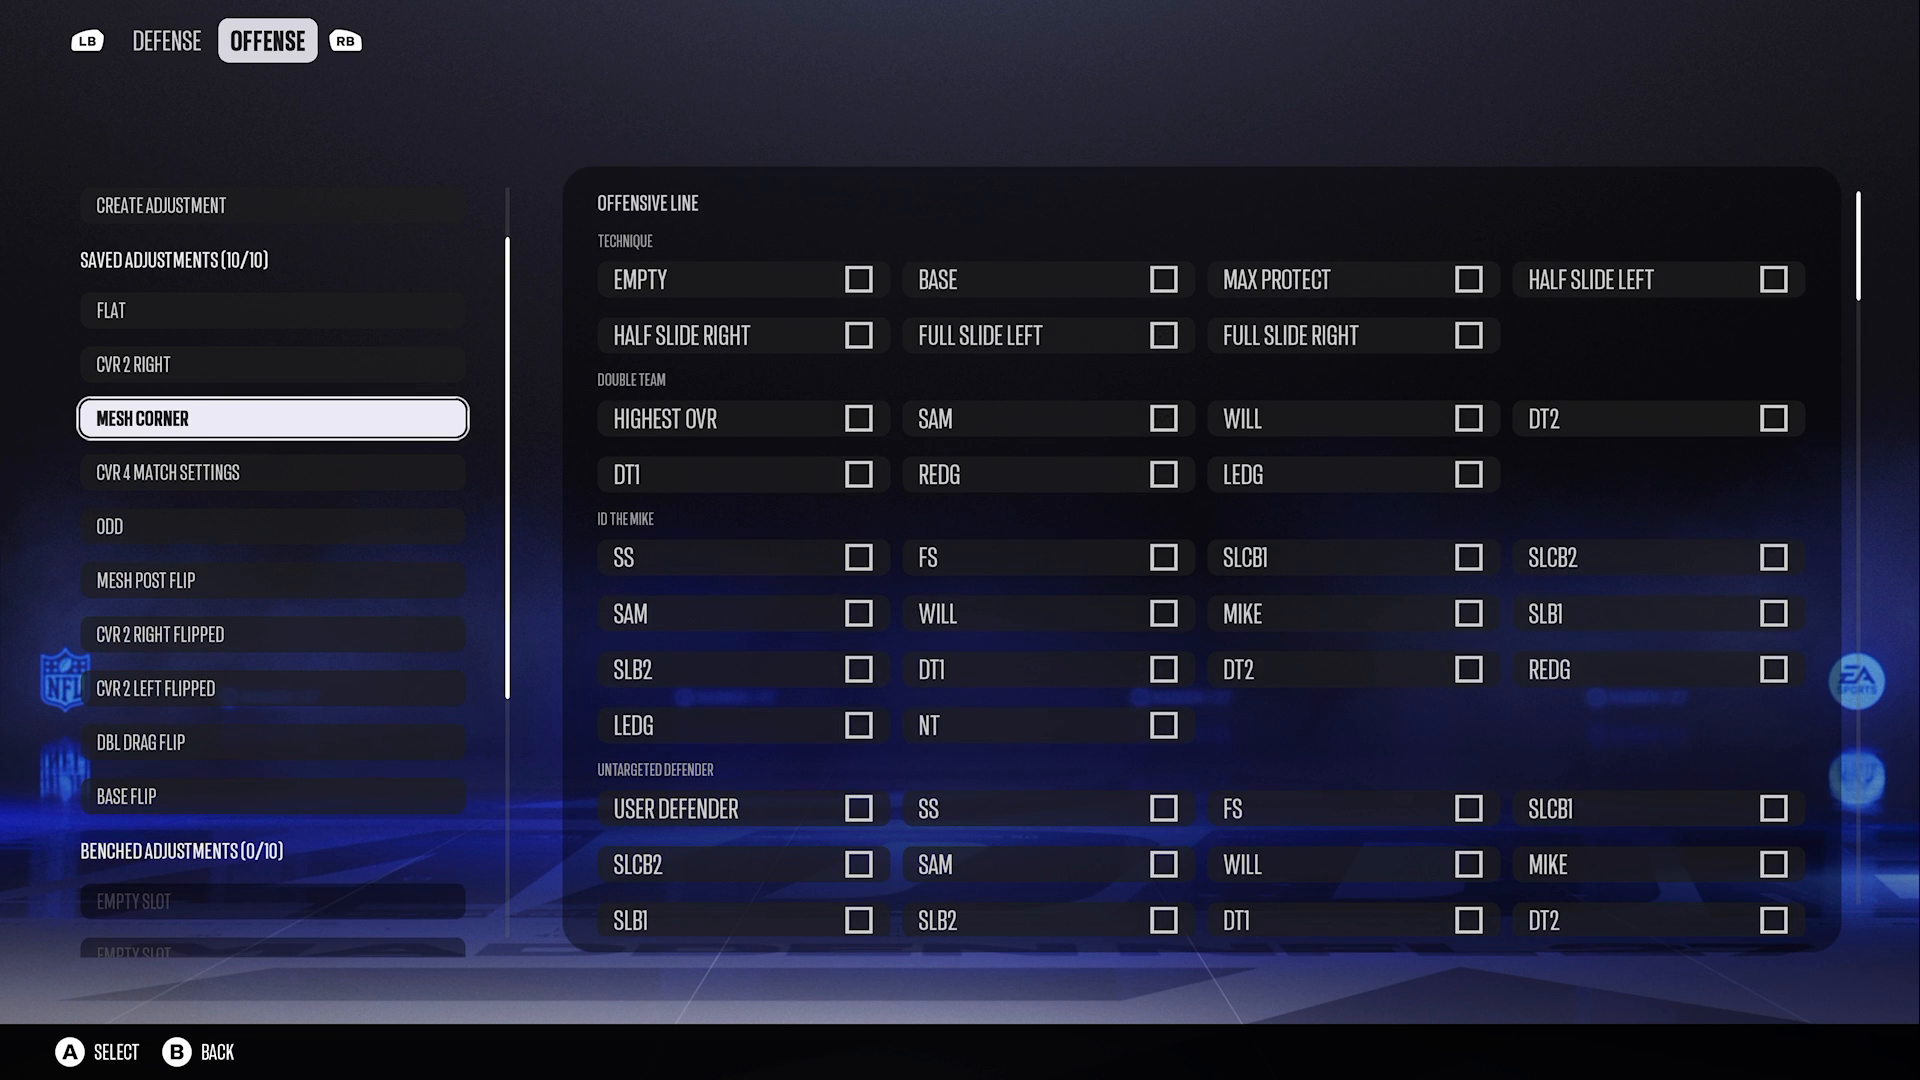
Madden 27 Create Adjustment menu showing saved adjustments with Mesh Corner highlighted and offensive line technique, double team, and ID the Mike checkbox options

Play & Personnel

To execute the Smash Corner macro effectively, you should use the Smash Corner play from the Tampa Bay playbook, positioned in the Gun 5 Receiver Tight formation. This formation allows for a seamless transition into other formations like Pistol Bunch Tight End by utilizing the Titan Halfback Slot package.

This setup ensures that your personnel remains balanced with a 3-1-1 distribution, creating a versatile offensive front. To further optimize your strategy, refer to the Madden tips available on our site to learn how to adjust your personnel to control spaces effectively.
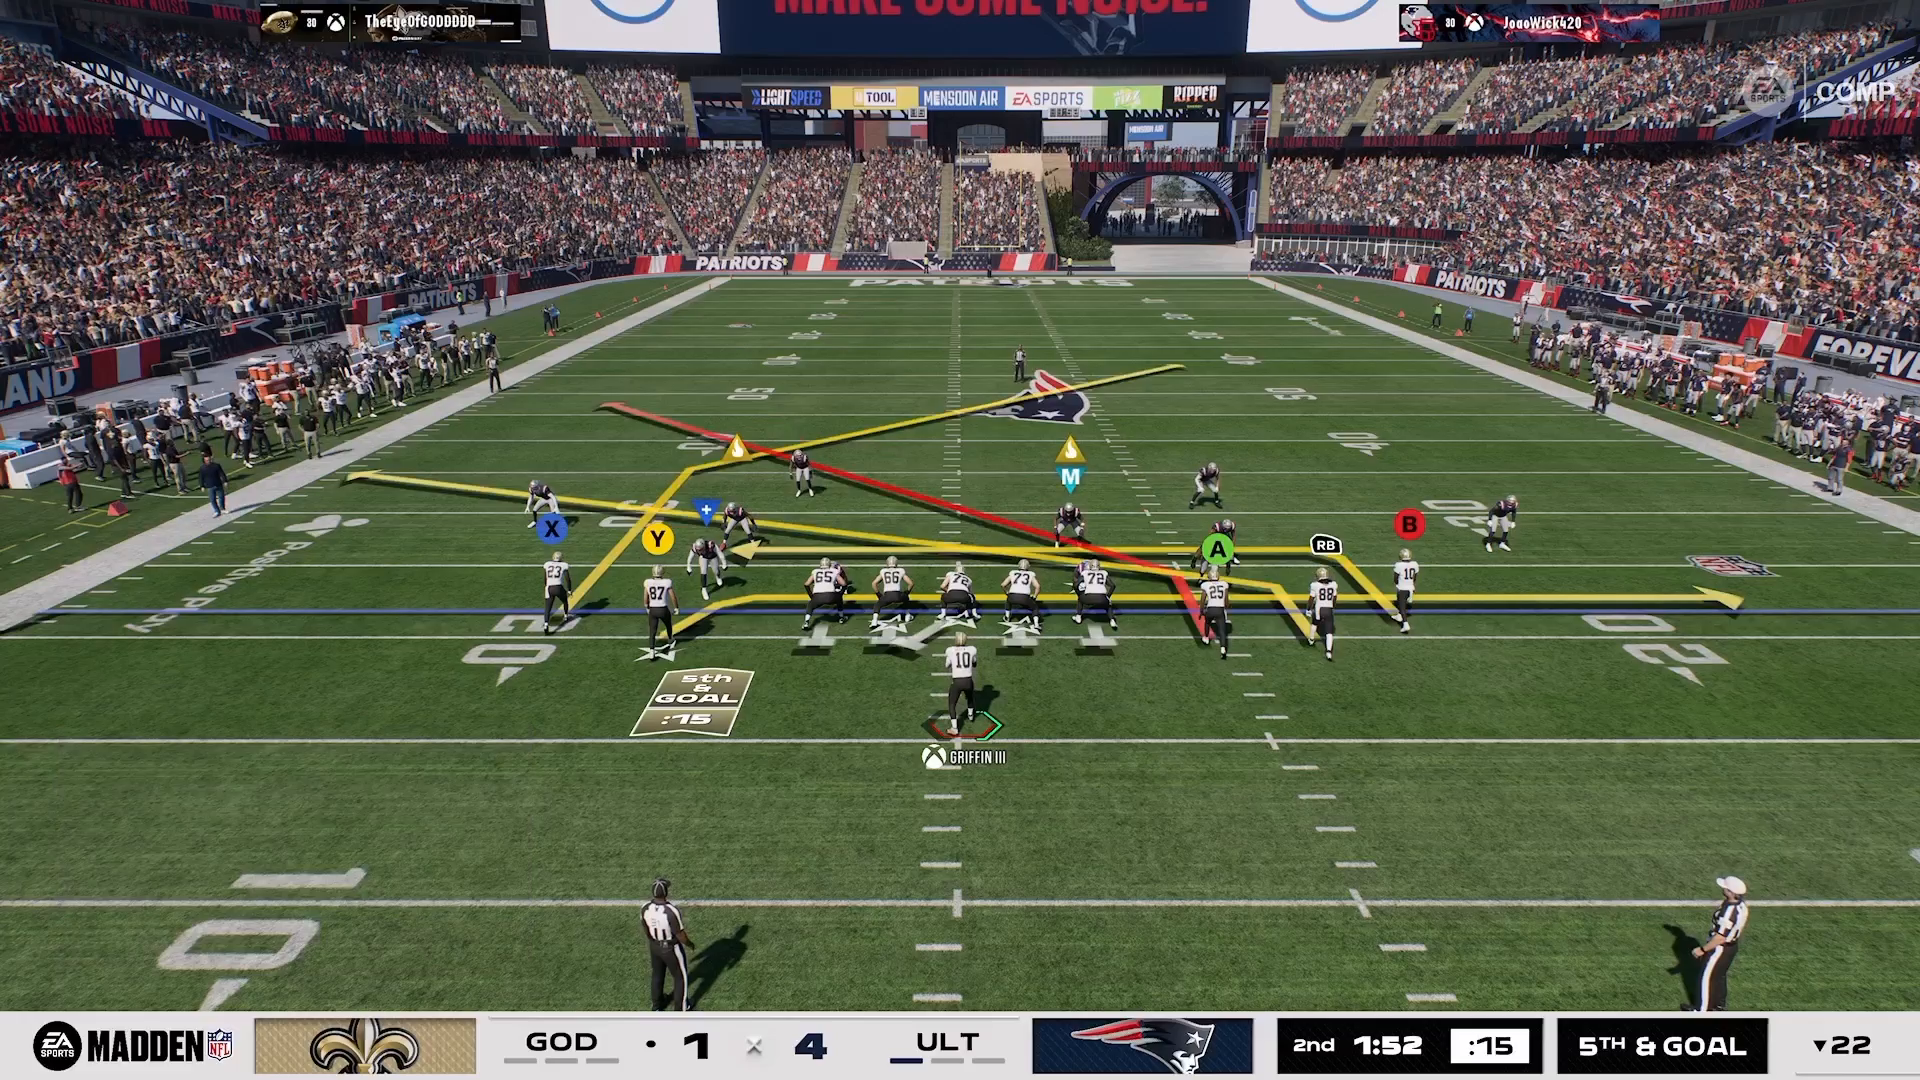
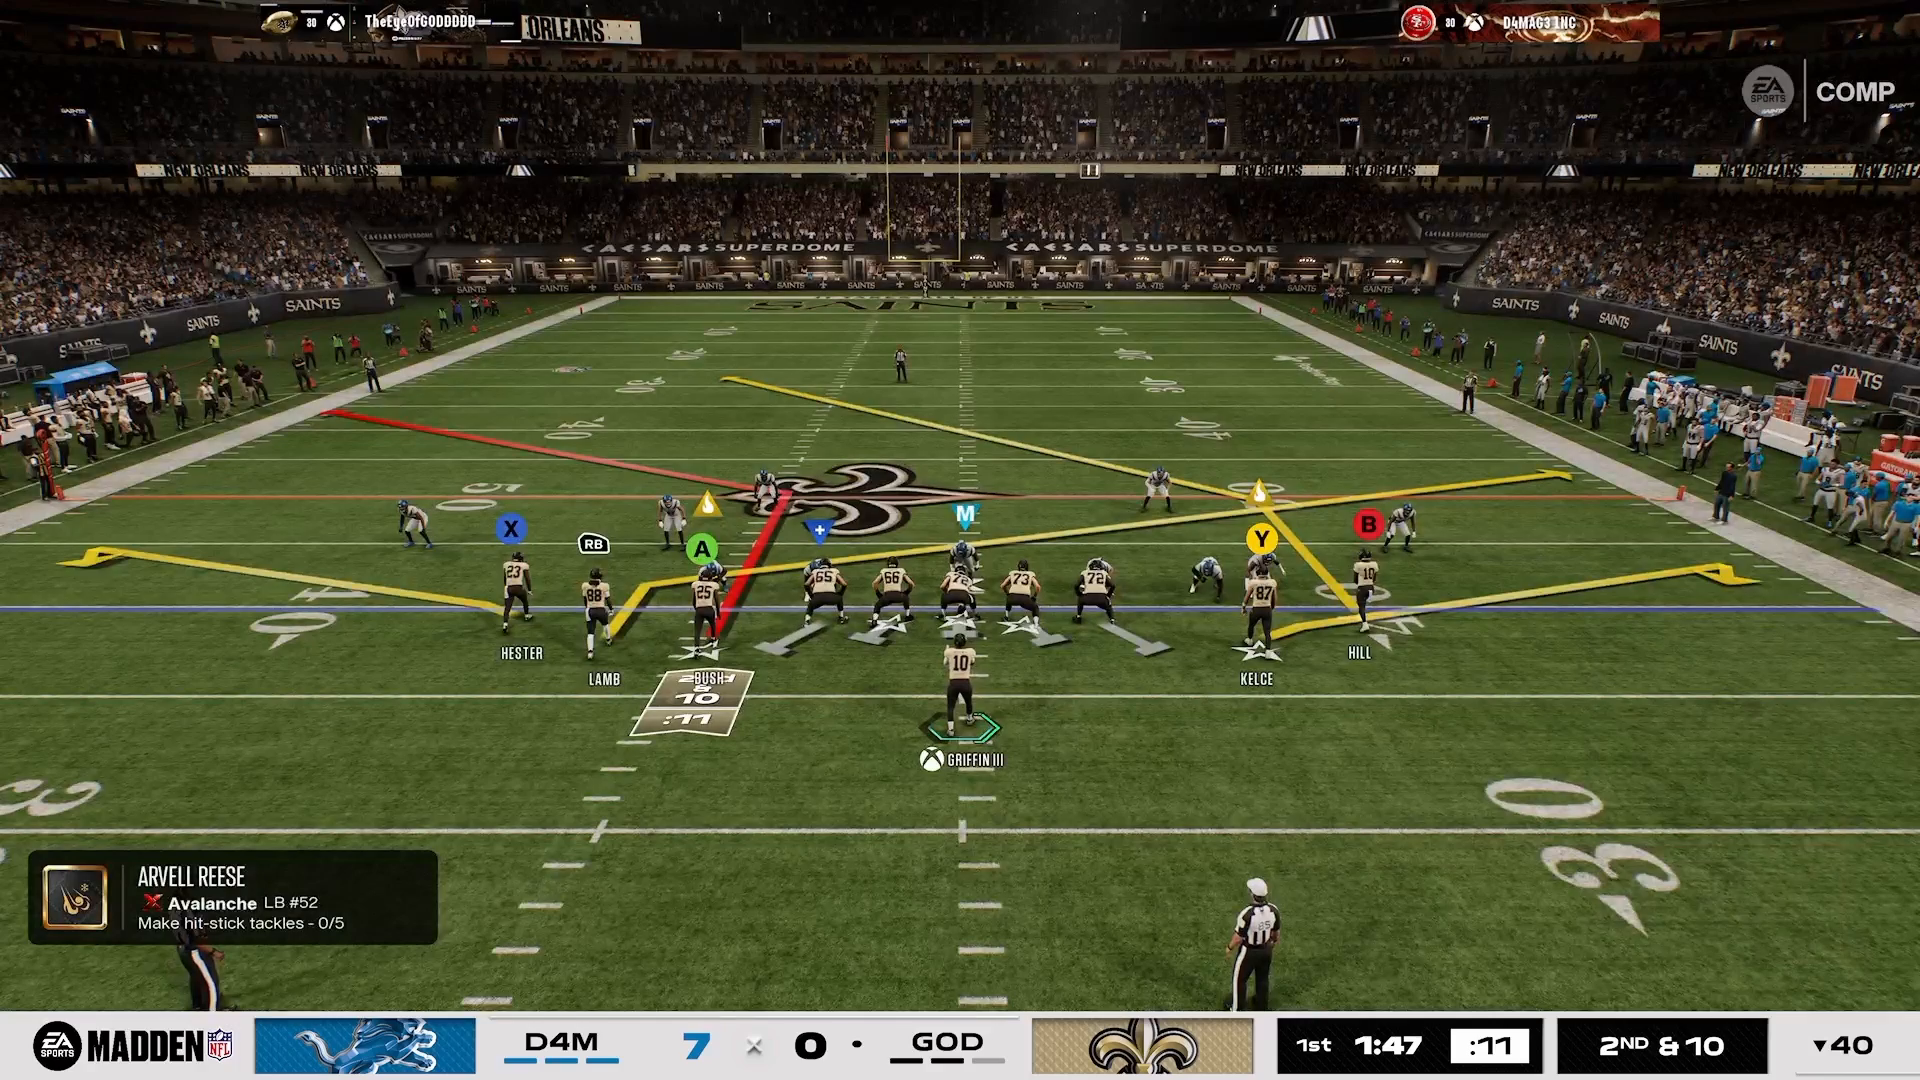
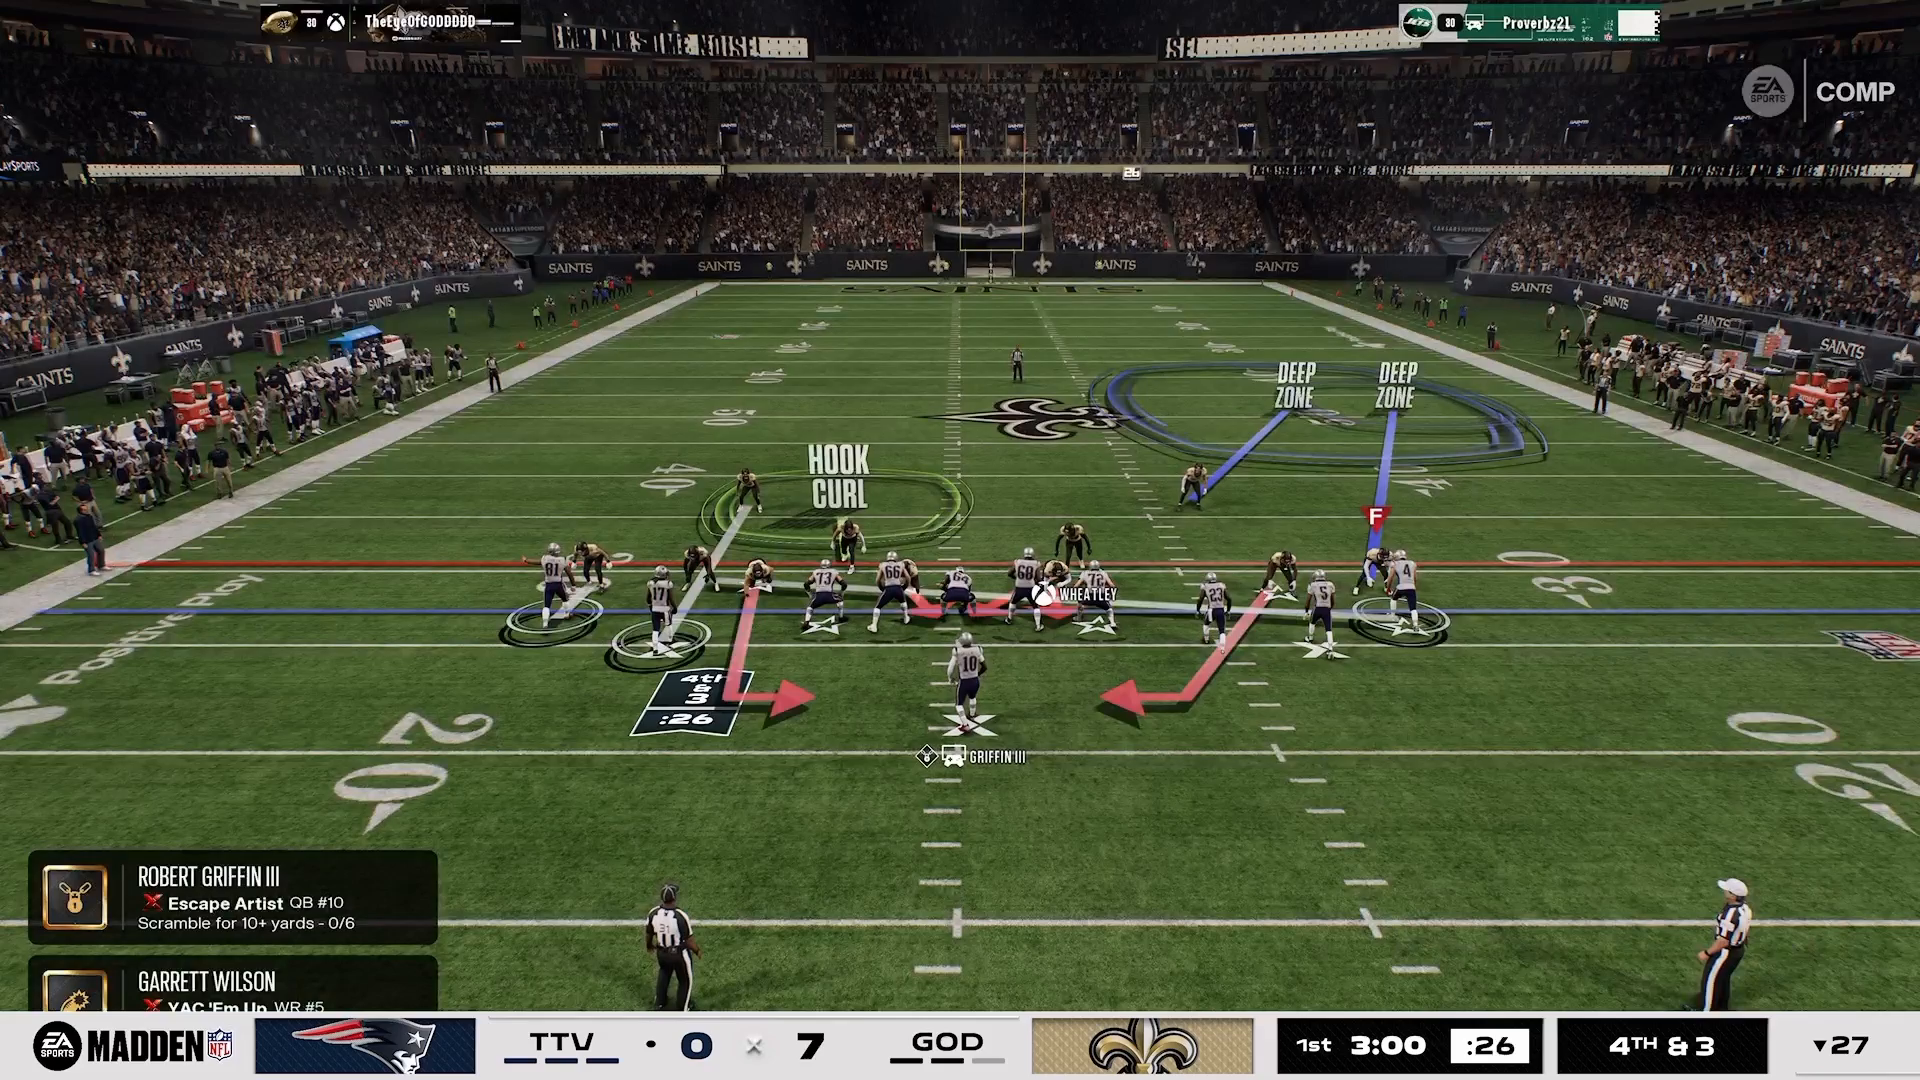
Madden 27 gameplay screenshot of an offensive play diagram in the Patriots stadium with yellow and red route arrows, receiver labels, and quarterback Griffin III at 5th and goal

Route Mechanics

Effective route mechanics are vital for the success of the Smash Corner macro. Load the middle of the field with in-breaking routes like posts, slants, and drags—these routes can rub against defenders, causing confusion and opening up passing lanes.

When defenders are occupied, you’ll find a significant window for the B receiver and the slant route. Expect the slant to be open underneath while the post route develops over the top. The 16 Spaces framework helps you create and exploit these middle spaces, enhancing your offensive strategy.
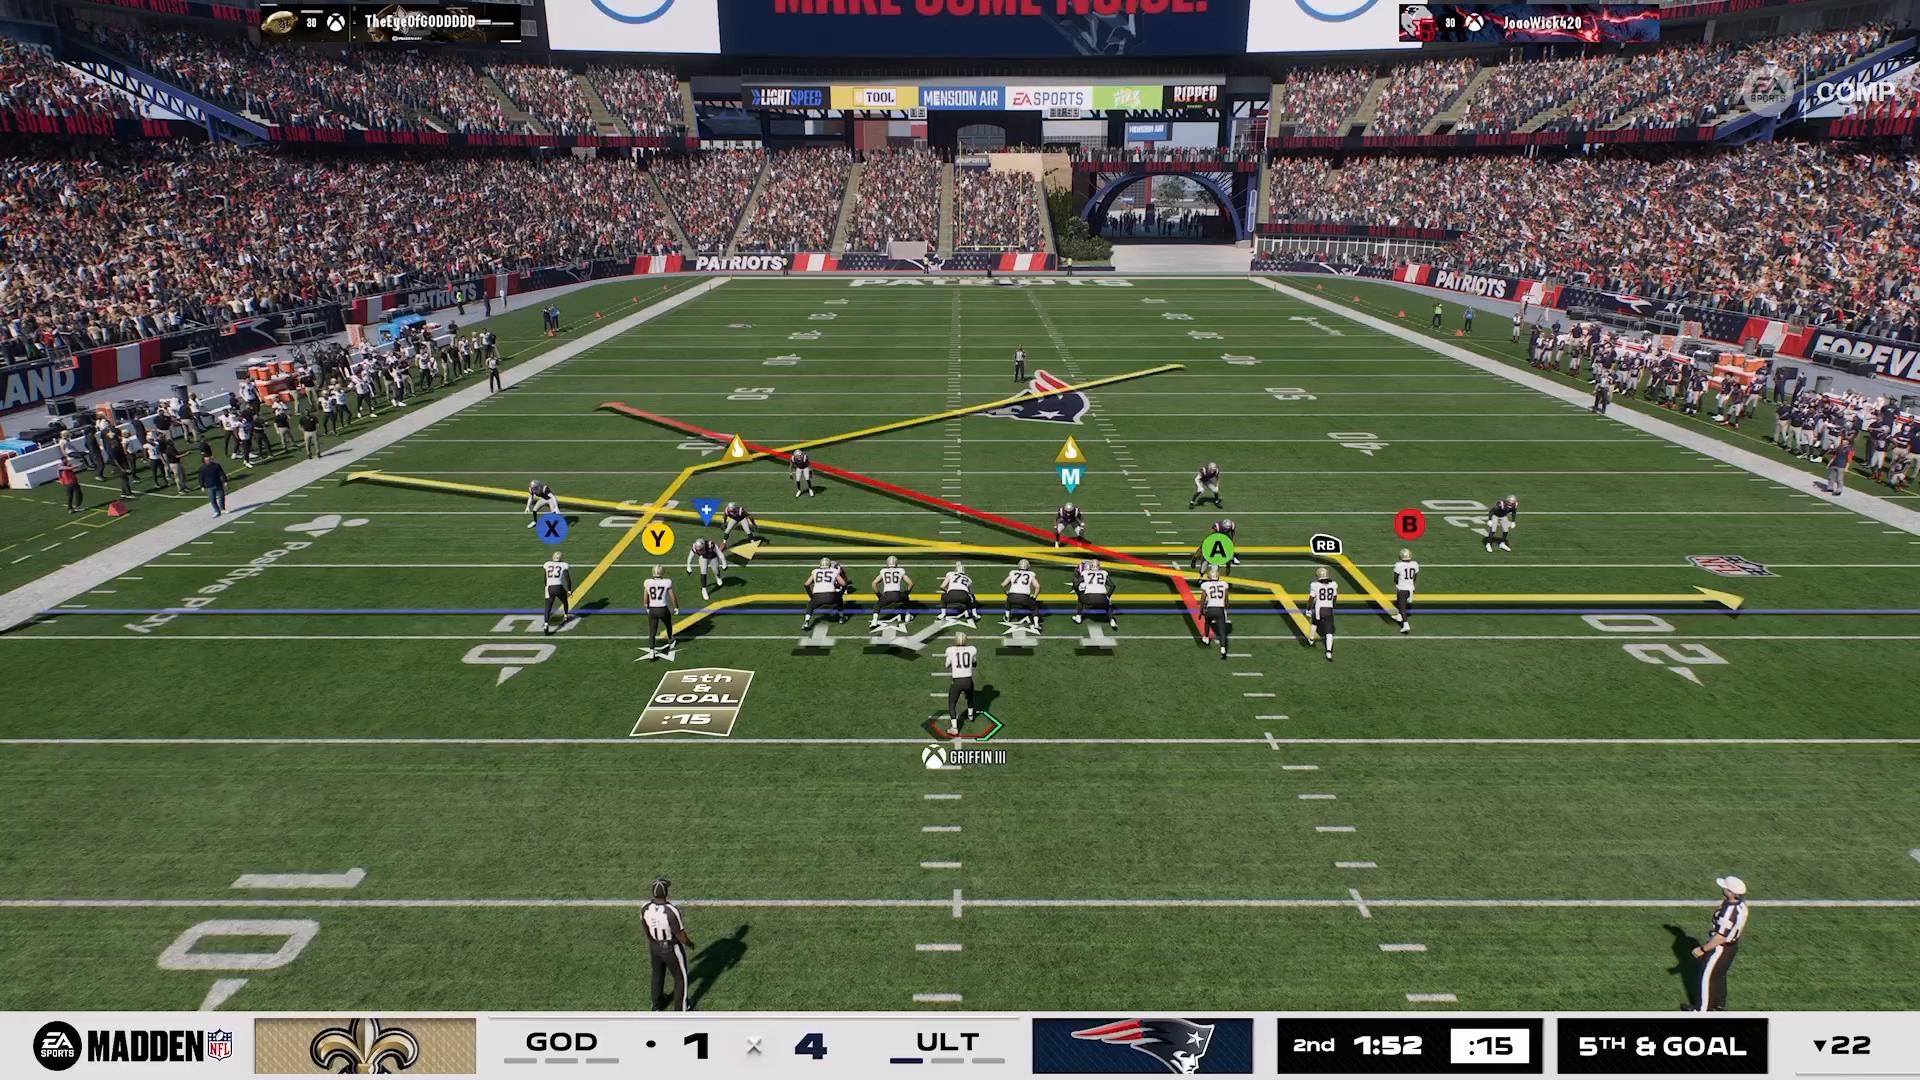
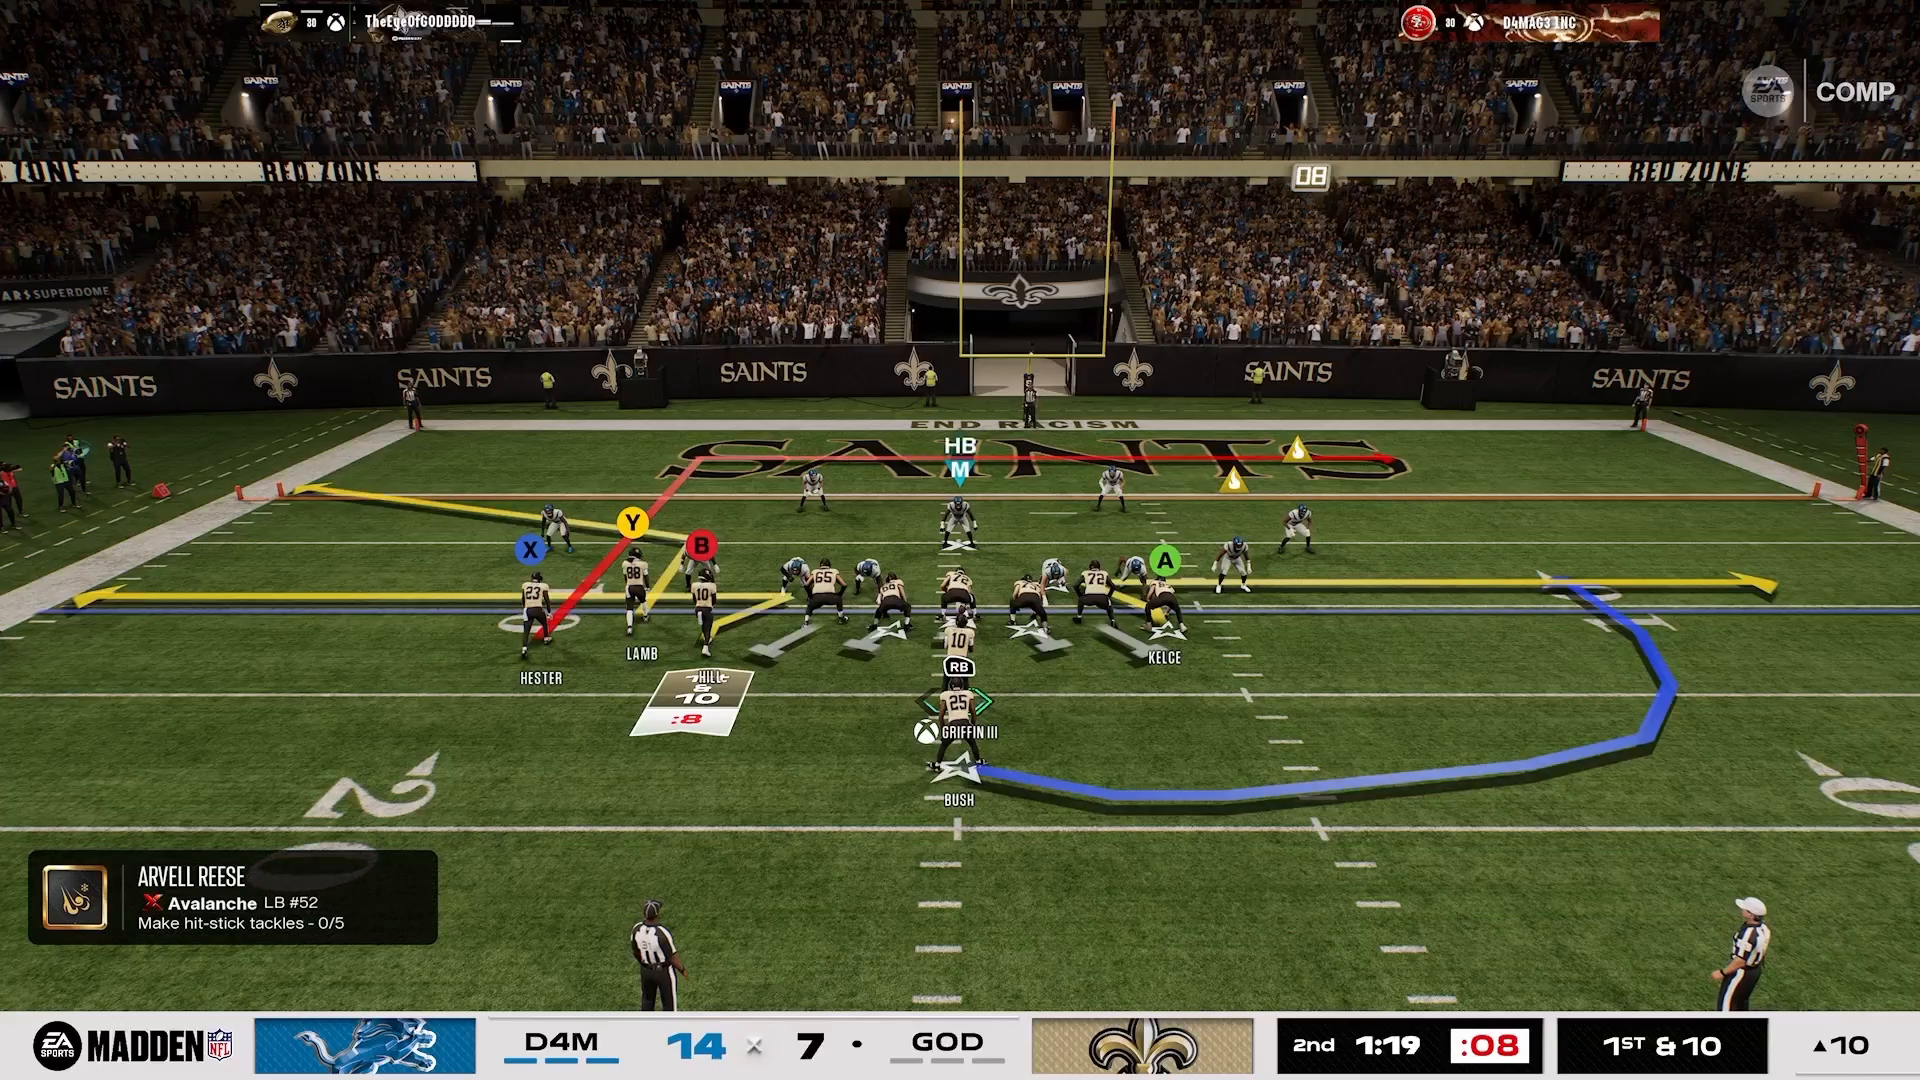
Madden 27 gameplay screenshot of an offensive play diagram in the Patriots stadium with the scoreboard showing the second quarter, 1:52 remaining, and 5th and goal

Counter / Adjust

While the Smash Corner macro excels against Match coverage, it’s not without its vulnerabilities. You need to be prepared to adjust your strategy if your opponent shifts to a Cover 2 defense. This formation effectively neutralizes in-breaking routes while using aggressive hooks to punish slants.

By adjusting the spaces you defend according to the 16 Spaces methodology, you can make strategic chess moves mid-game that keep your opponent guessing and off-balance.
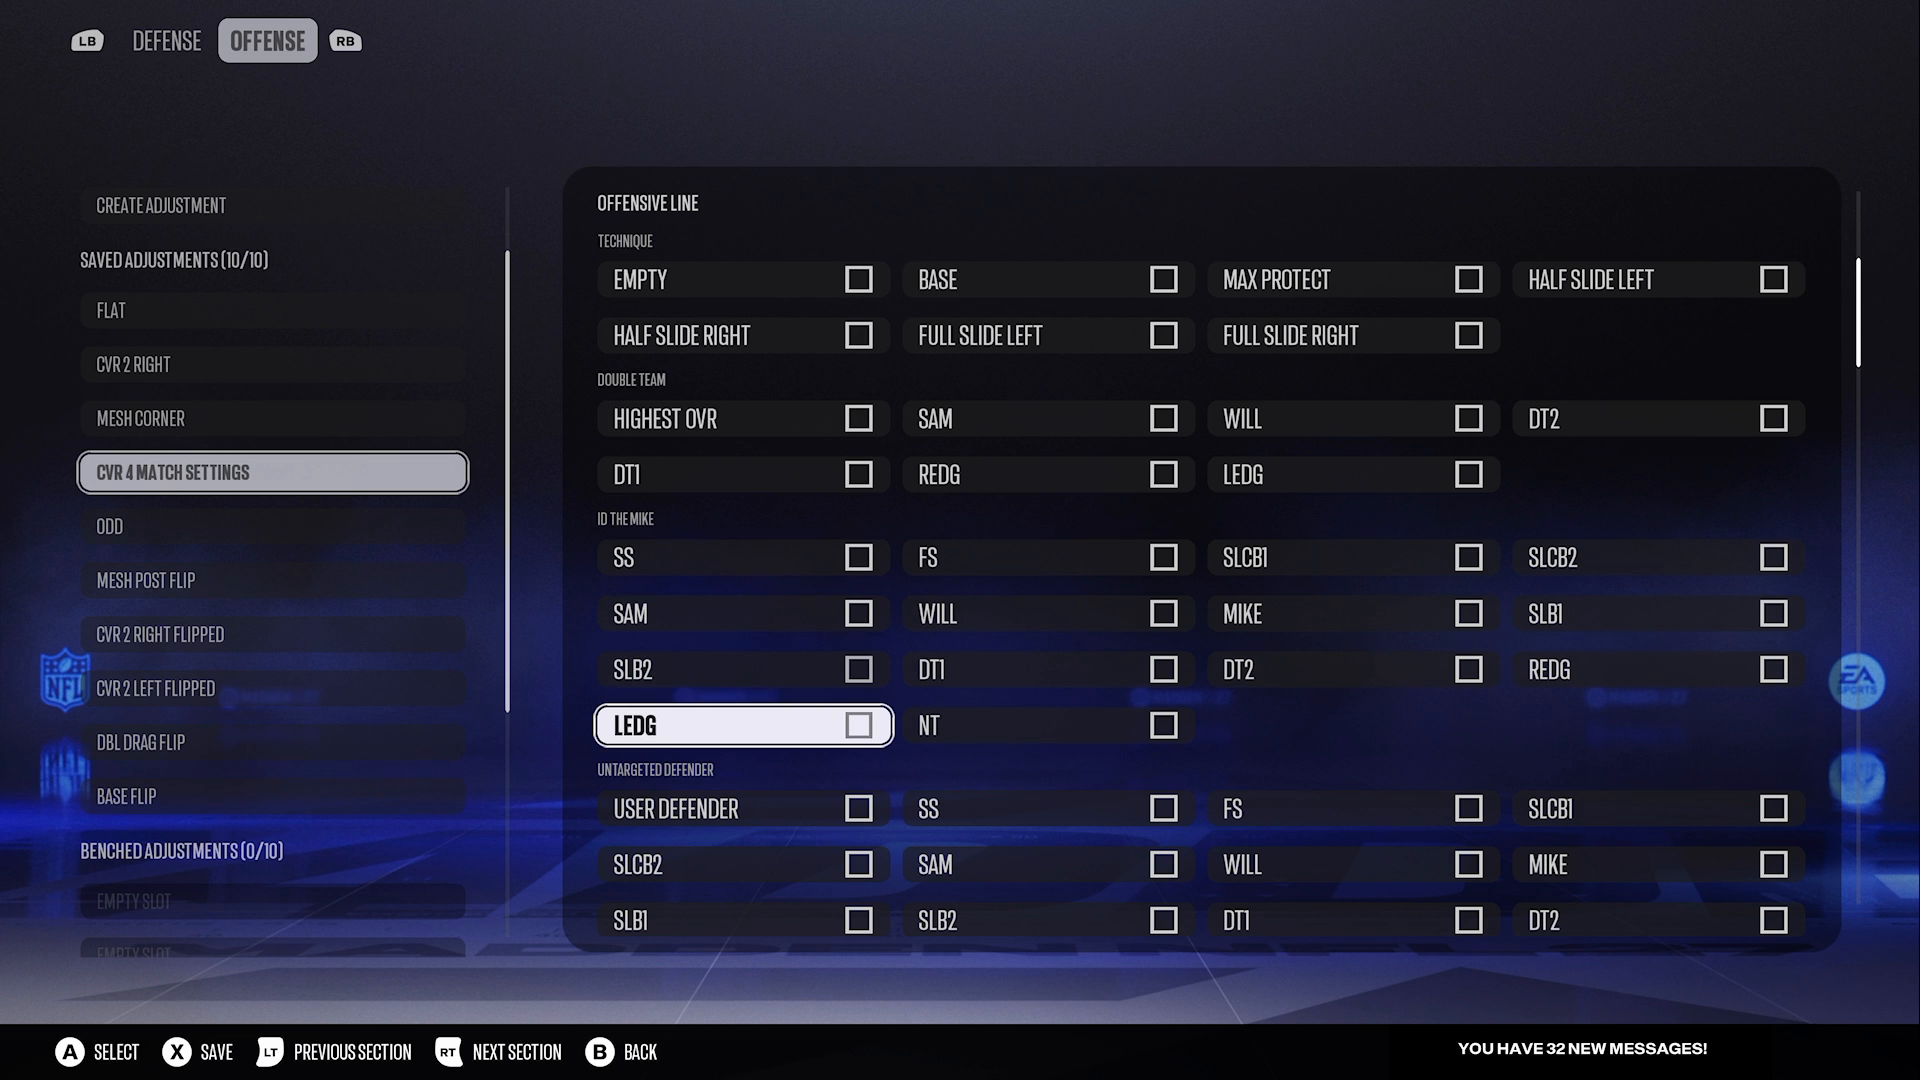
Madden 27 Create Adjustment menu showing CVR 4 Match Settings highlighted in the saved adjustments list with LEDG selected in the ID the Mike section

Macro Setup

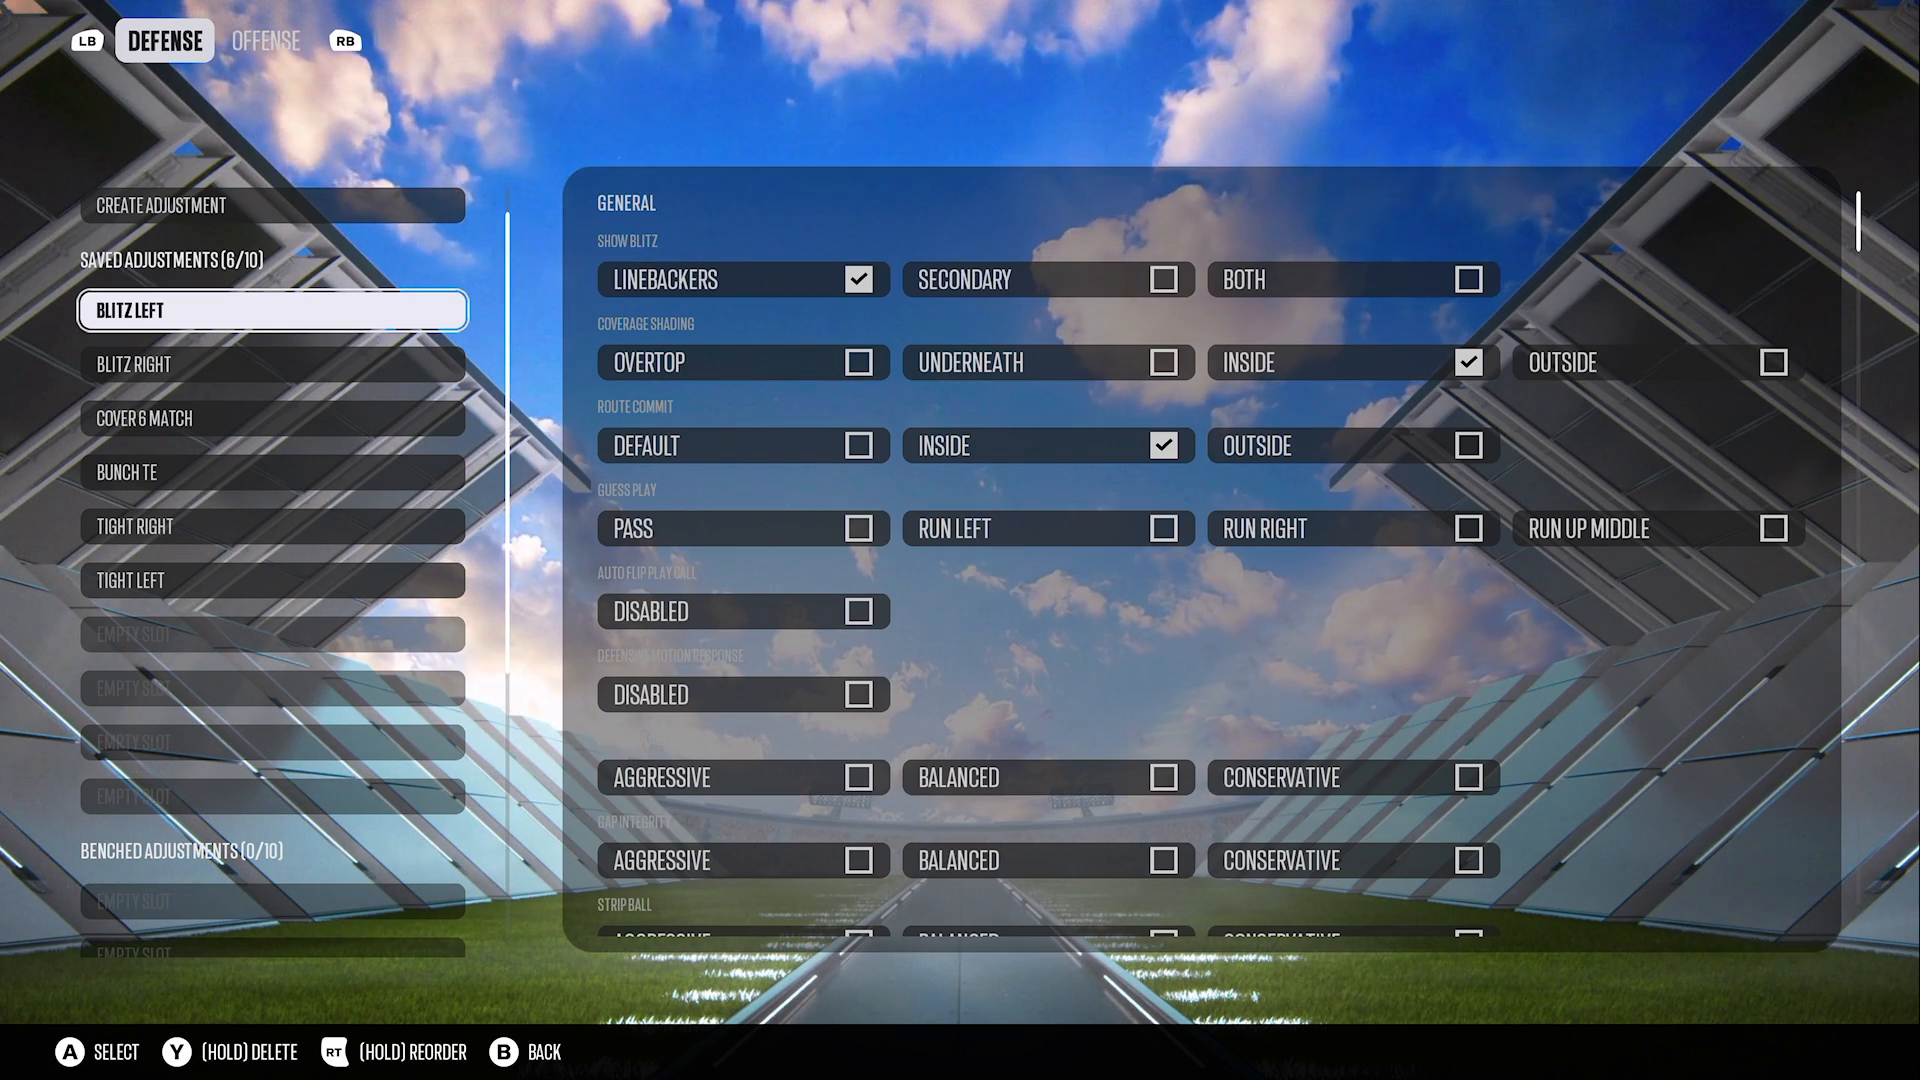
Setting up your macro correctly is crucial for maximizing its effectiveness. Begin by navigating to the Main Menu and selecting Custom Adjustments. Label your setup as ‘Cover 4 Match Settings’ to keep track of your strategies.

Maintain stock routes by assigning Receiver 1 a post route, Receiver 5 a drag route, and the running back a post route. To add an element of surprise, stem the halfback post route manually before the snap. Utilizing the 16 Spaces lens, prioritize your attack on the middle lanes for optimal results.
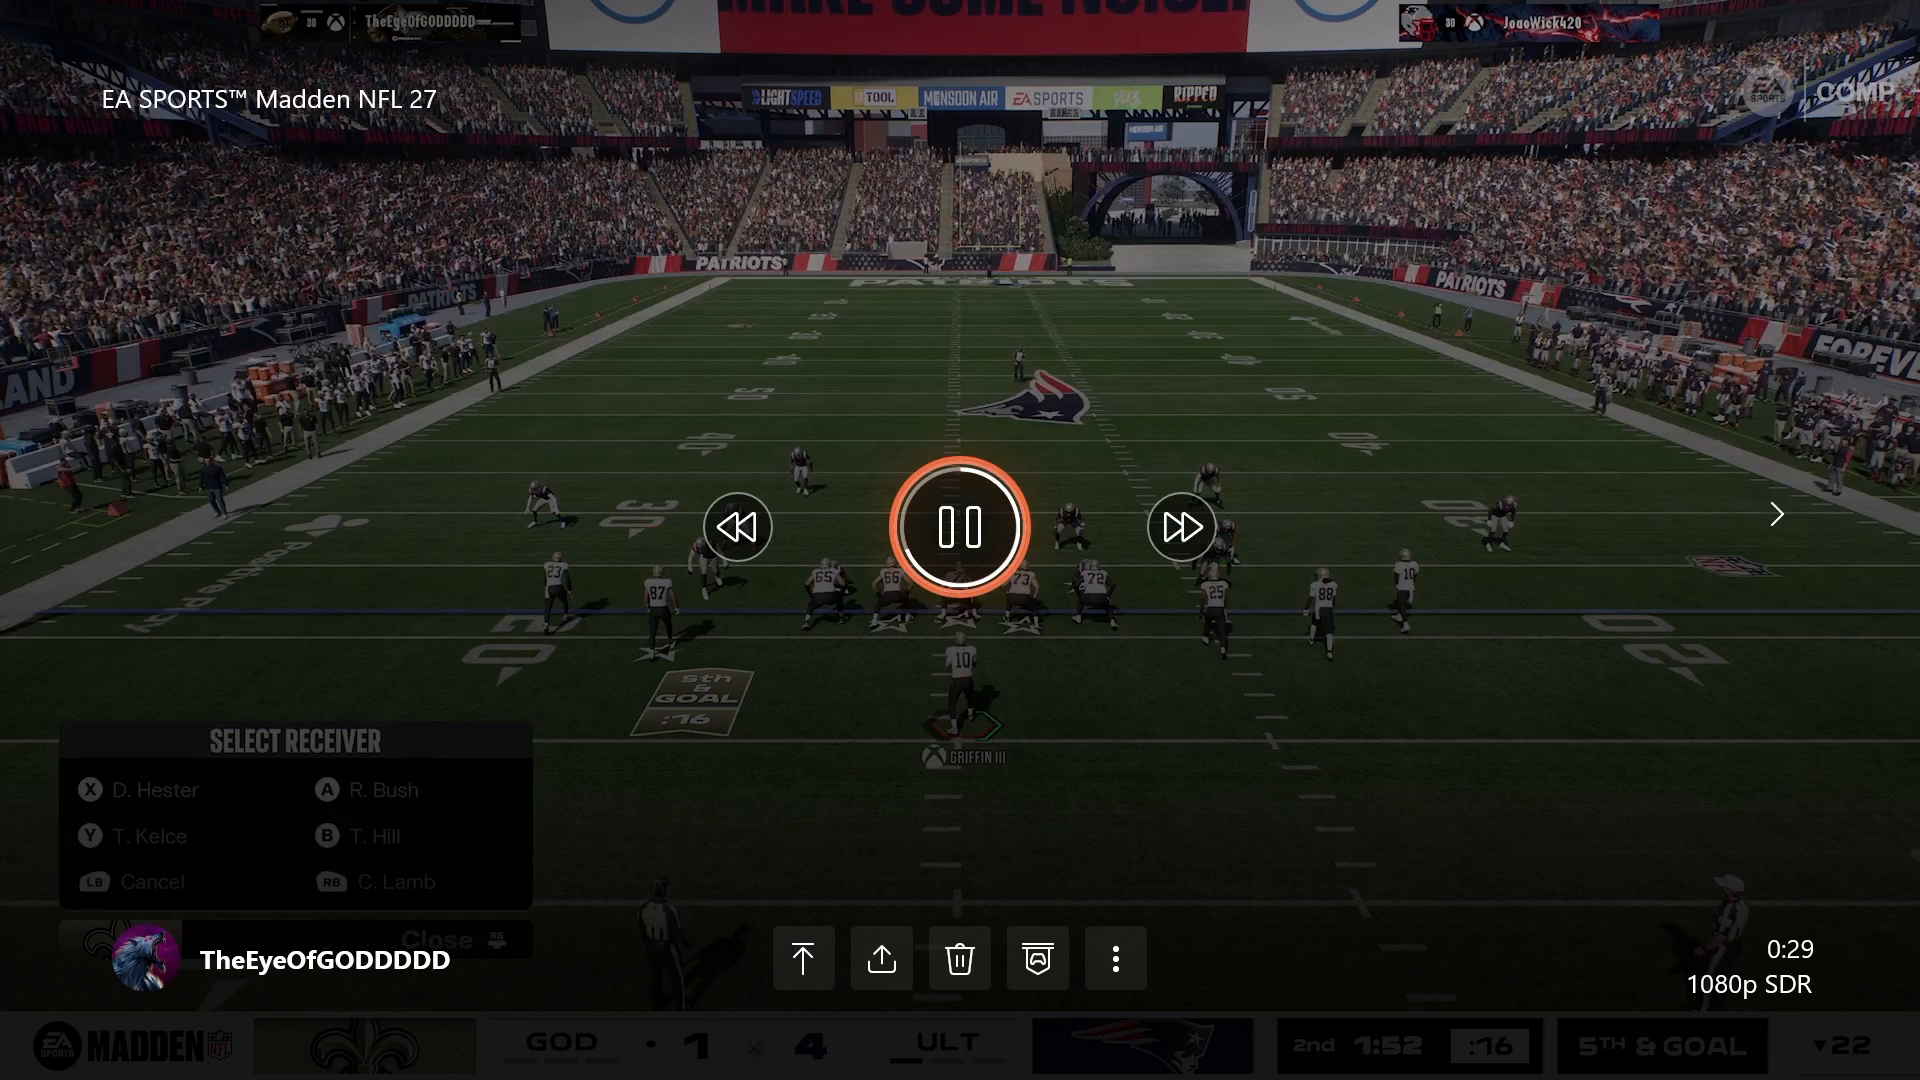
Madden 27 replay view paused on an offensive play in the Patriots stadium with playback controls and a Select Receiver panel listing D. Hester, T. Kelce, R. Bush, T. Hill, and C. Lamb

Conclusion

Incorporating the Smash Corner macro into your Madden NFL 27 gameplay can significantly enhance your offensive effectiveness against Match coverage. By understanding the mechanics, personnel, and necessary adjustments, you can turn this strategy into a game-winning approach. For further insights and advanced strategies, consider exploring more Madden tips that can take your game to the next level.
Recent Posts

Defensive setup in Madden 27 with Nickel Single Mug

Mastering the Best Defensive Macro vs Gun Trips X Nasty in Madden 27

Mastering the Best Defensive Macro vs Gun Trips X Nasty in Madden 27 Understanding the Defensive Setup in Madden 27 In Madden NFL 27, defending ...
Read More →
defensive macro Madden 27 — image 1

Mastering Defensive Strategies Against Gunfire Receiver Tight in Madden 27

Mastering Defensive Strategies Against Gunfire Receiver Tight in Madden 27 In Madden 27, stop the 5-receiver tight formation with a man-up defensive macro that uses ...
Read More →
Defensive alignment against Bunch TE formation

Mastering Madden NFL 27: Defending Auto-Motion & Bunch TE

Mastering Madden NFL 27: Defending Auto-Motion & Bunch TE Defend Bunch TE auto-motion in Madden 27 by aligning four defenders left, doubling the flat on ...
Read More →
Madden 27 gameplay showing 2-man under press beater

Mastering the Best 2-Man Under Press Beater in Madden 27

Mastering the Best 2-Man Under Press Beater in Madden 27 The best 2-man under press beater in Madden 27 is the Smash Corner concept from ...
Read More →
Defensive setup against Bunch Head End in Madden NFL 27

Mastering Madden NFL 27: Stop RPOs and Dominate Bunch Head End

Mastering Madden NFL 27: Stop RPOs and Dominate Bunch Head End Stop RPOs against Bunch Head End in Madden 27 by protecting the RPO bubble ...
Read More →
San Francisco Nickel Single Mug formation diagram

Best Defense to Stop Trips Head In: San Francisco Nickel Single Mug

Best Defense to Stop Trips Head In: San Francisco Nickel Single Mug The best defense to stop Trips Head in Madden 27 is San Francisco ...
Read More →
Dime 3-2 defensive formation setup

Mastering Madden NFL 27: Stop Doubles Clamp Stack with These Defensive Macros

Understanding the Challenge of Doubles Clamp Stack In Madden NFL 27, facing the Doubles Clamp Stack can be a daunting task for any player. This ...
Read More →
Setup of hybrid shell for red zone defense

Mastering Red Zone Defense in Madden NFL 27: Best Macro Guide

Introduction Defending in the red zone can be a pivotal moment in your Madden NFL 27 games. The stakes are high, and the right defensive ...
Read More →
Madden NFL 27 Smash Corner play setup

Mastering Madden NFL 27: Beat Nickel Single Mug with 2 Macros

Understanding the Nickel Single Mug Defense When you face the Nickel Single Mug defense in Madden NFL 27, it can feel like an uphill battle. ...
Read More →
Spot Y Option Madden — image 1

Master the Red Zone with Spot Y Option in Madden NFL 27

Master the Red Zone with Spot Y Option in Madden NFL 27 Master the red zone in Madden 27 with Spot Y Option from Pistol ...
Read More →
designed rollouts — image 1

Mastering Designed Rollouts to Beat Stunts in Madden NFL 27

Understanding Why Rollouts Work Rollouts are an essential part of your offensive strategy in Madden NFL 27, particularly when facing defensive stunts. Stunts are designed ...
Read More →
Offensive setup in Madden NFL 27

Master the Best Match Beater in Madden NFL 27

Master the Best Match Beater in Madden NFL 27 The best match beater in Madden 27 is the Mills deep out from Gun 5 Receiver ...
Read More →