Setup Your Game Plan
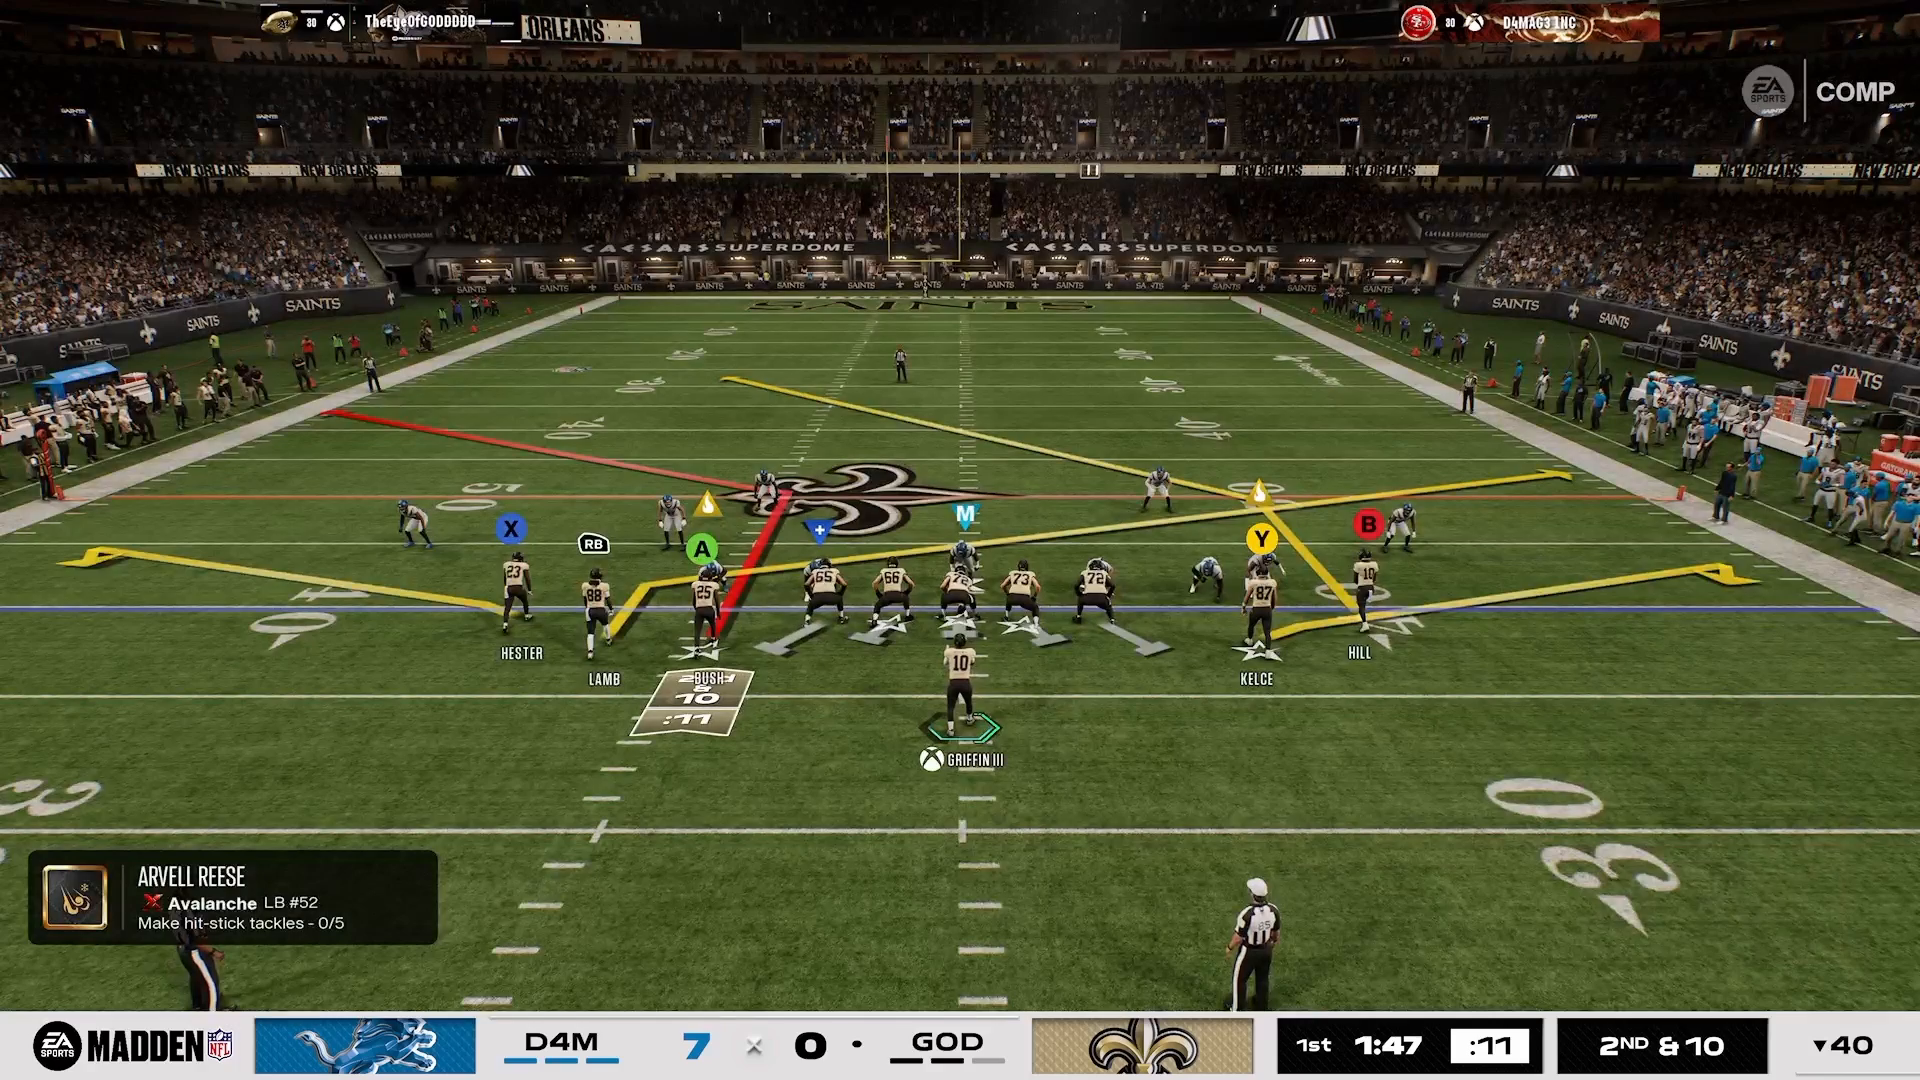
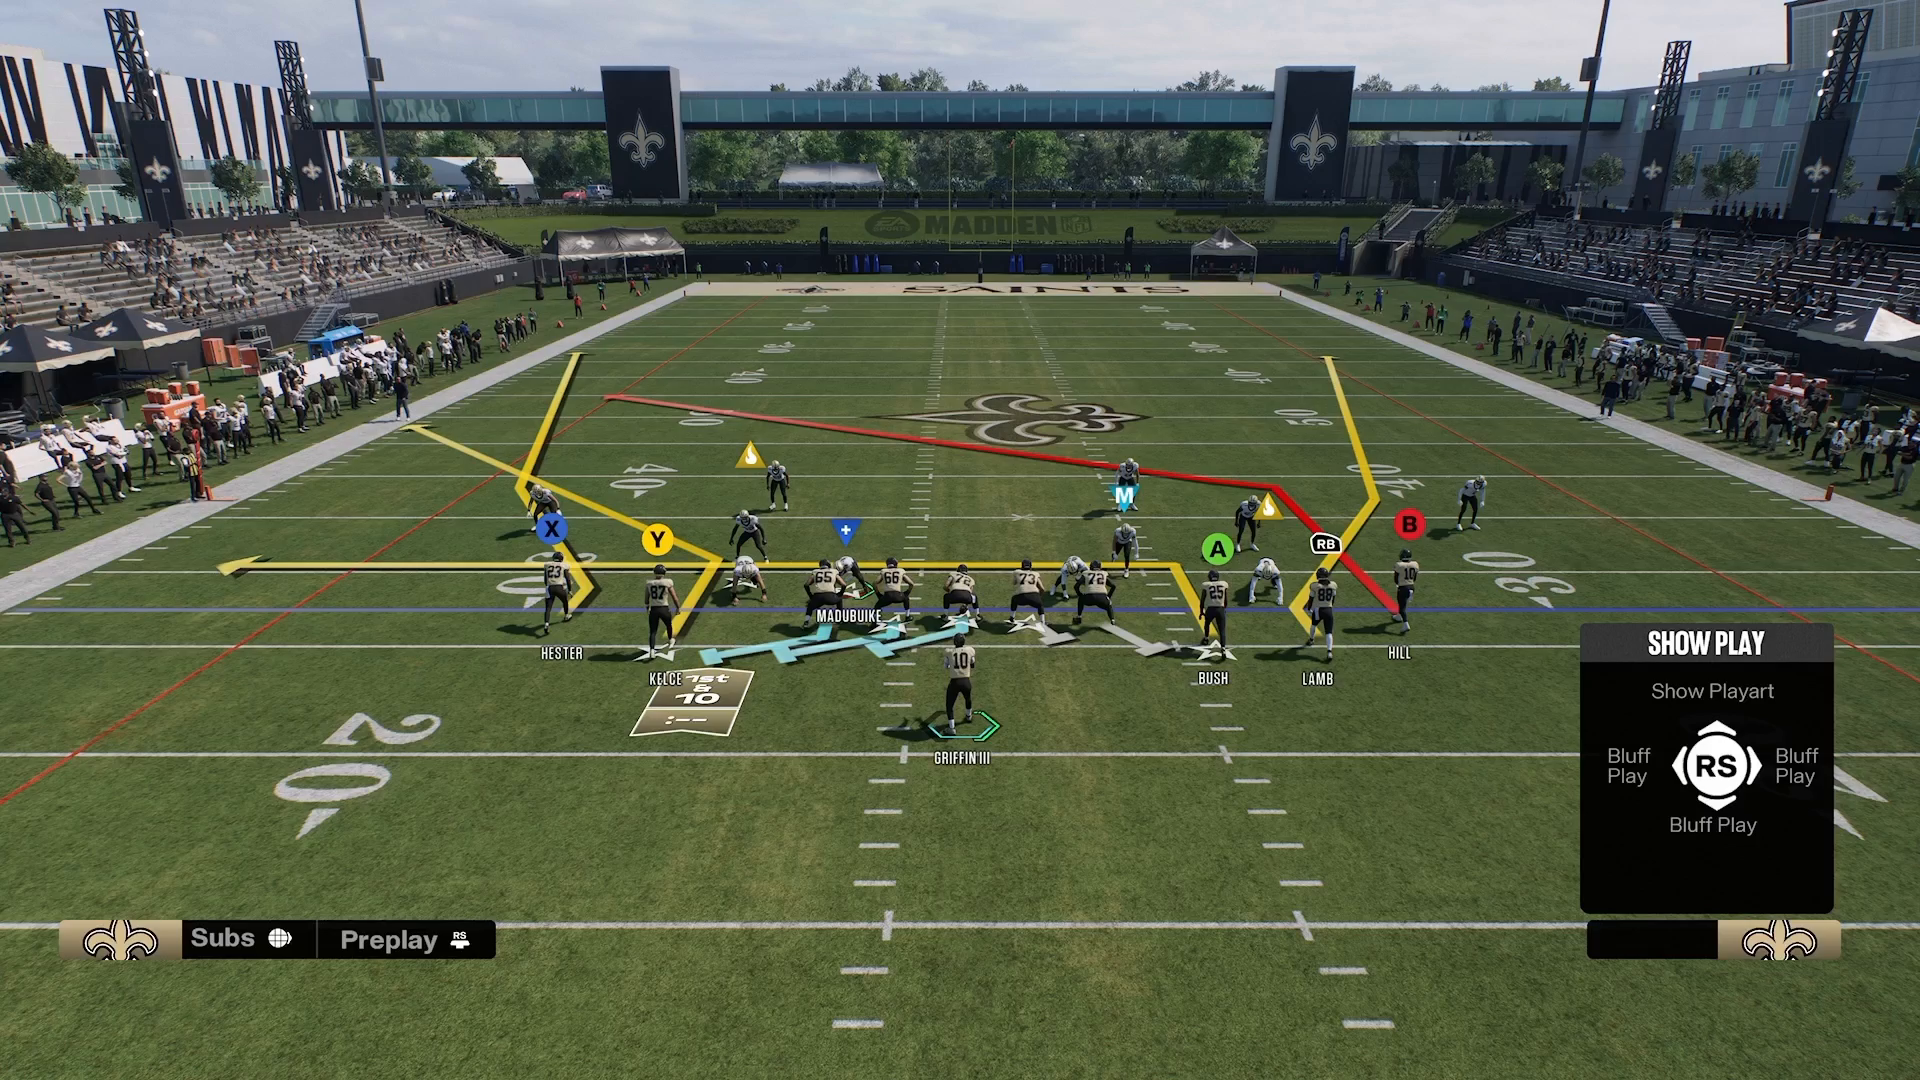
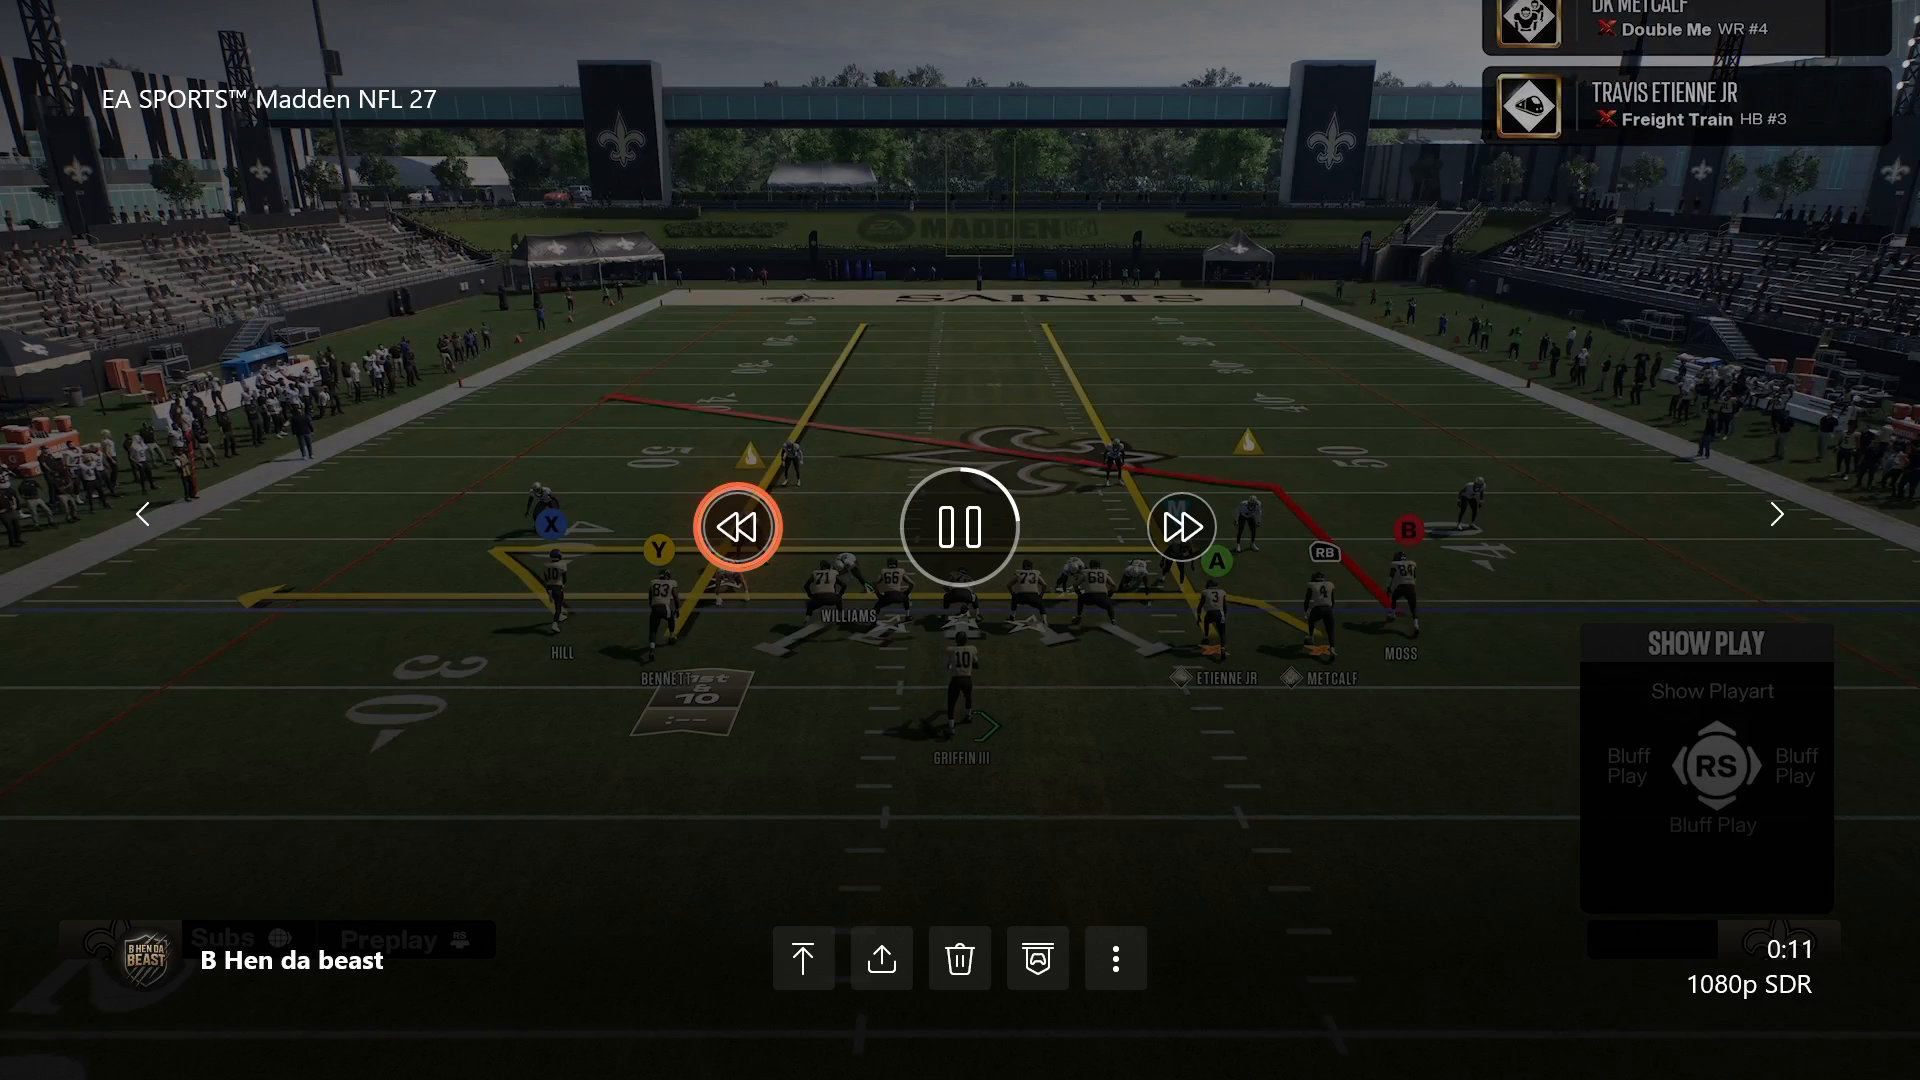
To dominate in Madden 27, having the right setup is crucial. Start by loading the Tampa Bay playbook, which is known for its dynamic offensive schemes. You want to select Gun 5 Receiver Tight and choose the play Mesh Post without flipping it. This formation provides a solid foundation for your passing game.
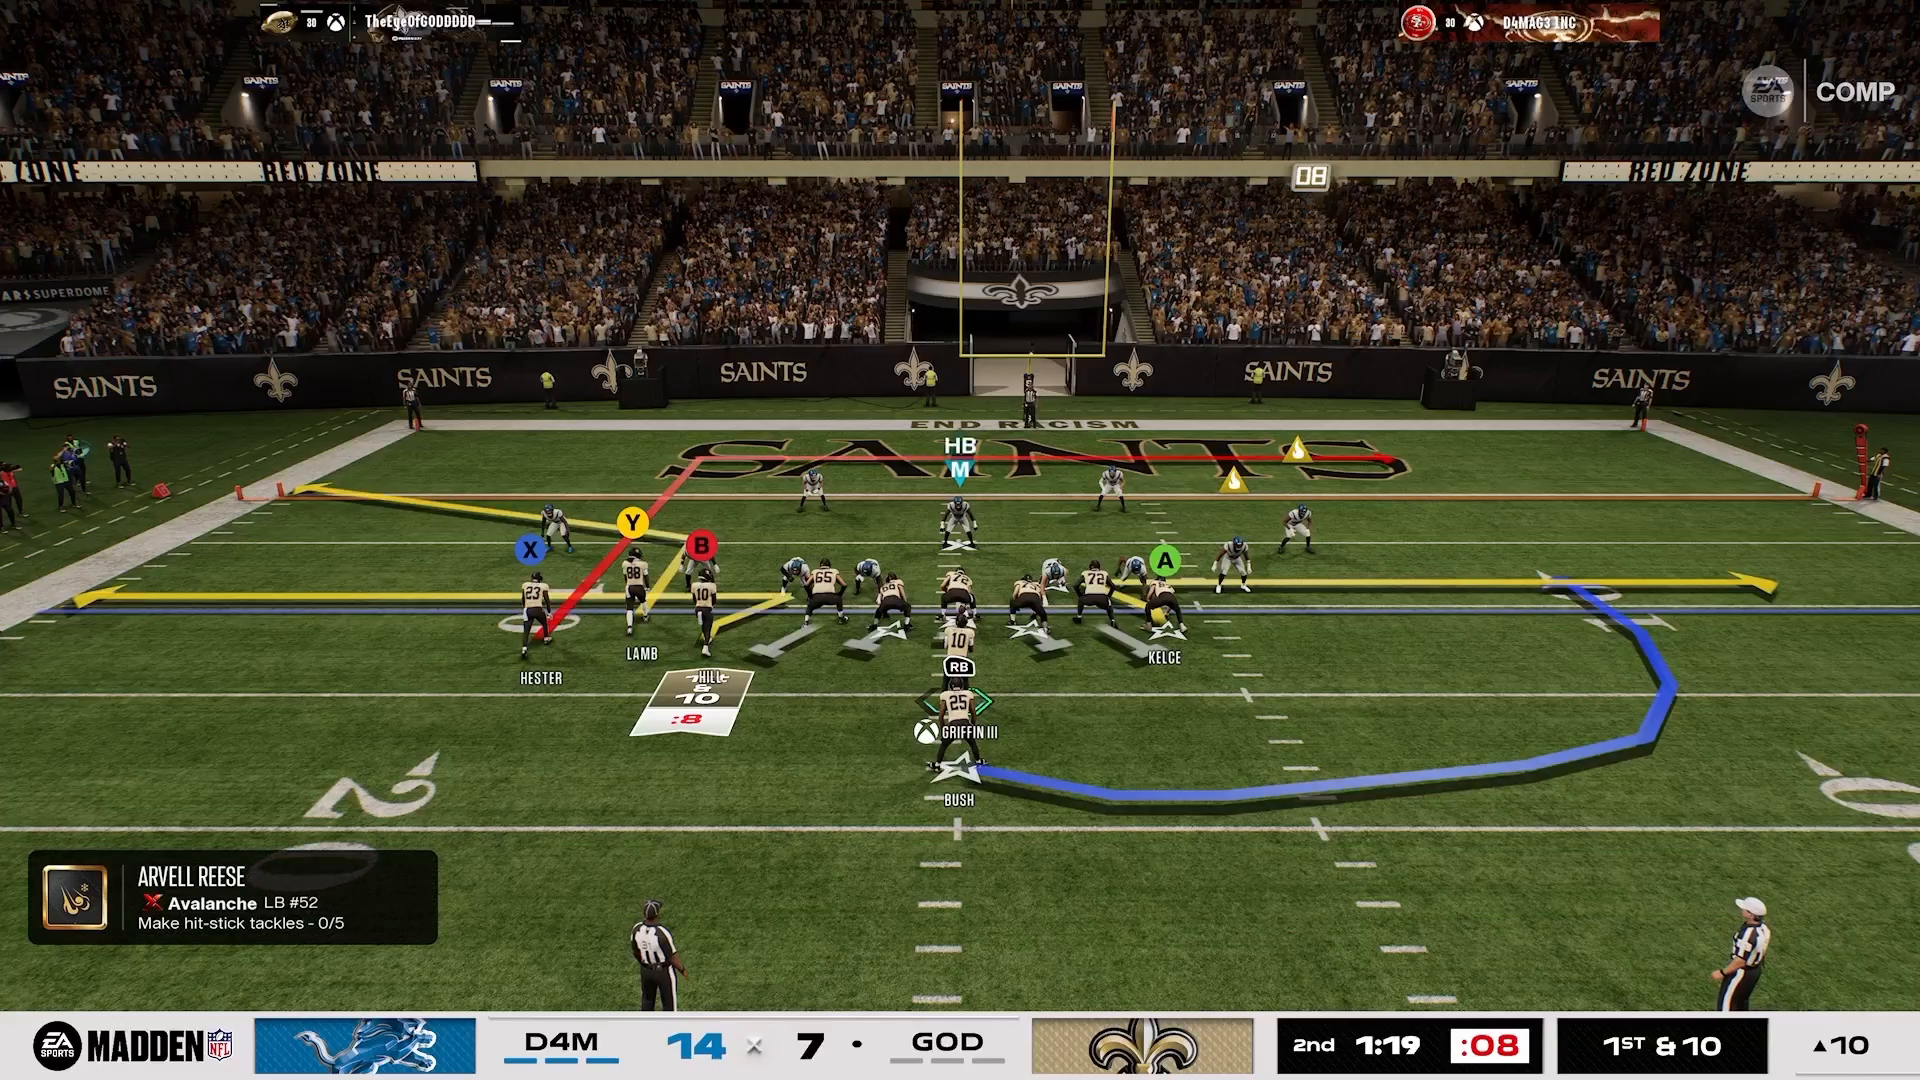
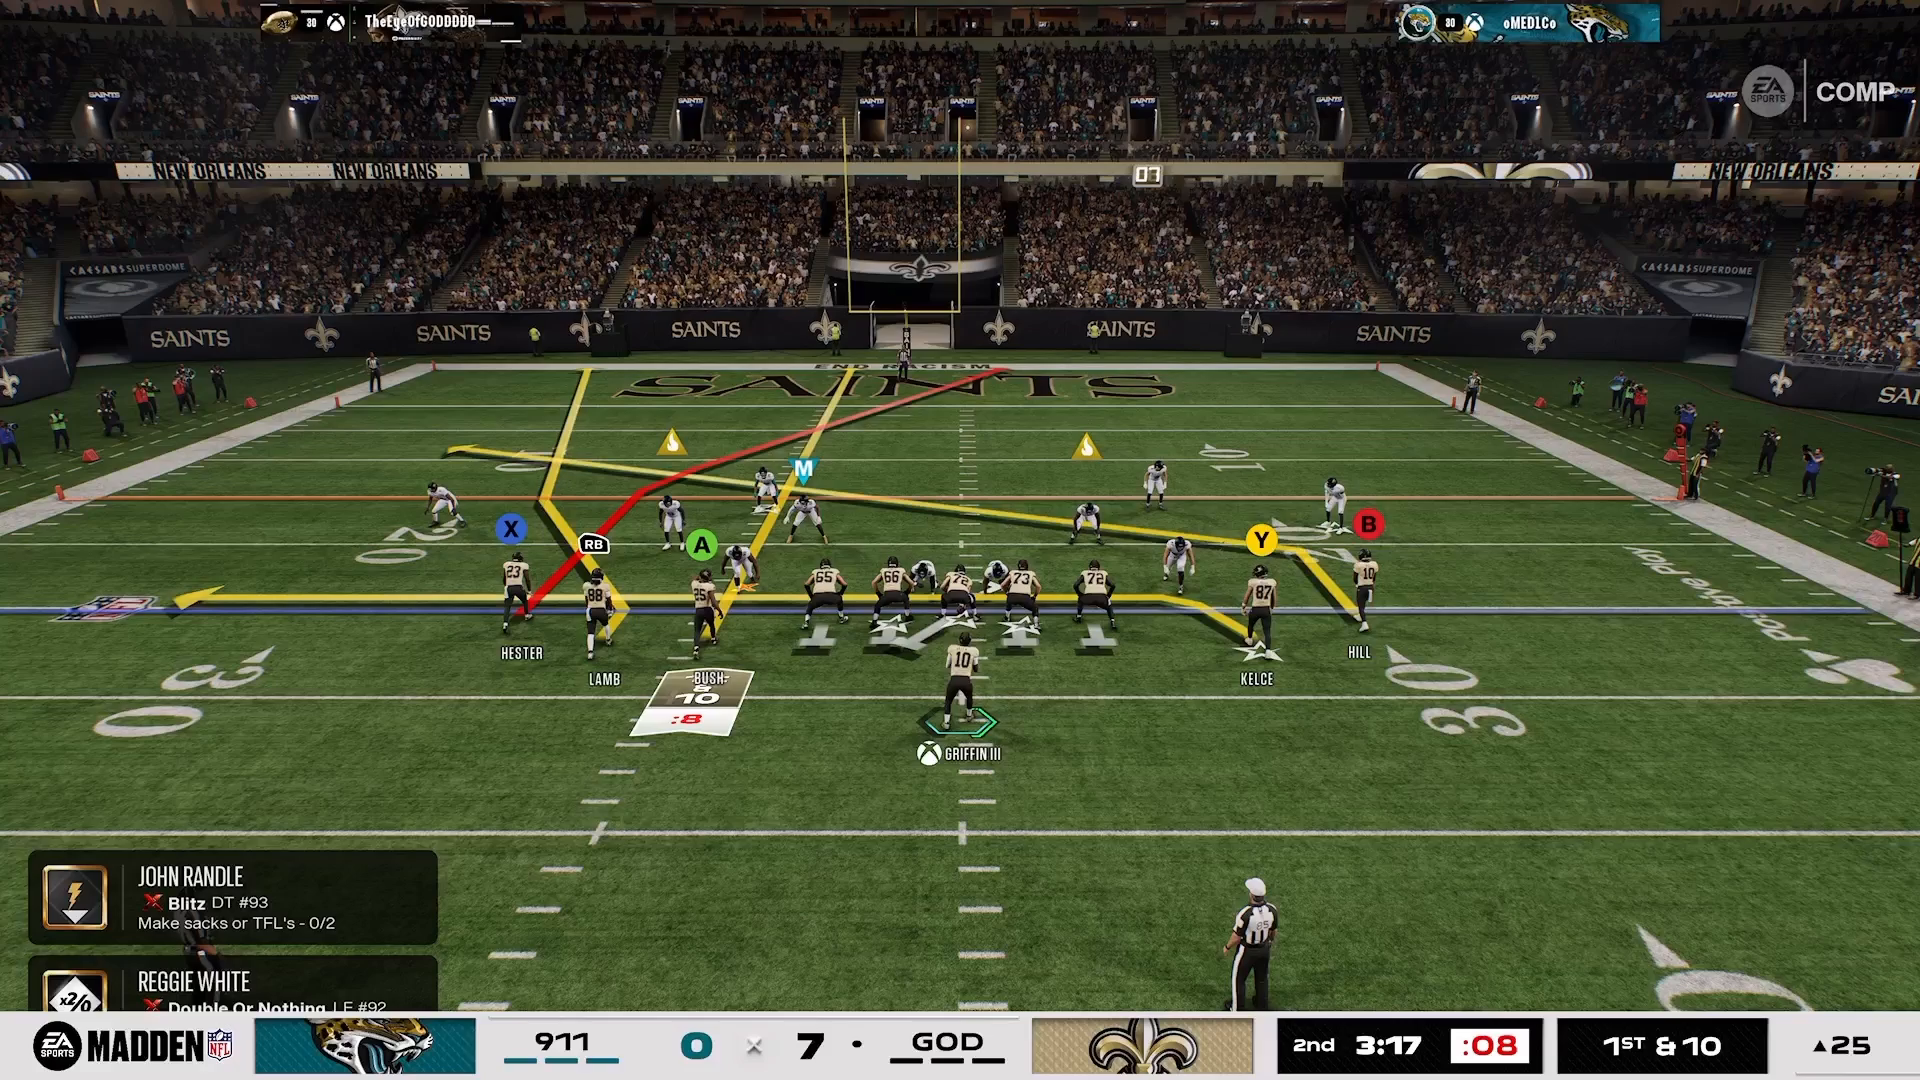
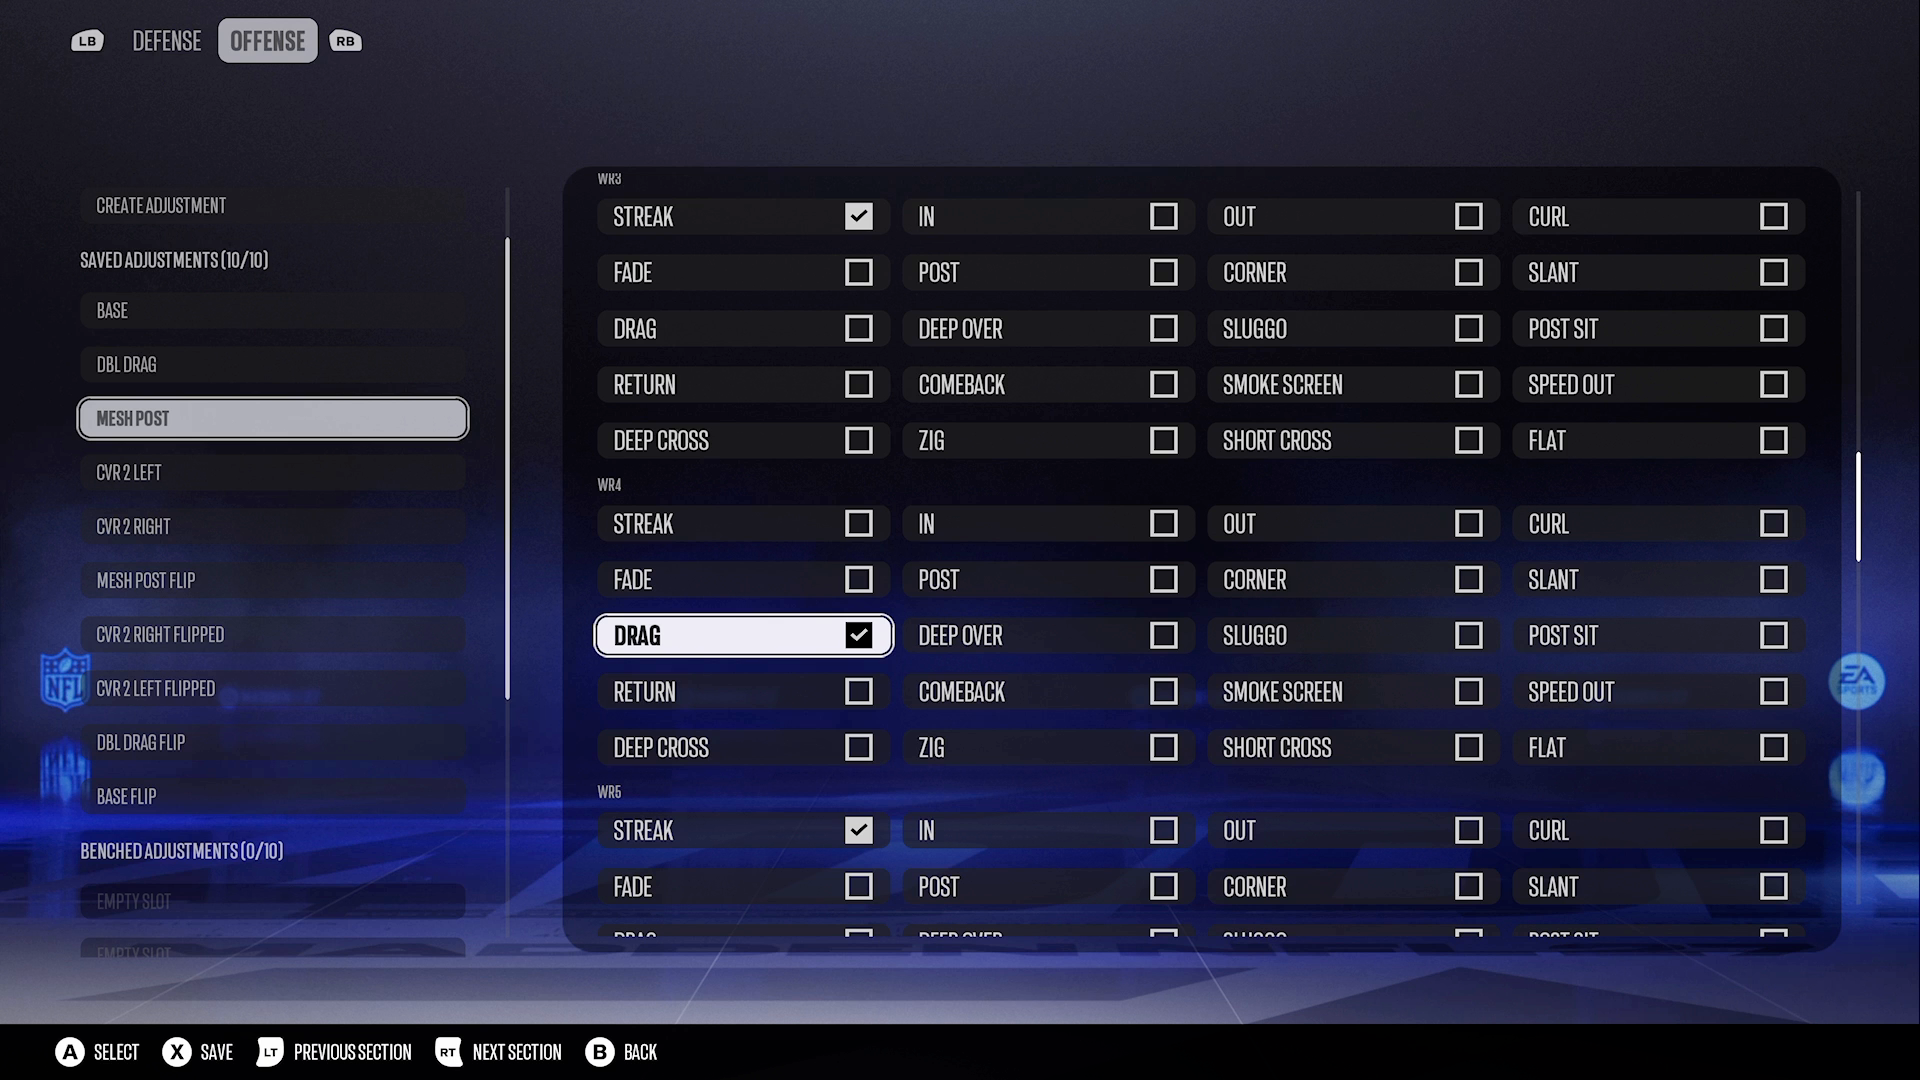
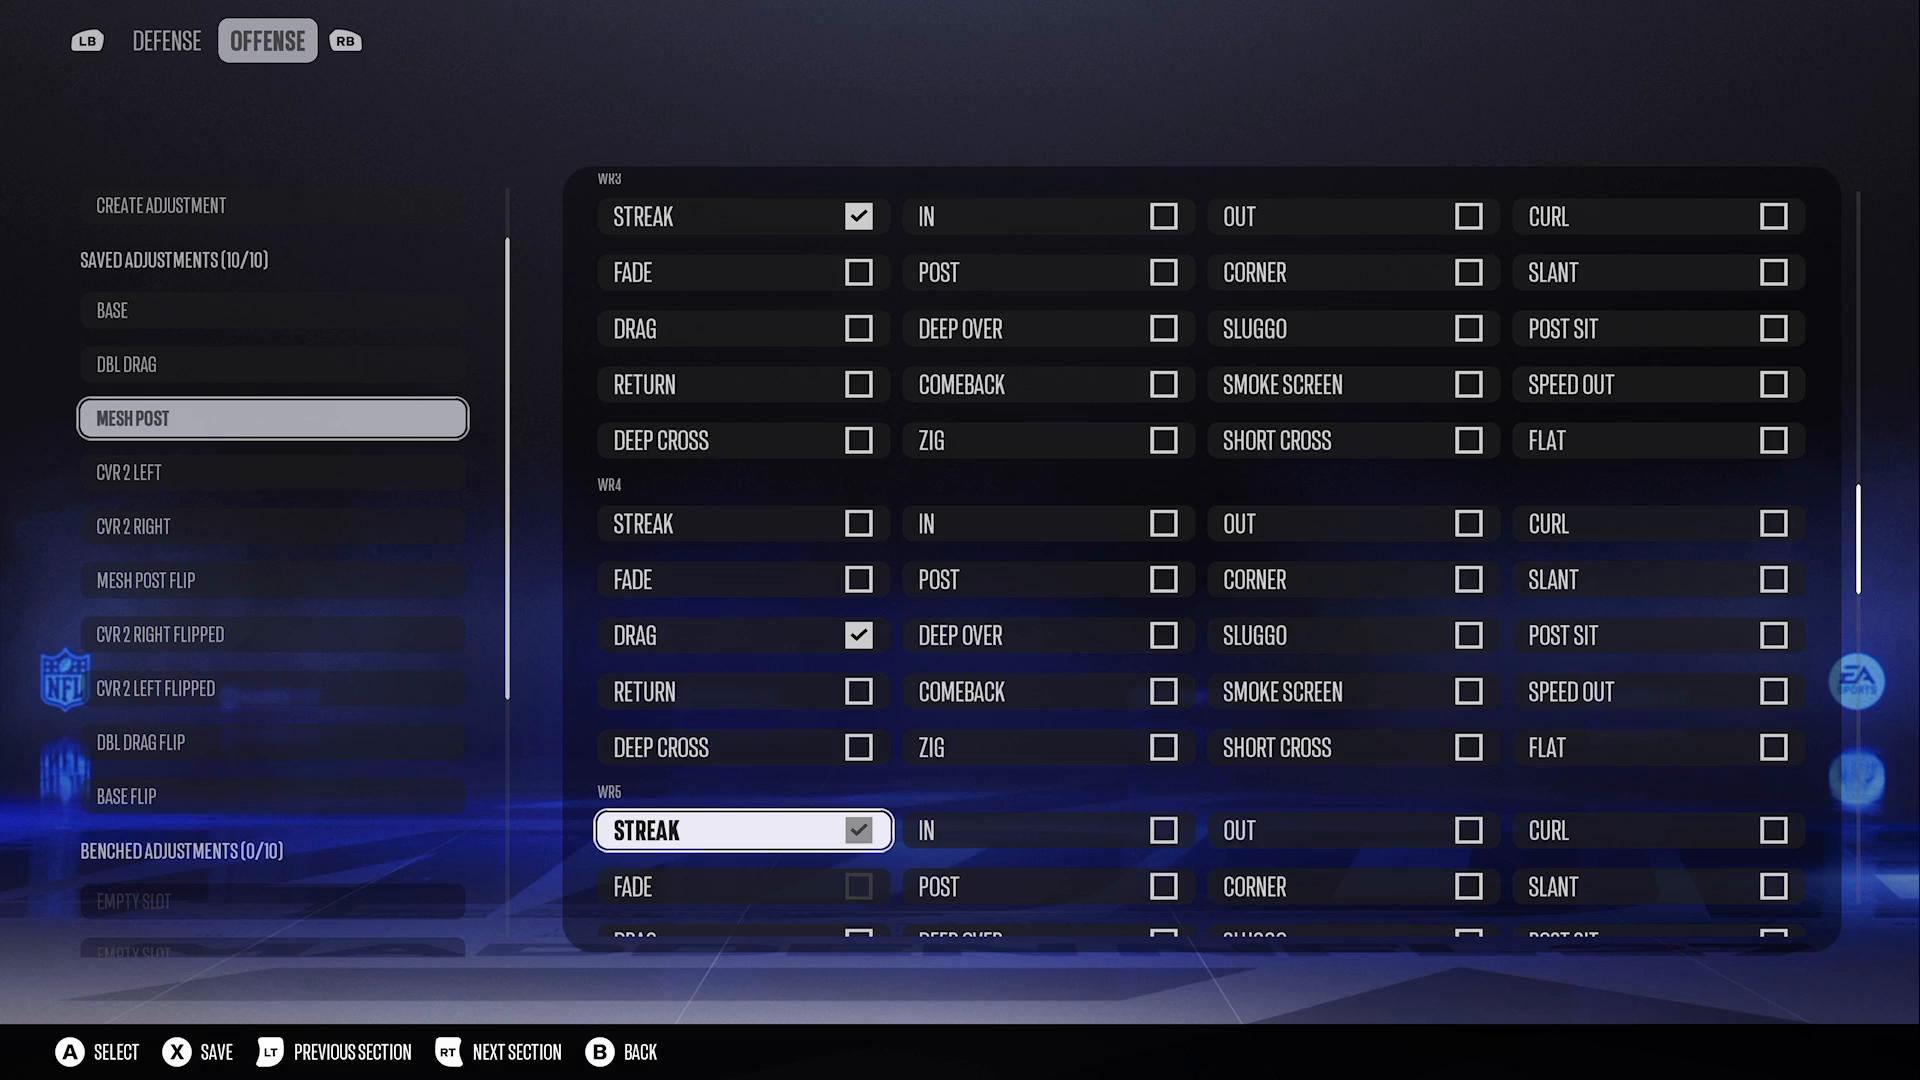
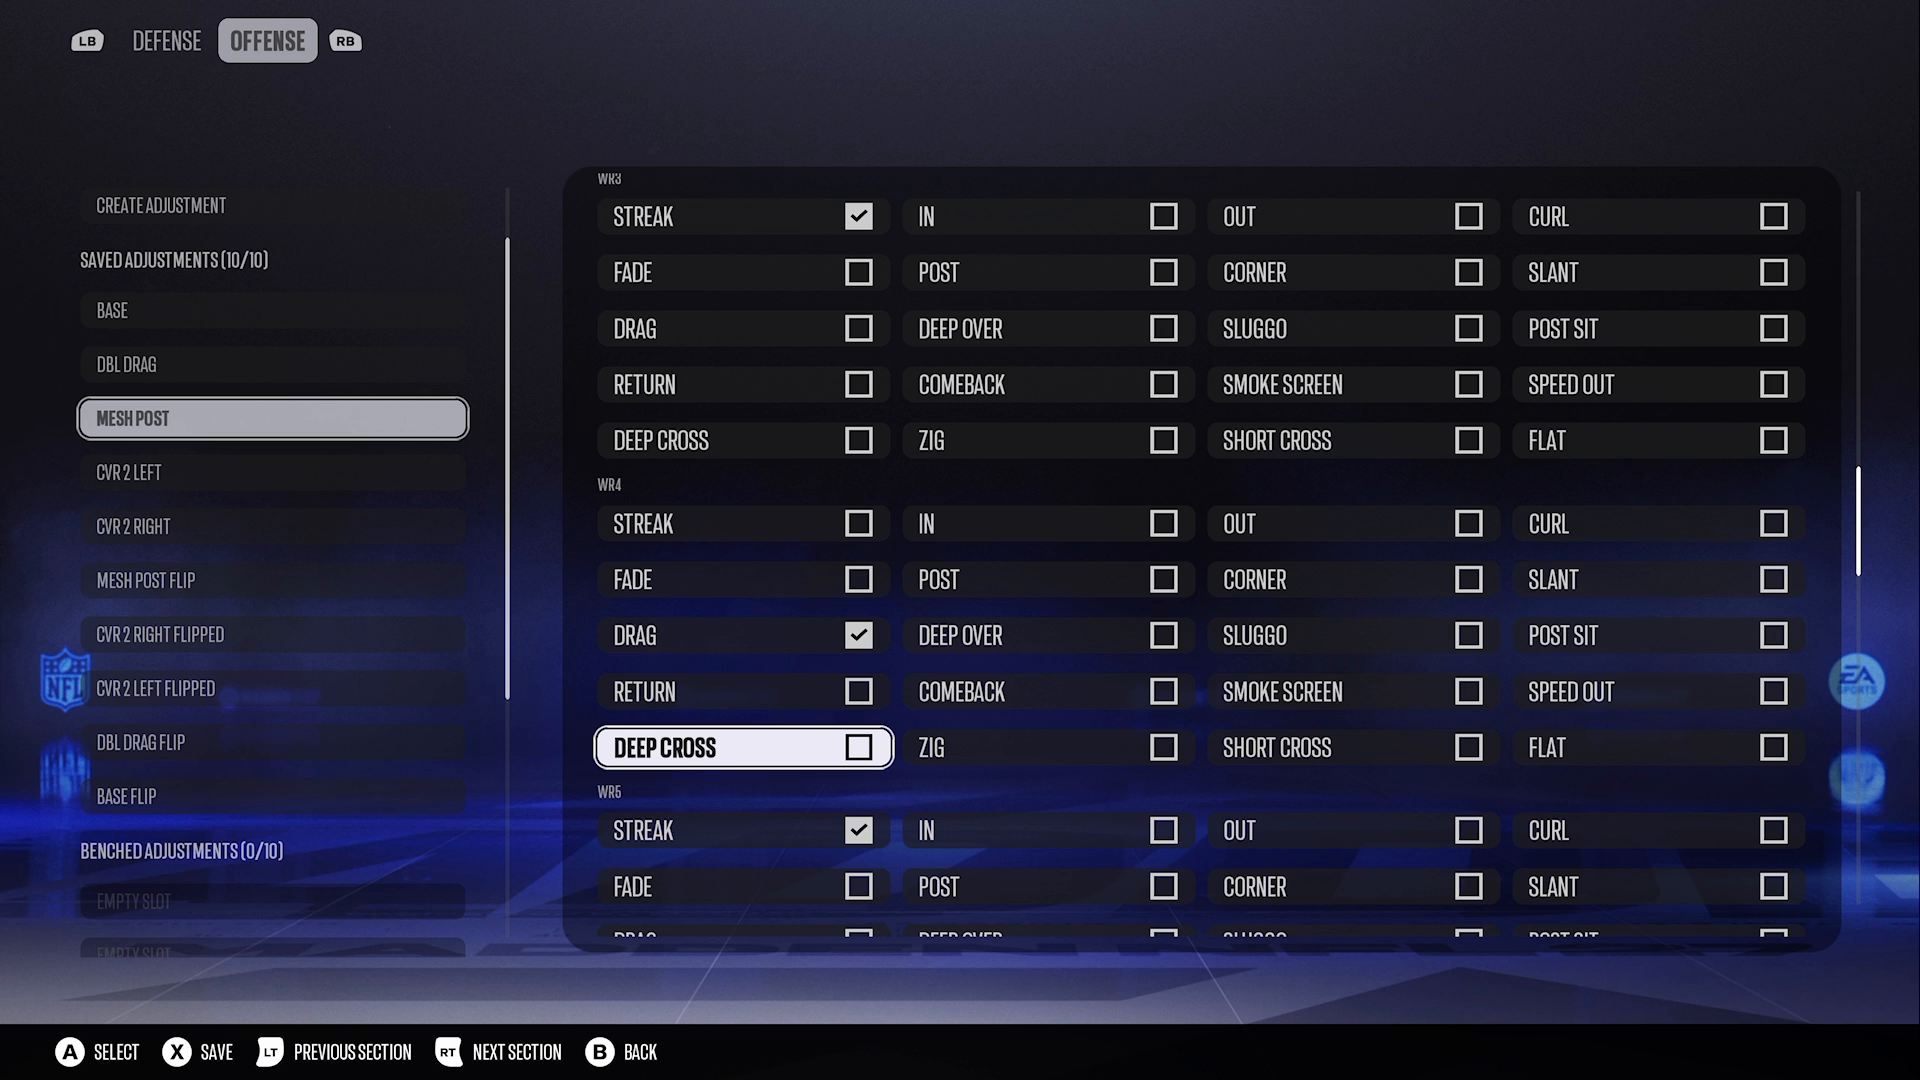
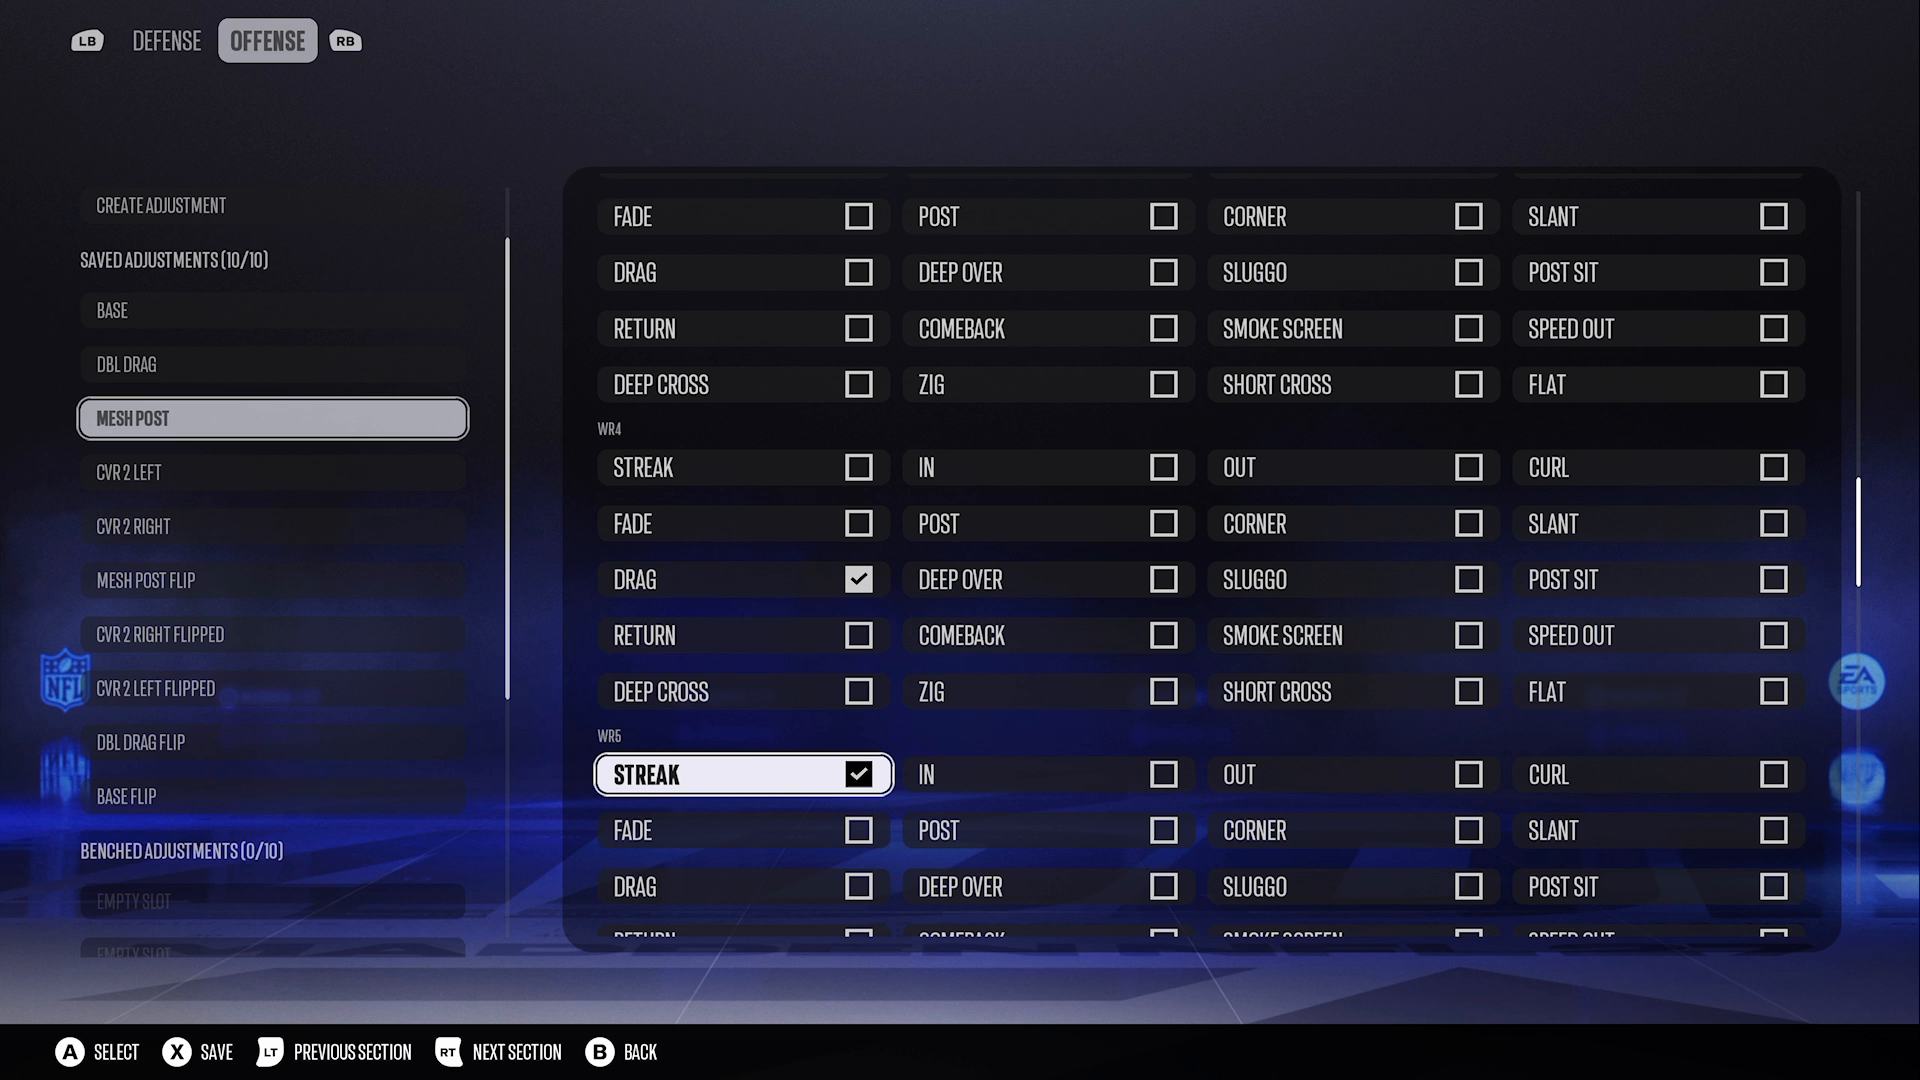
Next, edit the routes to optimize your offense. Assign R1 to a return route, R2 to a post route, and have the slot receivers run streaks while adding a middle drag to create opportunities. Visualizing your plays using the 16 Spaces System will help you identify the openings in the defense, making it easier to execute your strategy effectively.
Utilizing the Return Route Window
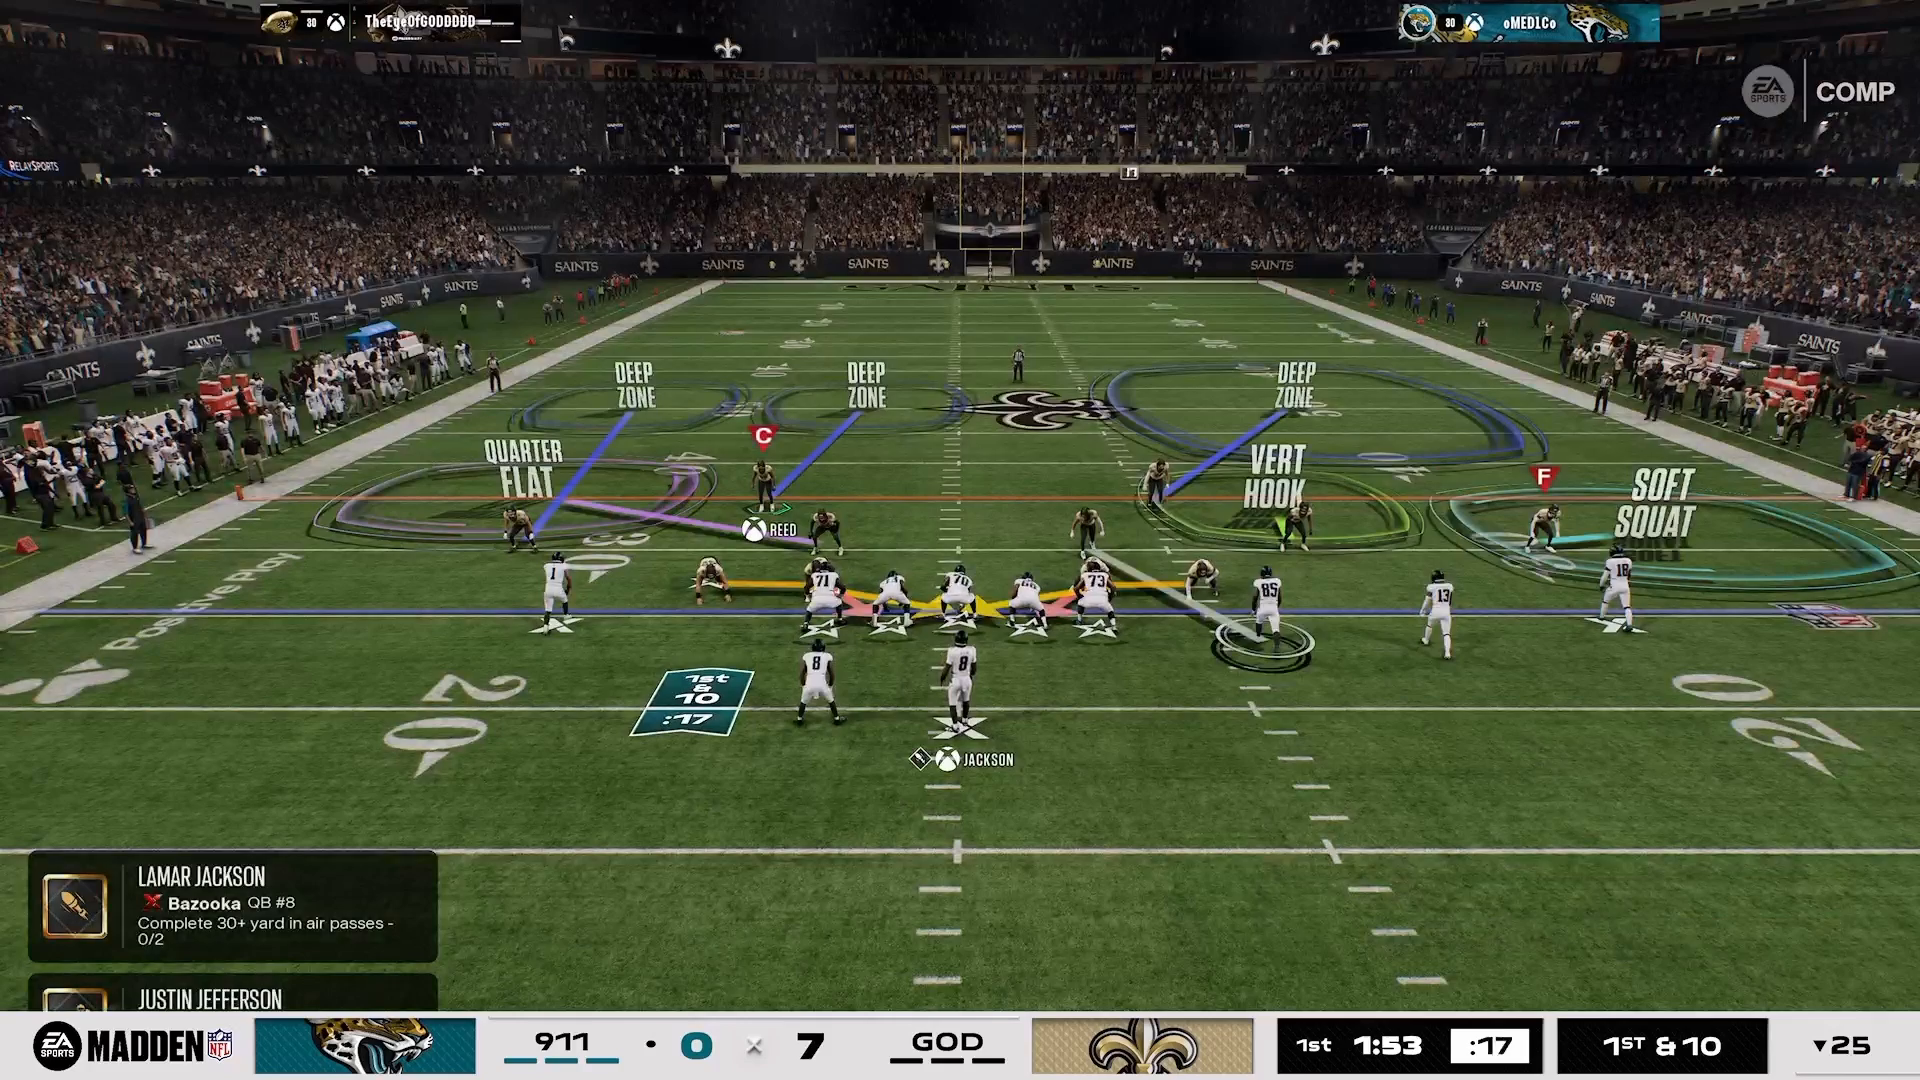
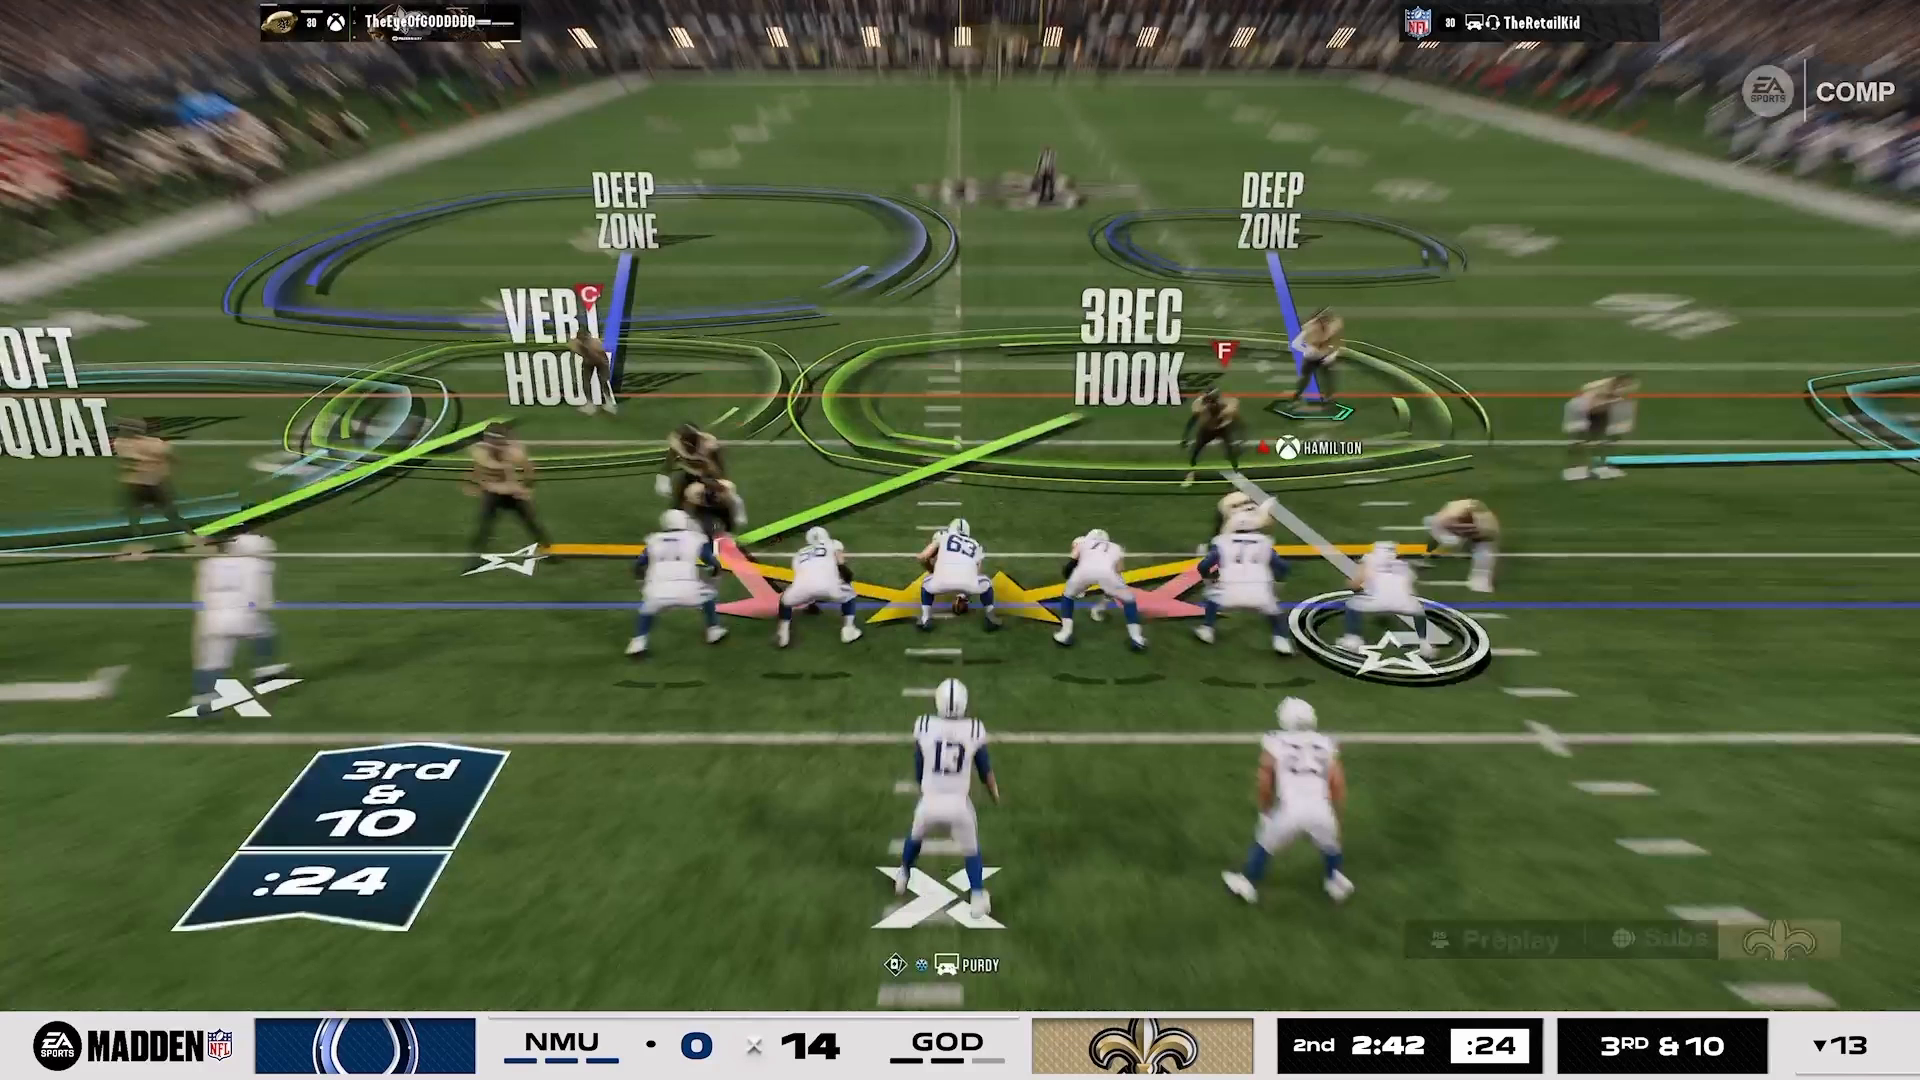
Now that your setup is complete, focus on the return route window. Place WR1 on a return route, which is key for exploiting the defensive alignment. When the outside quarter backs off vertically, the sideline will be vacated, providing a perfect opportunity to throw it like a speed out for approximately 15 yards.
This approach is a classic example of a 16 Spaces read, allowing you to maximize your yardage while putting pressure on the defense to adjust. The ability to recognize these windows is what separates good players from great ones.
Executing Post Routes with Clearouts
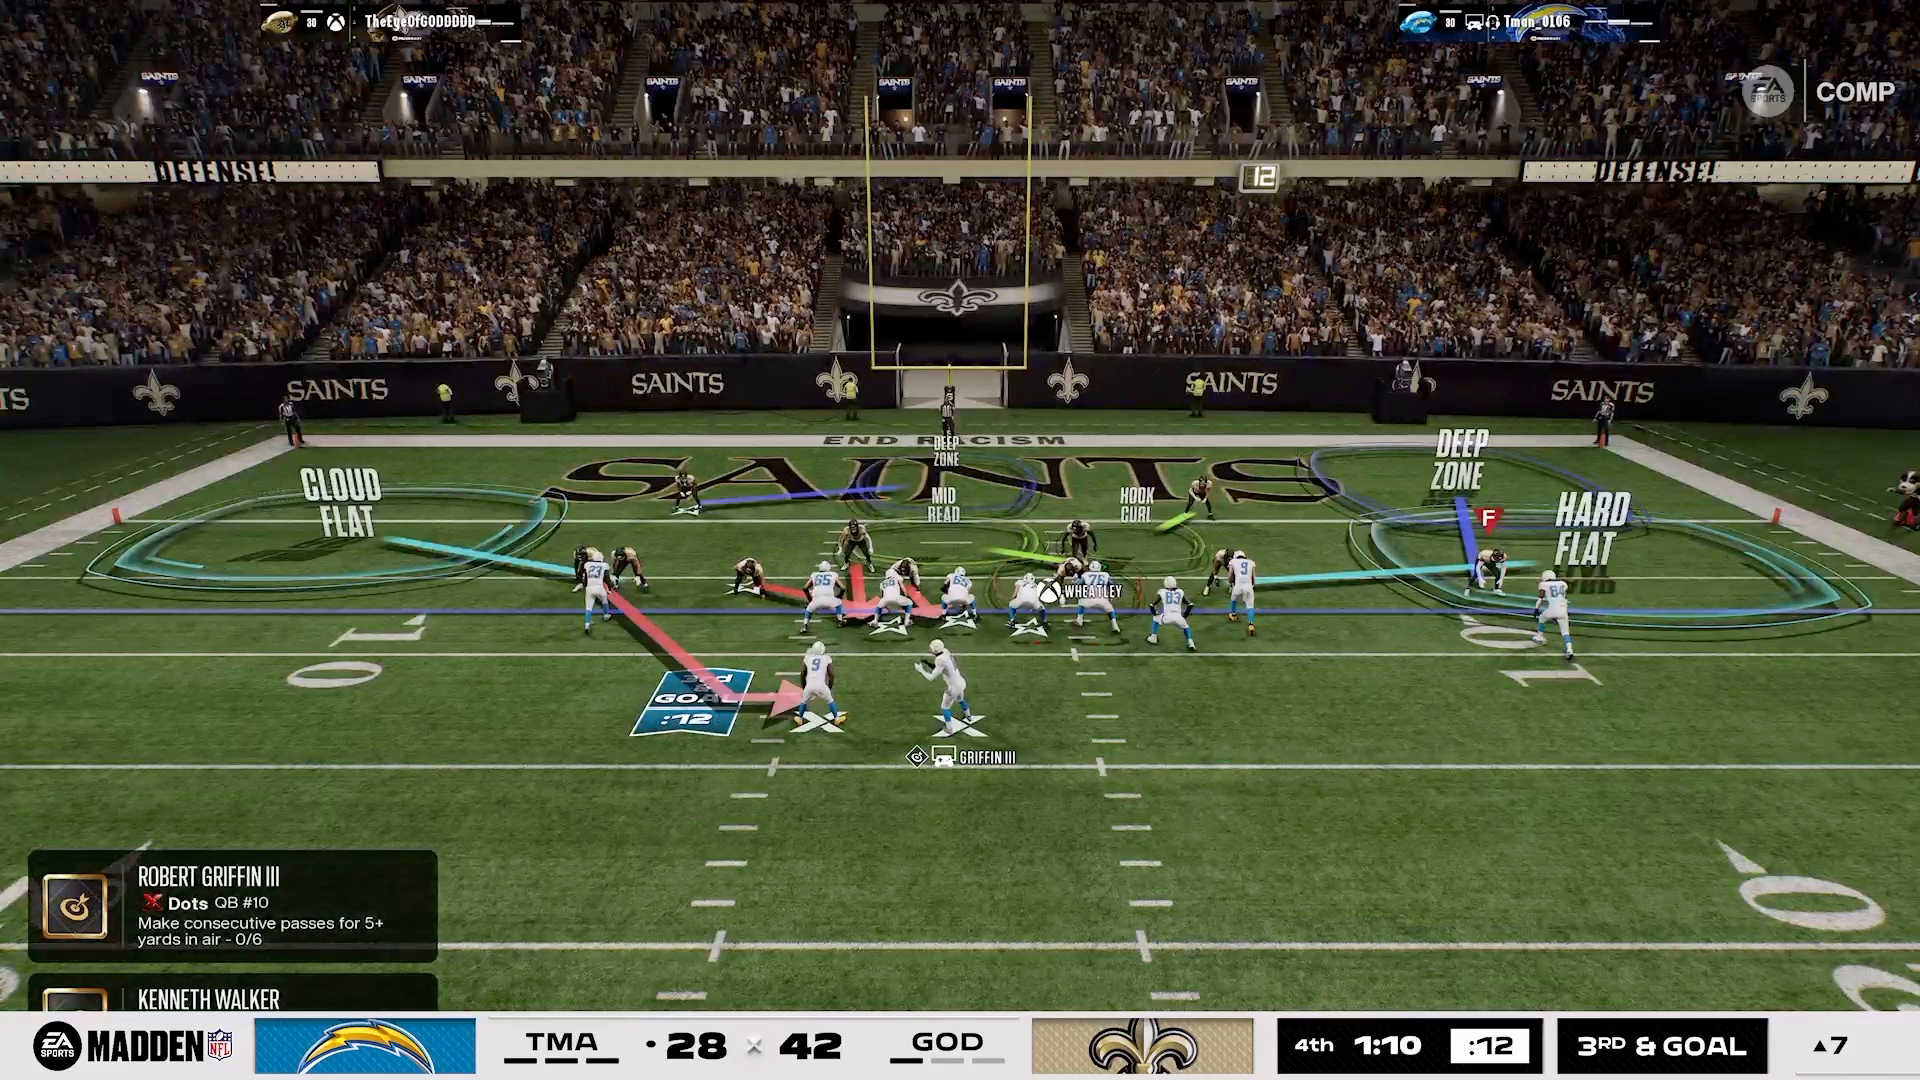
To enhance your passing attack, keep WR2 running a sharp post route. This creates a critical separation against man or match coverage, especially when you streak the slot receivers and bunch them together. This strategic alignment pushes the matching quarters back, giving your post route more room to operate.
With an 85 medium route run rating, your receiver will have the skills necessary to break free from coverage. Utilize Madden Academy’s 16 Spaces to learn the optimal timing for throwing the post, ensuring you hit your target accurately and effectively.
Understanding Why the Drag Works
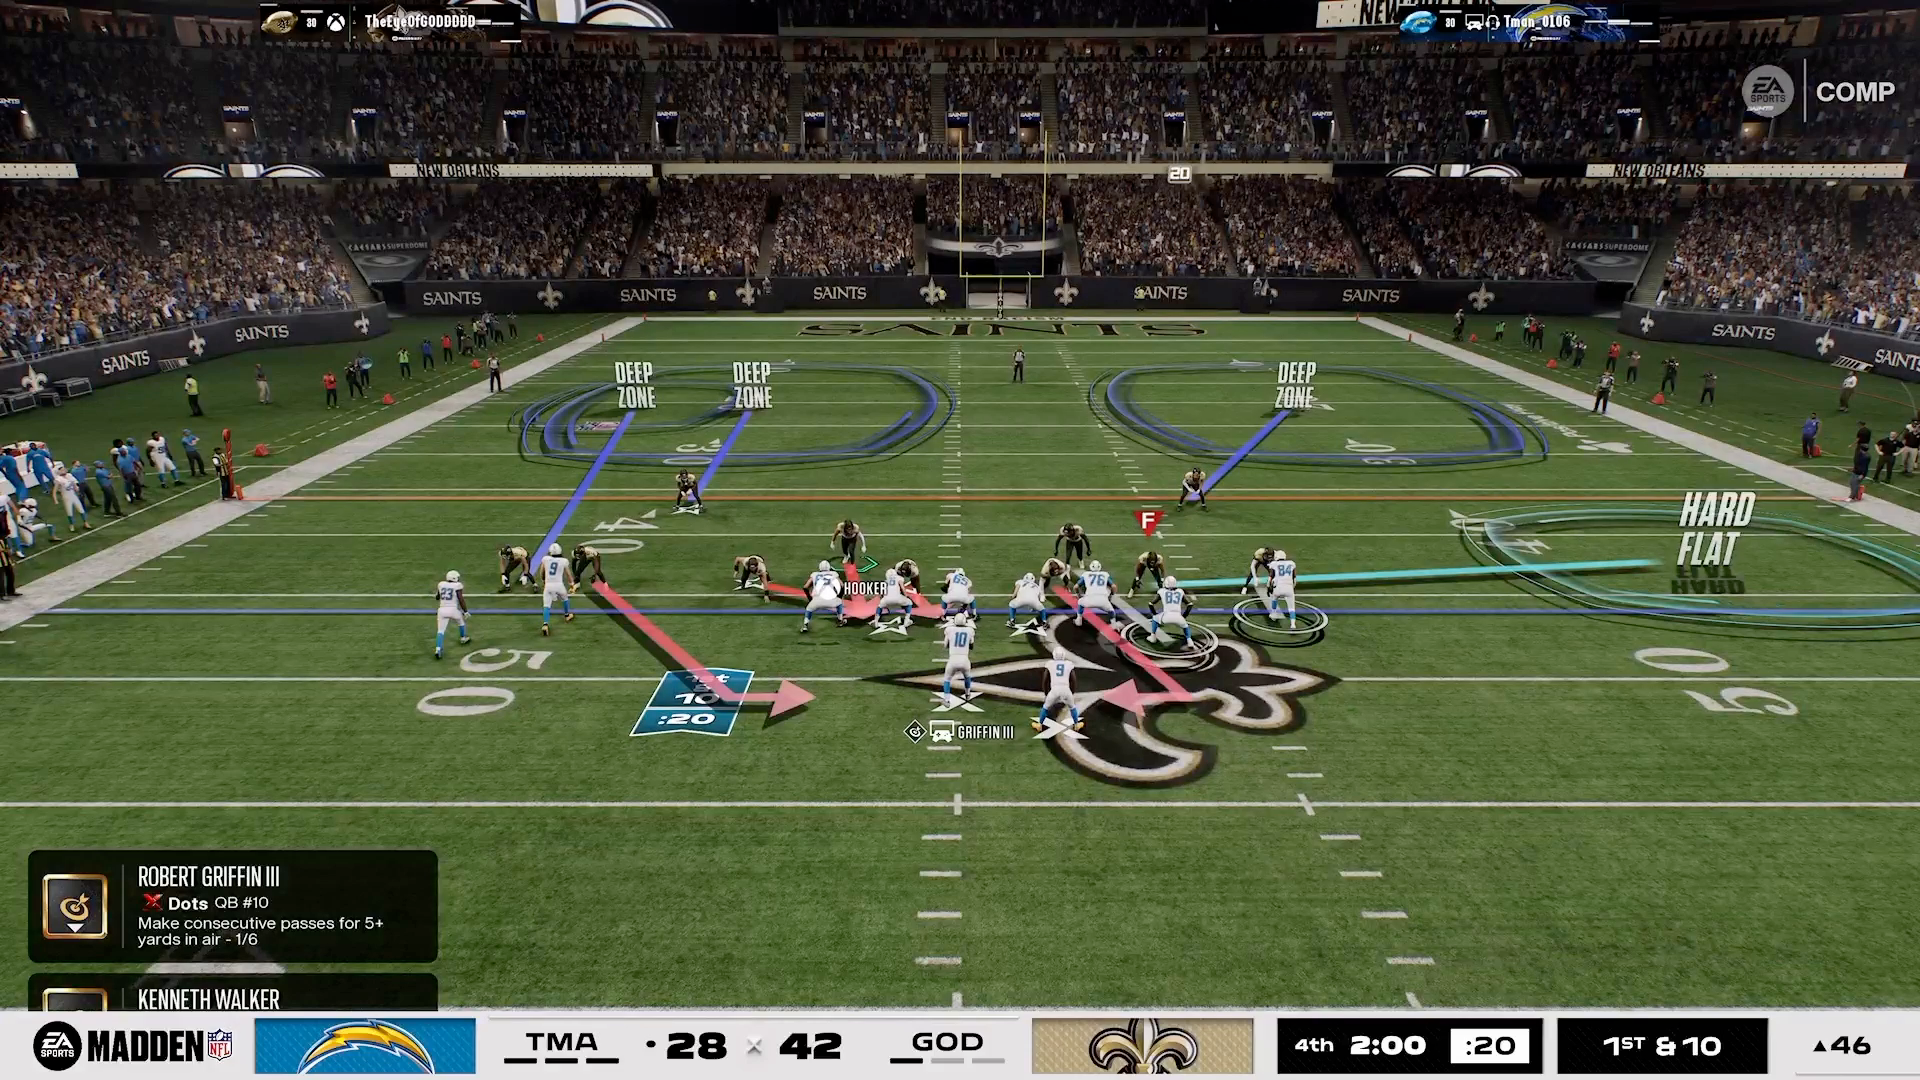
The drag route is often overlooked, but it can be incredibly effective when executed correctly. Place the middle receiver in the bunch on a drag route. Quarter flats typically guard the sideline, which means they often neglect the inside drag route. This misalignment creates a significant opportunity for you.
When dragging the slot receiver instead of the tight end, you create a wider lane, allowing for more yards after the catch. This is a prime example of how the 16 Spaces System can help you exploit defensive weaknesses and maximize your offensive efficiency.
Leveling Up with Counters
As you master this offensive strategy, it’s crucial to anticipate how good users will respond. A common counter is that savvy players will man the outside corner on the return route, potentially closing the window for that play. When they do, it’s time to pivot and explore the next macro strategy.
Instead of merely copying macros, invest time in understanding the 16 Spaces and creating your own plays. This will elevate your game to new heights. The 1-on-1 coaching with Manu can provide personalized guidance, helping you learn how to design effective tactics that fit your unique play style.
Conclusion
Mastering the Tampa Bay offense in Madden 27 isn’t just about memorizing plays; it’s about understanding the strategies behind them. By leveraging the 16 Spaces System, you can elevate your game and outsmart your opponents. For those ready to take their skills to the next level, consider exploring more Madden tips or even signing up for the Grandmaster 27 lifetime membership to access an array of resources designed to make you a smarter player.