Unleashing Effective Blitzes in Madden NFL 27
In Madden NFL 27, mastering the art of blitzing can turn the tide of a game. Effective blitz setups not only apply pressure on your opponent’s quarterback but also disrupt their offensive rhythm. Whether you’re a seasoned player or just getting started, understanding how to set up various blitzes can elevate your defensive game. Here’s how you can set up every blitz effectively, ensuring you keep your opponents on their toes.
Navigating the Nickel 3-3 Cub Blitz
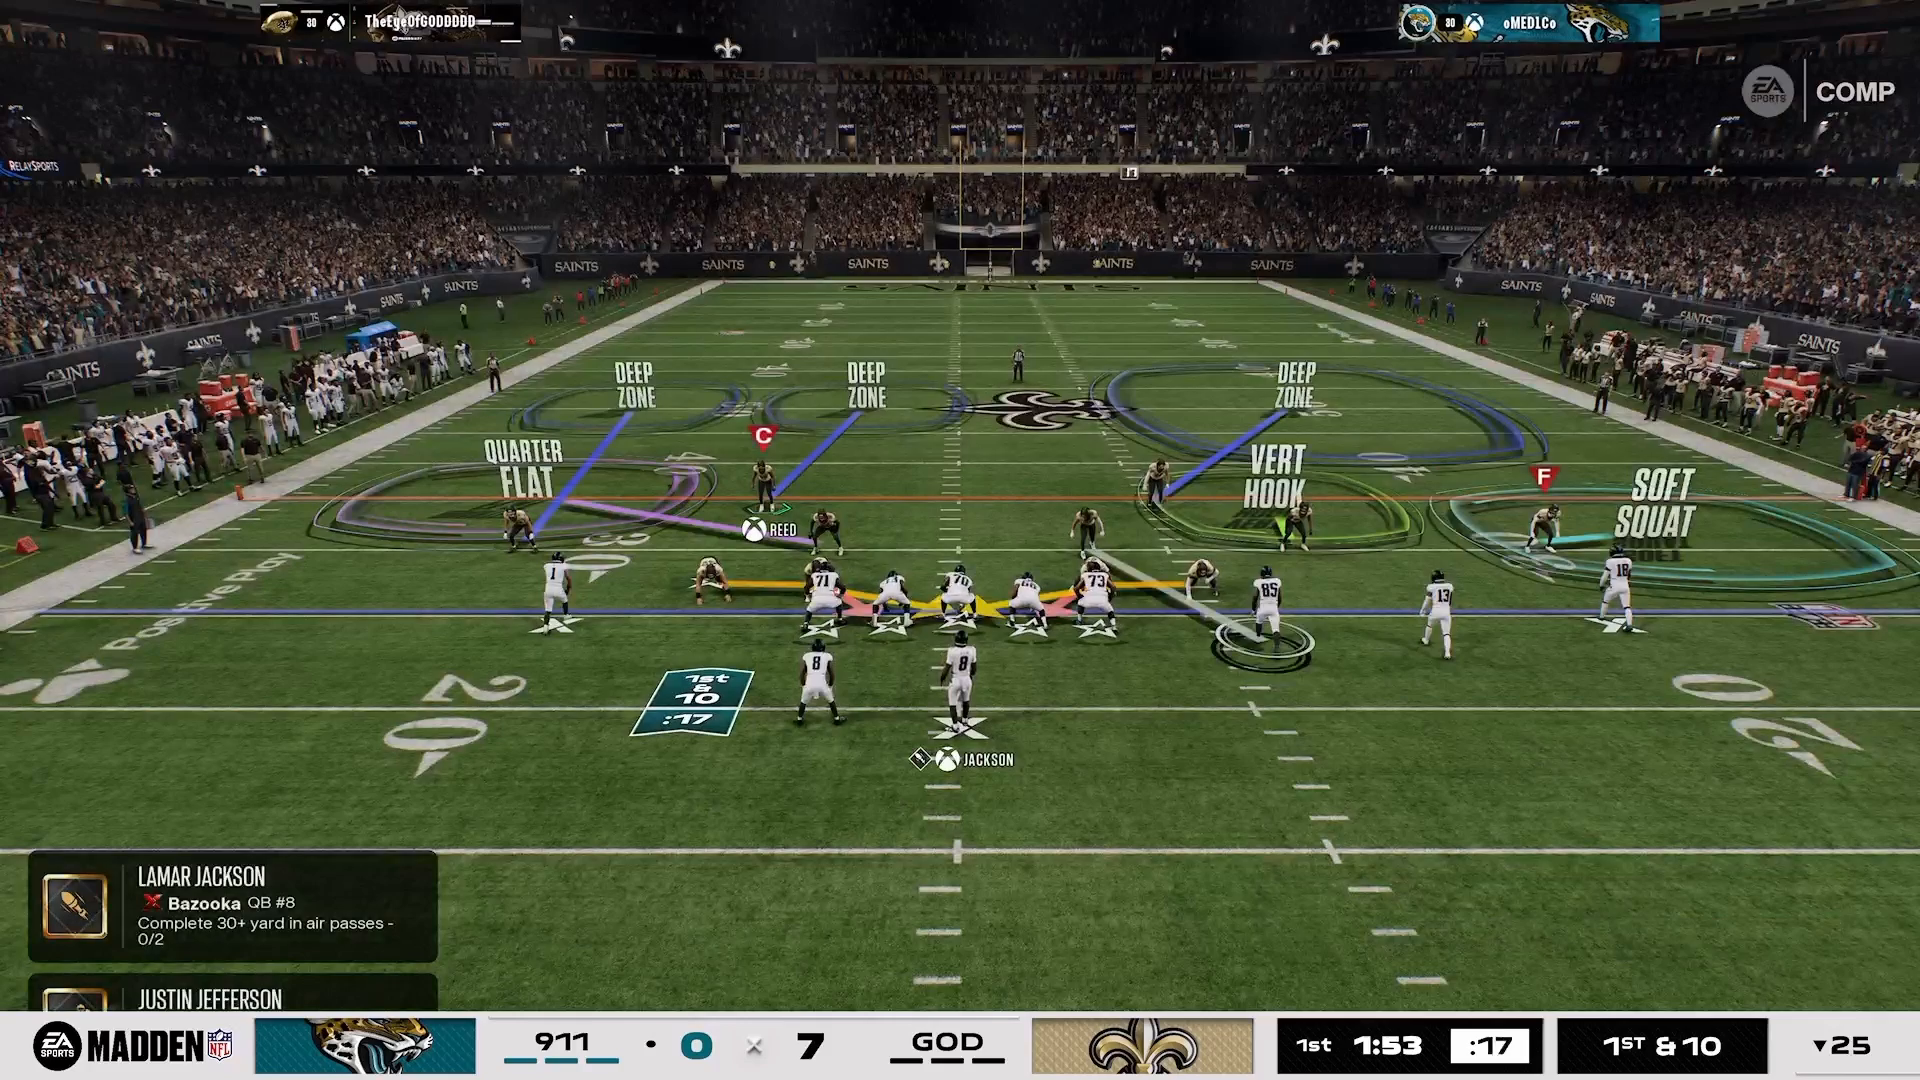
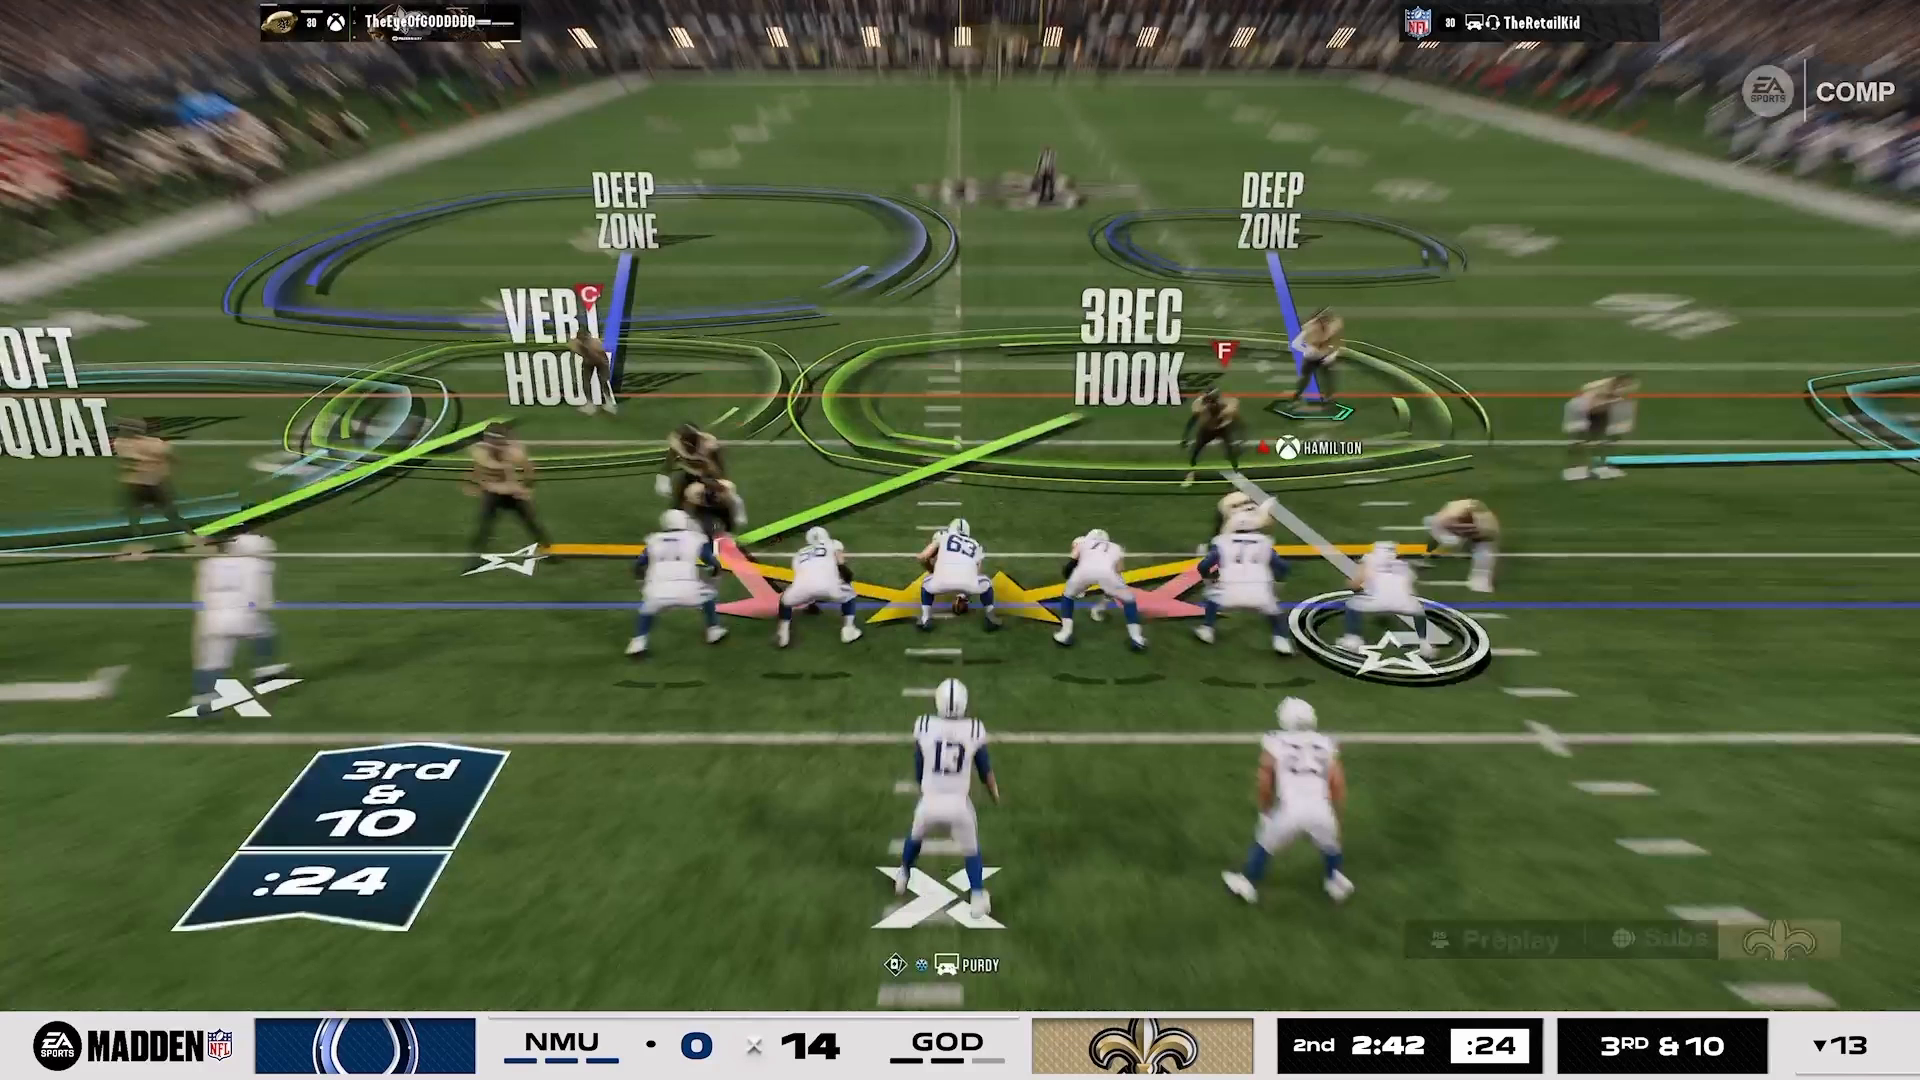
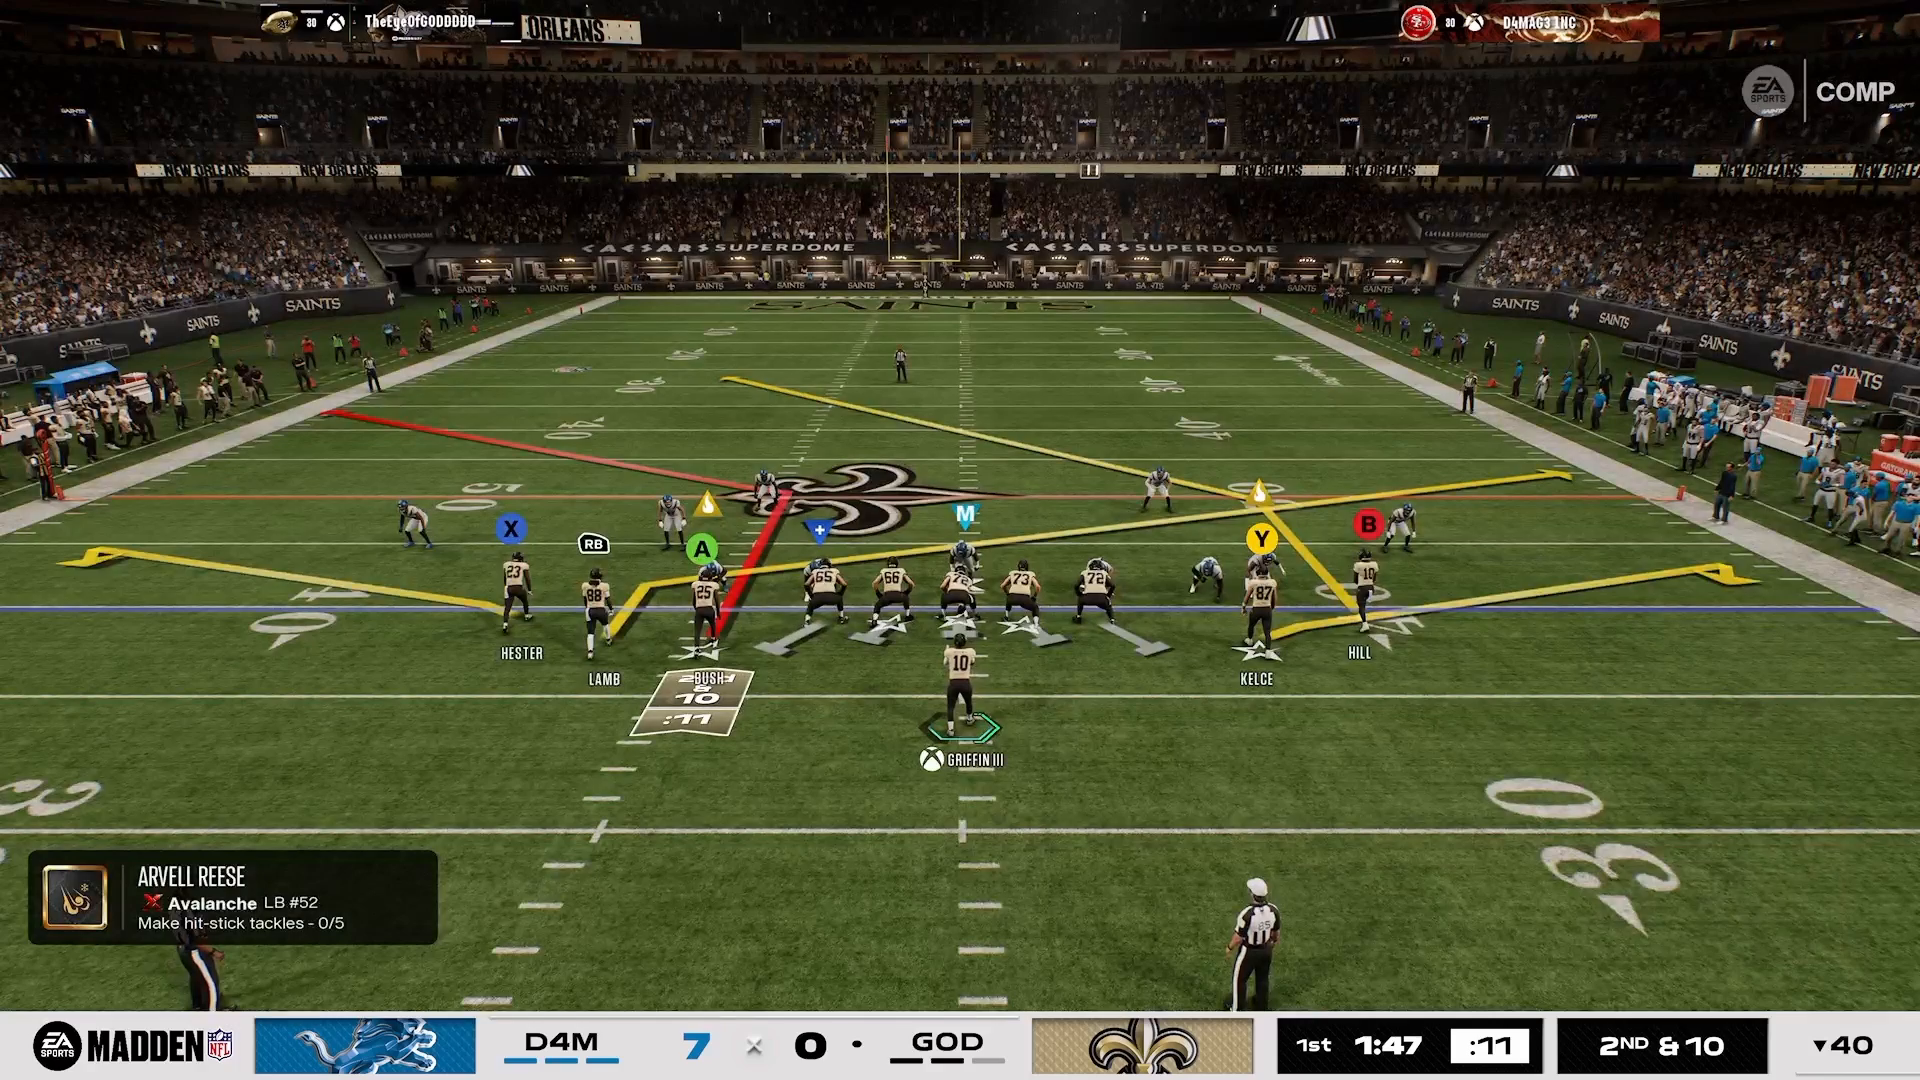
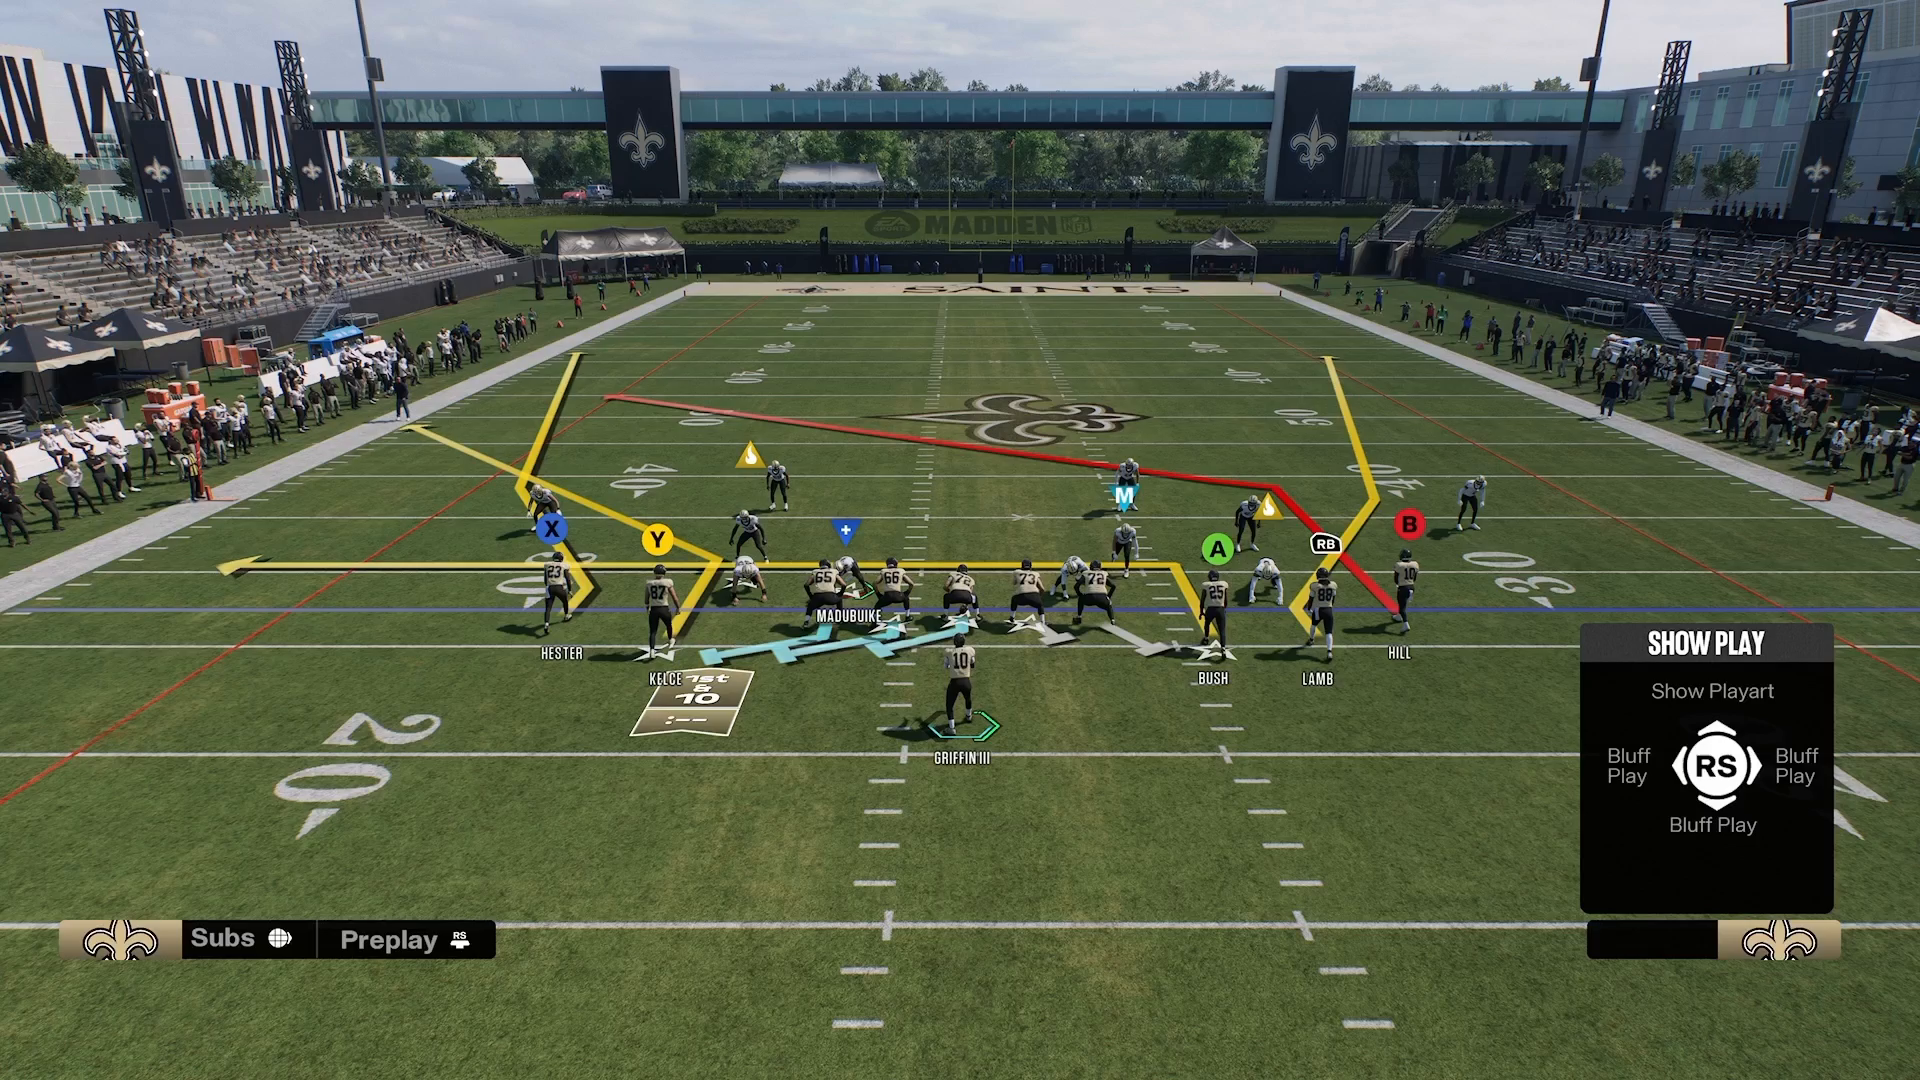
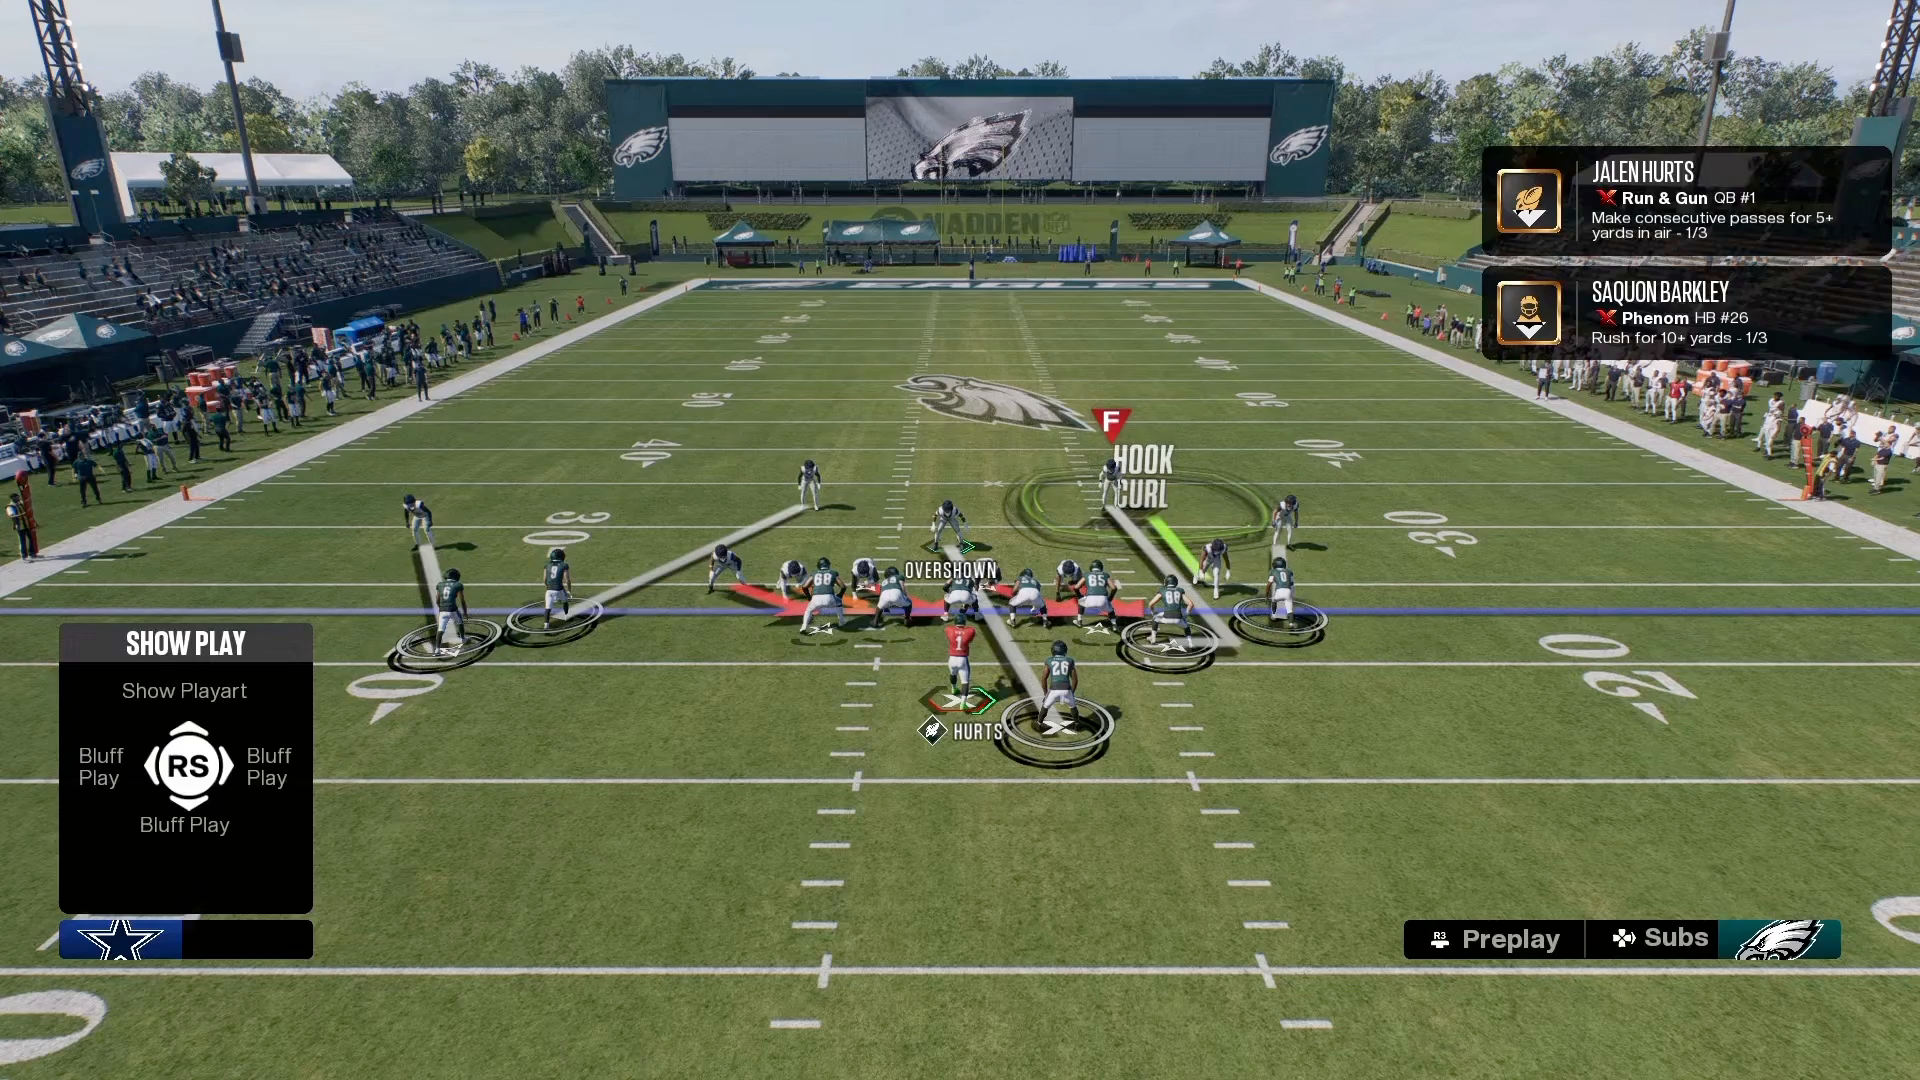
The Nickel 3-3 Cub formation is a staple in defensive playbooks. To maximize its effectiveness, start by changing the packages to the linebacker pass rush before selecting a play. This simple adjustment unlocks the ability to move your outside linebacker (OLB), allowing you to create immediate pressure on the quarterback. Remember the core concept of the 16 Spaces Playbook: focus on setting up your plays properly before execution. This methodical approach ensures you are ready when the snap occurs.
Implementing Drag & Contain for Pressure
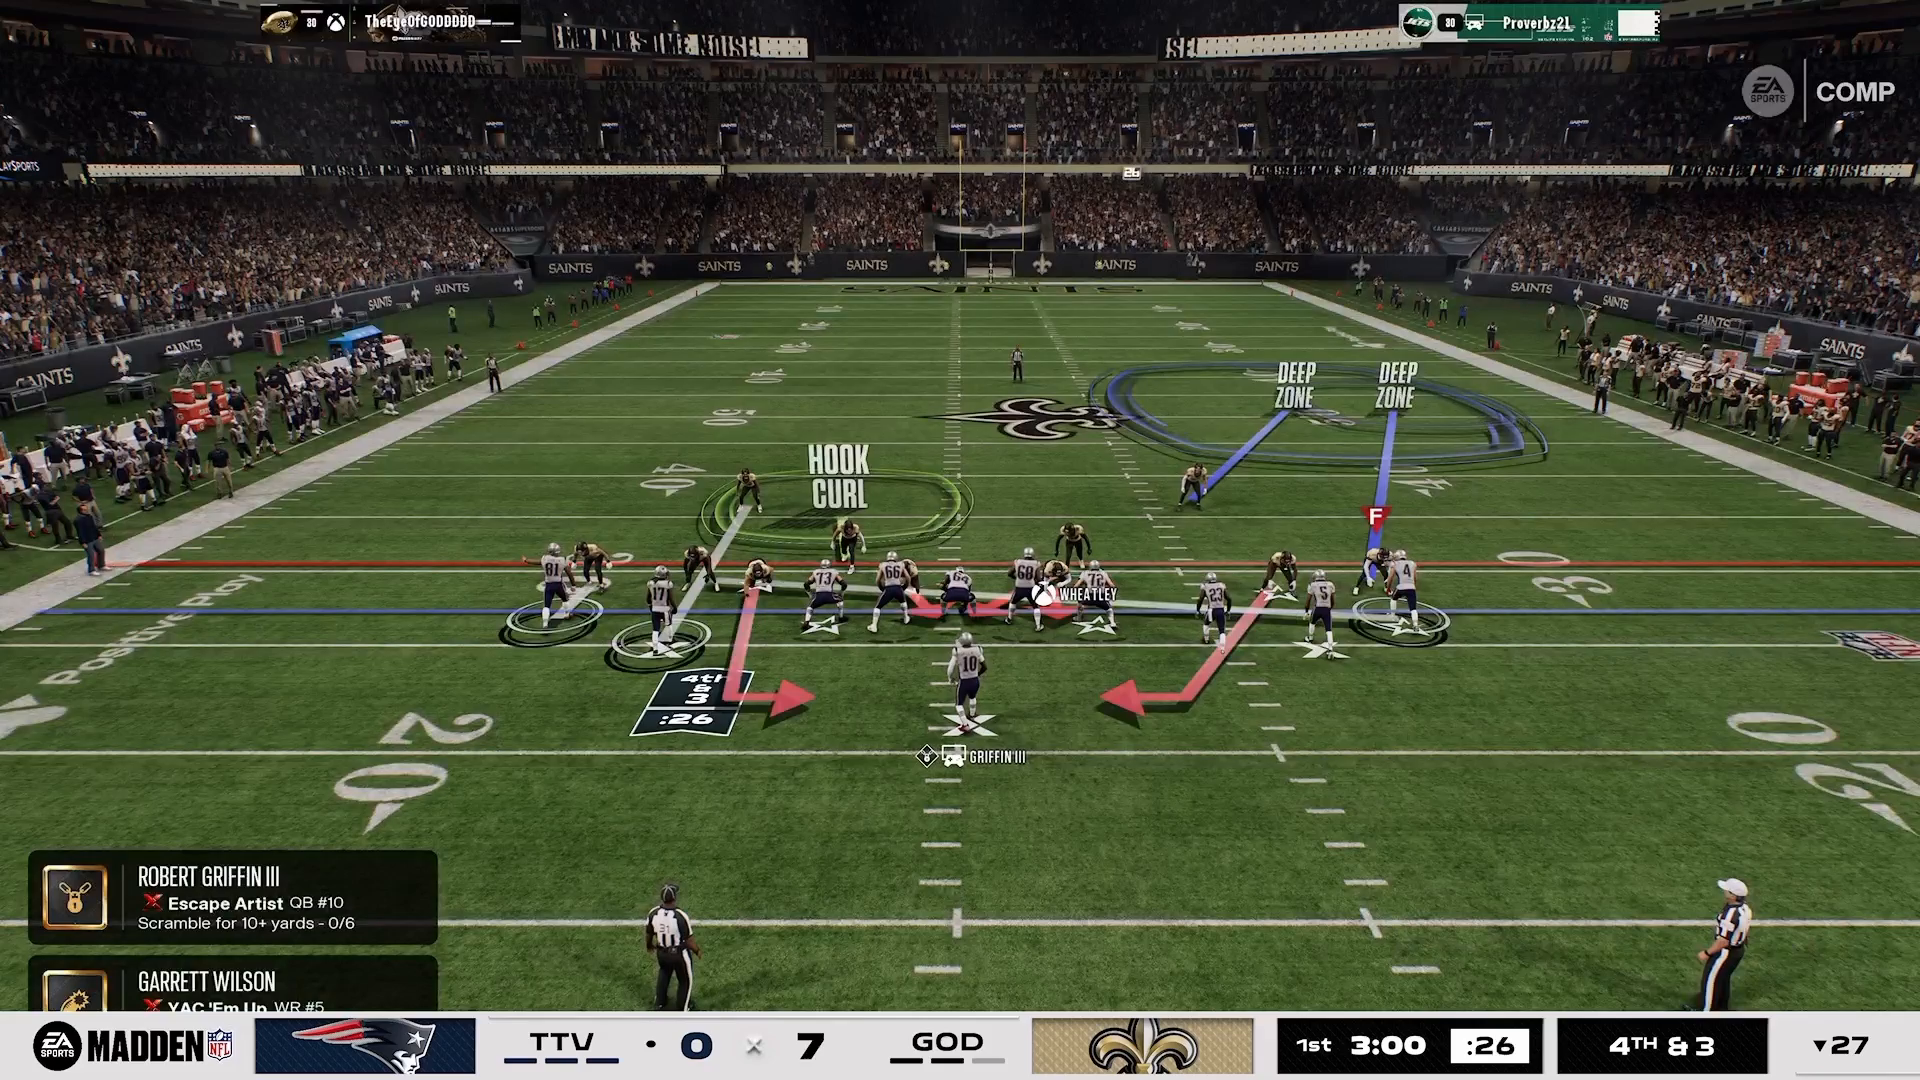
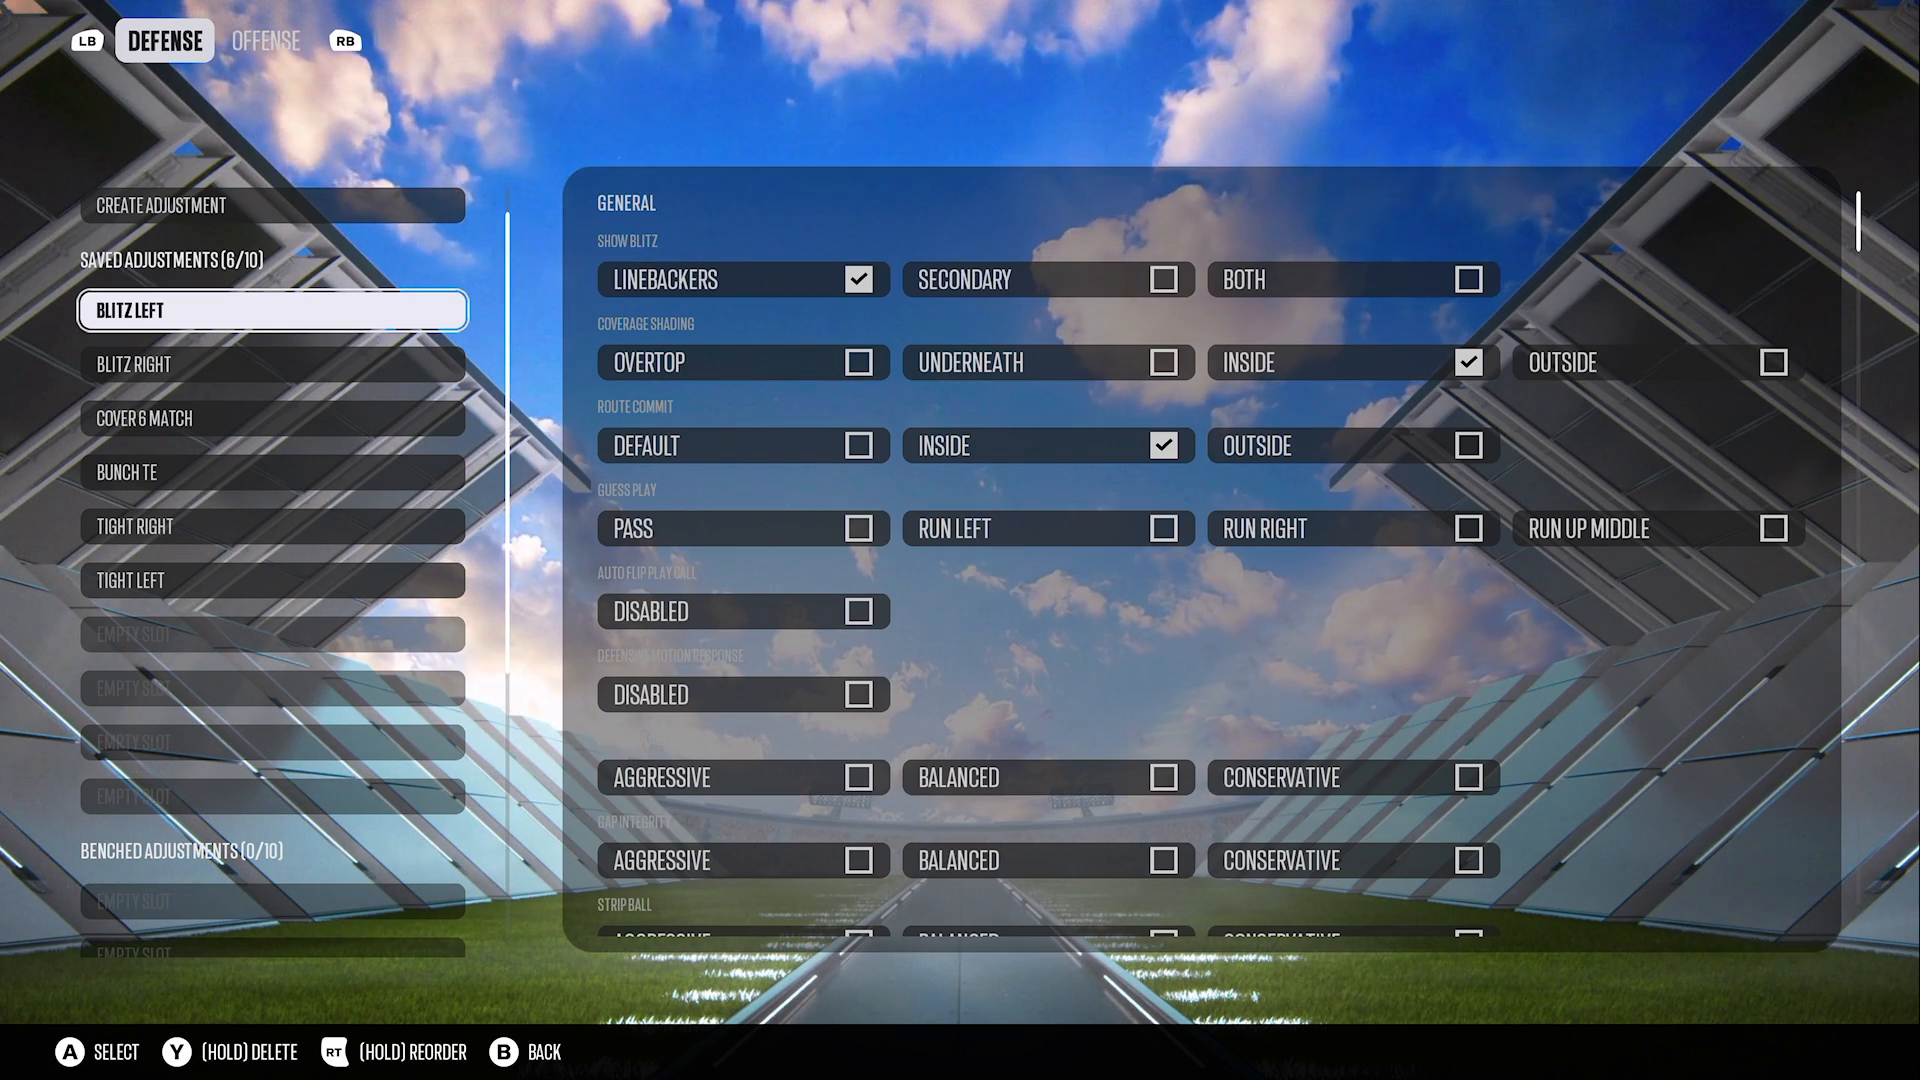
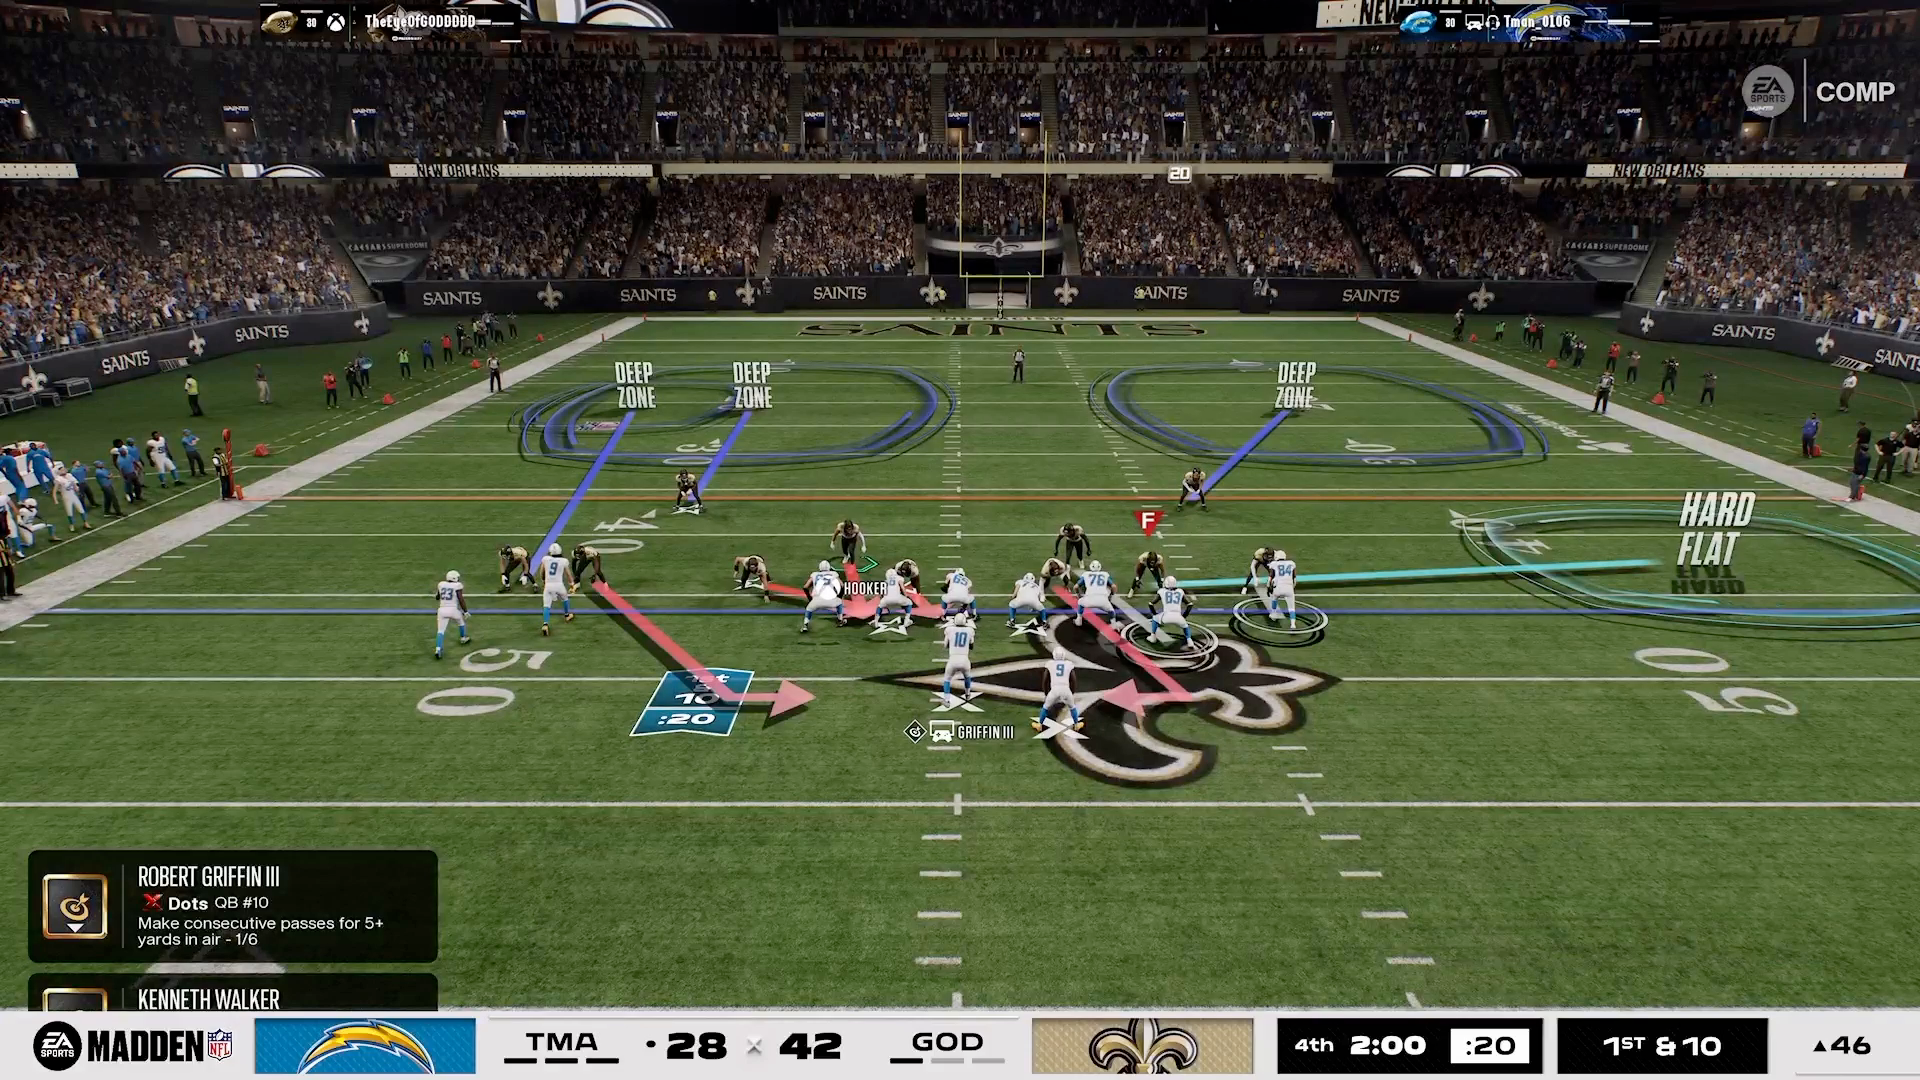
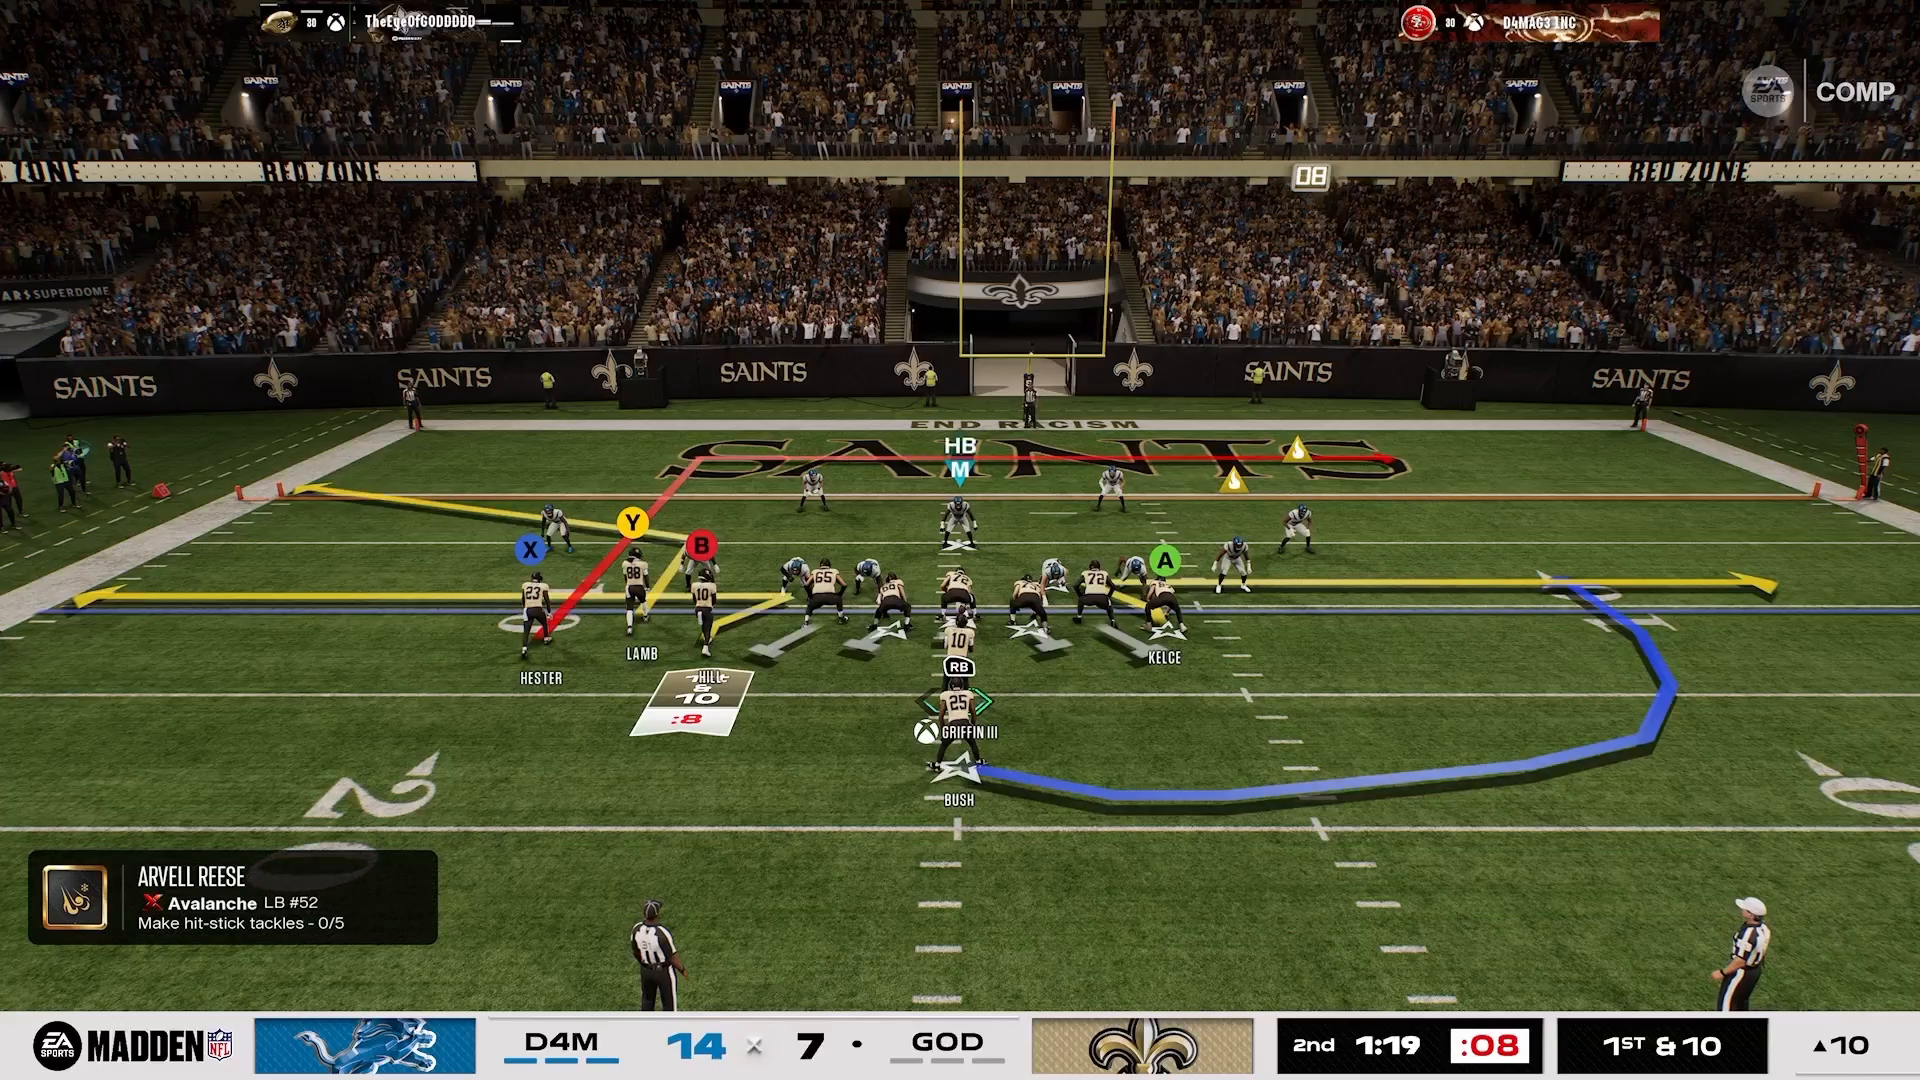
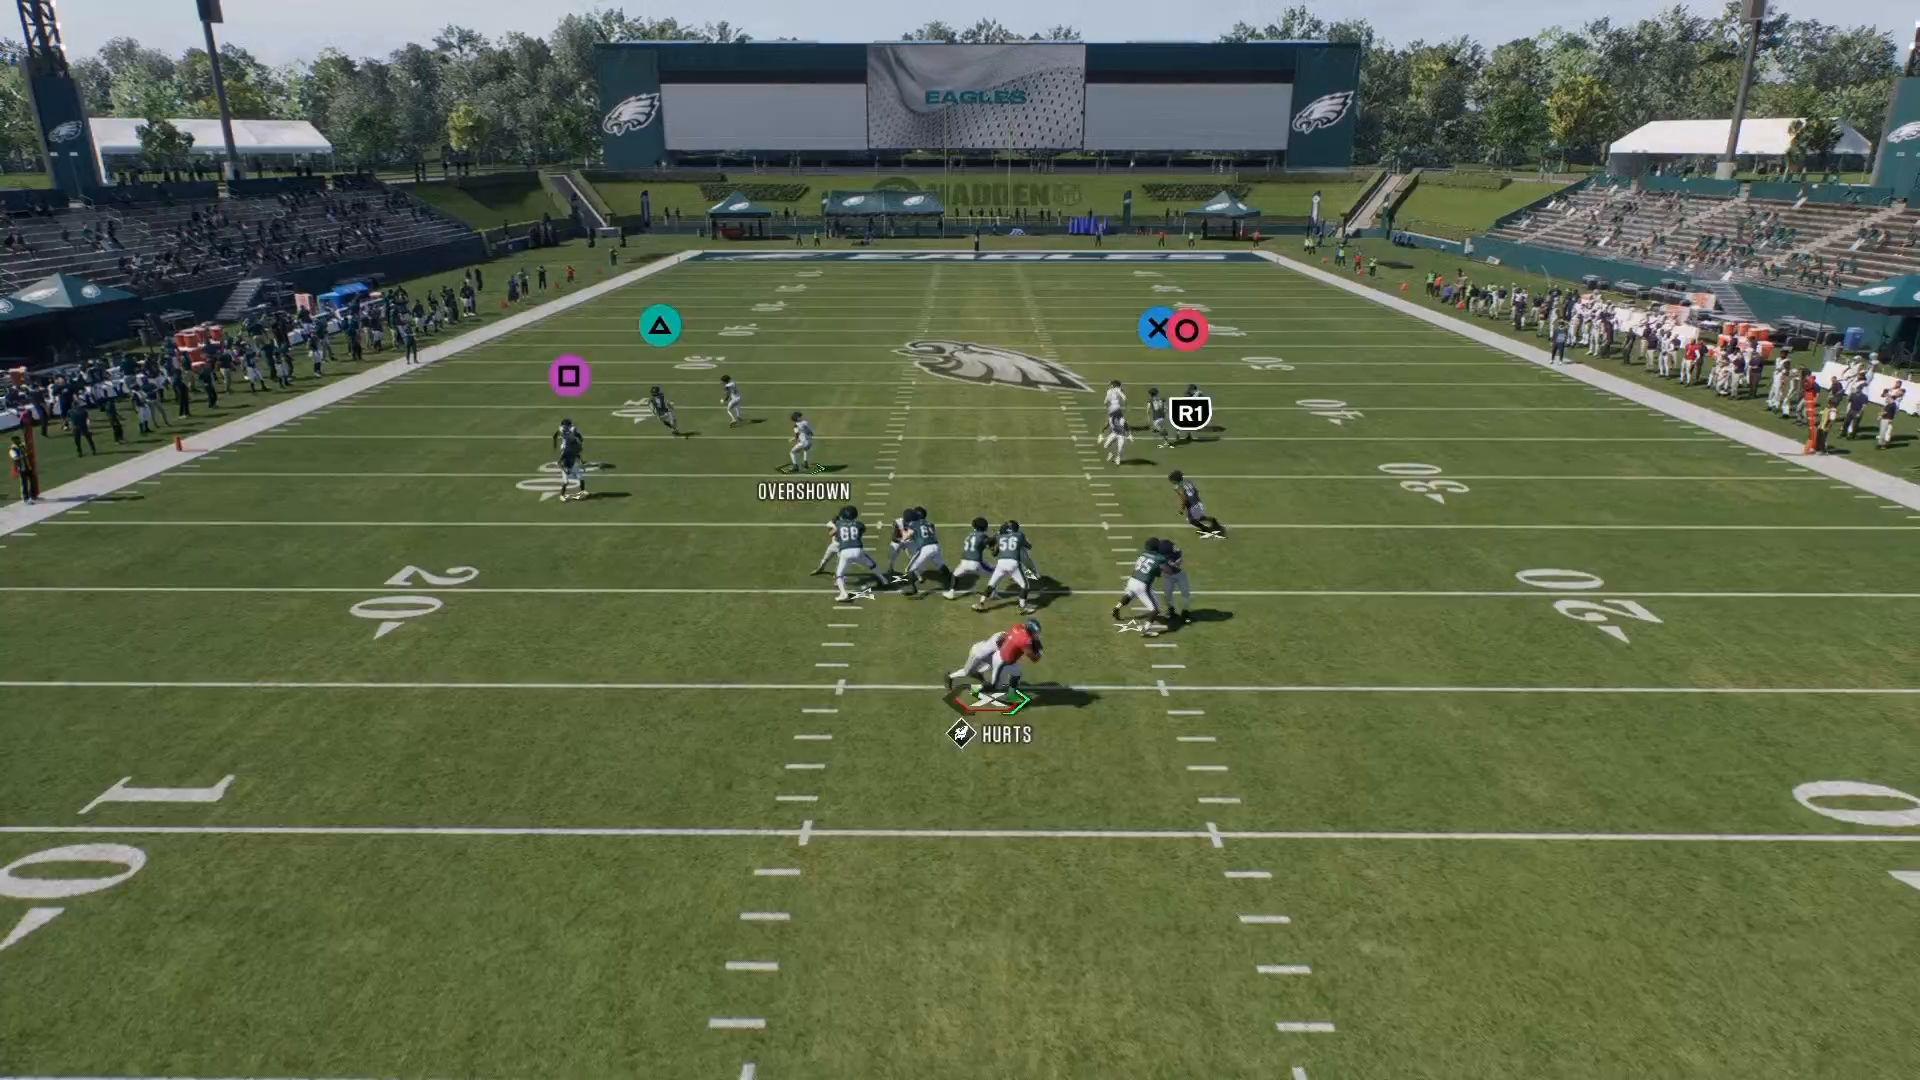
Another straightforward yet effective blitz is the Drag & Contain setup. Begin by dragging a linebacker out and setting him to contain the quarterback. This forces the quarterback to make rushed decisions as he feels the pressure closing in. Additionally, pinching your defensive line helps funnel the quarterback into the contained linebacker, enhancing your chances of a sack. The combination of pressure and spacing creates a scenario where defenders can thrive, a concept thoroughly explained in the 16 Spaces Playbook.
Using DB Fire 2 with Strategic Flips
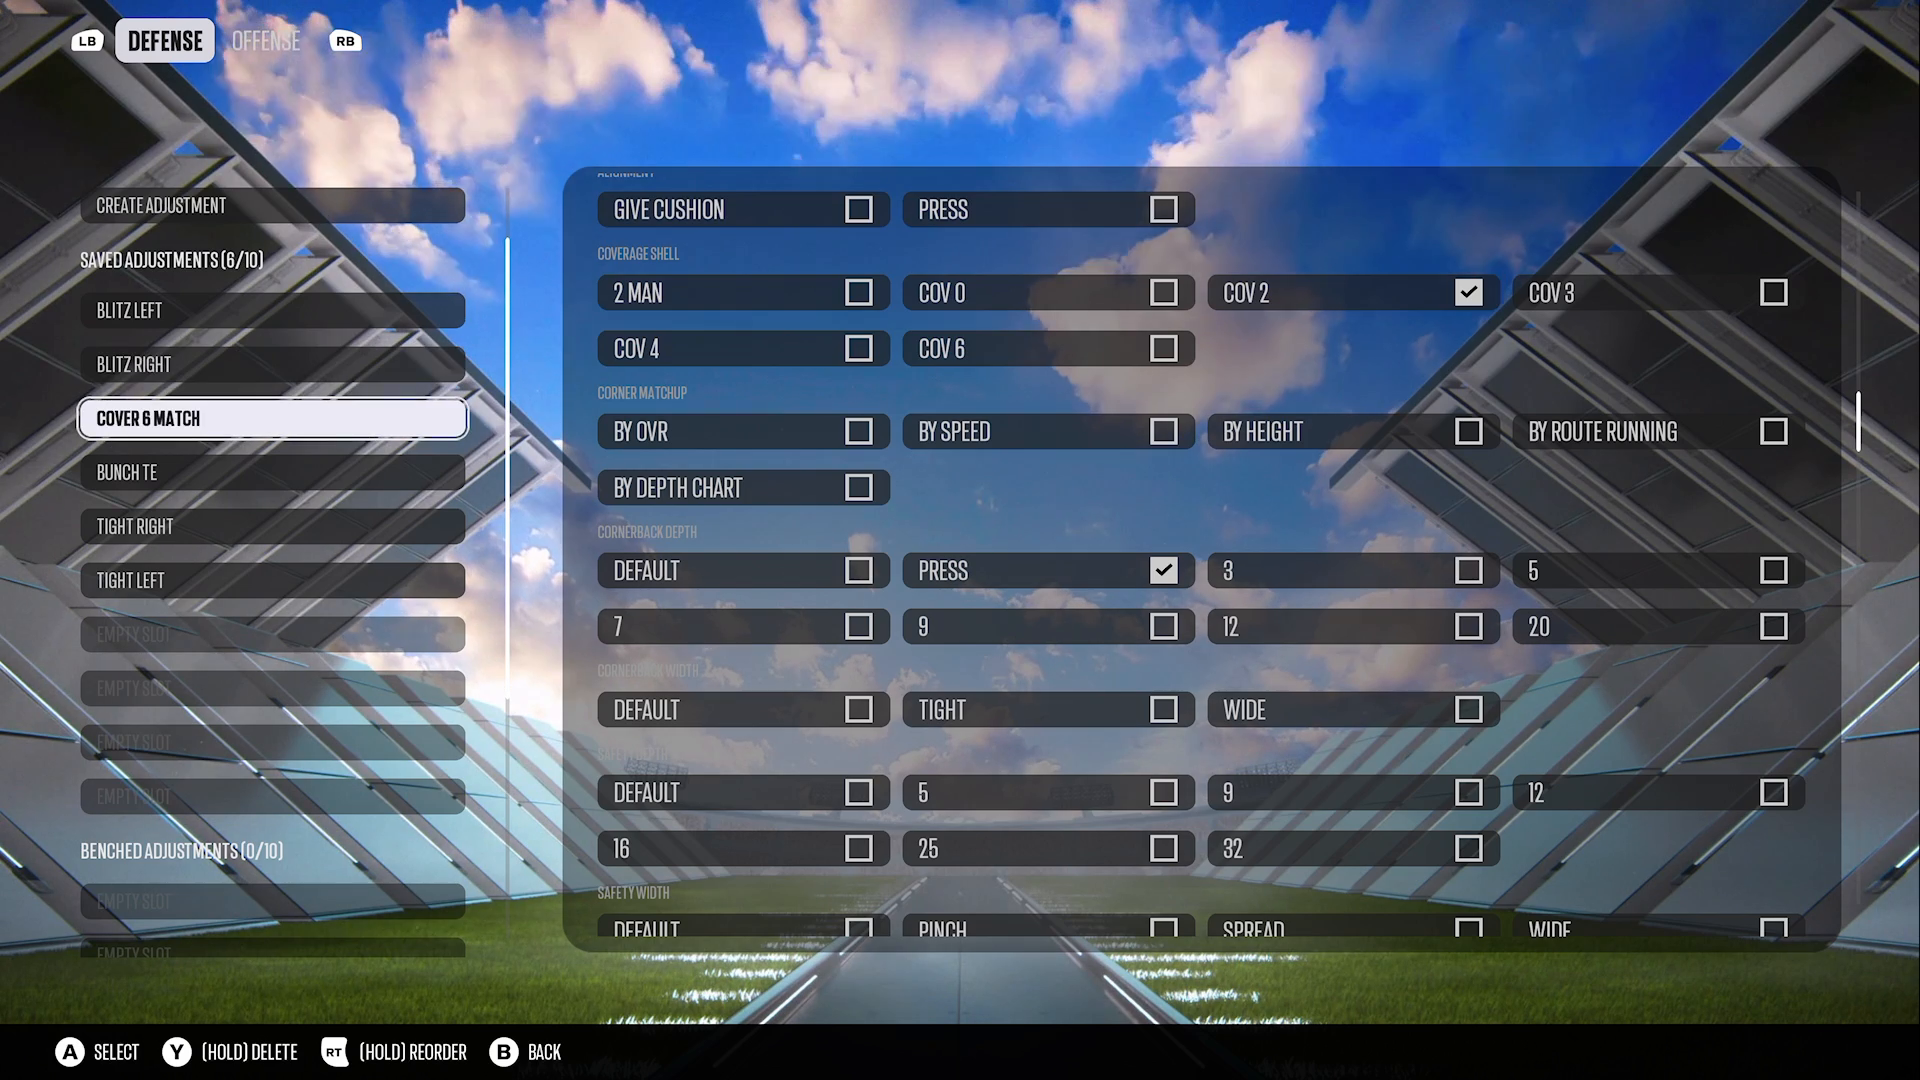
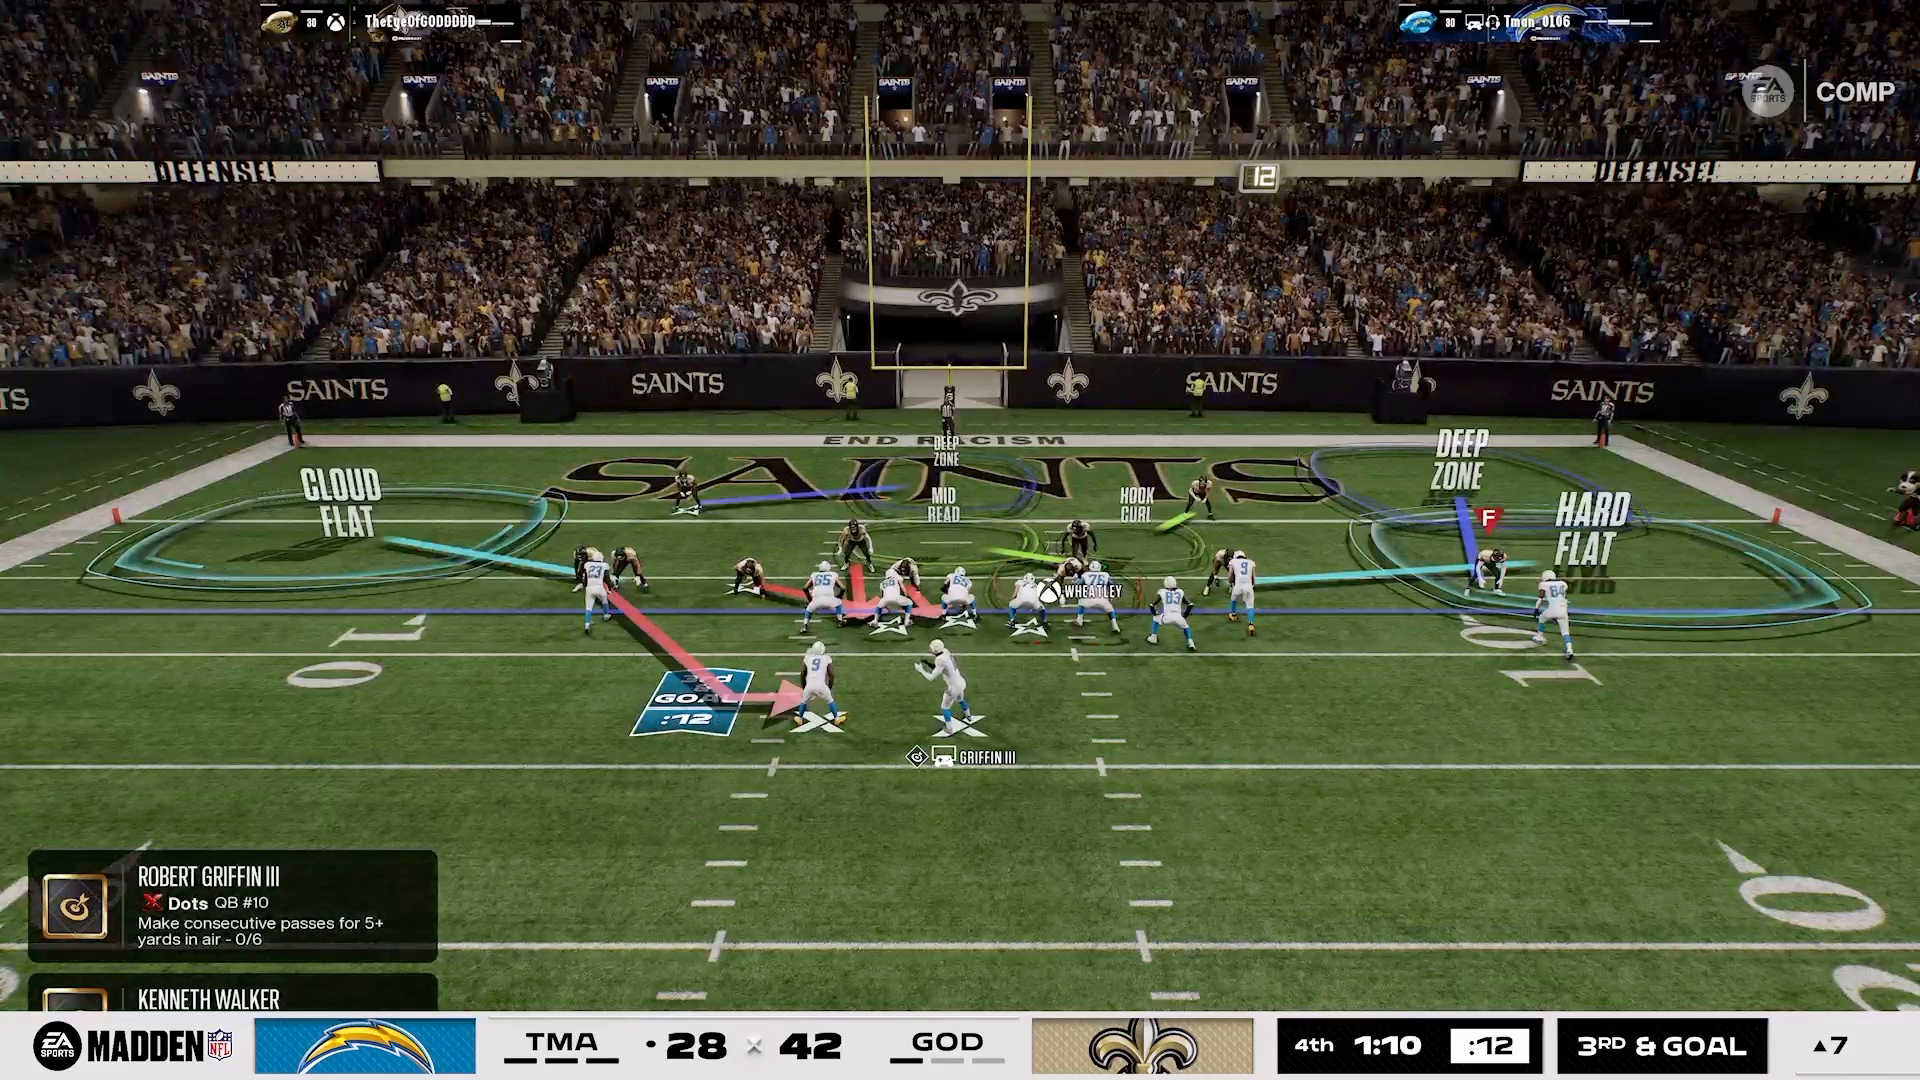
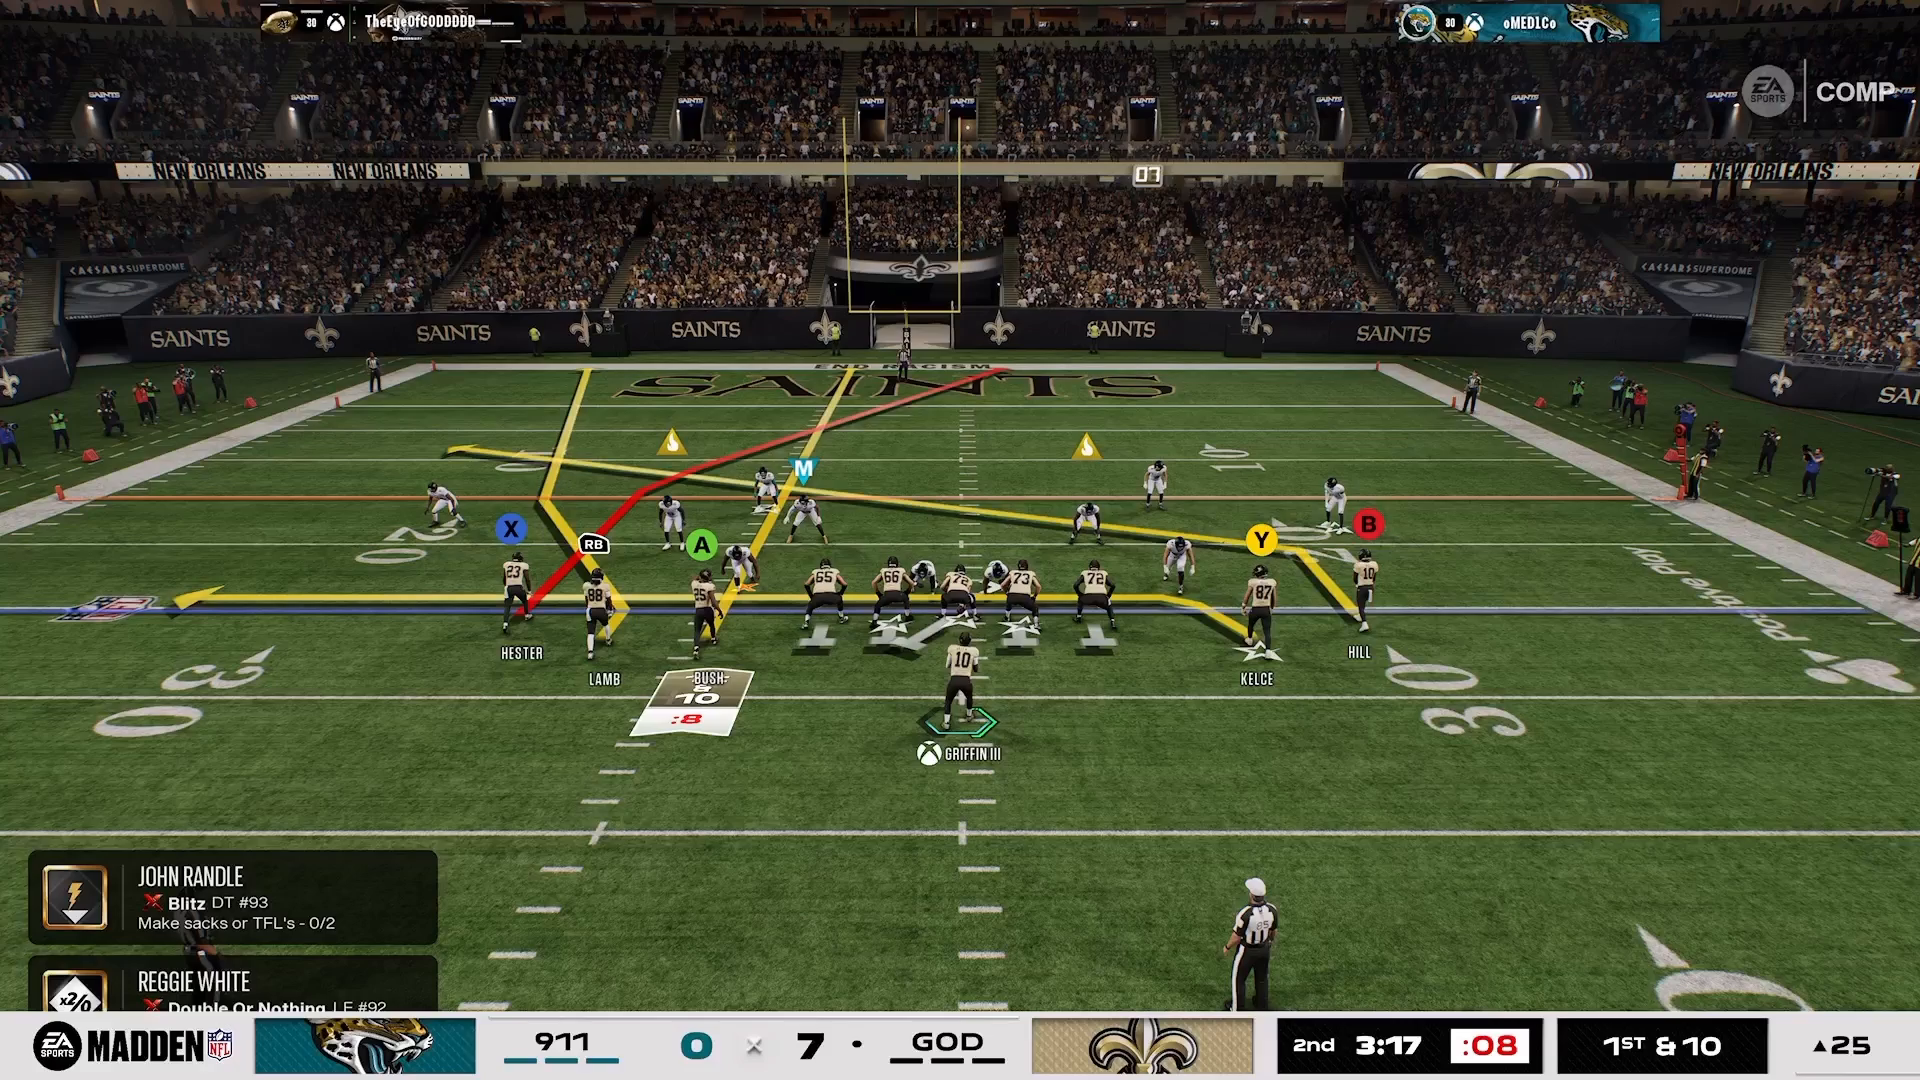
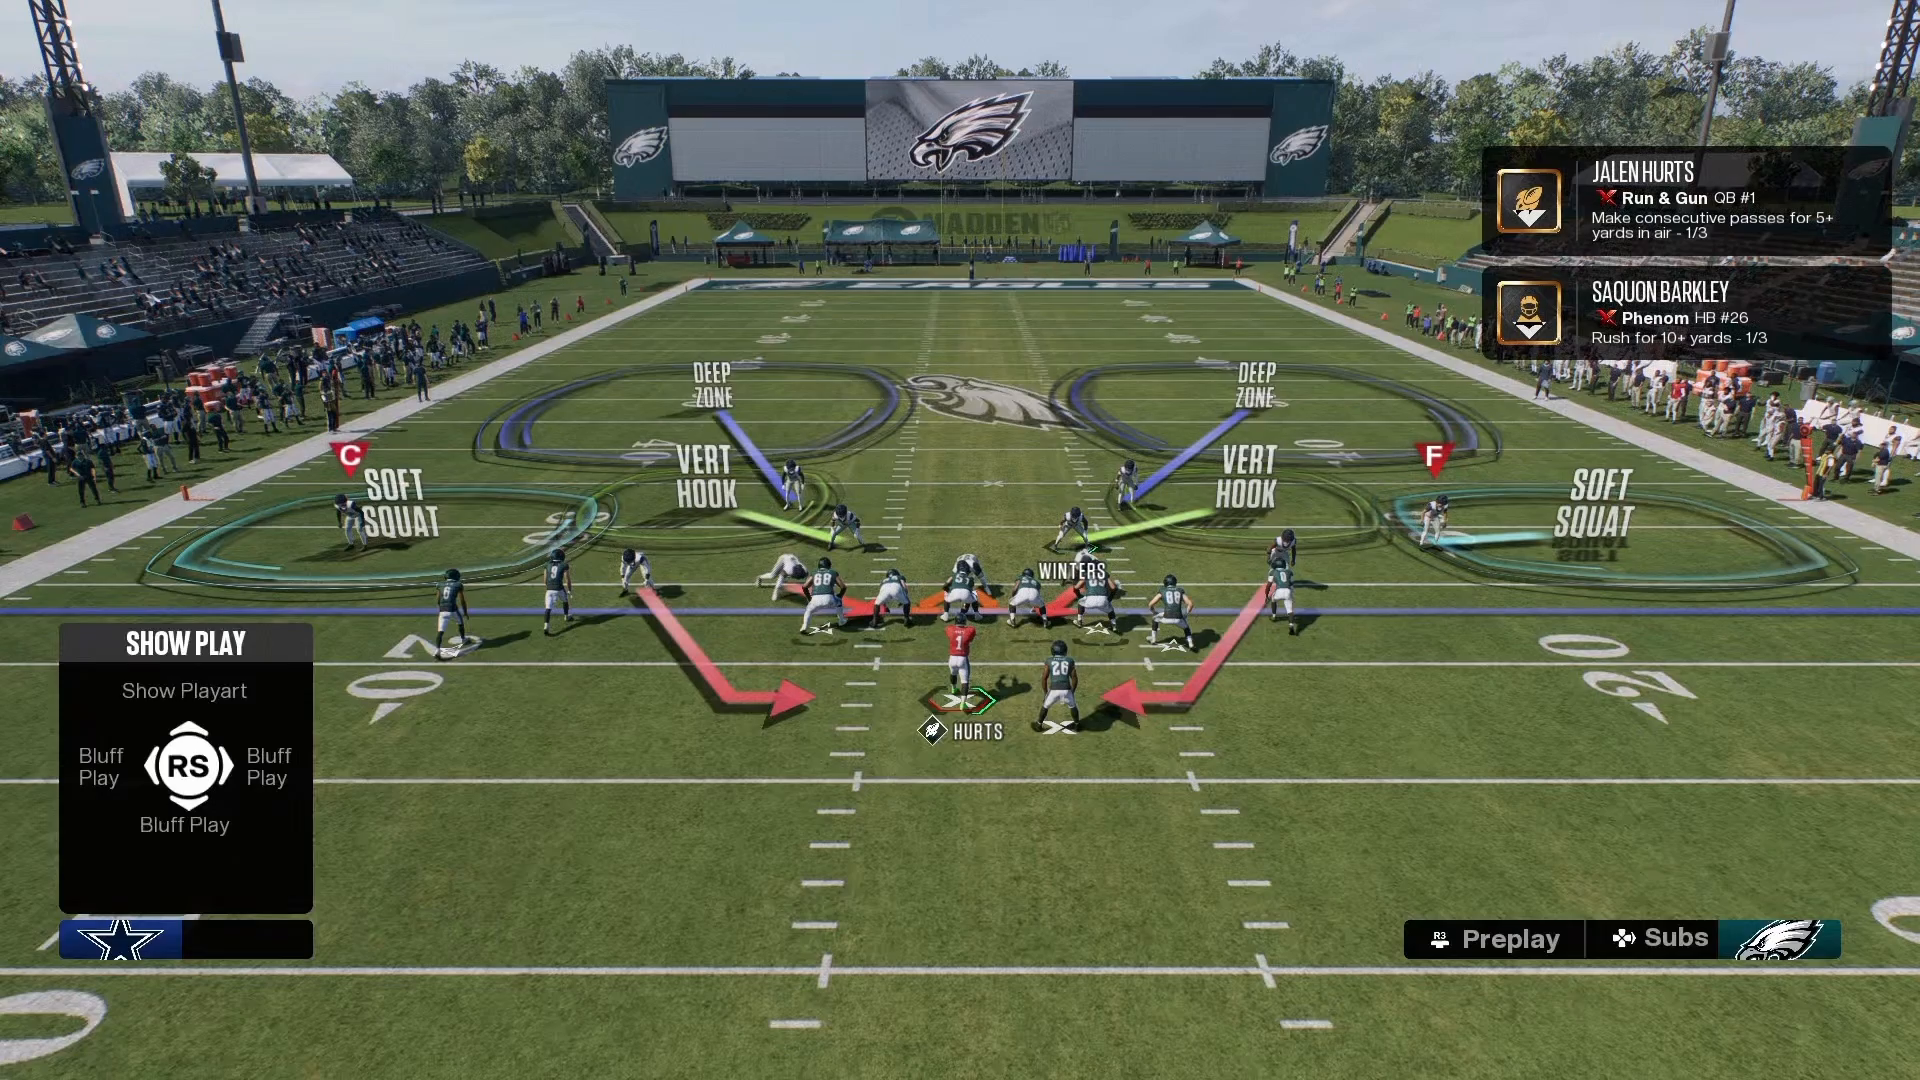
The DB Fire 2 blitz is another powerful option at your disposal. Start by flipping the play to adjust to your opponent’s formation. Position the left slot defender at the line of scrimmage (LOS) and move the other defensive back (DB) into a contain role. Be cautious not to press your outside corners; they may struggle to recover against quick corner routes. This setup leverages the principles of risk and reward discussed in the 16 Spaces Playbook, allowing you to create opportunities while mitigating risks.
Executing the 4-3 Even 6-1 Setup
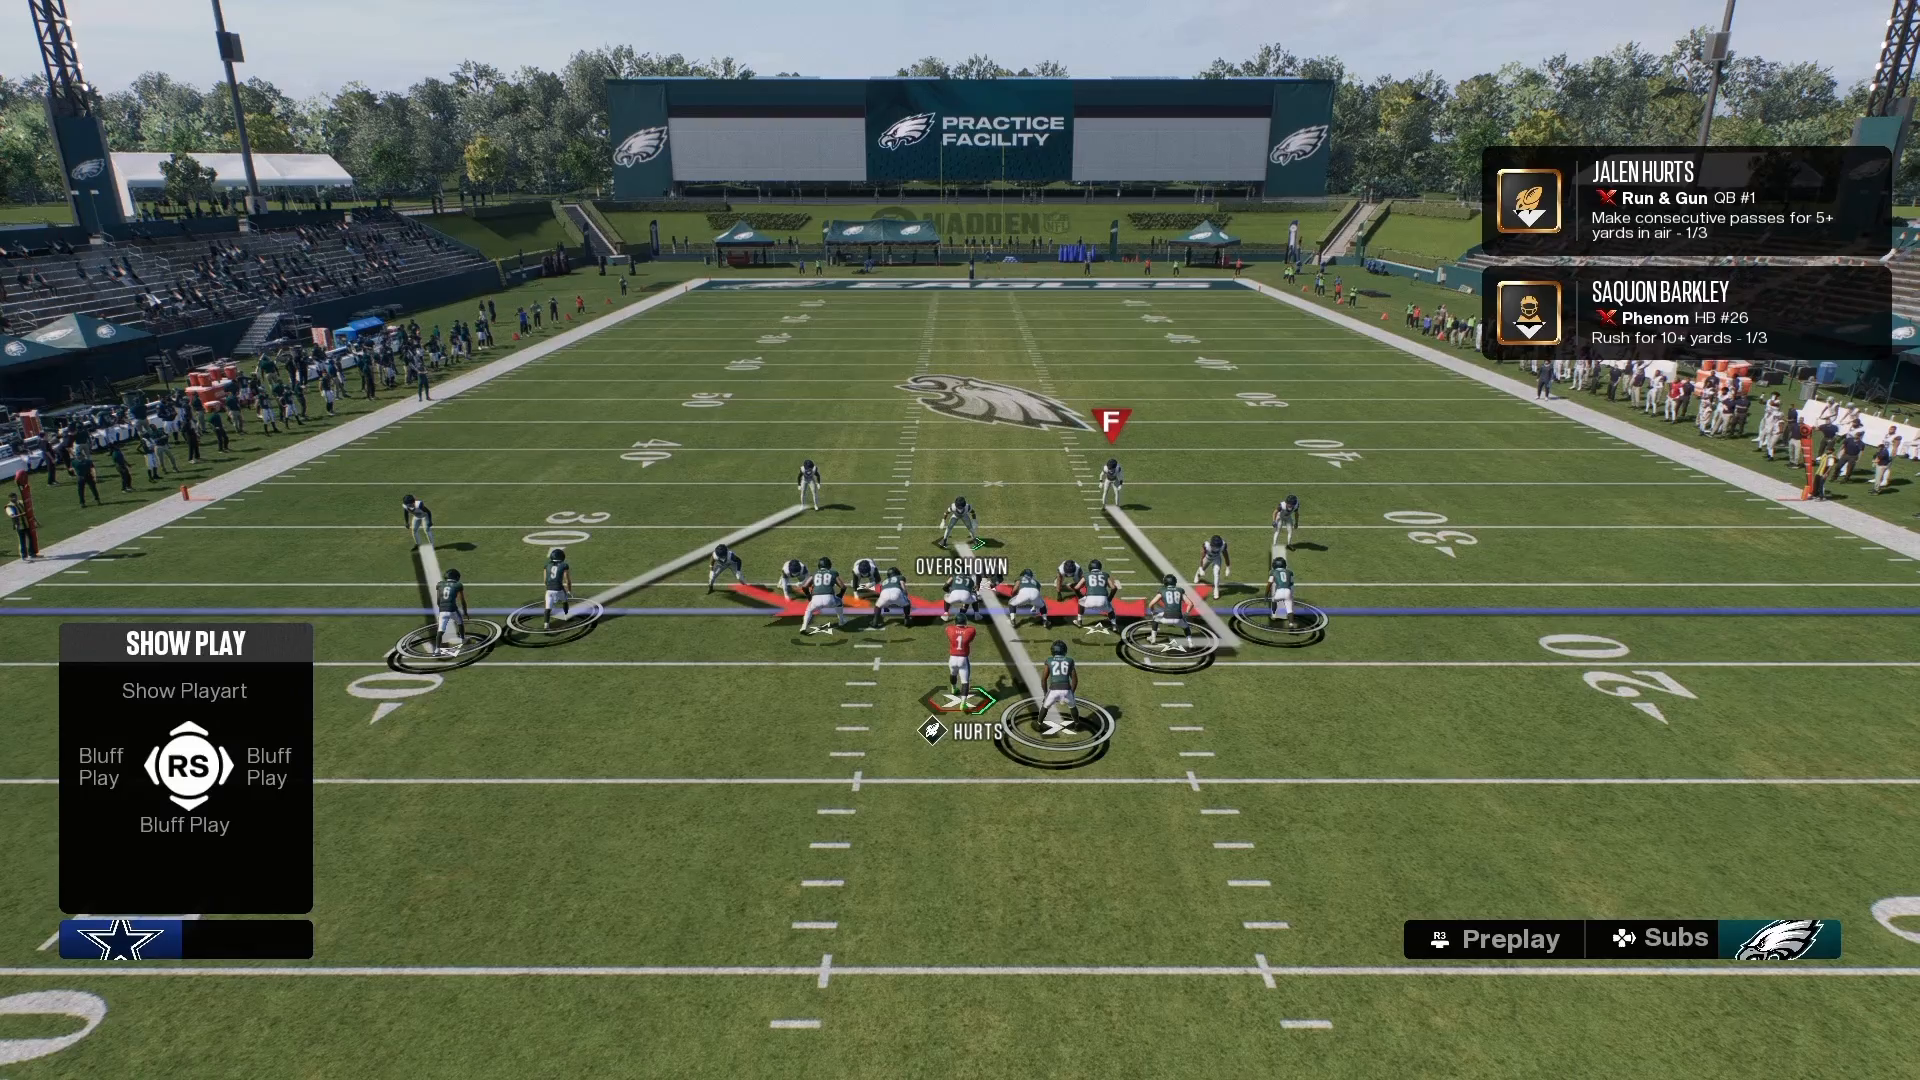
If you’re looking for a dead-simple blitz, consider using the 4-3 Even 6-1 formation, found in the San Francisco playbook. Start with the Sam Blitz Zero and shift your defensive line to the left side of the screen. This small adjustment can create significant pass-rush lanes that catch your opponent off guard. Remember, sometimes the simplest chess moves can yield the best results, as opposed to complex audibles that can confuse your own defense.
Becoming a Smarter Adjuster
Finally, becoming an effective blitzer also means learning to adjust smartly. Pay attention to how your opponent reacts to your blitzes. Understanding their counters, such as identifying the Mike linebacker or employing half-slide protections, can help you stay one step ahead. The setups you learn will work until your opponent finds a way to counter them, so adaptability is key. The 16 Spaces Playbook covers these decision-making processes in-depth, ensuring you always have a plan.
Conclusion
Mastering blitz setups in Madden NFL 27 requires practice, strategy, and the ability to adapt on the fly. By implementing these techniques, you’ll not only enhance your defensive game but also frustrate your opponents. For more in-depth strategies and coaching, consider exploring our 1-on-1 coaching options or check out more Madden tips to keep improving your gameplay.