Effective Macro for Stopping Trips in Madden 27: San Francisco Nickel Single Mug
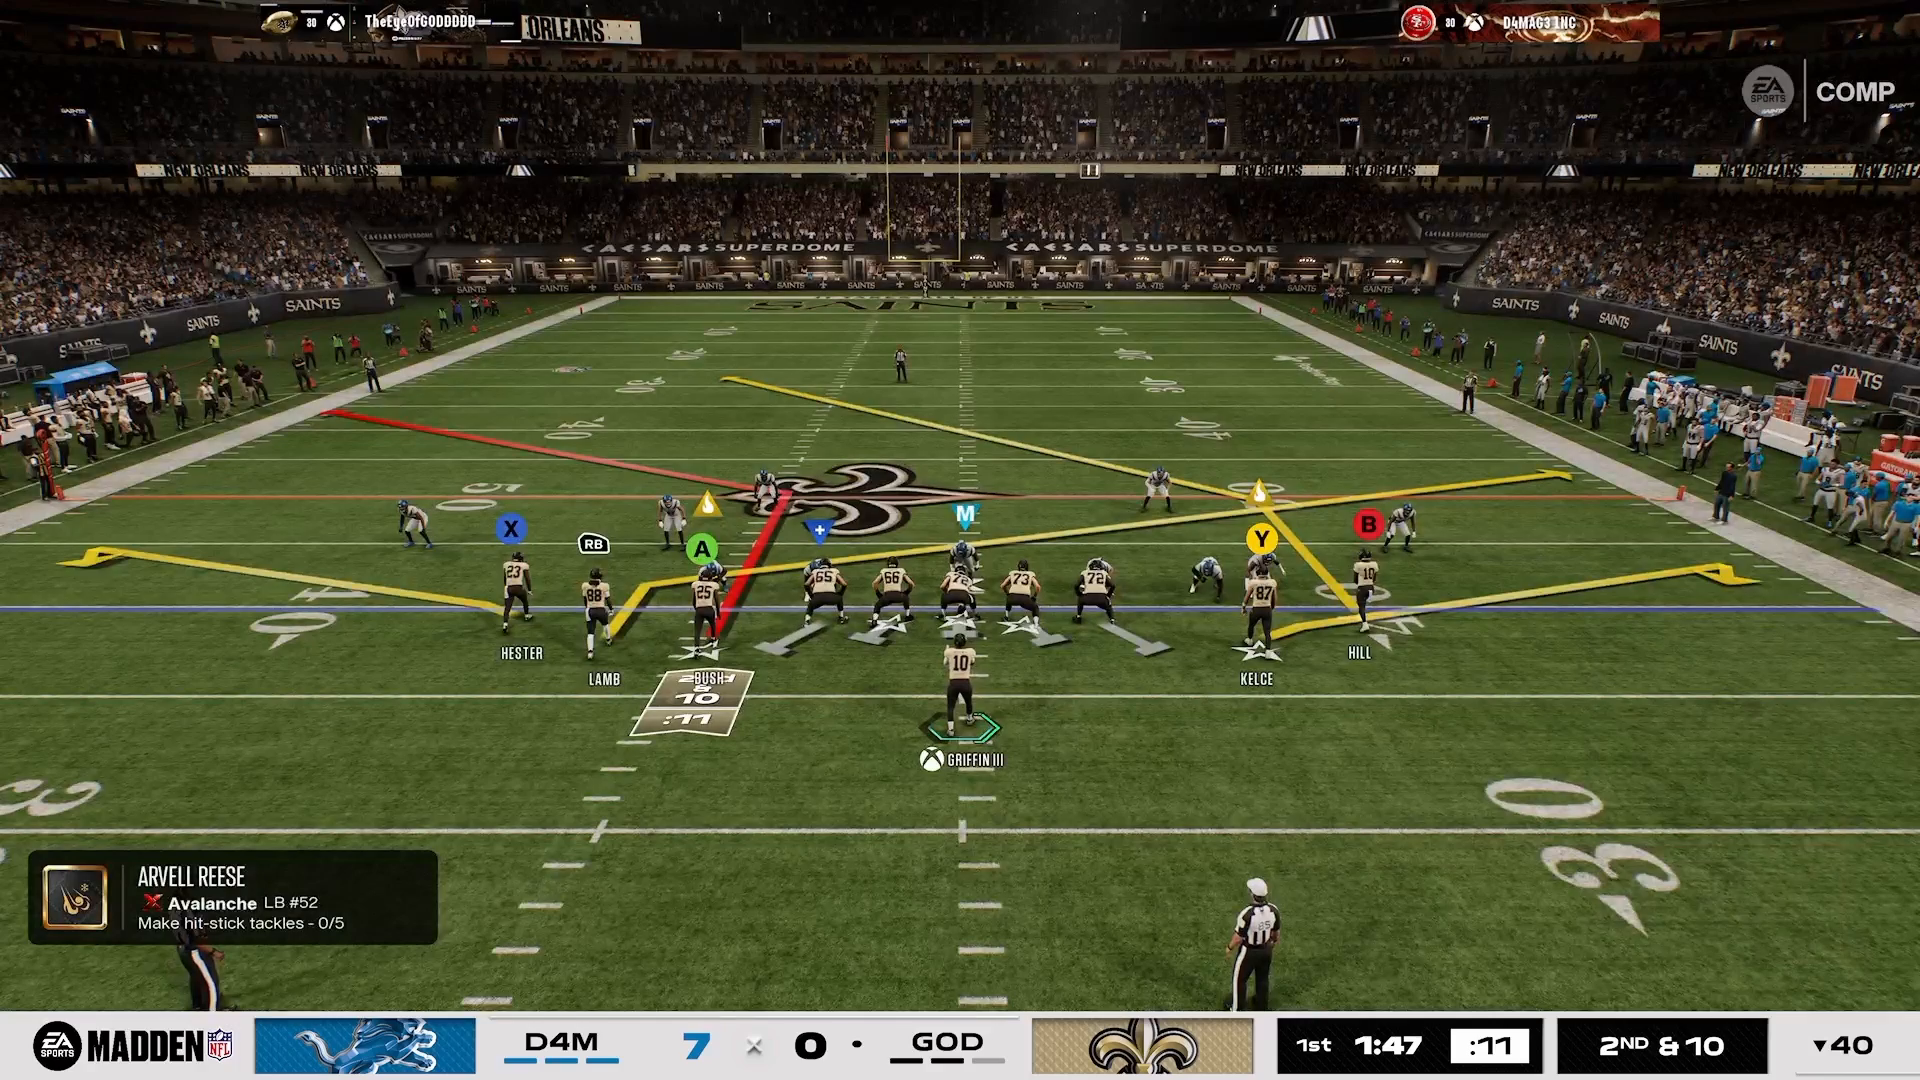
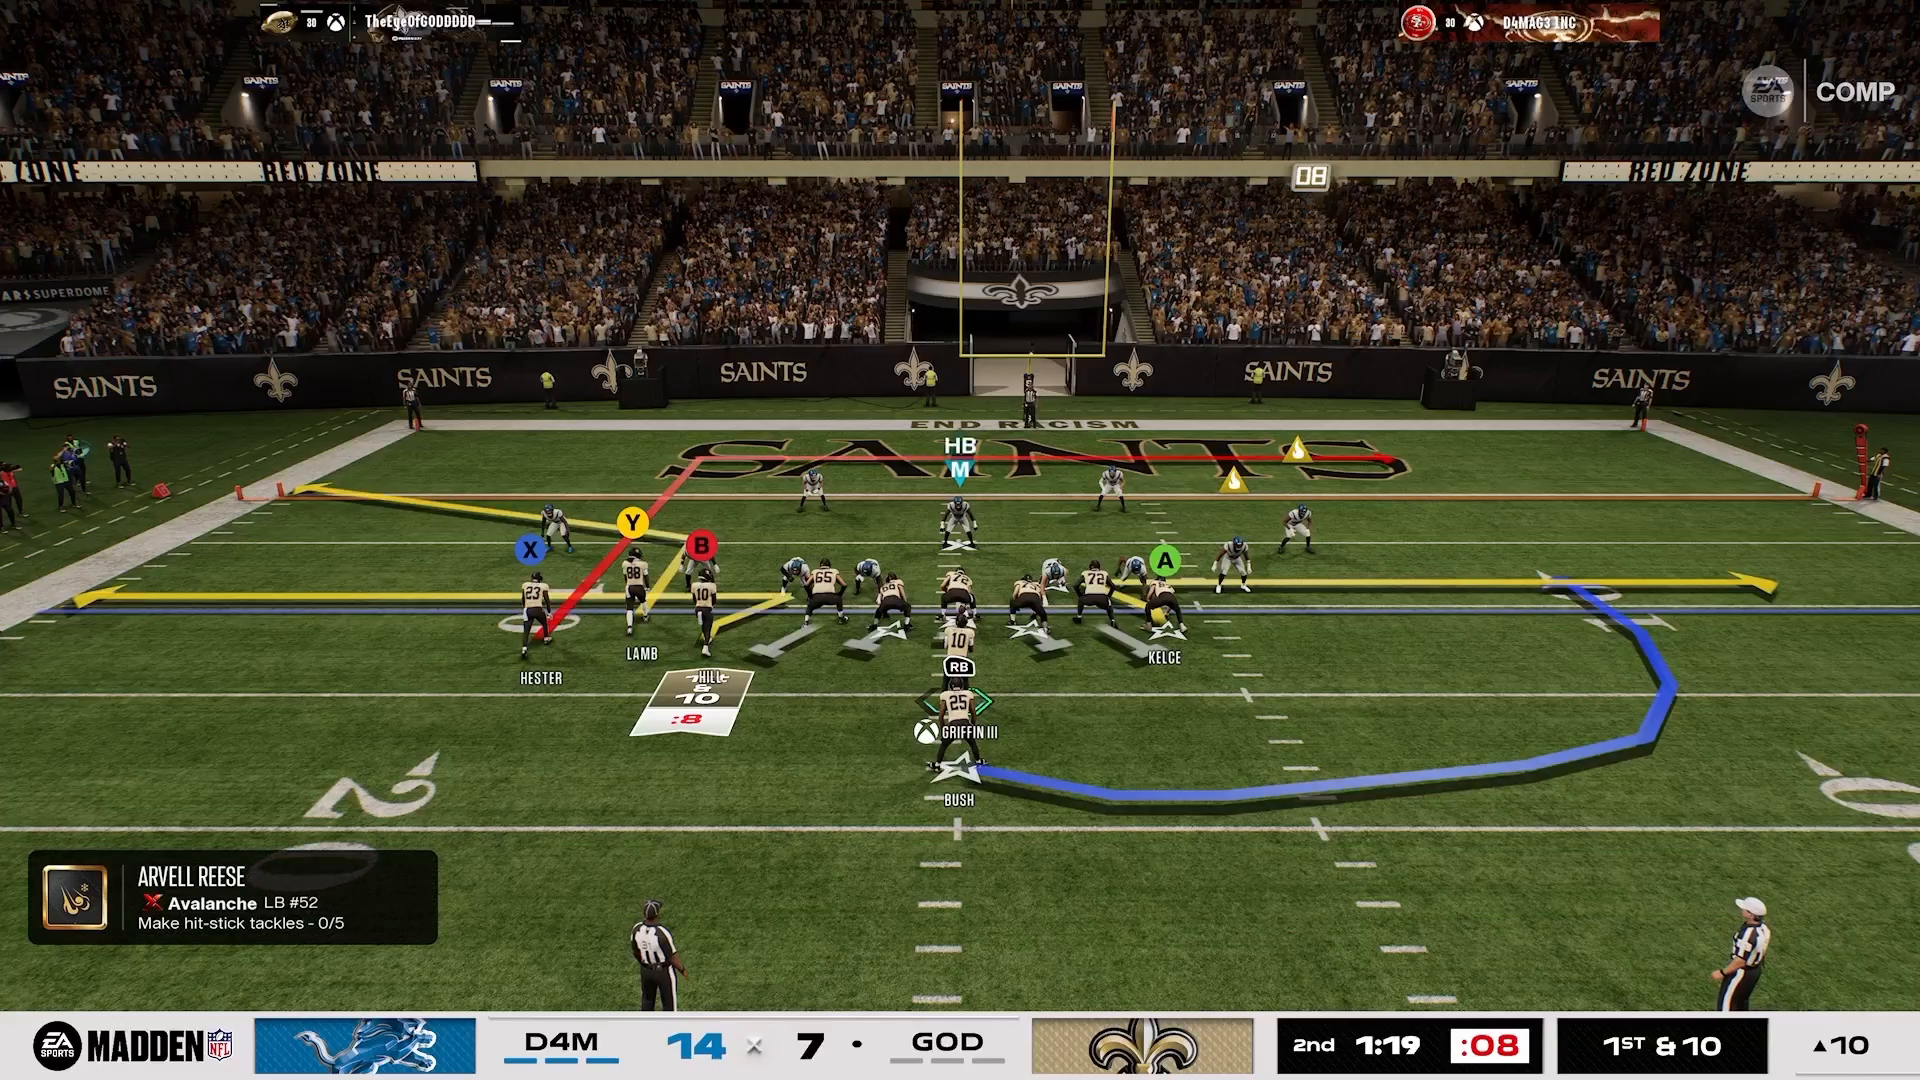
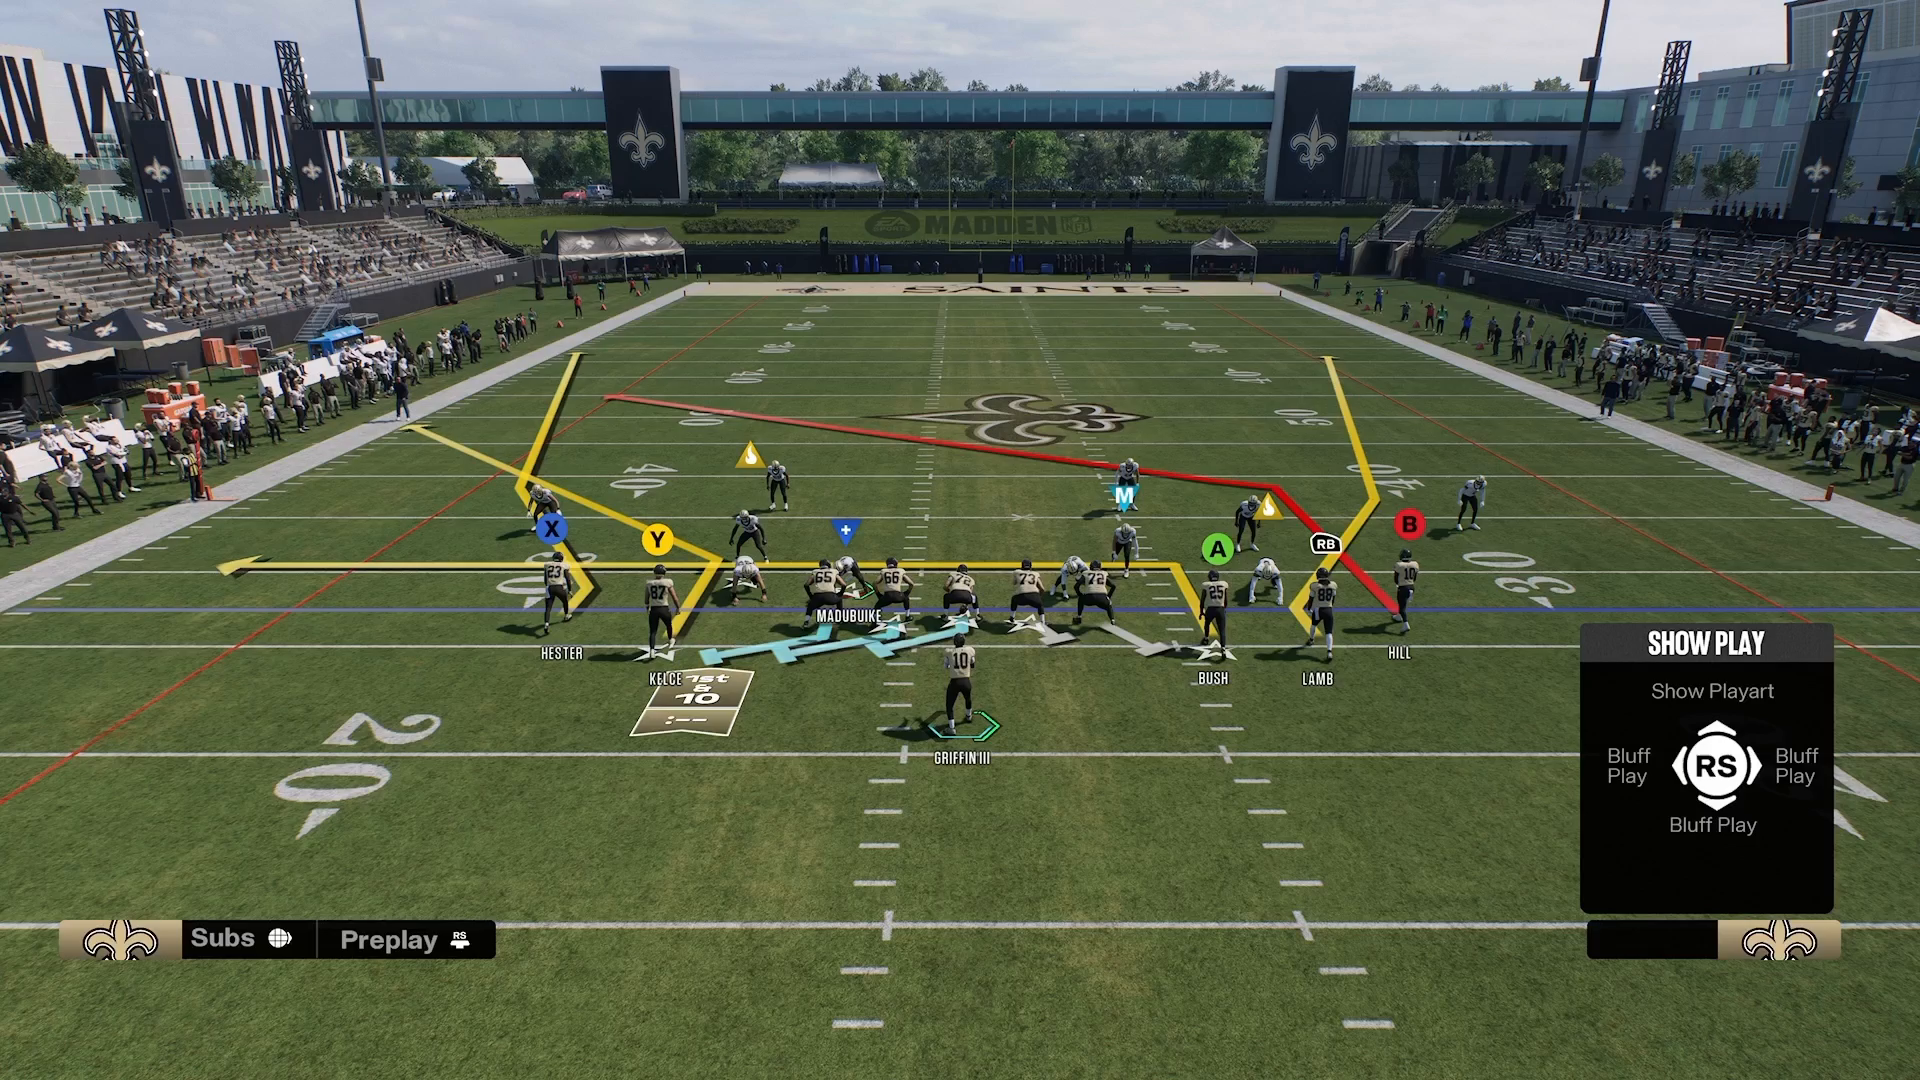
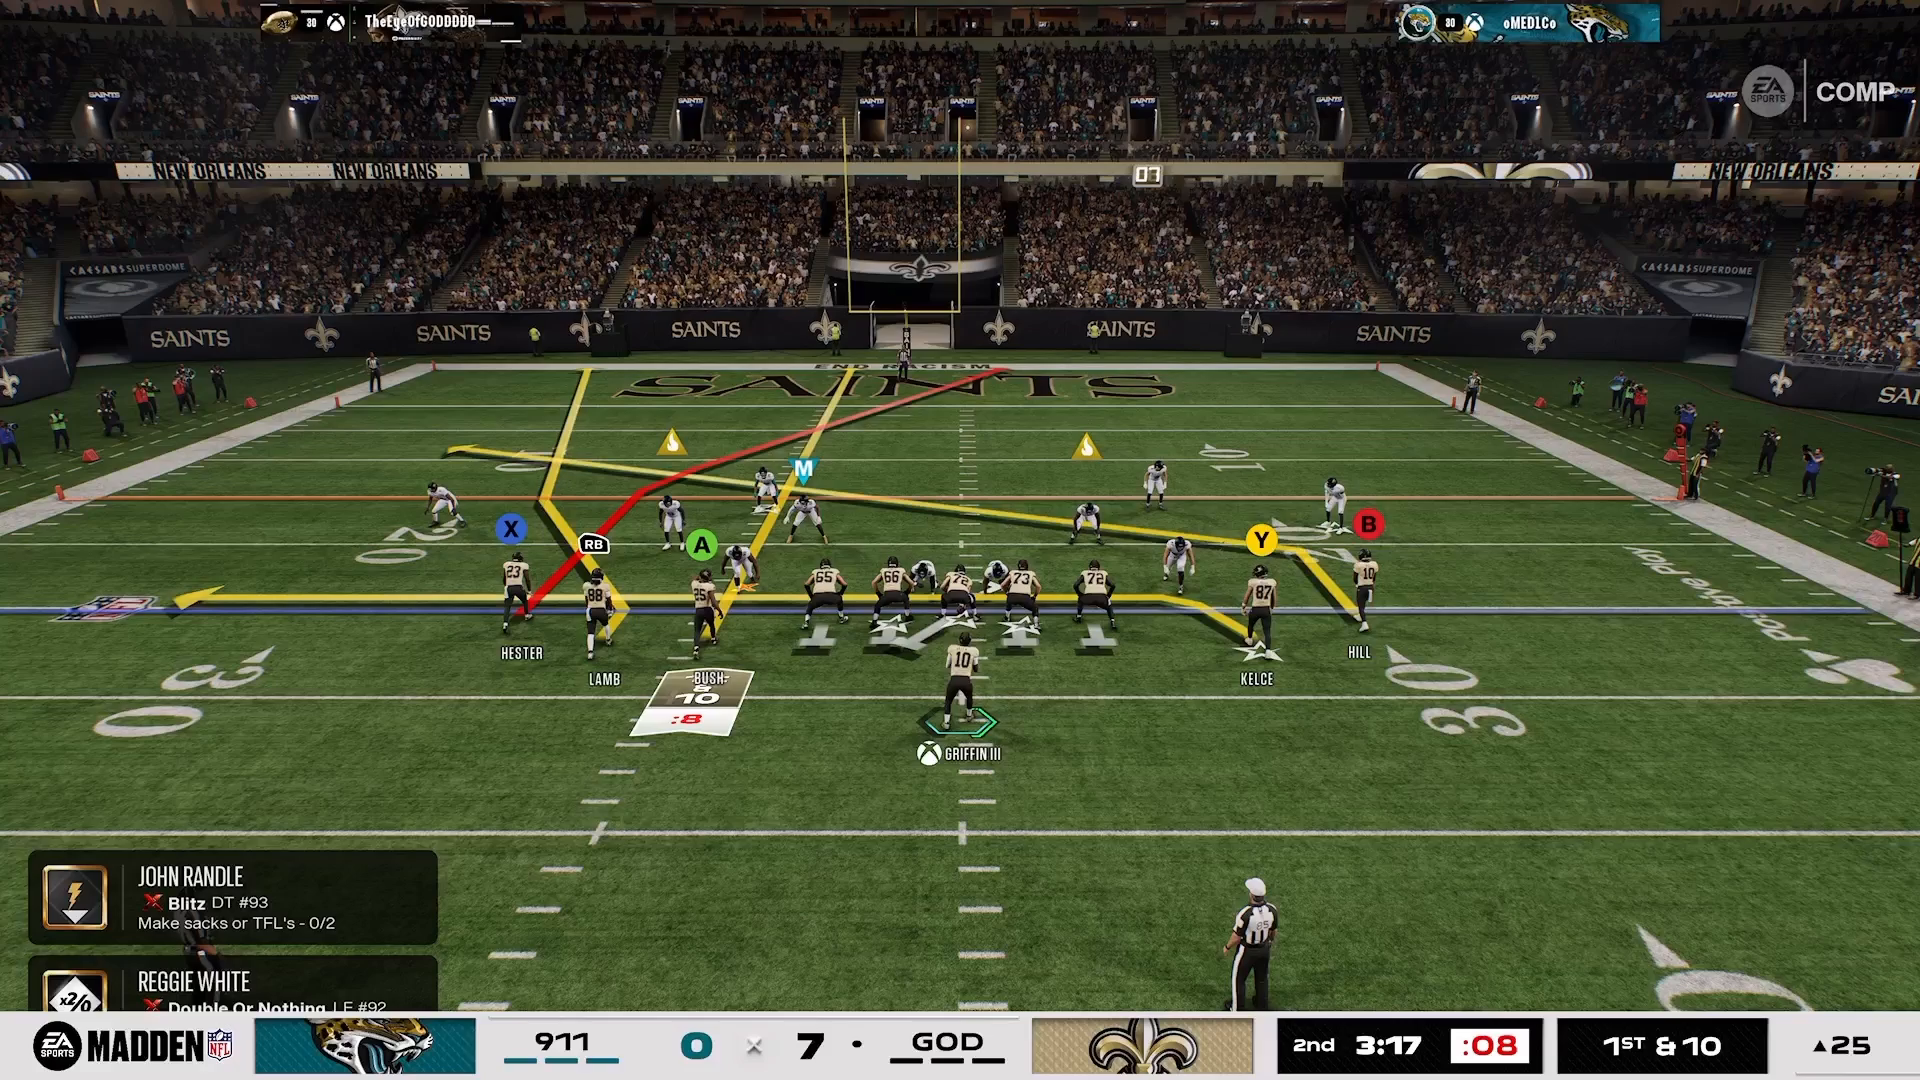
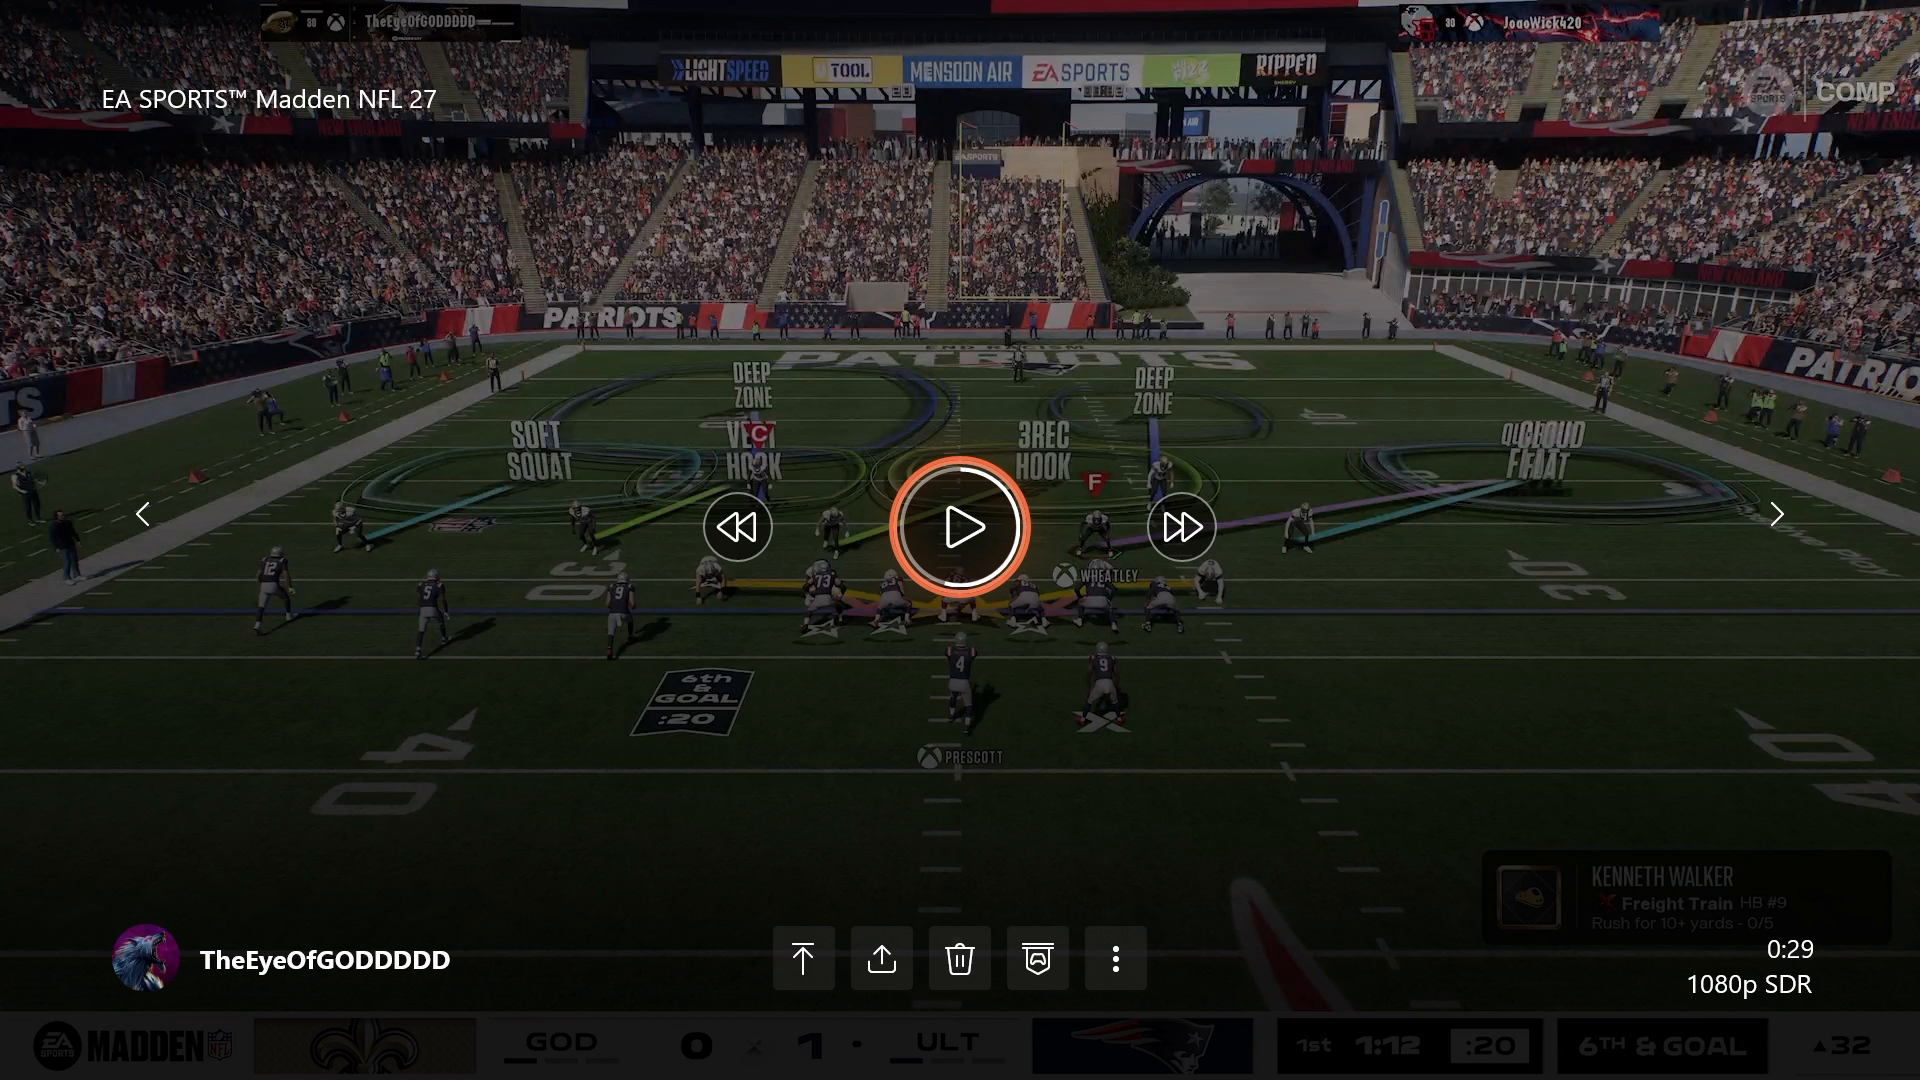
Stop Trips in Madden 27 with the San Francisco Nickel Single Mug macro: Cover 9 flipped with Cover 2 match on the trip side, a cloud flat swap, and quarter flat responsibility on right-to-left routes.
Macro for Stopping Trips Madden 27 Nickel Single Mug: Cover 9 Setup
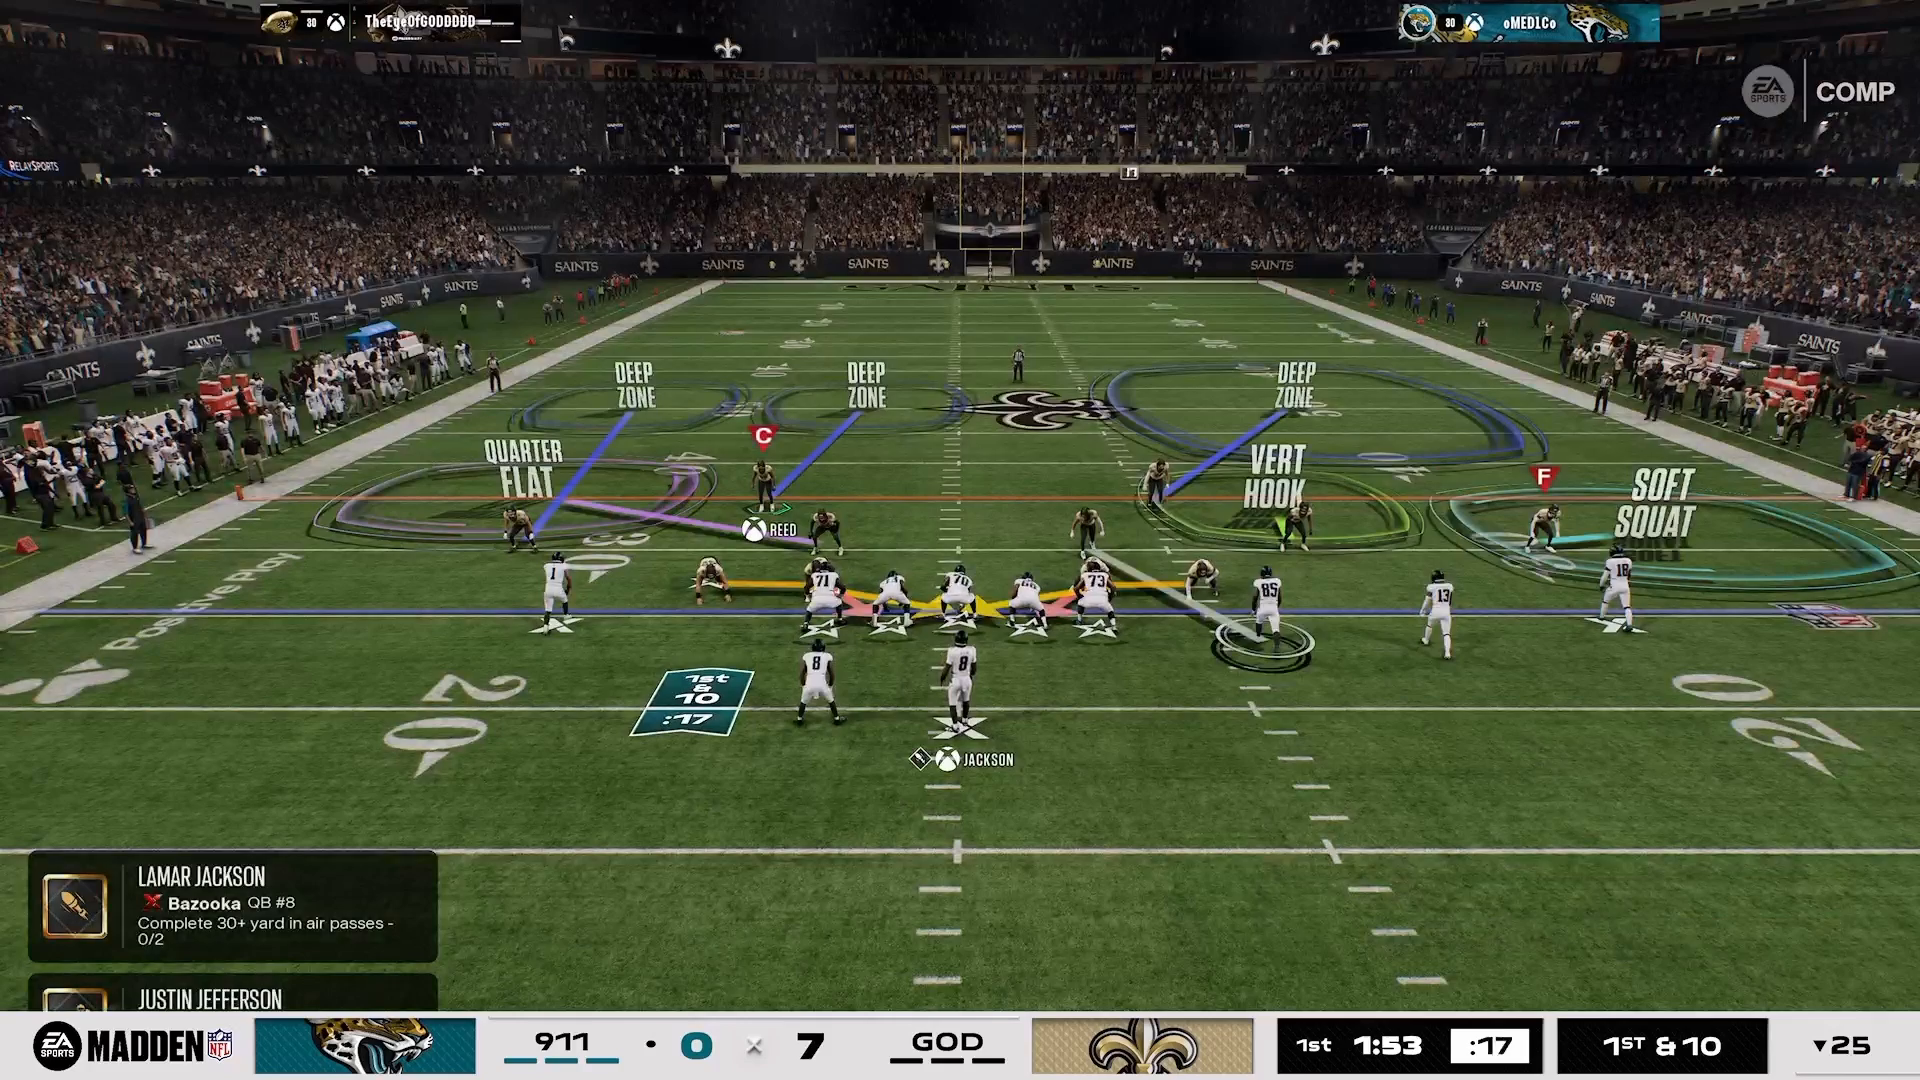
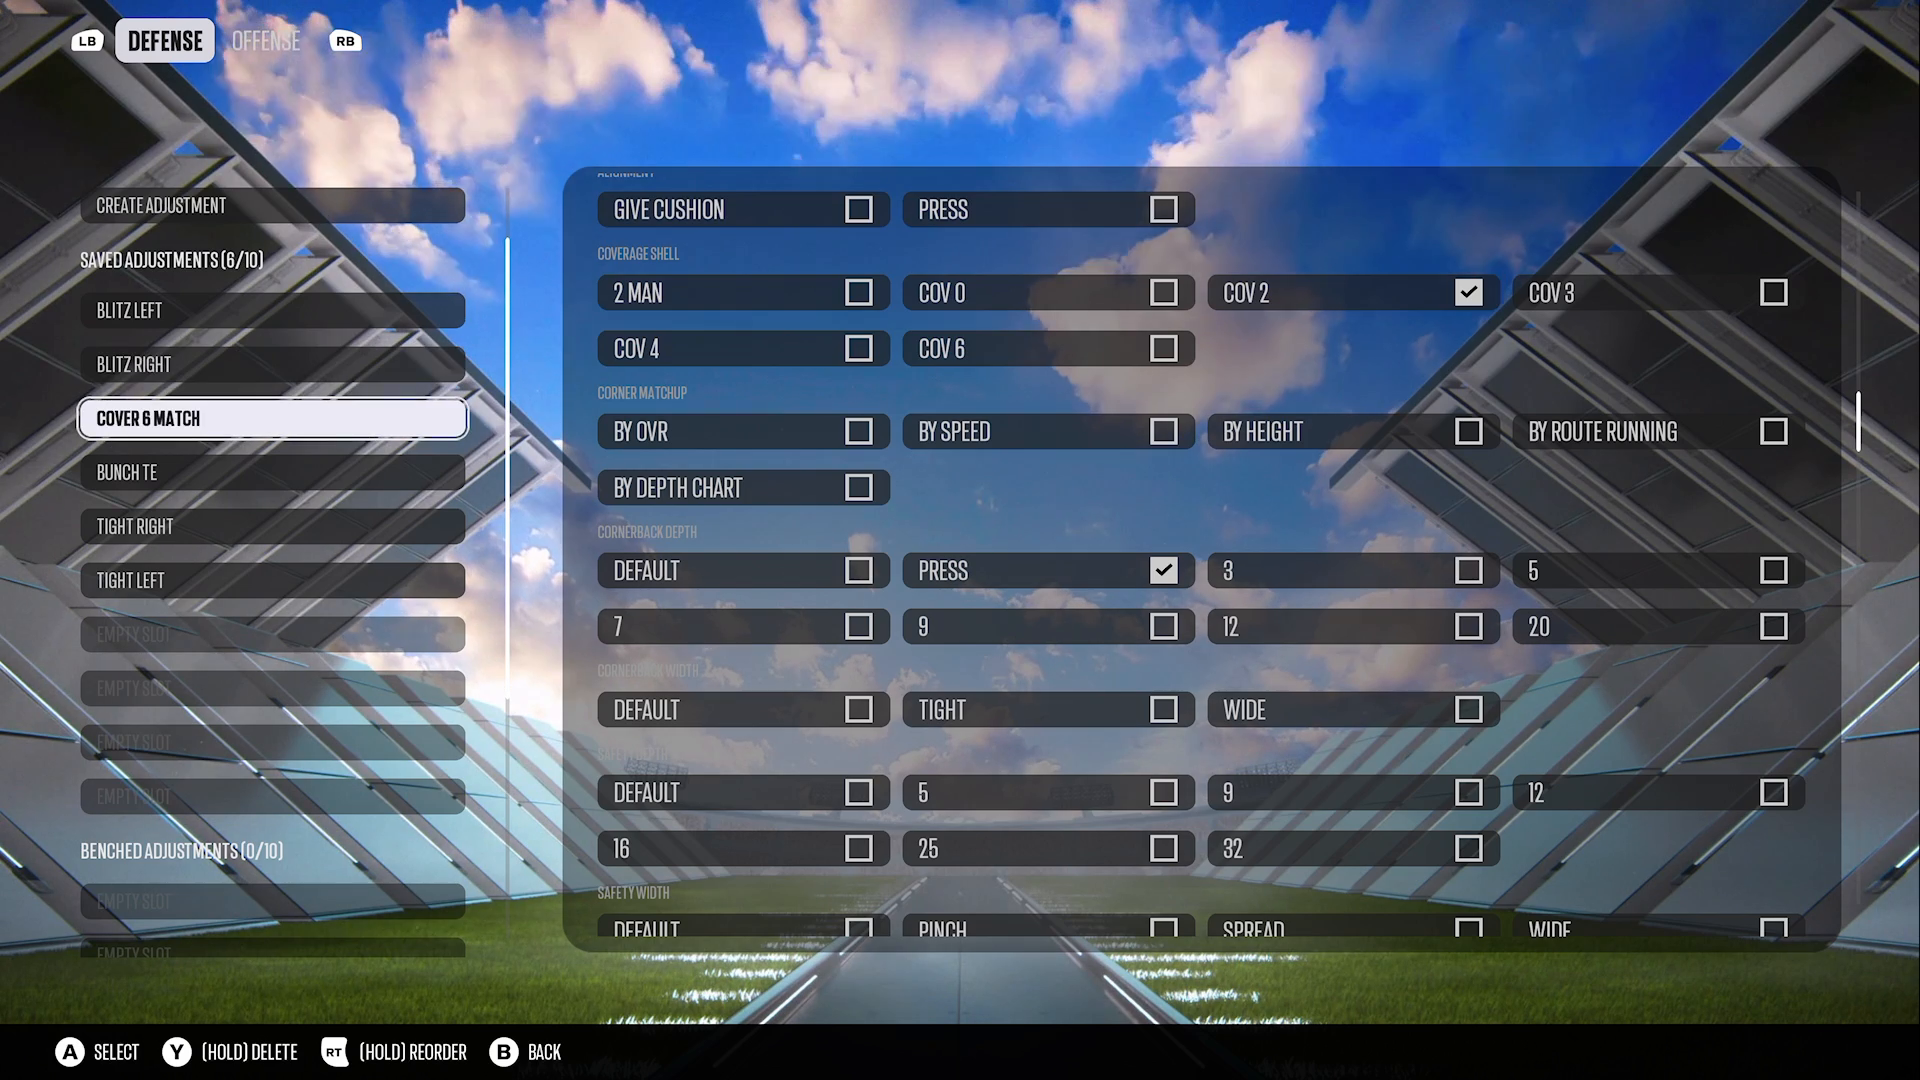
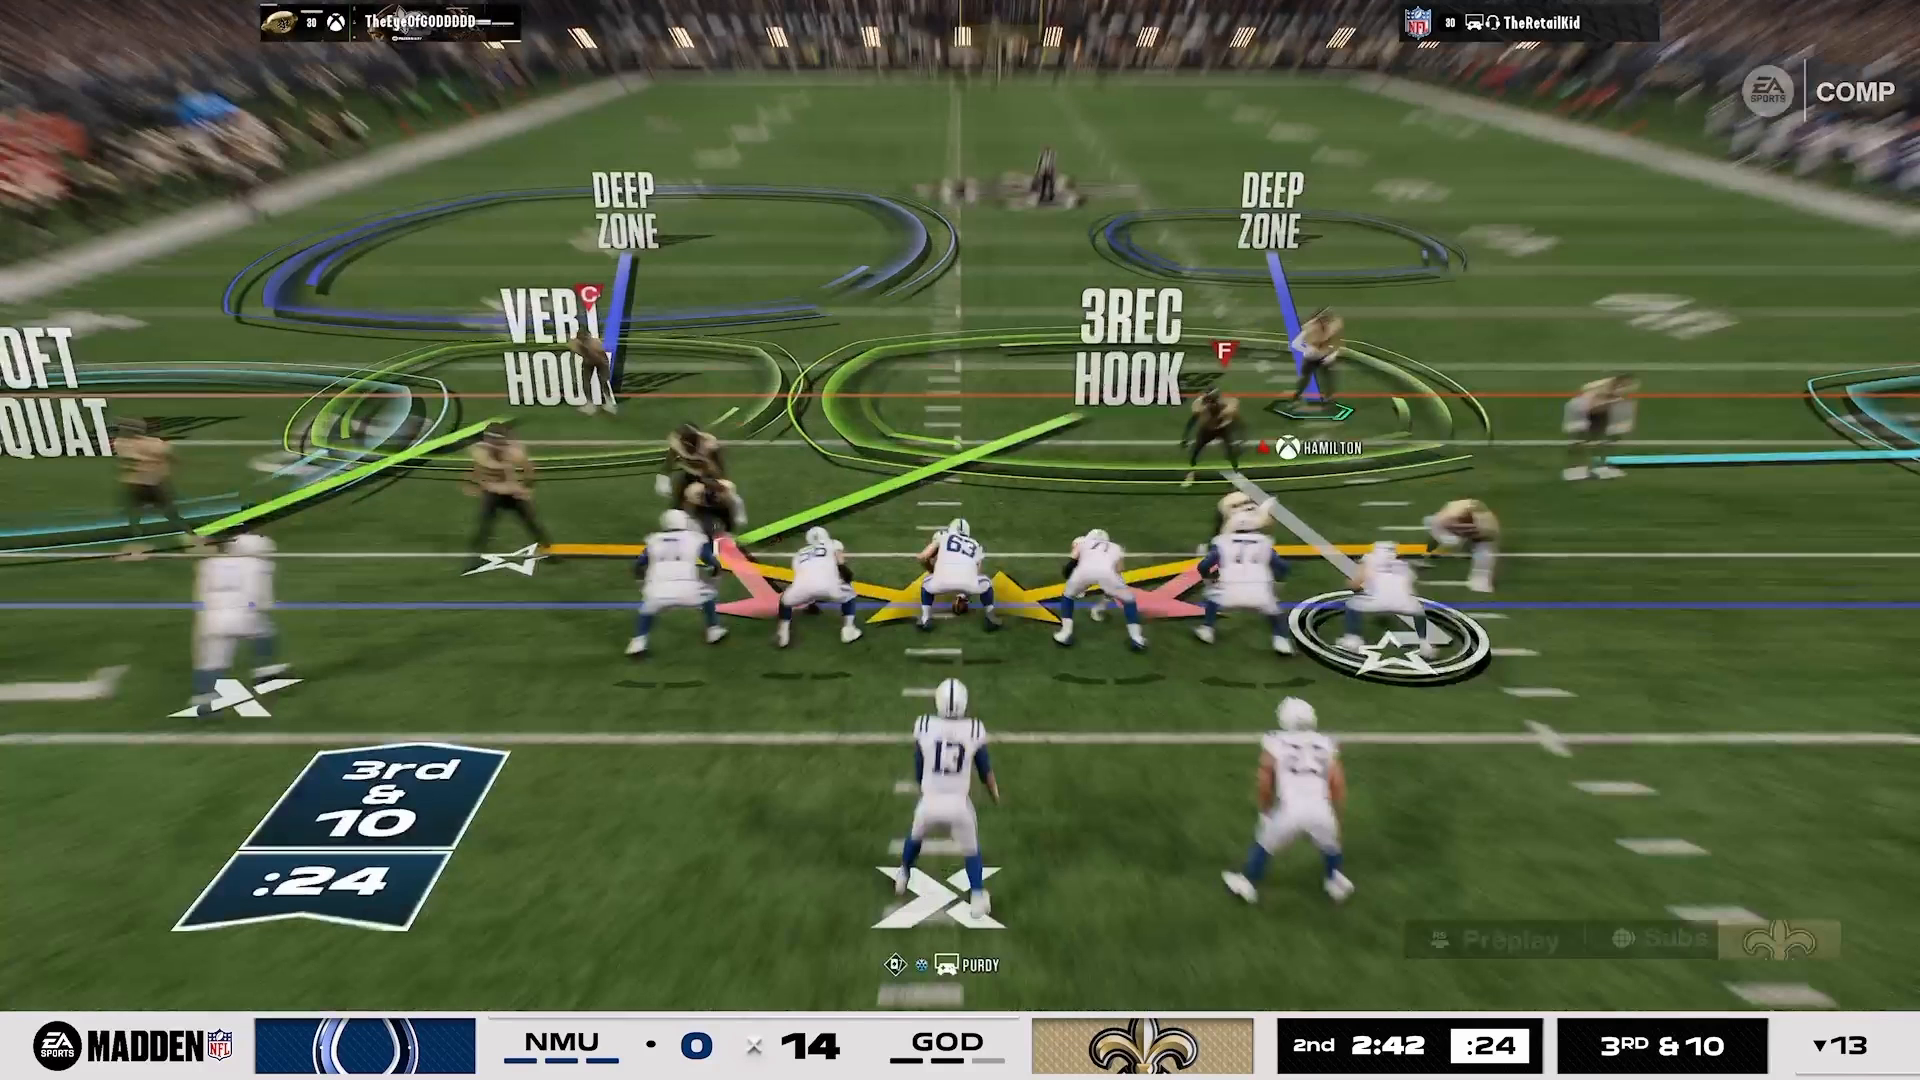
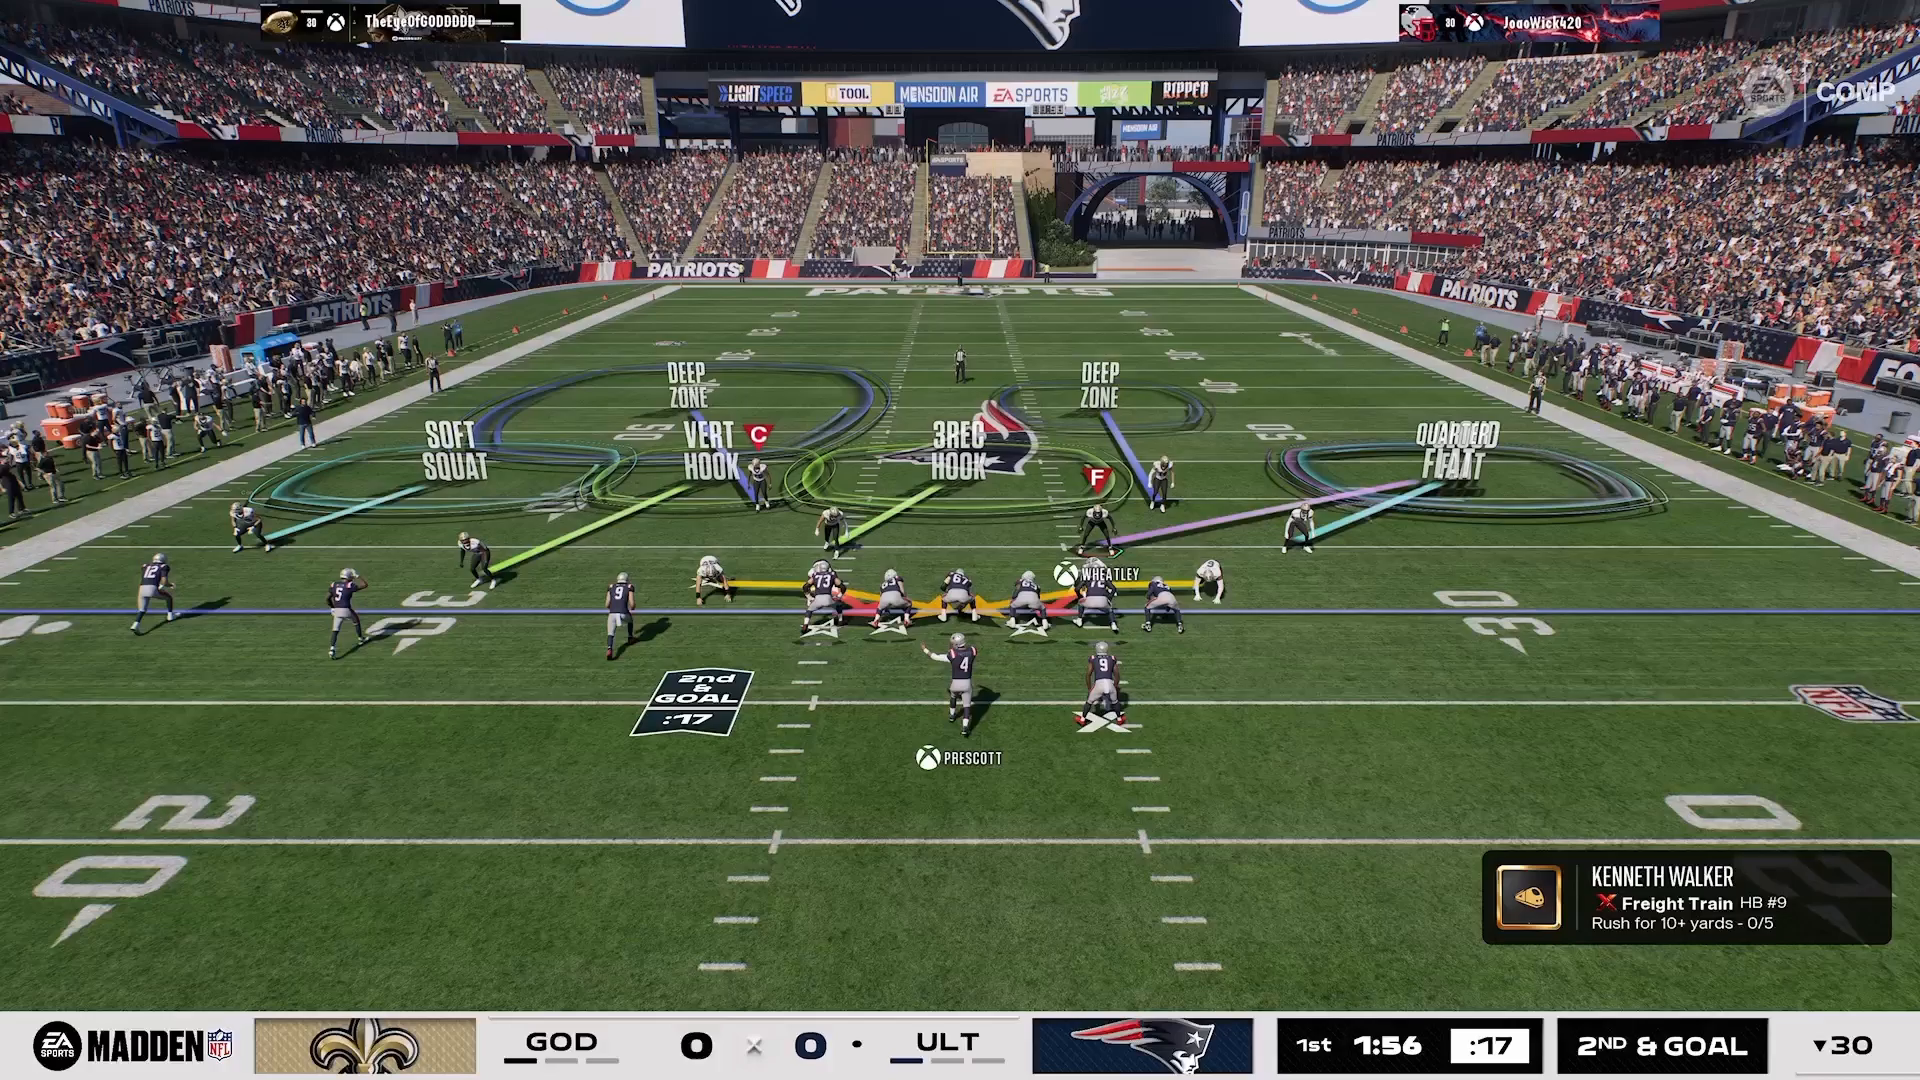
- Select Nickel Single Mug from the San Francisco playbook, run the Cover 9 flipped play, place the Cover 2 matching side on the trip side, and align in Cover 2 Match.
- Use the matching principle so the vert hook and 3-arc hook prioritise short, breaking routes while the soft spot defender takes the outside receiver.
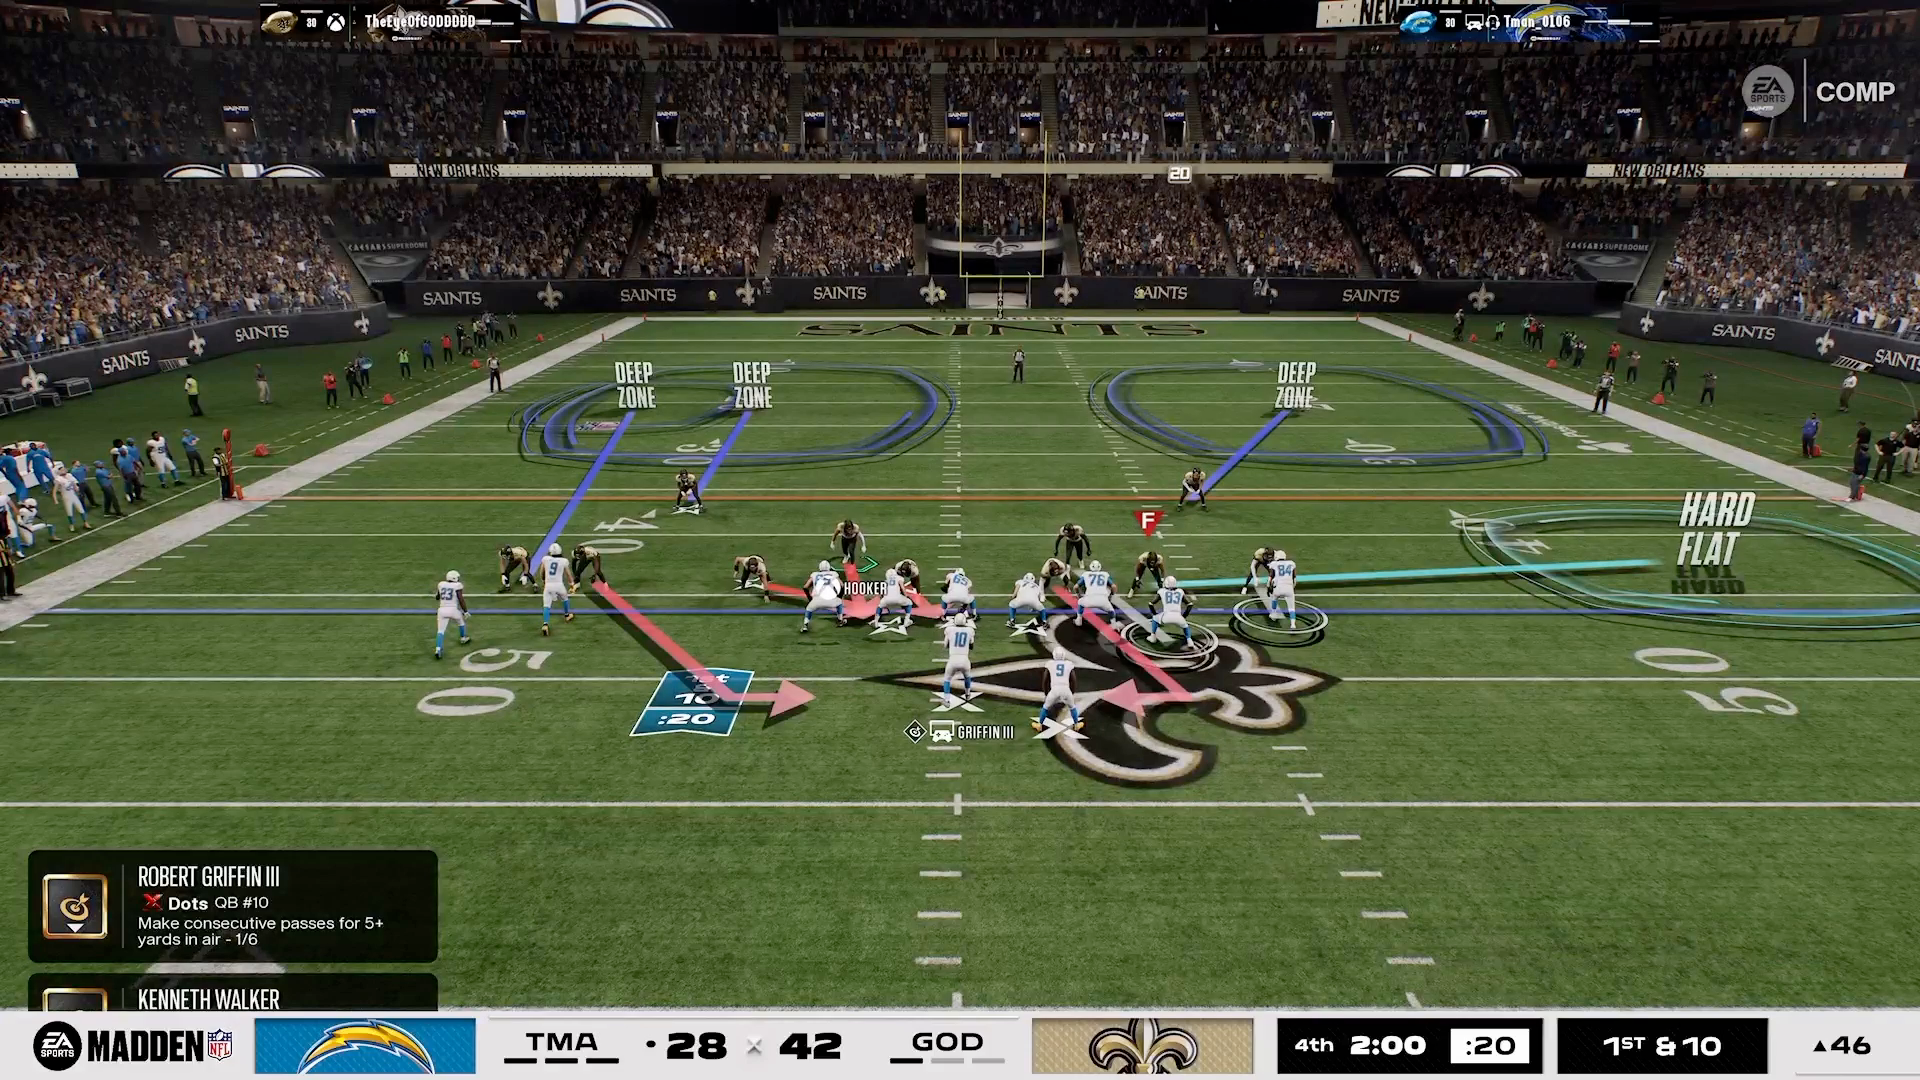
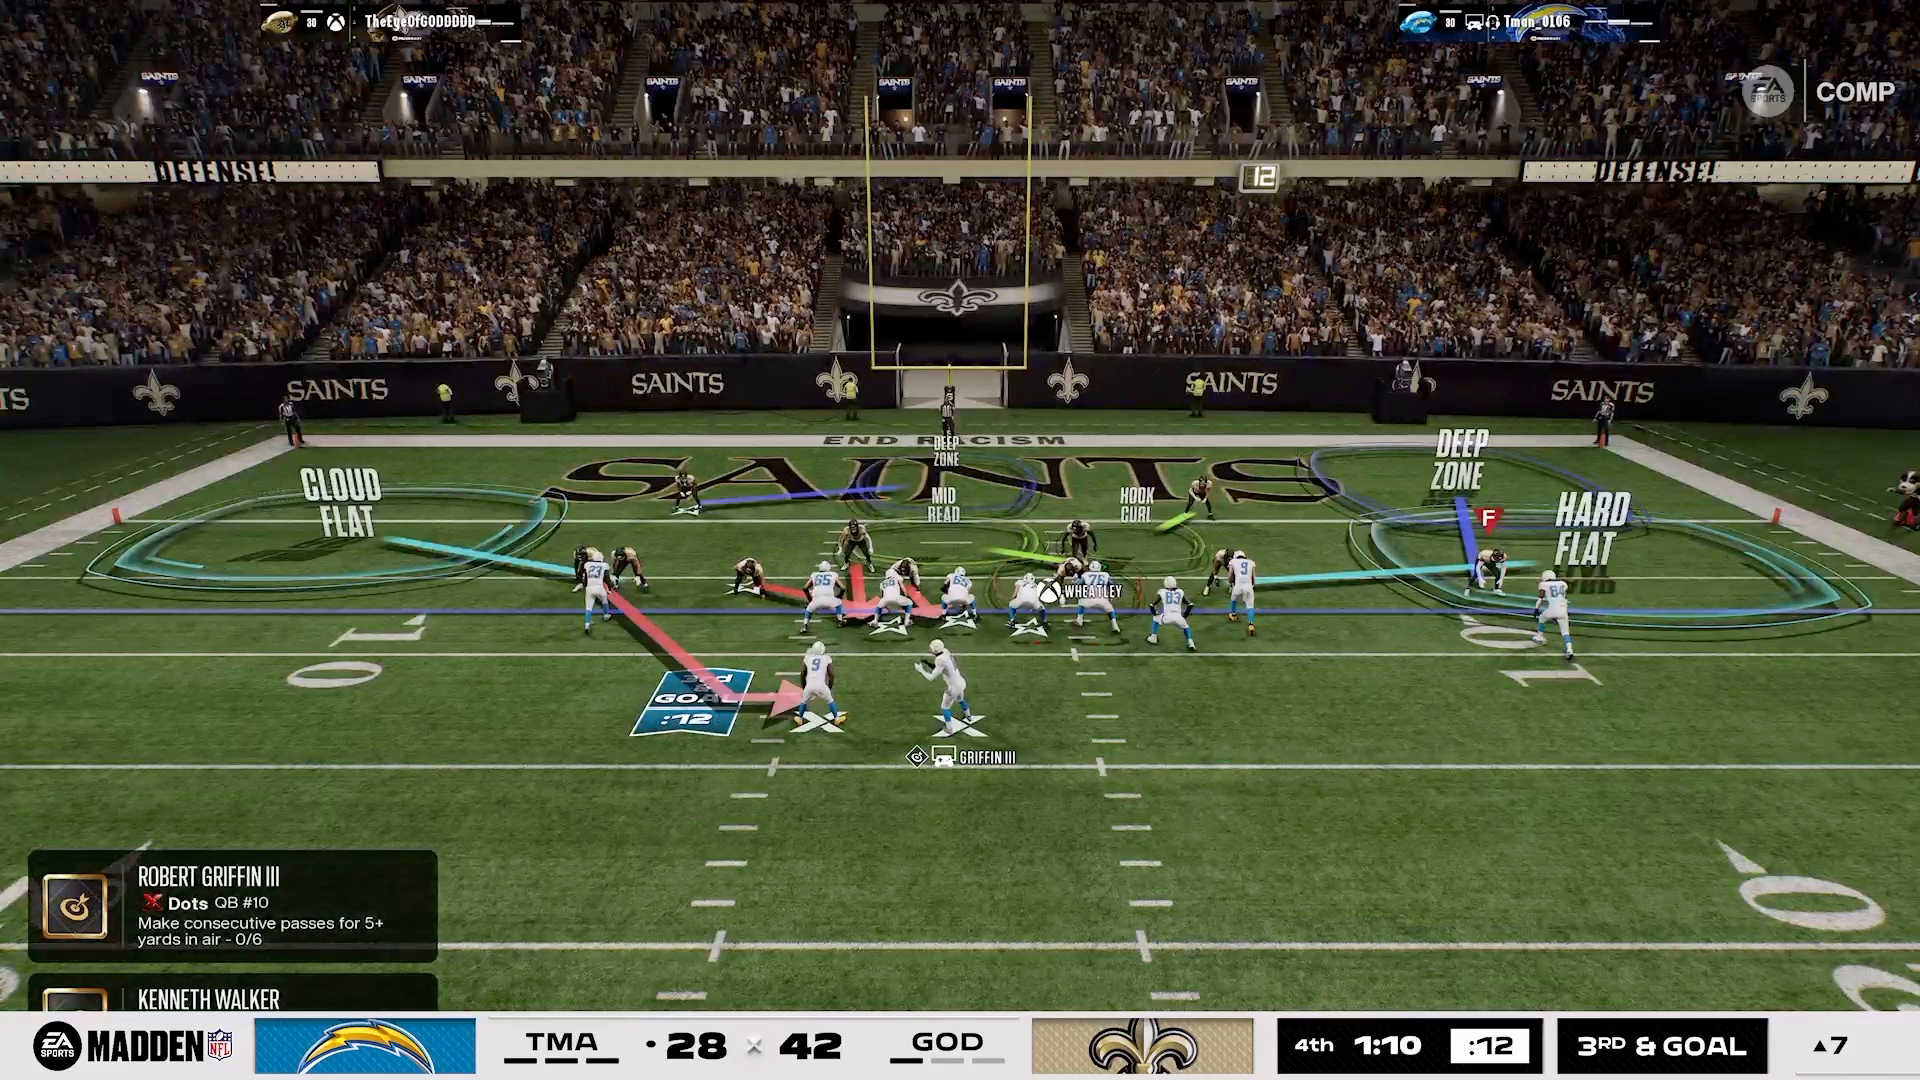
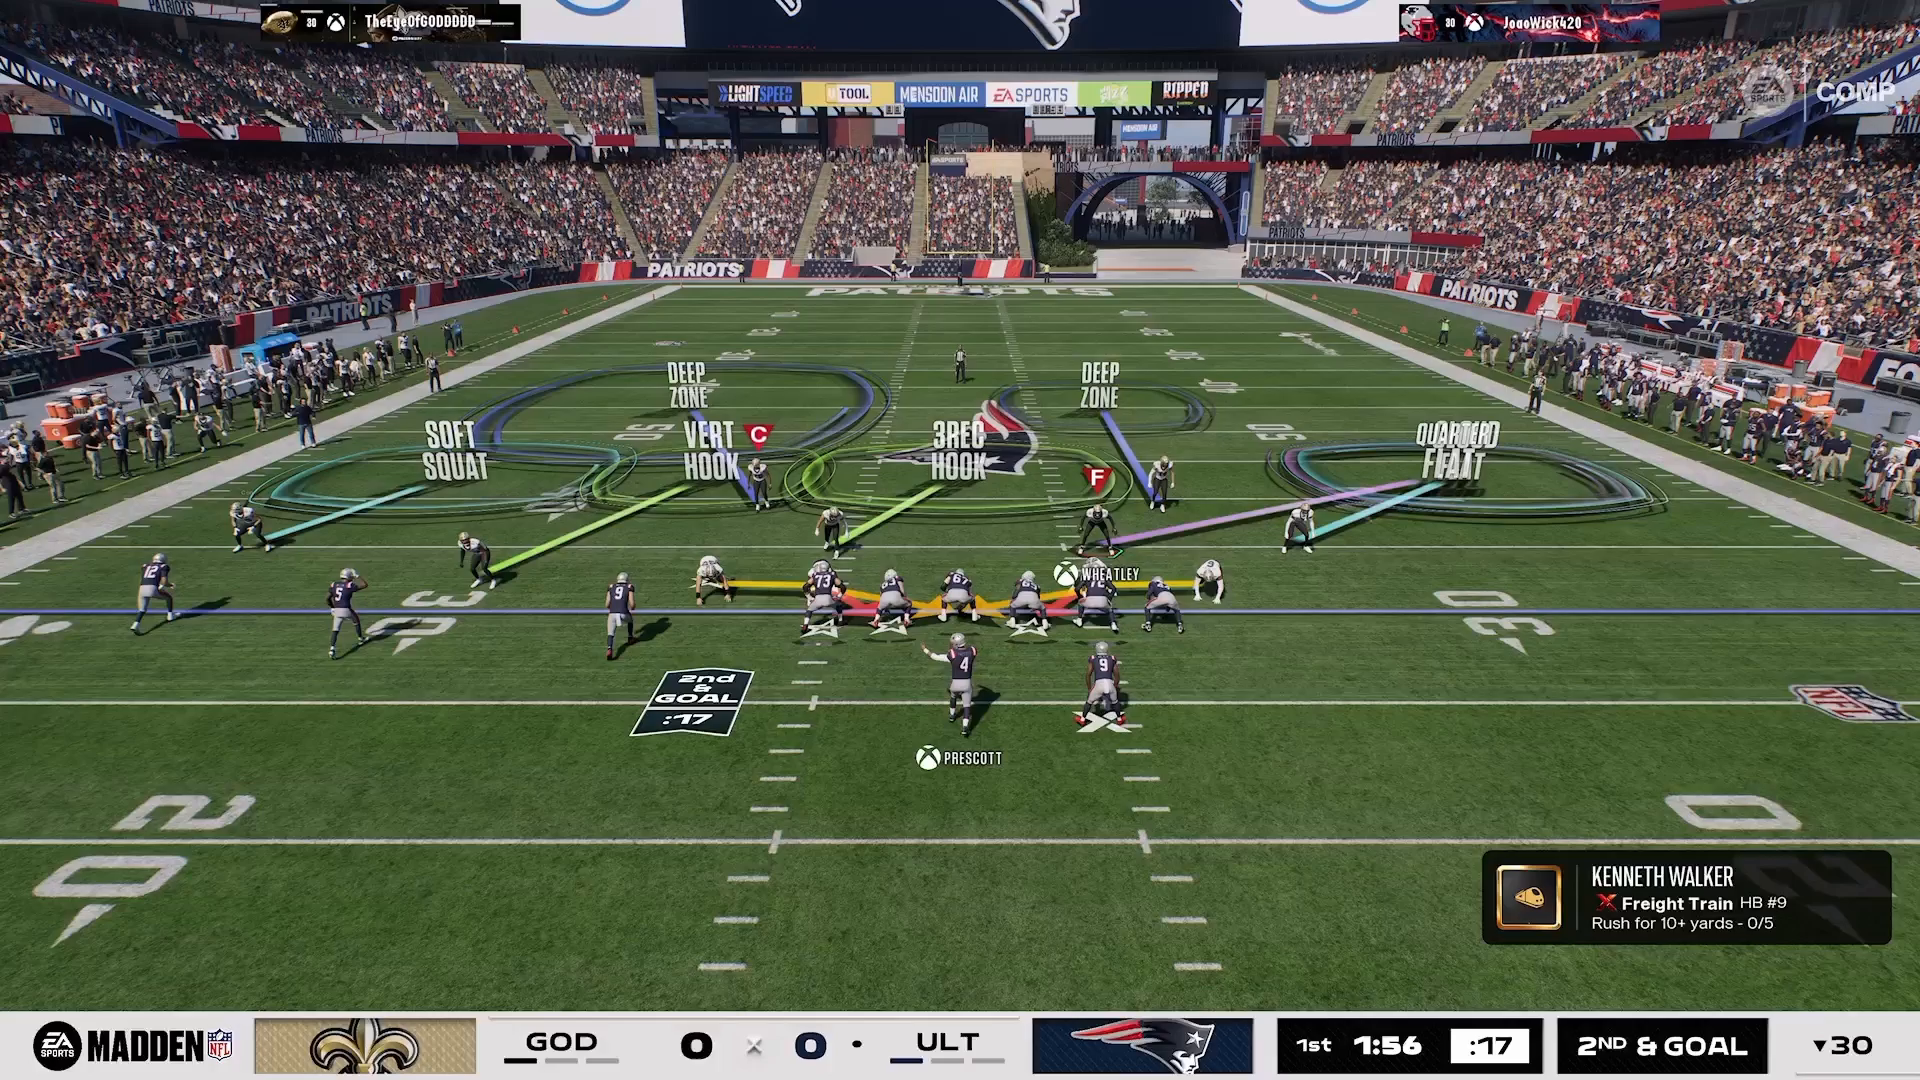
- Swap in a cloud flat defender set to conservative for the outside corner and use the quarter flat defender on routes moving right to left.
Understanding the Macro Setup
To effectively counter trip formations in Madden 27, you need a solid macro setup that leverages the San Francisco playbook. Start by selecting the Nickel Single Mug formation. This formation is ideal for defending against trips because it allows for versatile coverage options while maintaining pressure on the quarterback.
Begin by running the Cover 9 flipped play. This play creates mismatches and keeps your defense unpredictable. Place the Cover 2 matching side on the trip side to effectively track and cover the routes run by your opponent.
Finally, ensure all defenders are in a Cover 2 Match alignment. This chess-like setup puts you in a strong position to stop various offensive plays. For more advanced setups, consider exploring our 16 Spaces Playbook, which dives deeper into strategic formations.
Leveraging the Matching Principle
Understanding the Matching Principle is crucial for executing your defense effectively. In this setup, the vert hook and 3-arc hook defenders prioritize short, breaking routes.
The soft spot defender takes the outside receiver, while the vert hook covers the slot receiver. The 3-arc is responsible for the number nine receiver, effectively stopping slants, drags, and drive-post combos that often come from trips formations.
This approach is particularly effective against short and in-breaking routes, which represent the bottom row of the 16 Spaces. By prioritizing these specific routes, you can shut down key passing options that your opponent may try to exploit.
Implementing the Cloud Flat Swap
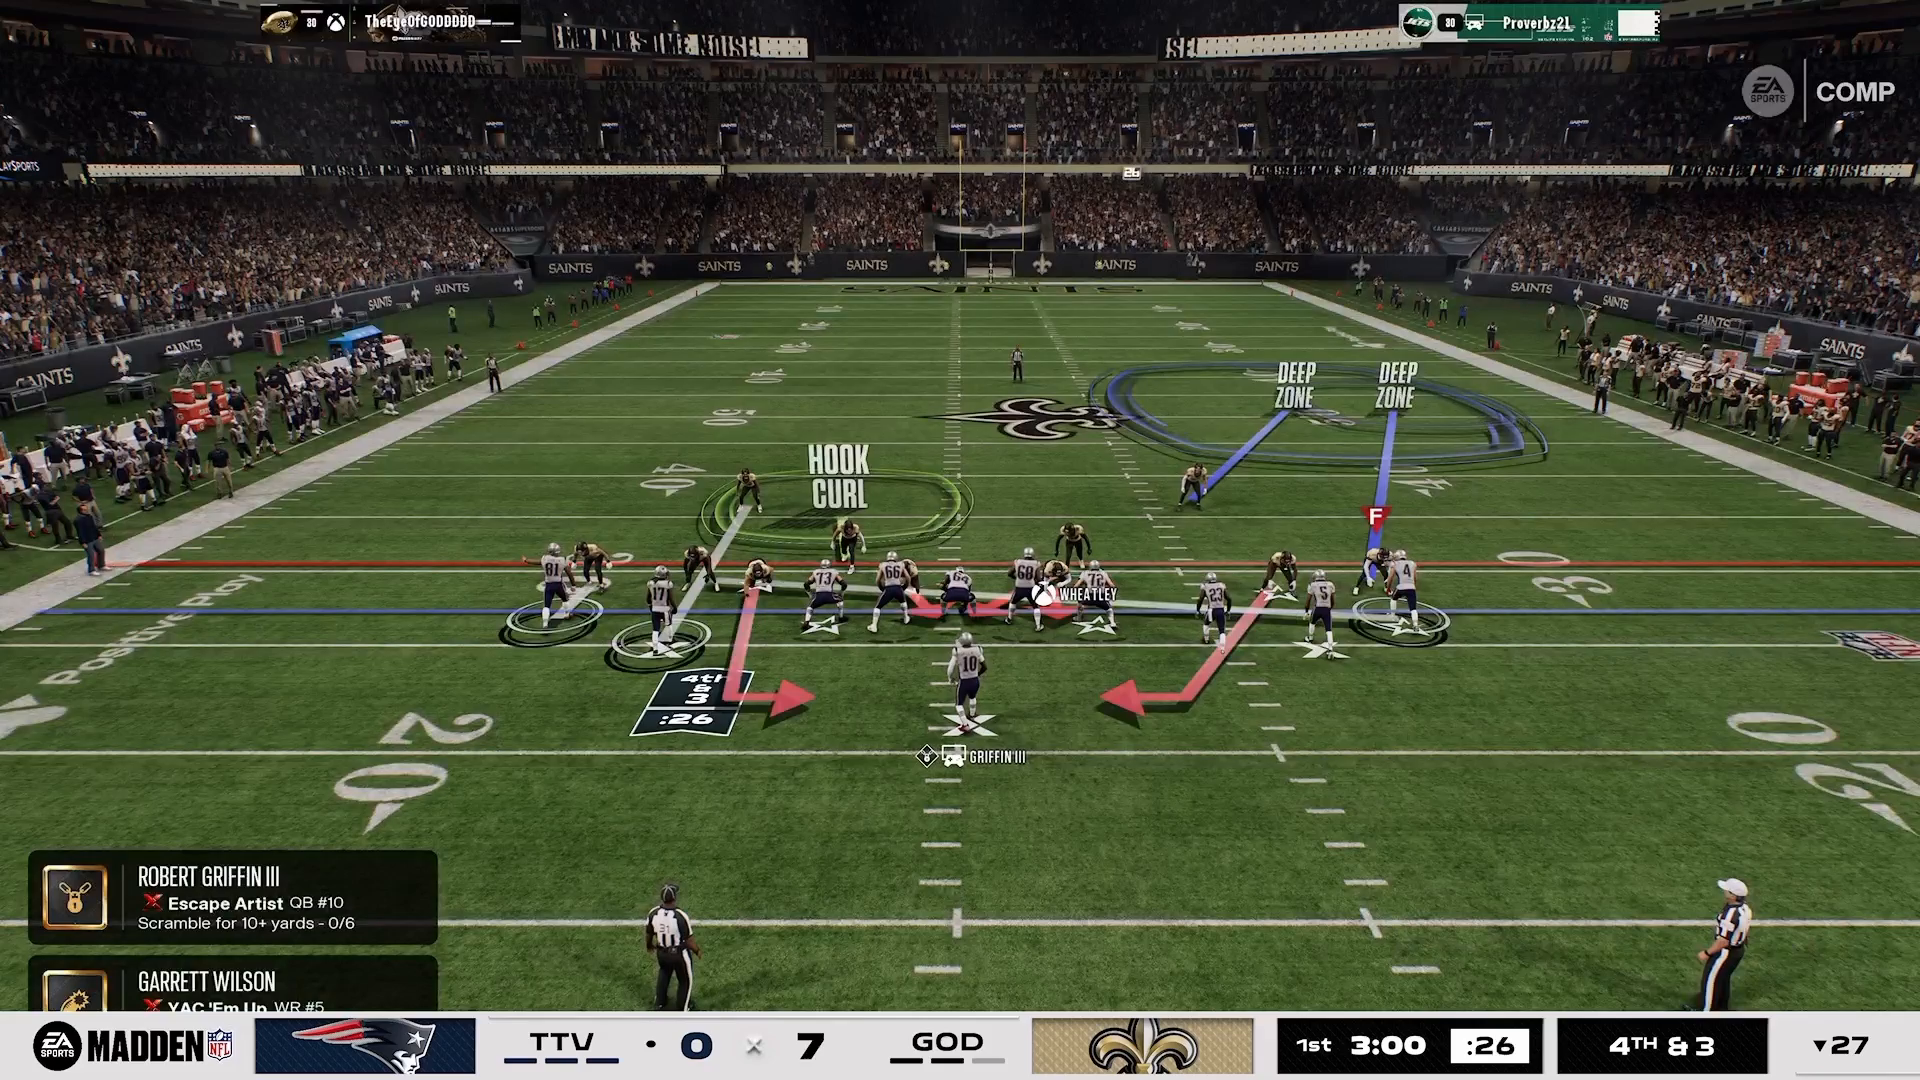
A subtle yet impactful adjustment in your defensive setup is the Cloud Flat swap. Remove the outside corner from the field (typically to the right of your screen) and replace him with a Cloud Flat defender set to conservative. This change is strategically designed to prevent tight ends and corners from exploiting open spaces on RB flats.
This tiny swap can yield significant results, enhancing your defensive coverage against trips formations. Using the Madden Academy setup logic, you can create a more balanced defense that can adapt to multiple offensive strategies.
Quarter Flat Responsibility Explained
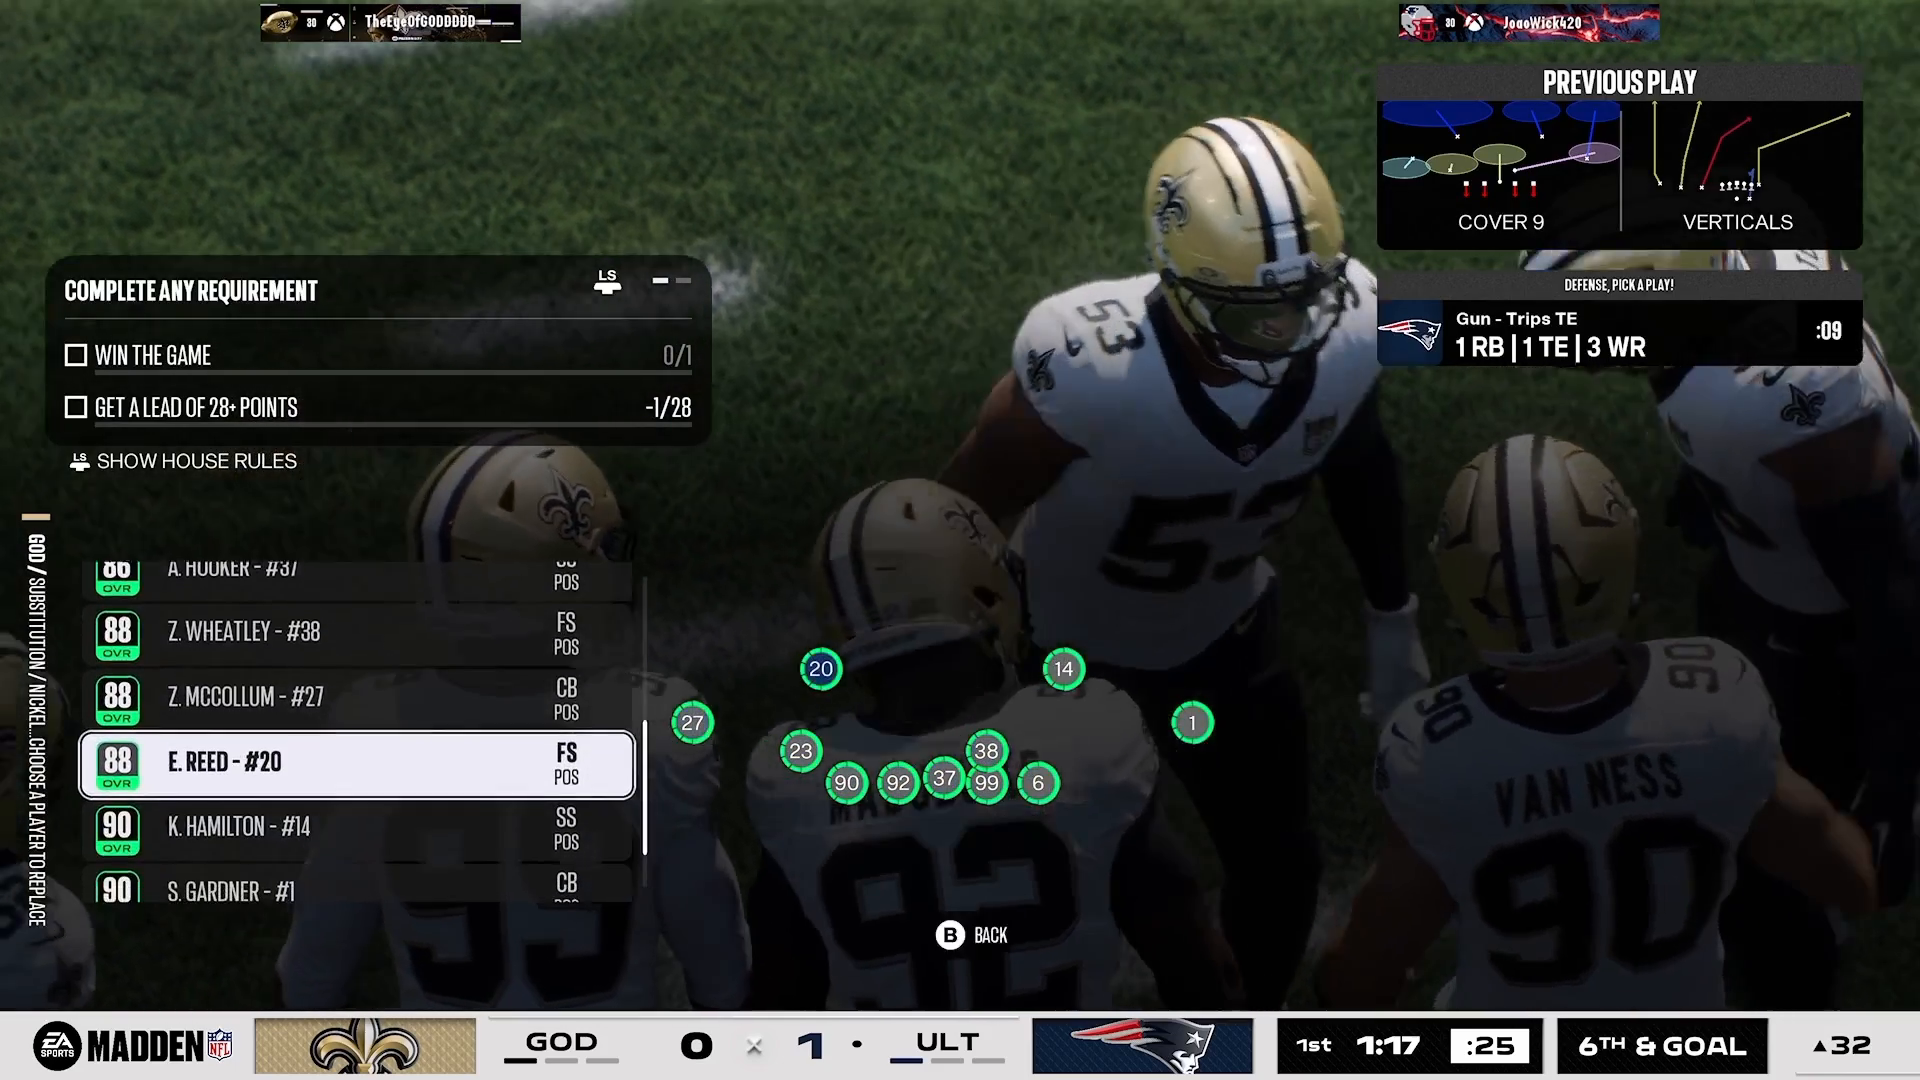
When employing the Quarter Flat responsibility, you ensure that your Quarter Flat defender handles any routes moving from right to left. Pay special attention to tight end drags and running back in-routes, as these are common targets in trip formations.
Utilizing any right-to-left space can effectively end the play. Coupled with the match hooks, this setup locks down the bottom-row spaces in the 16 Spaces System, preventing offensive players from finding gaps in your defense.
Identifying Weaknesses and Counters
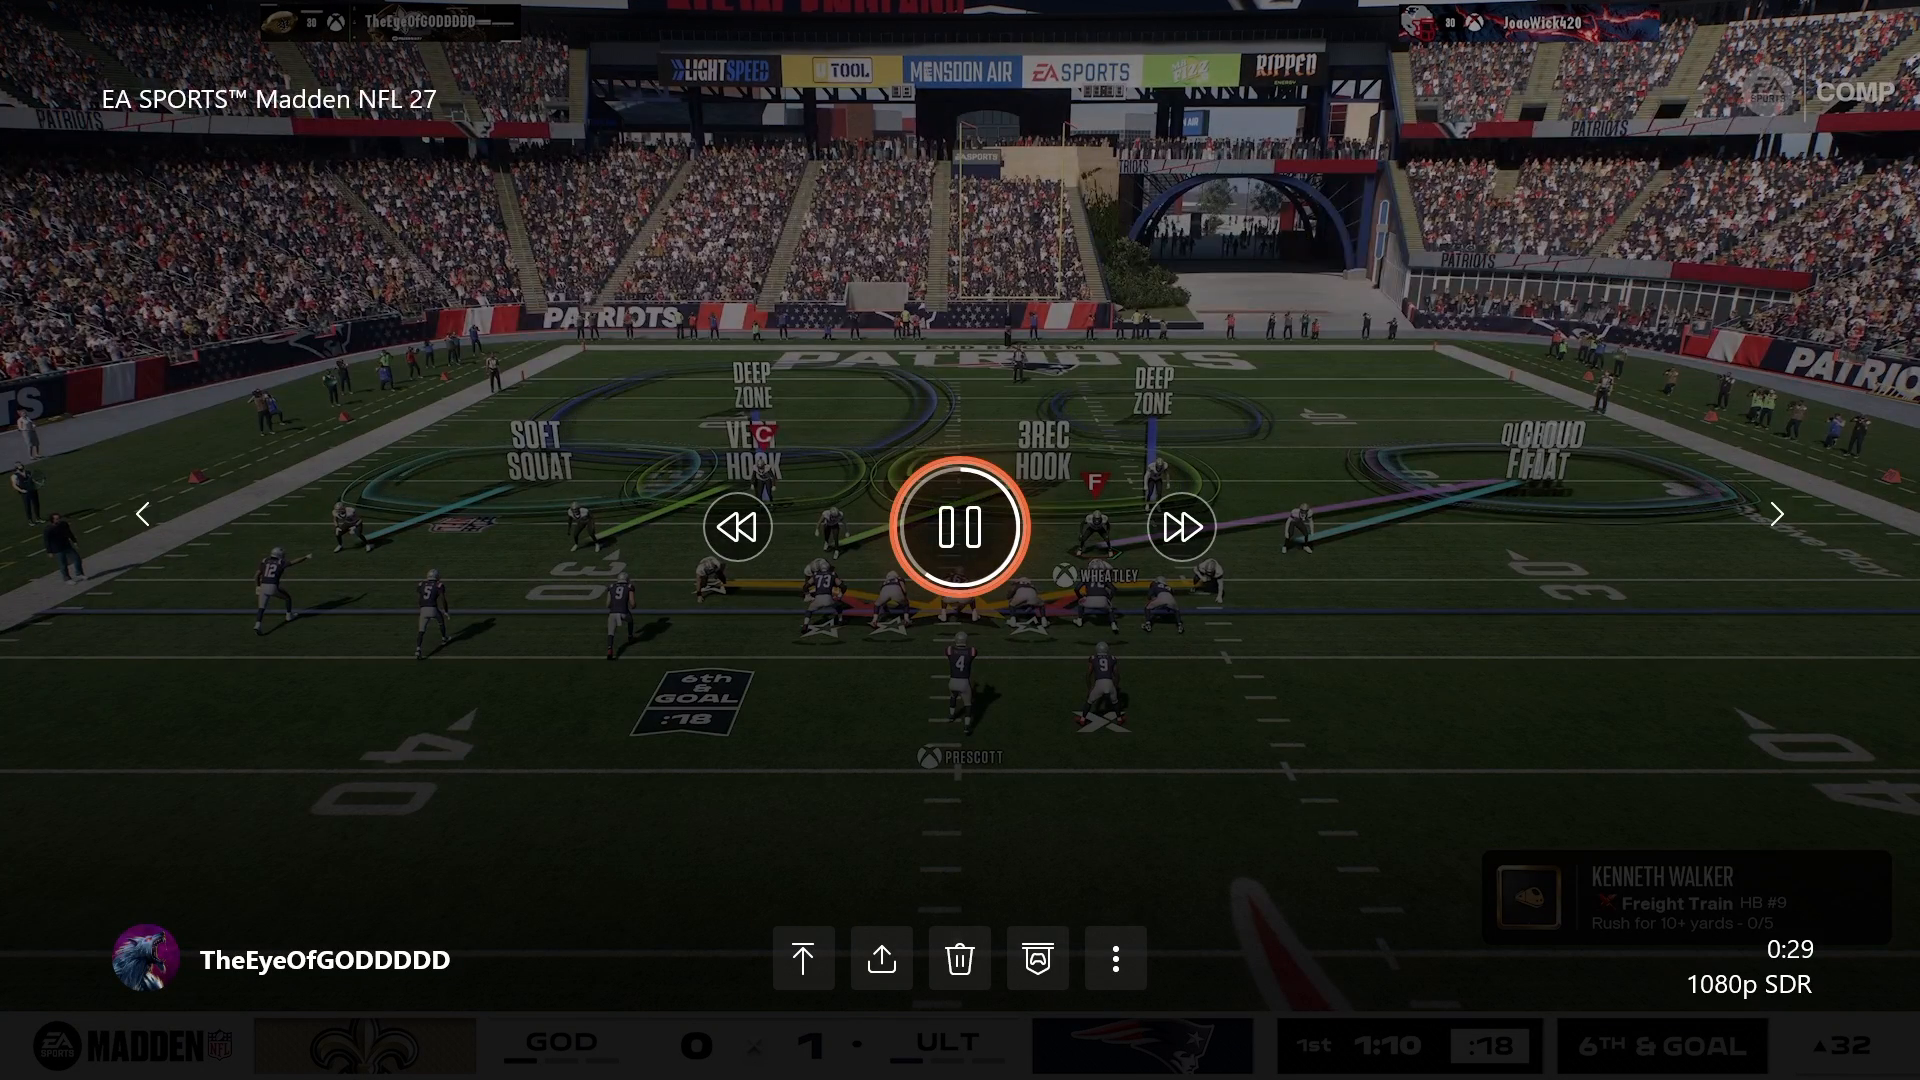
Even the best setups have weaknesses. In this case, vertical routes can exploit the match hooks, which mainly prioritize short and in-breaking routes. If you notice your opponent frequently running verticals, you should consider mixing in man coverage.
Man up the left slot corner and the 3-rec defender onto the number nine receiver. This adjustment will allow you to counter vertical routes effectively.
If your opponent leans more towards short routes, keep the match coverage active. This mental chess aspect of Madden is crucial; remember, you’re playing against your opponent, not just the buttons on your controller.
Conclusion: Mastering Your Defense
By implementing the Nickel Single Mug defense with these strategic adjustments, you can significantly improve your ability to stop trip formations in Madden 27. The combination of a solid macro setup, understanding the matching principle, and making necessary adjustments will set you apart from your competition. To continue refining your skills and strategies, check out our more Madden tips to elevate your game further.