Setup Your Defense with Dime 3-2
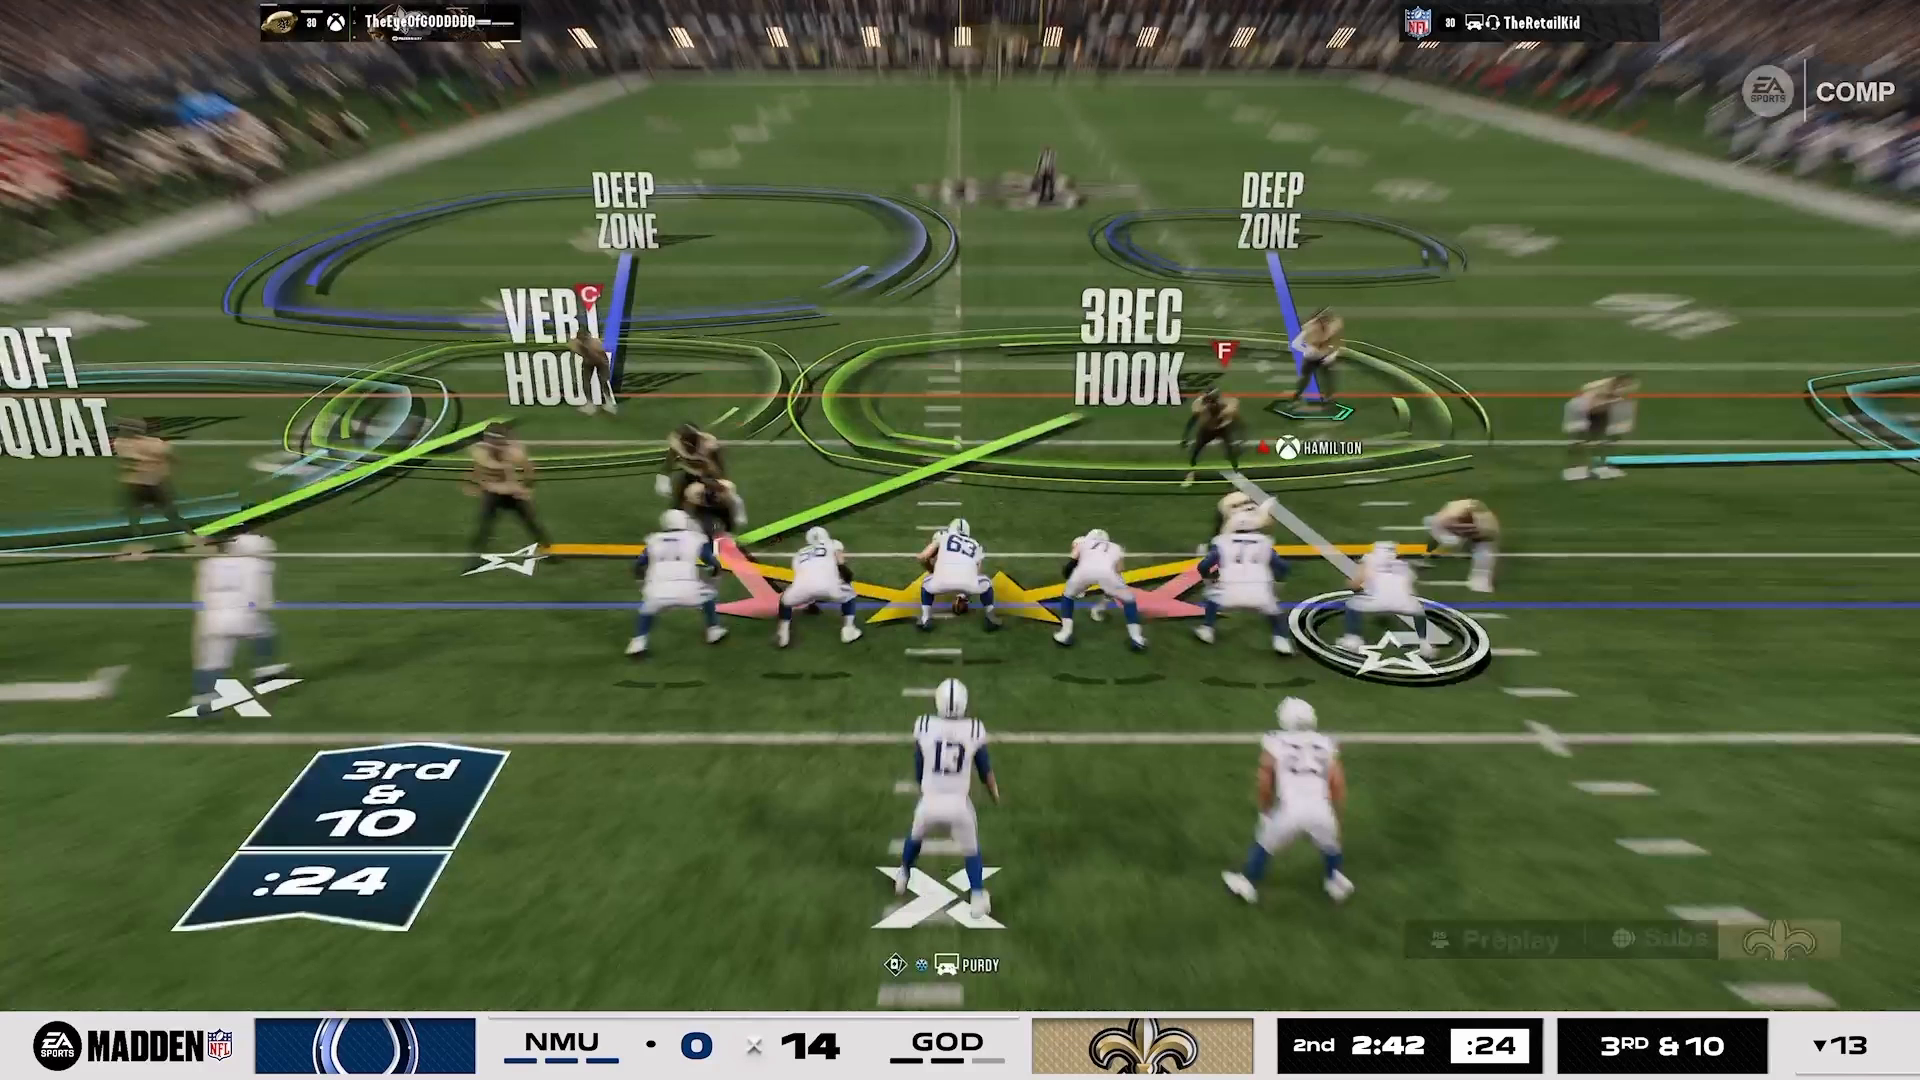
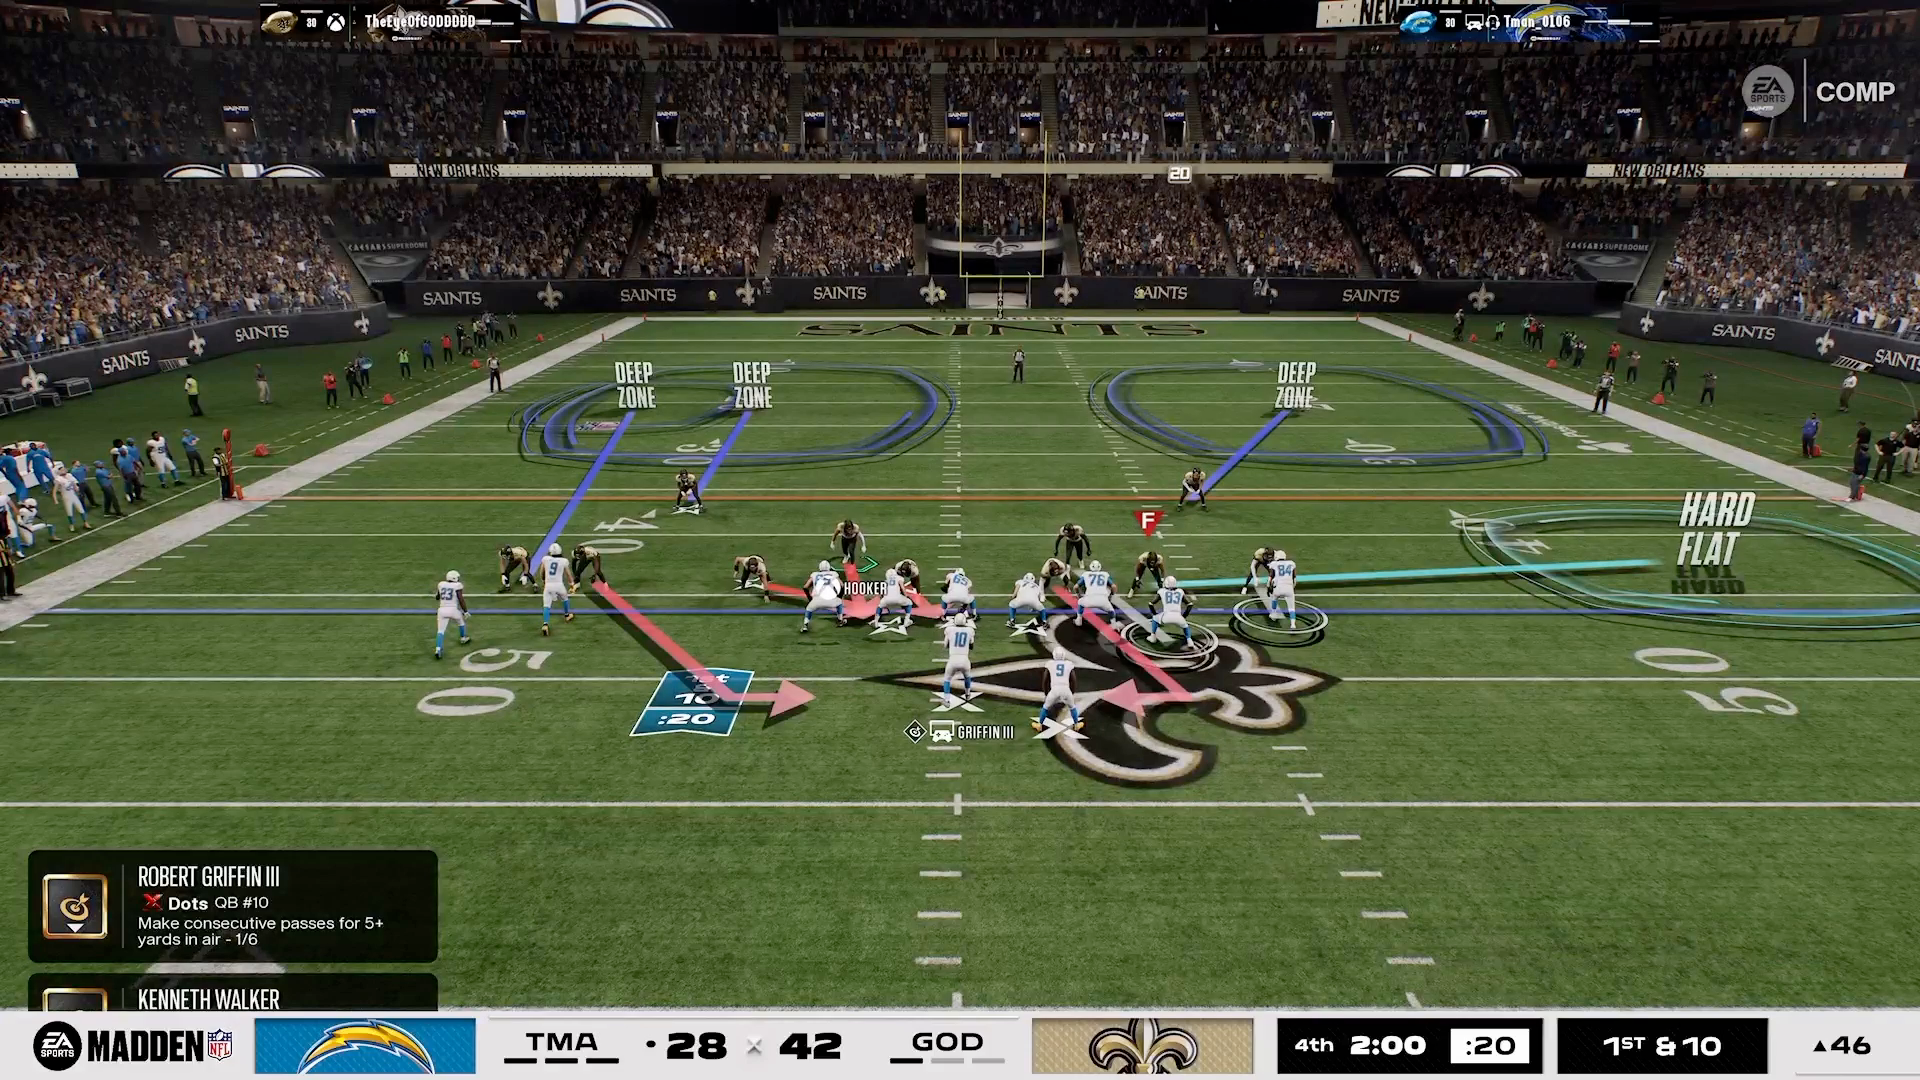
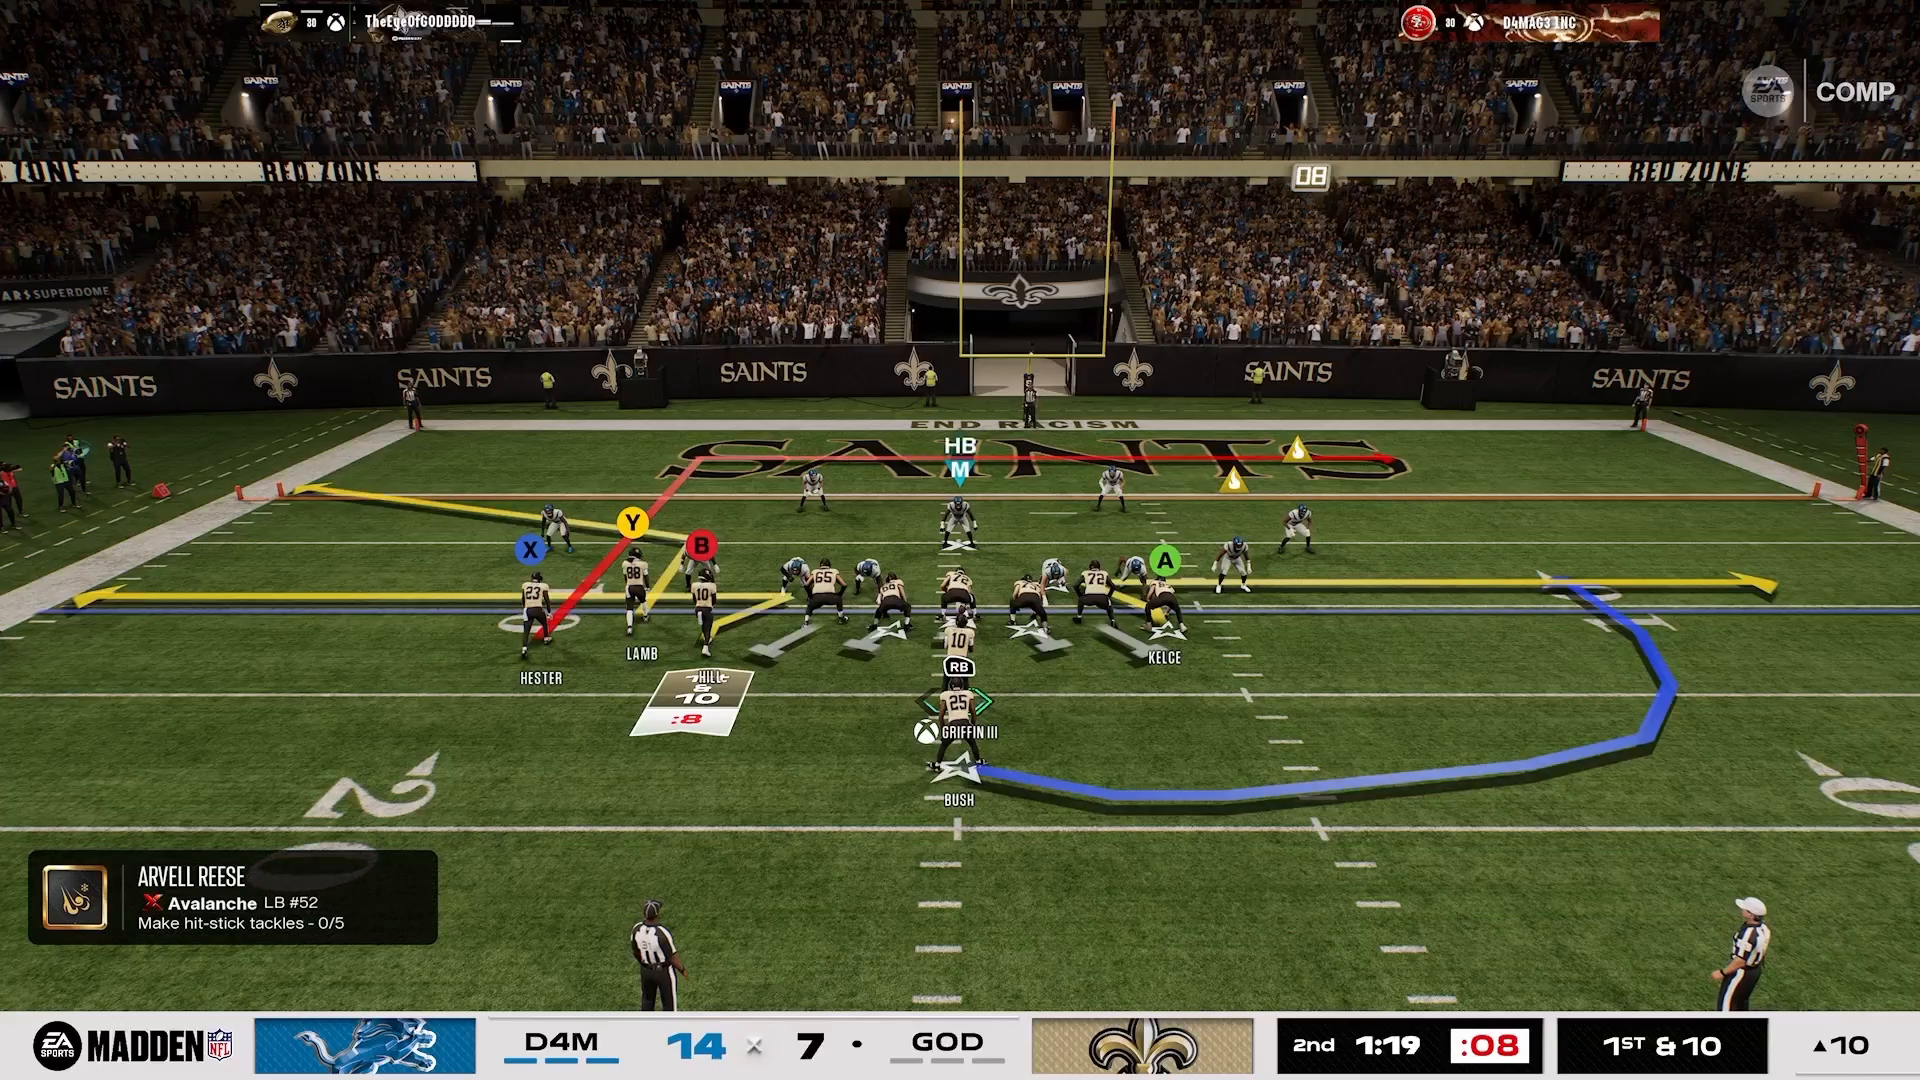
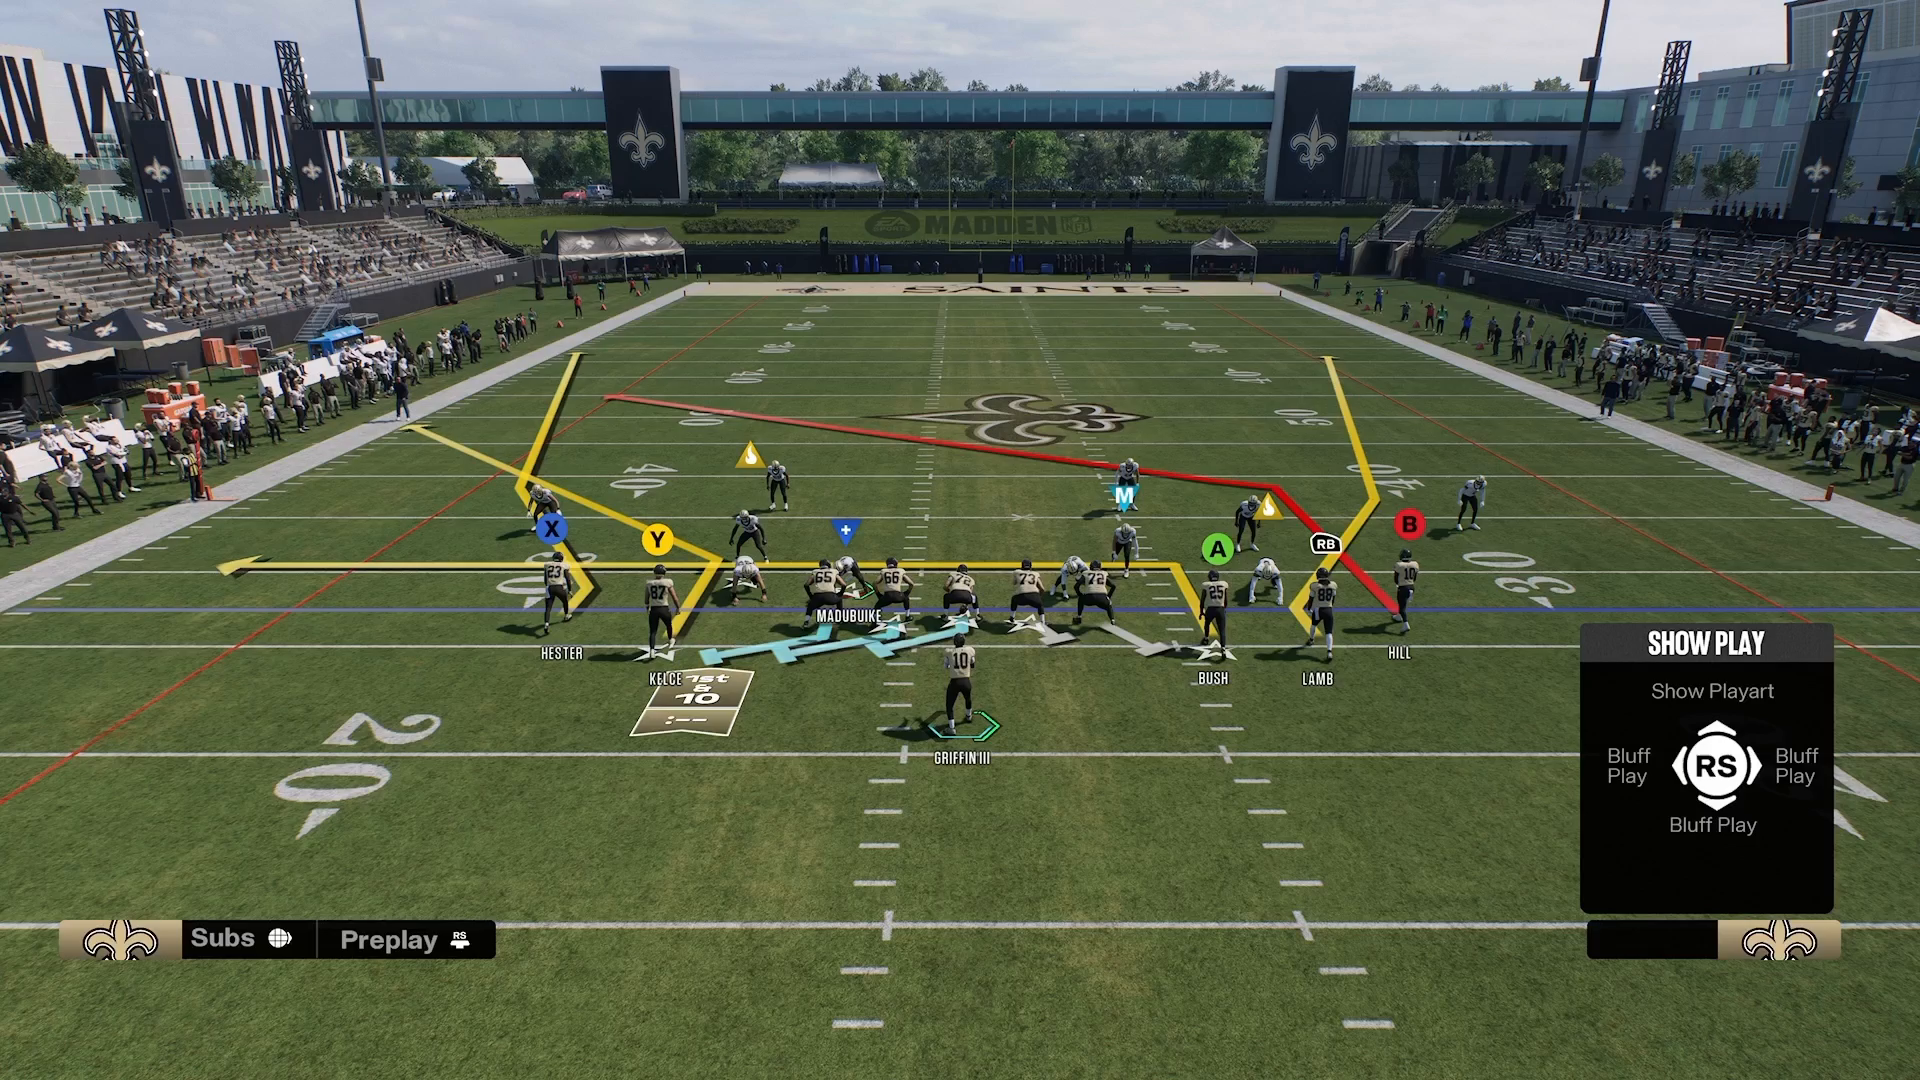
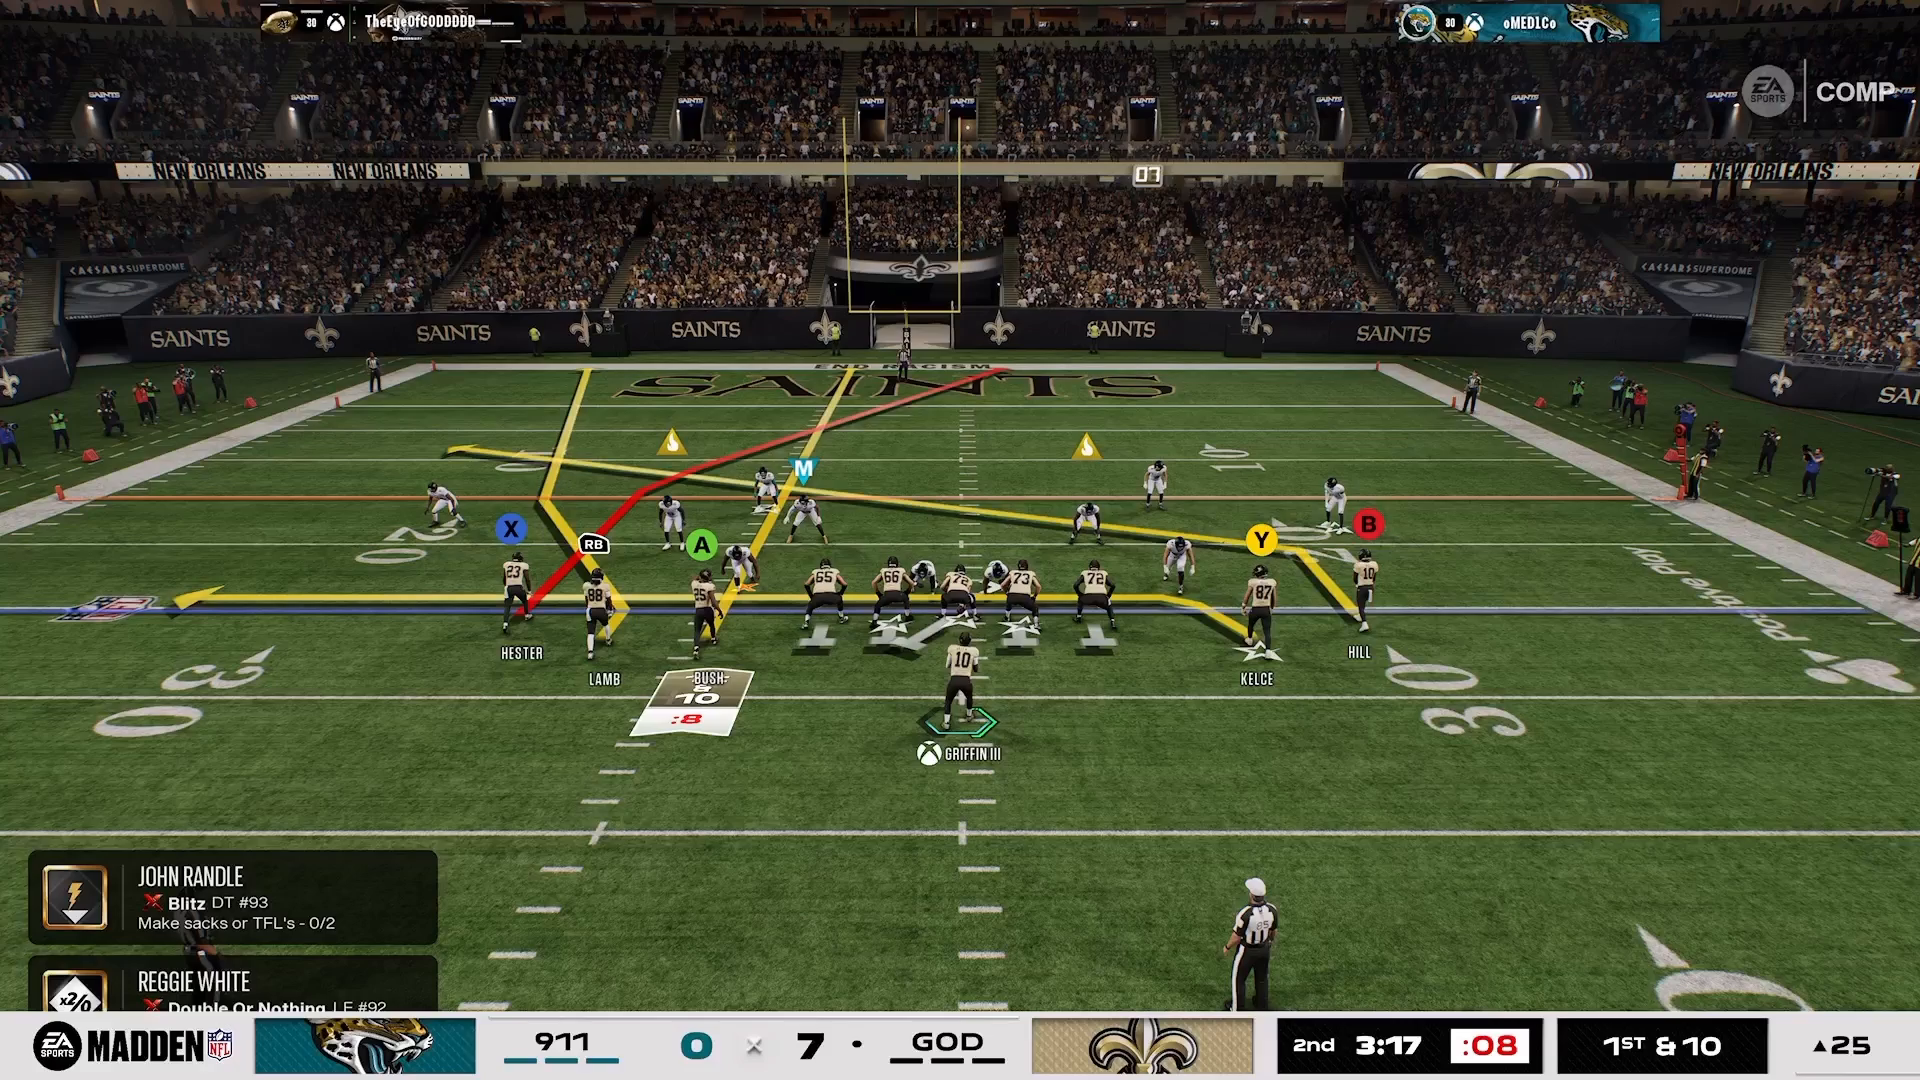
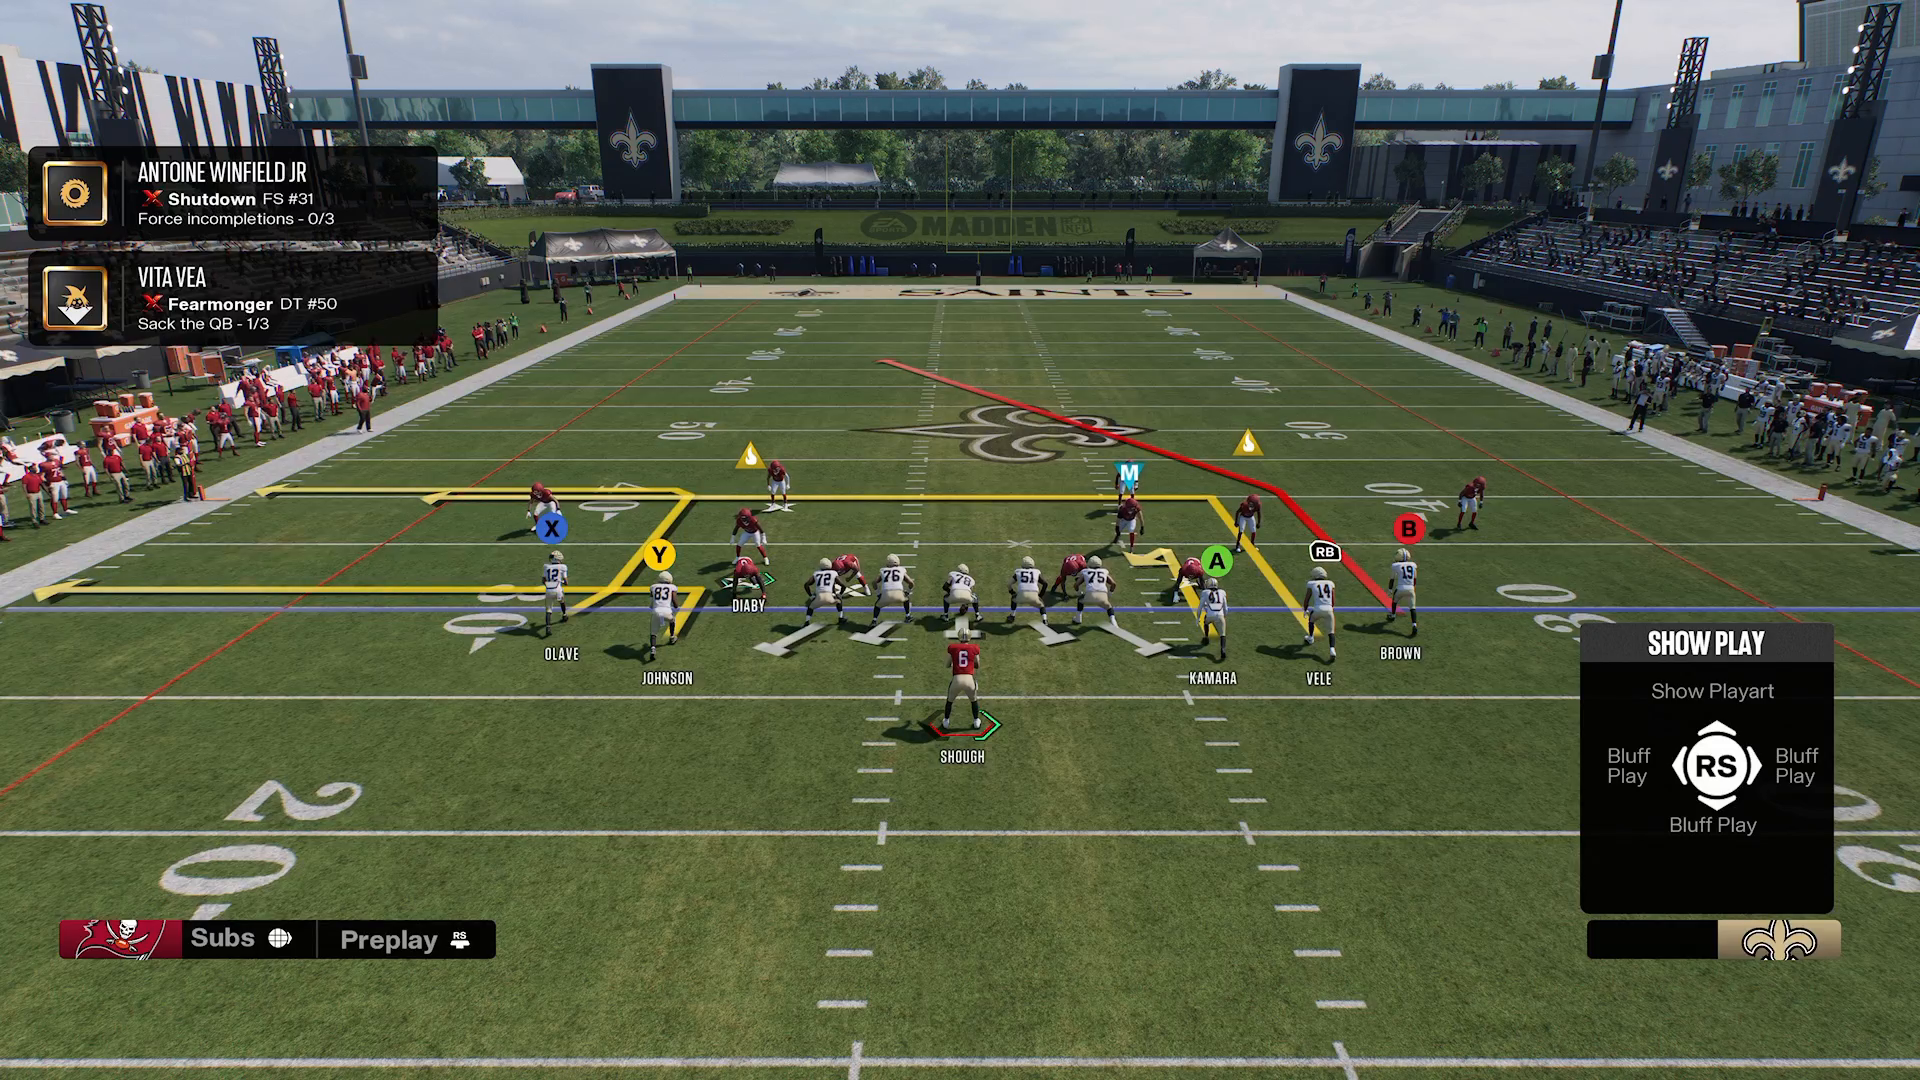
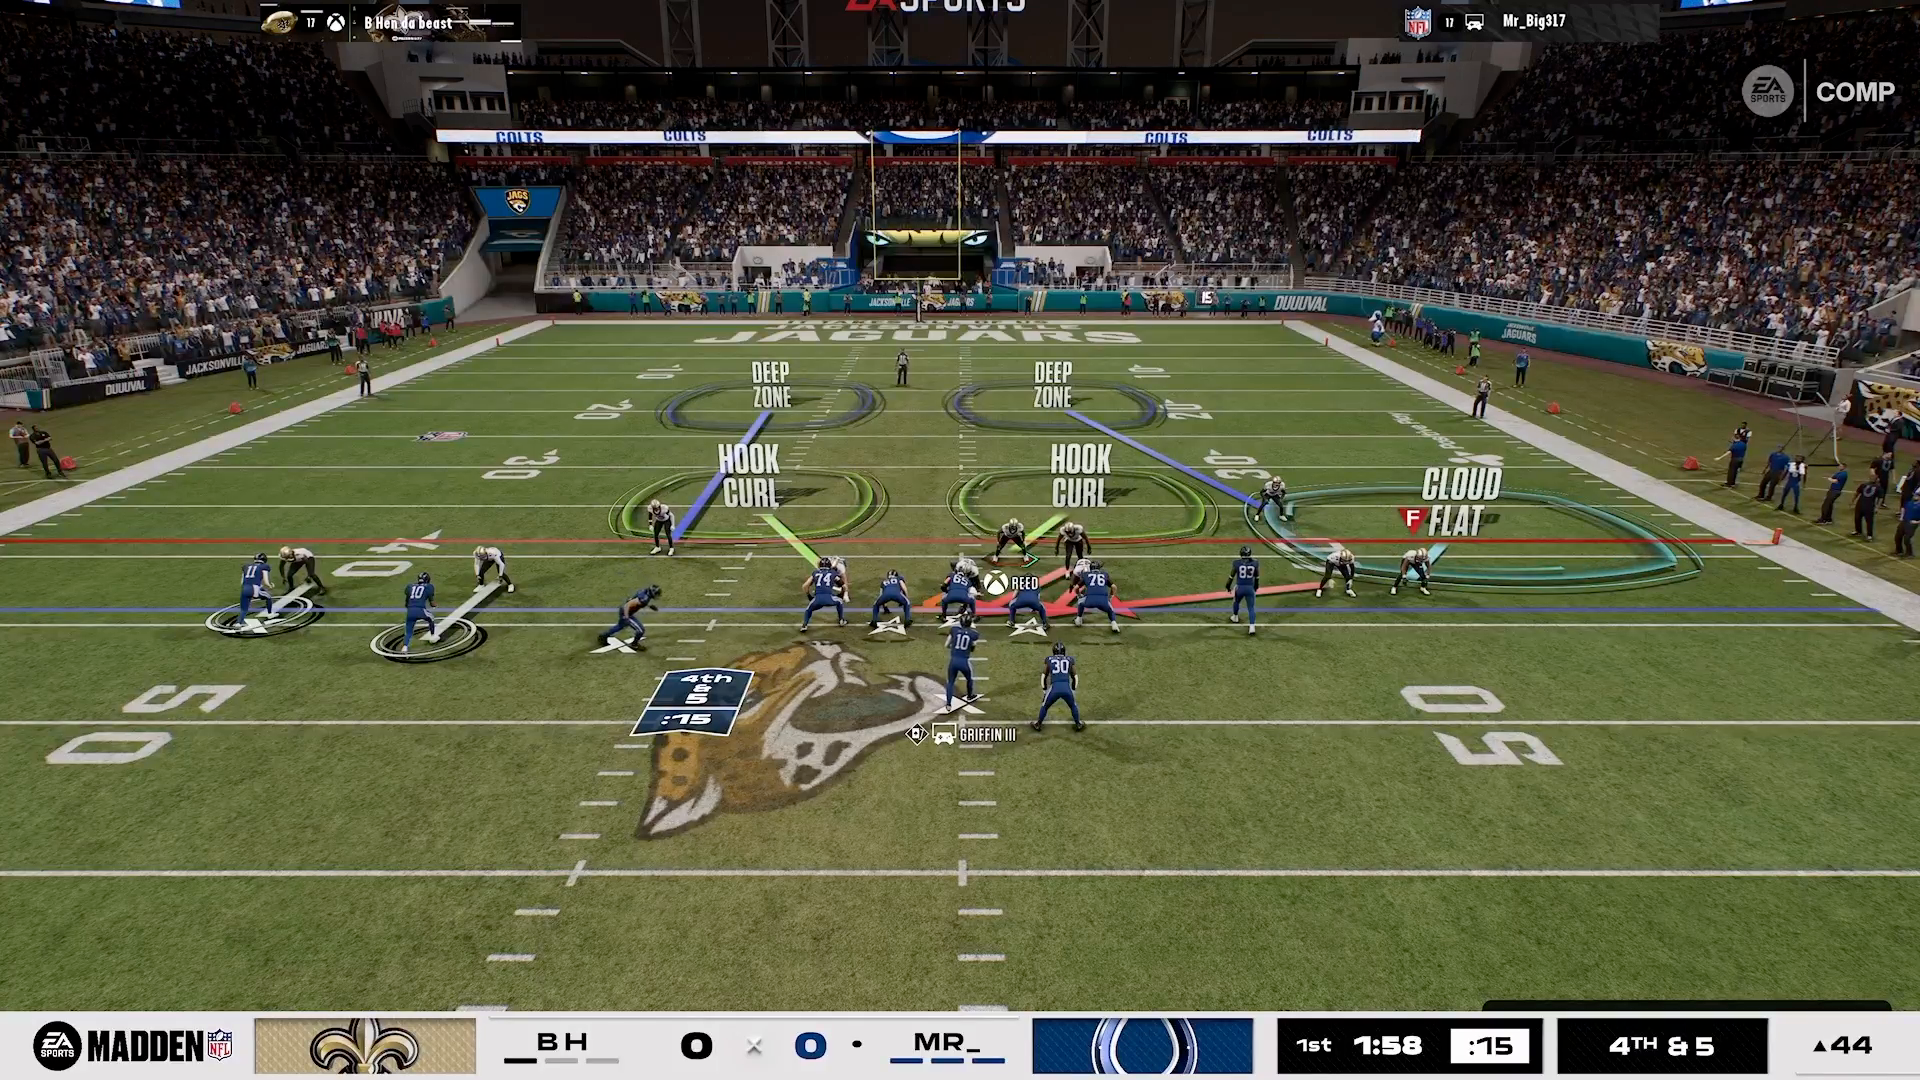
In the fast-paced world of Madden NFL 27, the ability to adapt your defensive strategies can be the difference between a win and a loss. One of the top trending setups right now is the San Francisco Dime 3-2 defense, focusing on the DB Fire 2 macro. This defense is engineered to create pressure against various offensive formations, whether your opponent is in an empty backfield, utilizing a base offensive line, or blocking running backs. The beauty of this setup is its versatility; it looks identical when executed from either side, making it difficult for your opponent to predict your moves. This is part of a larger strategy known as the 16 Spaces approach — a method that forces your opponent into predictable spaces, limiting their options.
Show Blitz for Pressure
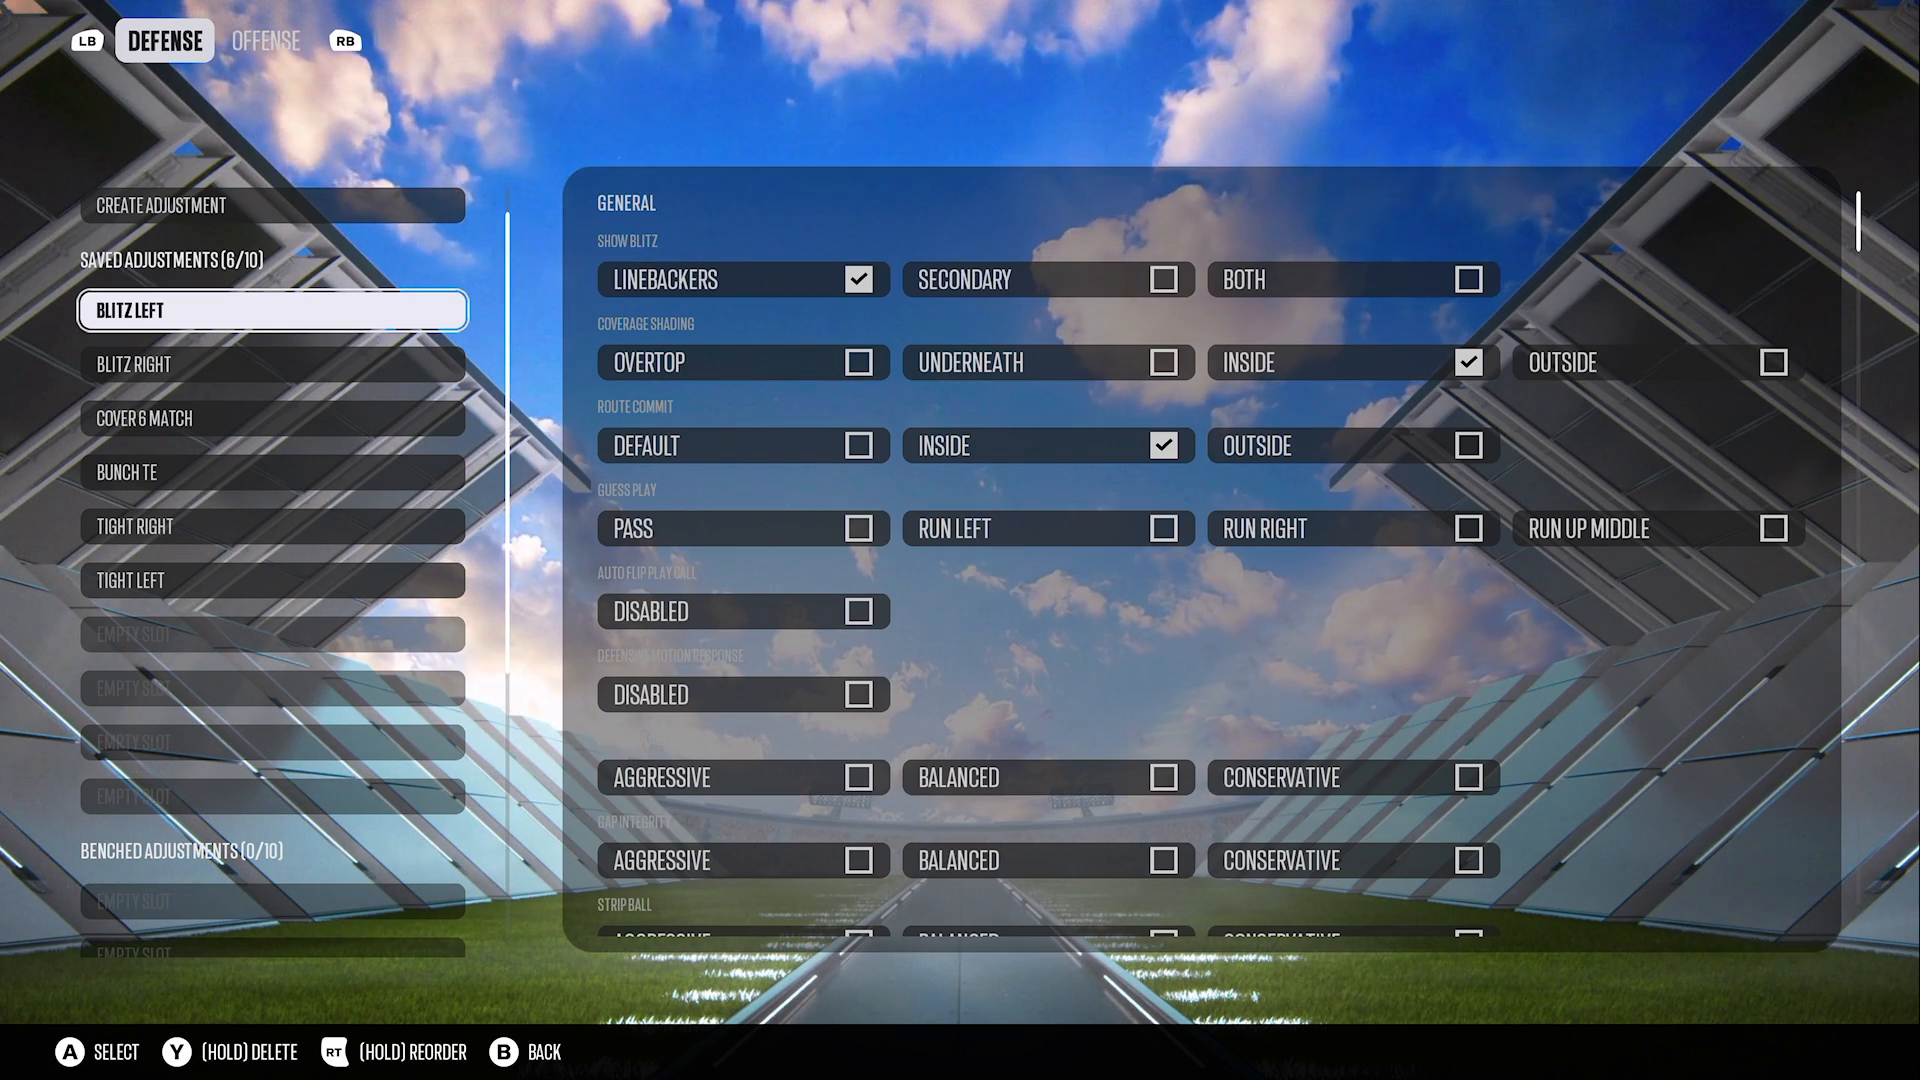
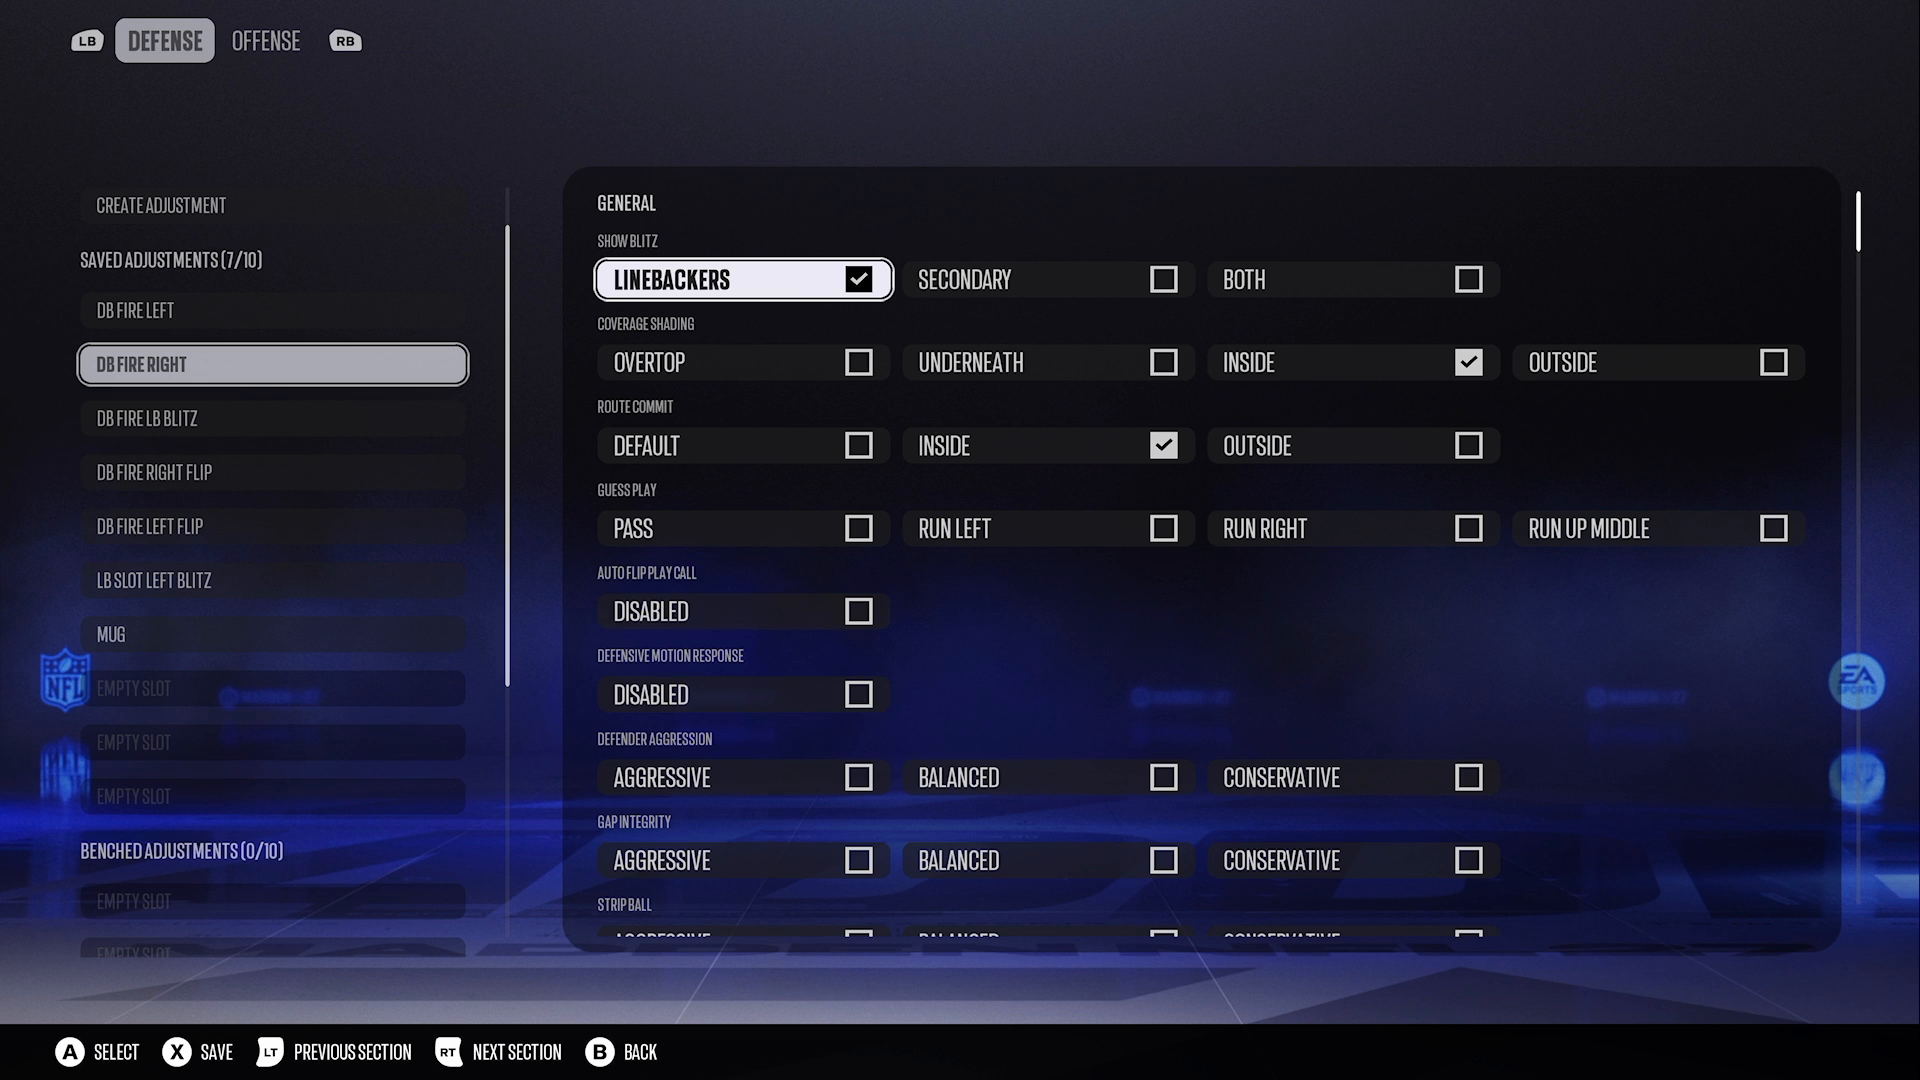
Another key aspect of this defensive setup is the blitz. By showing blitz with your linebackers, you can effectively bring them closer to the line of scrimmage, allowing for quicker hits on the quarterback. This tactic is particularly effective against targeting or empty sets, as it puts pressure right where it’s needed. However, this strategy can fall flat if you don’t plan who will remain in coverage; you want to ensure that your defense is balanced and not overly aggressive. This aligns perfectly with the Madden Academy philosophy: pressure with purpose while utilizing the 16 Spaces strategy to dictate play.
Optimizing Coverage Shells
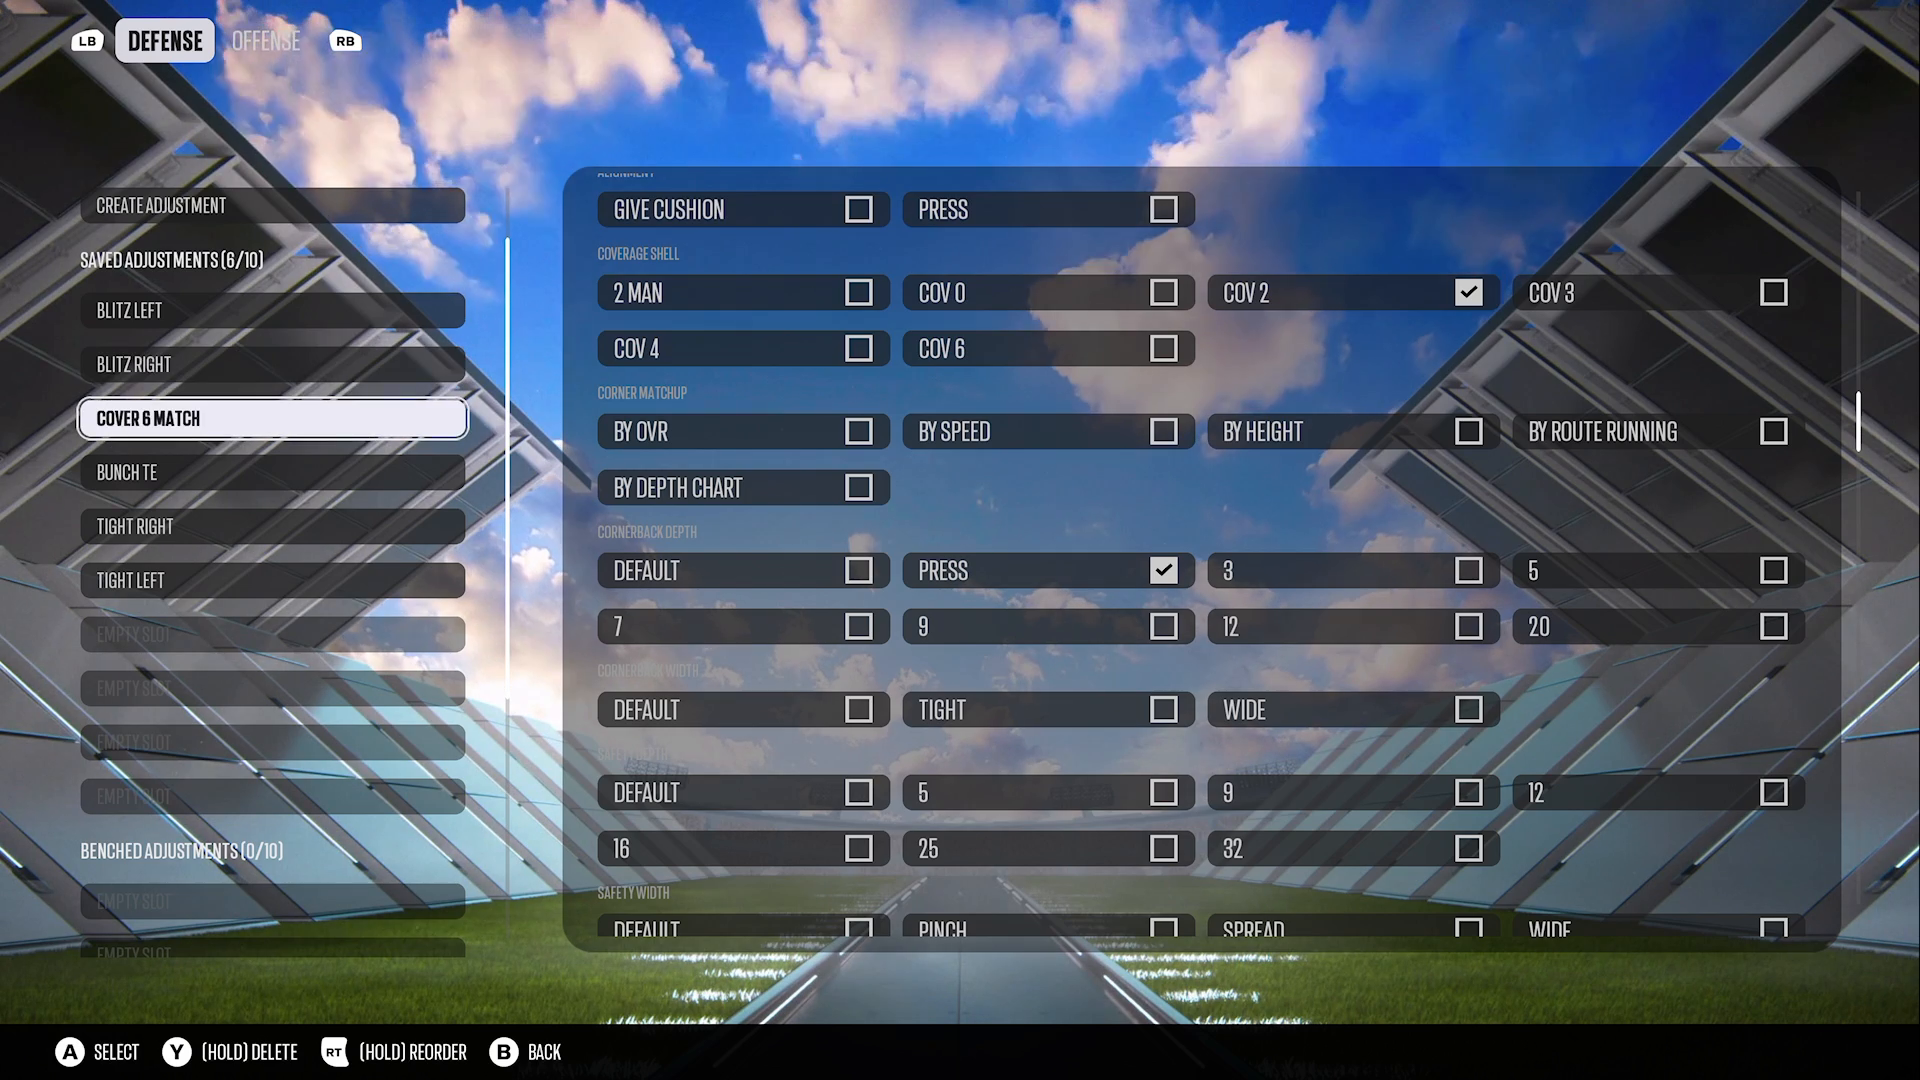
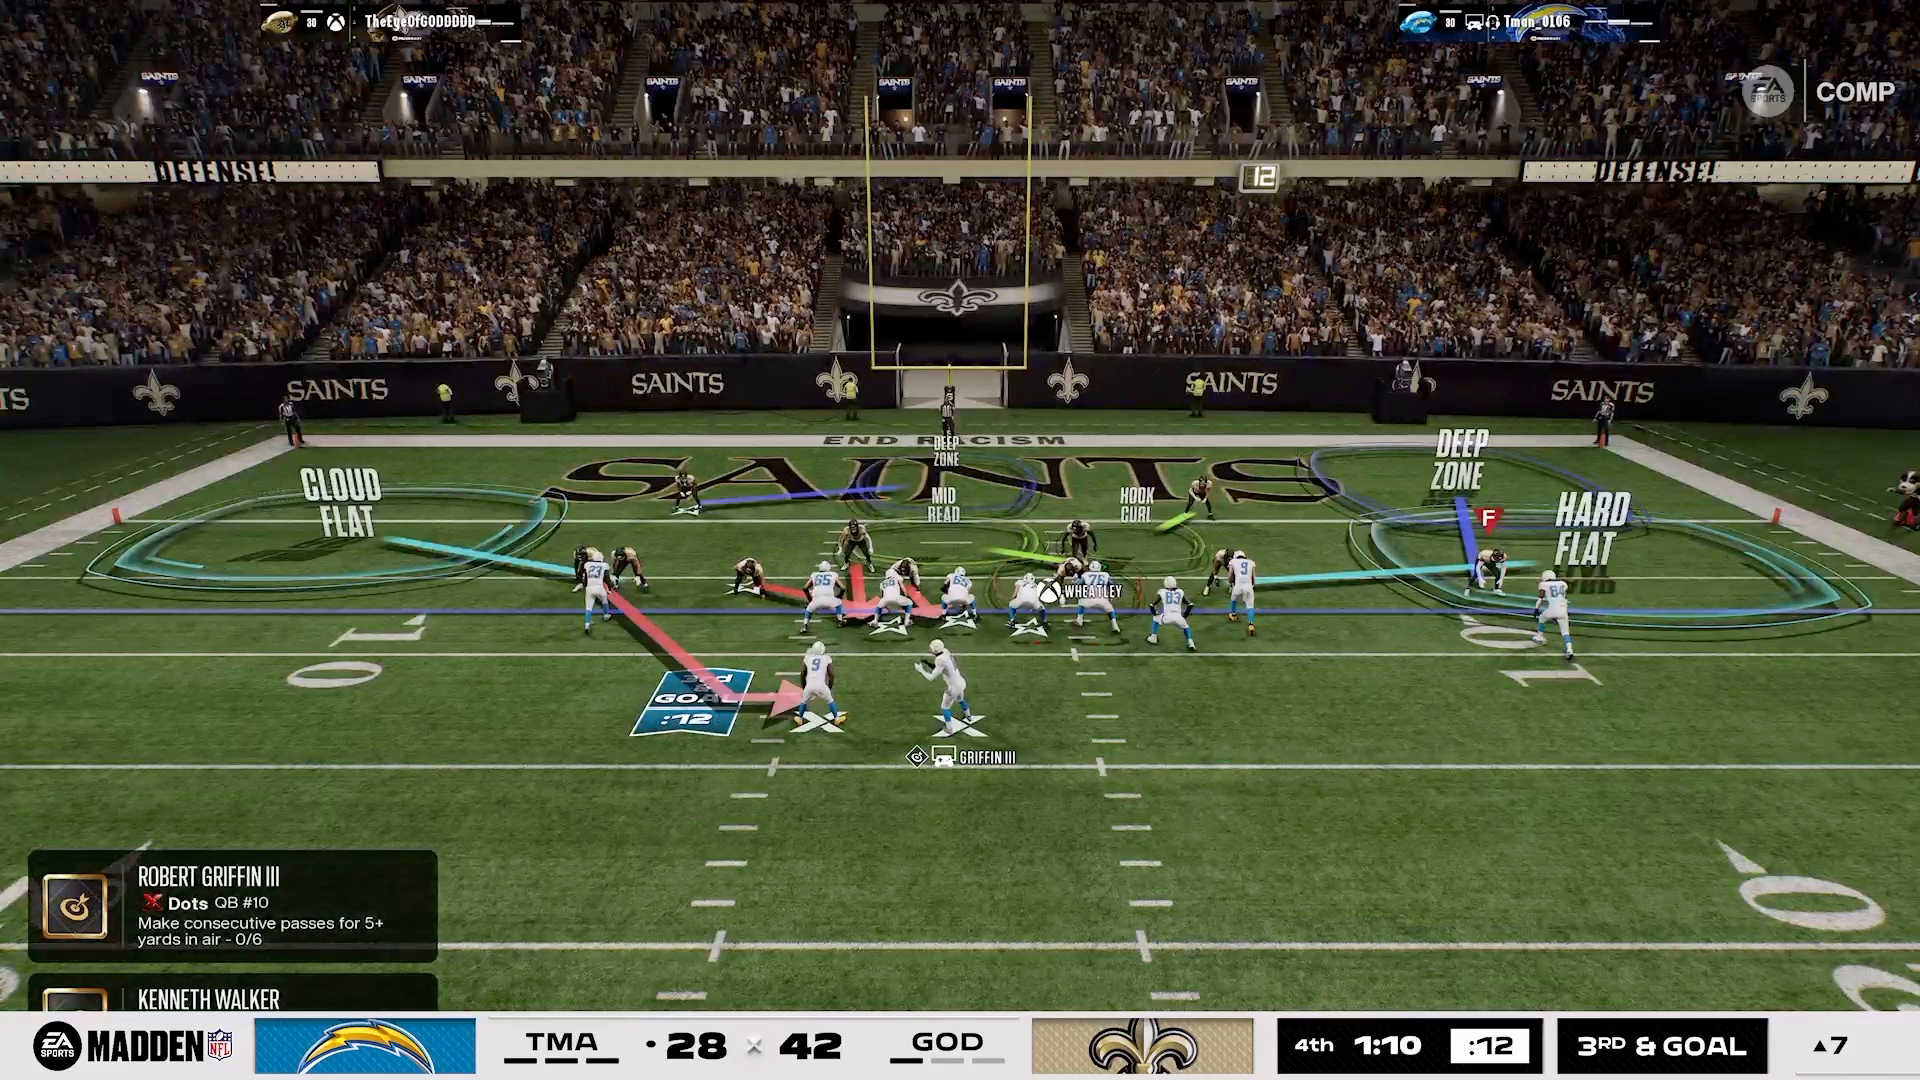
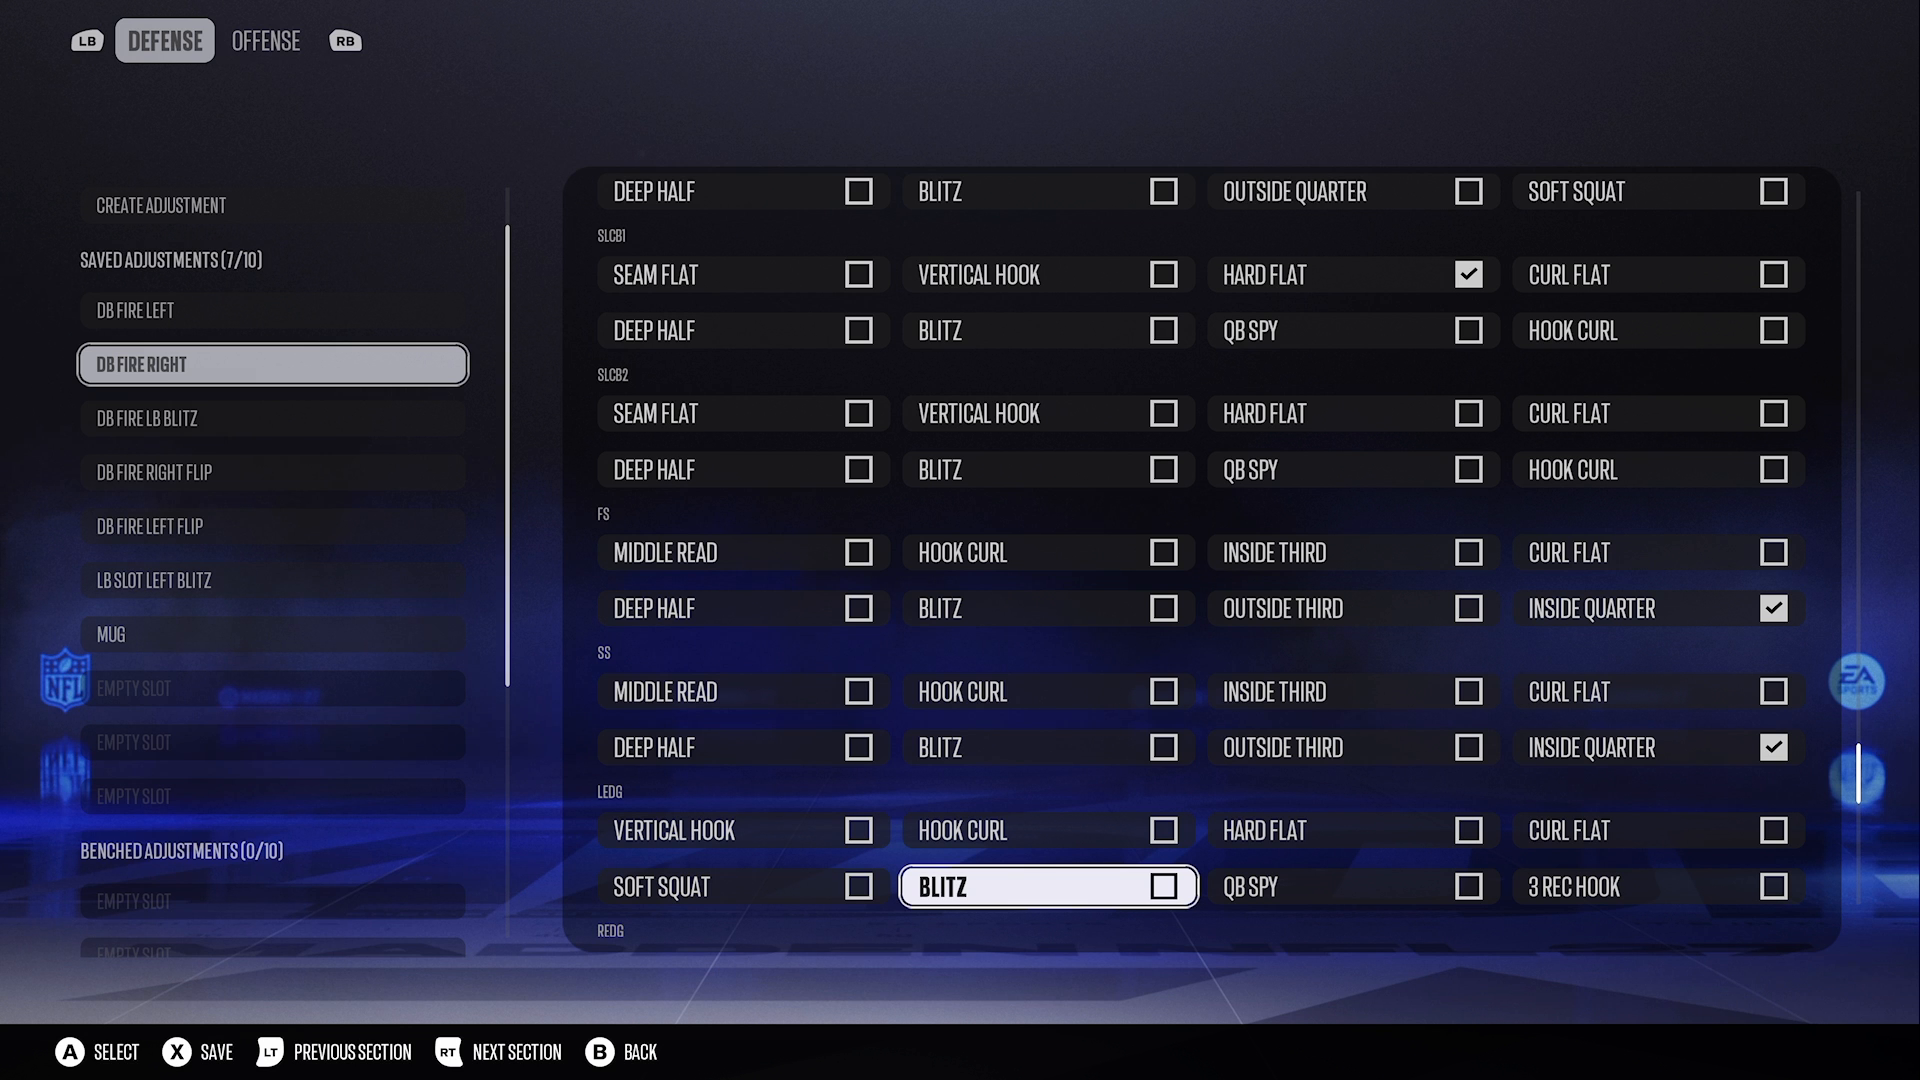
Coverage is equally important when implementing the Dime 3-2 setup. One major mistake is relying on soft squats on the outside; they can match receivers randomly, creating unpredictability that can cost you big plays. Instead, utilize cloud squats paired with corners in conservative cloud coverage. Position your safeties in inside quarters to maintain solid coverage against various formations. When facing trips or wide spread formations, consider going ultra conservative to control the spaces that your opponent can exploit. This strategy reinforces the 16 Spaces concept, allowing you to dictate where your opponent can attack.
Effective Rush & Defensive Line Tactics
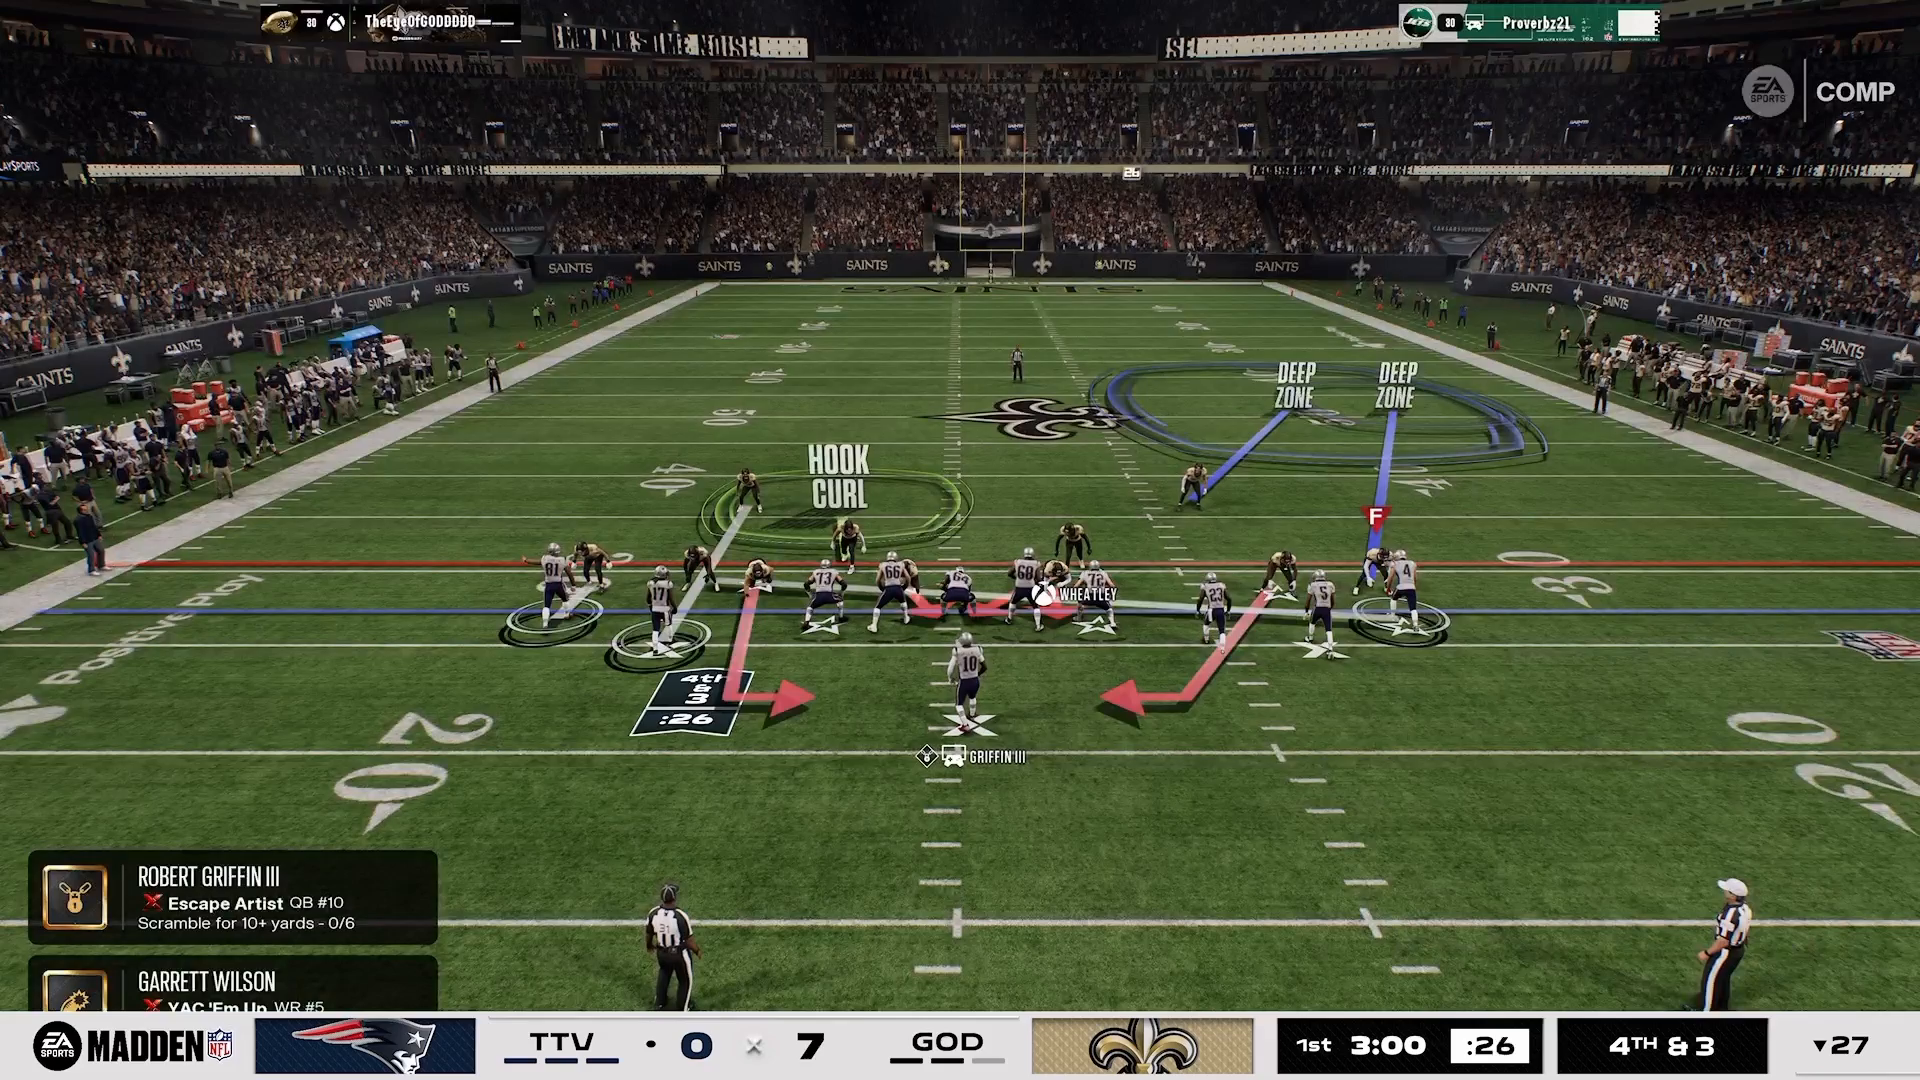
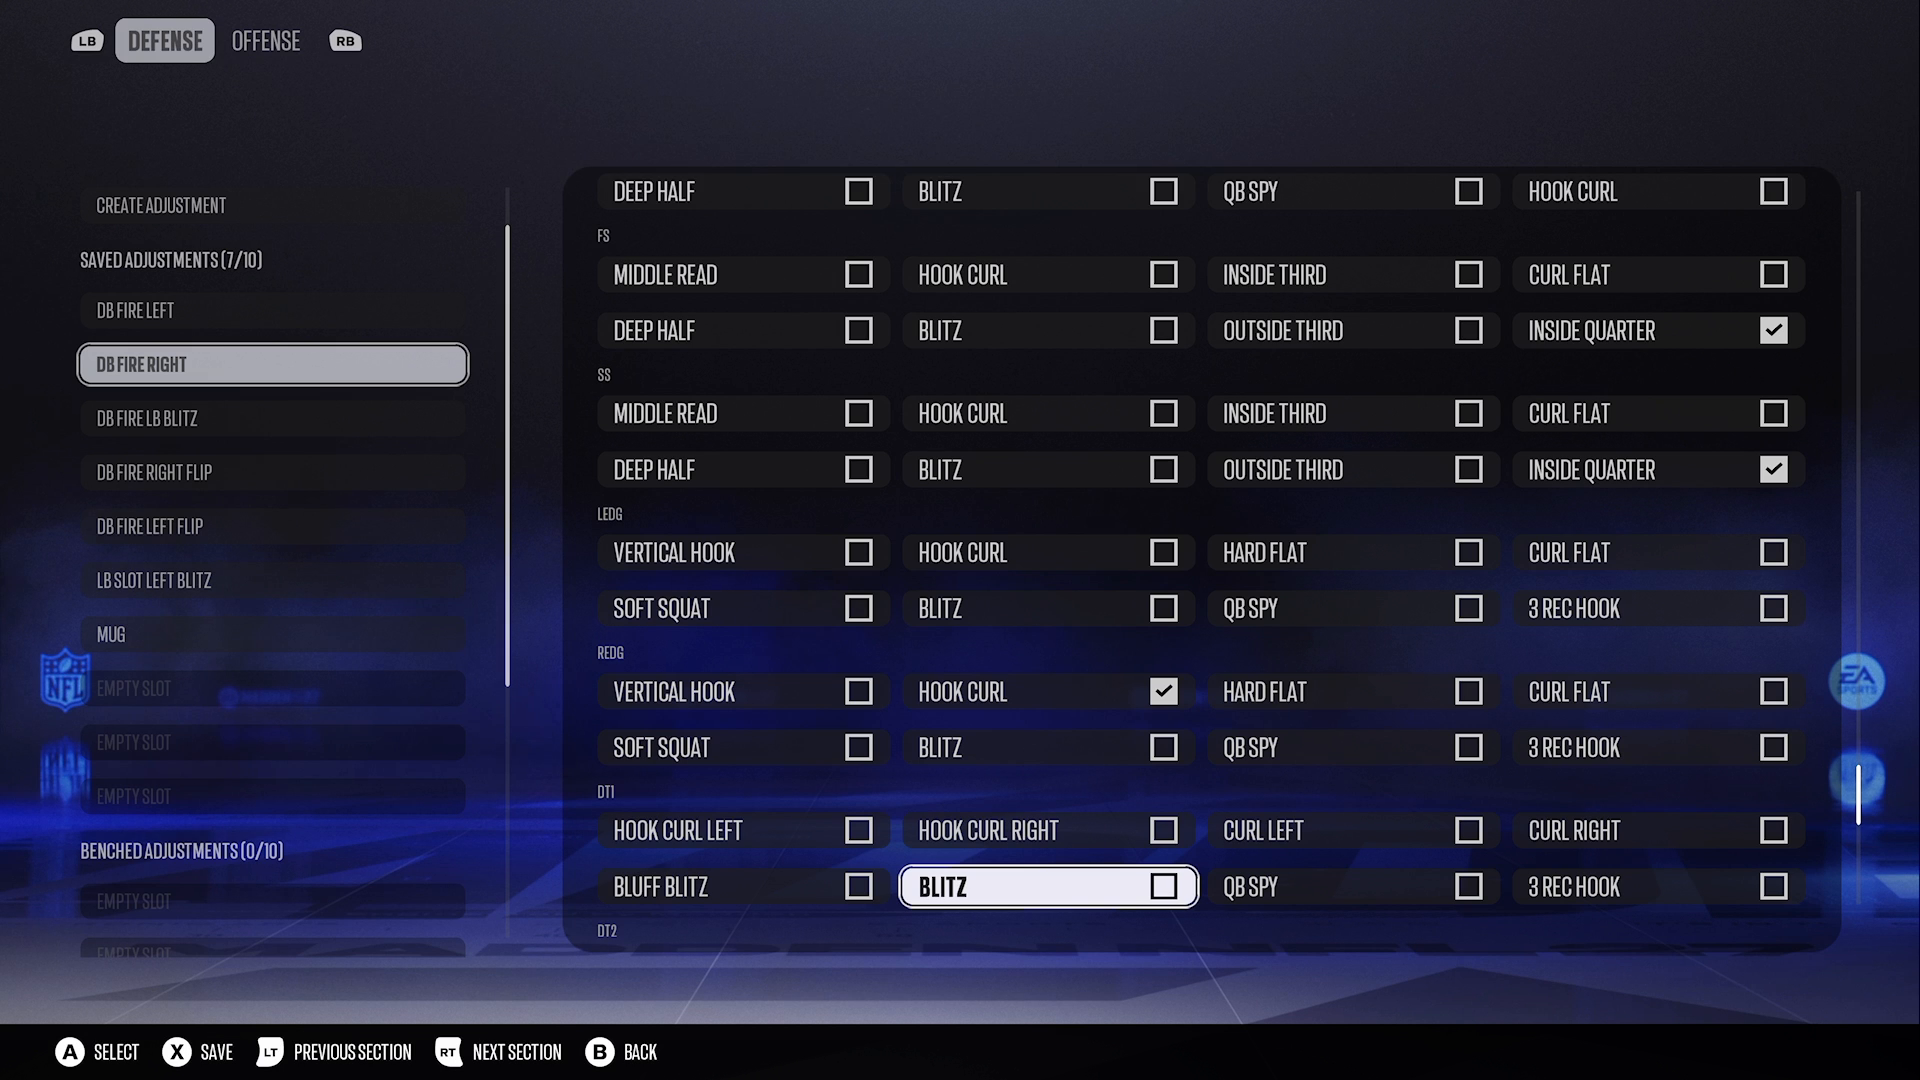
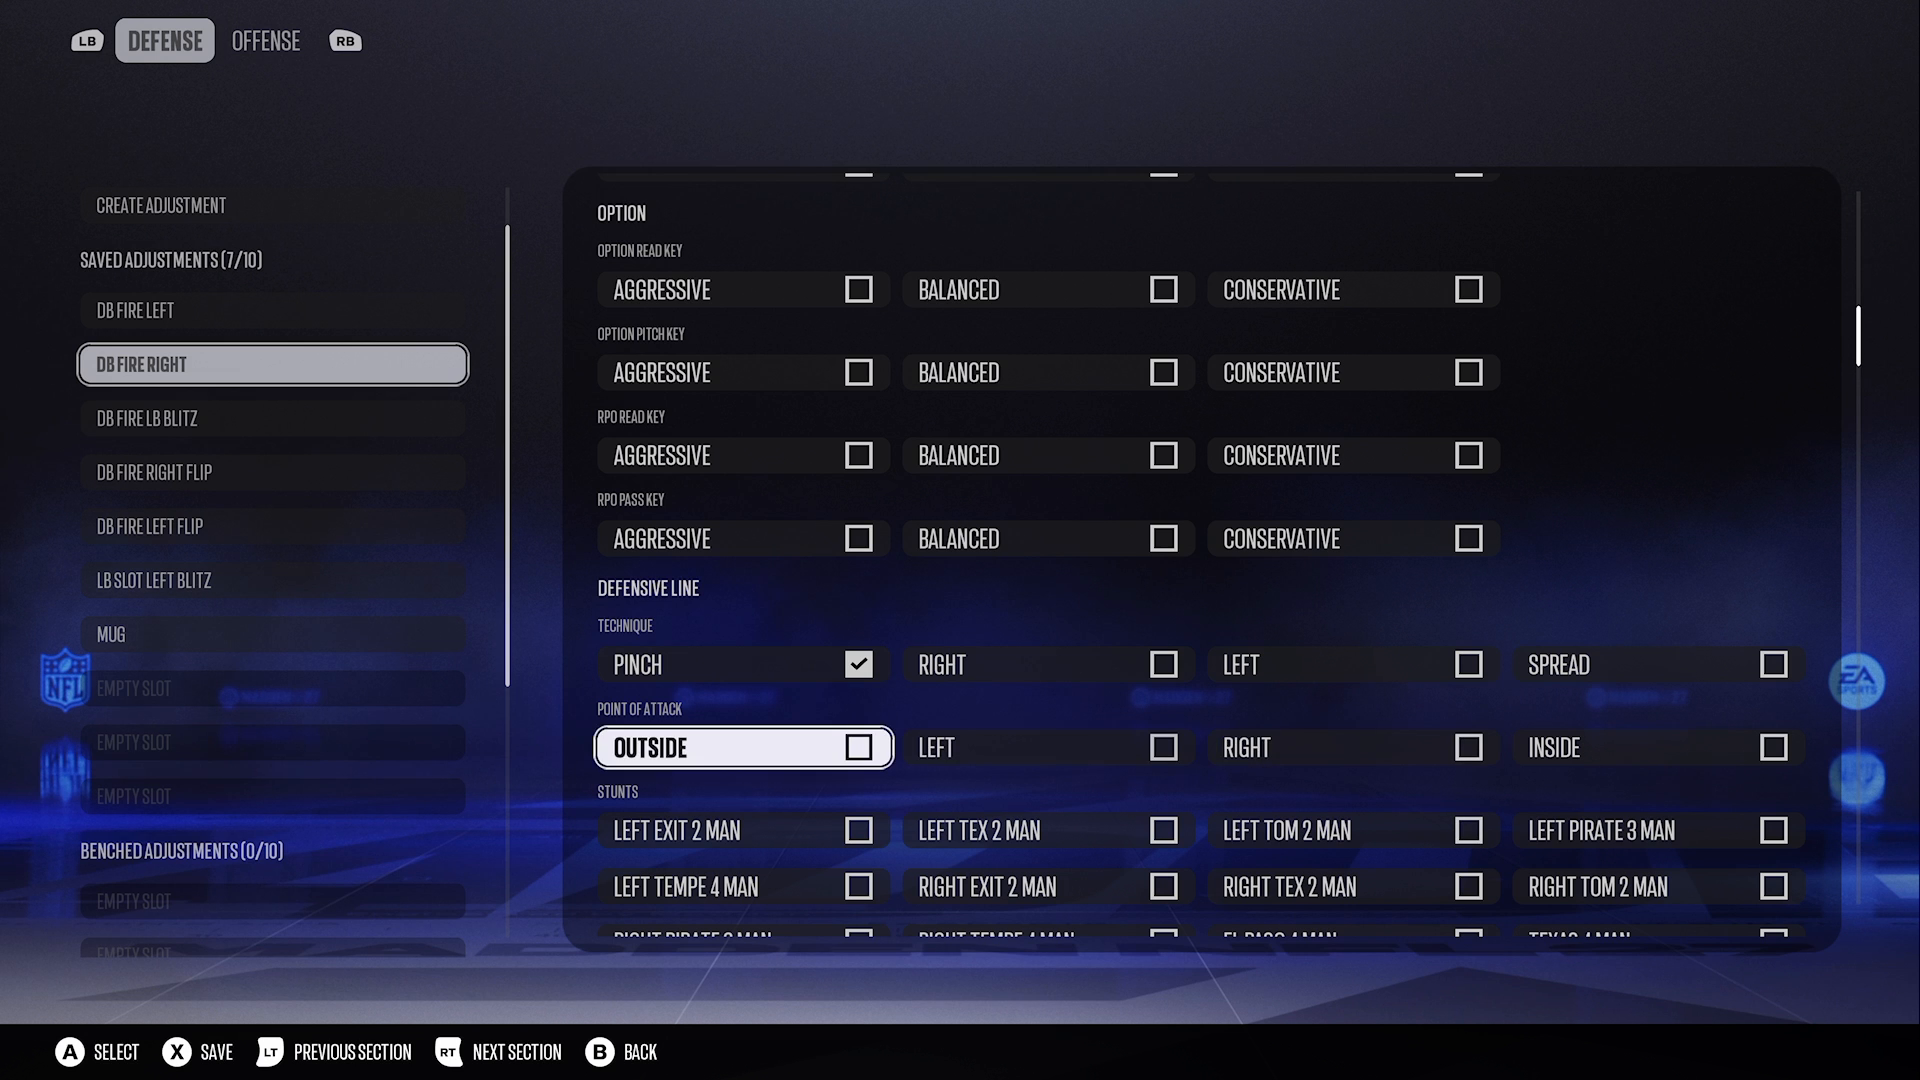
To maximize your pressure, consider repositioning one end into a hook curl and ultra-aggressively adjusting him for drag routes. Pinching your defensive line will bolster your run defense against any potential rushes. The key is to send the least amount of players necessary to create pressure; creating overloads can make tackles appear less cross-field and more manageable for your defense. This approach, combining macro rushing with tight spacing, results in consistent pressure on the quarterback, validating the 16 Spaces philosophy once again. Knowledge of when and how to adjust your defensive line can be a game-changer.
Understanding Macro Philosophy
This defensive scheme boasts around six pressure variations that work effectively against various offensive setups, including empty formations and base pass protections. Setting route-commitments inside and shading your coverage inside helps prevent cross-man leaks, keeping your defense tight and efficient. The beauty of macros lies in the time they buy you for preparation; the 16 Spaces methodology teaches you when and why to make adjustments mid-game, allowing you to stay one step ahead of your opponent. Remember, the goal is to think better, not just to copy plays. This mindset is what separates good players from great ones.
Conclusion
Mastering the Dime 3-2 setup in Madden NFL 27 can elevate your defensive game to new heights. This approach allows you to apply pressure effectively while maintaining solid coverage, keeping your opponent guessing. For more comprehensive tips and strategies, consider checking out our Madden tips section. Whether you’re looking to refine your skills or take your gameplay to the next level, the resources available at Madden Academy are invaluable.