Introduction to the Best Man-Beating Play
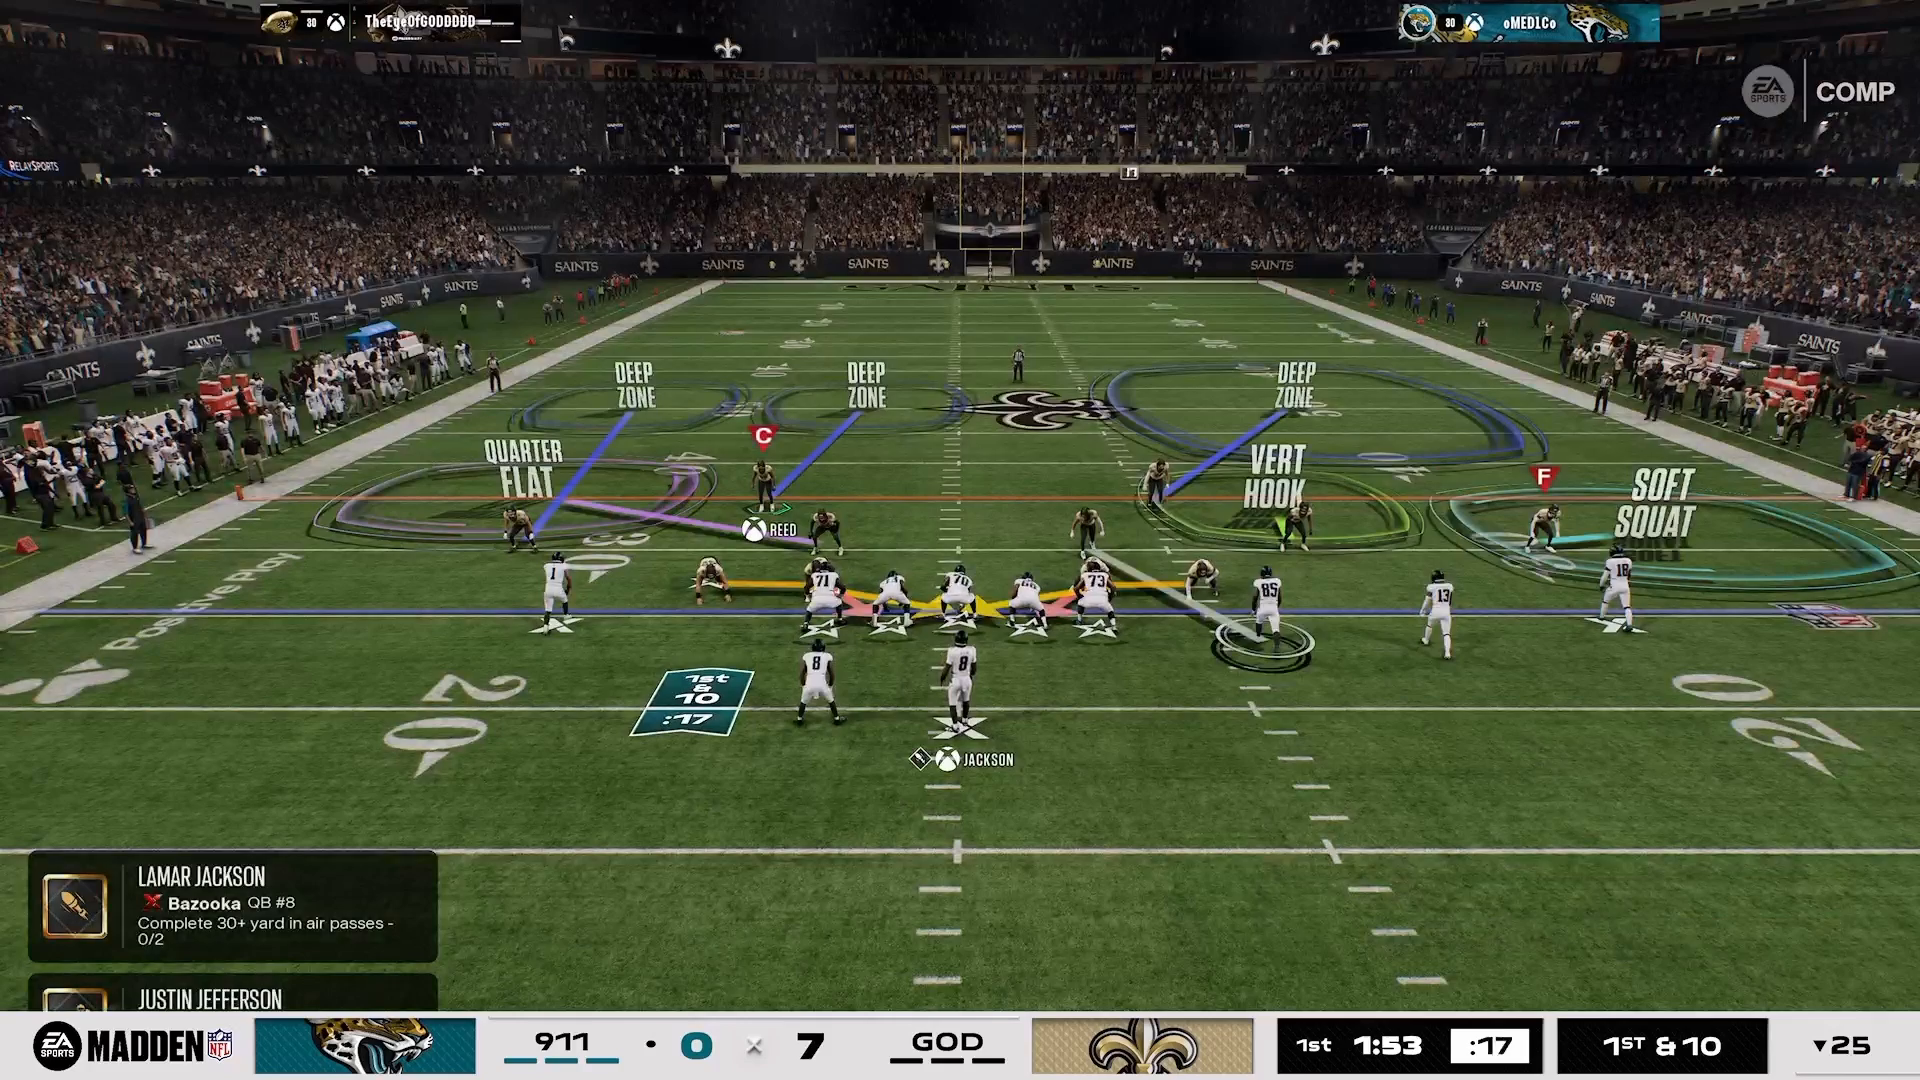
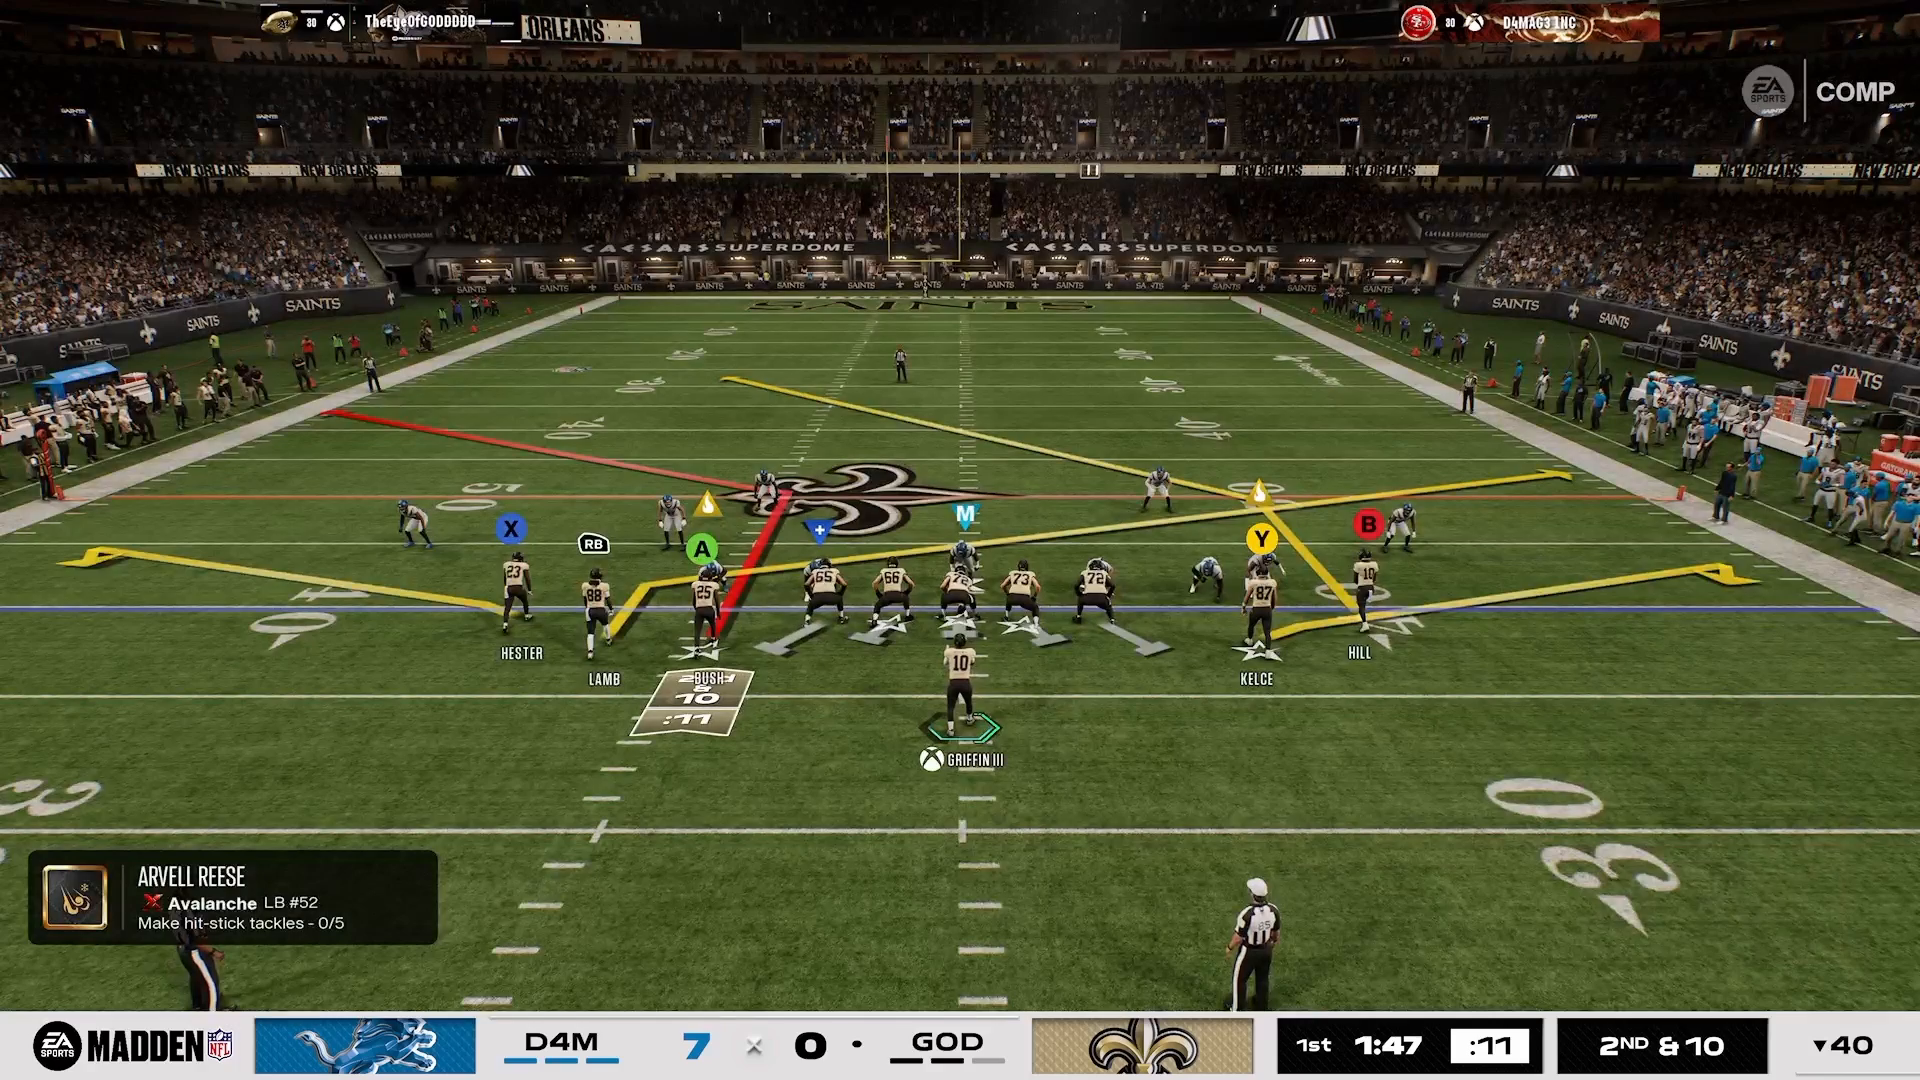
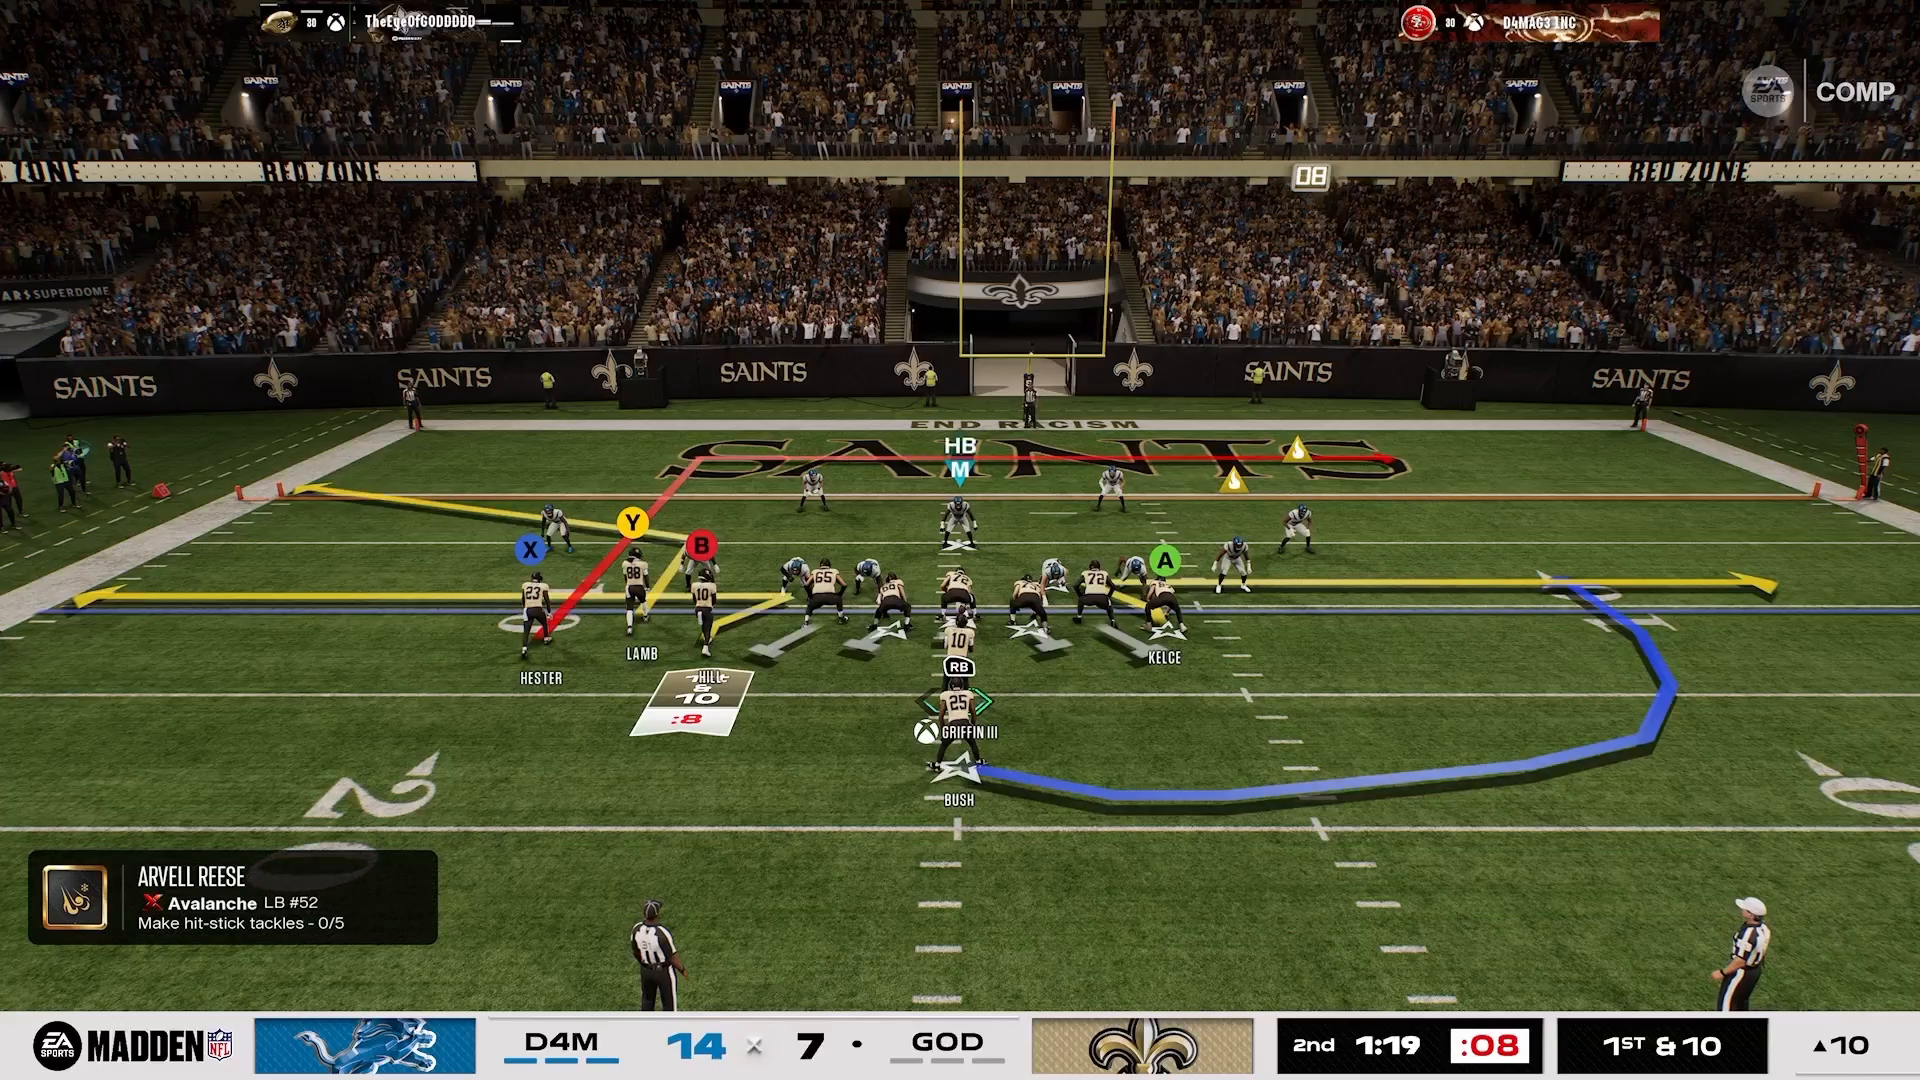
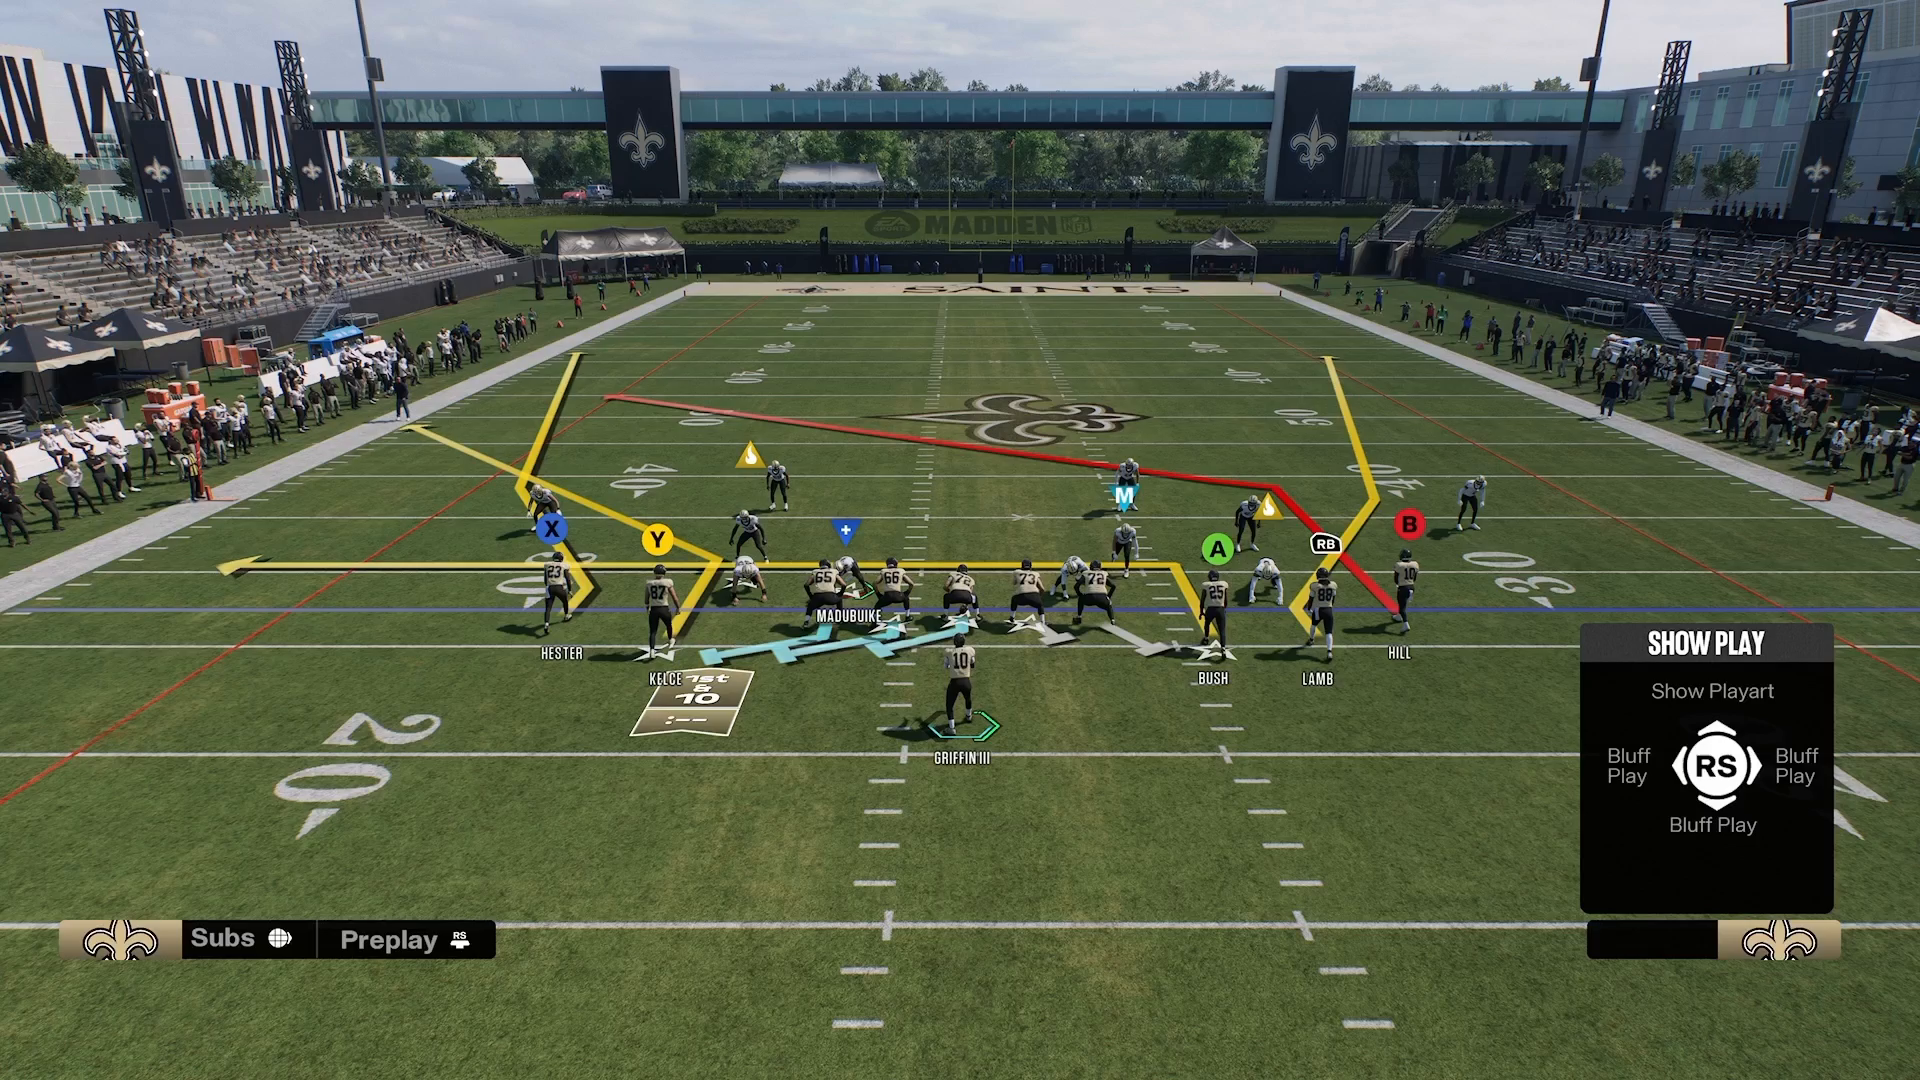
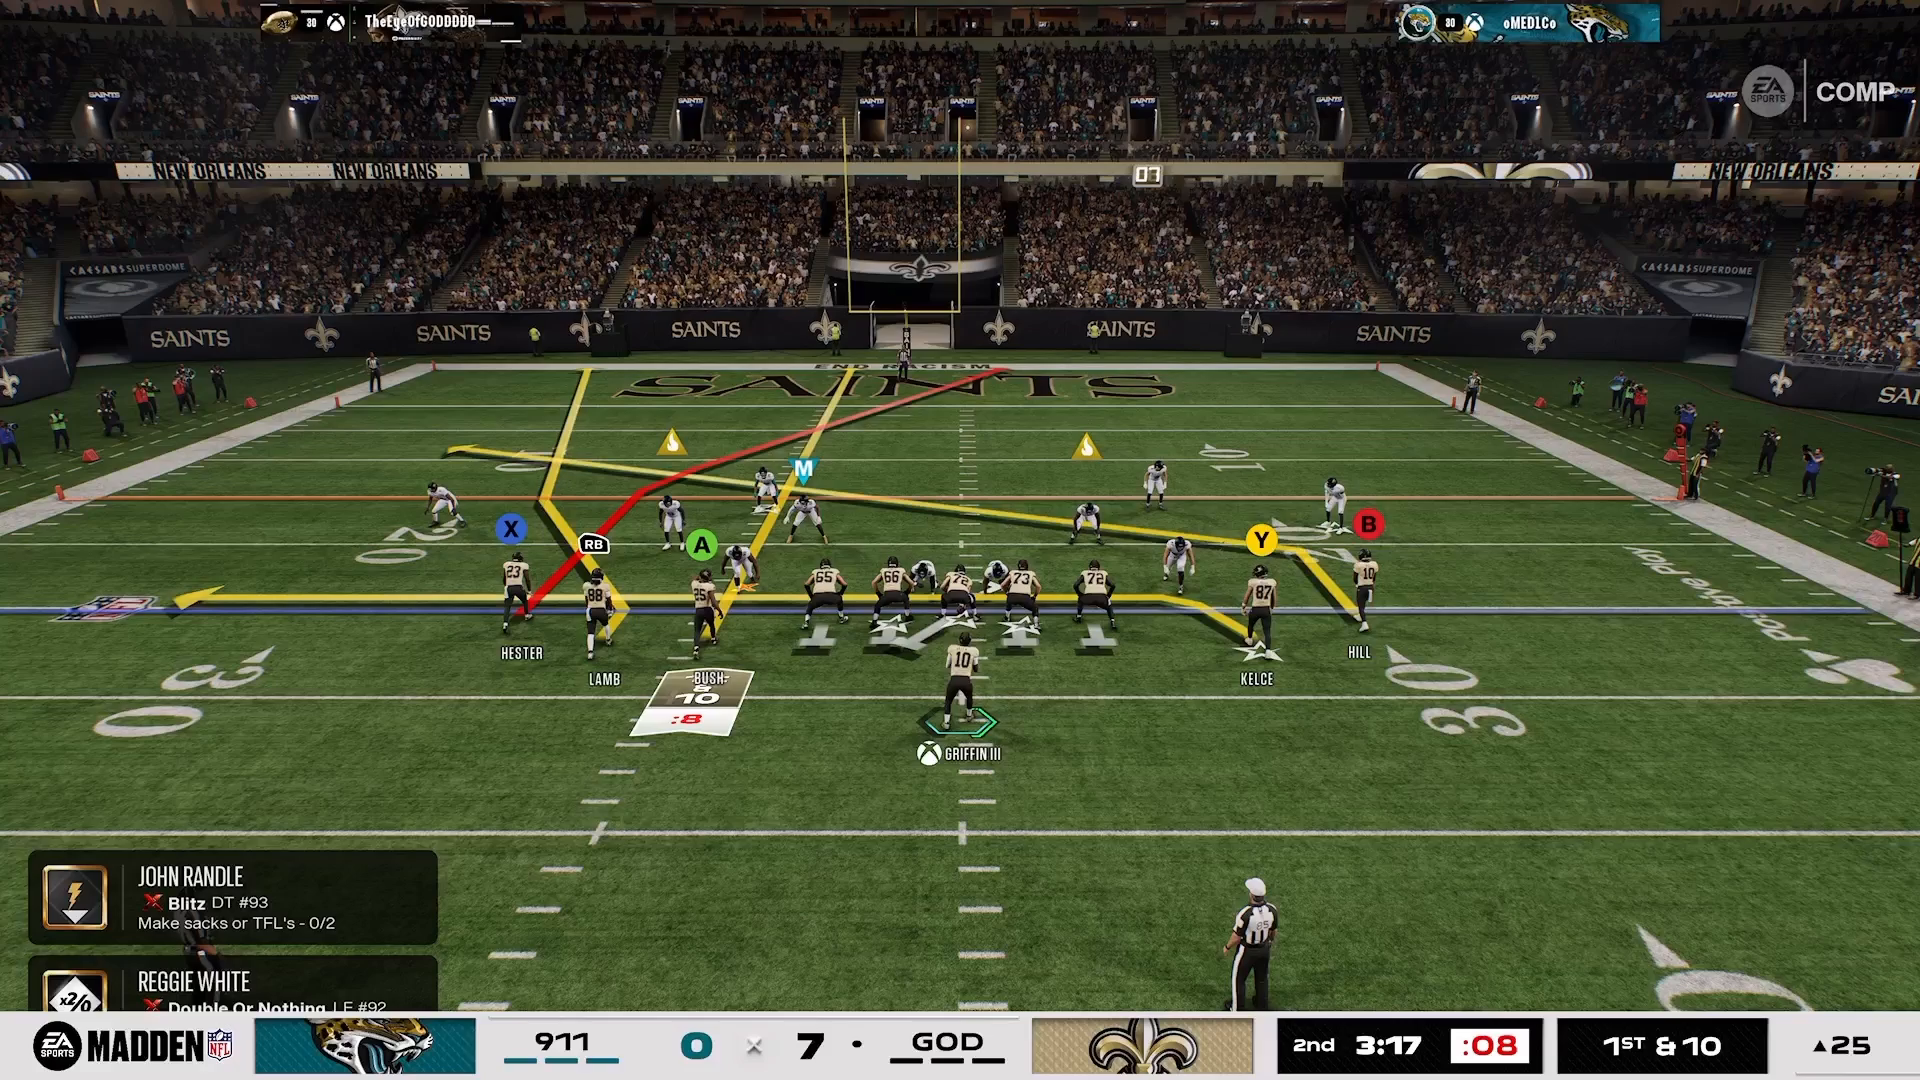
In the competitive world of Madden NFL 27, finding effective plays that can consistently beat man coverage is crucial. One standout play from the Saints’ playbook, the Gun Doubles Clamp Stack, features the Mountain Shuffle Mesh Rail concept, specifically designed to exploit man coverage. This play is not only a product of advanced strategy but also a key component of the 16 Spaces System, which emphasizes spacing and timing. By mastering this play, you can gain a significant advantage over your opponents and elevate your gameplay.
Understanding the Play Setup
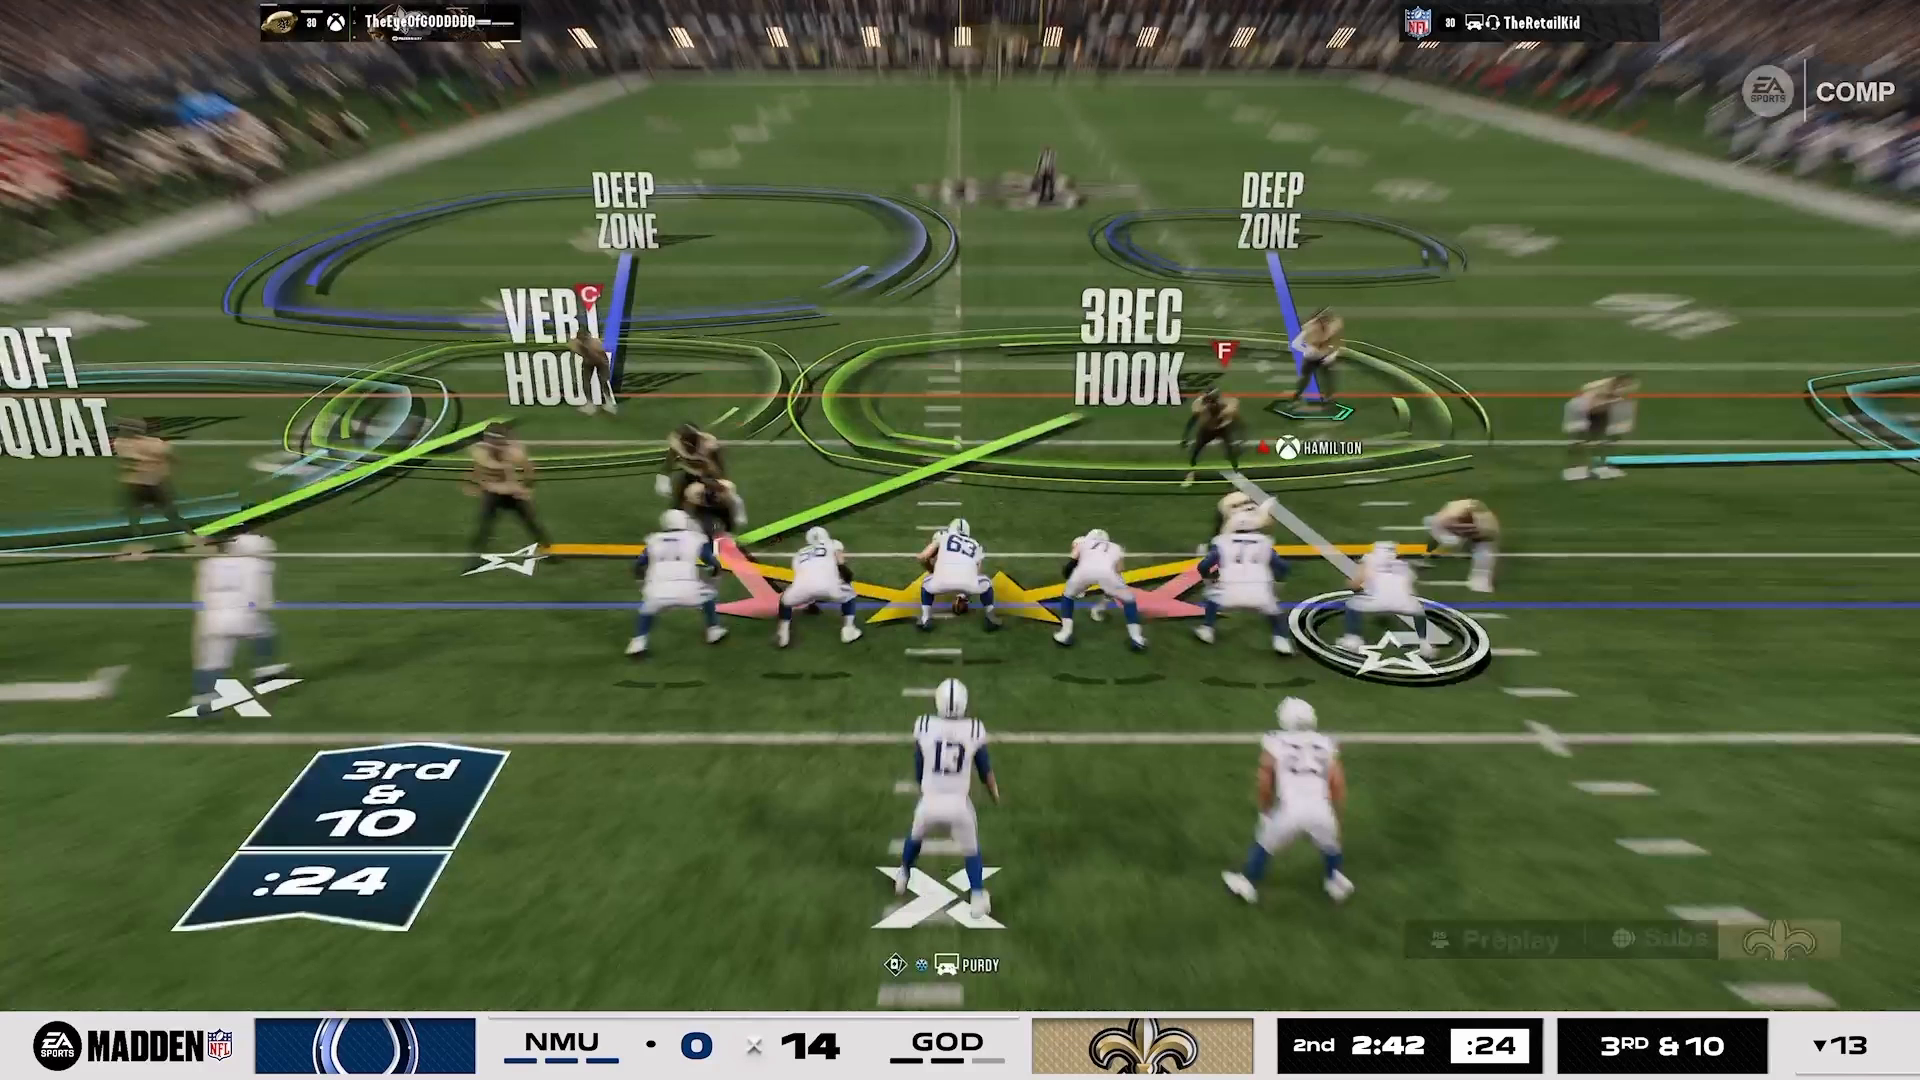
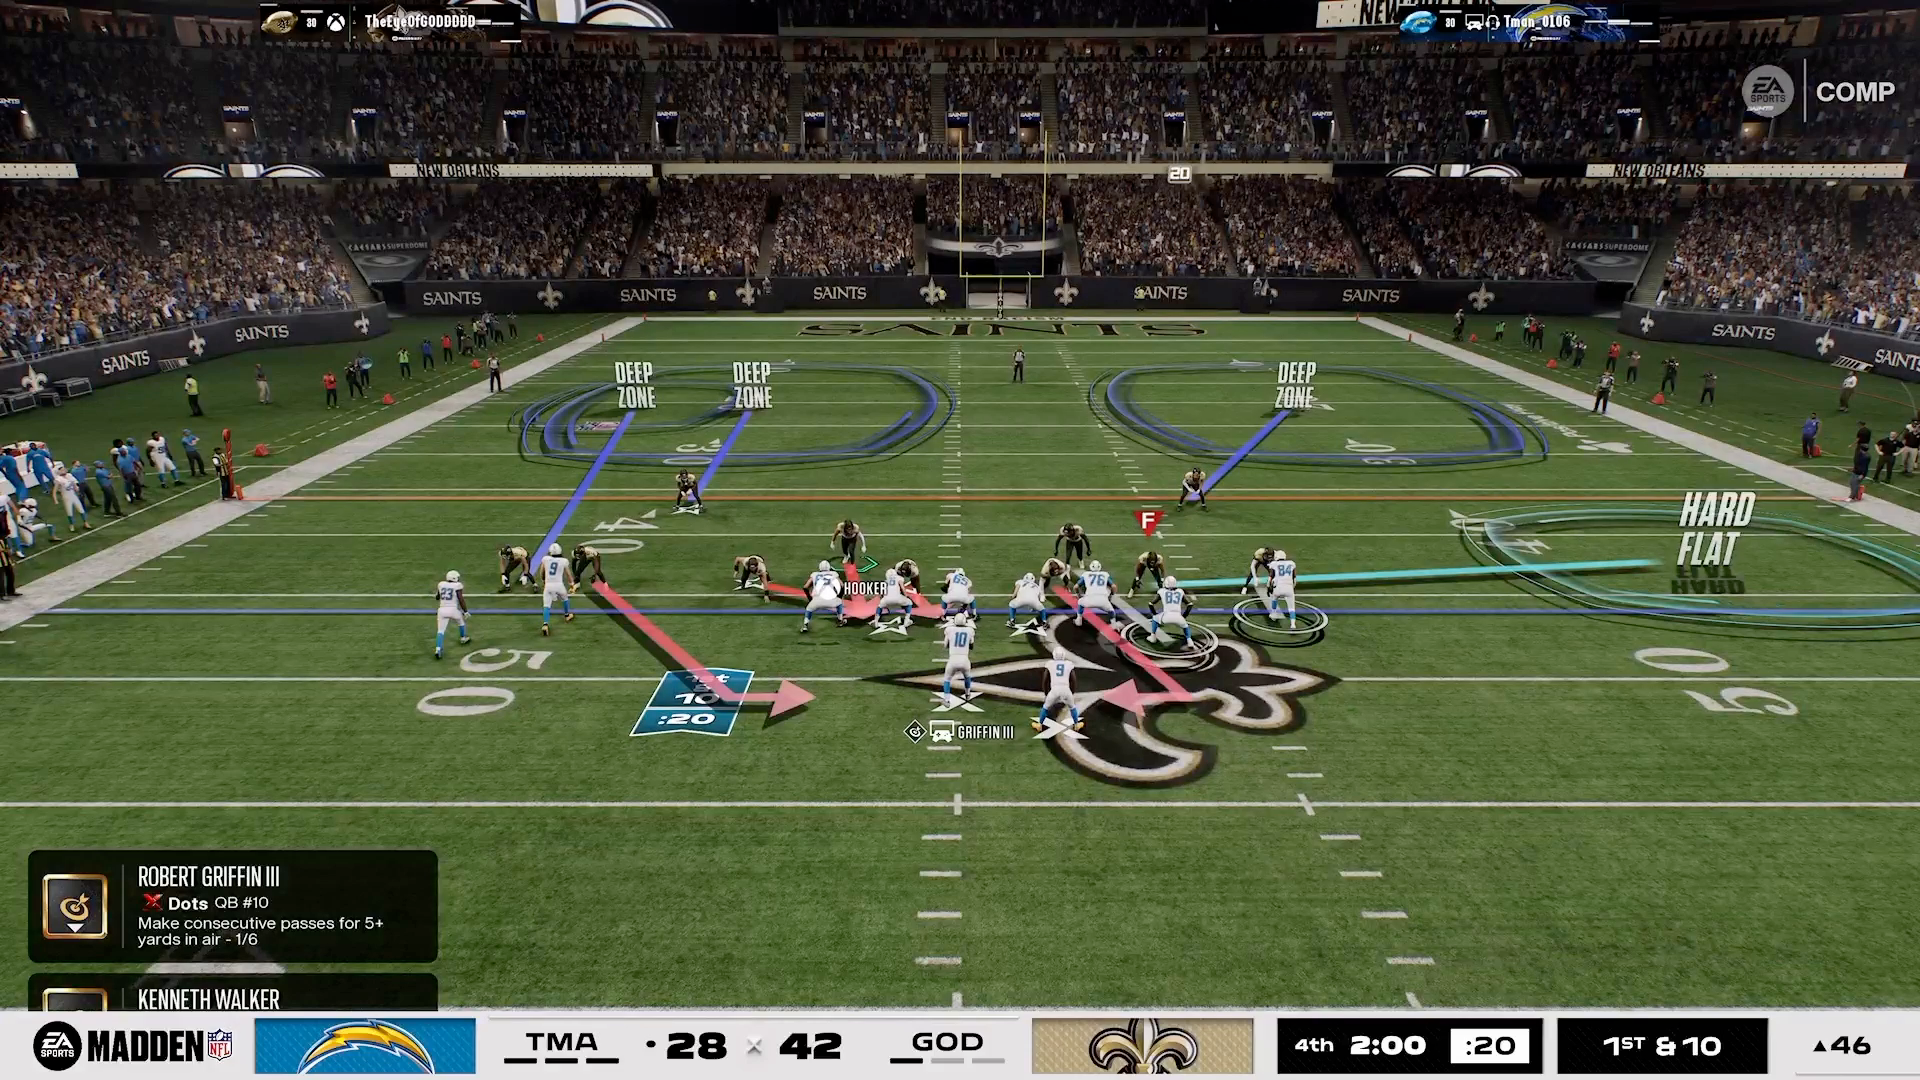
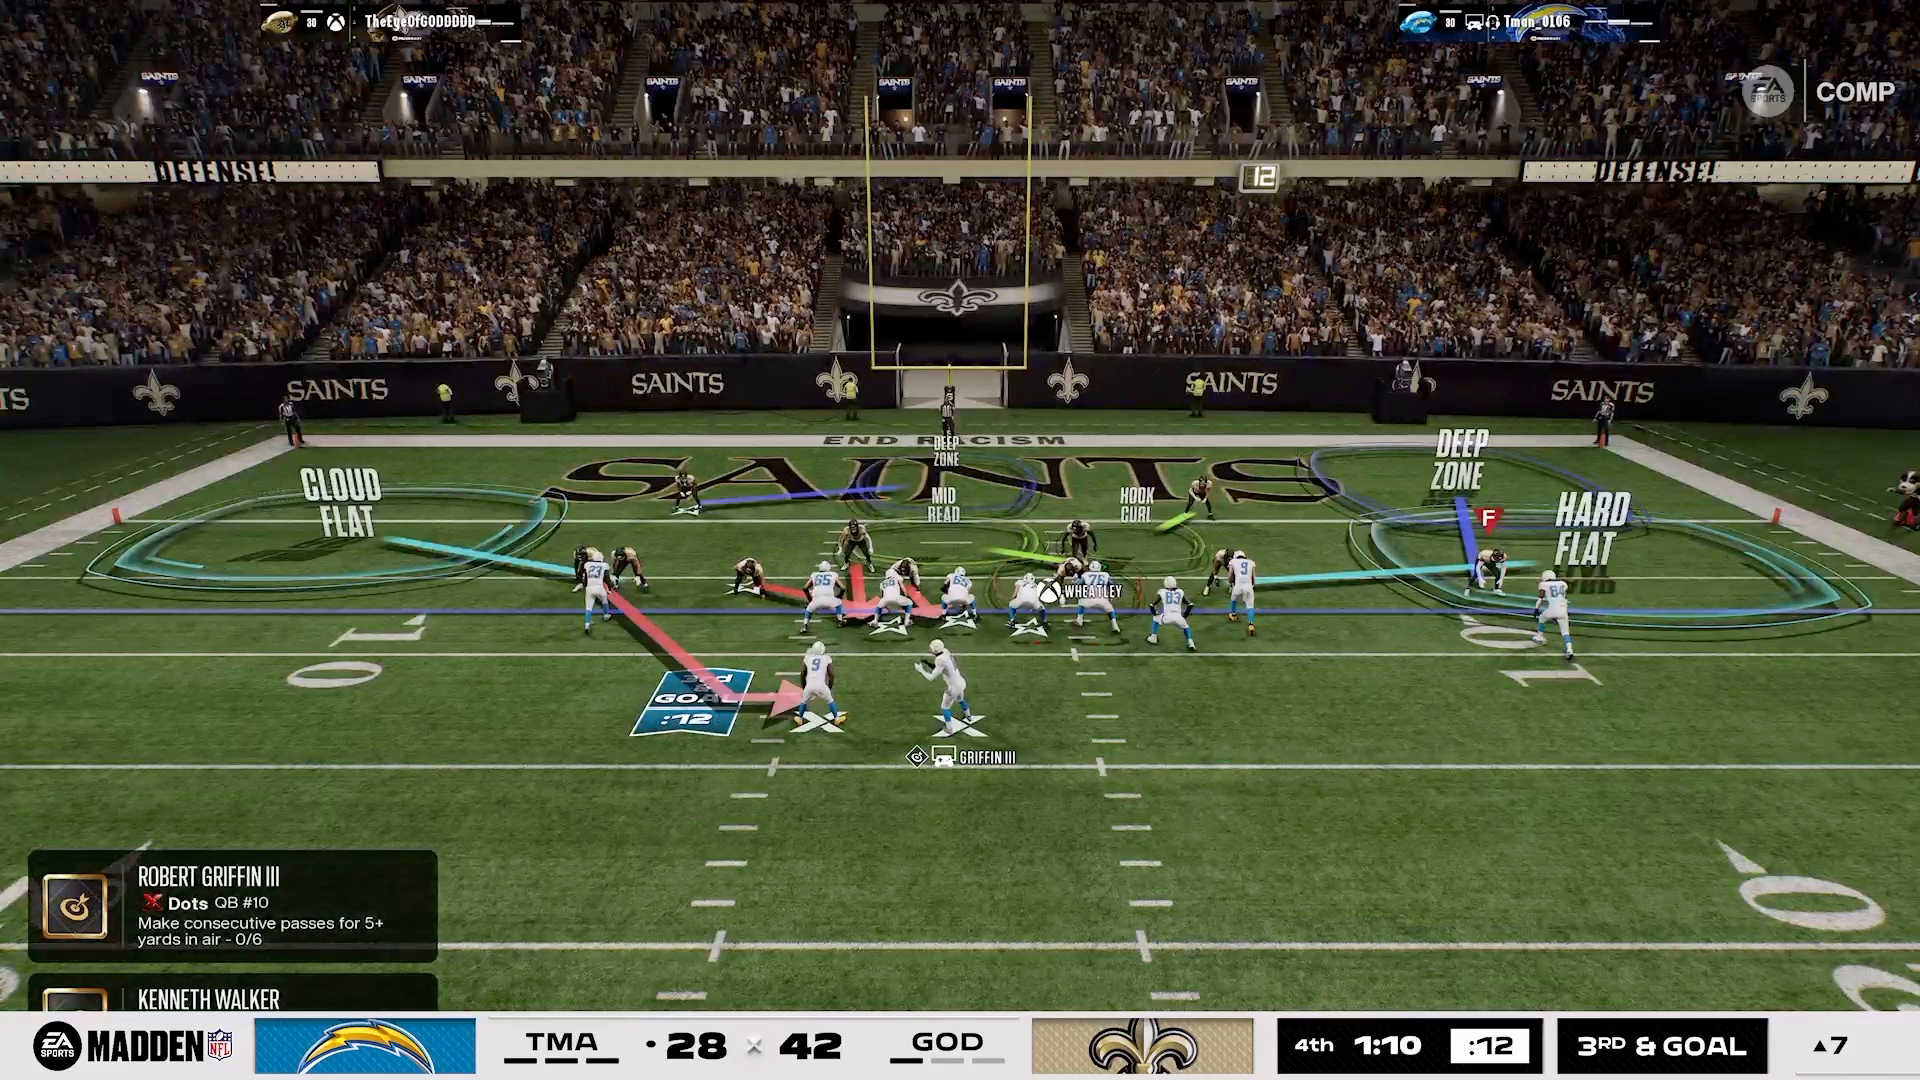
To run the Mountain Shuffle Mesh Rail effectively, start with the Saints playbook and navigate to the Gun Doubles Clamp Stack formation. This setup is engineered to dismantle man coverage defenses. The beauty of this play lies in its simplicity combined with the complexity of the options it provides. When executed correctly, it can leave defenders guessing and create open lanes for your receivers to exploit.
Adjusting for Blitzes and Tight End Utilization
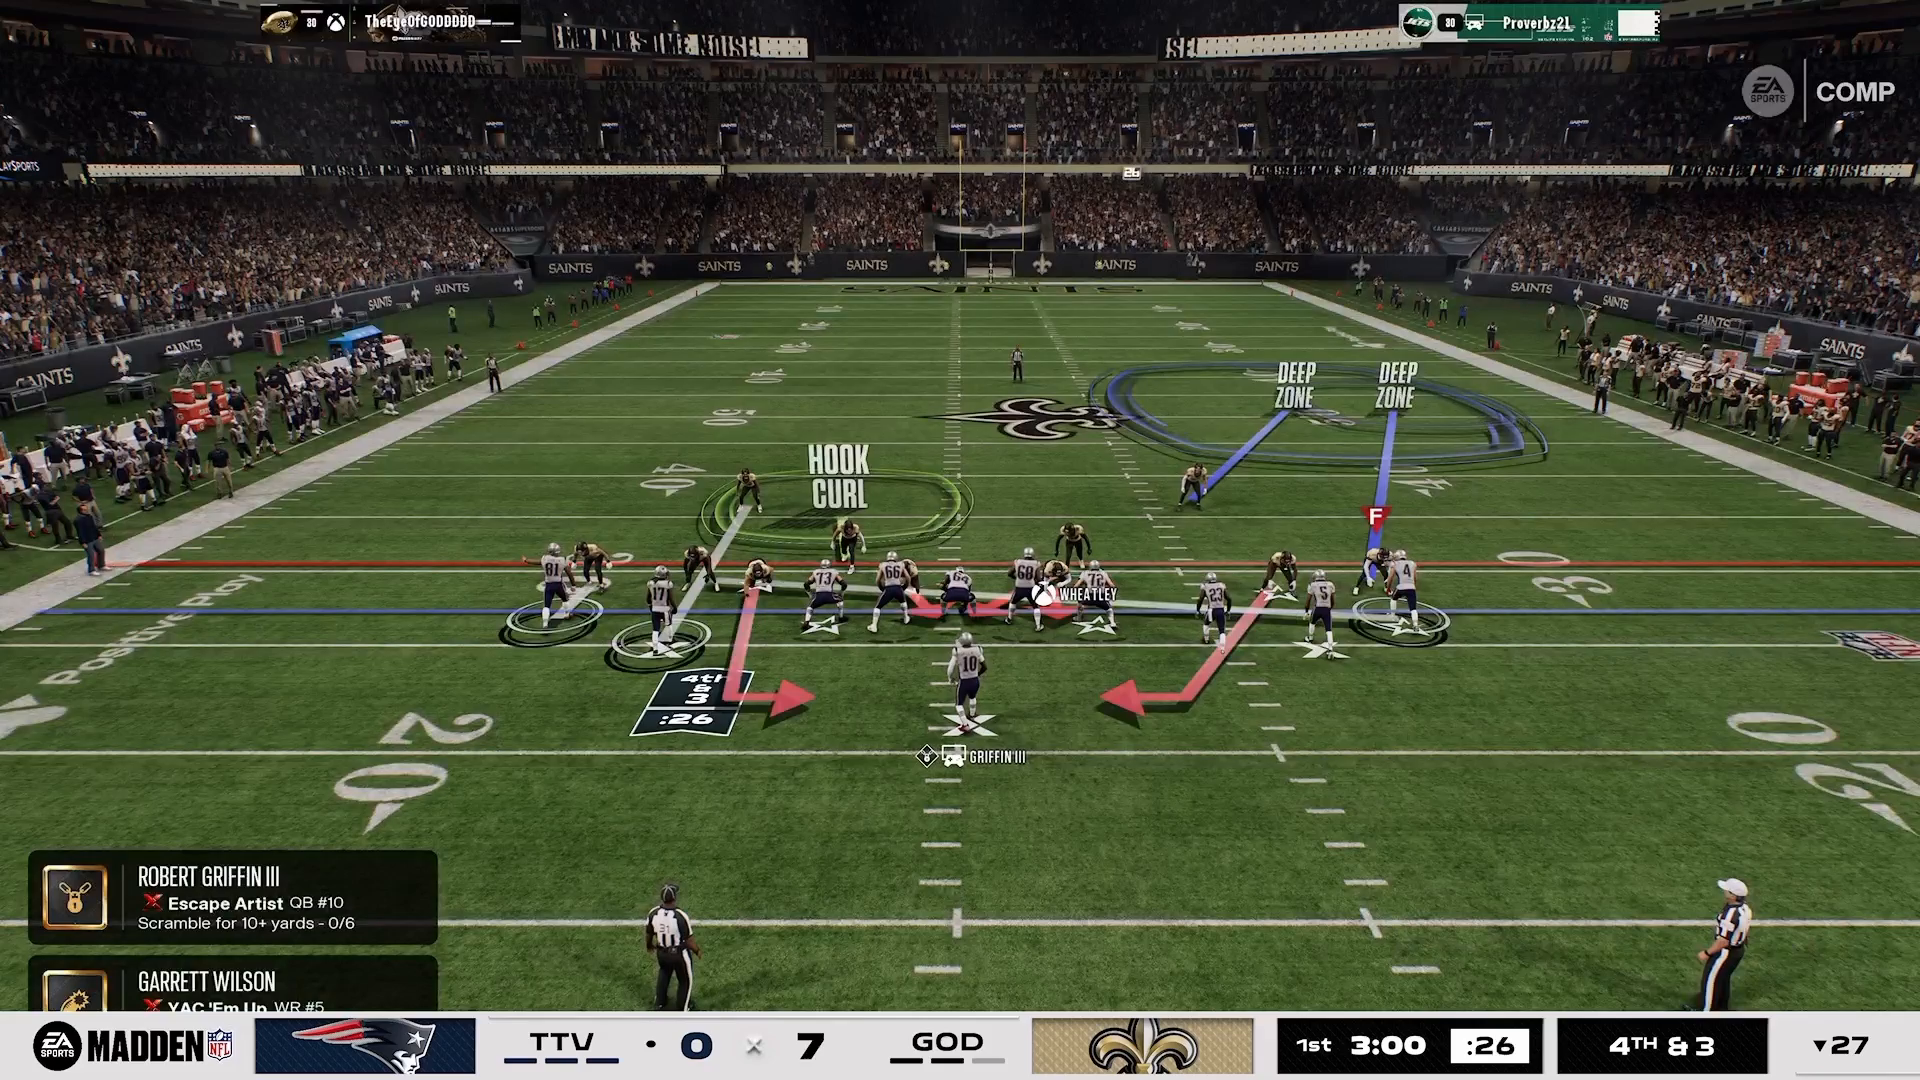
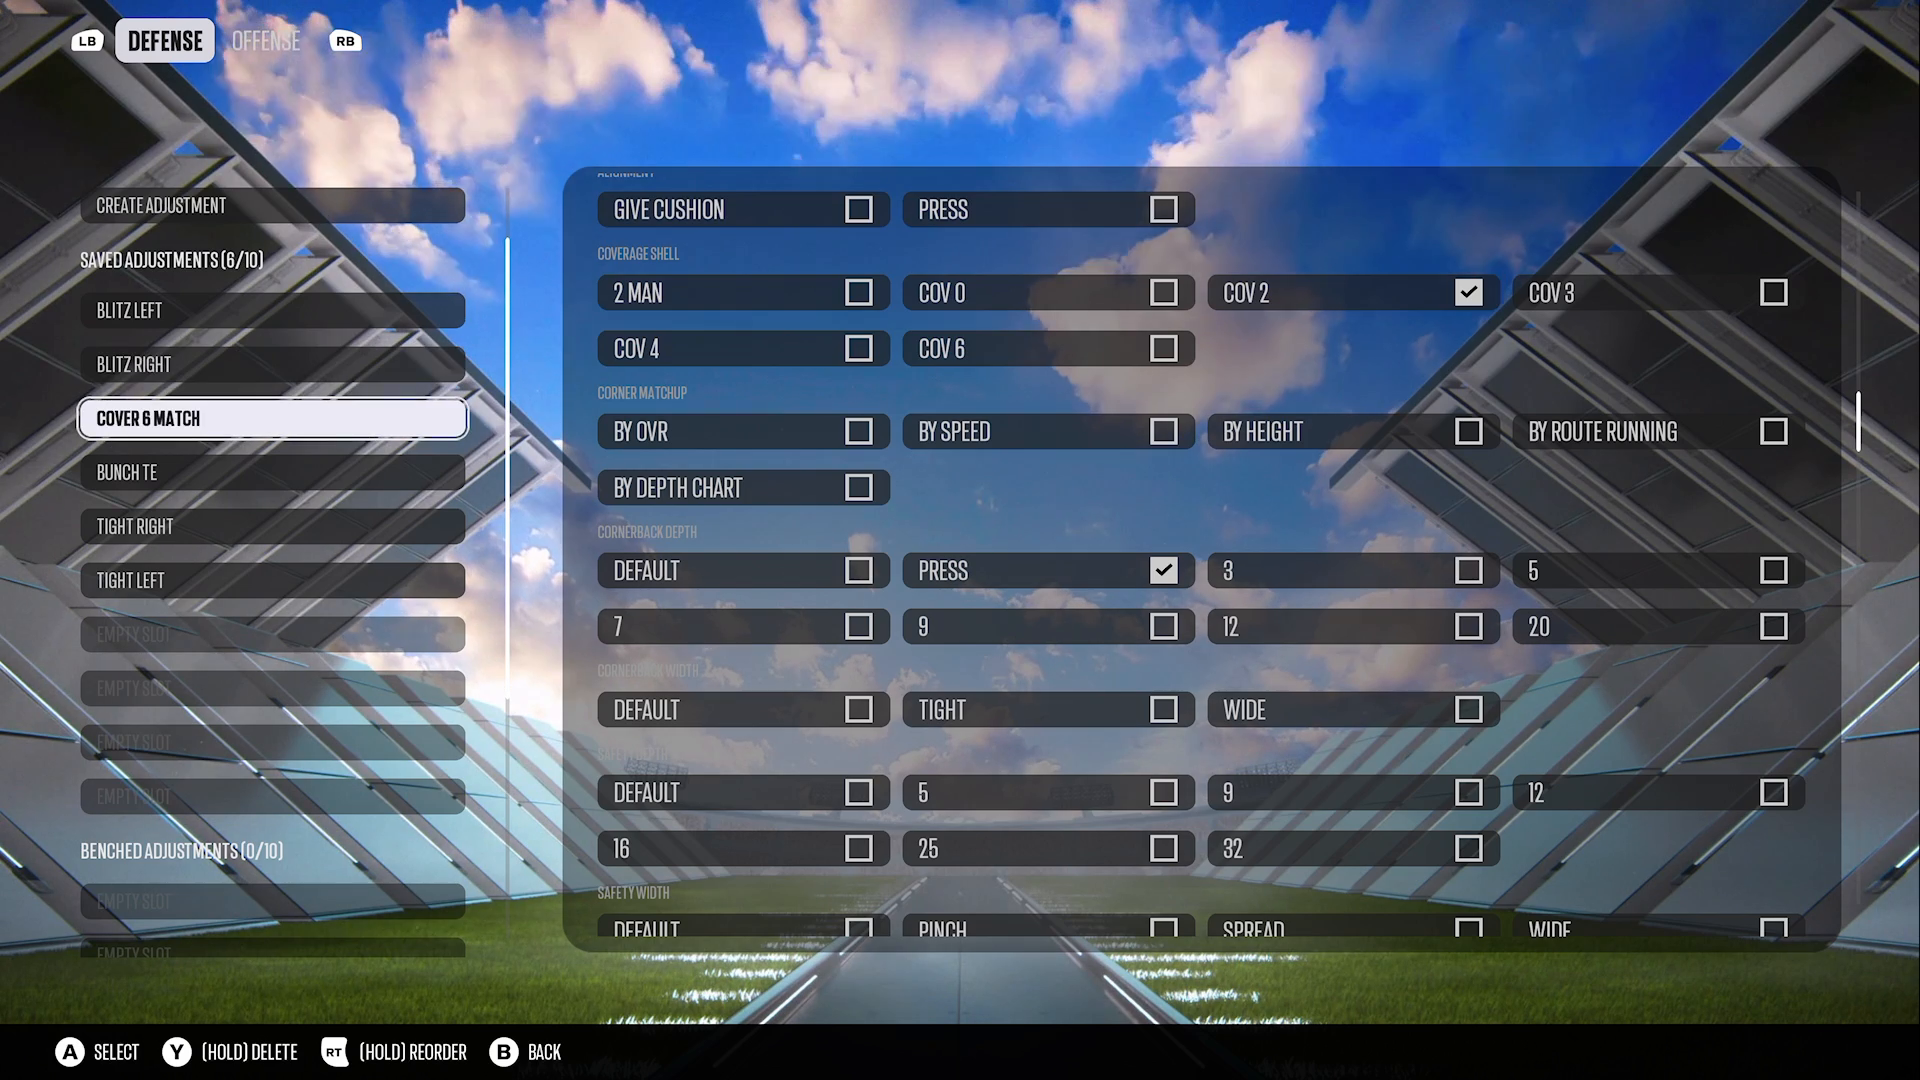
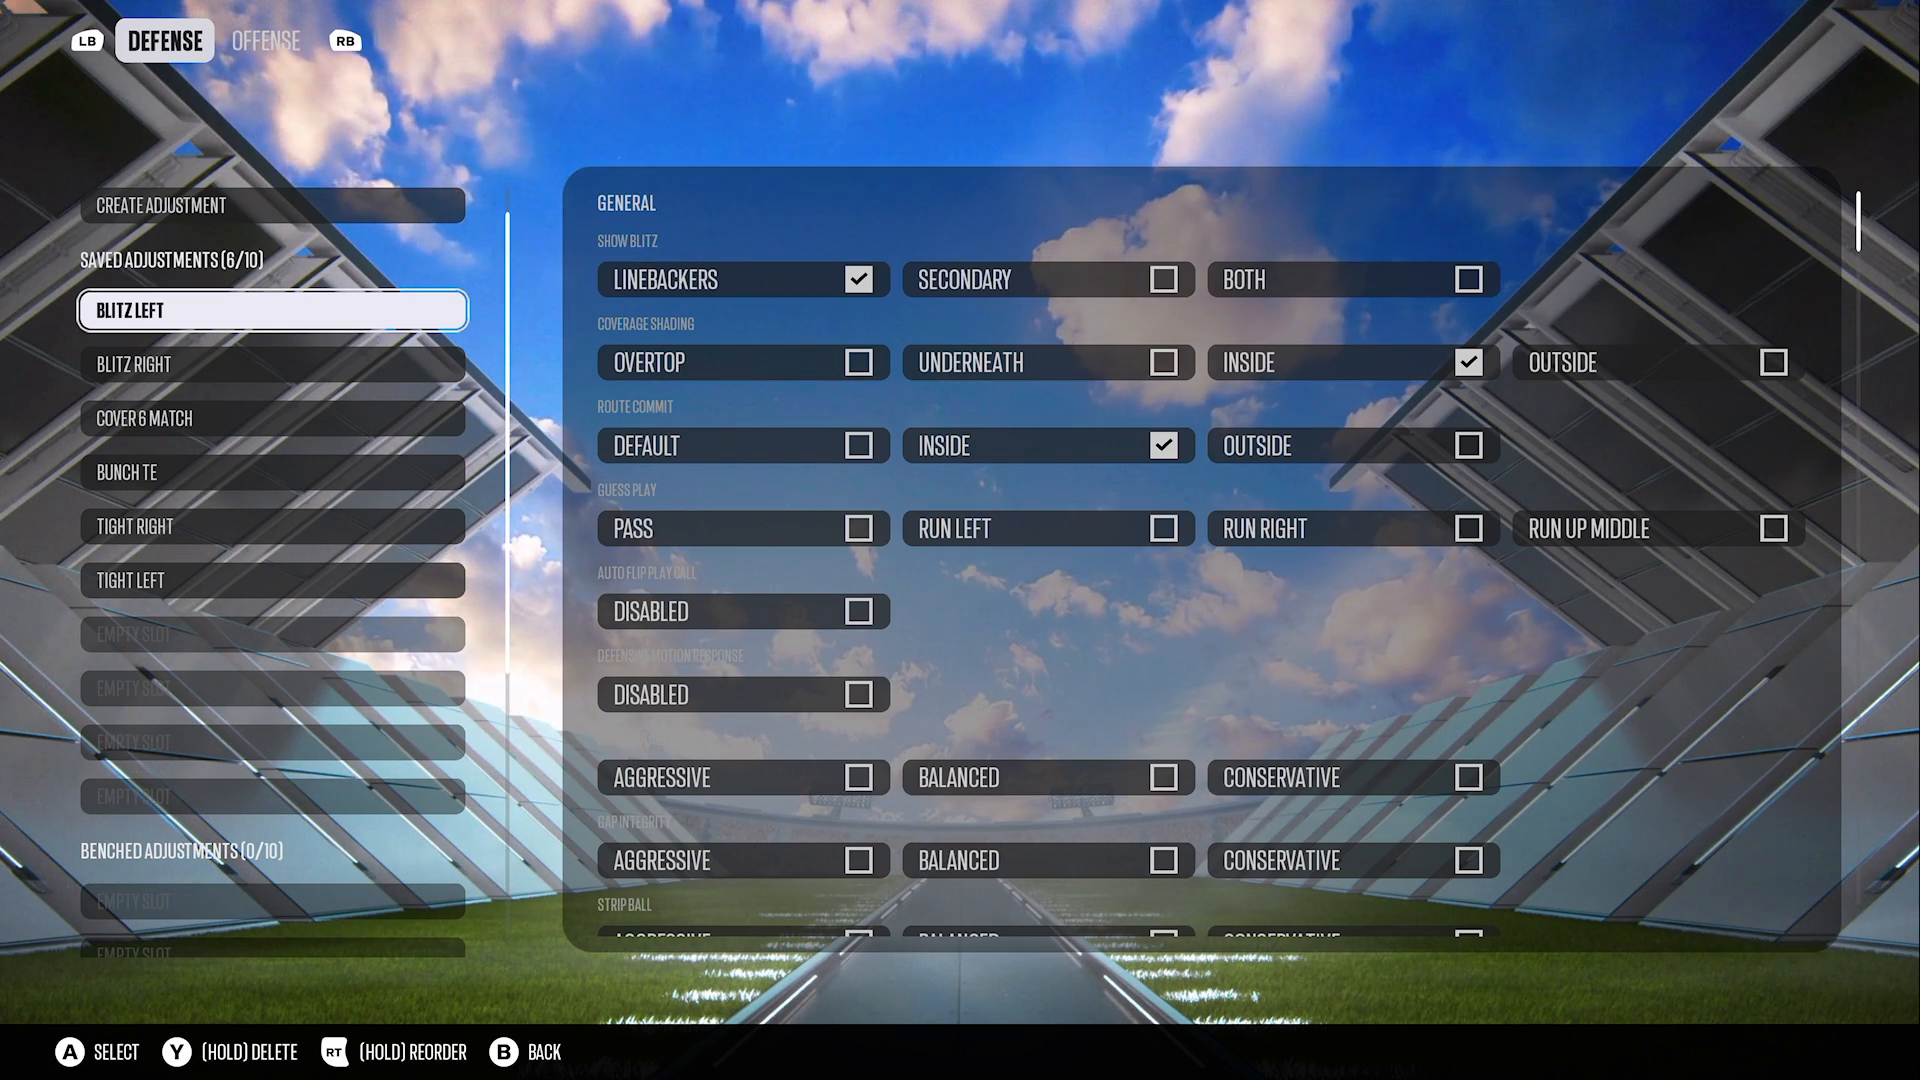
One of the critical aspects of using this play is your response to potential blitzes. If you anticipate a blitz, blocking your tight end can provide additional protection for your quarterback. Conversely, if no blitz is coming, consider leaving the tight end on a drag route. This small adjustment can yield significant rewards, creating mismatches and confusion for the defense. Such strategic moves are a staple of the Madden Academy adjustments playbook, which focuses on adapting your gameplay in real-time.
The Importance of Motion and Routing
Motion is a vital element when executing the Mountain Shuffle Mesh Rail. You should always aim to have your players in motion, running routes that take them away from man defenders. Sharp-cutting routes are particularly effective against man coverage, as they create separation and space for your receivers. The combination of motion and precise route running is key to success within the 16 Spaces System, ensuring that your players can make plays when it matters most.
Leveraging Corner Routes Effectively
Corner routes are one of the most powerful tools you have in this play setup. By route committing inside or using default man coverage strategies, you can open up those corner routes for big gains. In-routes can also be effective, especially when they cut sharply and lose their man coverage. This strategy hinges on spacing, timing, and the shape of your routes, all of which are fundamental principles taught in the Madden Academy. Proper execution here can lead to significant yardage and can keep defenses on their heels.
Building Your Roster to Meet Thresholds
To maximize effectiveness, it’s essential to meet specific thresholds with your players. For routes that gain 10-20 yards, ensure your receivers have at least an 85 medium route run rating to successfully hit corners and posts. For shorter routes, a solid short route run rating is necessary for slants and in-routes. Building your roster according to these standards will align perfectly with the 16 Spaces System, enhancing your chances of success against tough defenses.
Conclusion
Mastering the Mountain Shuffle Mesh Rail play from the Saints’ playbook can transform your approach to beating man coverage in Madden NFL 27. By focusing on the setup, making adjustments for blitzes, utilizing player motion, and understanding the importance of route running, you can outsmart your opponents consistently. If you’re looking to delve deeper into advanced strategies and elevate your game further, consider checking out our more Madden tips to refine your skills and dominate on the field.