Setup for Success

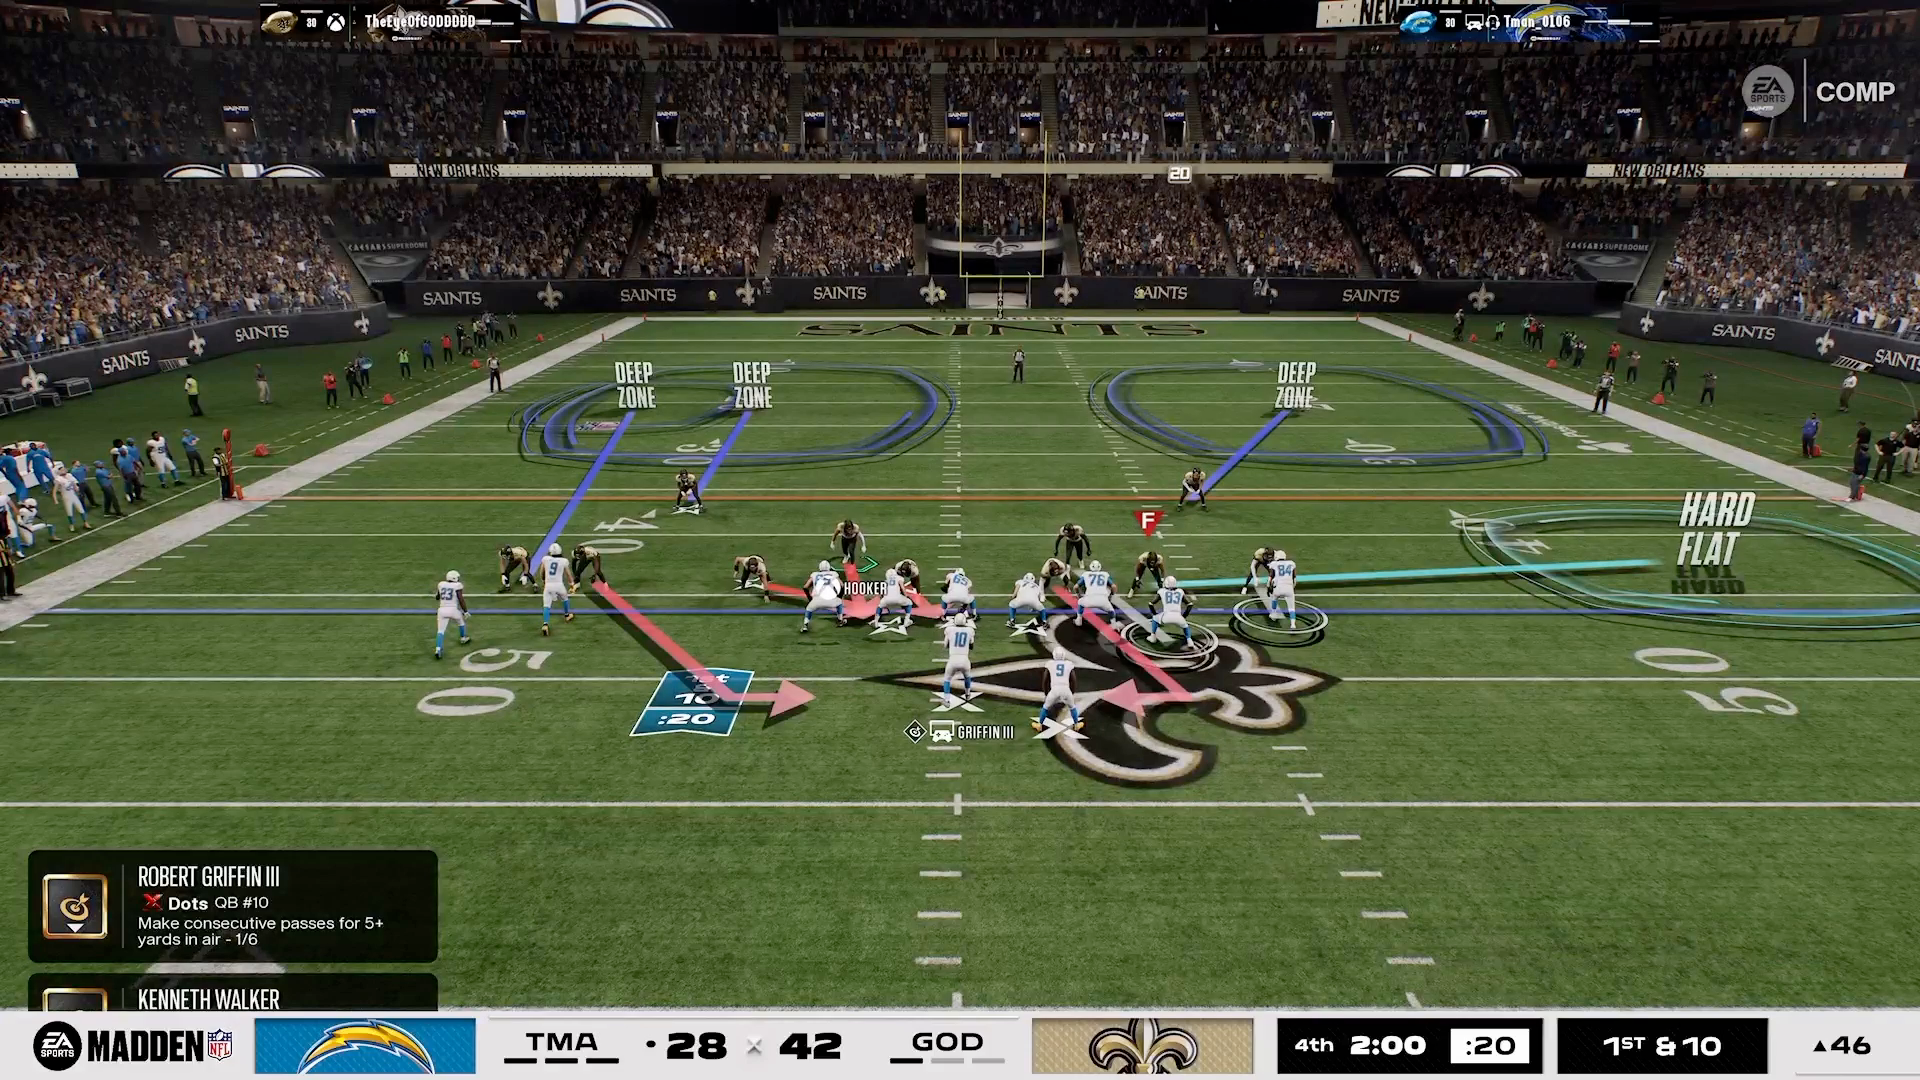
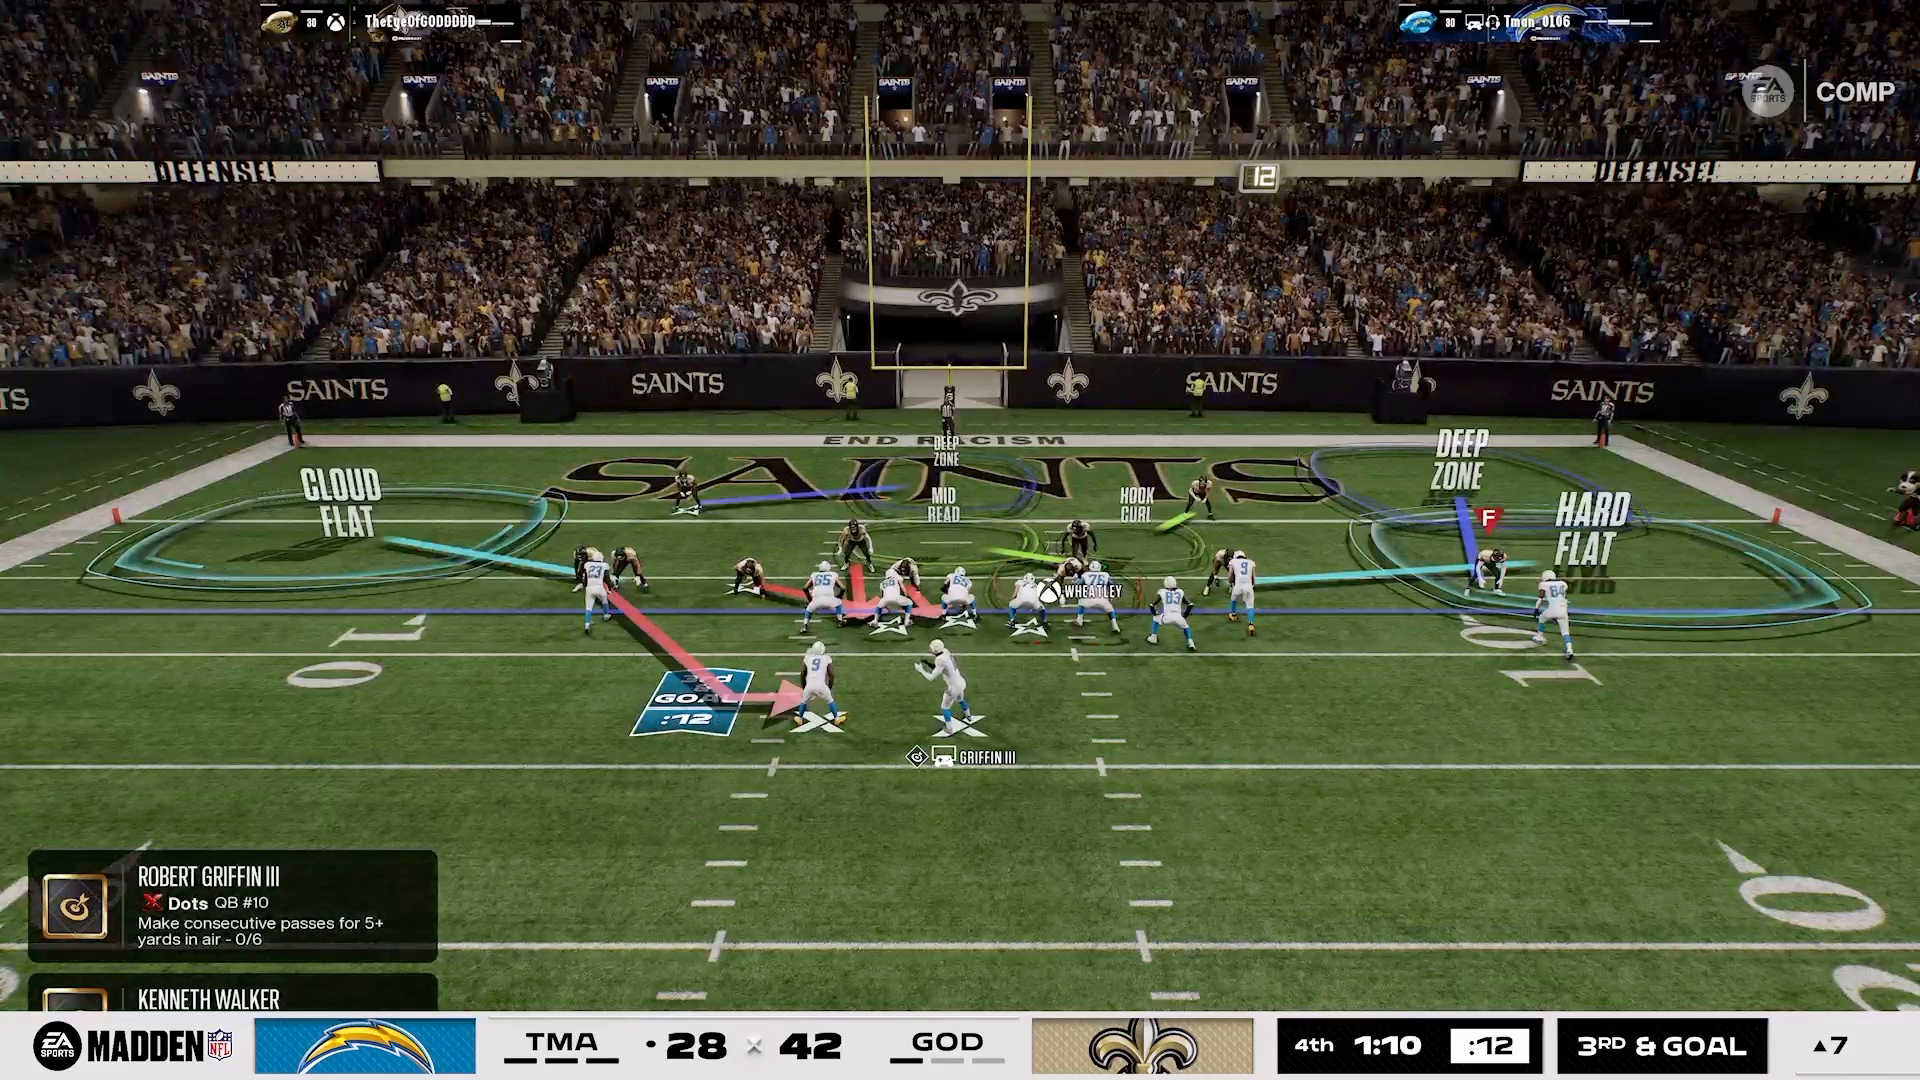
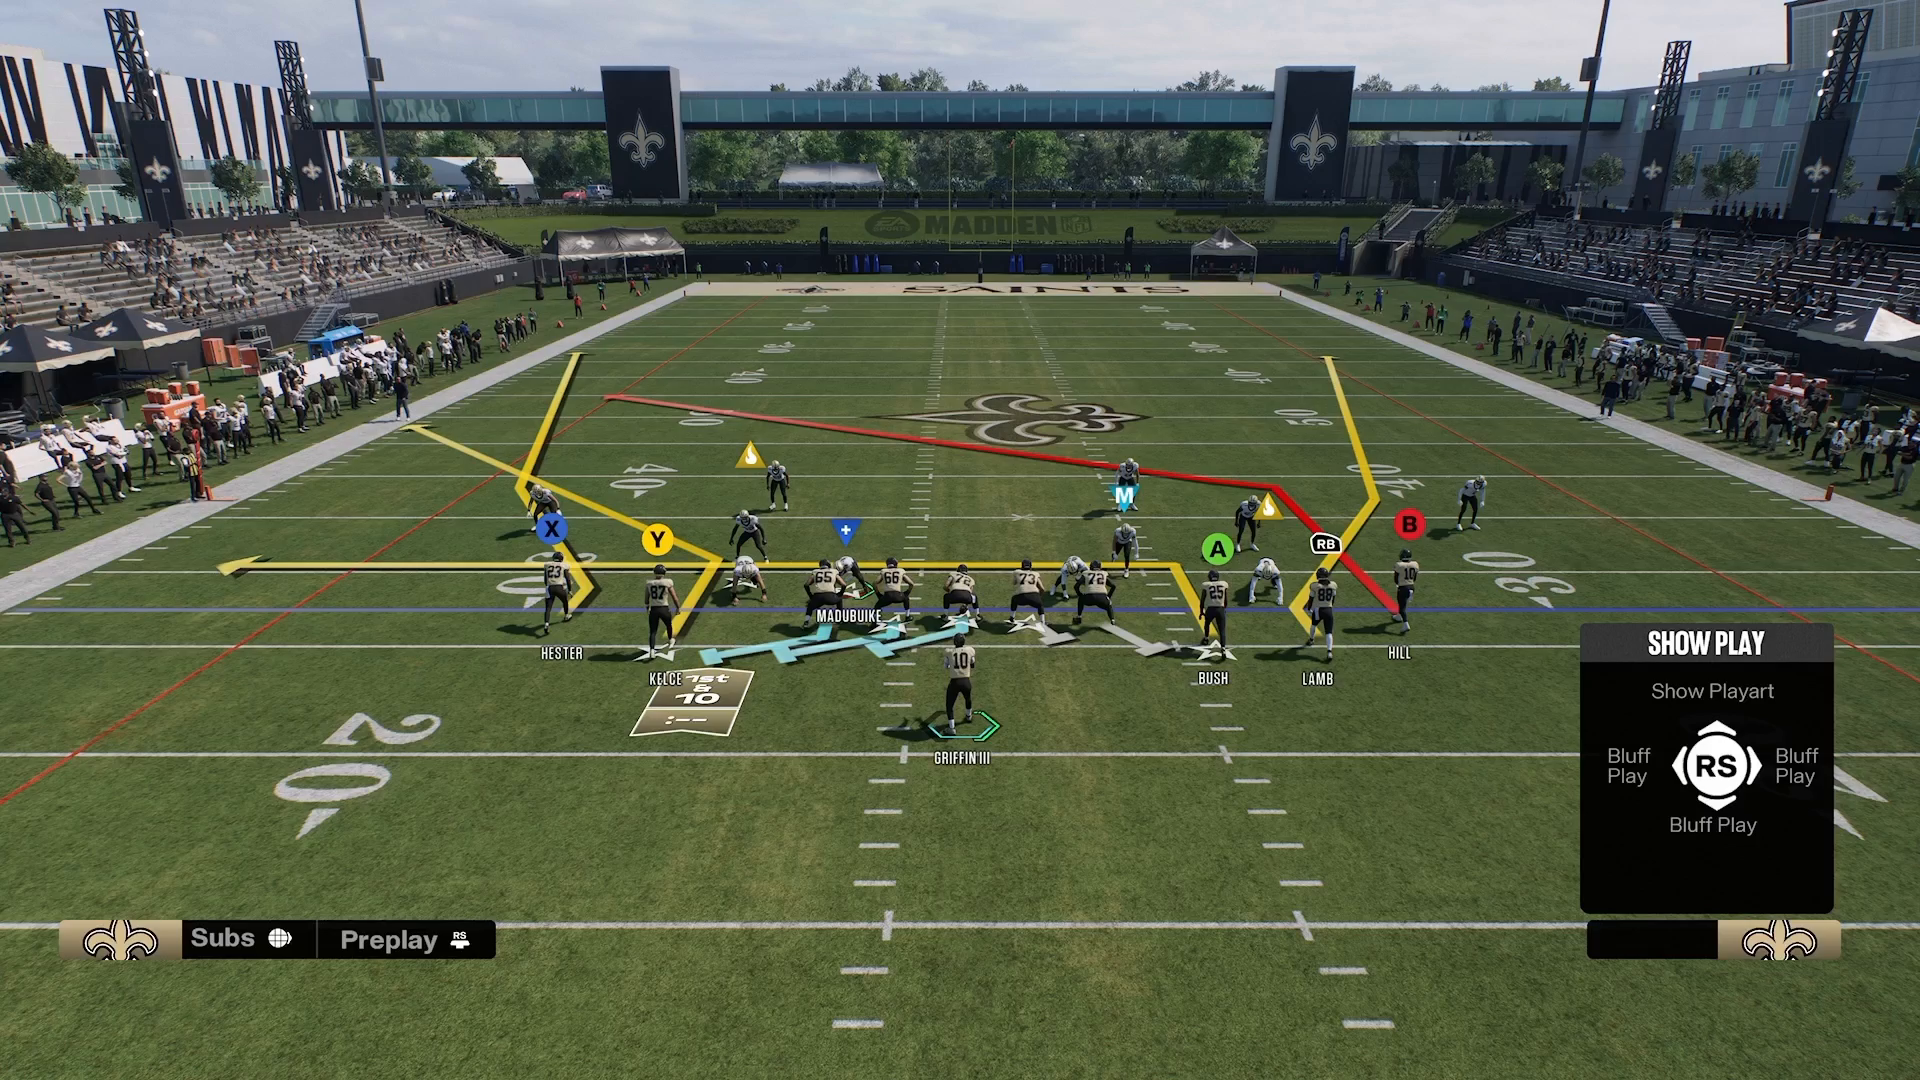
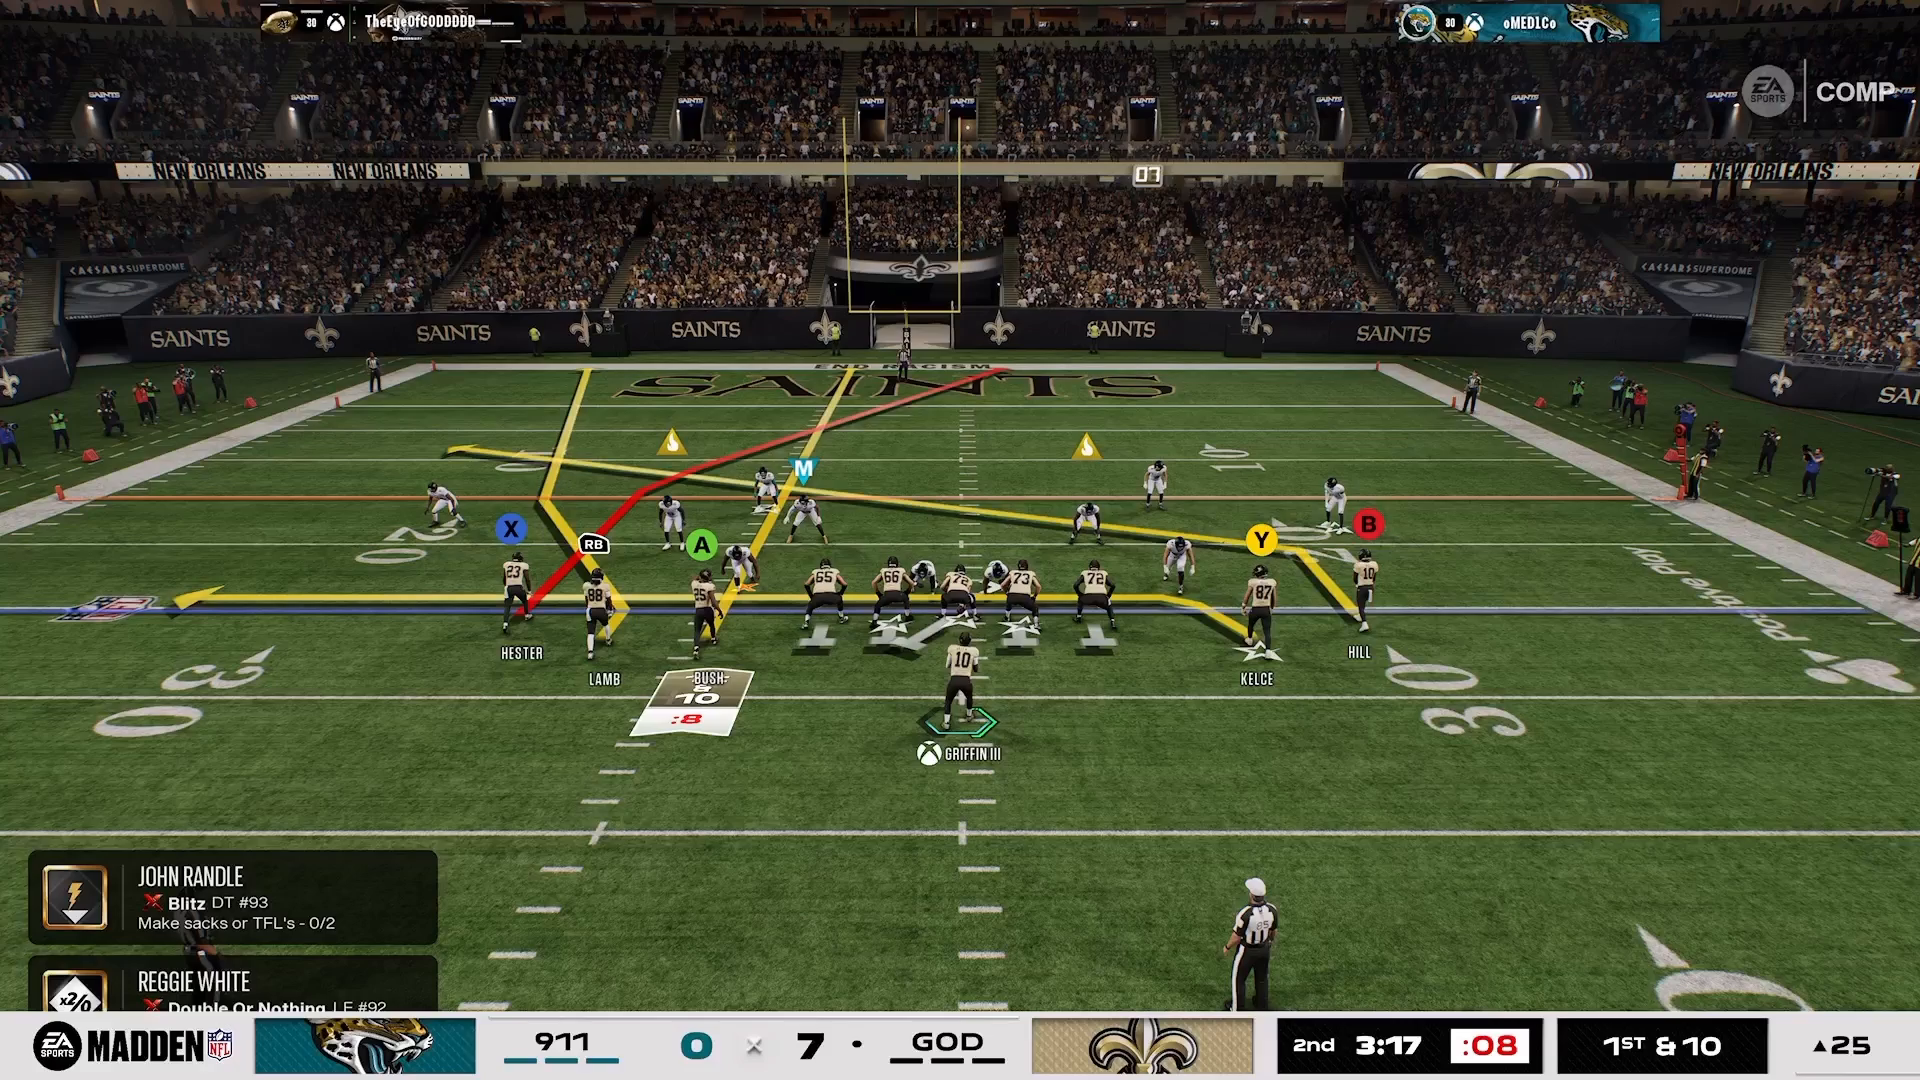
In Madden NFL 27, stopping the run is crucial for solid defensive play. To effectively shut down your opponent’s running game, particularly against formations like Doubles Clamp Stack, you need a strategic approach. The San Francisco playbook offers a powerful Dime 3-2 formation that excels in this scenario. Start by selecting the DB Fire 2 play pre-snap, which allows you to apply pressure while maintaining coverage. Utilize the 16 Spaces System to visualize run lanes and make pre-snap adjustments that can disrupt your opponent’s plans.
User Positioning for Optimal Defense

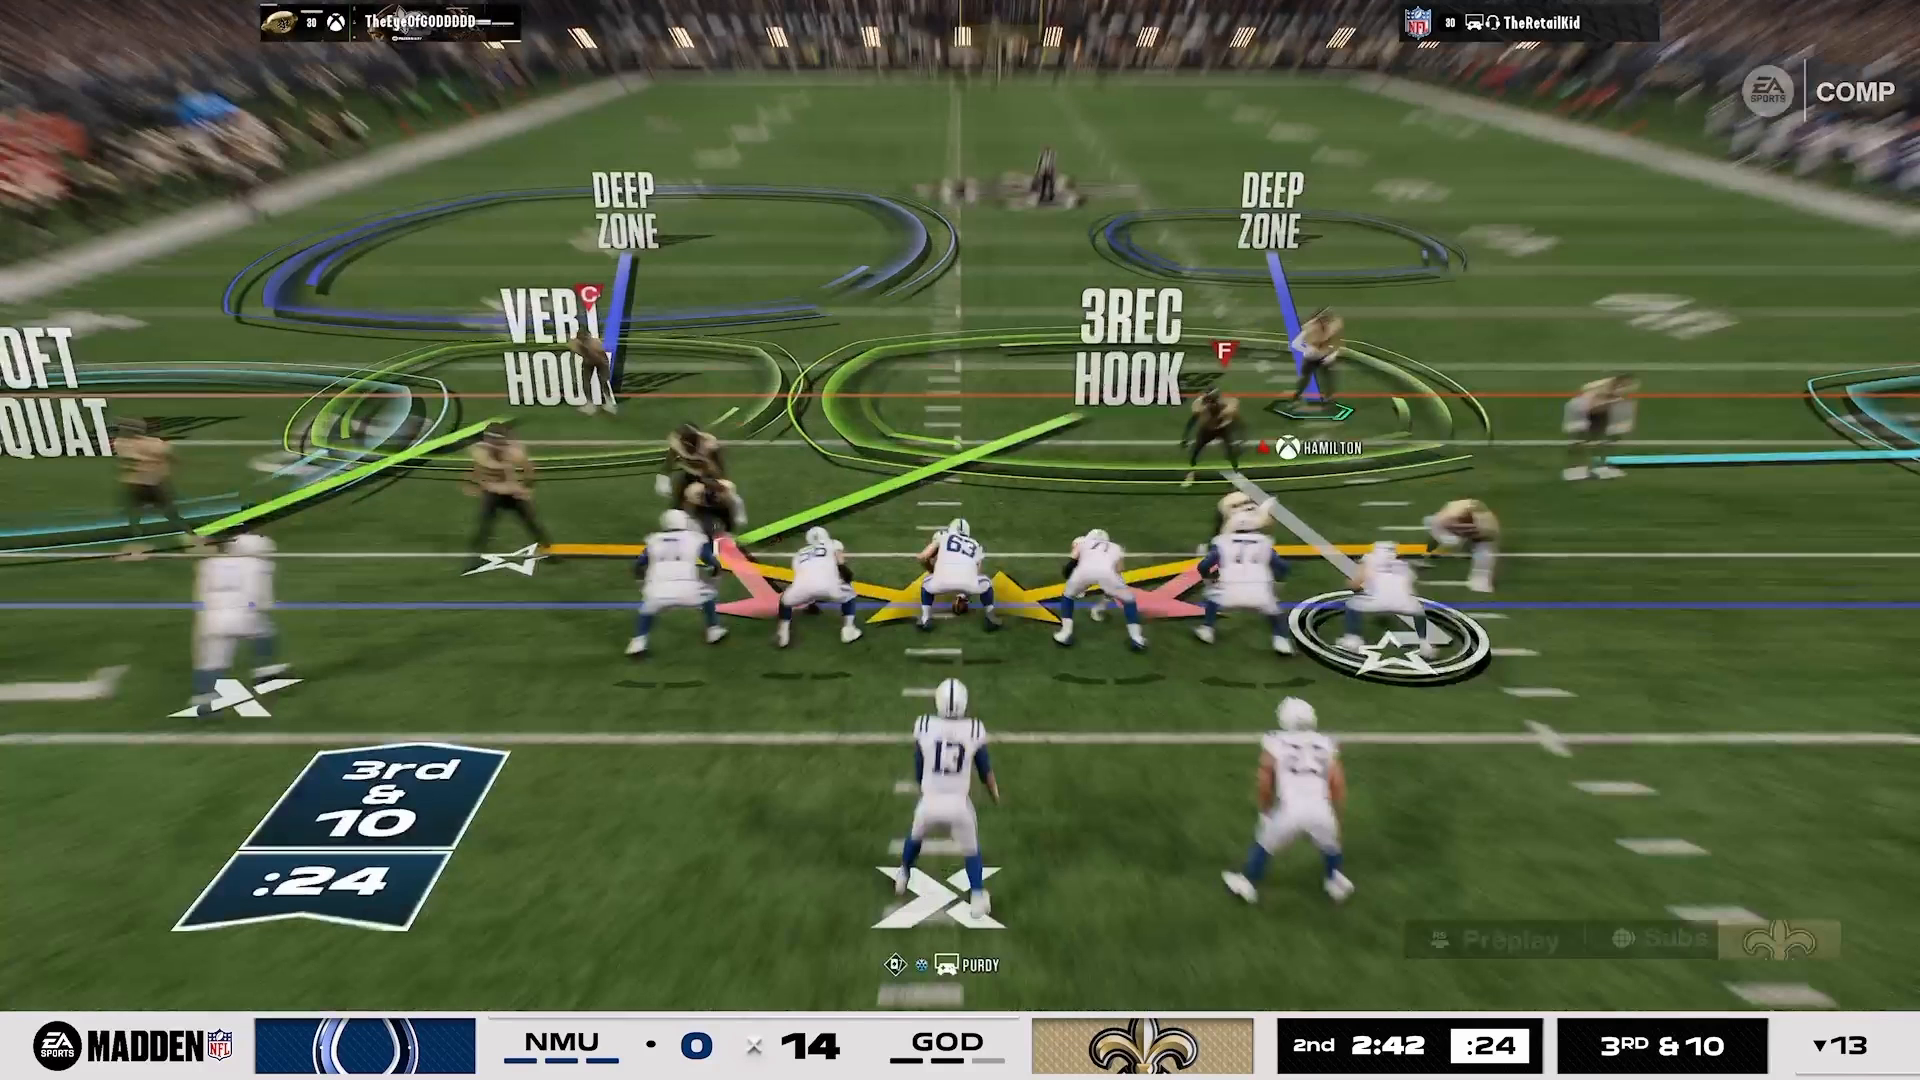
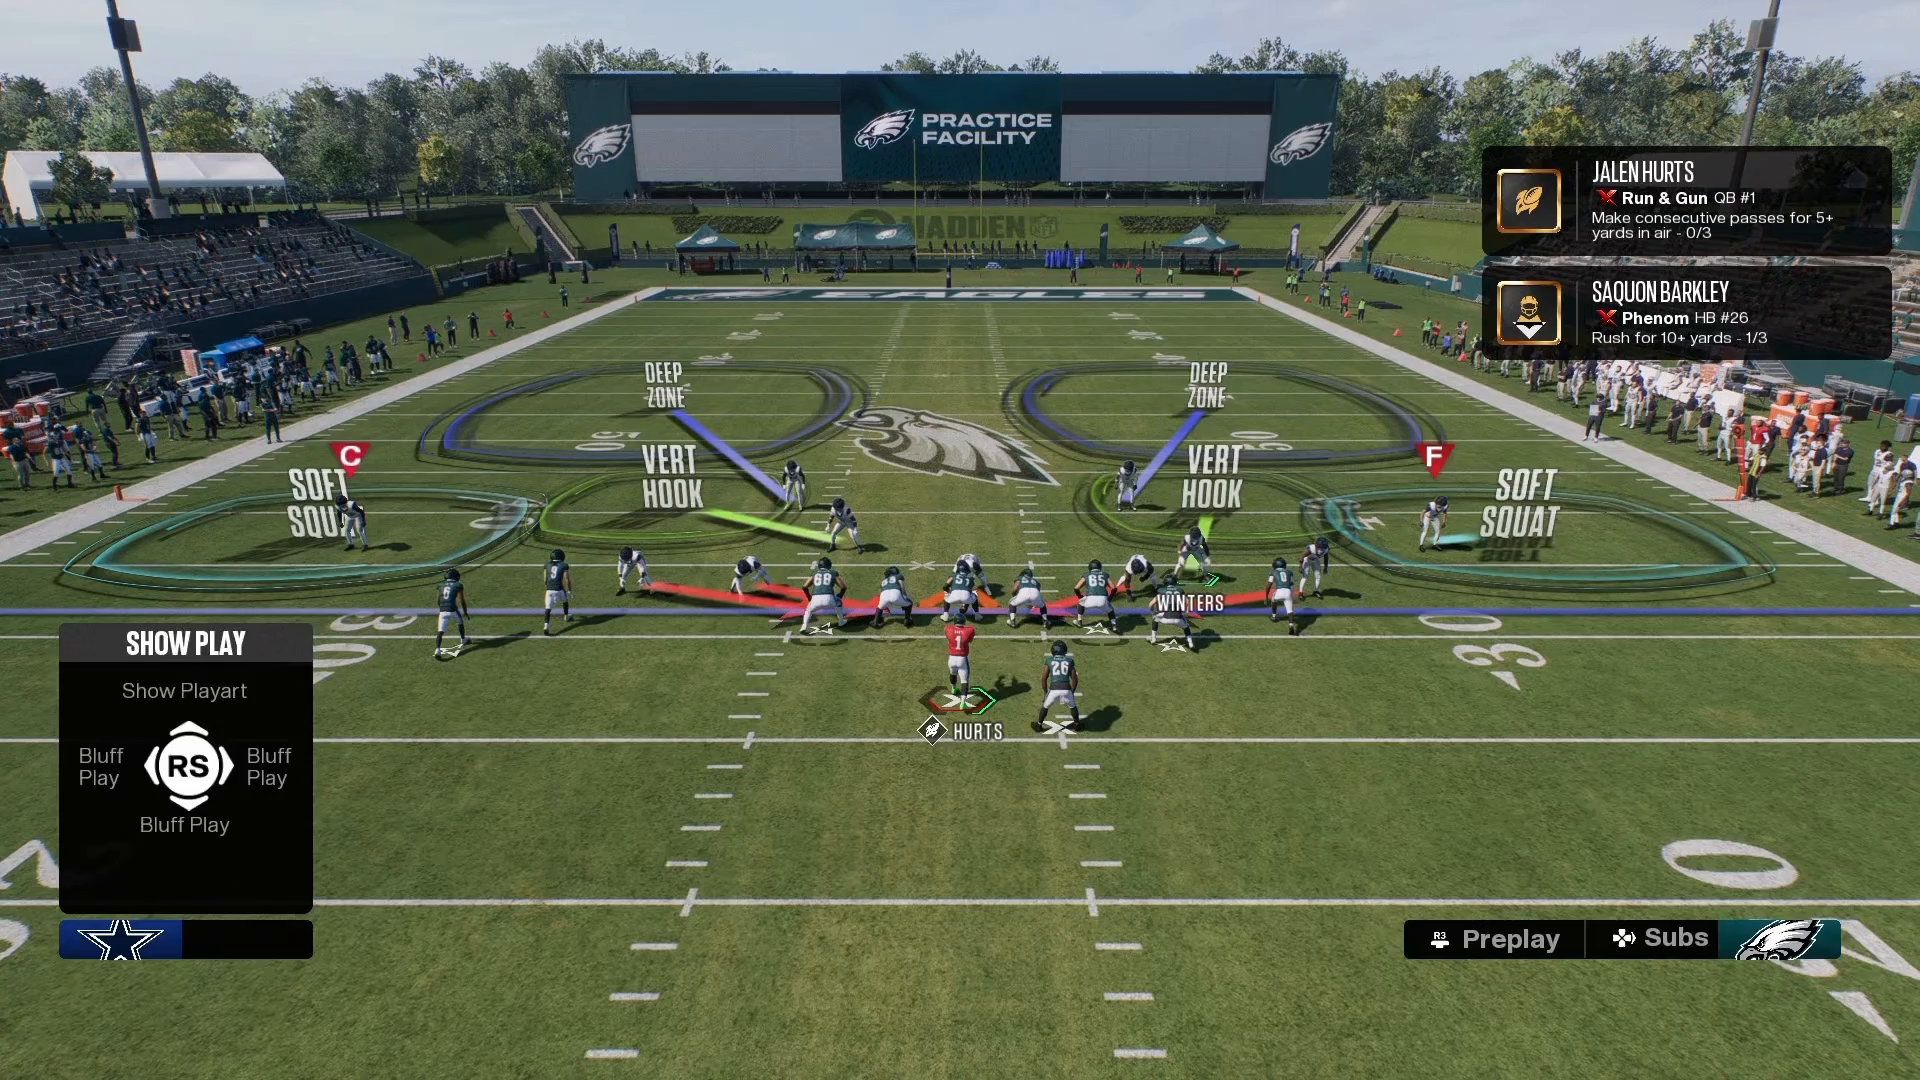
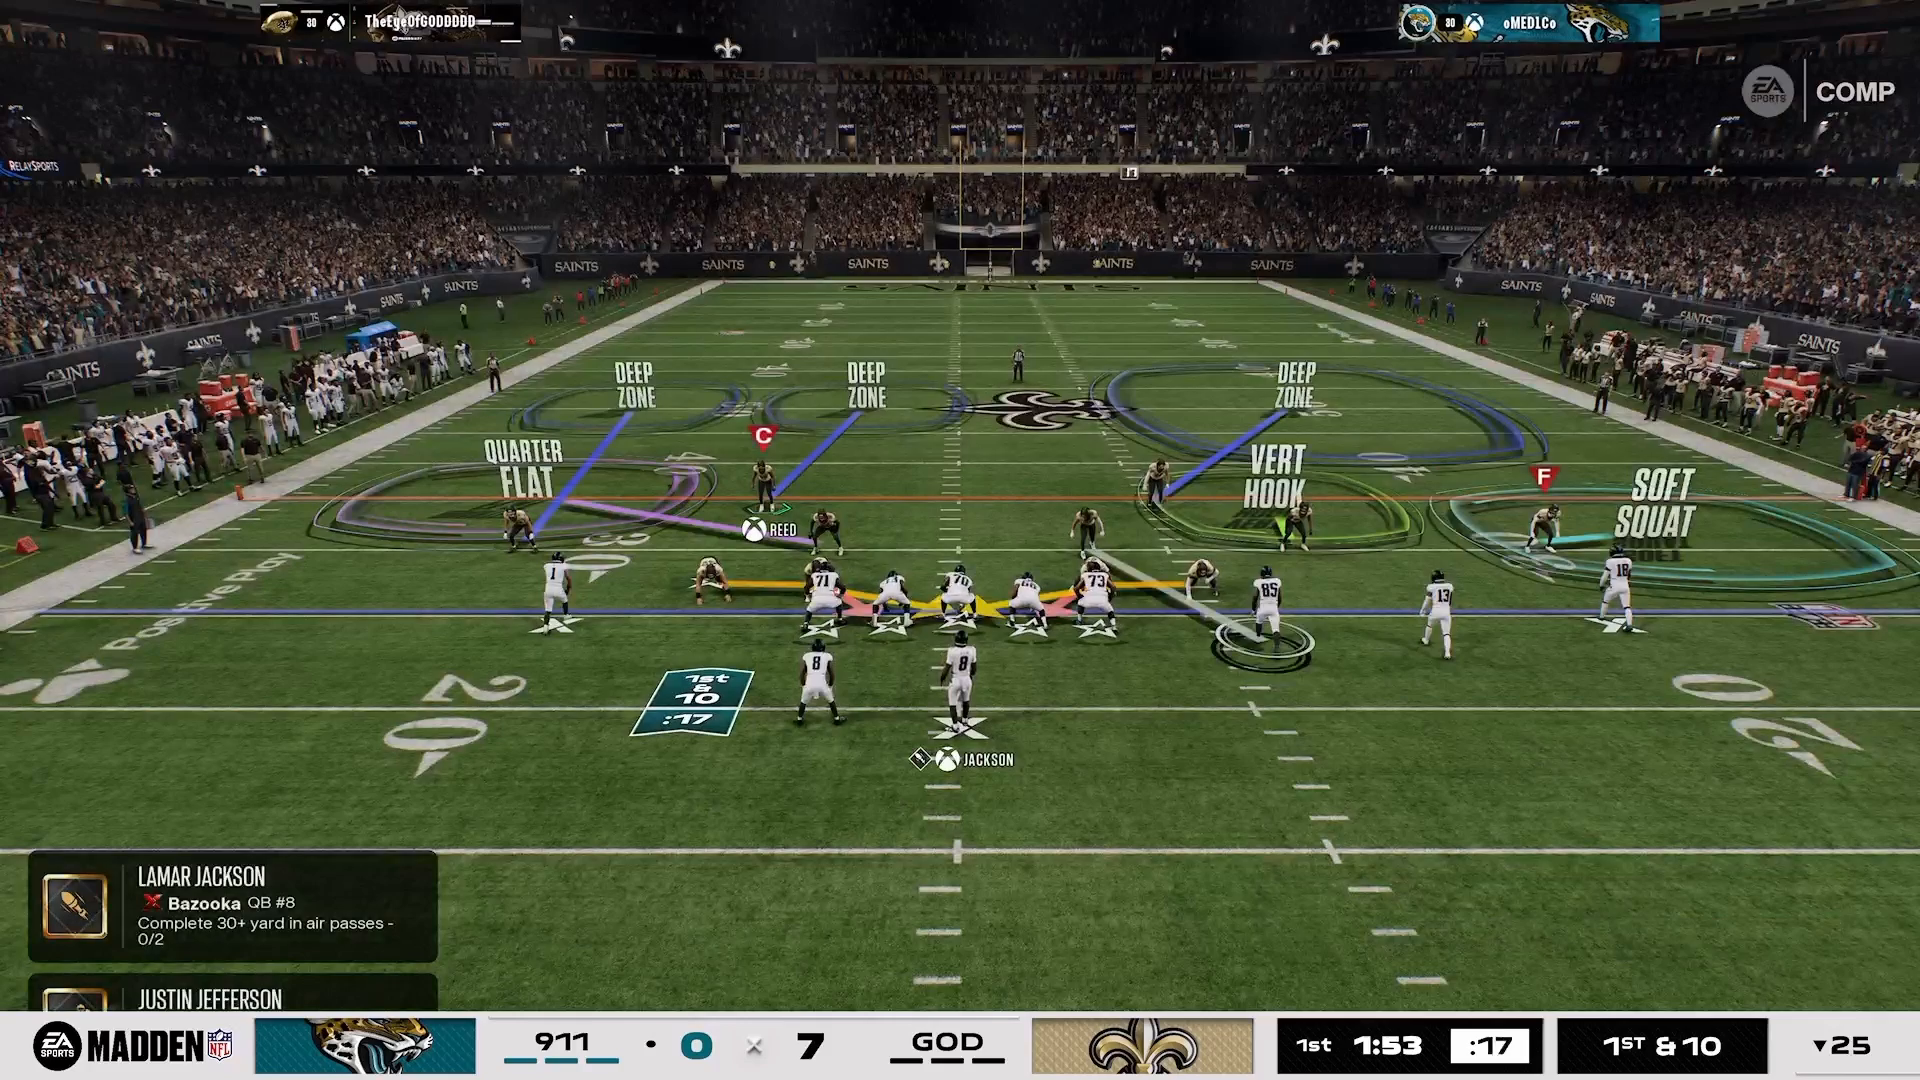
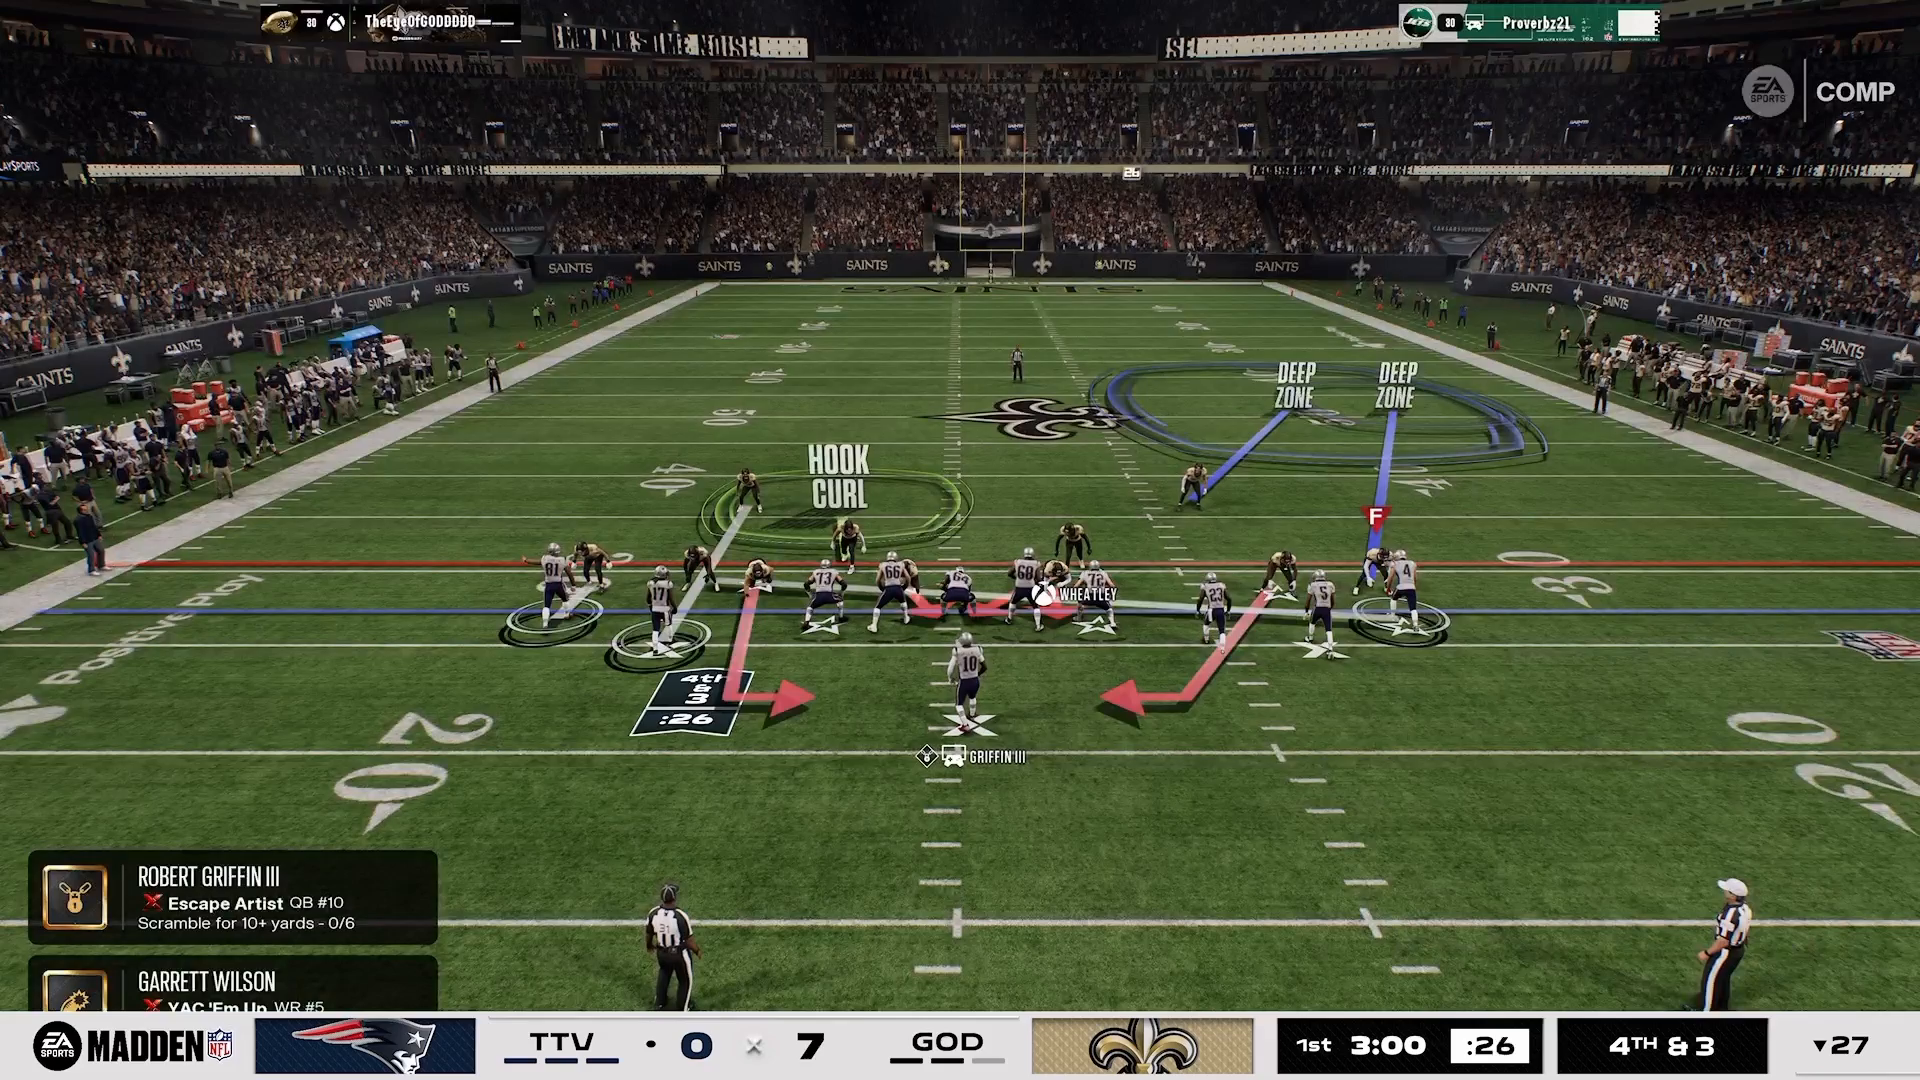
Your positioning on the field can make all the difference when it comes to stopping the run. Avoid pinching your linebackers; instead, position your user-controlled safety about 10 yards back from the line of scrimmage. This provides you with a better view of the play unfolding. If you prefer using a linebacker, position them outside the offensive line or tight end. This way, as the offensive line blocks forward, they won’t account for your user, allowing you to cut off run lanes effectively using the 16 Spaces System.
Executing Pre-Snap Stunts

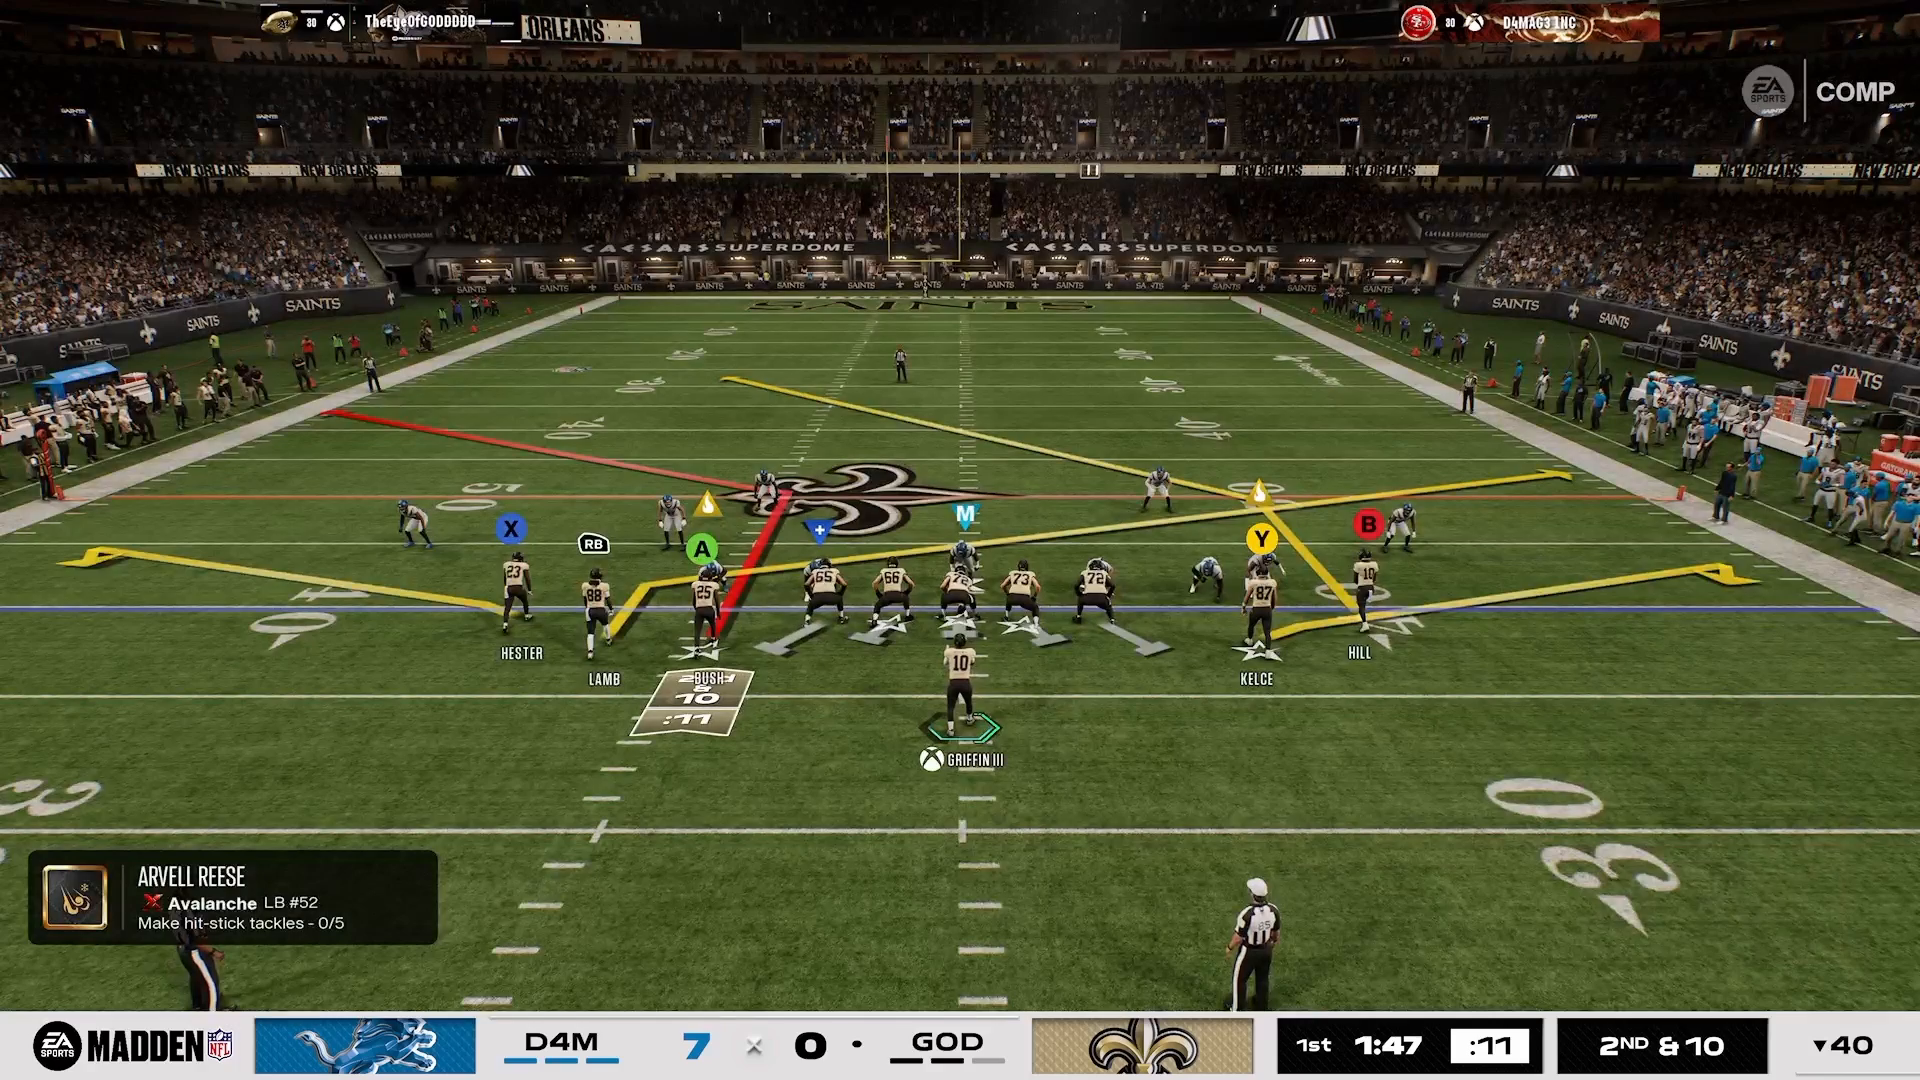
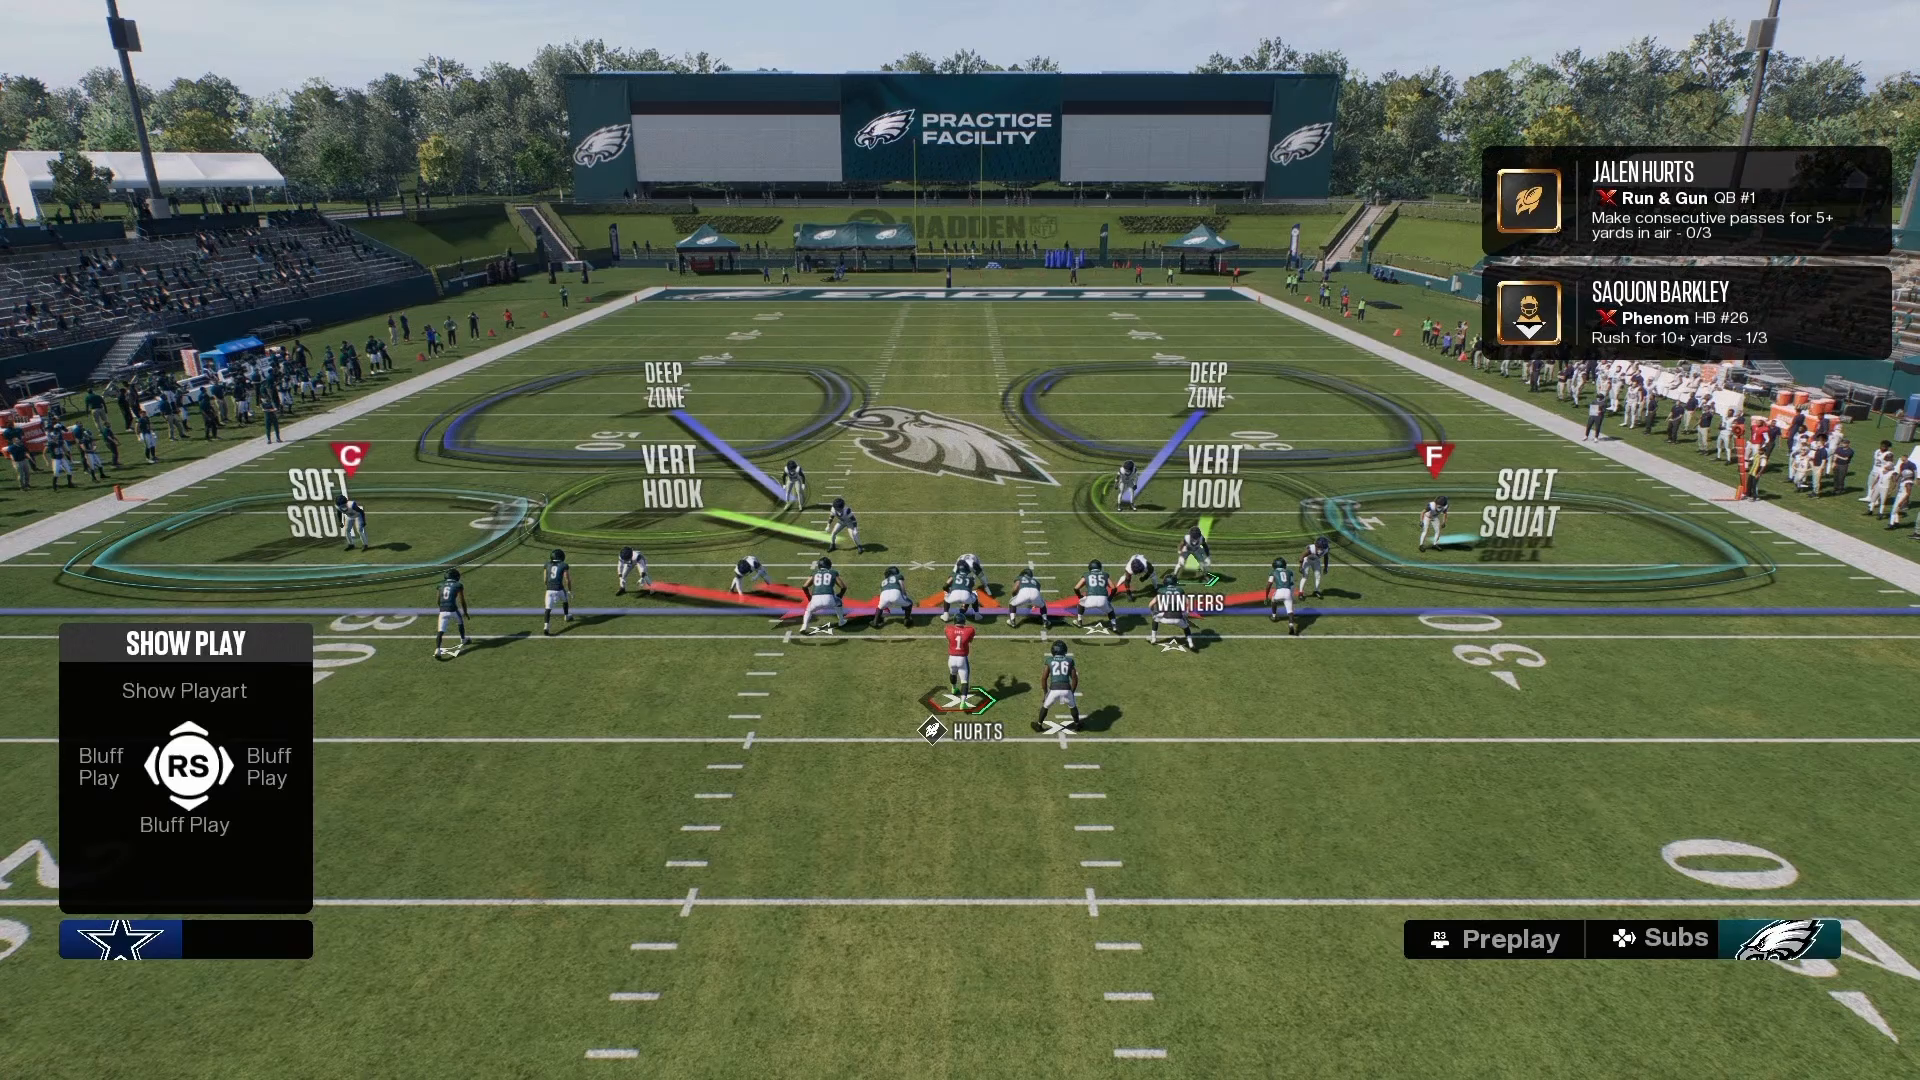
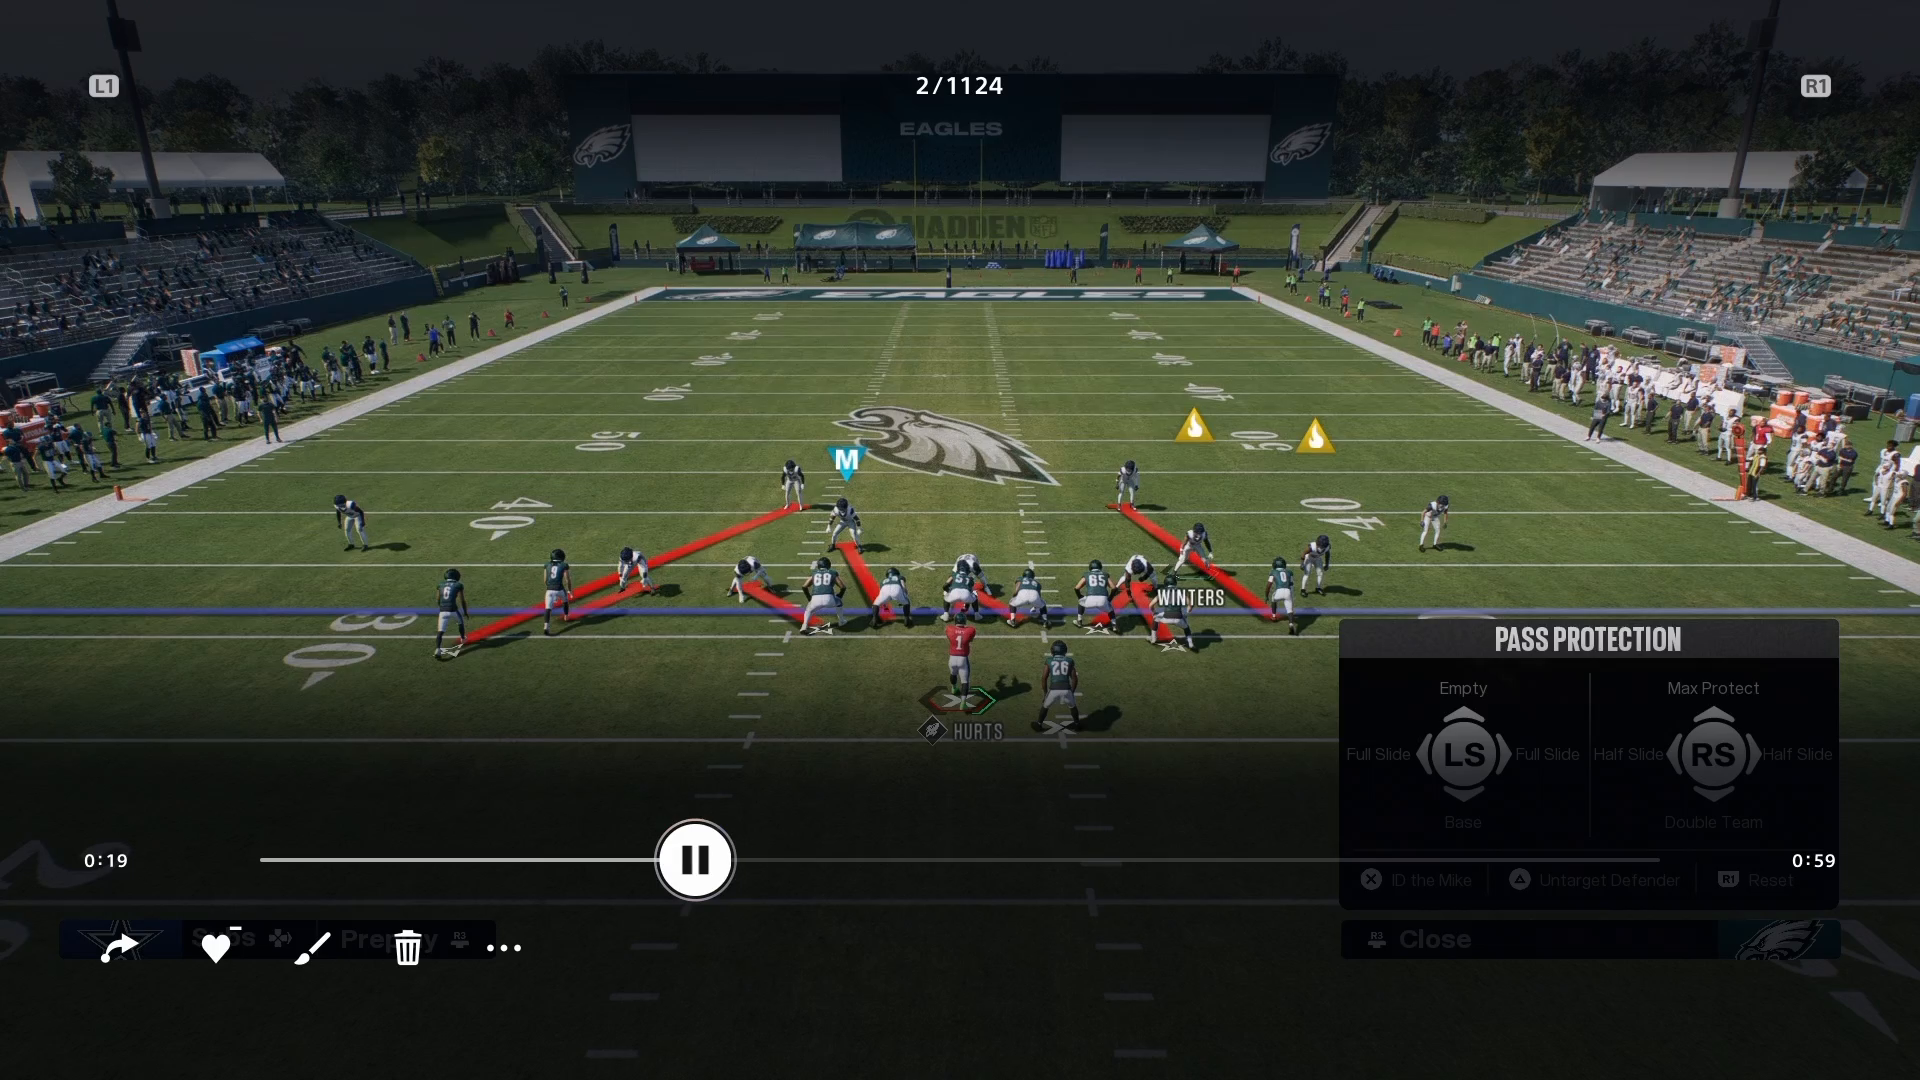
To maximize your chances of stopping the run, you can utilize pre-snap stunts effectively. Stand outside the tight end and hold R1 to bring up the stunts menu. Flick the left stick to set a stunt between the right guard (RG) and right tackle (RT) without moving pre-snap. When the play starts, dive in with your user to exploit the gap you created. This method is crucial for executing a predicted gap attack rather than relying on random pinches, which can be less effective.
Identifying Blocks and On-Target Tackling

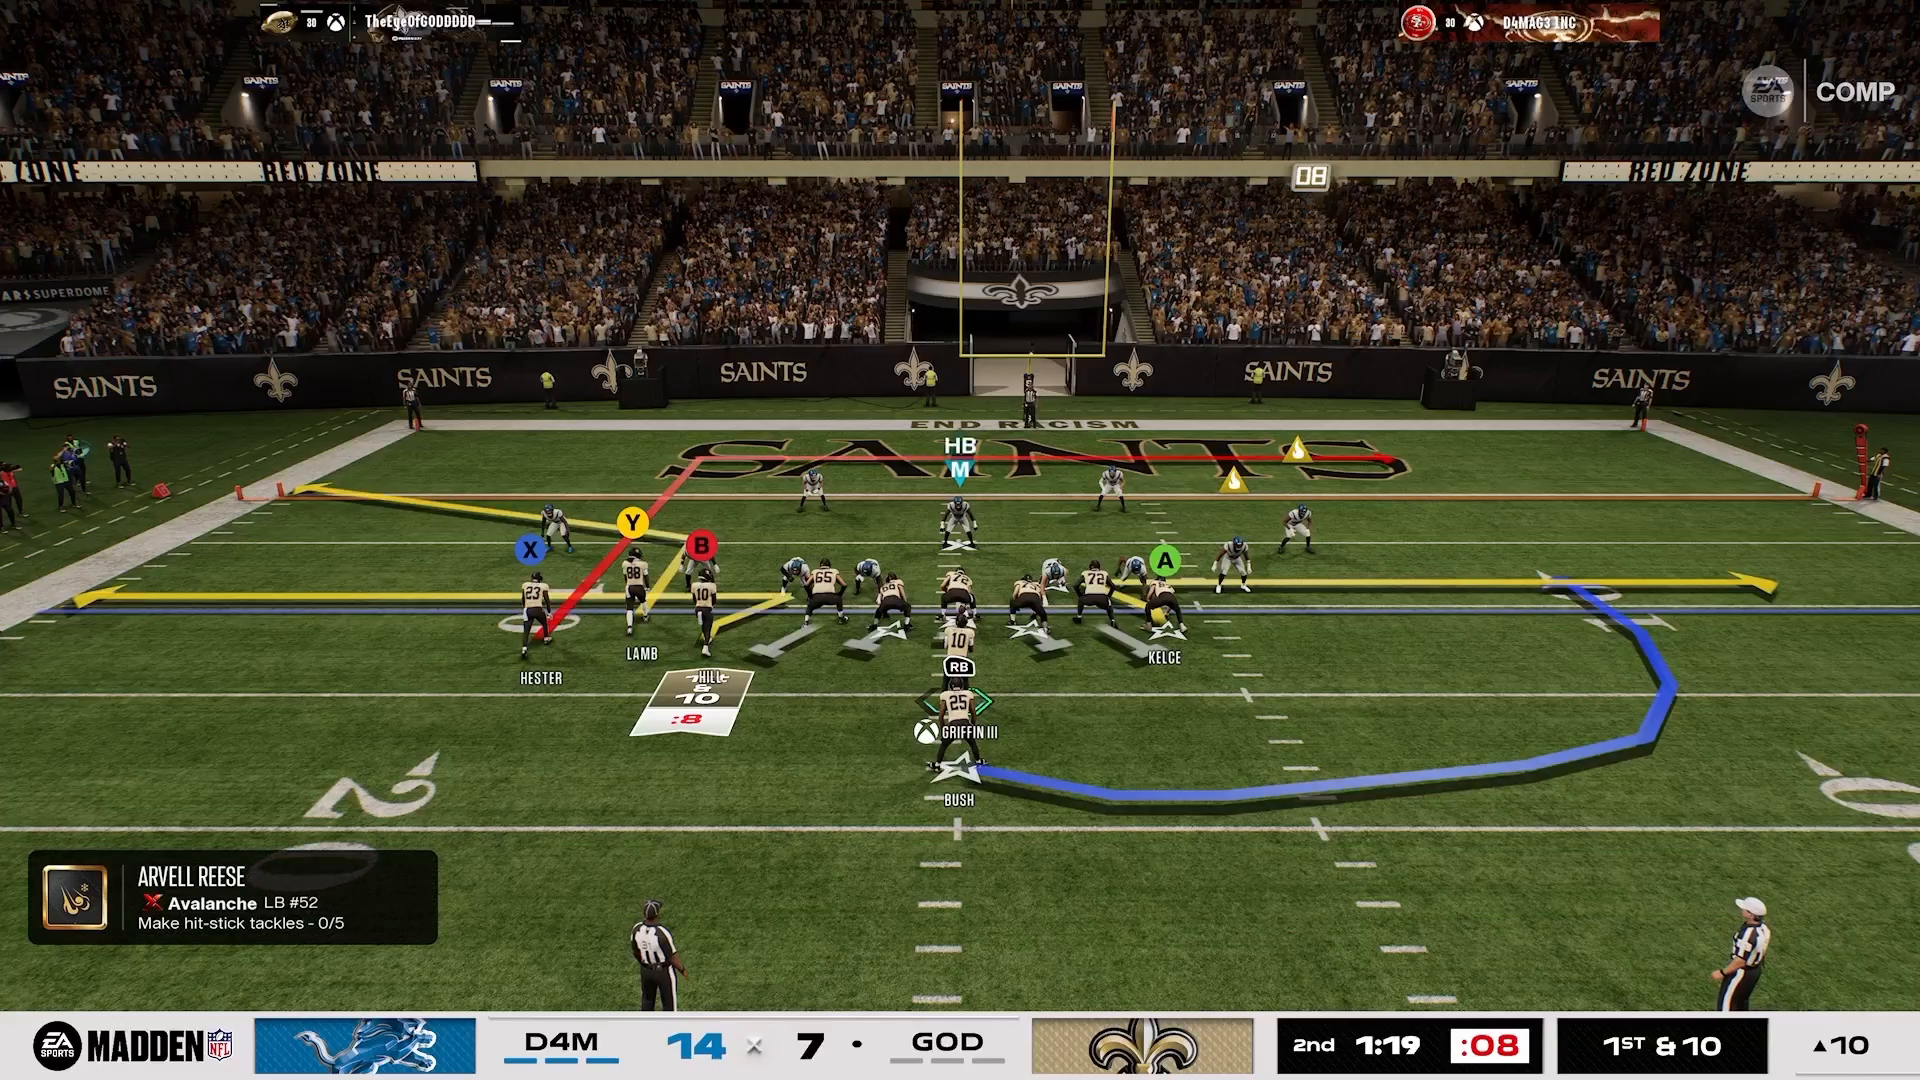
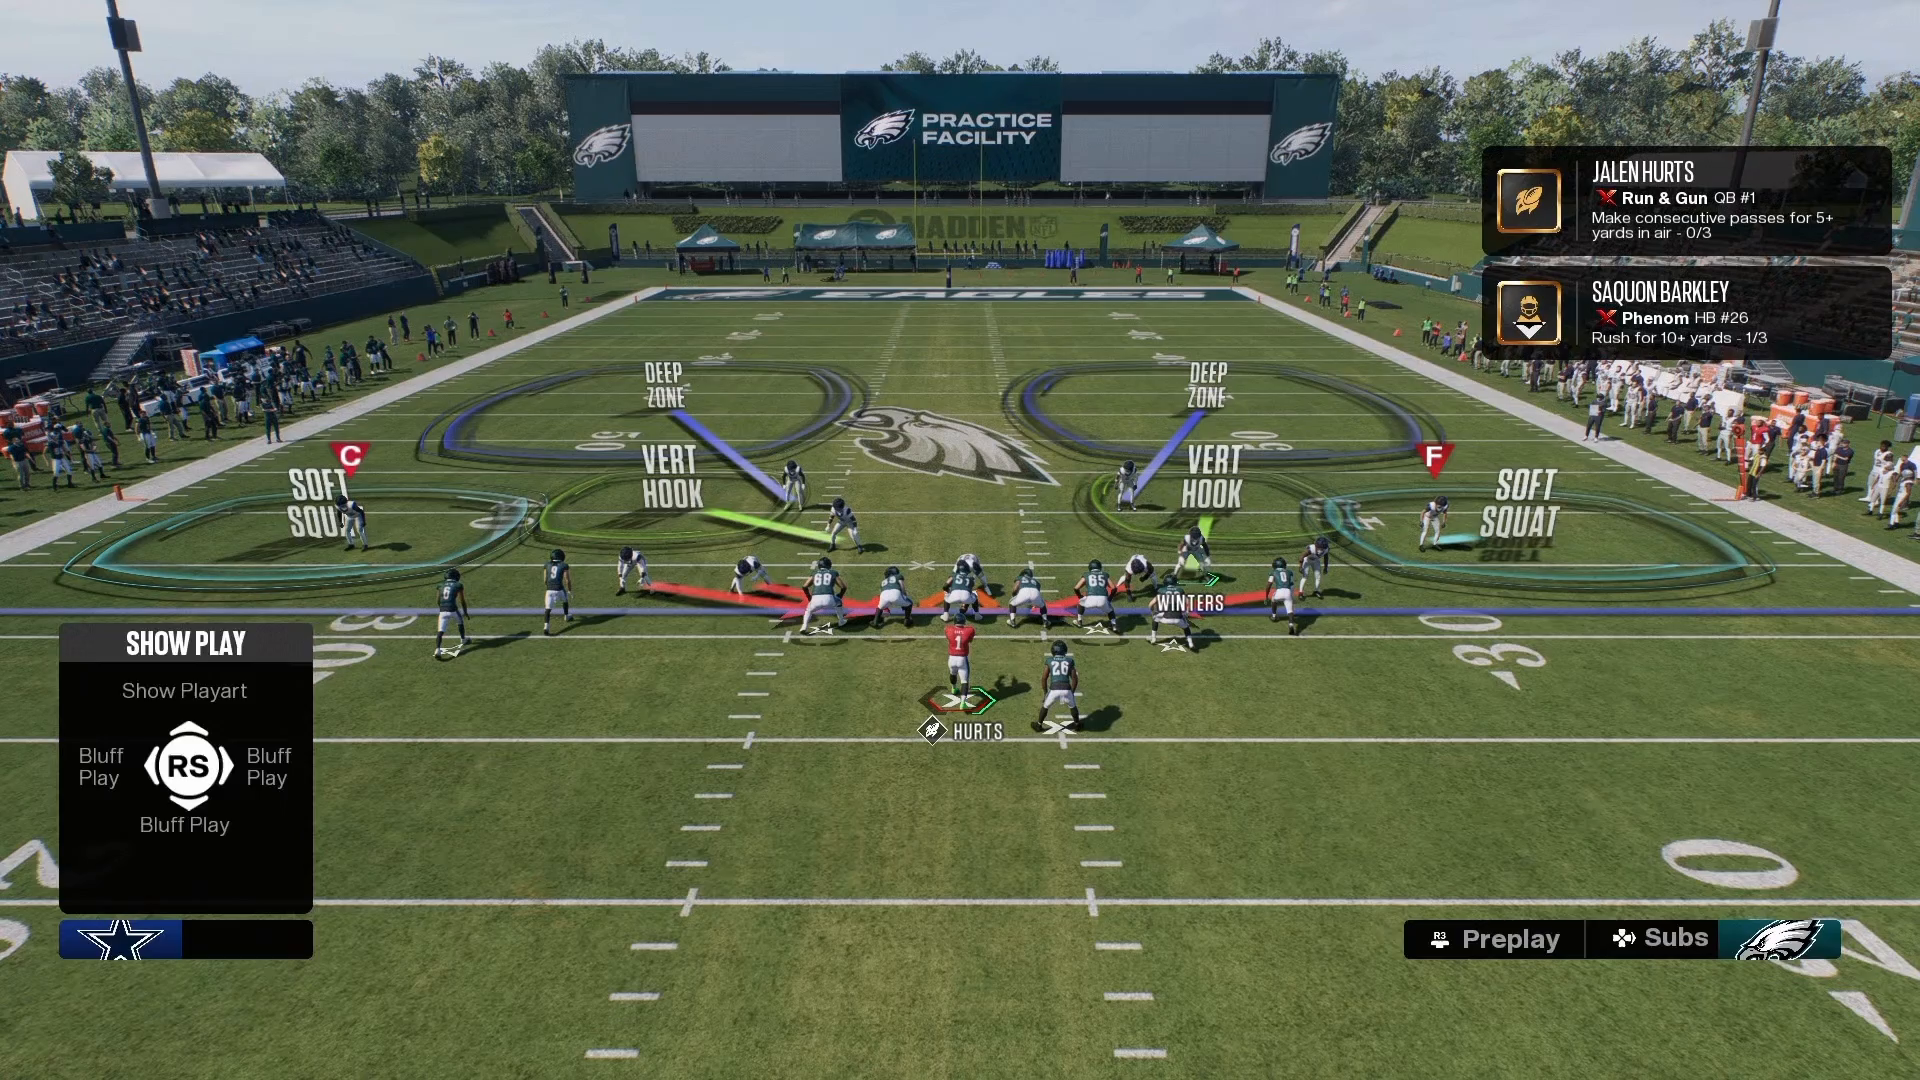
Before the snap, identify the mic on the player you expect to run free. This allows you to untarget the strong safety, ensuring that the offensive line does not key in on them. As your user, aim to burst through the RG-RT gap, which should lead to effective stops yielding just 1-2 yards. By combining pre-snap manipulation with a user-focused attack, you can achieve consistent stops against even the best running plays in Madden 27.
Finishing Strong Against Various Formations

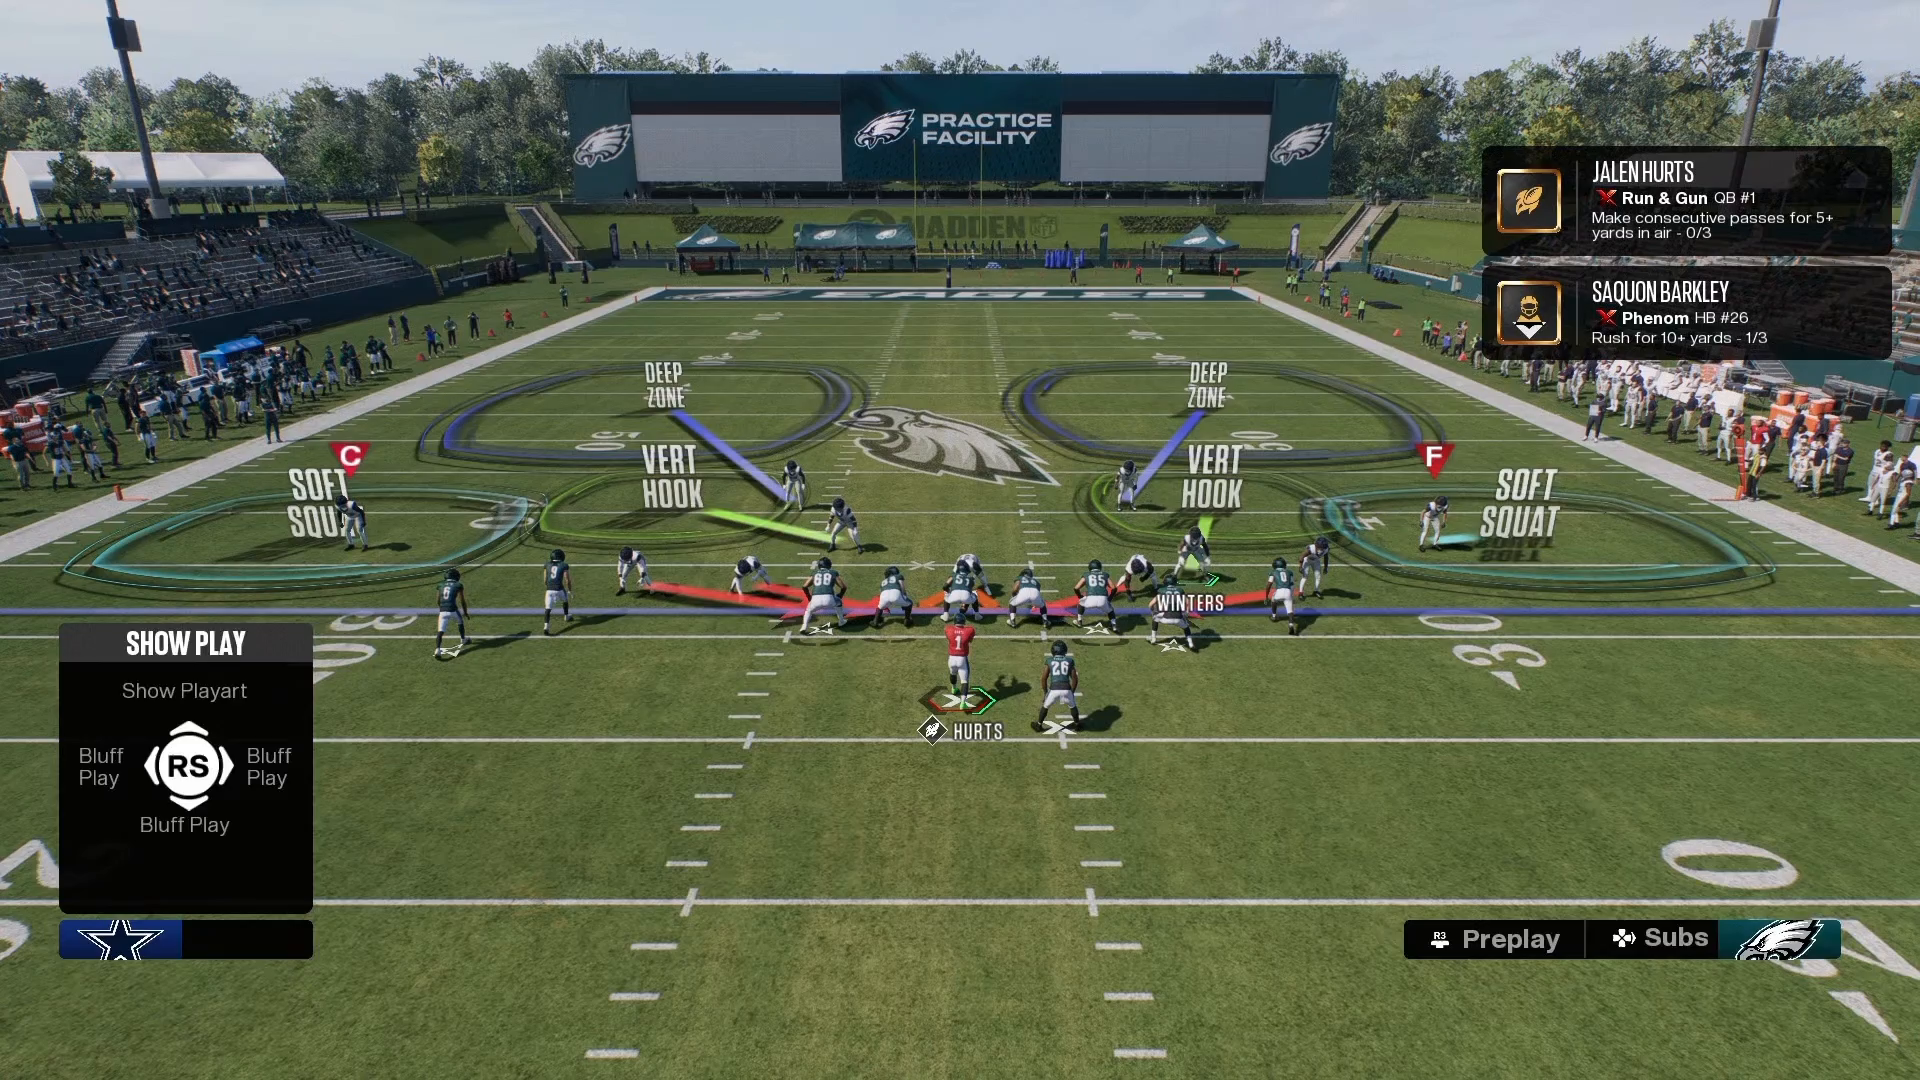
Whether your opponent transitions to a Pistol Bunch formation or runs Halfback Zone Weak to the left side, the same defensive principles apply. Stick with the DB Fire play and untarget the strong safety while identifying your user as the mic. This will enable your user to run in unblocked, leading to easy stops. Staying disciplined in your approach is key to dominating the defensive chess match that is Madden 27.
Conclusion

Stopping the run in Madden 27 requires a mix of strategic positioning, pre-snap adjustments, and user-controlled execution. Implement these techniques in your gameplay to see significant improvements in your defensive performance. For more in-depth strategies, consider checking out the 16 Spaces Playbook for a comprehensive guide to mastering defensive tactics in Madden 27.
Recent Posts

Defensive setup in Madden 27 with Nickel Single Mug

Mastering the Best Defensive Macro vs Gun Trips X Nasty in Madden 27

Mastering the Best Defensive Macro vs Gun Trips X Nasty in Madden 27 Understanding the Defensive Setup in Madden 27 In Madden NFL 27, defending ...
Read More →
defensive macro Madden 27 — image 1

Mastering Defensive Strategies Against Gunfire Receiver Tight in Madden 27

Mastering Defensive Strategies Against Gunfire Receiver Tight in Madden 27 In Madden 27, stop the 5-receiver tight formation with a man-up defensive macro that uses ...
Read More →
Defensive alignment against Bunch TE formation

Mastering Madden NFL 27: Defending Auto-Motion & Bunch TE

Mastering Madden NFL 27: Defending Auto-Motion & Bunch TE Defend Bunch TE auto-motion in Madden 27 by aligning four defenders left, doubling the flat on ...
Read More →
Madden 27 gameplay showing 2-man under press beater

Mastering the Best 2-Man Under Press Beater in Madden 27

Mastering the Best 2-Man Under Press Beater in Madden 27 The best 2-man under press beater in Madden 27 is the Smash Corner concept from ...
Read More →
Defensive setup against Bunch Head End in Madden NFL 27

Mastering Madden NFL 27: Stop RPOs and Dominate Bunch Head End

Mastering Madden NFL 27: Stop RPOs and Dominate Bunch Head End Stop RPOs against Bunch Head End in Madden 27 by protecting the RPO bubble ...
Read More →
San Francisco Nickel Single Mug formation diagram

Best Defense to Stop Trips Head In: San Francisco Nickel Single Mug

Best Defense to Stop Trips Head In: San Francisco Nickel Single Mug The best defense to stop Trips Head in Madden 27 is San Francisco ...
Read More →
Dime 3-2 defensive formation setup

Mastering Madden NFL 27: Stop Doubles Clamp Stack with These Defensive Macros

Understanding the Challenge of Doubles Clamp Stack In Madden NFL 27, facing the Doubles Clamp Stack can be a daunting task for any player. This ...
Read More →
Setup of hybrid shell for red zone defense

Mastering Red Zone Defense in Madden NFL 27: Best Macro Guide

Introduction Defending in the red zone can be a pivotal moment in your Madden NFL 27 games. The stakes are high, and the right defensive ...
Read More →
Madden NFL 27 Smash Corner play setup

Mastering Madden NFL 27: Beat Nickel Single Mug with 2 Macros

Understanding the Nickel Single Mug Defense When you face the Nickel Single Mug defense in Madden NFL 27, it can feel like an uphill battle. ...
Read More →
Spot Y Option Madden — image 1

Master the Red Zone with Spot Y Option in Madden NFL 27

Master the Red Zone with Spot Y Option in Madden NFL 27 Master the red zone in Madden 27 with Spot Y Option from Pistol ...
Read More →
designed rollouts — image 1

Mastering Designed Rollouts to Beat Stunts in Madden NFL 27

Understanding Why Rollouts Work Rollouts are an essential part of your offensive strategy in Madden NFL 27, particularly when facing defensive stunts. Stunts are designed ...
Read More →
Offensive setup in Madden NFL 27

Master the Best Match Beater in Madden NFL 27

Master the Best Match Beater in Madden NFL 27 The best match beater in Madden 27 is the Mills deep out from Gun 5 Receiver ...
Read More →