Understanding the Cover 3 Cloud Setup
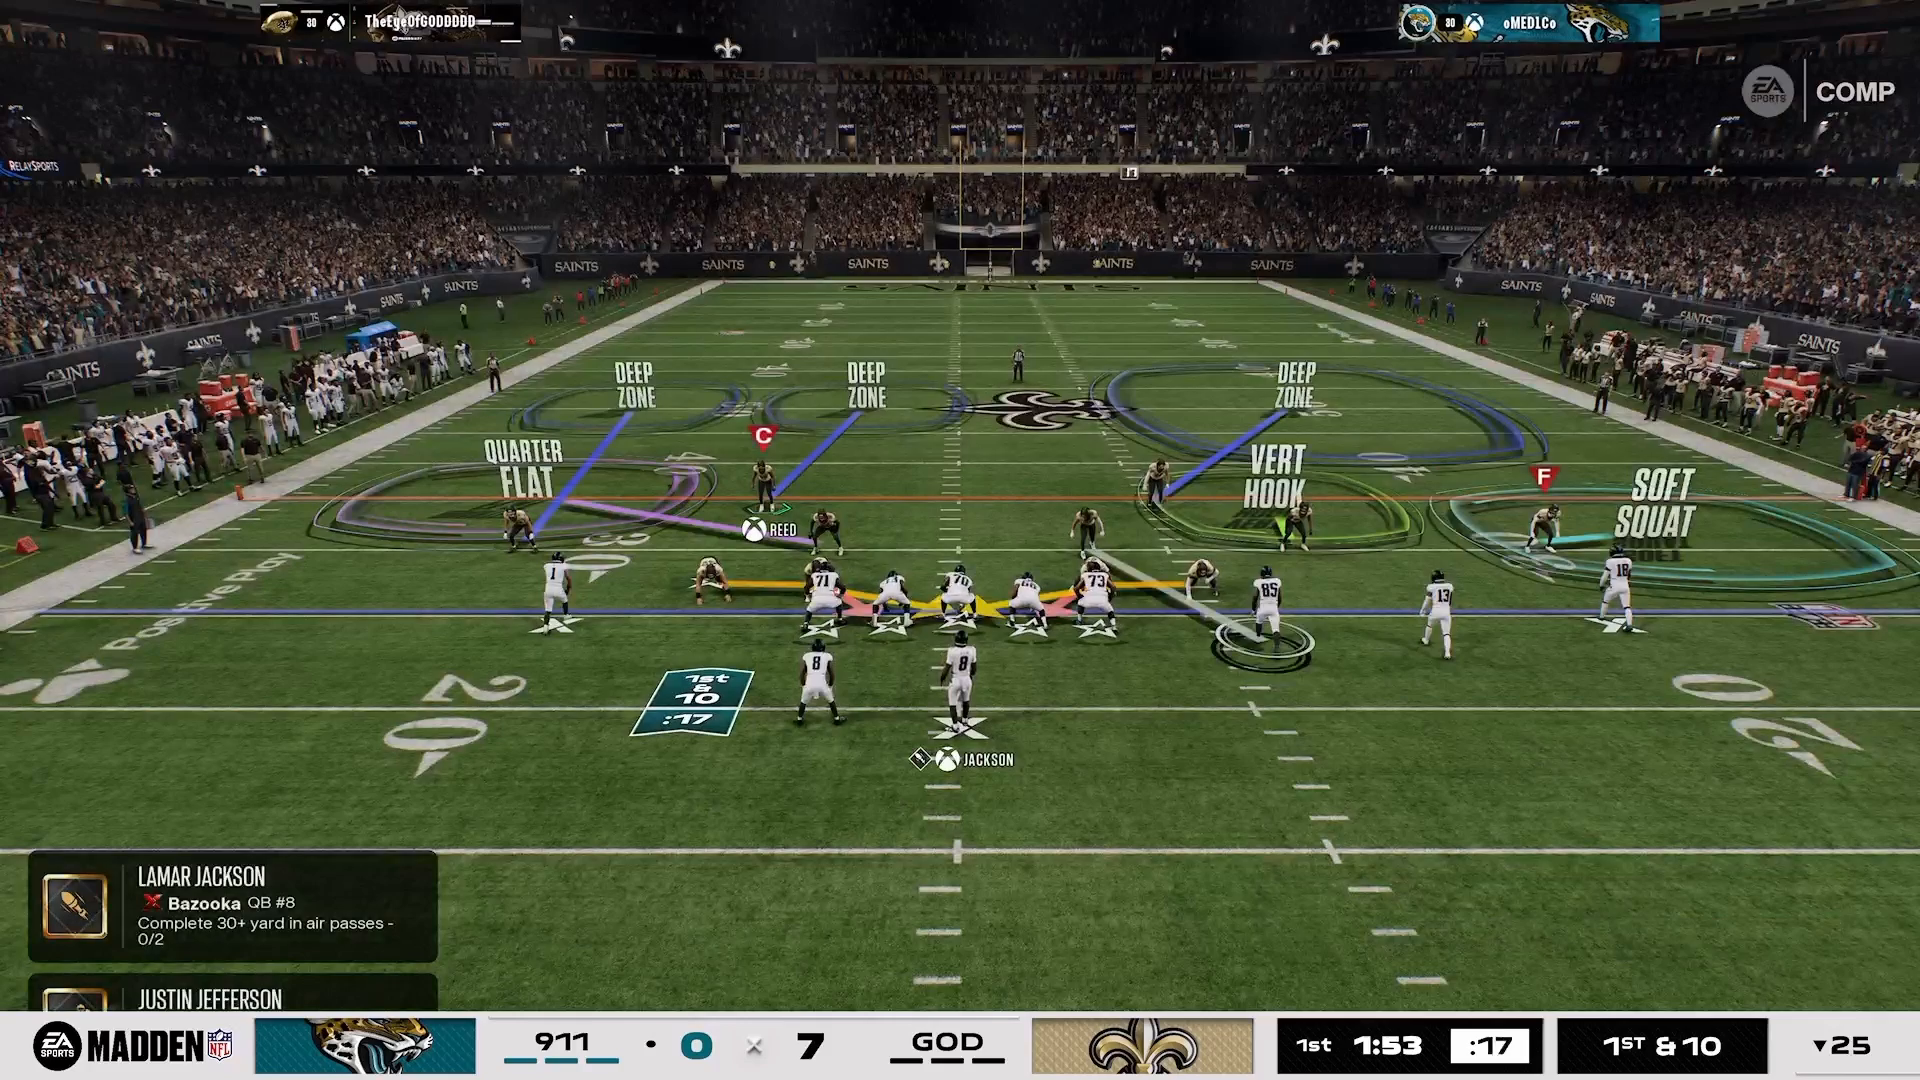
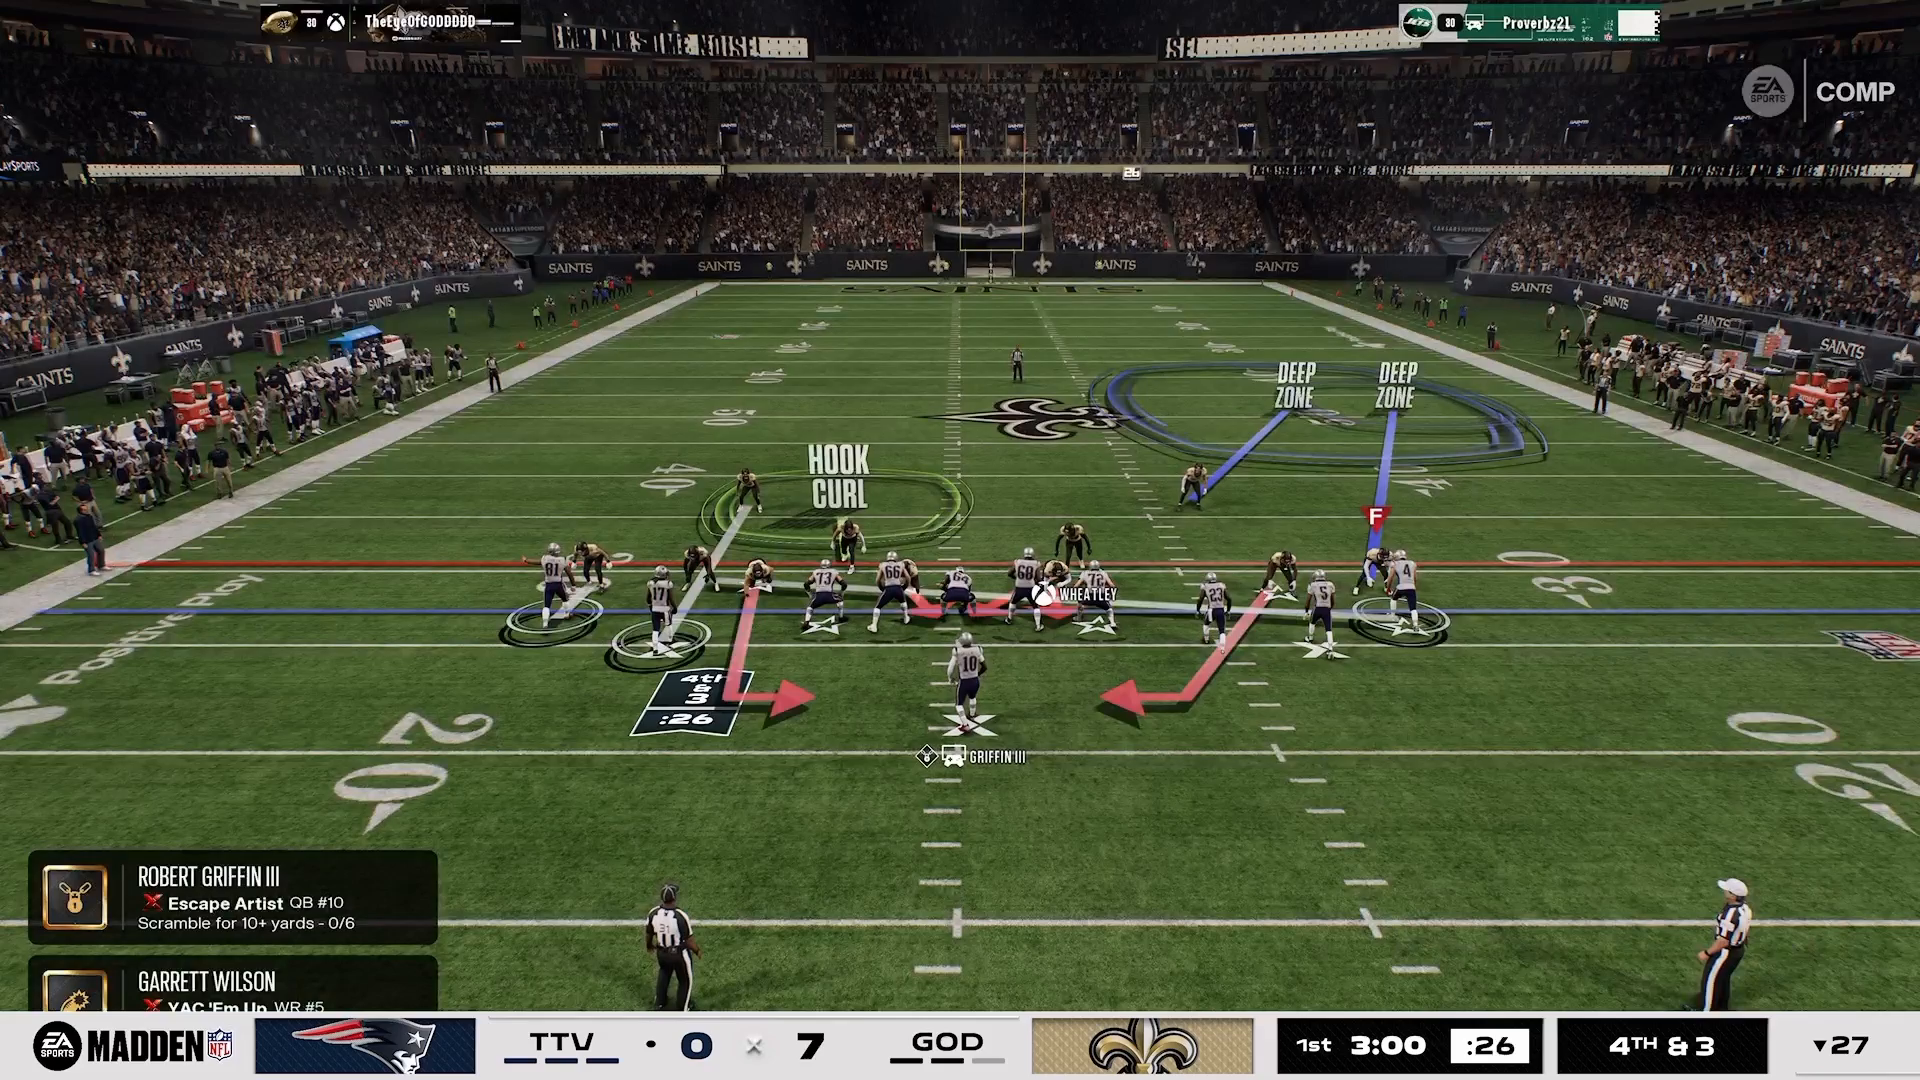
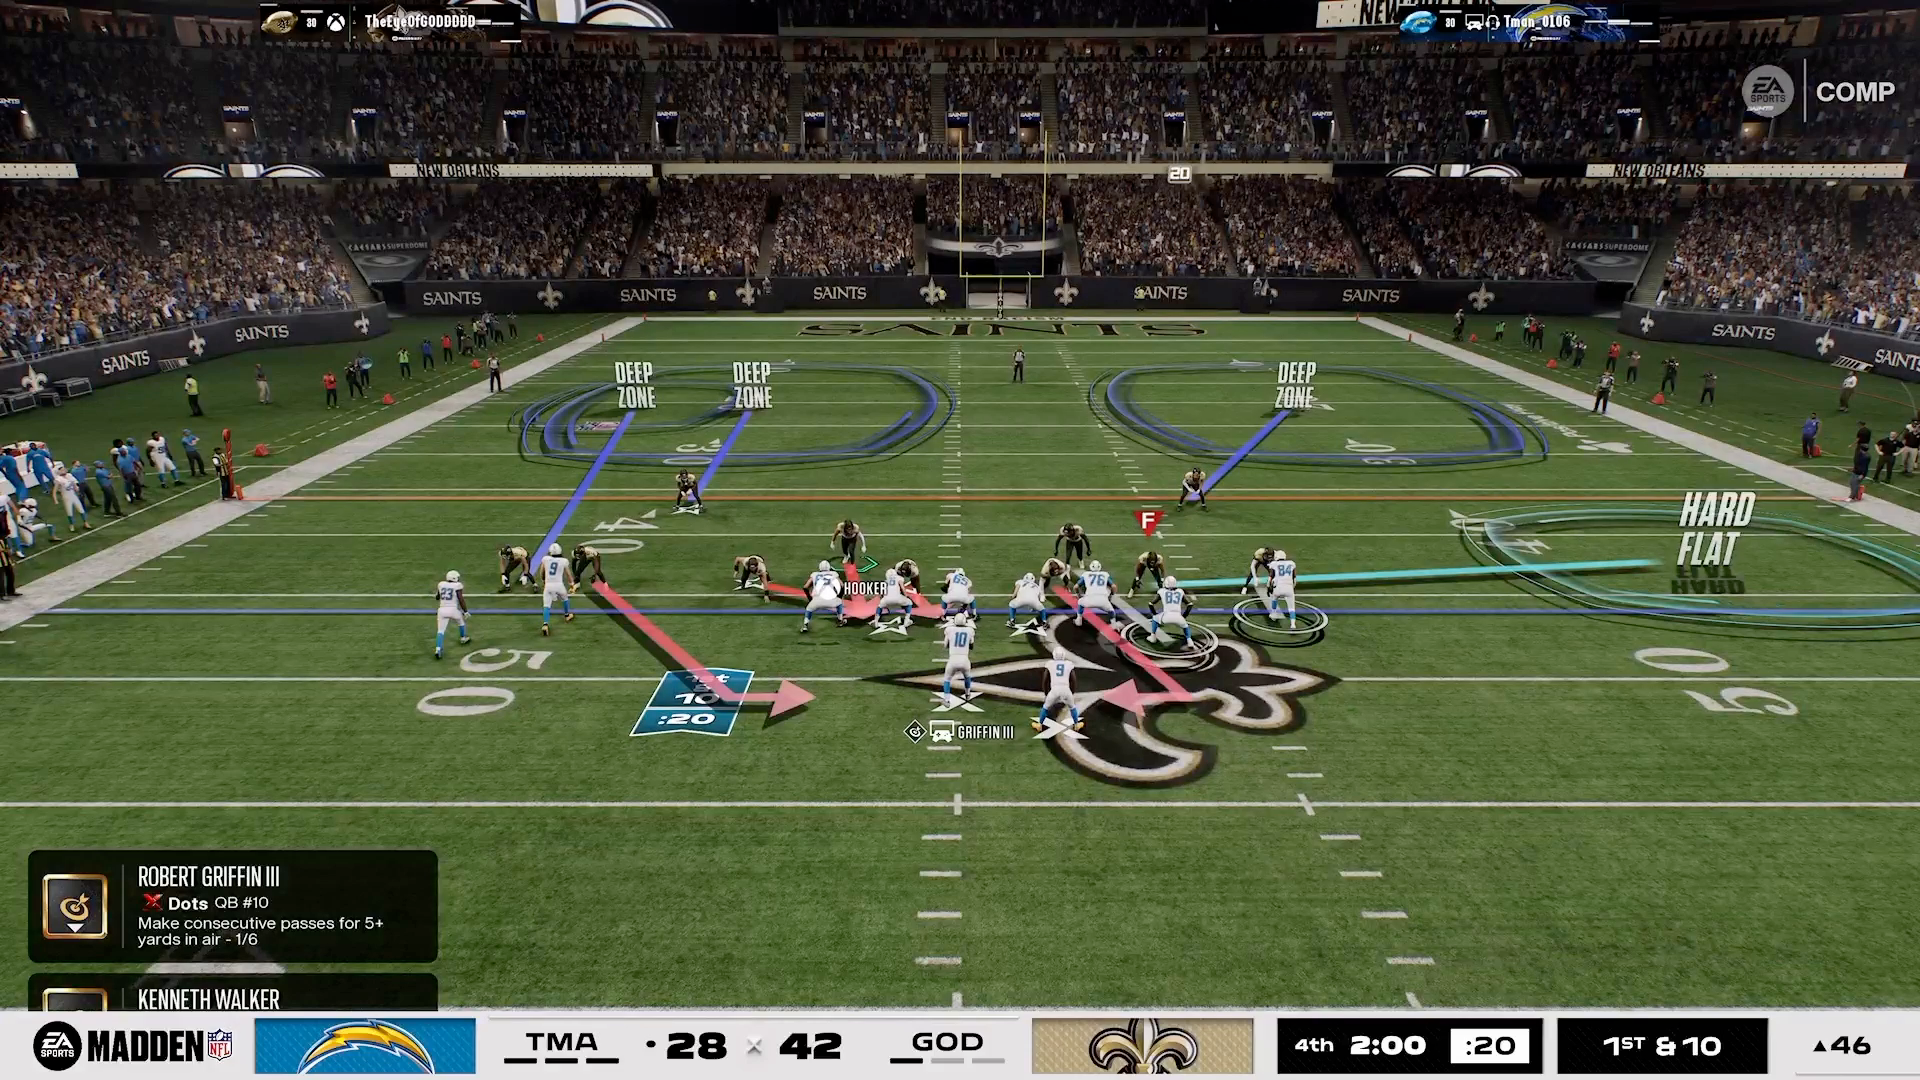
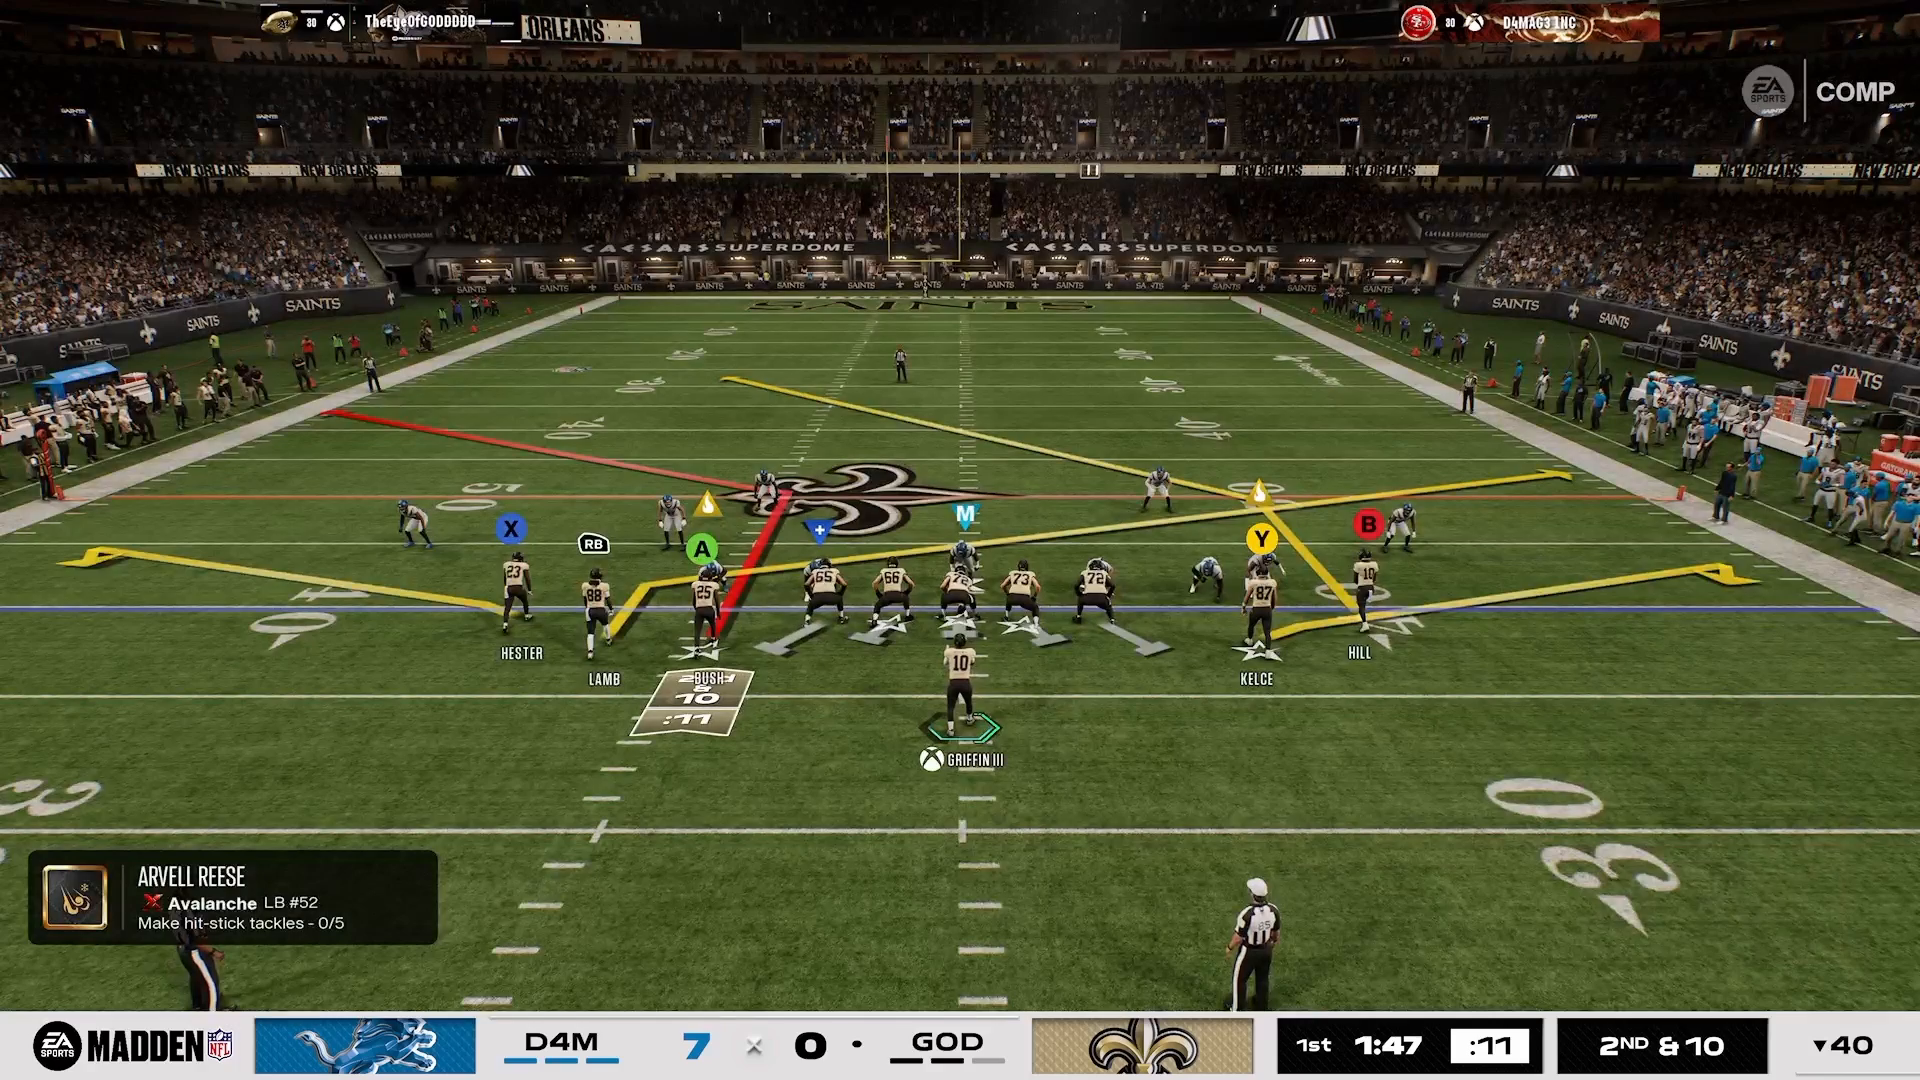
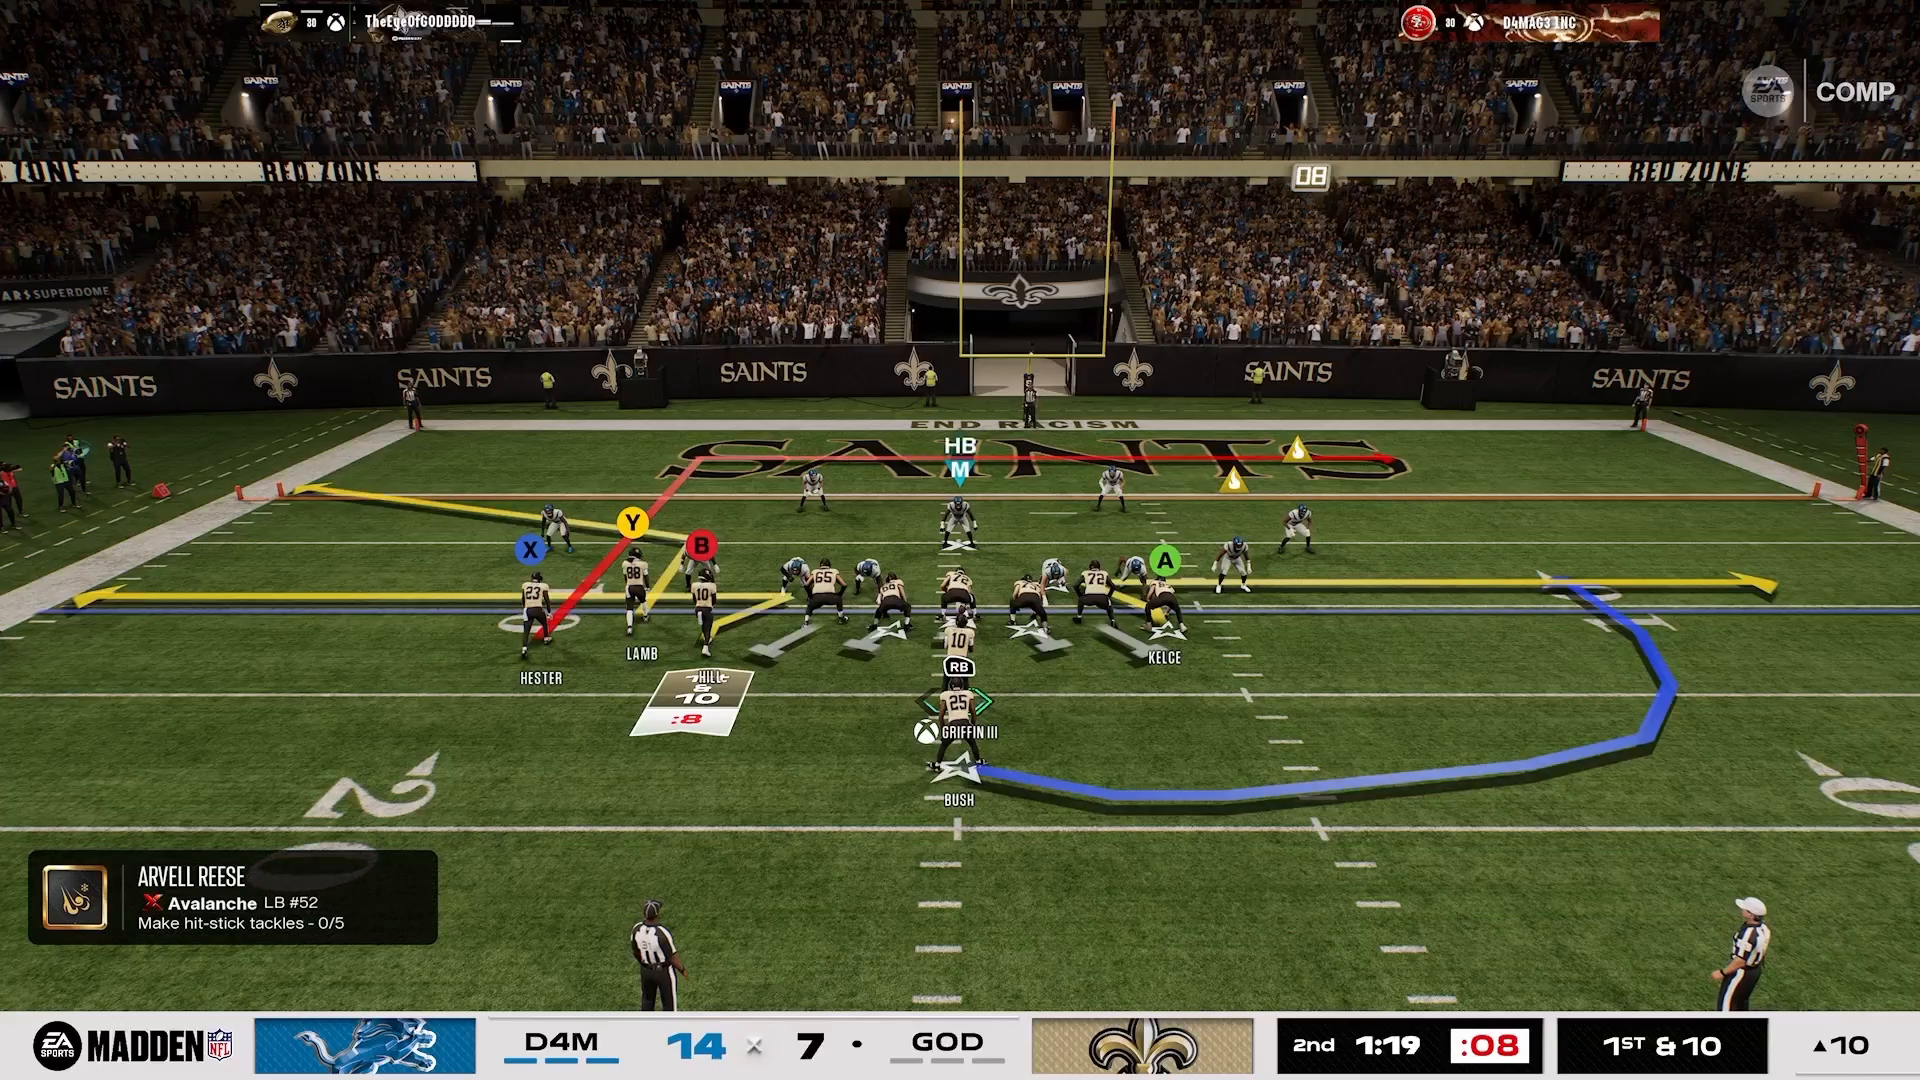
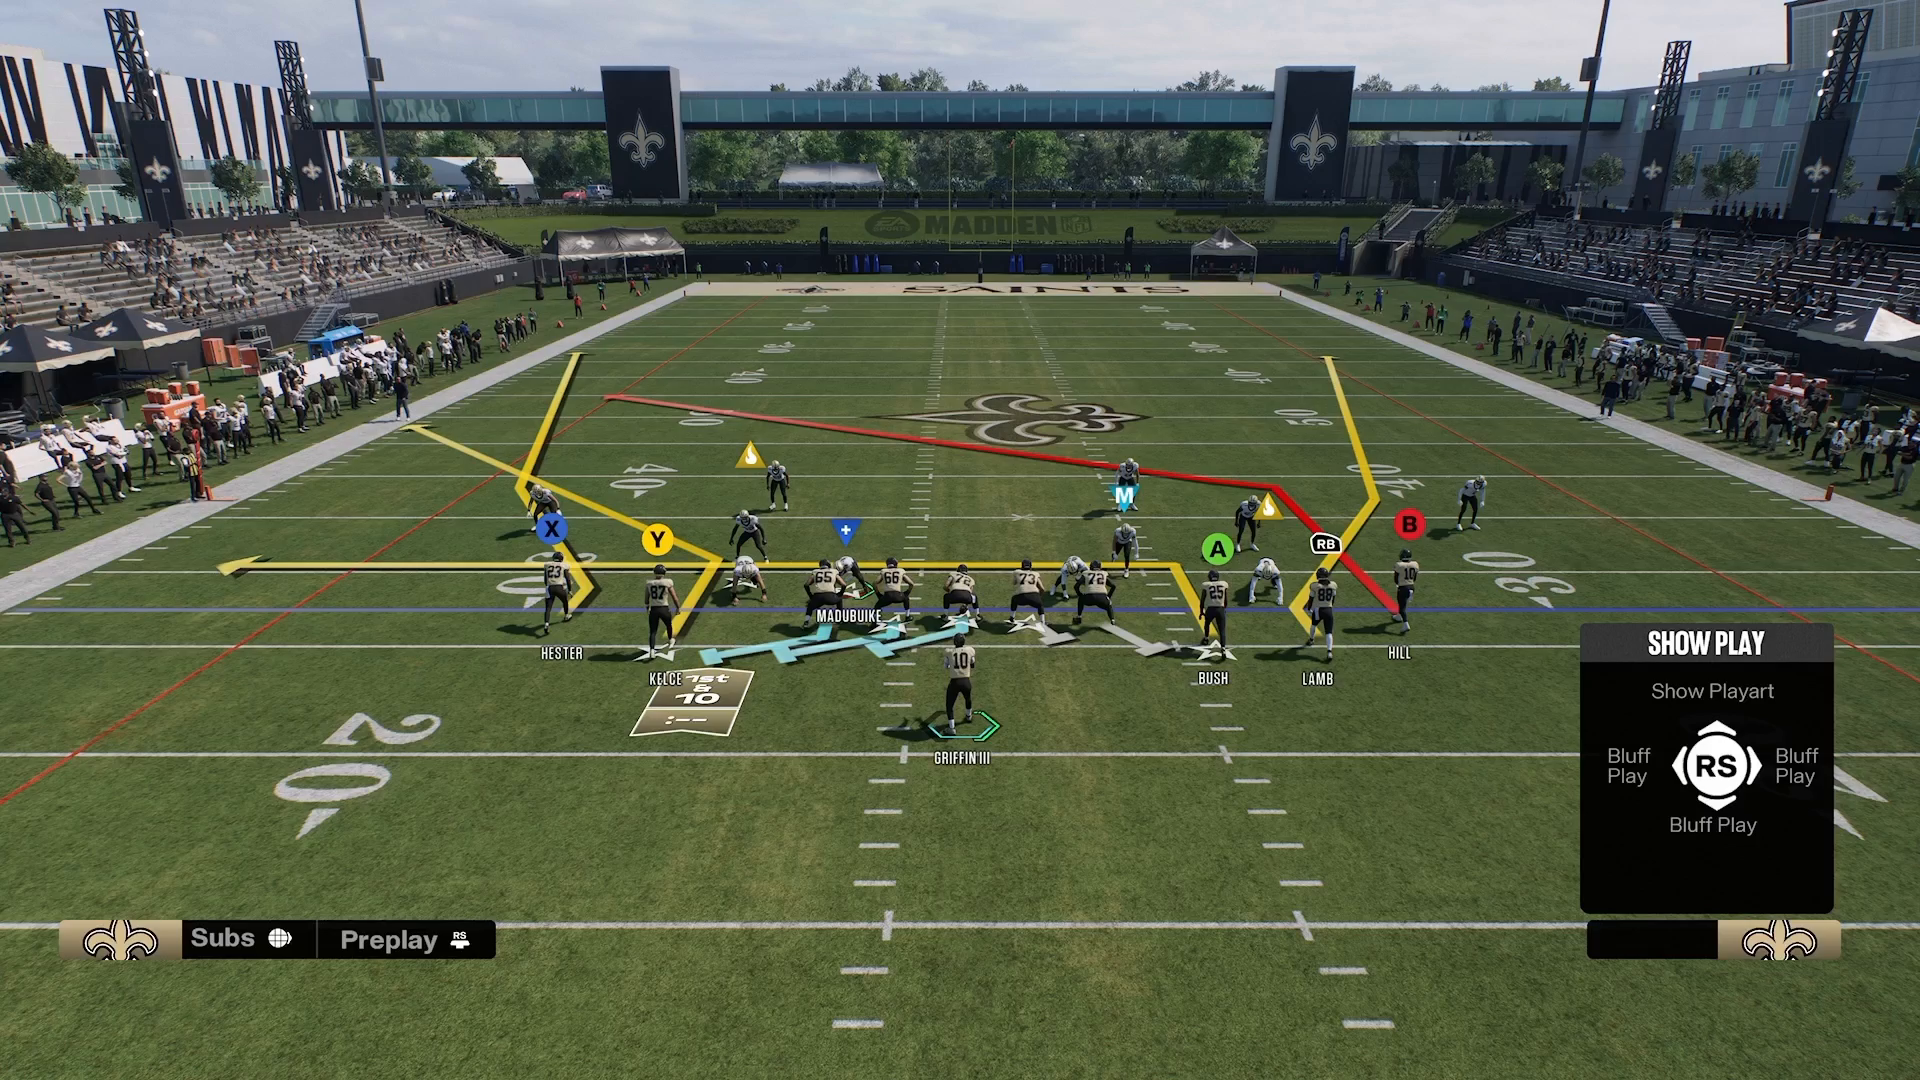
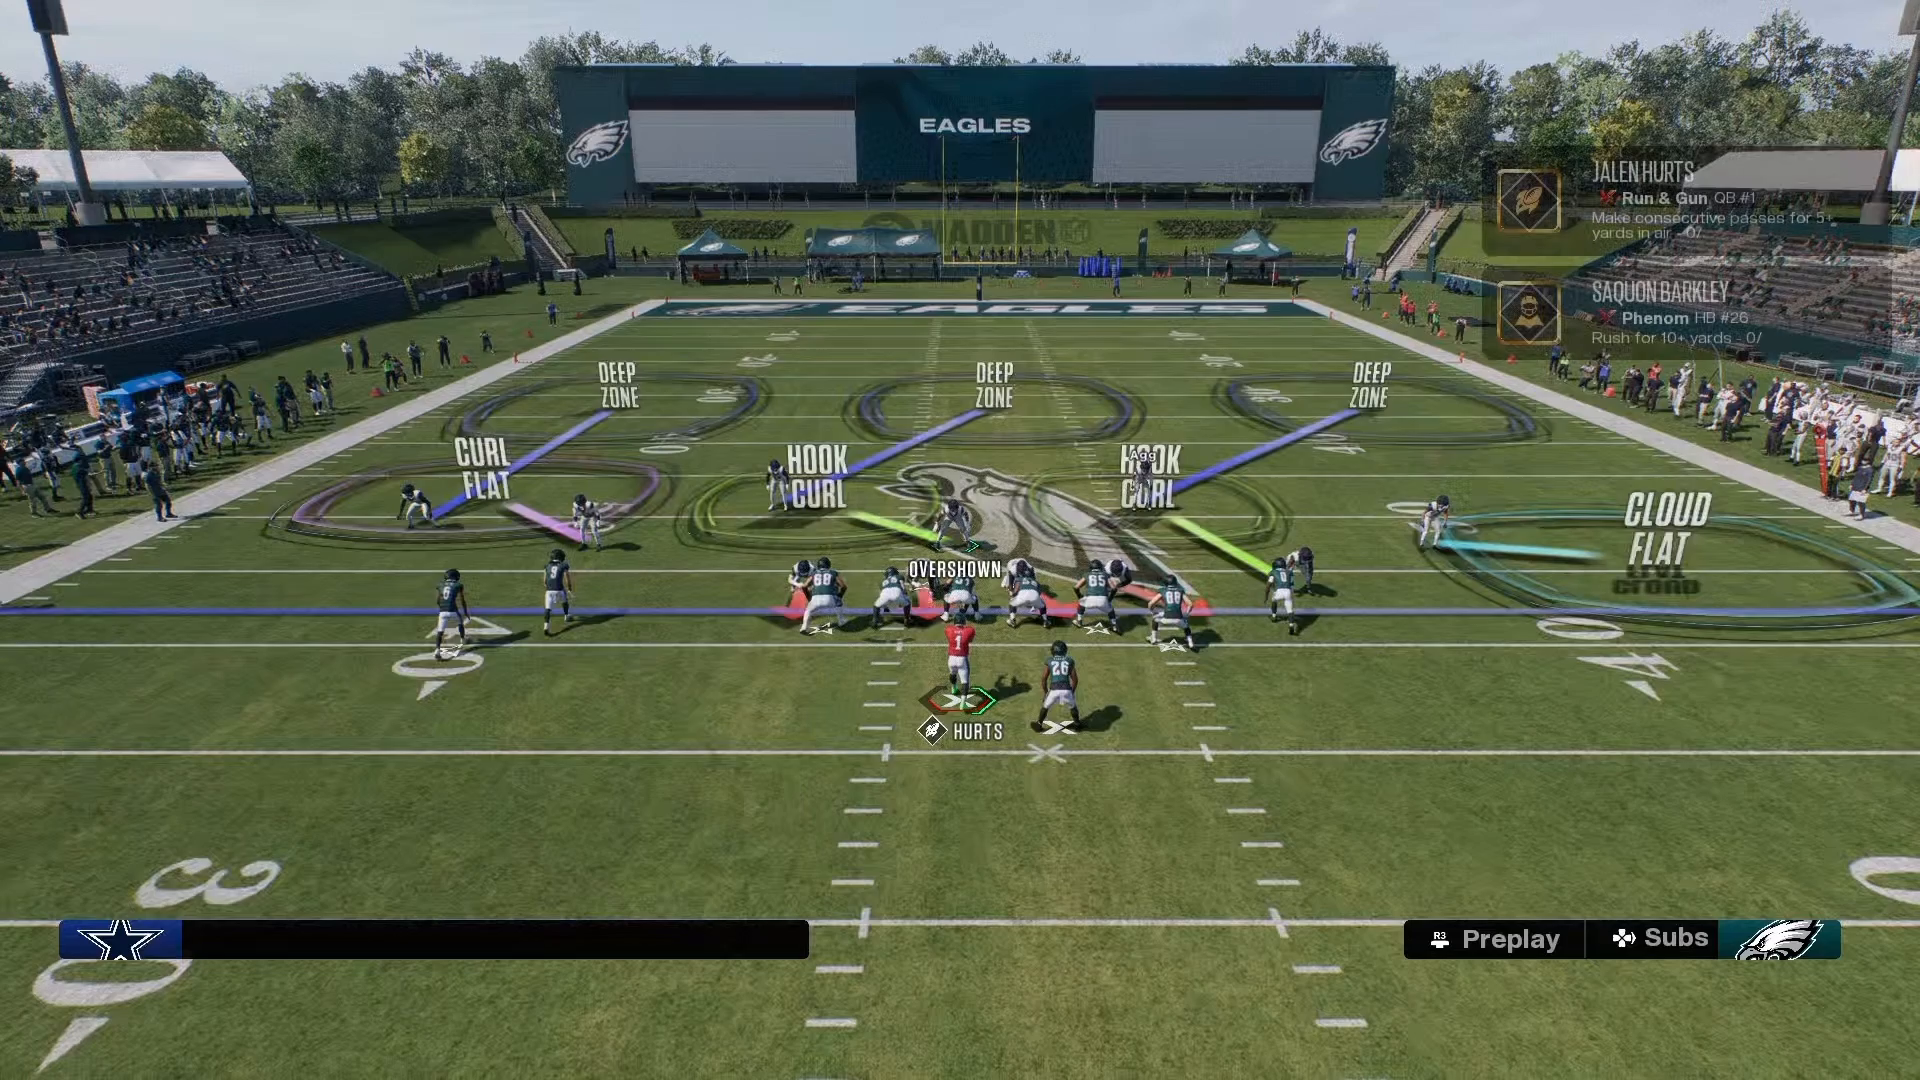
The Cover 3 Cloud defense is one of the most effective formations in Madden NFL 27, especially when properly adjusted. Utilizing this coverage out of the Dime Normal formation can completely alter the dynamics of your defense. The beauty of the Cover 3 Cloud lies in its flexibility; with just one or two adjustments, you can create a formidable wall against your opponent’s passing game. This is where the 16 Spaces System comes into play—specifically, the importance of space 8. By visualizing your defensive setup as a chessboard, you can think several moves ahead, anticipating your opponent’s strategy and countering it effectively.
Adjusting the Outside Third for Maximum Impact
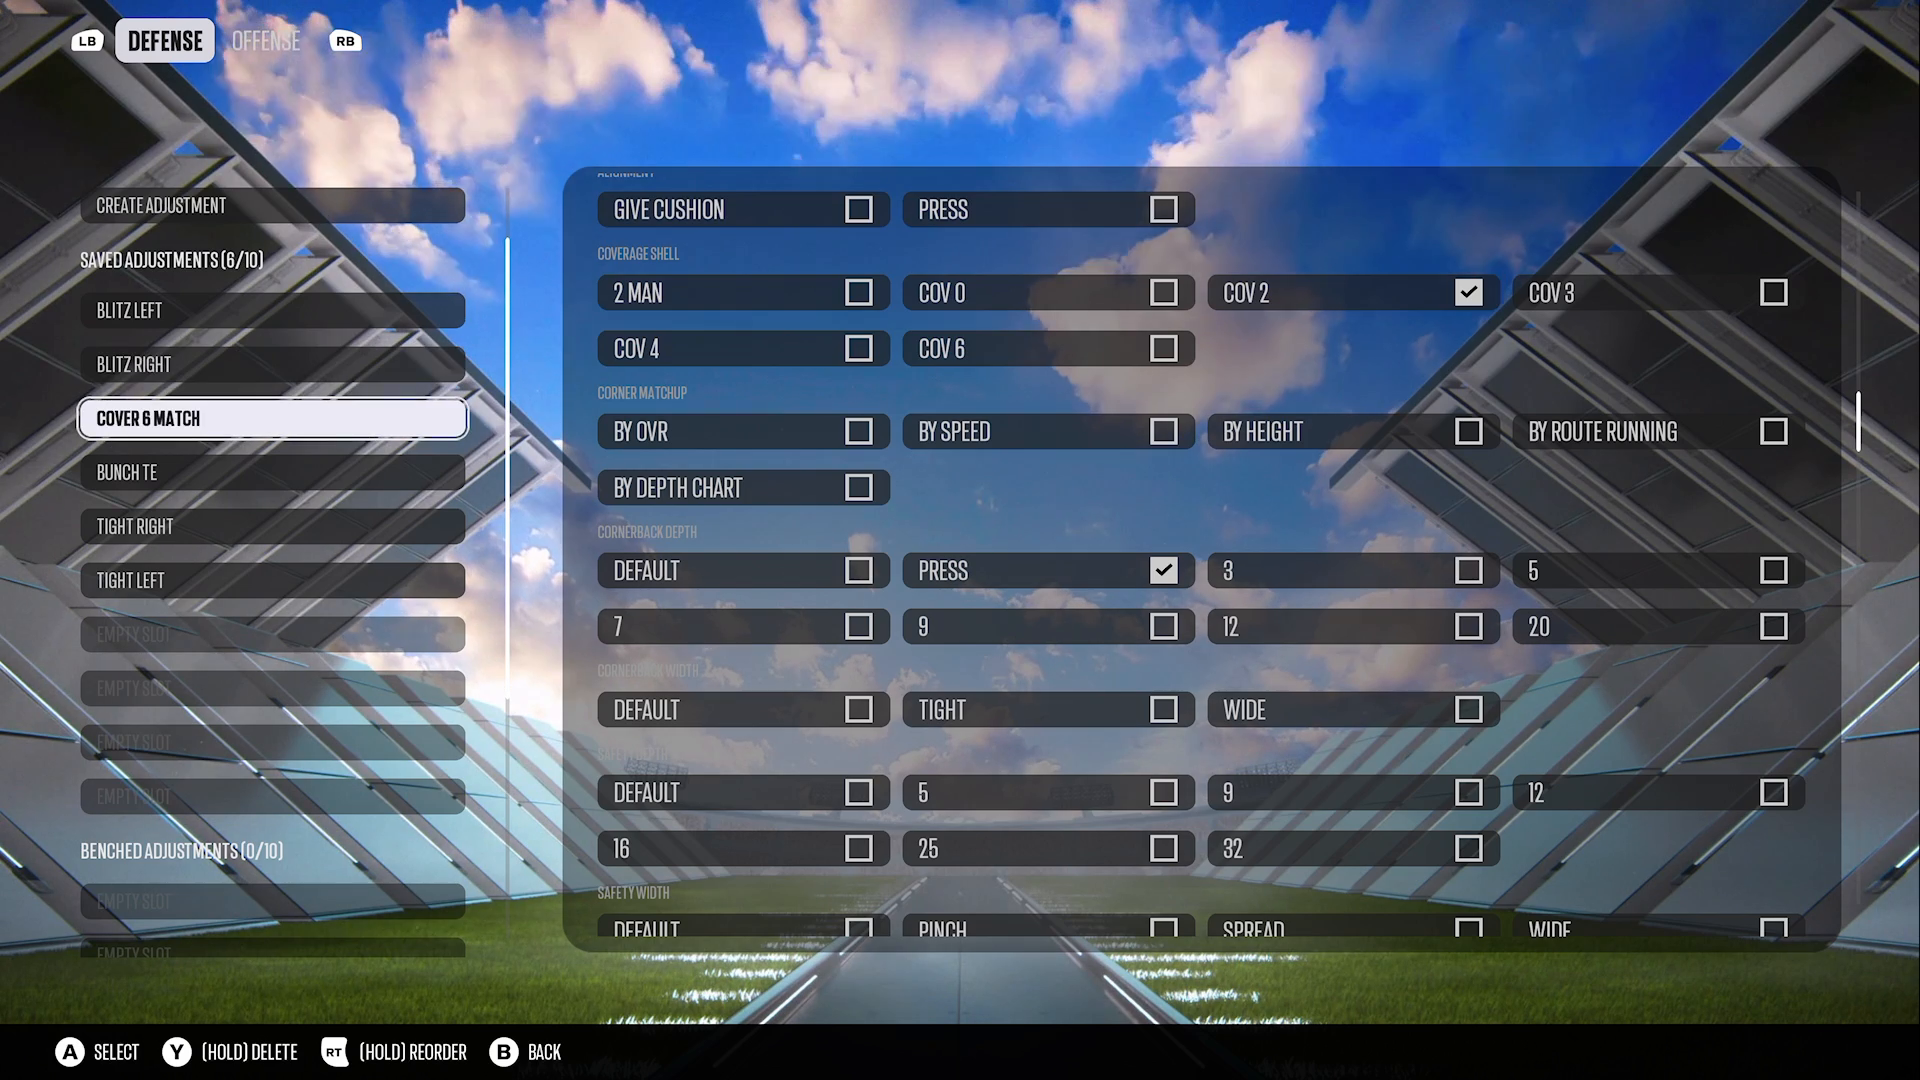
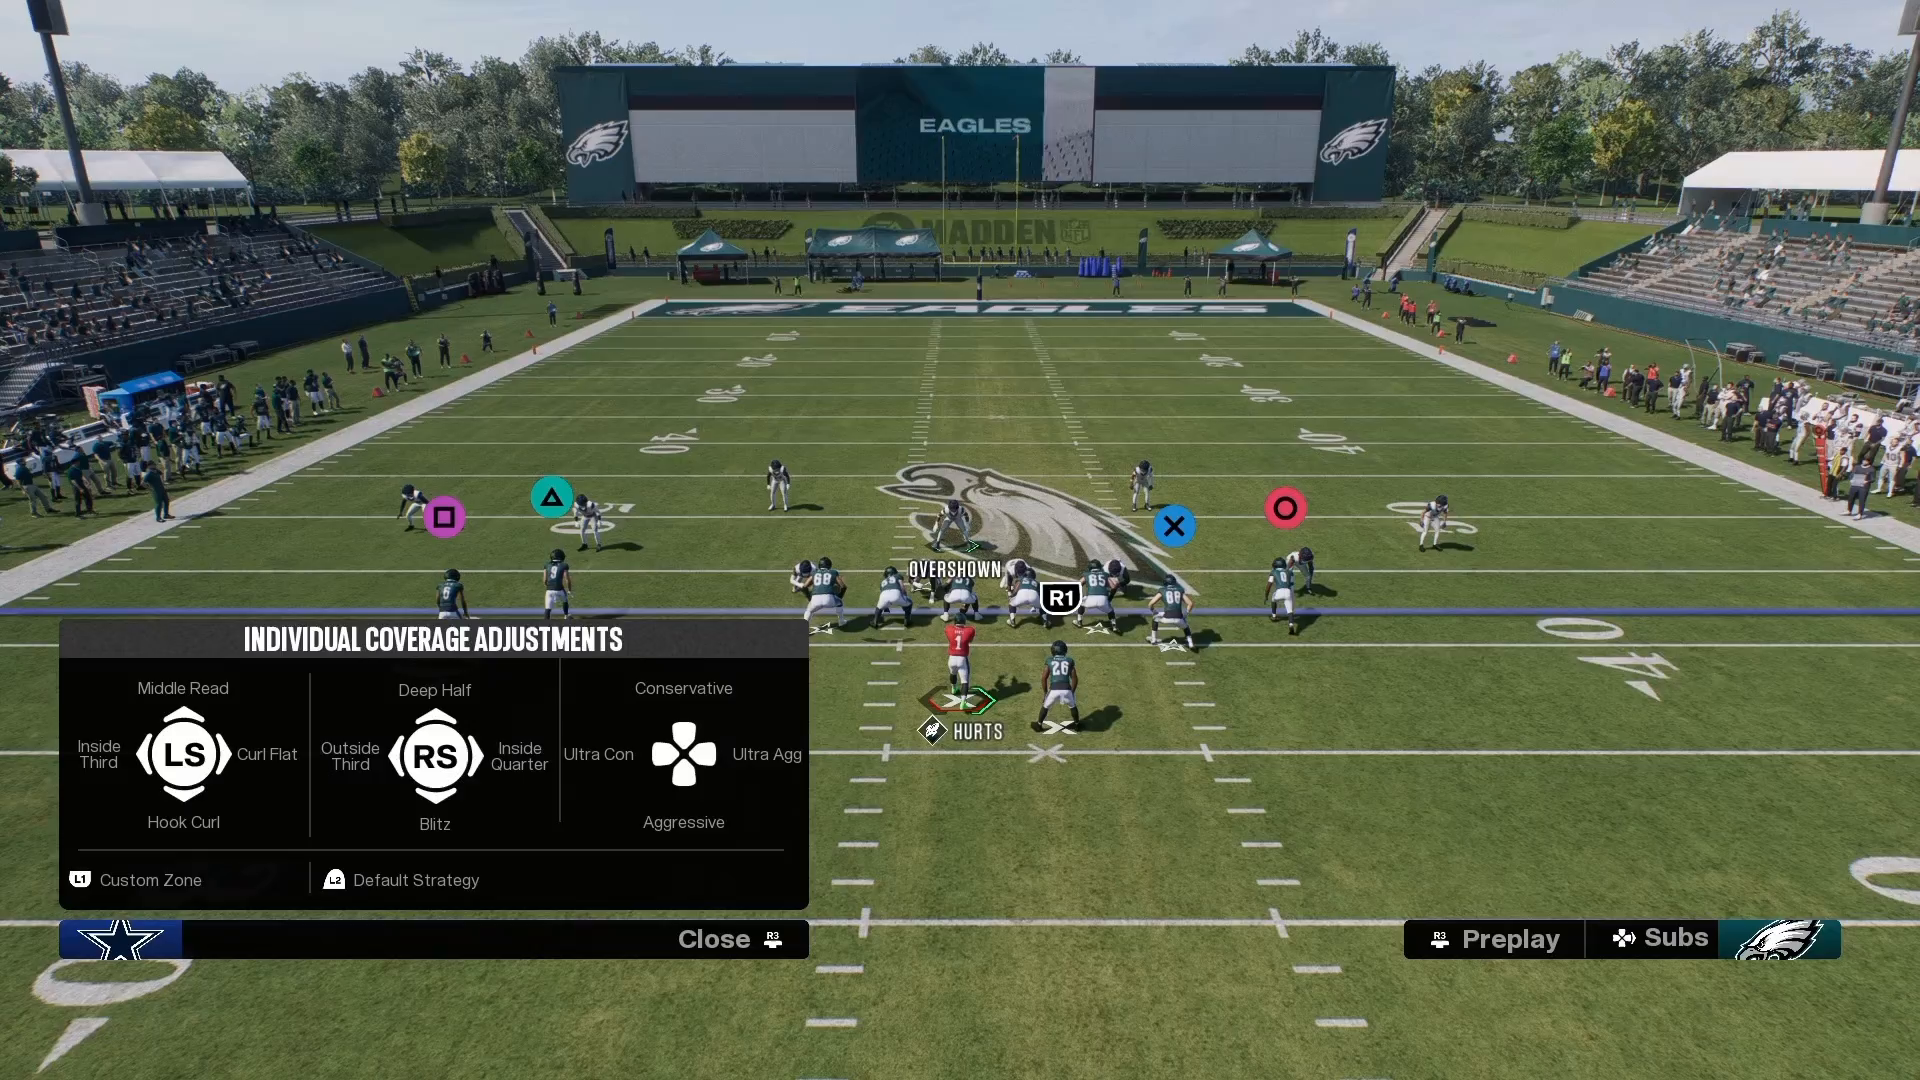
The first critical adjustment involves clicking on the strong safety and setting him to Aggressive (AG). This simple change transforms how your outside third defends the field. An aggressive outside third will actively engage with corner routes rather than simply hugging the sideline. This shift in responsibility is crucial as it redefines who manages space 8 on the field. Remember, in the 16 Spaces mindset, altering one piece of your defense can have a ripple effect, changing the entire board. For those looking to dive deeper into advanced defensive strategies, consider checking out the 16 Spaces Playbook.
Implementing the Aggressive Klawf Flat Bait
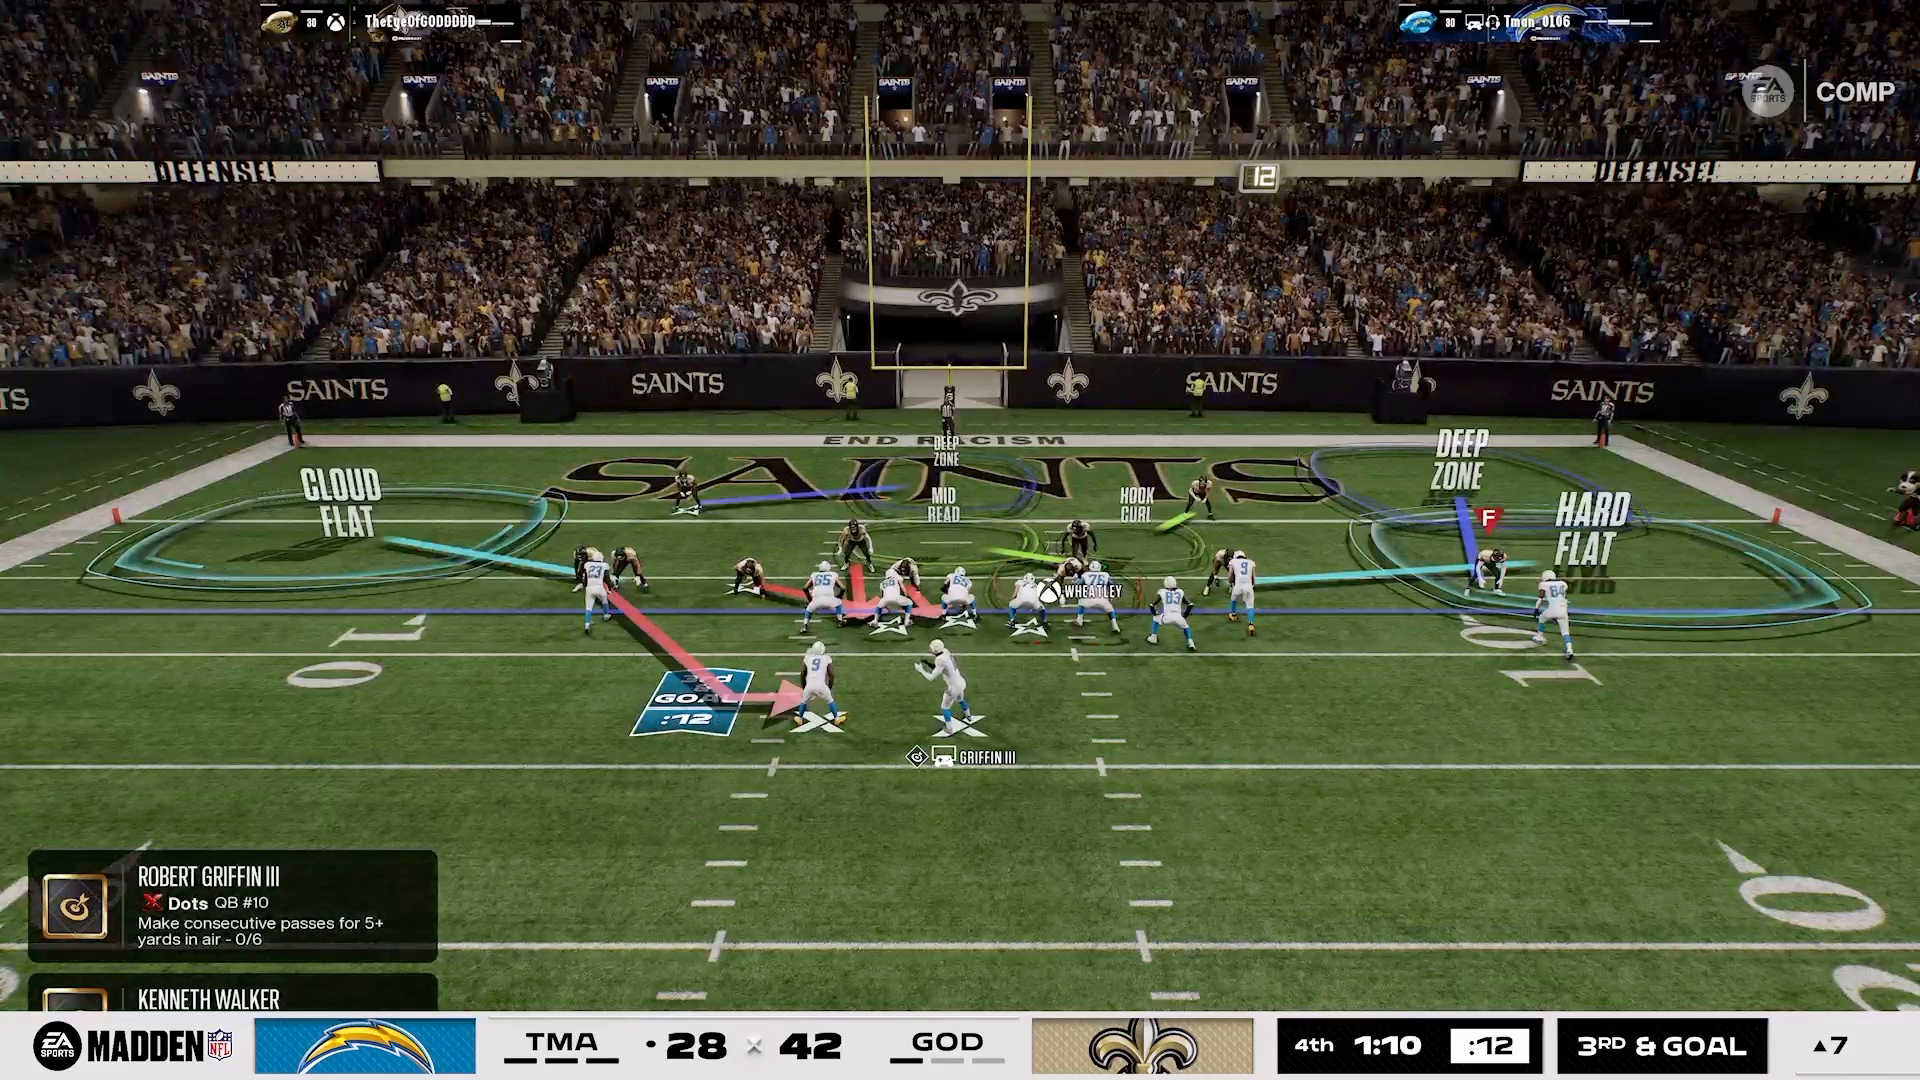
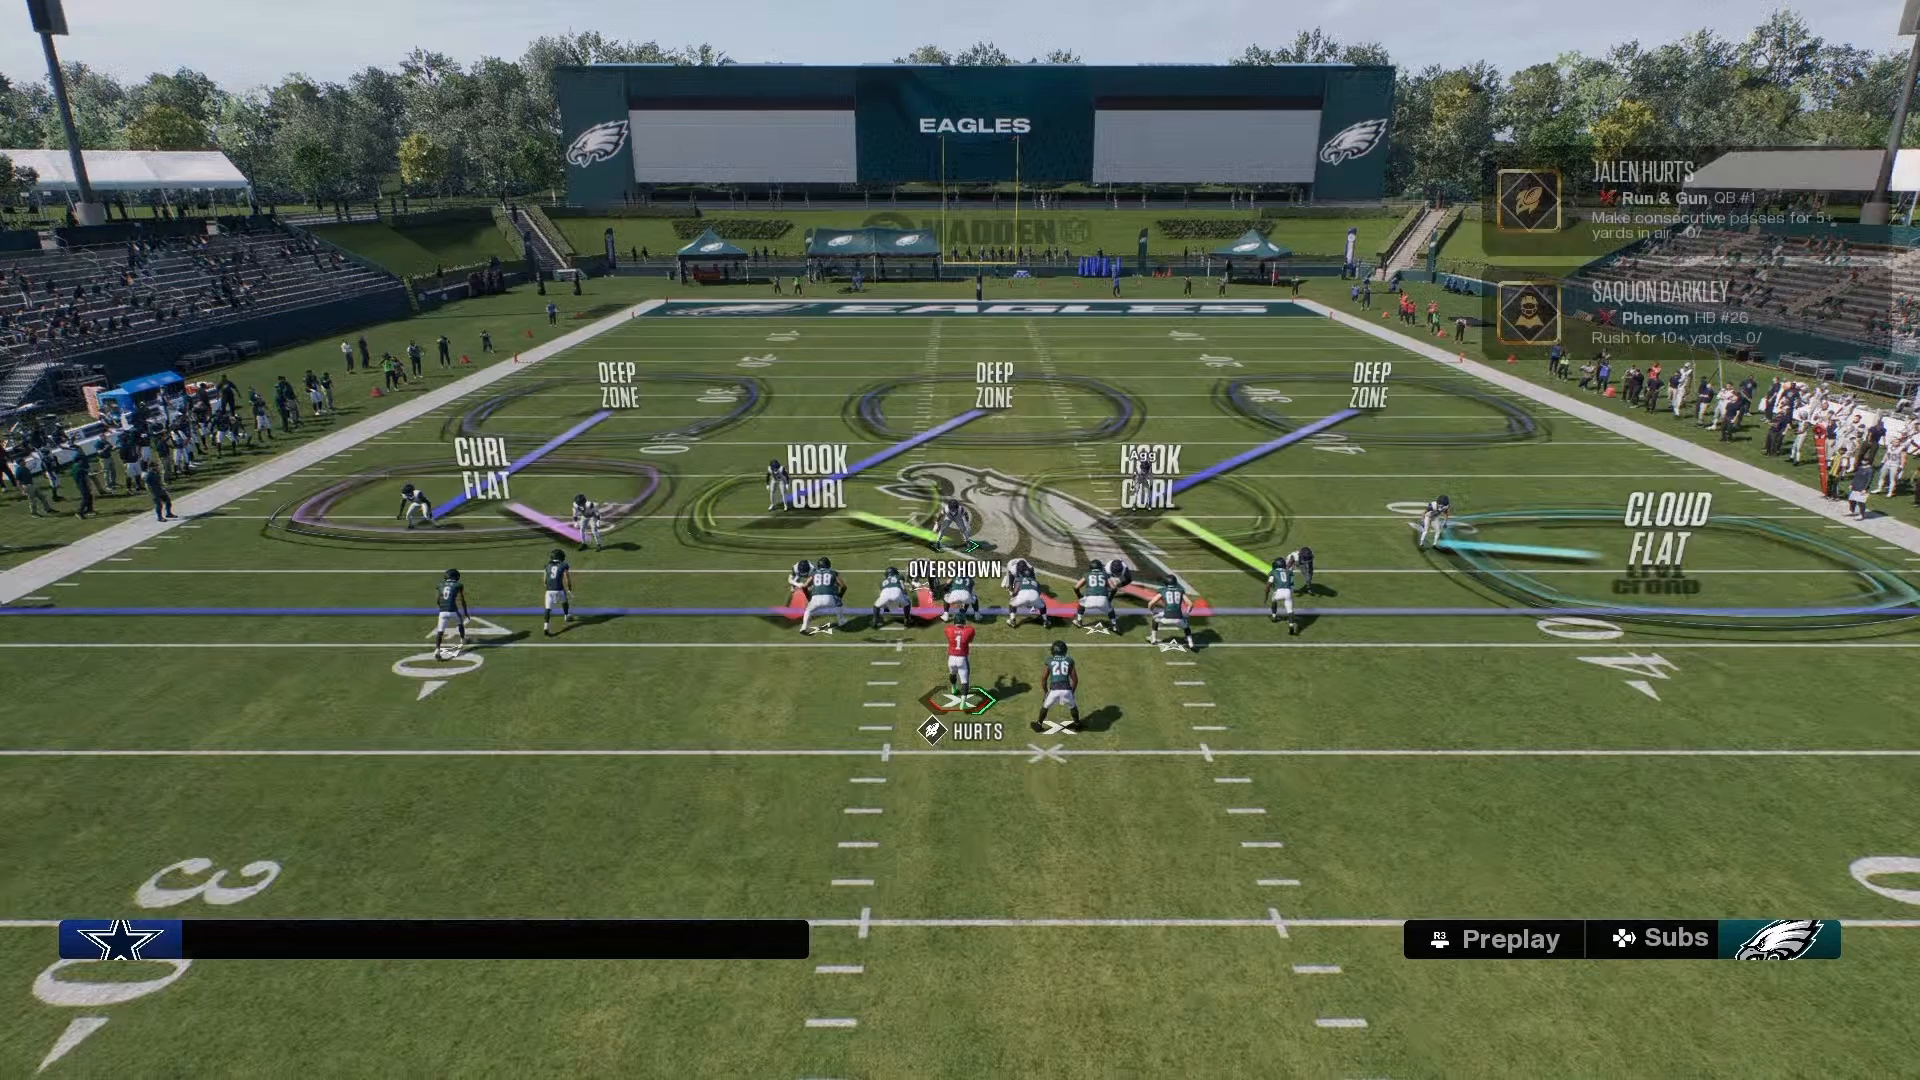
Next, you’ll want to incorporate the Aggressive Klawf flat adjustment. Position the Klawf on the right side of the field as an aggressive flat defender. This adjustment serves a dual purpose: it baits both the corner route and the flat route. Initially, it may appear as if you’re leaving the flat open, but as the strong safety rotates, the Klawf snaps down to engage the receiver. In Madden, this baiting strategy is not just a matter of luck; it’s a calculated move that blends baiting with spacing, reminiscent of a chess maneuver.
Identifying the Weakness in the Cover 3 Cloud
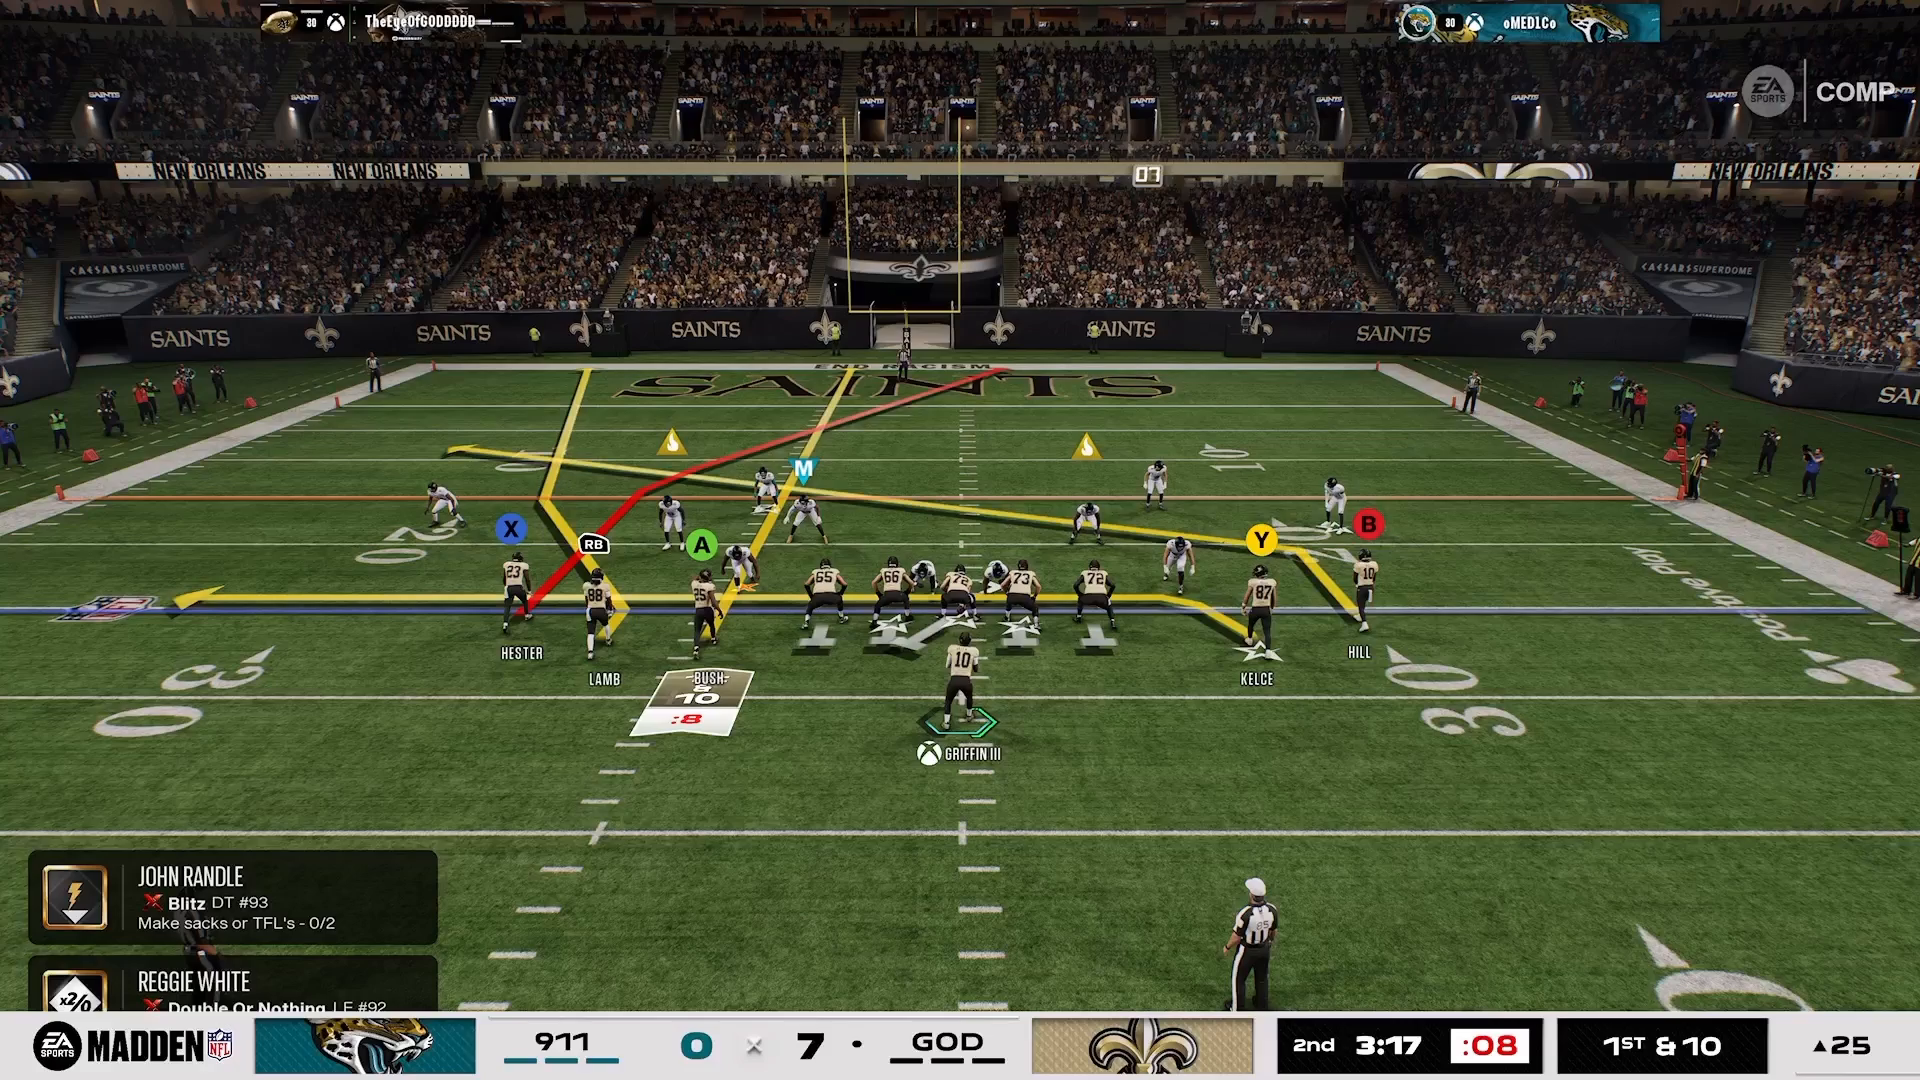
While the Cover 3 Cloud is powerful, it is not without its weaknesses. The right seam becomes a potential vulnerability, especially against seam streaks. An opponent can exploit this hole by throwing a simple streak into the inside third, which can easily beat an aggressive outside third. Visualizing this seam in the context of the 16 Spaces System reveals the attack lane (space 8) that an offense may use. Understanding this weakness allows you to prepare your defense to counter such plays effectively.
Countering Offensive Plays with the Switch Stick
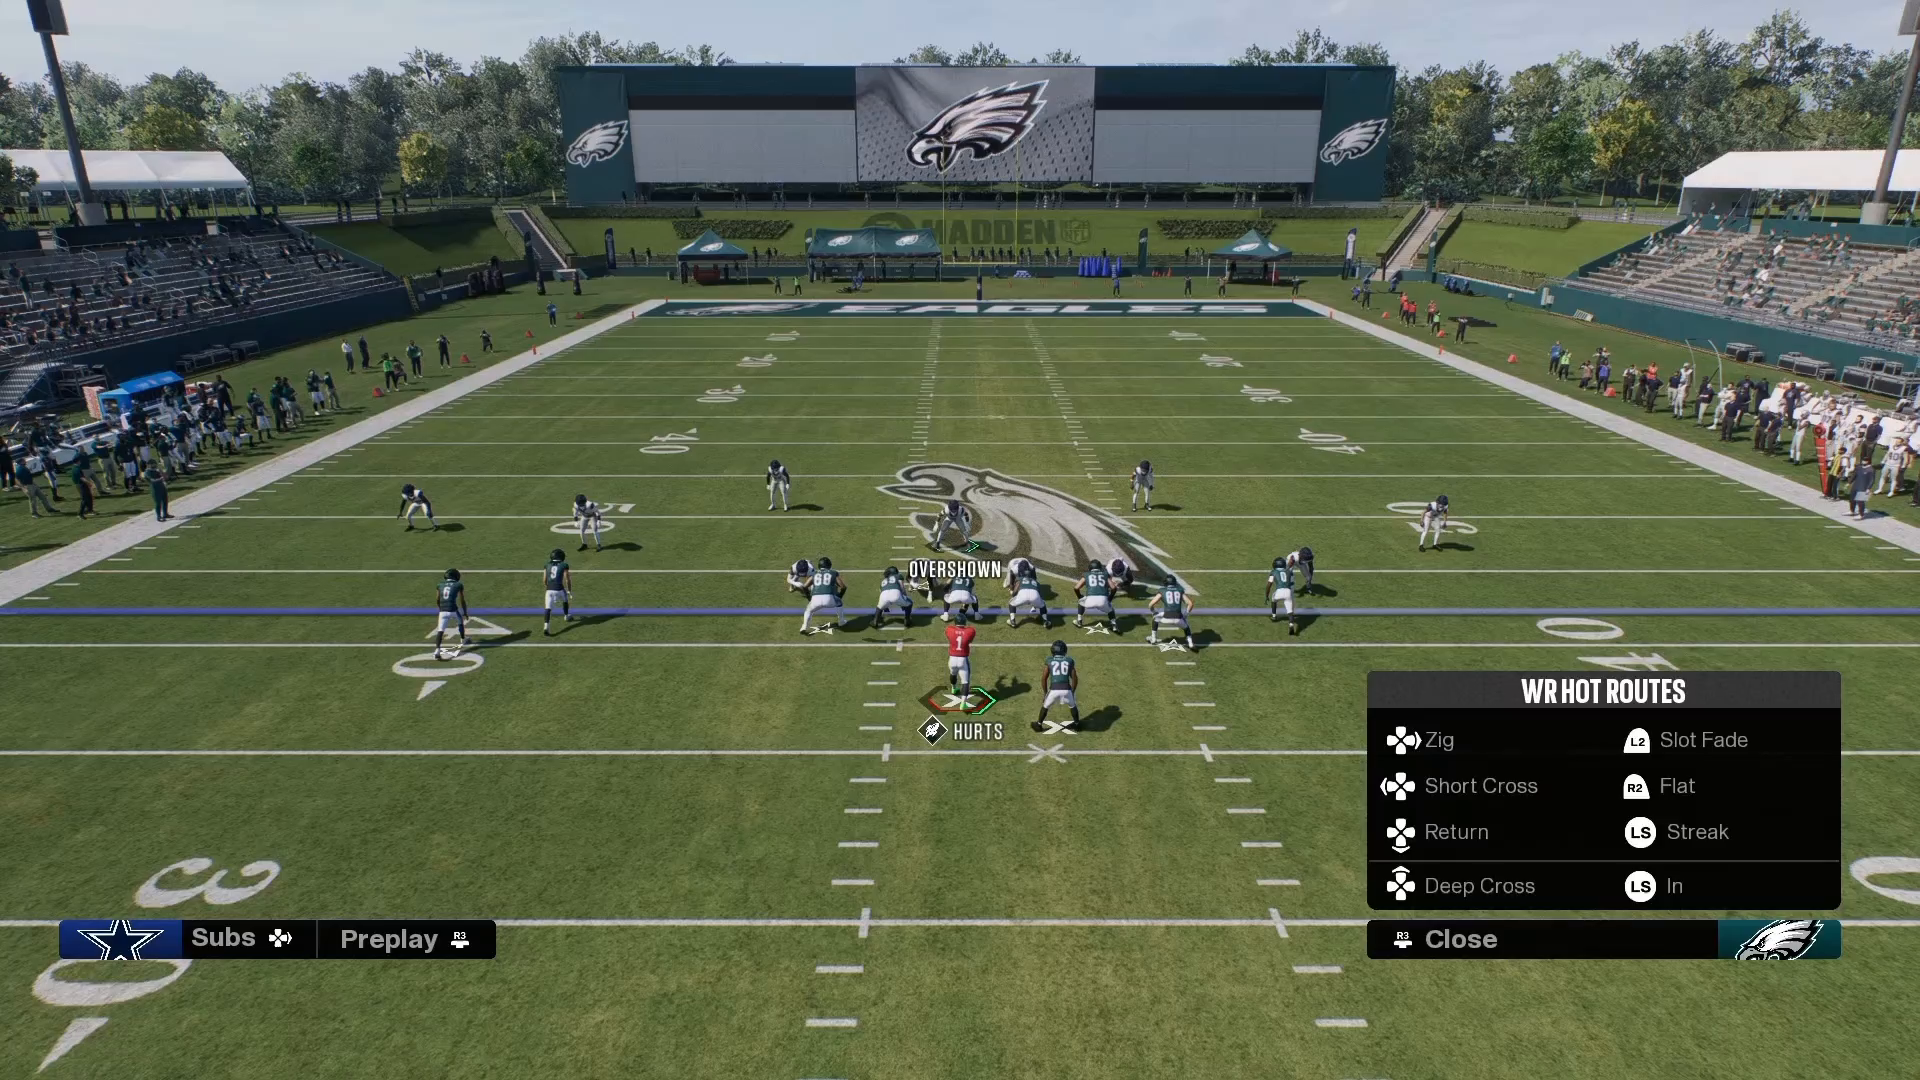
If you notice your opponent targeting the seam effectively, employ the switch stick technique. At the snap, click into your free safety and shift him over to cover the seam streak. This adjustment not only puts your defender in the right position but also allows you to recover quickly back to the middle of the field to cover drags and pulls. In the game of Madden, adopting the 16 Spaces mindset means being proactive—moving your pieces to cover open spaces or risk losing crucial defensive battles.
Conclusion: Elevate Your Defensive Strategy
Mastering the Cover 3 Cloud adjustment in Madden NFL 27 can significantly enhance your defensive capabilities. With the right setup and adjustments, you can outmaneuver your opponents and dominate the field. Understanding the strengths and weaknesses of this coverage, alongside the strategic adjustments discussed, positions you for success. For those eager to take their skills to the next level, consider exploring our more Madden tips for additional insights and strategies.