Learning This Feature Will Make You Better on Defense Overnight
Zone Drops: How To Master The Best Defensive Feature
Zone drops are the best feature EA has added into Madden in a very long time. If you are confused on how to use them, it will cause you a lot of unnecessary frustration on defense. Many struggle to defend only 1 or 2 plays due to not being aware of how to use zone drops. Zone drops allow you to defend almost any route in the game.
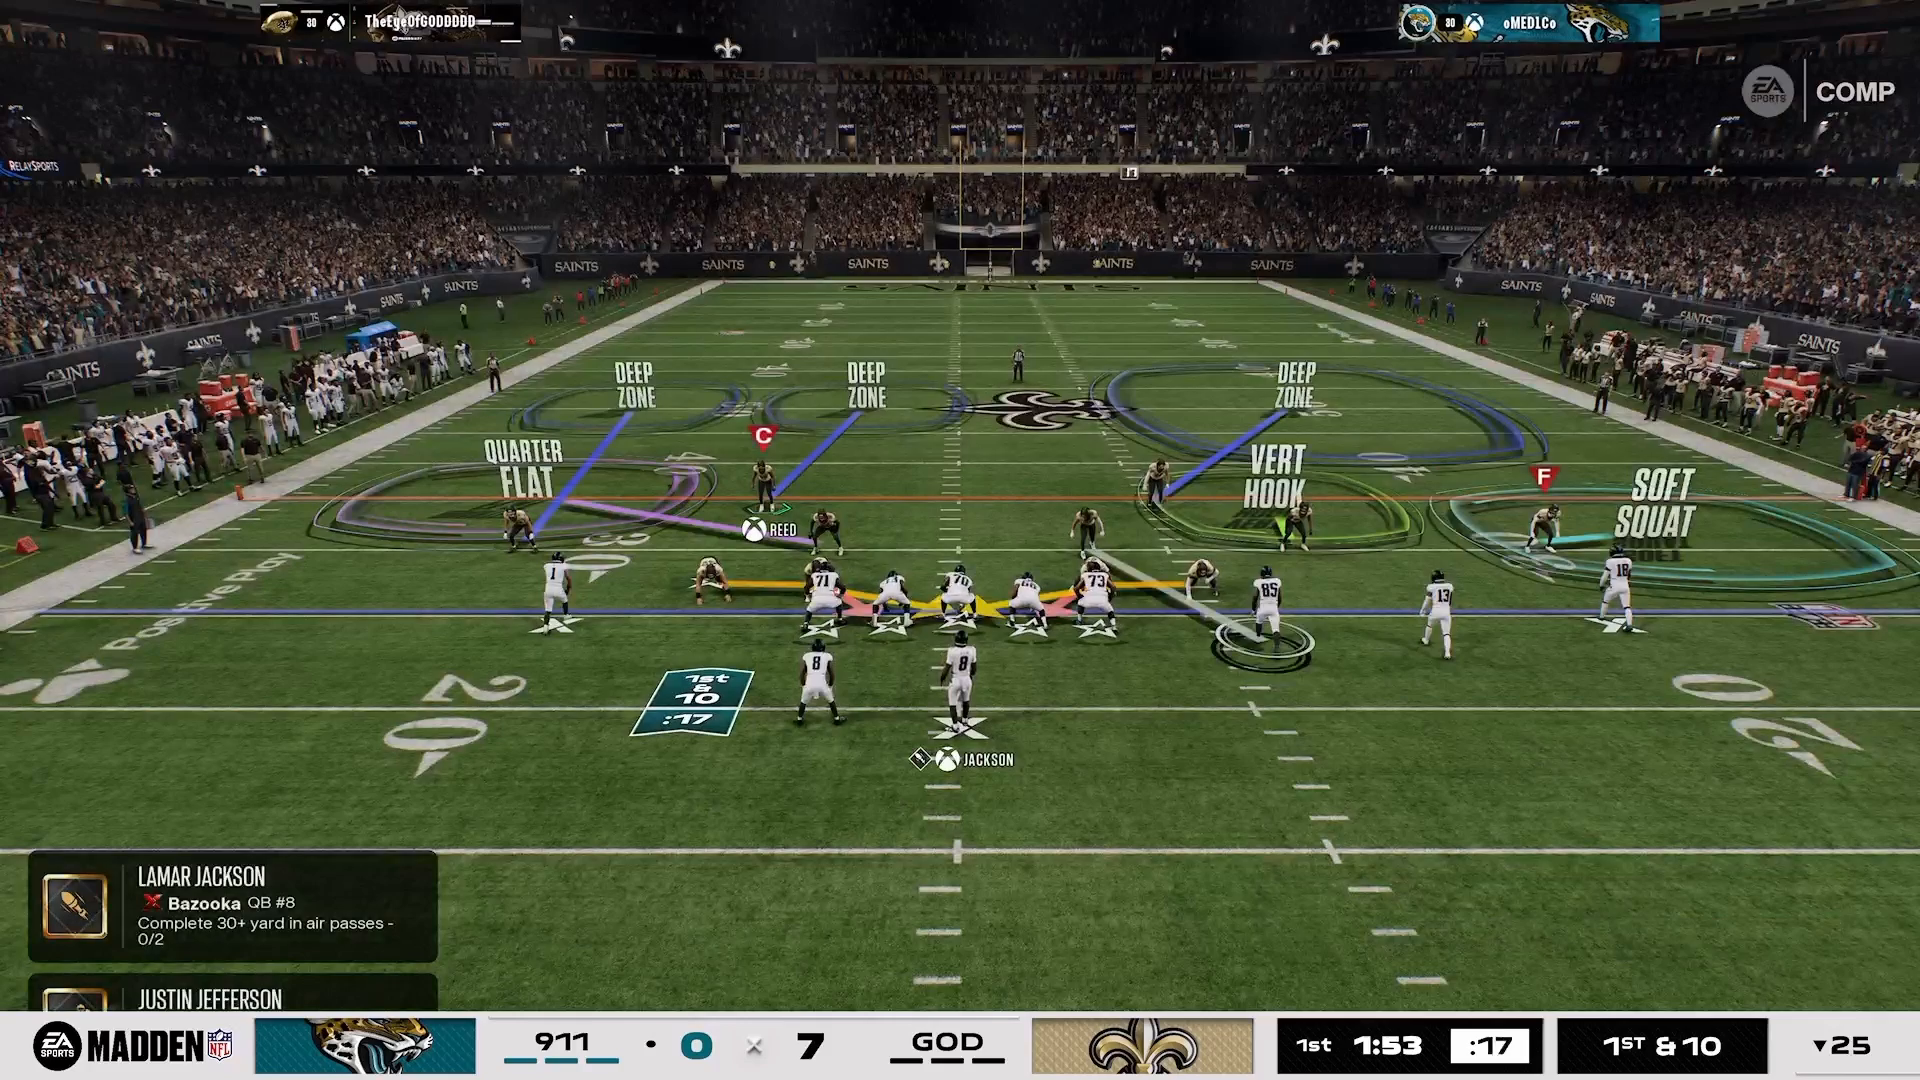
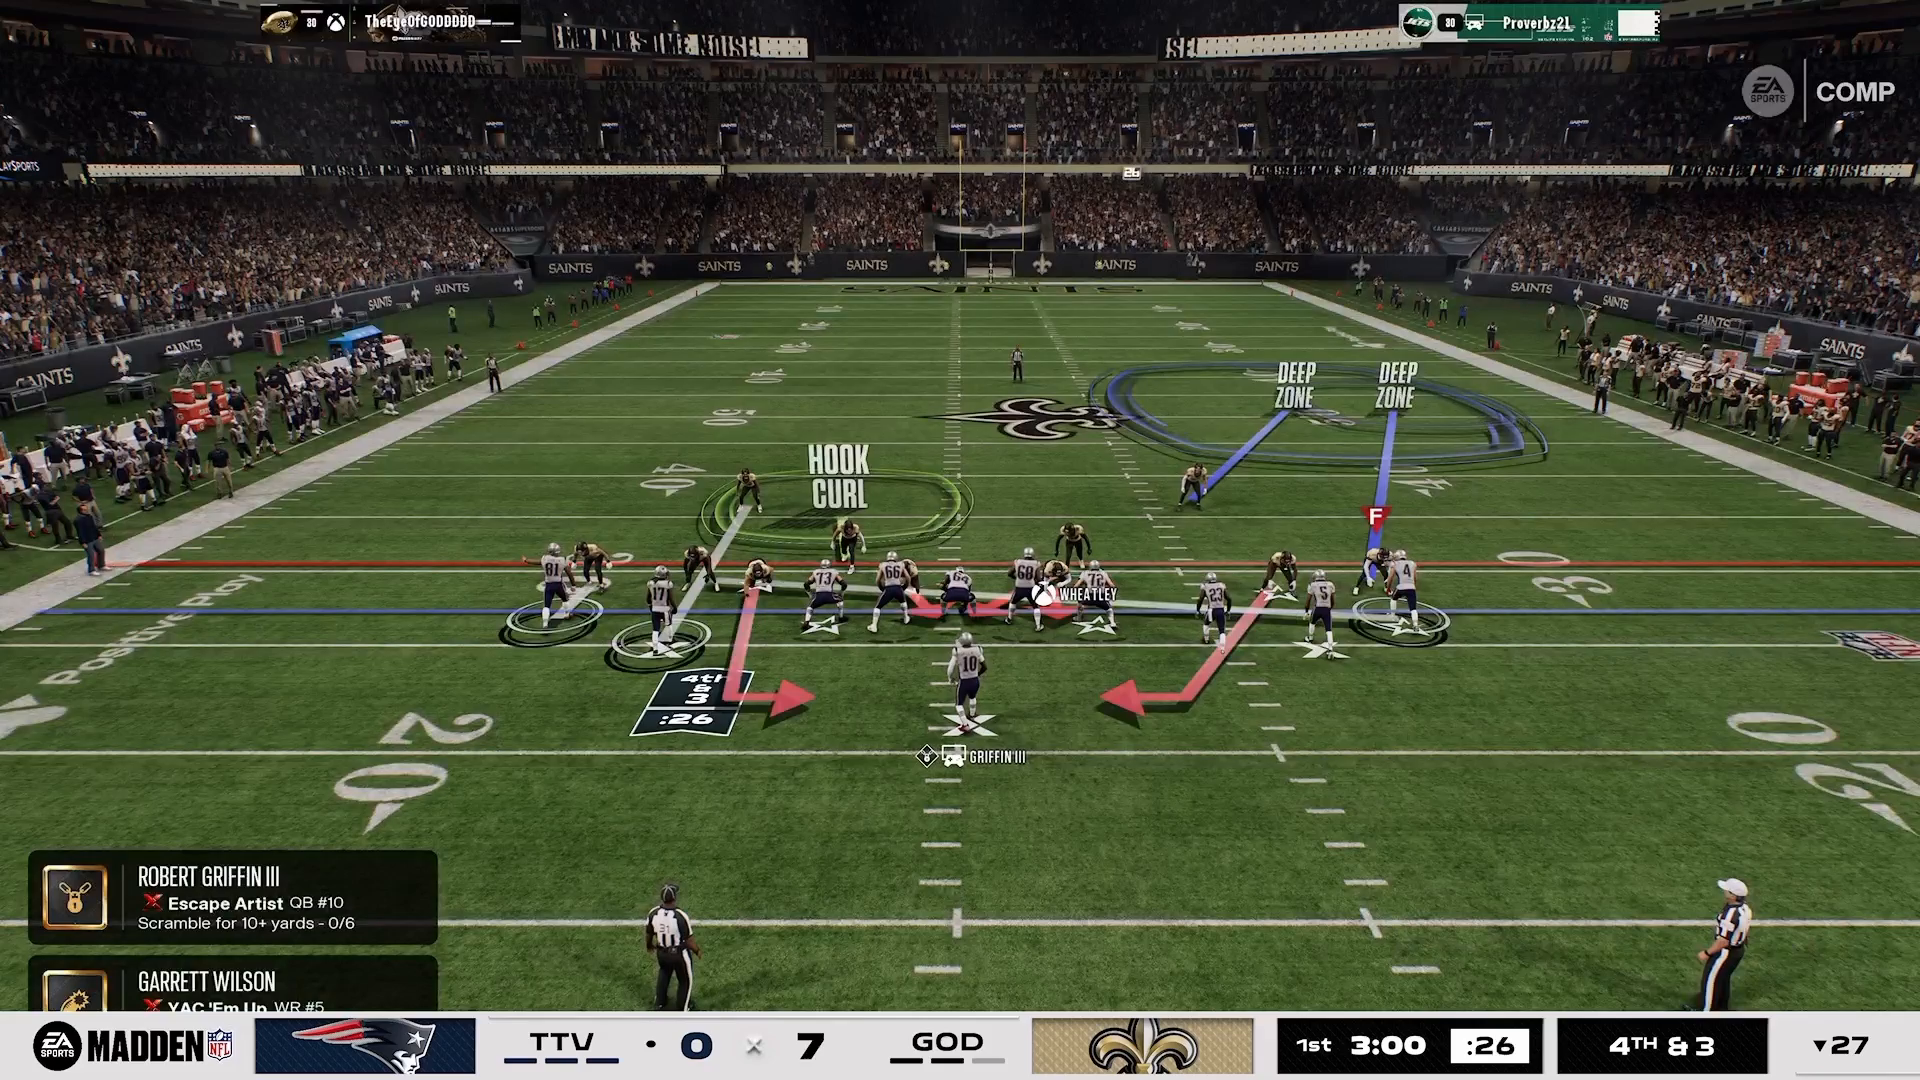
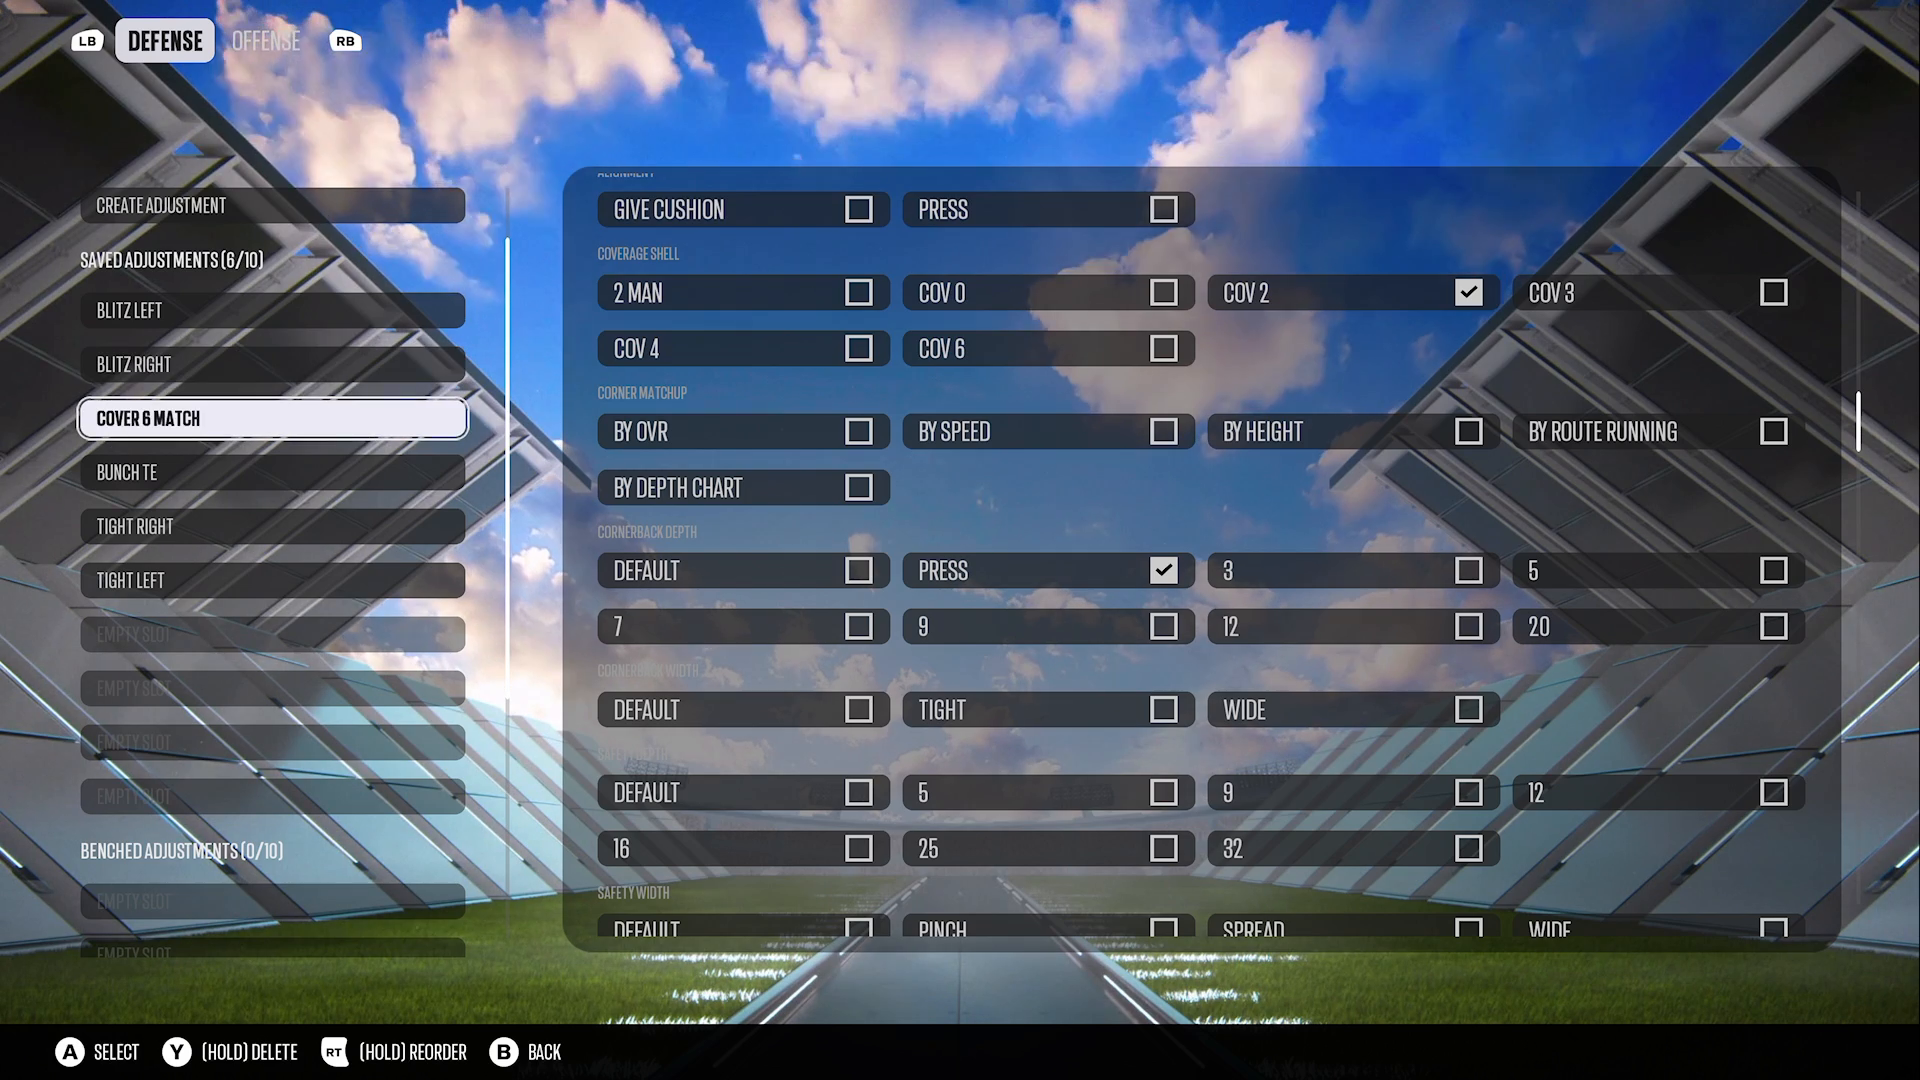
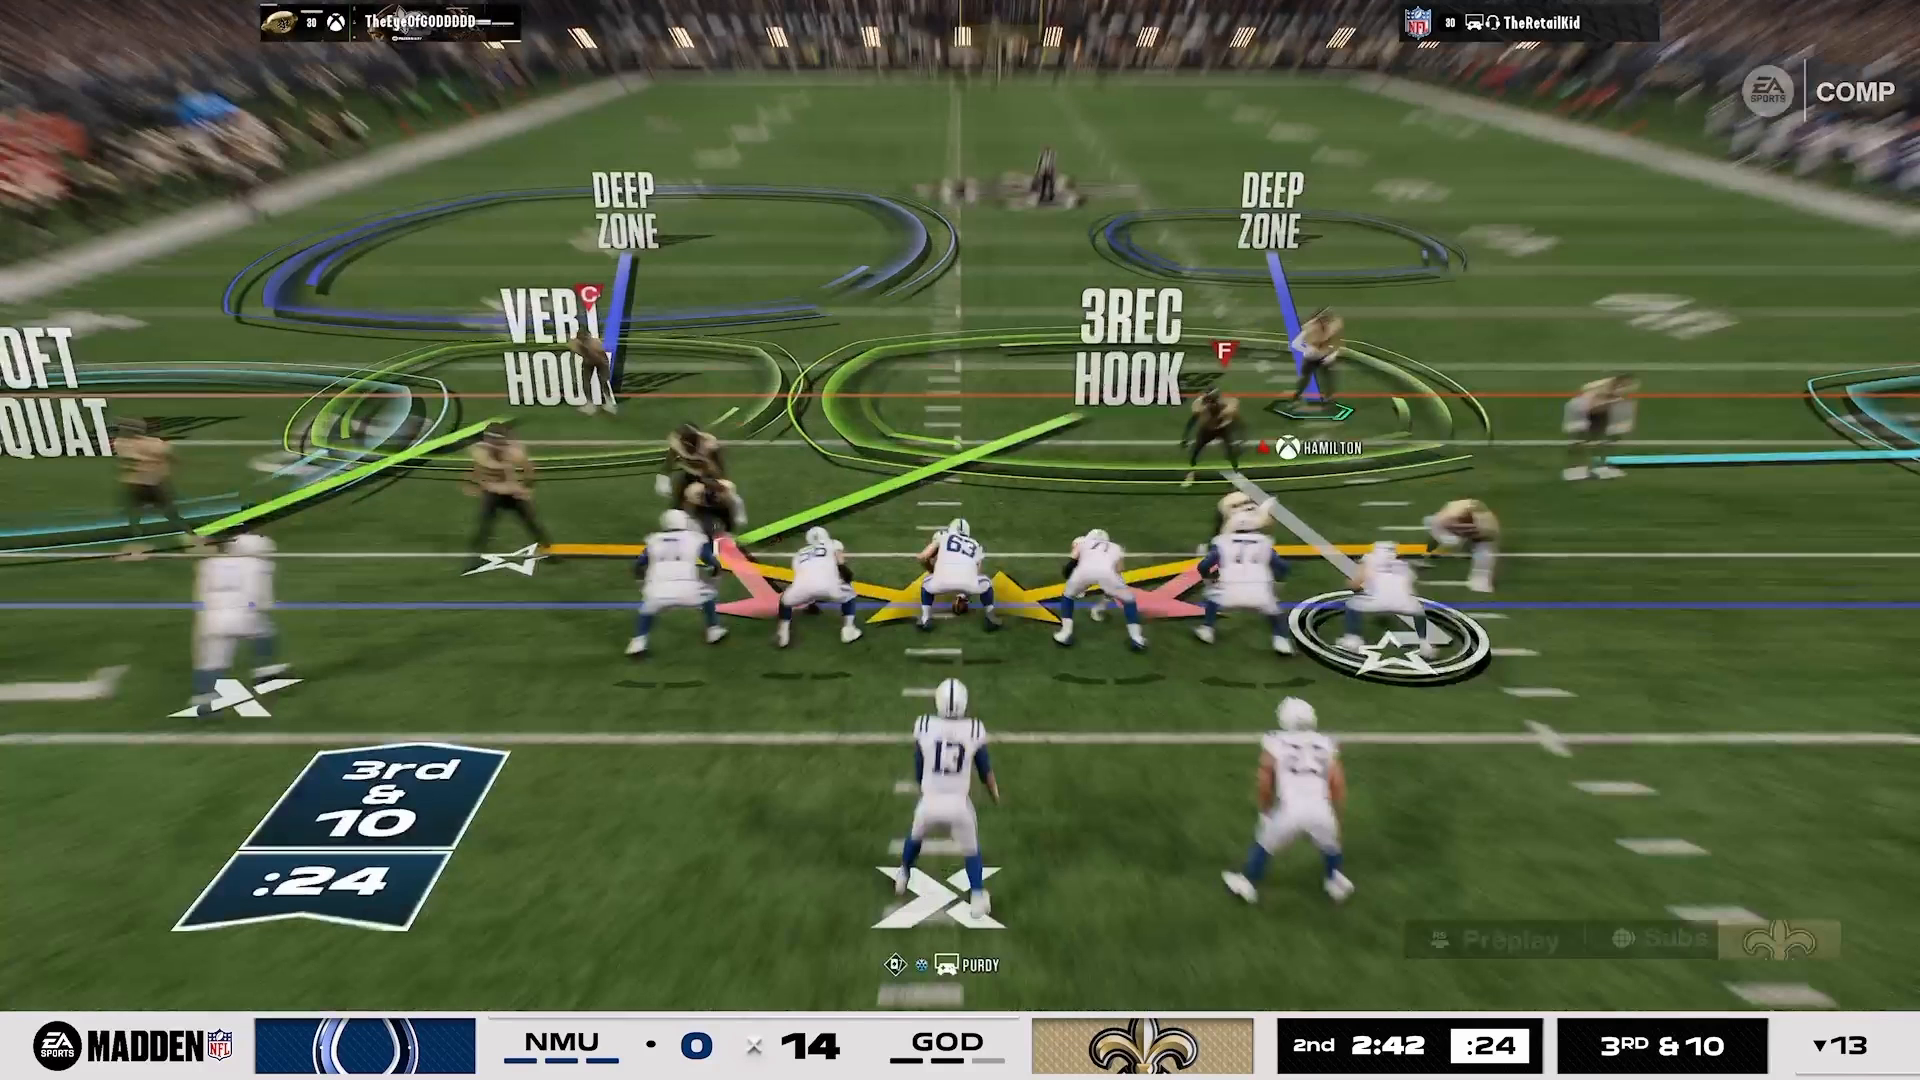
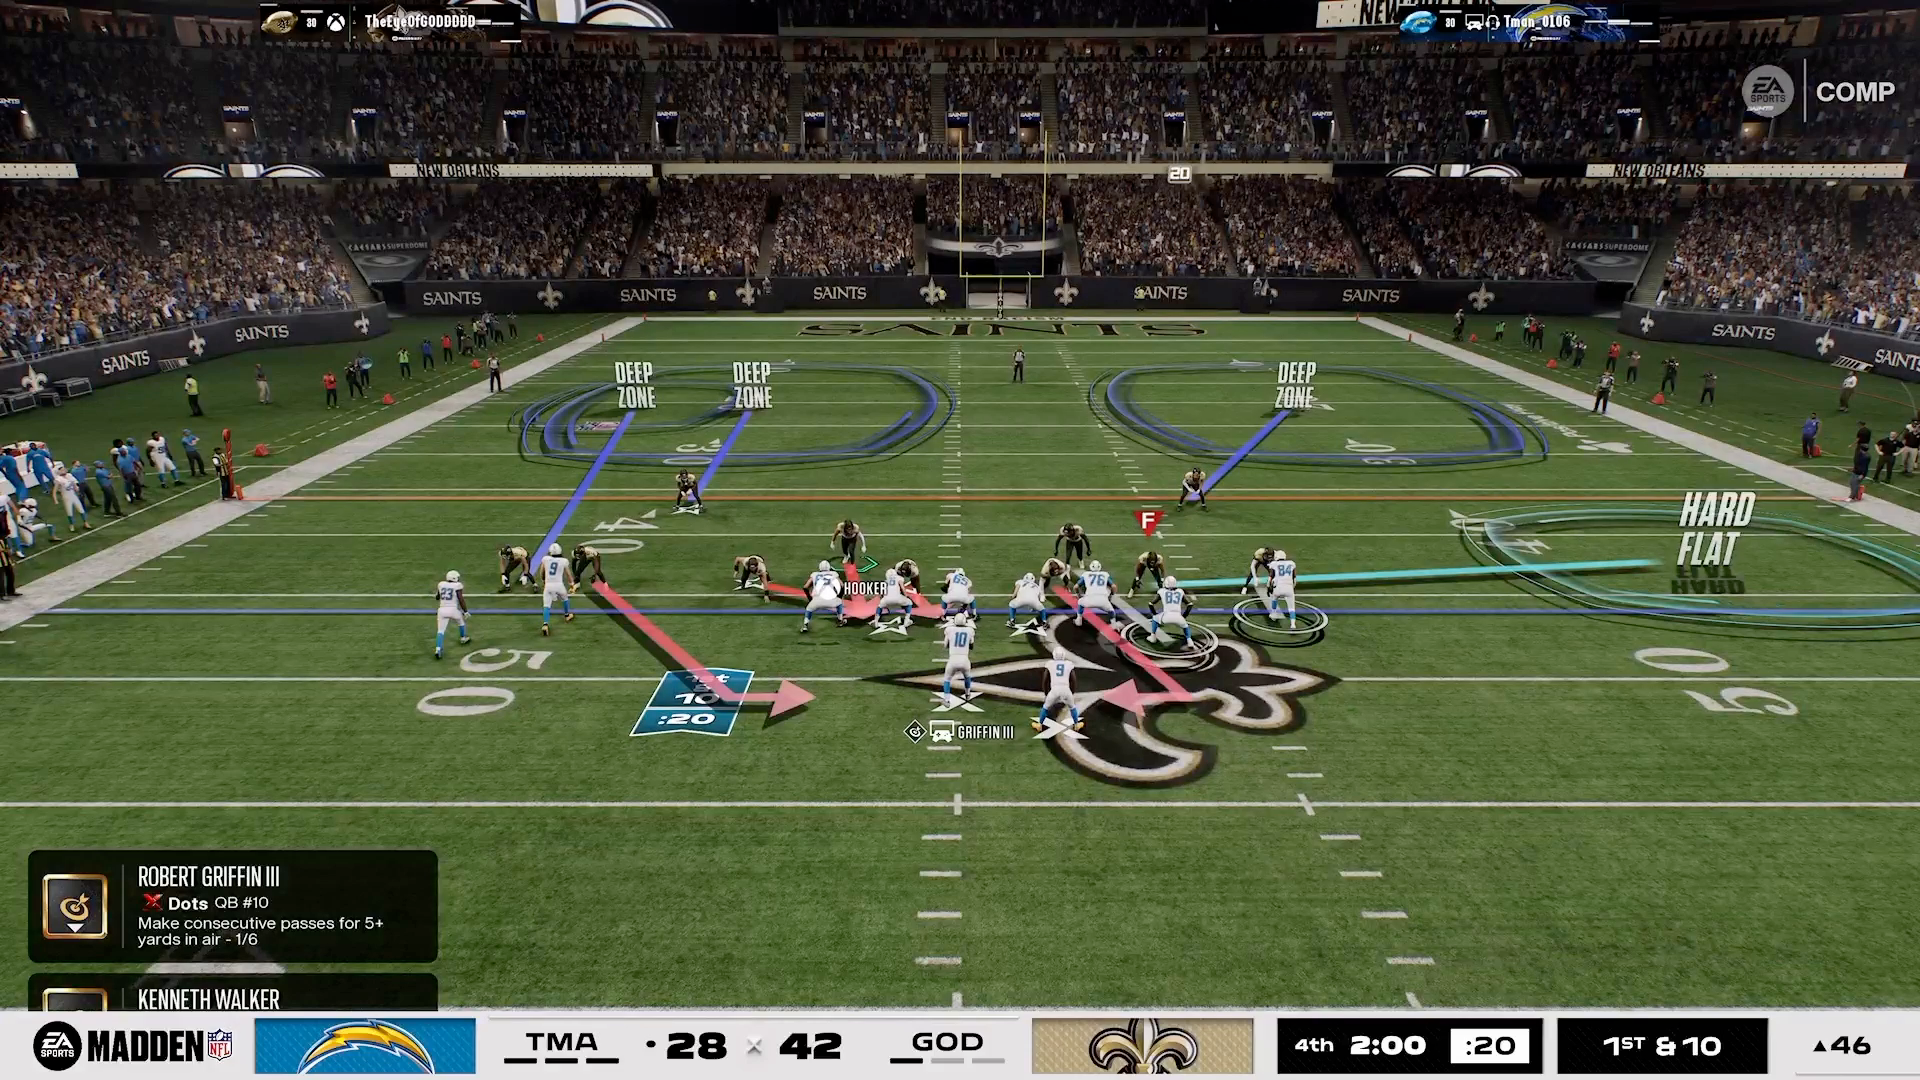
So how do they work? Let’s say your opponent is at midfield. If you set your flat zones to “25” your flat zones will drop back to the 25-yard line. Or hooks to “5”, they will drop to the 45. If you know your opponent is about to run a certain route that runs “x” yards, you can counter by “dropping” a zone in that same area.
The Science
The key to zone drops is on any route over 5 yards, put your zone drops “5” yards above the primary route you want to stop. So if your opponent is spamming a 10-yard corner route to the sidelines that is killing you, set your zone drops to “15” and make sure to have an outside cornerback in a flat zone. If you put the zone drops at the same depth of the route, with a pass lead up the route will get over the zone sometimes.
Hook Zones – Yellow
The most used zone drop for hooks is “5”. Before zone drops were introduced, it was very difficult to defend underneath drag passes because even if you shaded your coverage down, the hooks would still not play low enough to smother a drag route. Now if your opponent is spamming the short middle with drags, hitches, or slants, you can set your hooks to “5” to defend those routes.
Flat Zones – Light Blue
For the most important zone drop, flat zones, I usually start a game with them on “30”. The last thing you want to do on defense is give up big chunk plays on the first drive. Having your flat zones set to “30” will bring death to the ever-so-popular crosser routes. If your opponent rolls out, crossers can still get over 30 flats so I would recommend our other blog “Never Lose Your Mind Over Defending Crossing Routes Again” for more detail on shutting down crossers. Remember it is important to adjust the flat zones throughout the game based on the primary routes your opponent uses. It would not make sense to keep your flats on “30” if your opponent never throws deep crossers or corners.
Curl Flats – Dark Purple
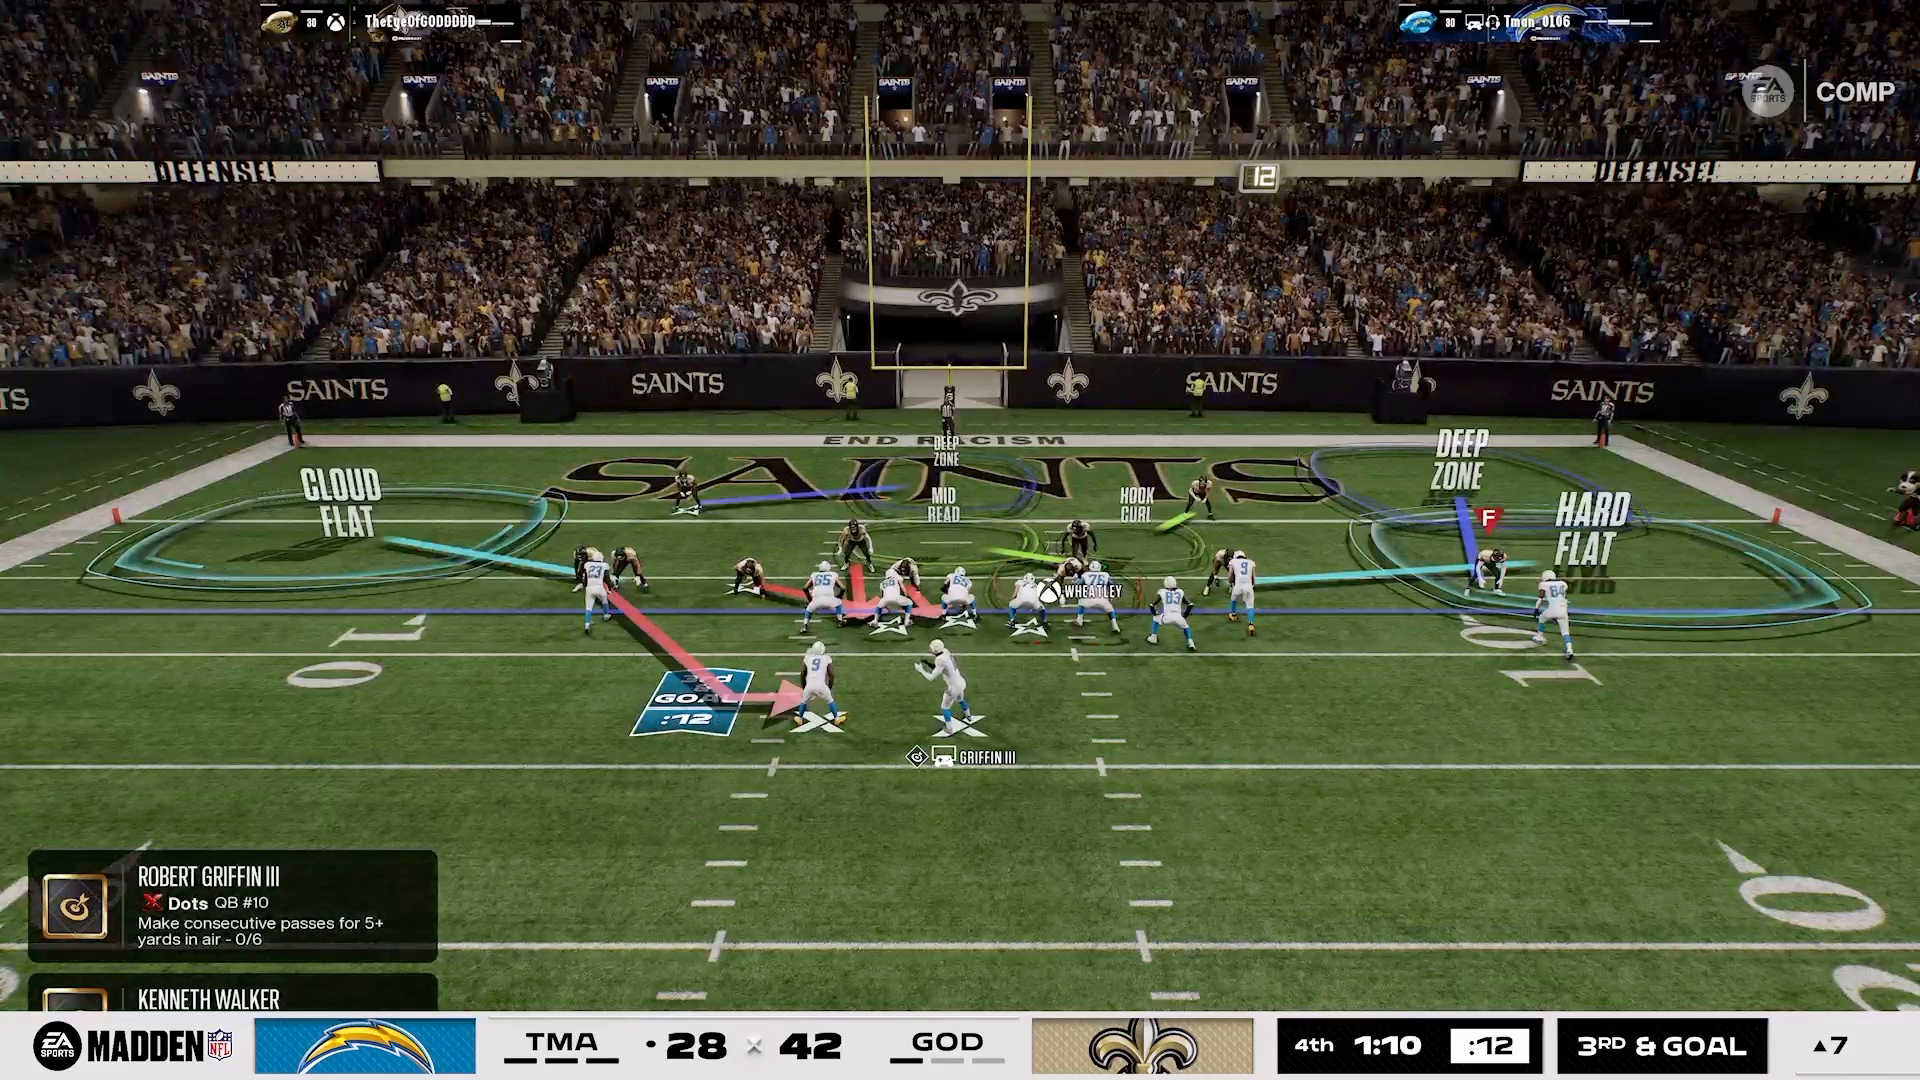
Now, what about curl flats? Most pros will commonly have their curl flats set to “5” or “10”. The curl flats are a great compliment to flat zones that are most commonly set to 10+. The reason curl flats do not go on 30 but flat zones do is curl flats are slower to get to the sideline compared to flats. A concept pros like to do is “stacking zones.” Meaning having two defenders dedicated towards the sideline at different depths. This allows for the defense to guard a crossing route with flat zones on 30 while not giving up a huge gain underneath. A combo of a 5 yard purple and a 30 yard flat on one side of the field is called mable coverage and is a very popular concept in high-level Madden.
Whether you are a beginner or competitive player, mastering zone drops is a MUST so you can get more stops consistently.
Curious to see where your Madden skills stack up? Take our FREE skills evaluation quiz: https://themaddenacademy.com/skills-evaluation