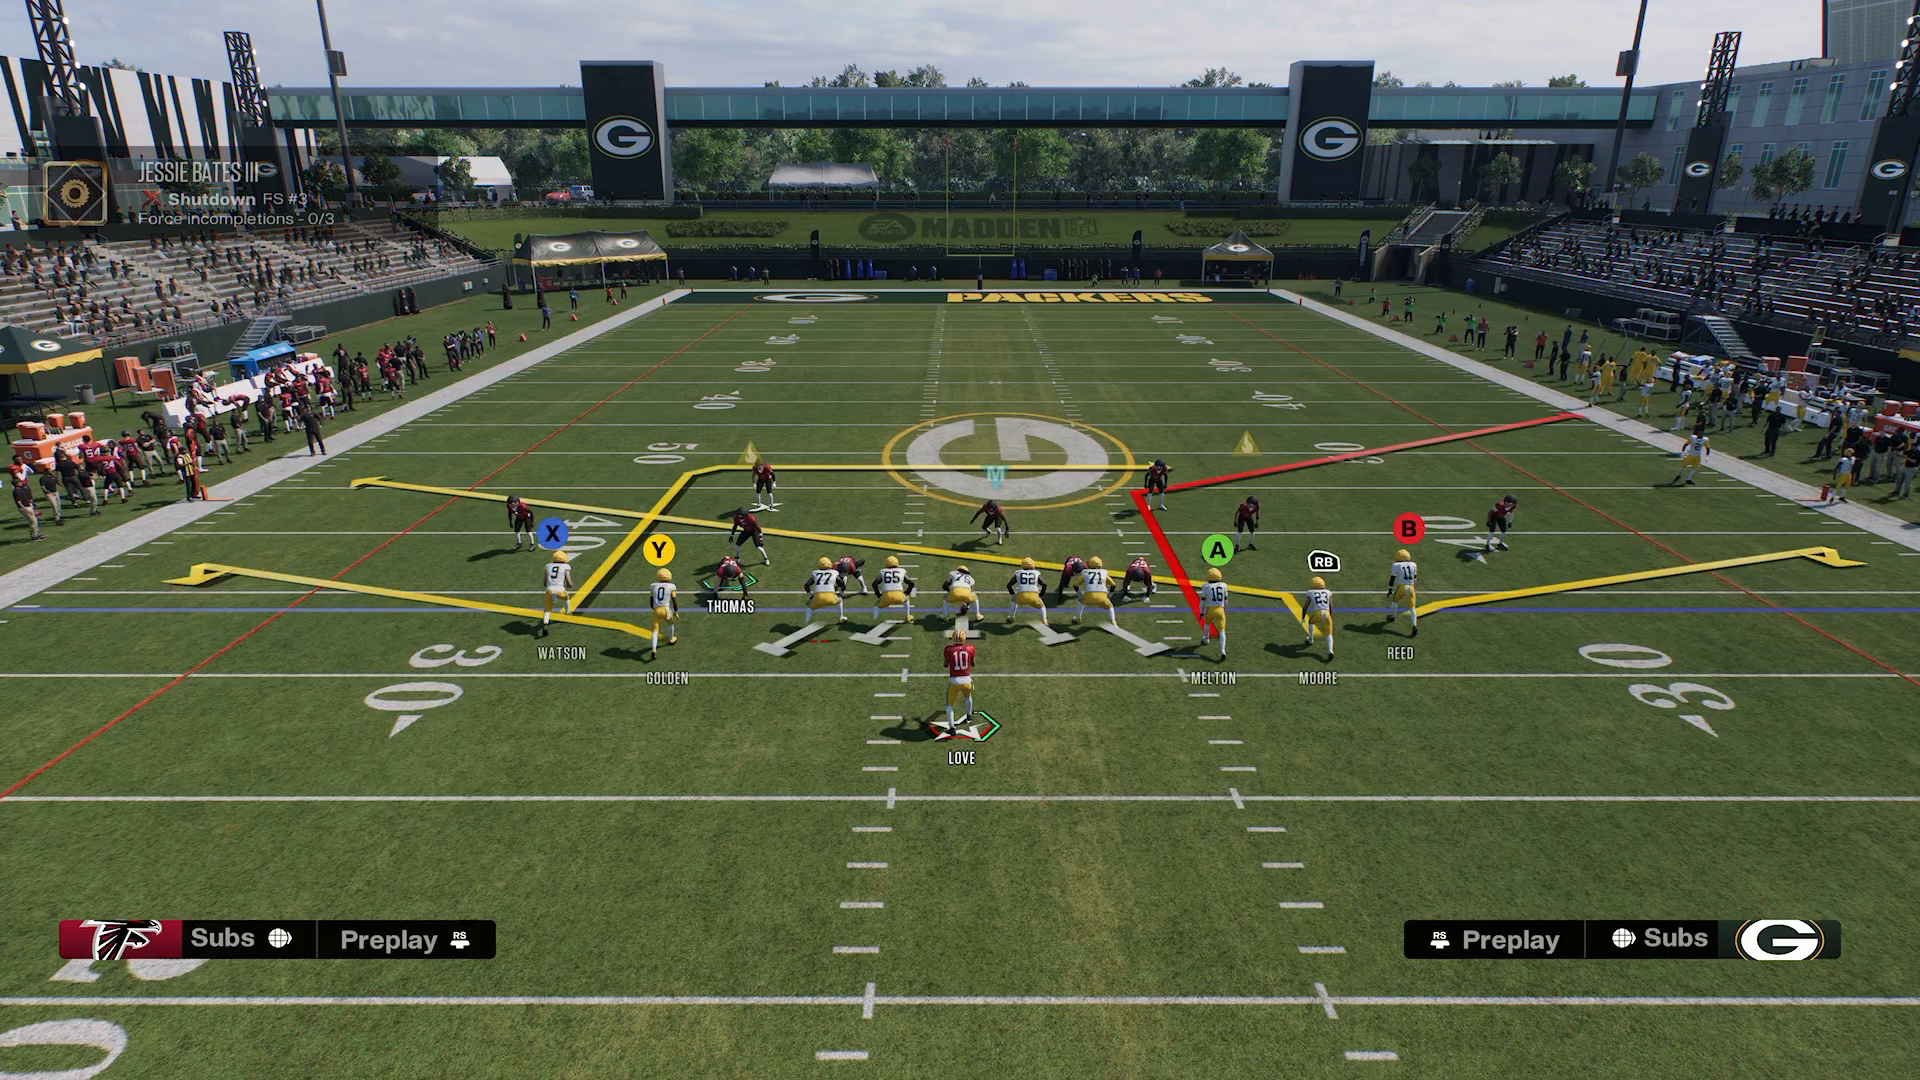
Introduction to the Motion Post Swirl Play

In the fast-paced world of Madden NFL 27, finding the right plays can be the difference between victory and defeat. One of the standout plays that remains underutilized is the Motion Post Swirl from the Tampa Bay offensive playbook, specifically within the Gun 5 Receiver Tight formation. This play, part of the 16 Spaces System, has the potential to carve through defenses, especially against man coverage. Understanding how and when to use this play can elevate your game significantly.

Setting Up the Motion Post Swirl

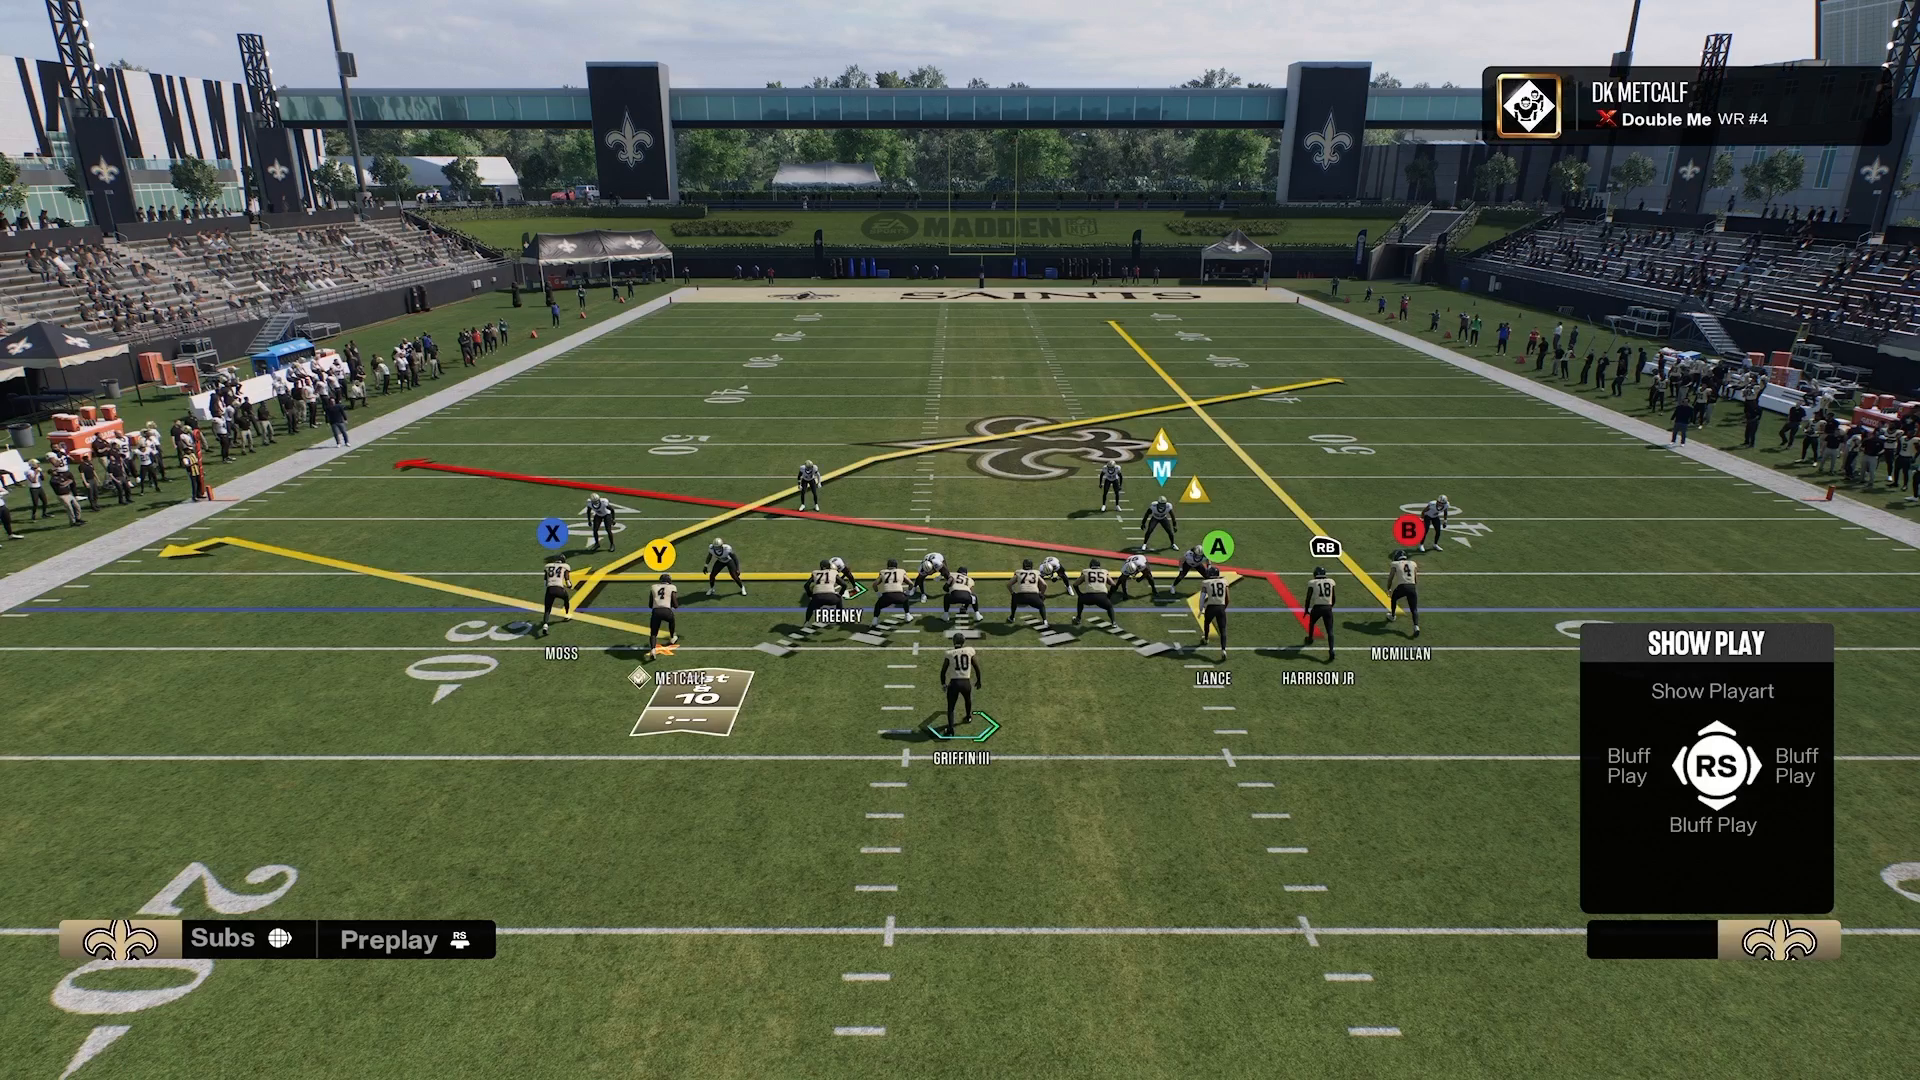
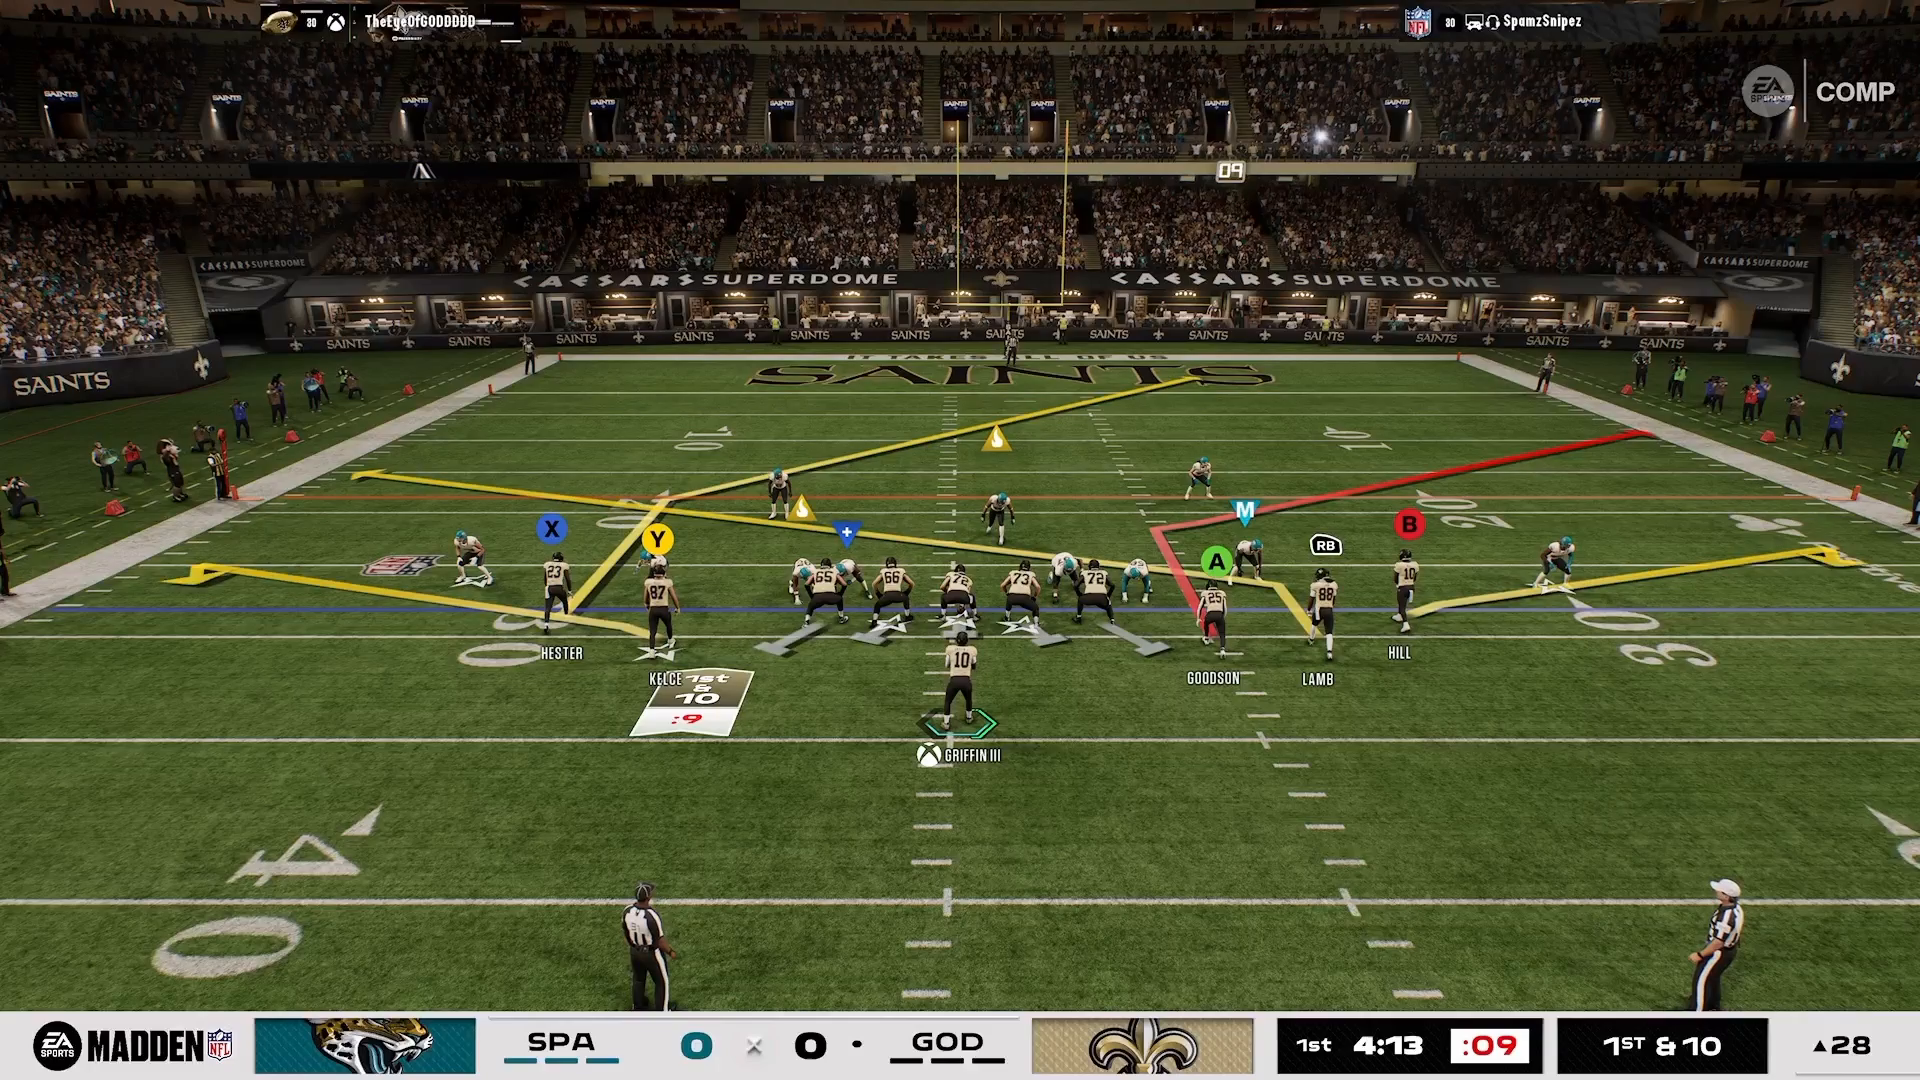
To get started with the Motion Post Swirl, you need to select the Tampa Bay offensive playbook and navigate to the Gun 5 Receiver Tight formation. This setup is essential for unlocking the full potential of the play. The design of the Motion Post Swirl is crafted to exploit man coverage effectively, particularly when the defense is backed off. This is where the 16 Spaces System shines, as it targets specific areas on the field that are often overlooked.
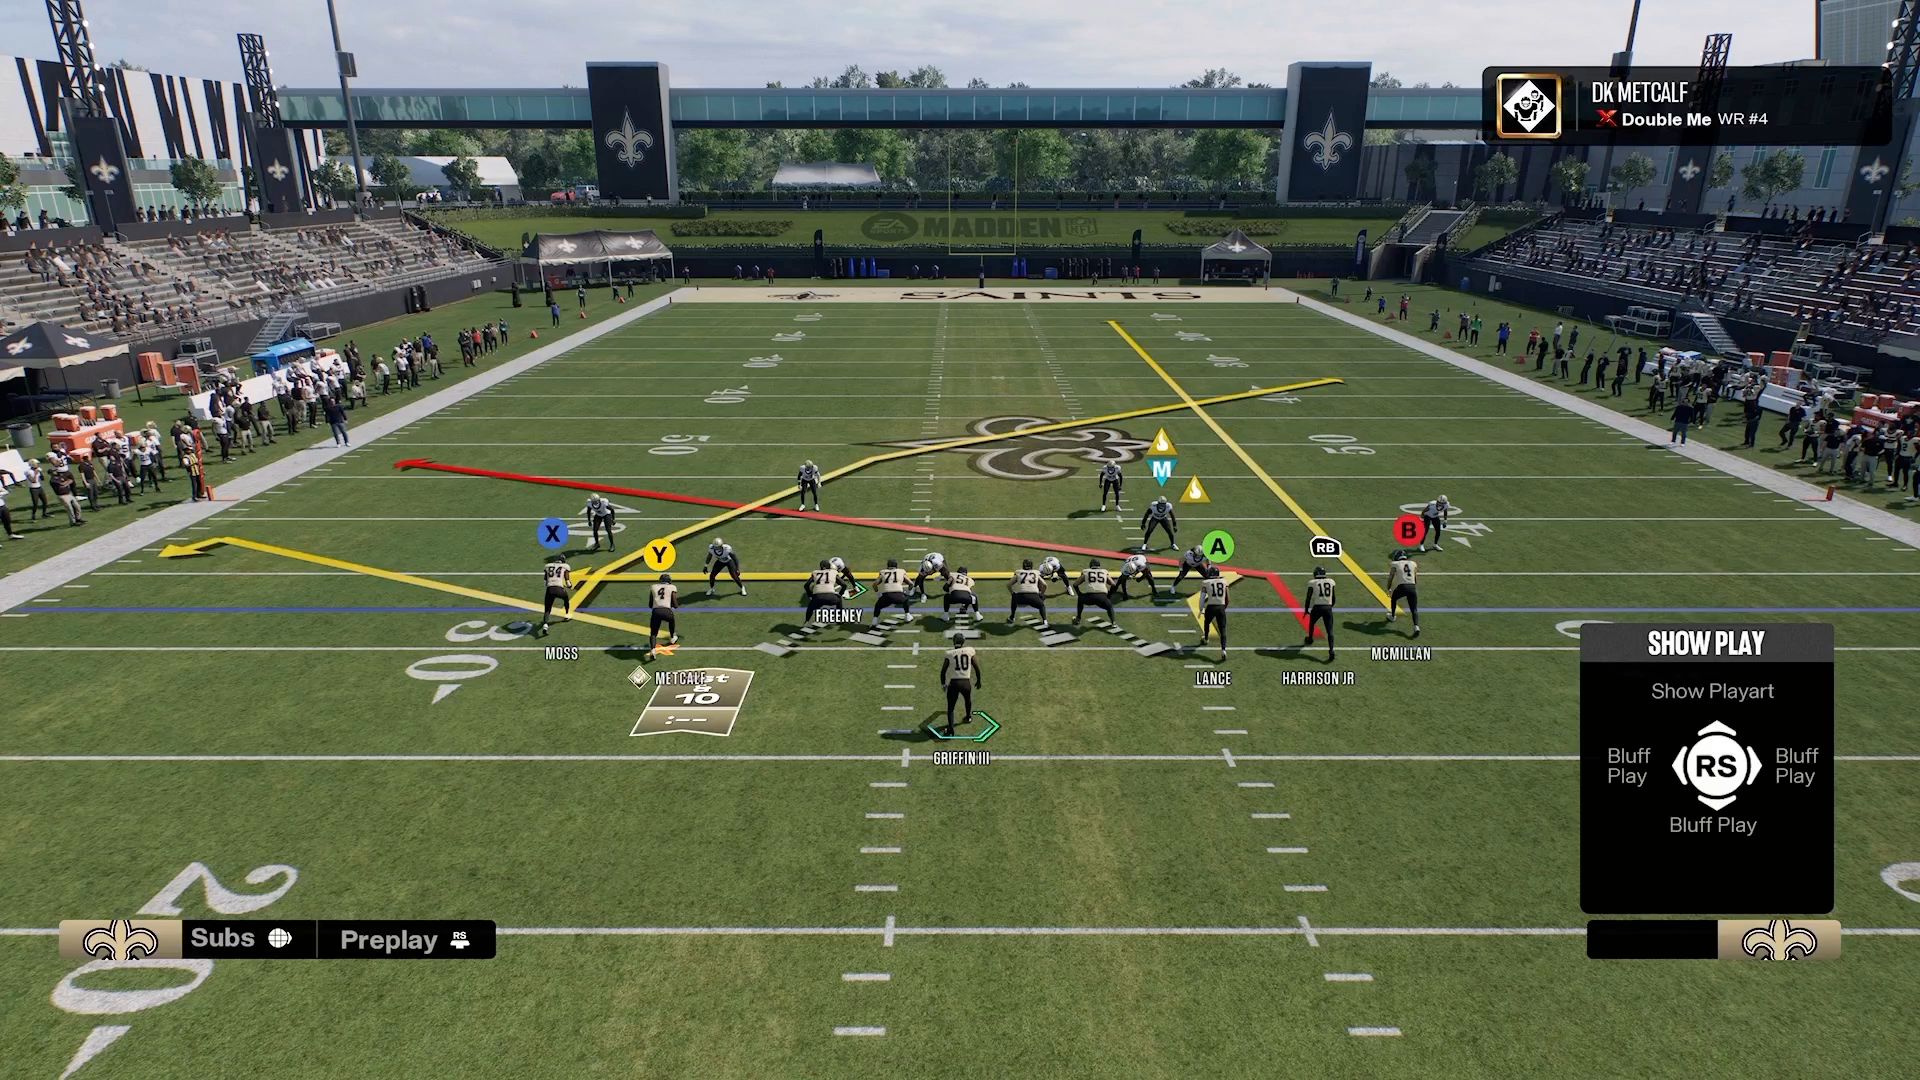
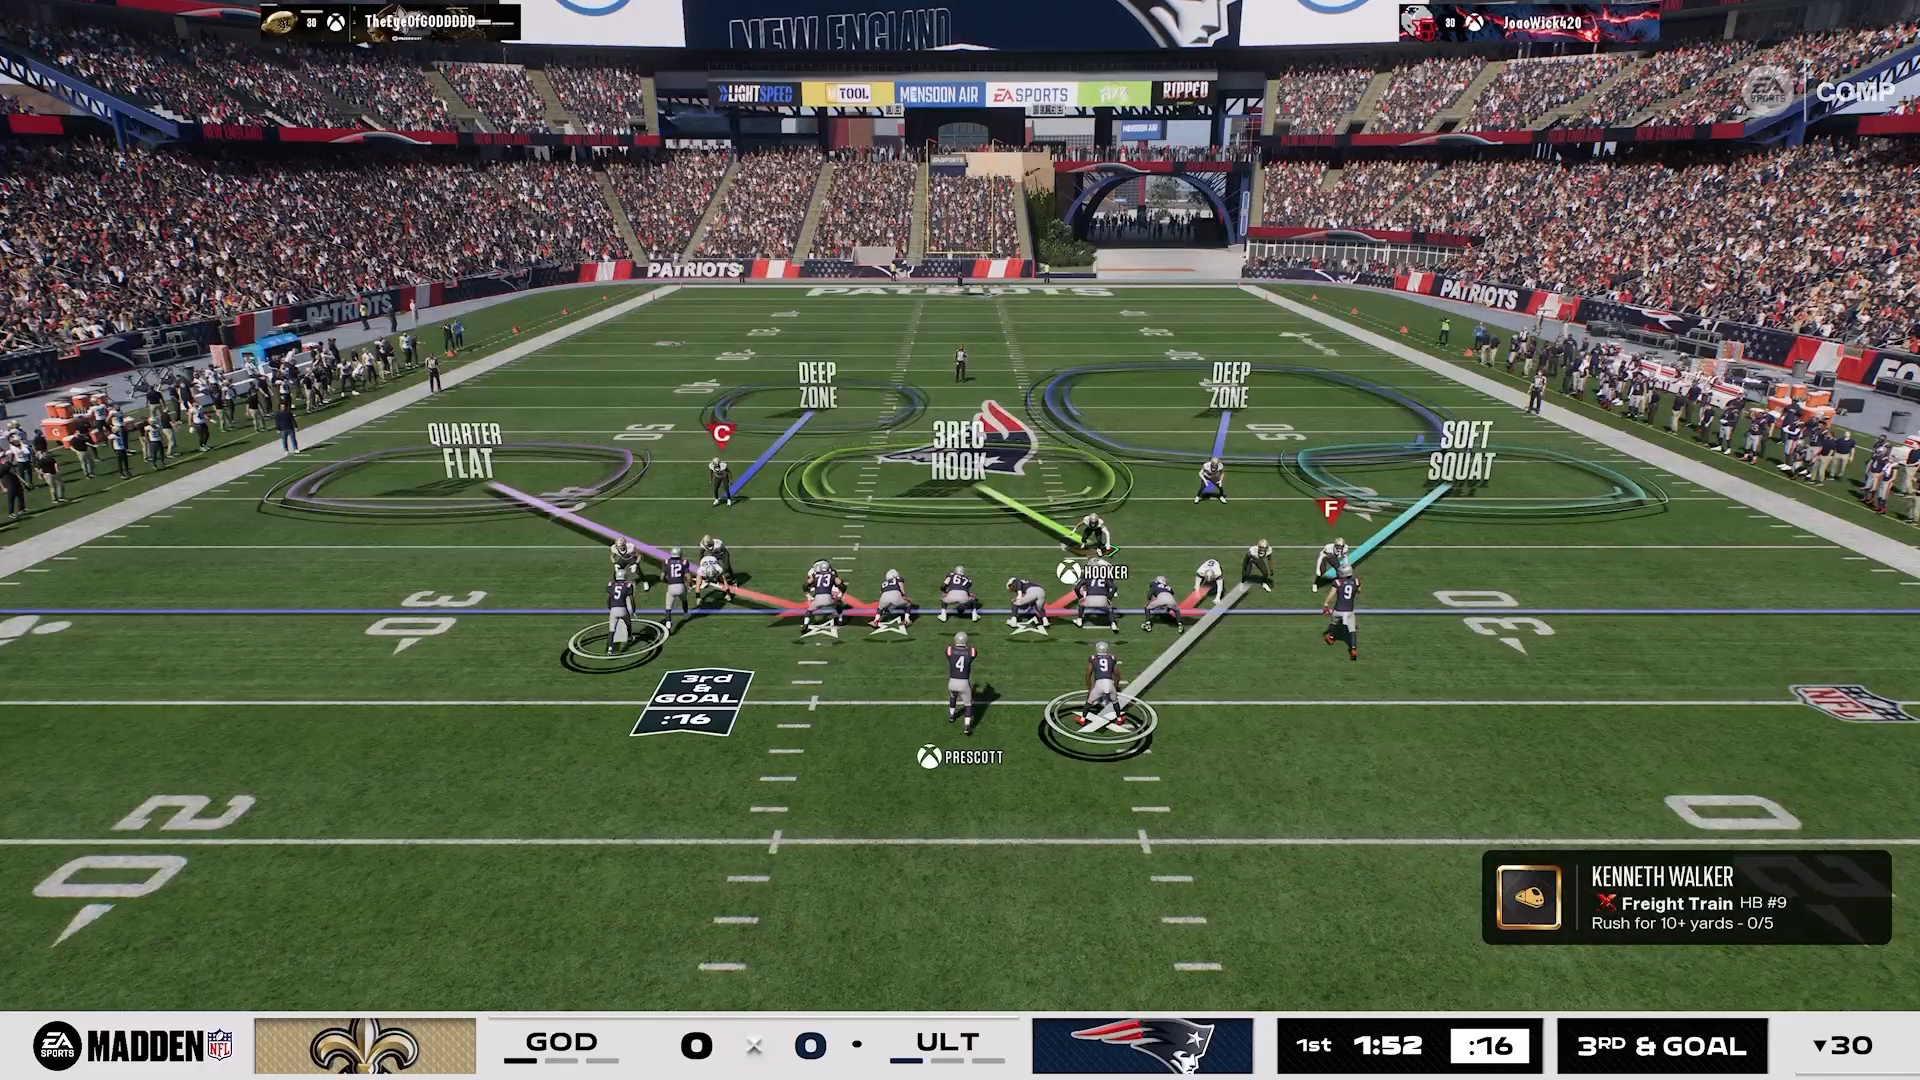
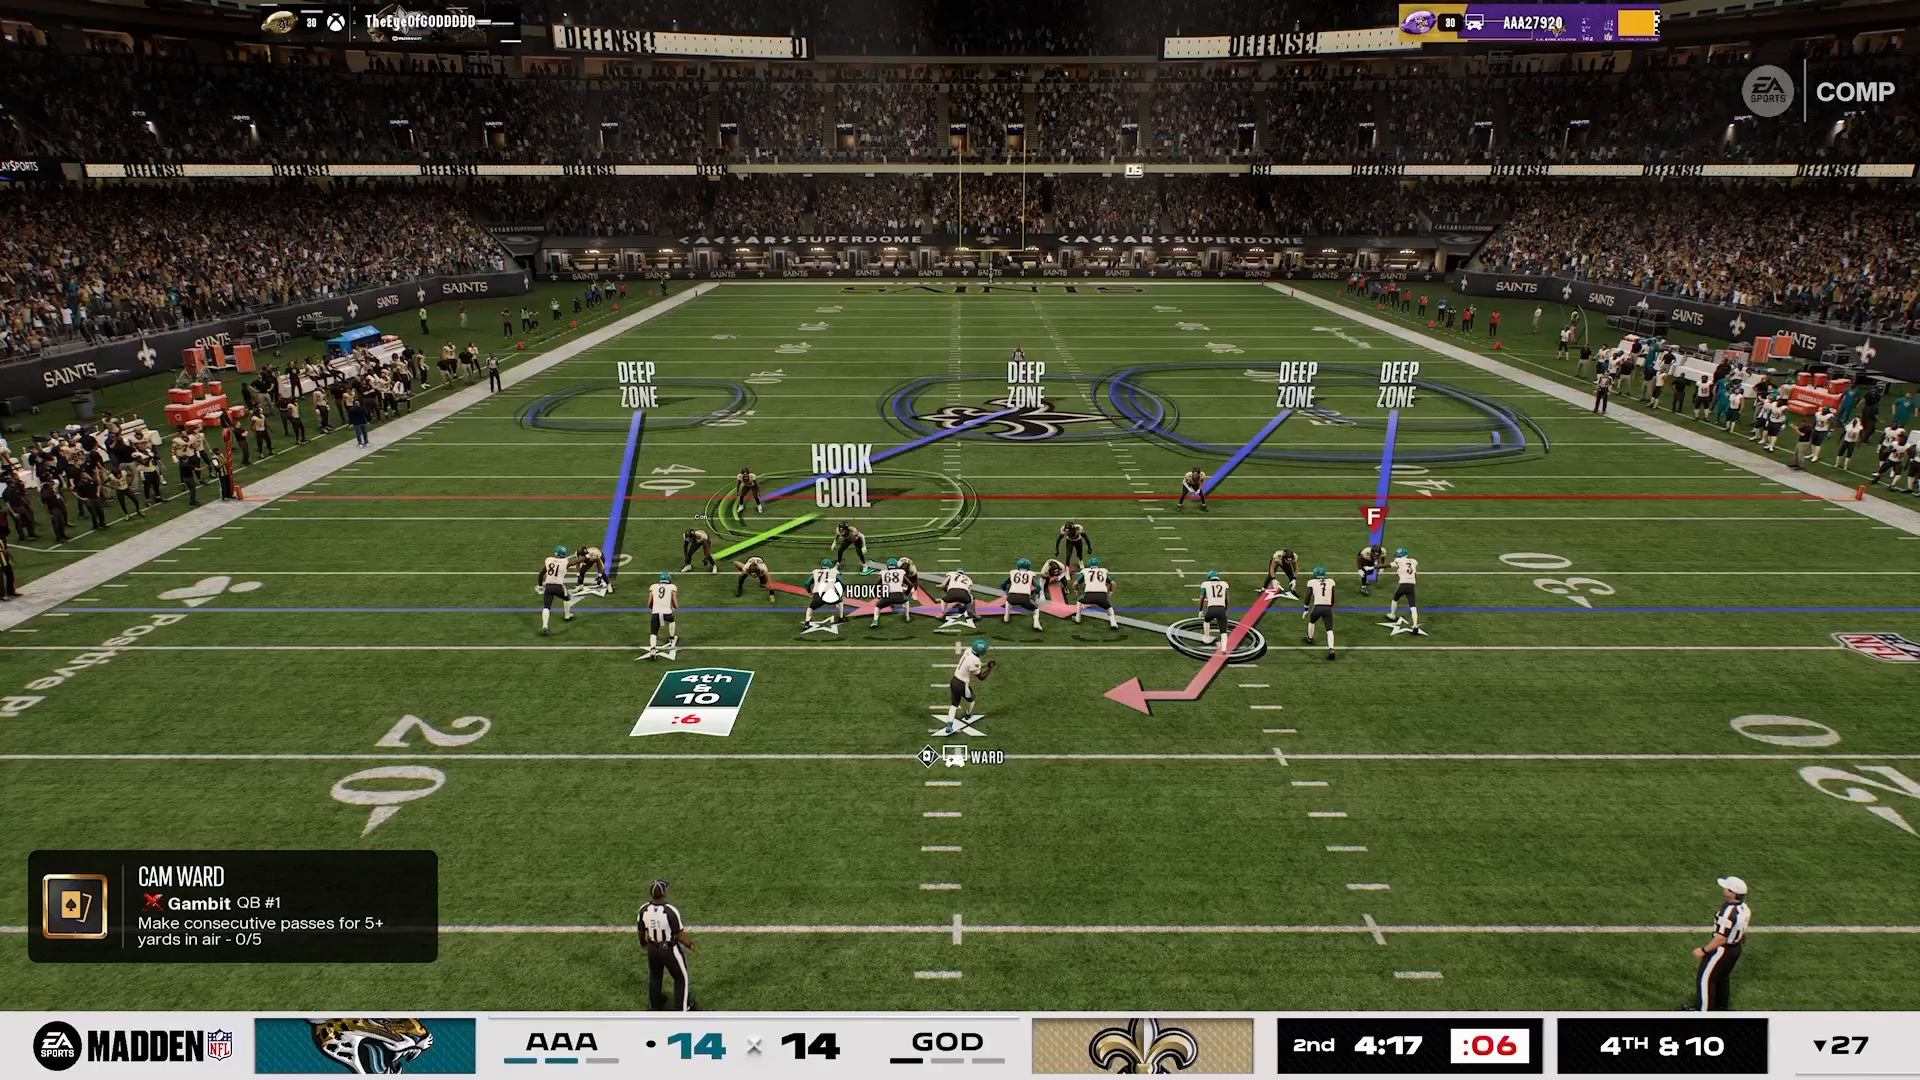
Tampa Bay playbook screenshot highlighting Motion Post Swirl

Optimal Conditions for Use

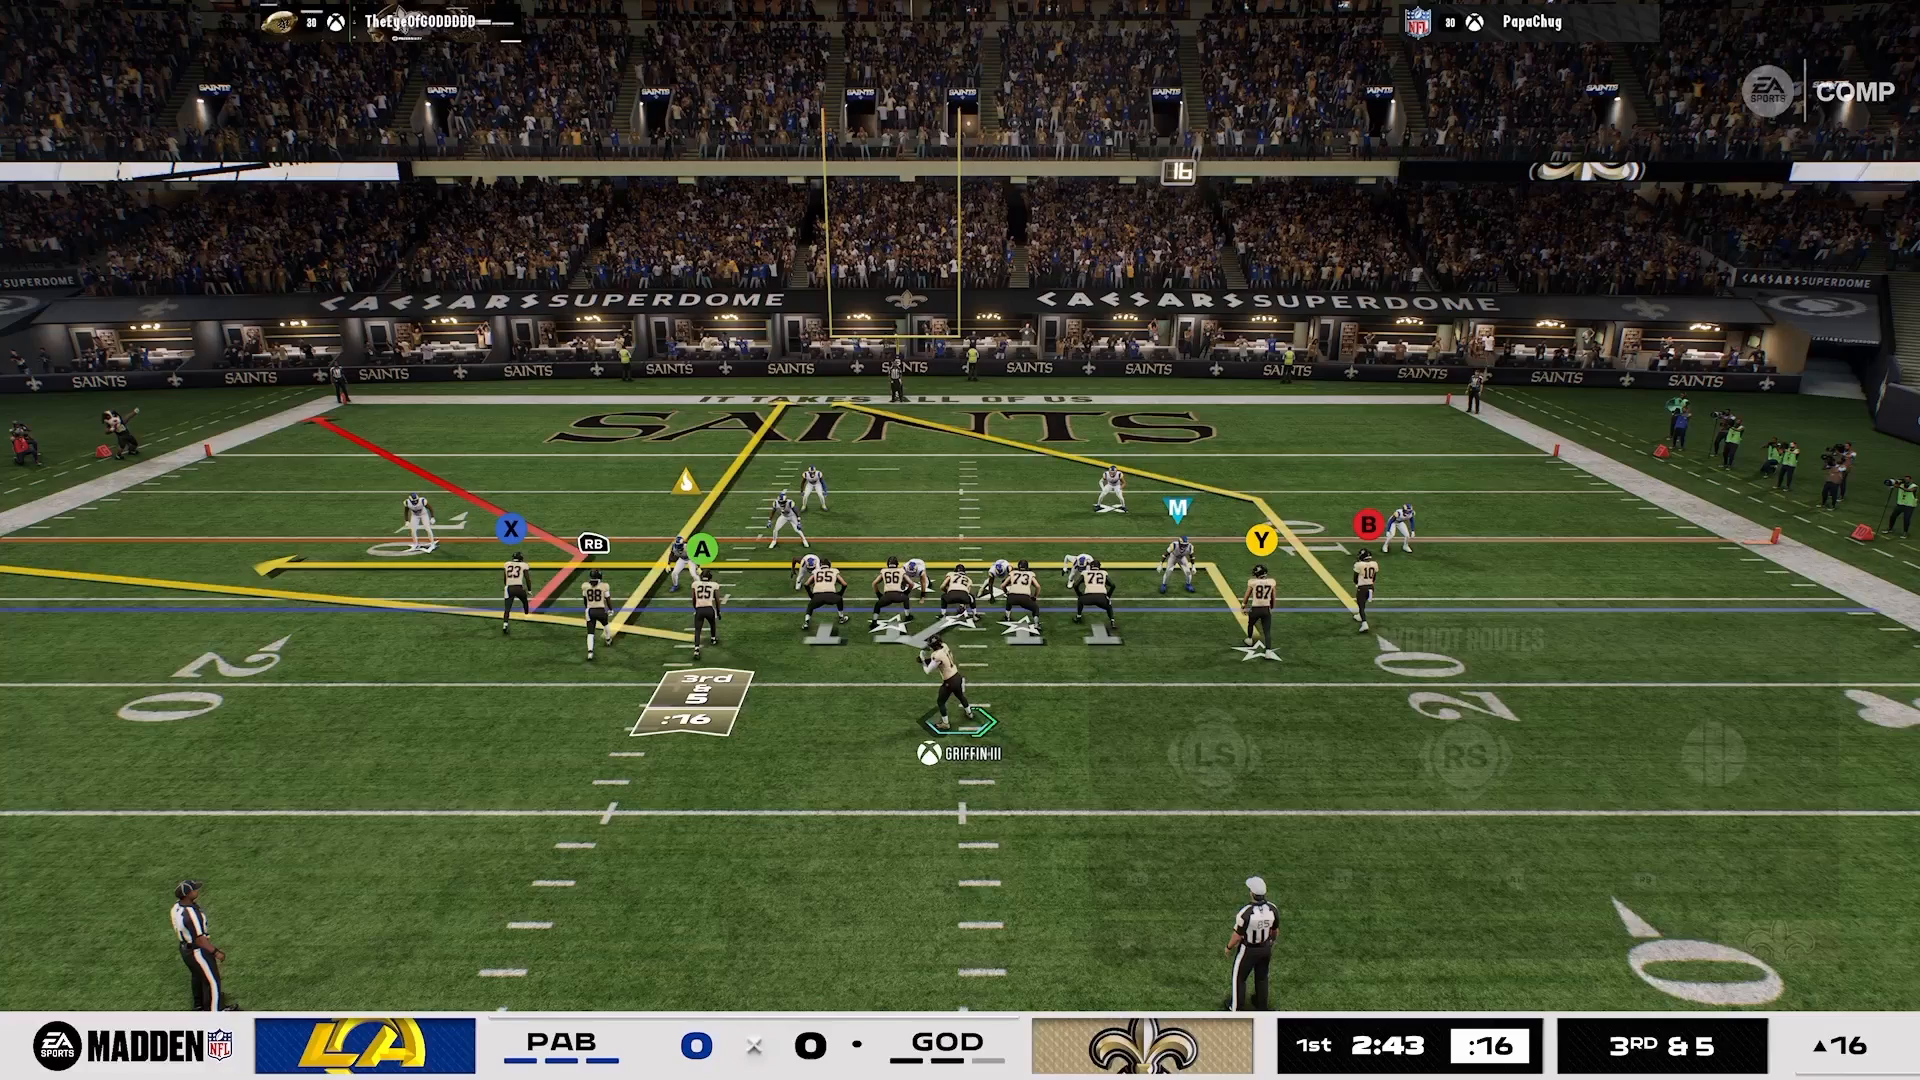
The Motion Post Swirl excels when facing man coverage, particularly when safeties are positioned at least 10 yards off the ball. This distance is crucial because it creates the perfect opportunity for your receivers to exploit gaps in the defense. The 16 Spaces System is designed to take advantage of these specific situations, allowing you to manipulate defensive alignments and create mismatches. Recognizing when to deploy this play is key to gaining the upper hand.

Addressing Cornerback Challenges

One common issue when using the Motion Post Swirl is the presence of an outside cornerback directly over your primary receiver (X). In these scenarios, quick outs or slants become less viable options. Instead of forcing a play that might lead to a turnover, utilize spacing concepts from the 16 Spaces System to target other areas of the field. This strategic pivot allows you to maintain offensive momentum while keeping the defense guessing.
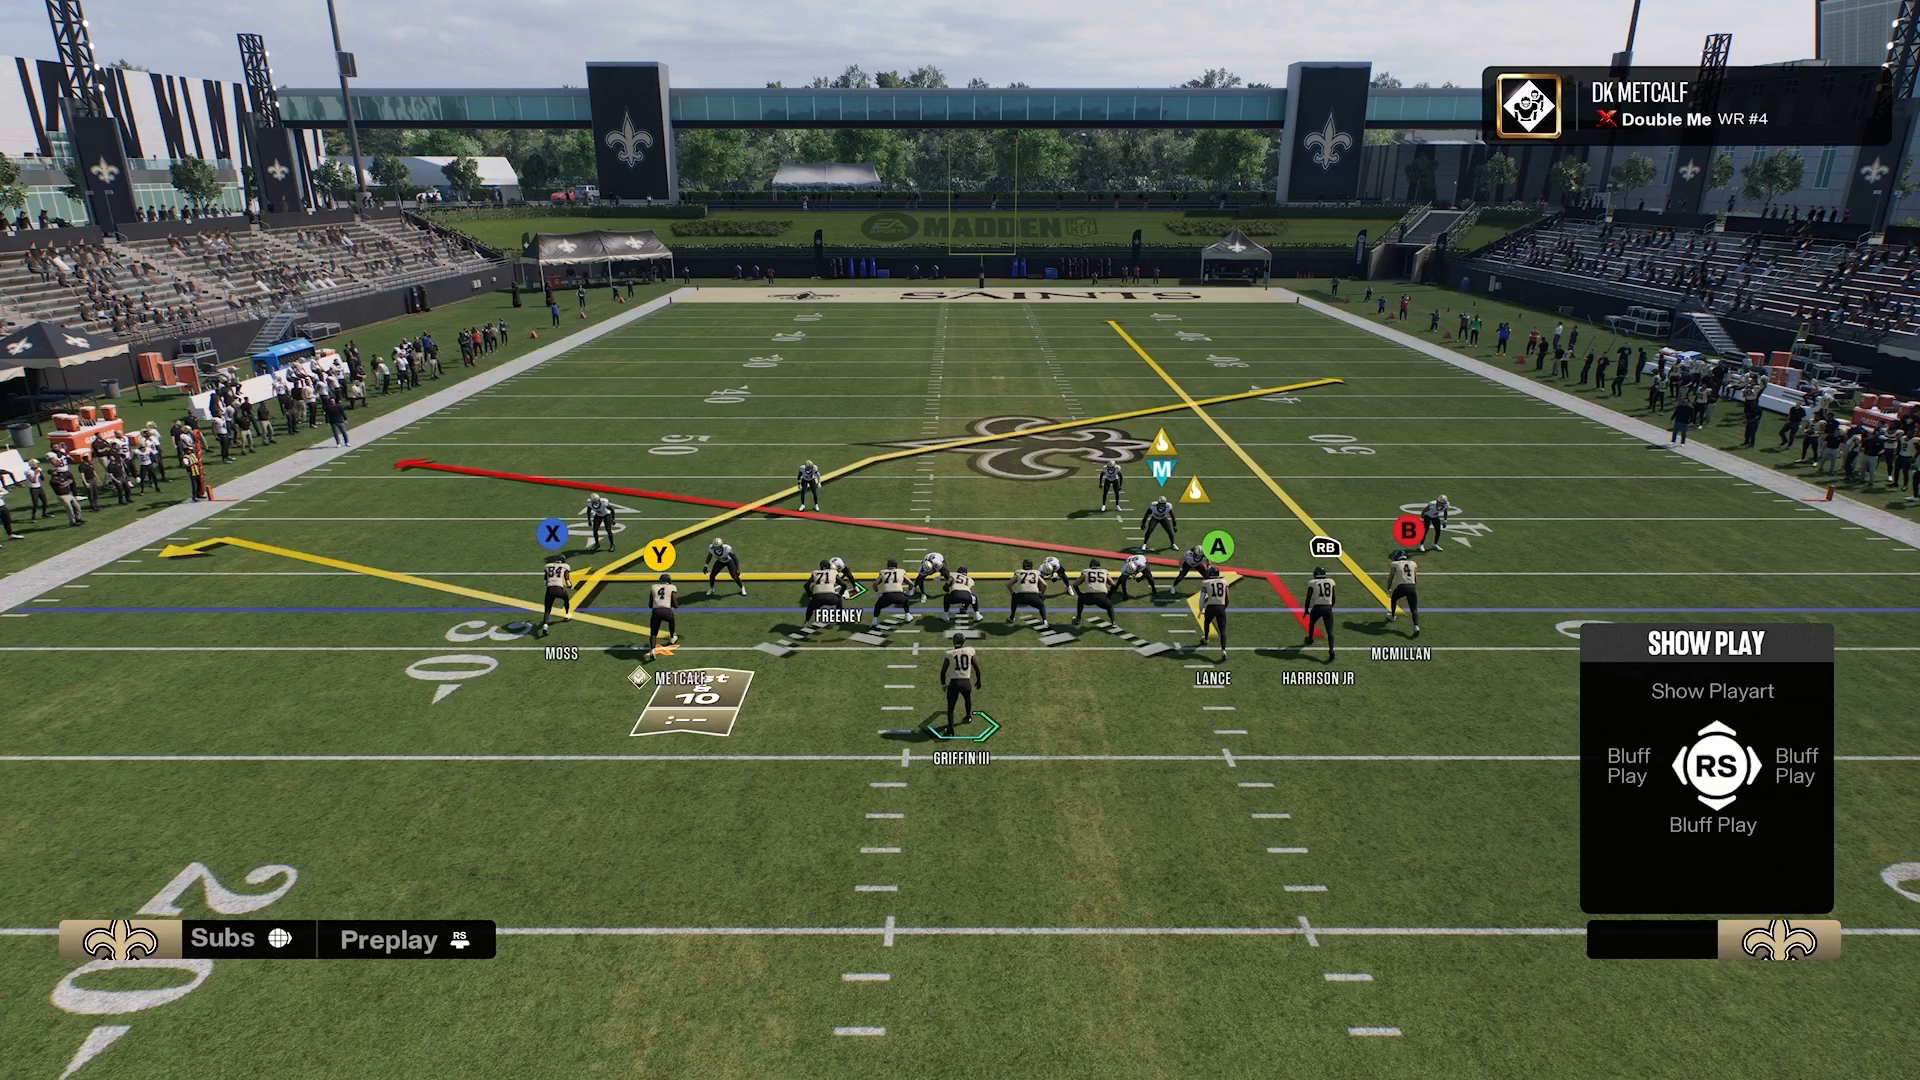
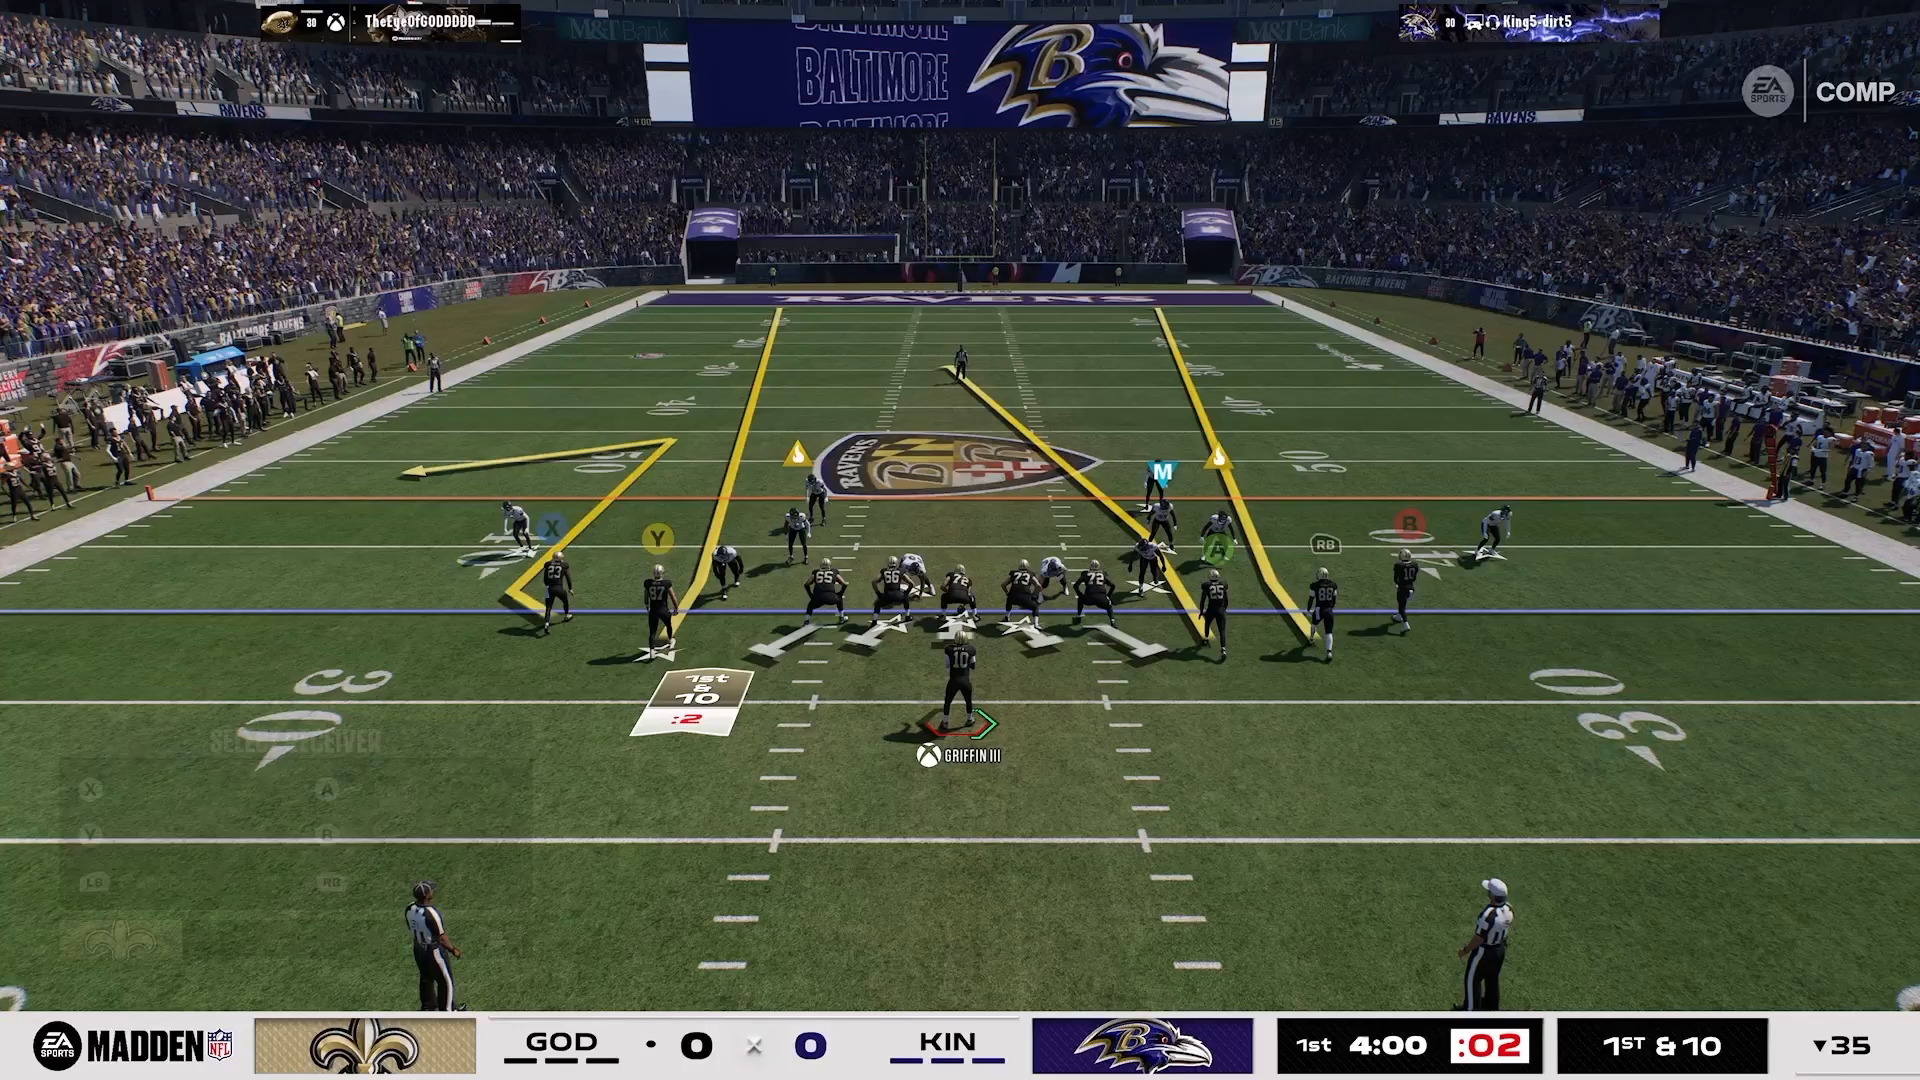
Diagram of optimal conditions for Motion Post Swirl in Madden 27

The Y Flat Advantage

A significant advantage of the Motion Post Swirl is the Y Flat route. This route runs up the field, creating separation that is tougher for defenders to navigate. Unlike standard flat routes, the Y Flat provides a sharper cut, making it particularly effective against backed-off safeties. When you leverage the principles of spacing as outlined by Madden Academy, you maximize the chances of your receiver making a big play after the catch, further increasing your yards after catch (YAC) statistics.
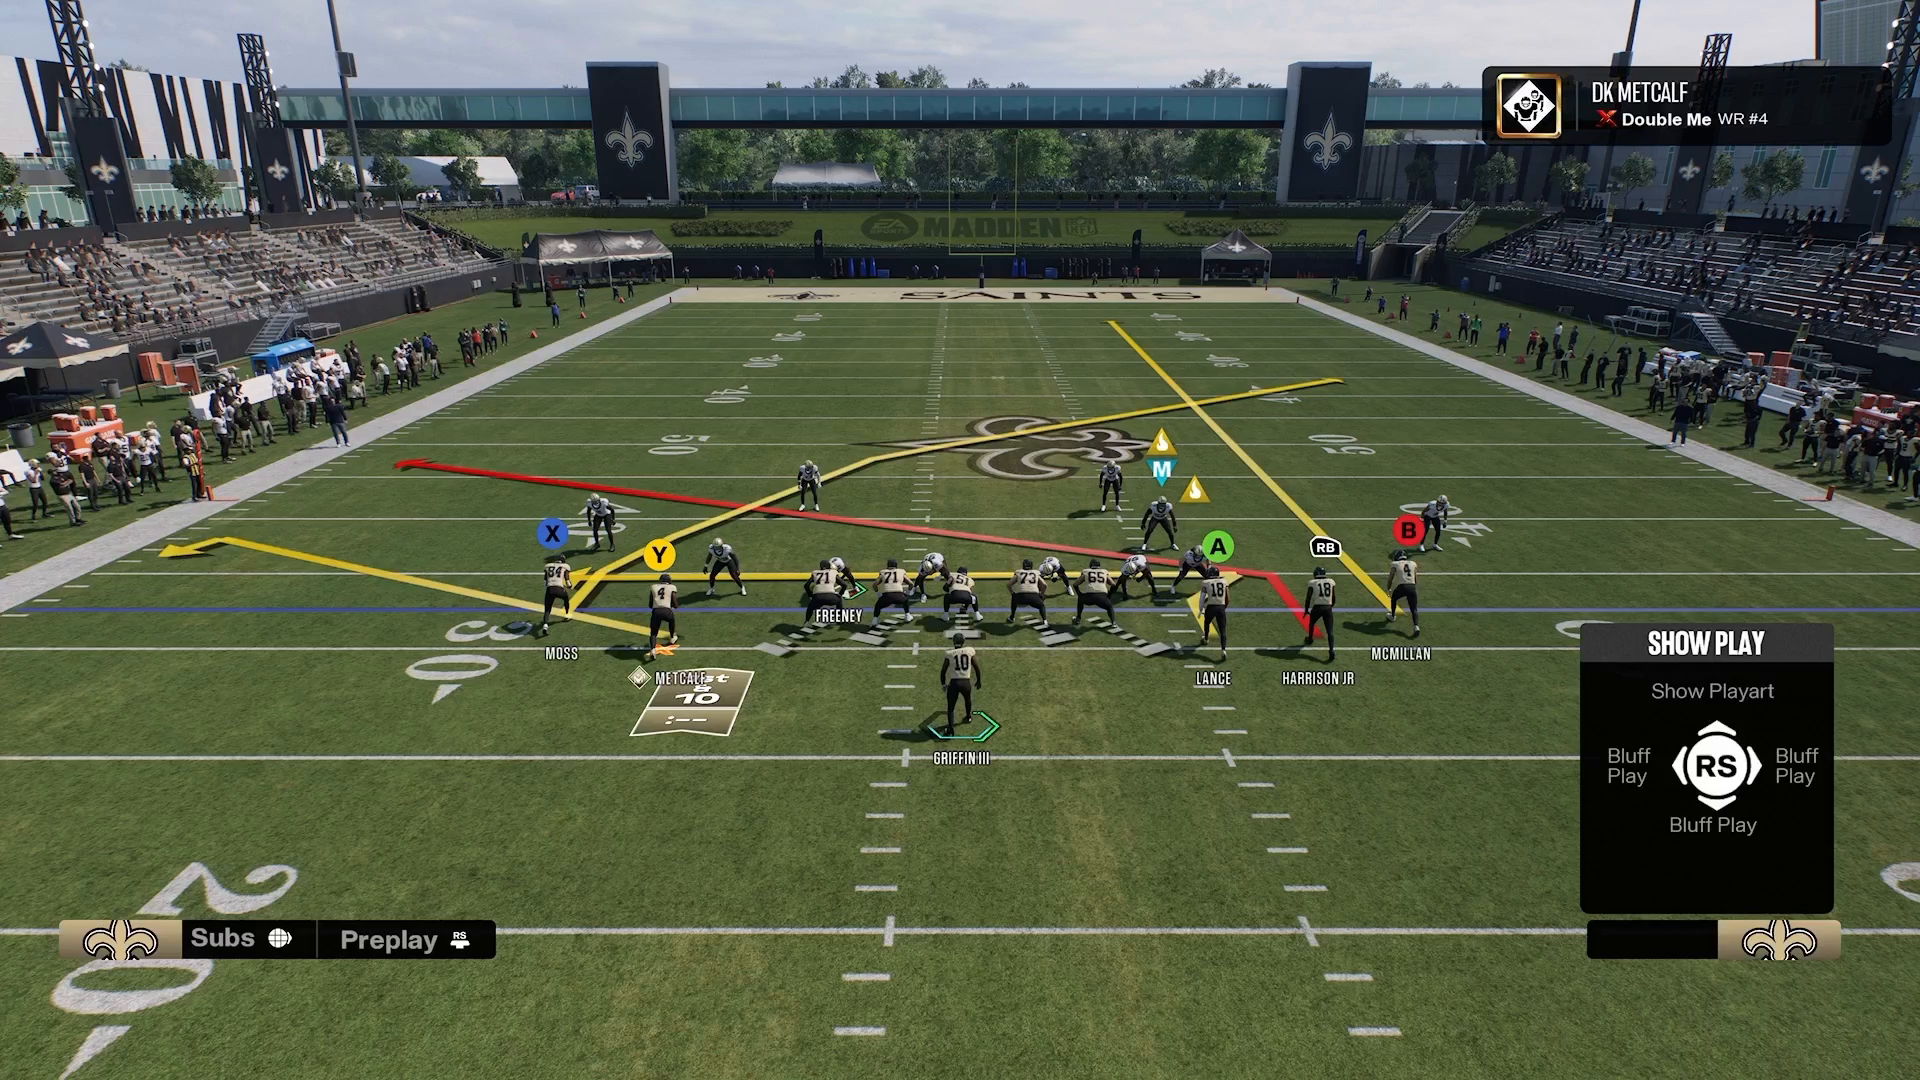
Illustration showing cornerback challenges against Motion Post Swirl

Understanding Why the Motion Post Swirl Works

Once you snap the ball, the Motion Post Swirl often results in favorable rack animations, allowing your player to make a dynamic play. In contrast, traditional flat routes can lead to poor rack animations and limited YAC opportunities, effectively stifling your offensive efforts. To leverage the full potential of this play, you need to embrace the 16 Spaces mentality, which emphasizes spacing and timing over mere physical attributes.
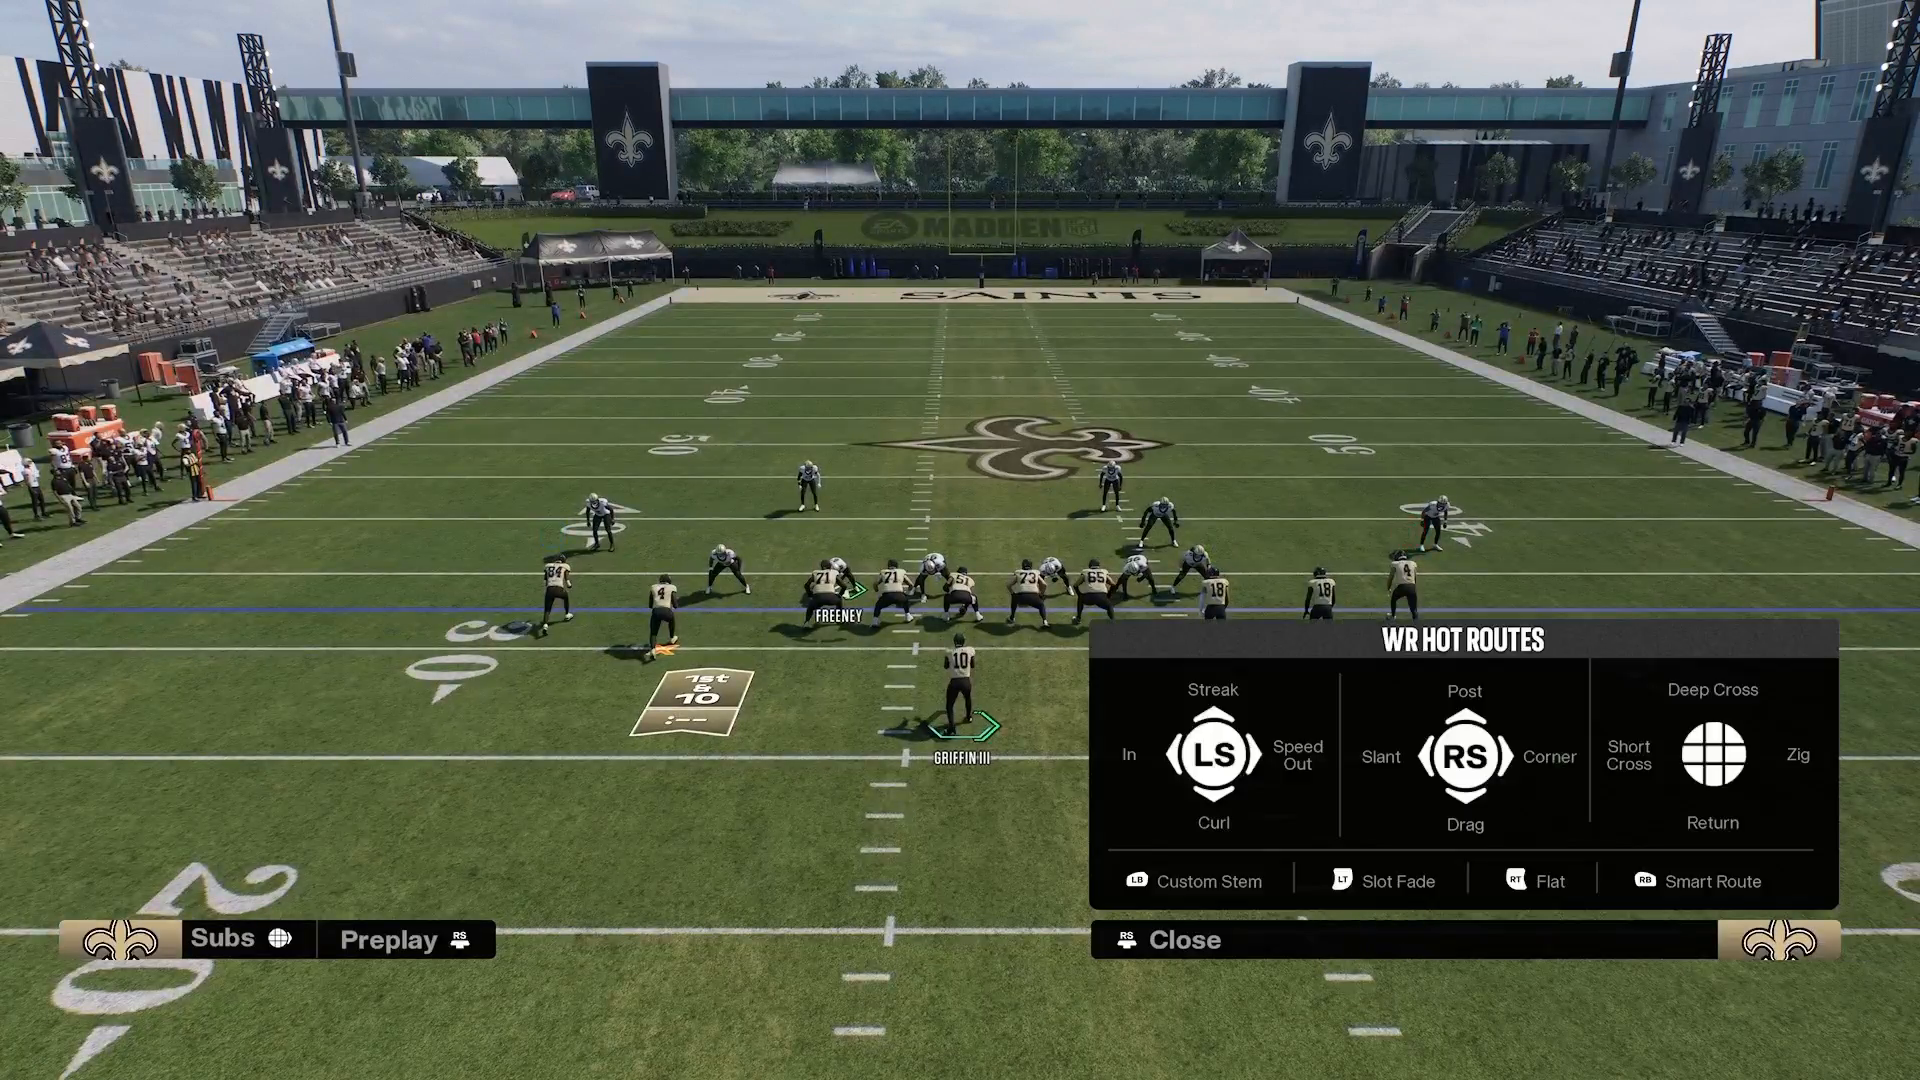
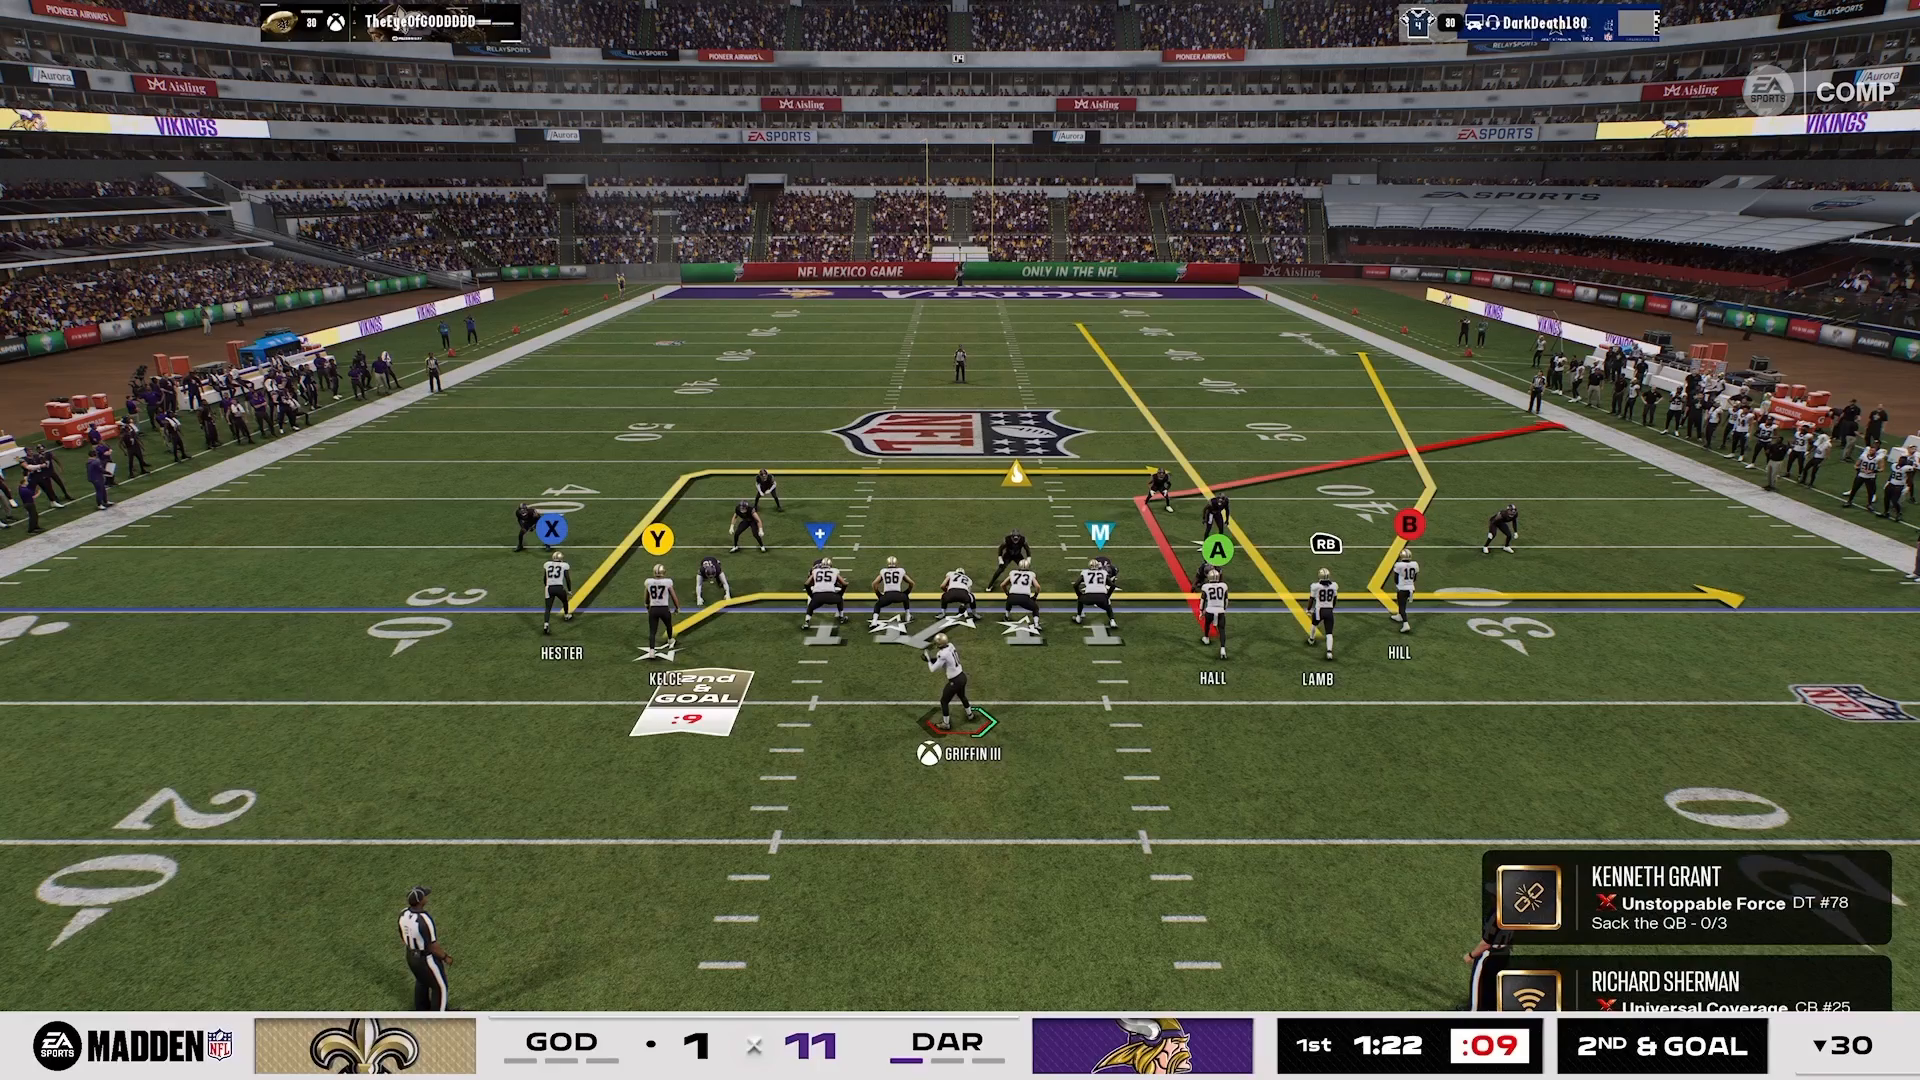
Y Flat route diagram showcasing separation advantages

Conclusion

more Madden tips available at The Madden Academy. With the right knowledge and execution, you can dominate your opponents and elevate your game.

Player executing the Motion Post Swirl play during a Madden 27 match

Recent Posts

Madden NFL 27 strategies — image 1

Mastering the Best Macro vs 6-1 in Madden NFL 27

Setup Your Offense with Tampa Bay’s Gun 5 Receiver Tight To effectively attack a 6-1 defense in Madden NFL 27, begin by selecting the Tampa ...
Read More →
Cover 2 Match defense adjustment in Madden NFL 27

Shut Down Slot Fades: Madden NFL 27 Cover 2 Match Fix

The Problem with Slot Fades in Cover 2 Match Slot fades can be a significant headache when you’re running a Cover 2 Match defense in ...
Read More →
Madden 27 trips defense — image 1

Effective Macro for Stopping Trips in Madden 27: San Francisco Nickel Single Mug

Understanding the Macro Setup To effectively counter trip formations in Madden 27, you need a solid macro setup that leverages the San Francisco playbook. Start ...
Read More →
Diagram of defensive macro strategy against Gun Tight Doubles

Mastering the Best Defensive Macro vs Gun Tight Doubles in Madden 27

Understanding the Effectiveness of This Defensive Macro The Gun Tight Doubles formation can present a significant challenge in Madden NFL 27, particularly when it comes ...
Read More →
Madden 27 Smash Corner — image 1

Master the Smash Corner Macro in Madden NFL 27

Why This Macro Wins The Smash Corner macro, utilizing the Tampa Bay playbook, is a powerful strategy to exploit Match coverage in Madden NFL 27. ...
Read More →
Tampa Bay playbook overview

Master the Best One-Play Touchdown in Madden 27

Setup for Success In Madden NFL 27, executing a one-play touchdown can change the outcome of your game. A prime example is found in the ...
Read More →
Offensive line positioning for double-teaming a defensive tackle

Mastering Blocking for Stunts in Madden NFL 27

Understanding the Importance of Double-Teaming the Defensive Tackle In Madden NFL 27, protecting your quarterback from stunts is crucial for a successful offense. One of ...
Read More →
Dime 3-2 formation diagram

Mastering Defensive Macro vs Gun 5 Receiver Tight in Madden NFL 27

Understanding the Defensive Macro In Madden NFL 27, when facing the Gun 5 Receiver Tight formation, utilizing a strategic defensive macro can make all the ...
Read More →
Tampa Bay offensive playbook setup in Madden 27

Best Play Calling vs Match Coverage in Madden 27

Setup Your Offense with the Right Playbook To excel in Madden 27, selecting the right offensive playbook is crucial. The Tampa Bay offensive playbook stands ...
Read More →
Setup for DB Fire 2 in Madden 27

Mastering the Best Defensive Macro in Madden 27: San Francisco Nickel Single Mug

Setup for Success with DB Fire 2 When it comes to dominating on defense in Madden 27, utilizing the right setup is key. The DB ...
Read More →
Madden NFL 27 blitz defense — image 1

Best Blitz & Man Defense Strategies in Madden NFL 27

Mastering the Blitz: San Francisco Defense Setup In Madden NFL 27, having a reliable blitz strategy can change the course of a game. The San ...
Read More →
Pre-snap alignment in Madden 27

Mastering Match Defense in Madden 27: Tampa Bay Tips

Understanding Match Defense in Madden 27 As you step onto the virtual gridiron in Madden NFL 27, knowing how to beat match coverage can significantly ...
Read More →