Best Man Press Beater in Madden 27: Gun 5 Receiver Tight
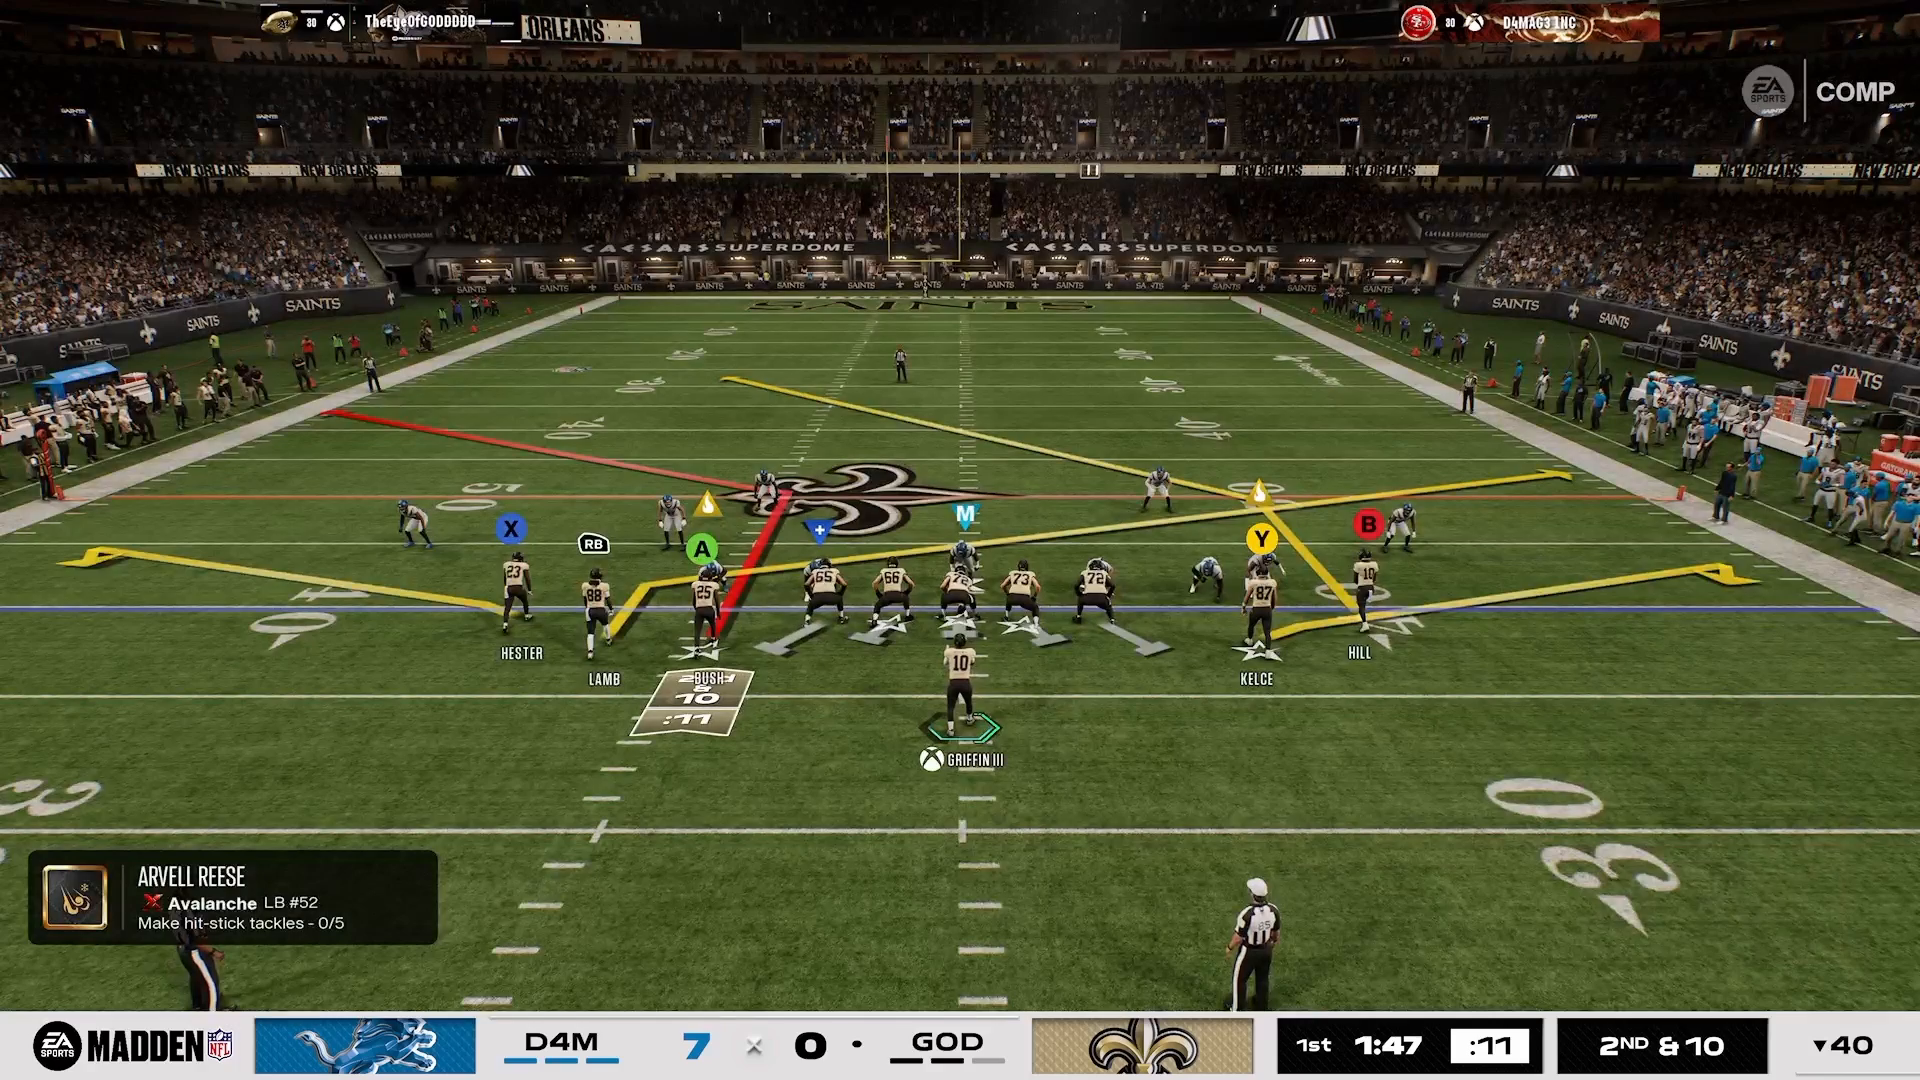
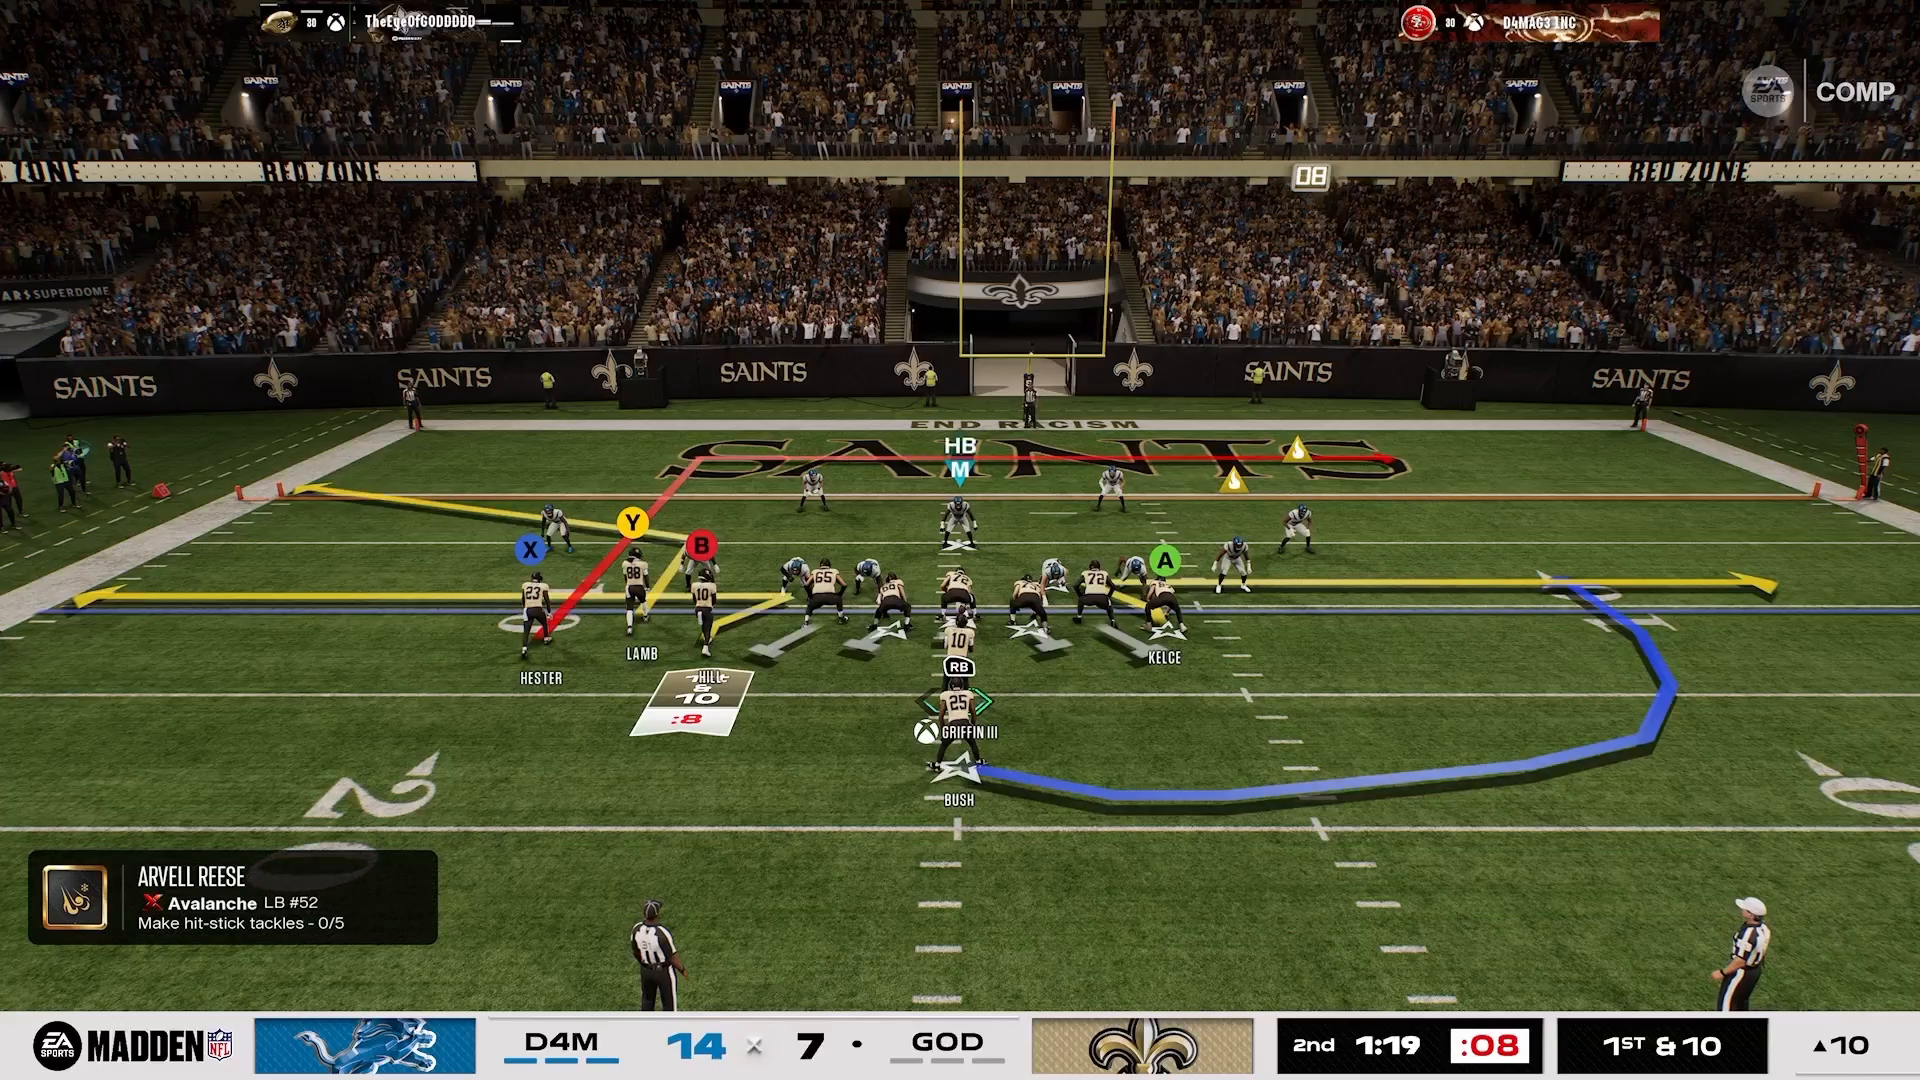
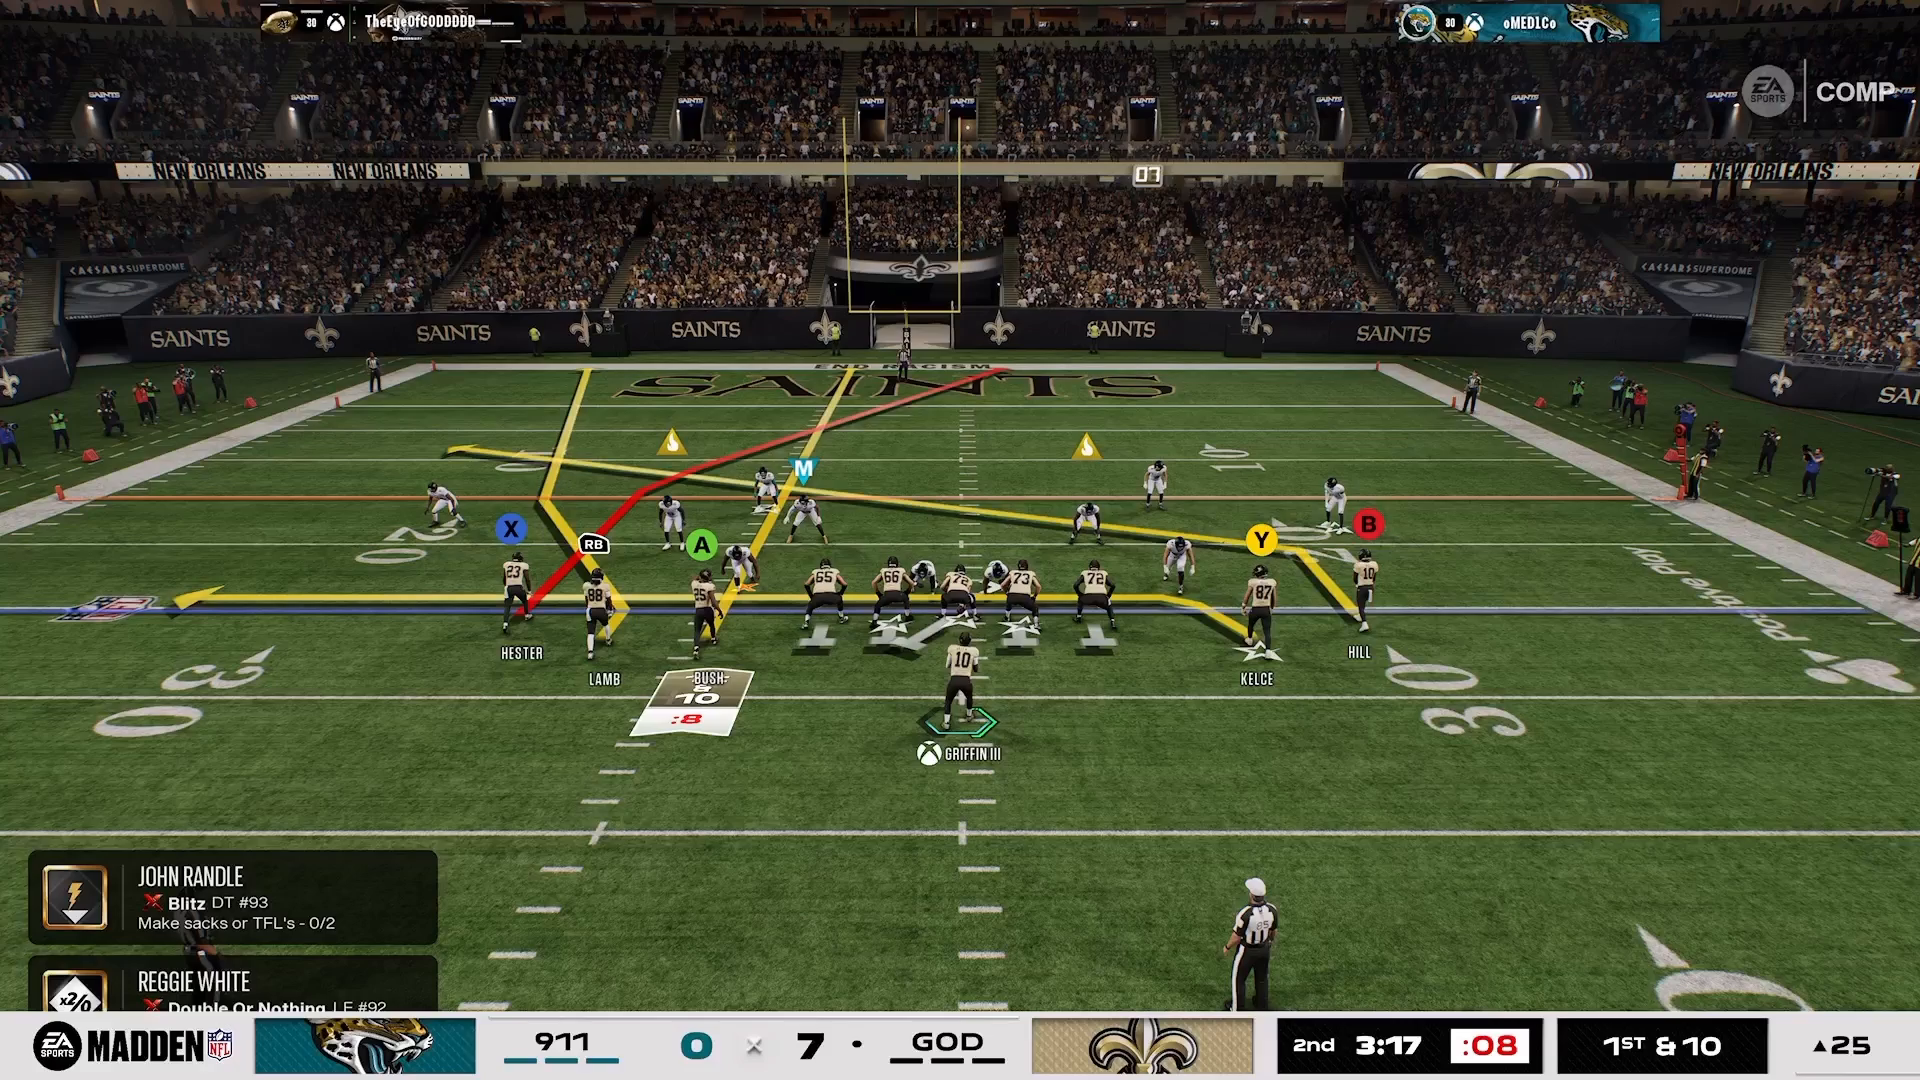
Beat man press in Madden 27 with Salem Smash Under from Gun 5 Receiver Tight, combining a slot fade and a streak to put the strong safety in conflict and finishing with a highball throw on contested releases.
Man Press Beater Madden 27 Salem Smash Under
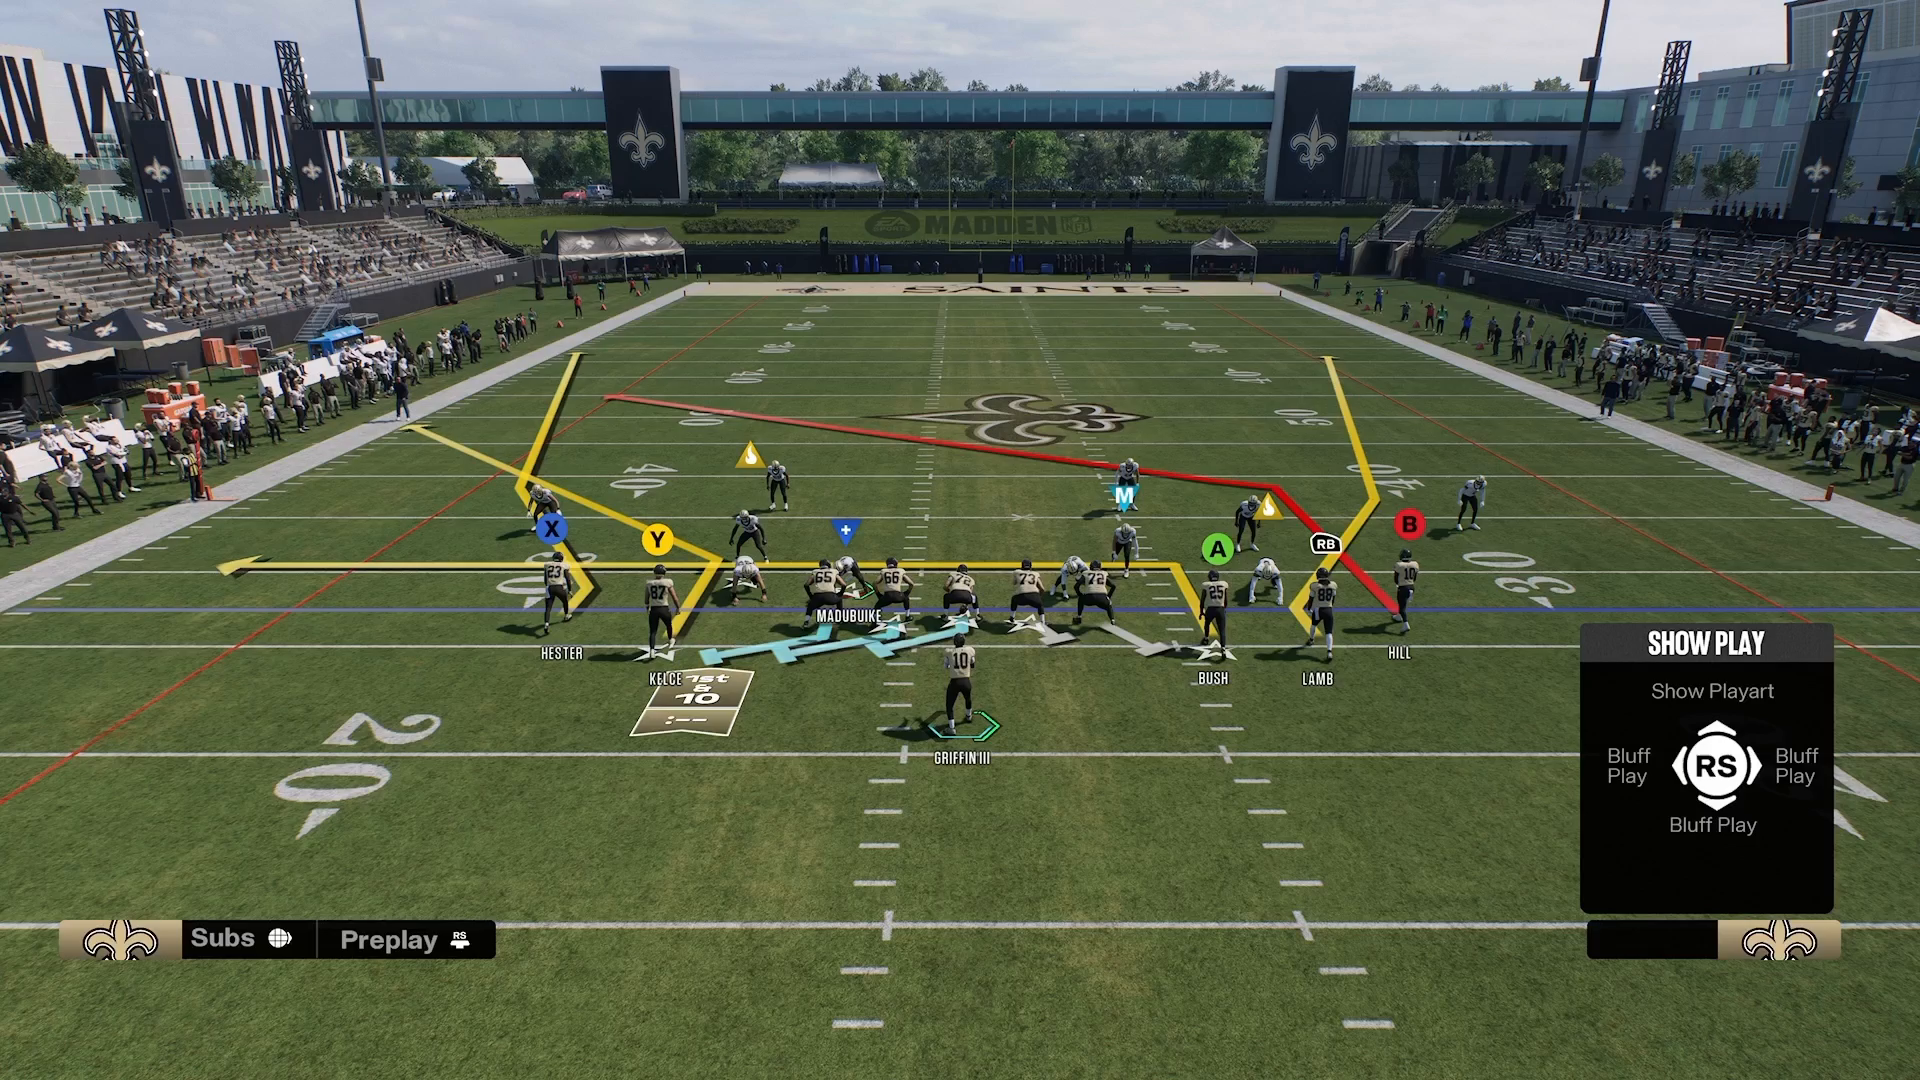
- Set up in the Tampa Bay playbook in Gun 5 Receiver Tight and run the Salem Smash Under play to put defenders in conflict.
- Focus on the B receiver running the slot fade for a clean release outside and separation over the top.
- Add a streak route alongside the slot fade so the strong safety must choose between the deep streak and the slot fade, then throw a highball up and away from the defender.
Understanding the Gun 5 Receiver Tight Formation
In Madden NFL 27, finding effective plays to beat man coverage is essential for any player looking to dominate on the virtual gridiron. One of the standout options for this is the Gun 5 Receiver Tight formation, specifically the Salem Smash Under play.
This play is not just about gaining yardage; it’s about putting defenders in conflict, which is a foundational principle in the 16 Spaces system. In this article, you’ll learn how to maximize this play to consistently defeat man press coverage.
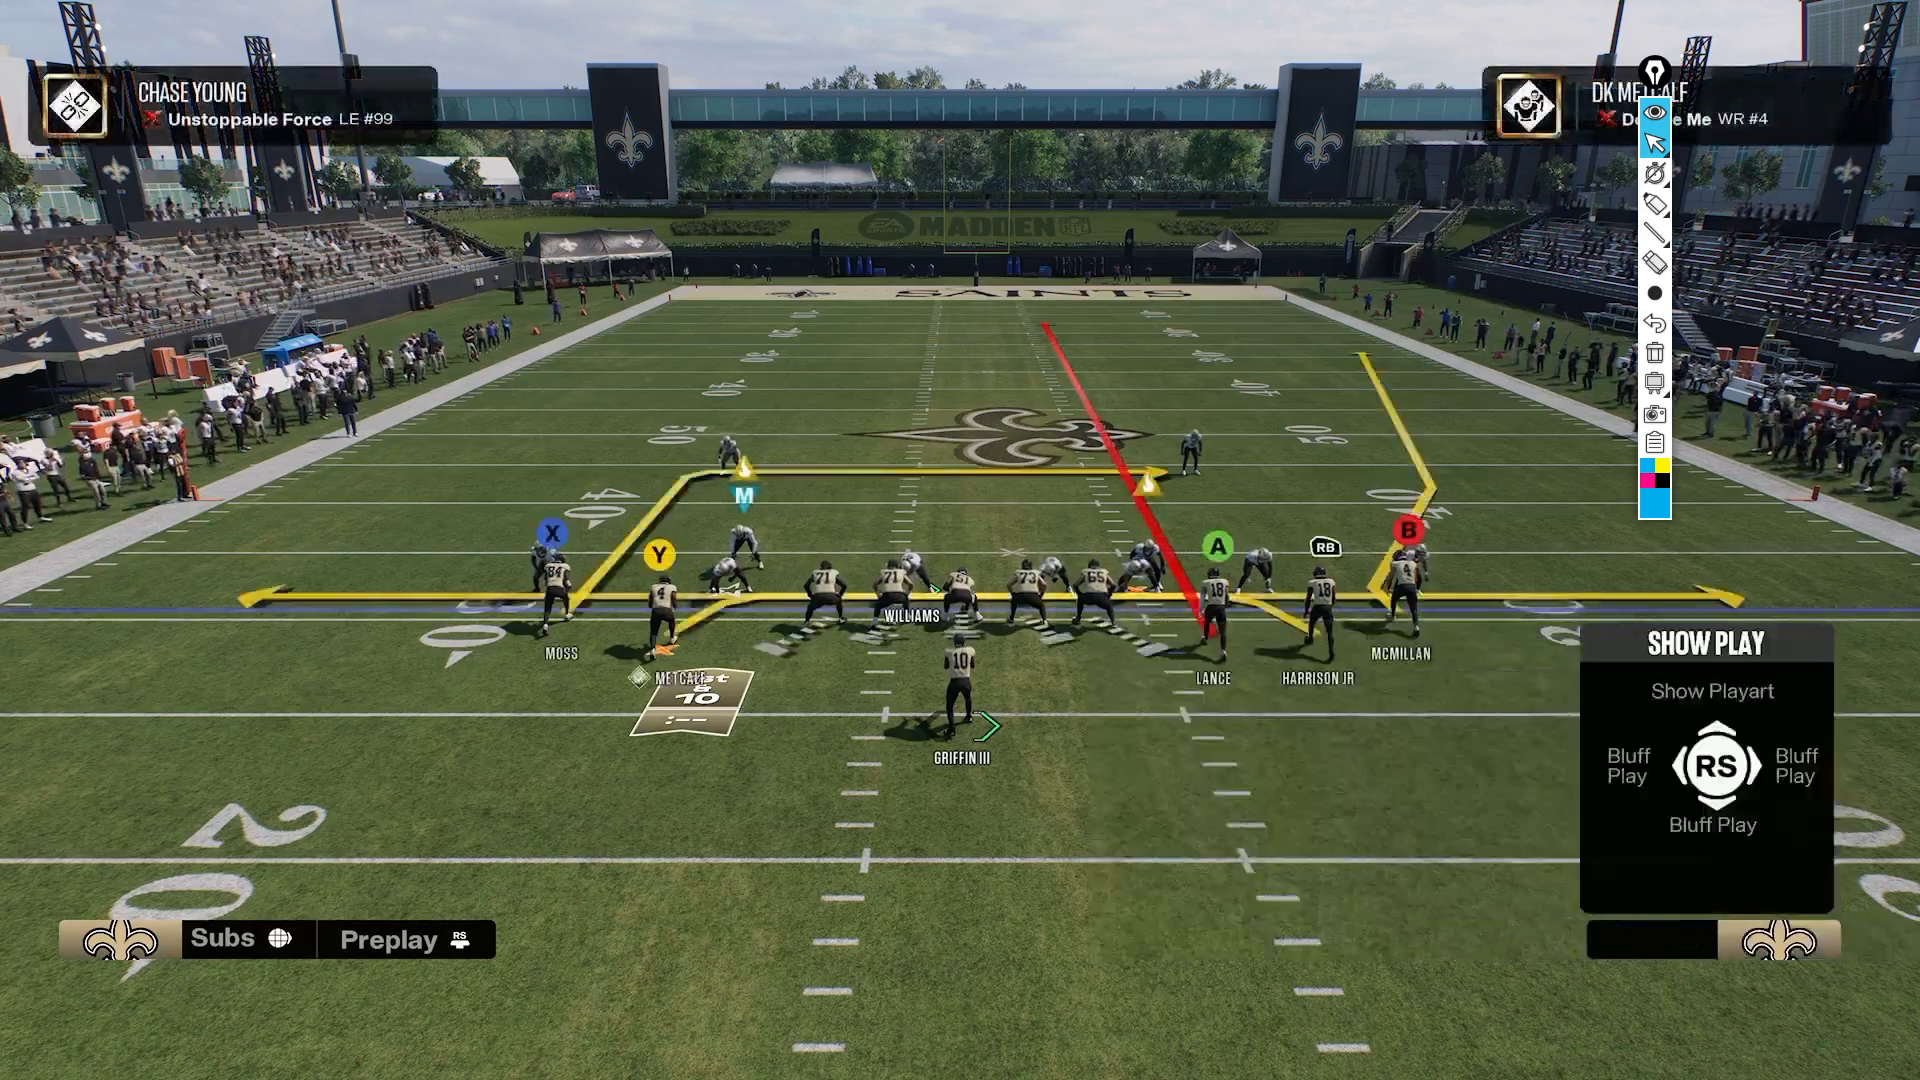
Setting Up the Play
To get started, make sure you’re in the Tampa Bay playbook. The formation you want is the Gun 5 Receiver Tight, and the play you’ll be running is Salem Smash Under. This setup is designed to create defensive confusion, allowing your receivers to exploit mismatches.
The first principle of the 16 Spaces system is critical here: put defenders in conflict. With the right execution, you can draw defenders away from their assignments, opening up opportunities downfield.
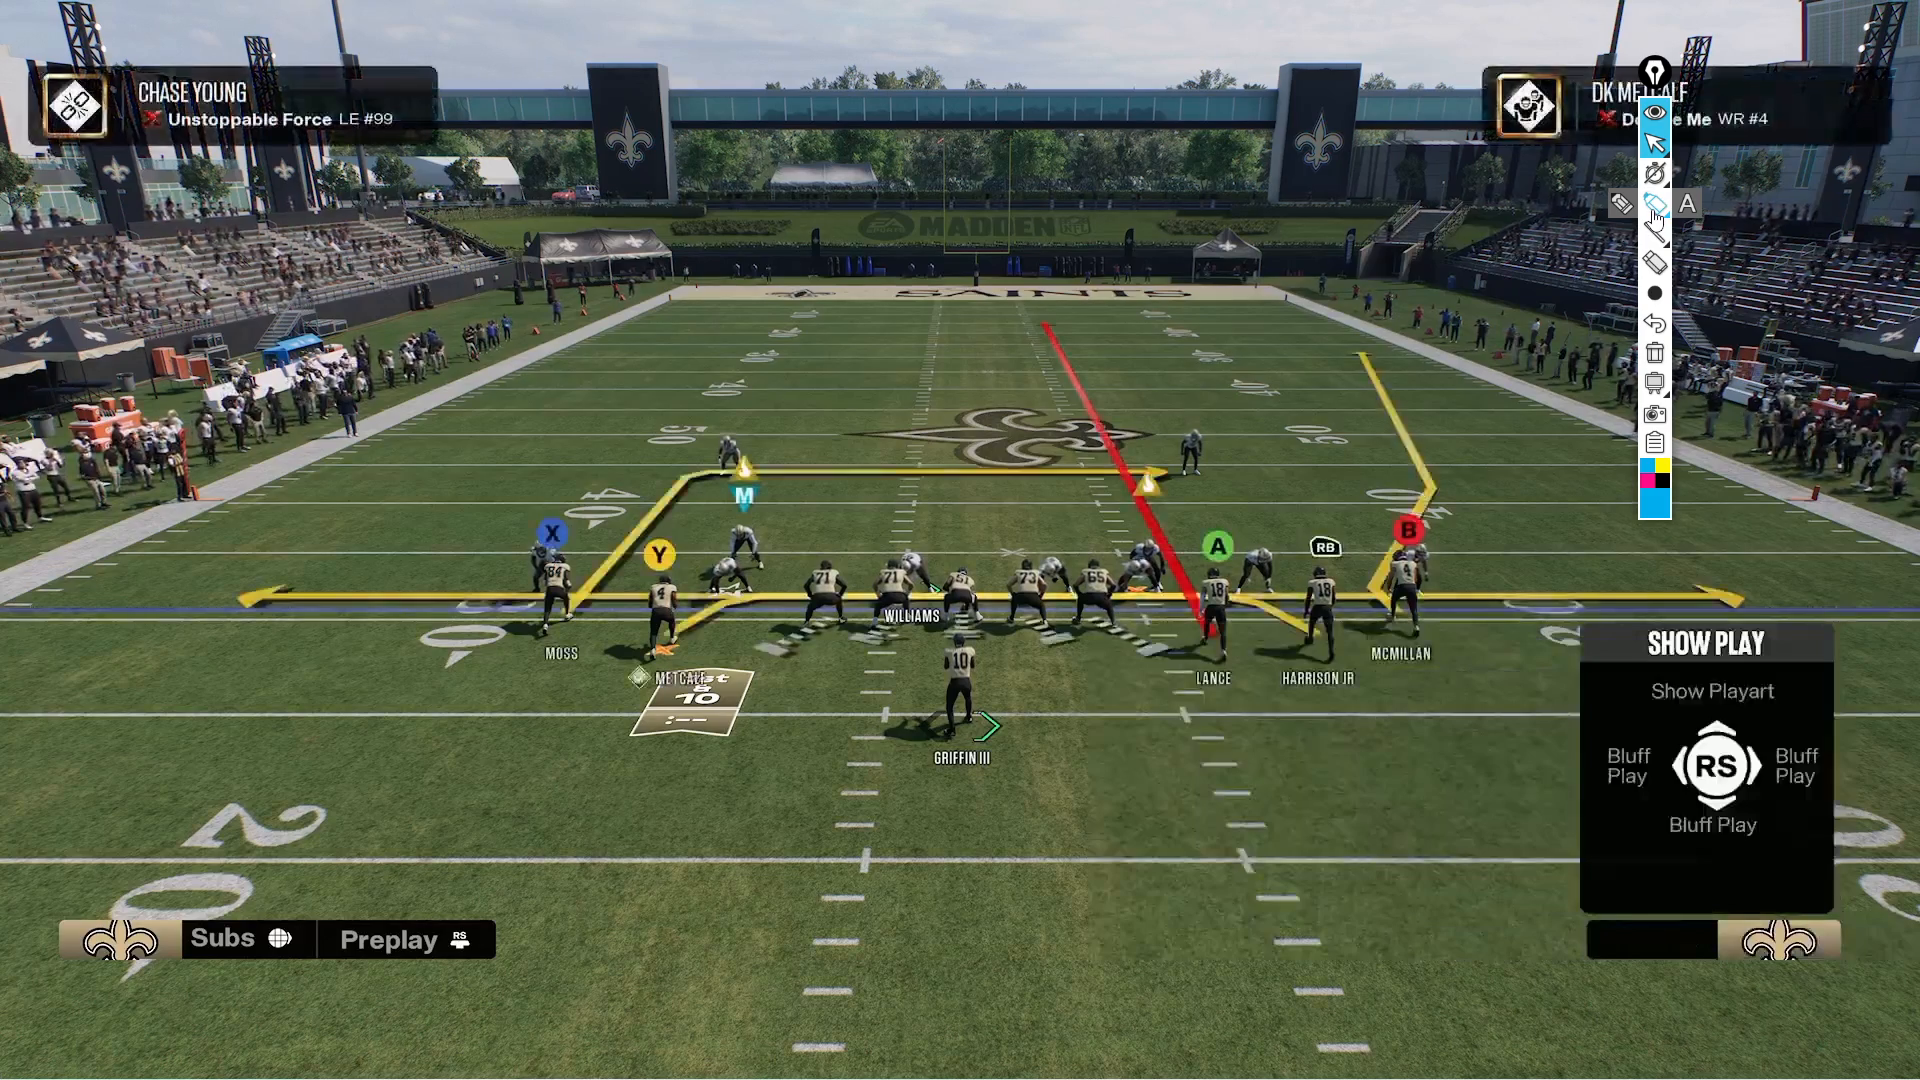
Utilizing the Slot Fade
The next step involves focusing on the B receiver running the slot fade route. Watch closely as this receiver gets a clean release outside at the snap. Your objective here is to gain separation over the top.
By forcing the defense to make a choice, you can take advantage of the space created. This is a classic 16 Spaces read, where the goal is to make defenders hesitate and second-guess their assignments.
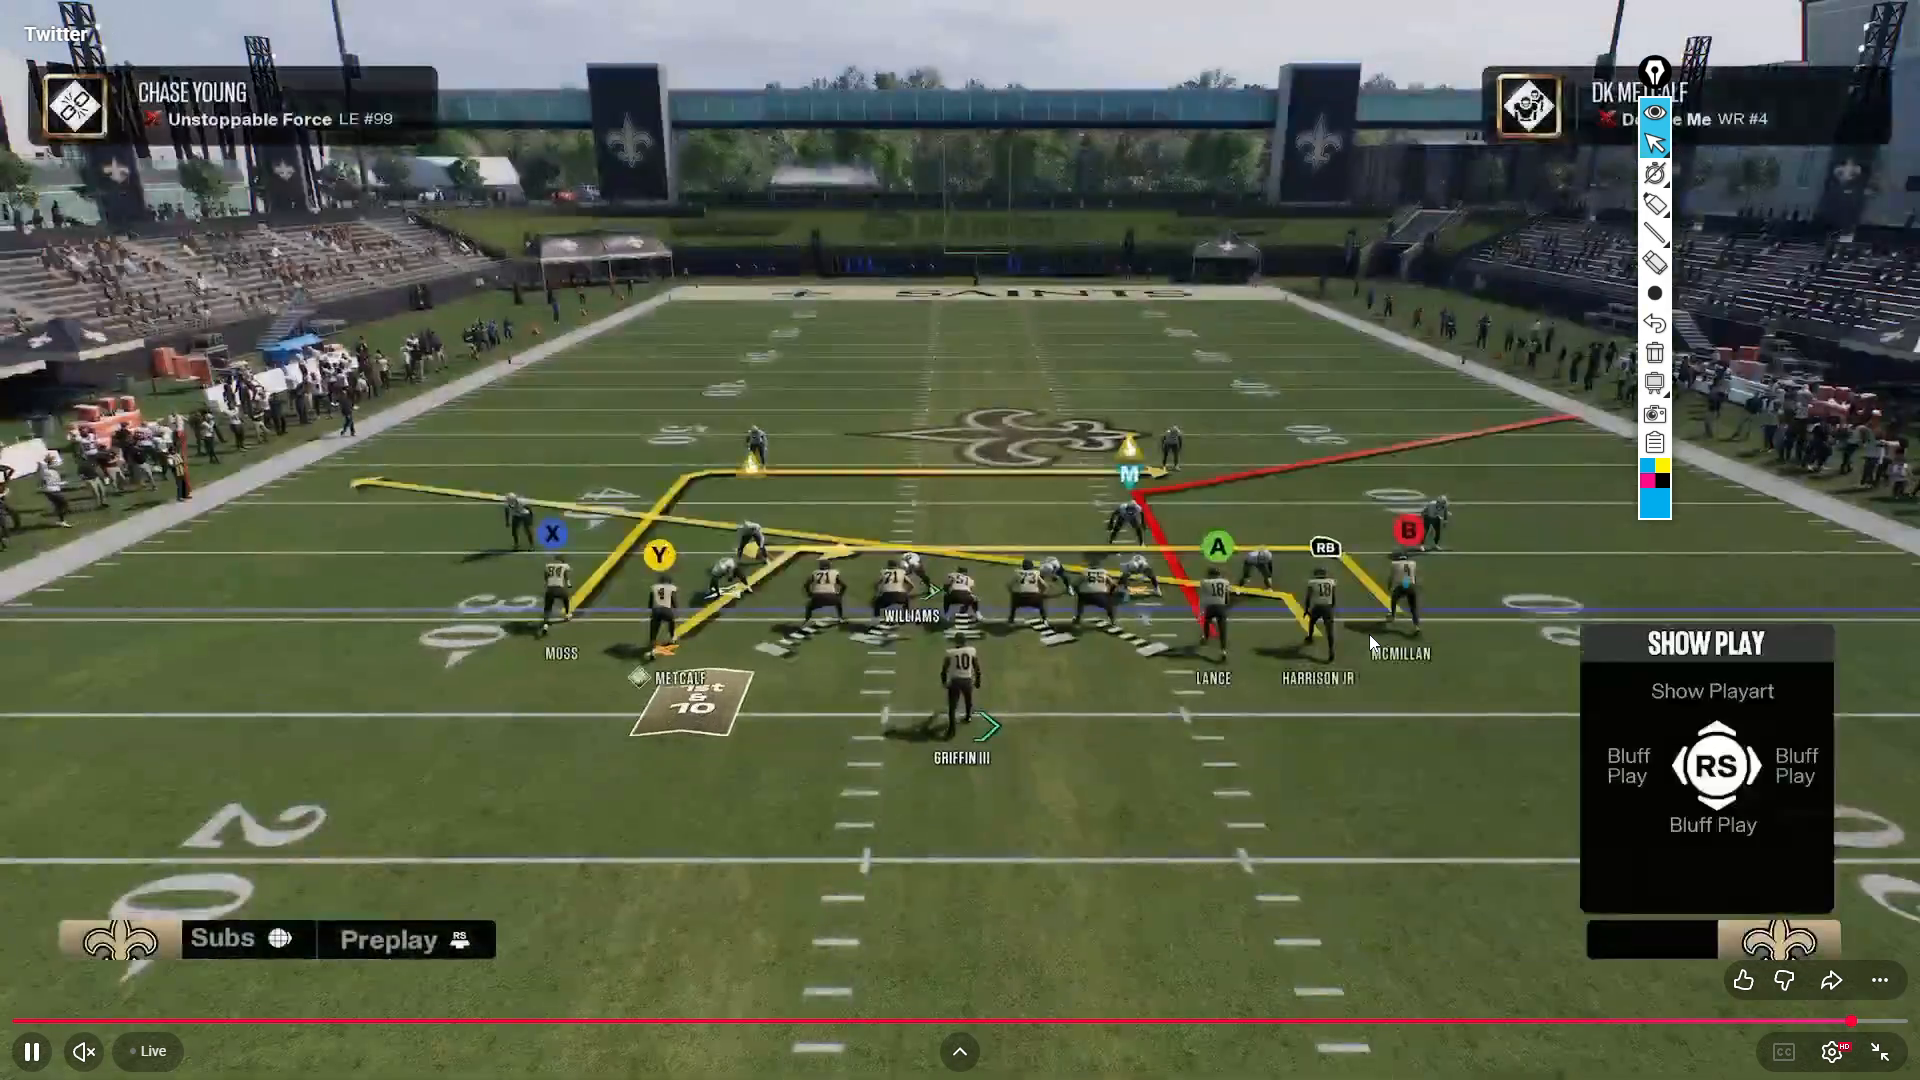
Implementing the Streak Route
To maximize the effectiveness of the slot fade, you need to add a streak route alongside it. The strong safety now faces a dilemma: he must decide between covering the deep streak or staying with the slot fade. This conflict is key, as it opens a lane for the slot receiver to exploit.
The Madden Academy spacing principles help you create these conflicts, which can lead to big plays. Keep the pressure on the defense by forcing them to make tough decisions.
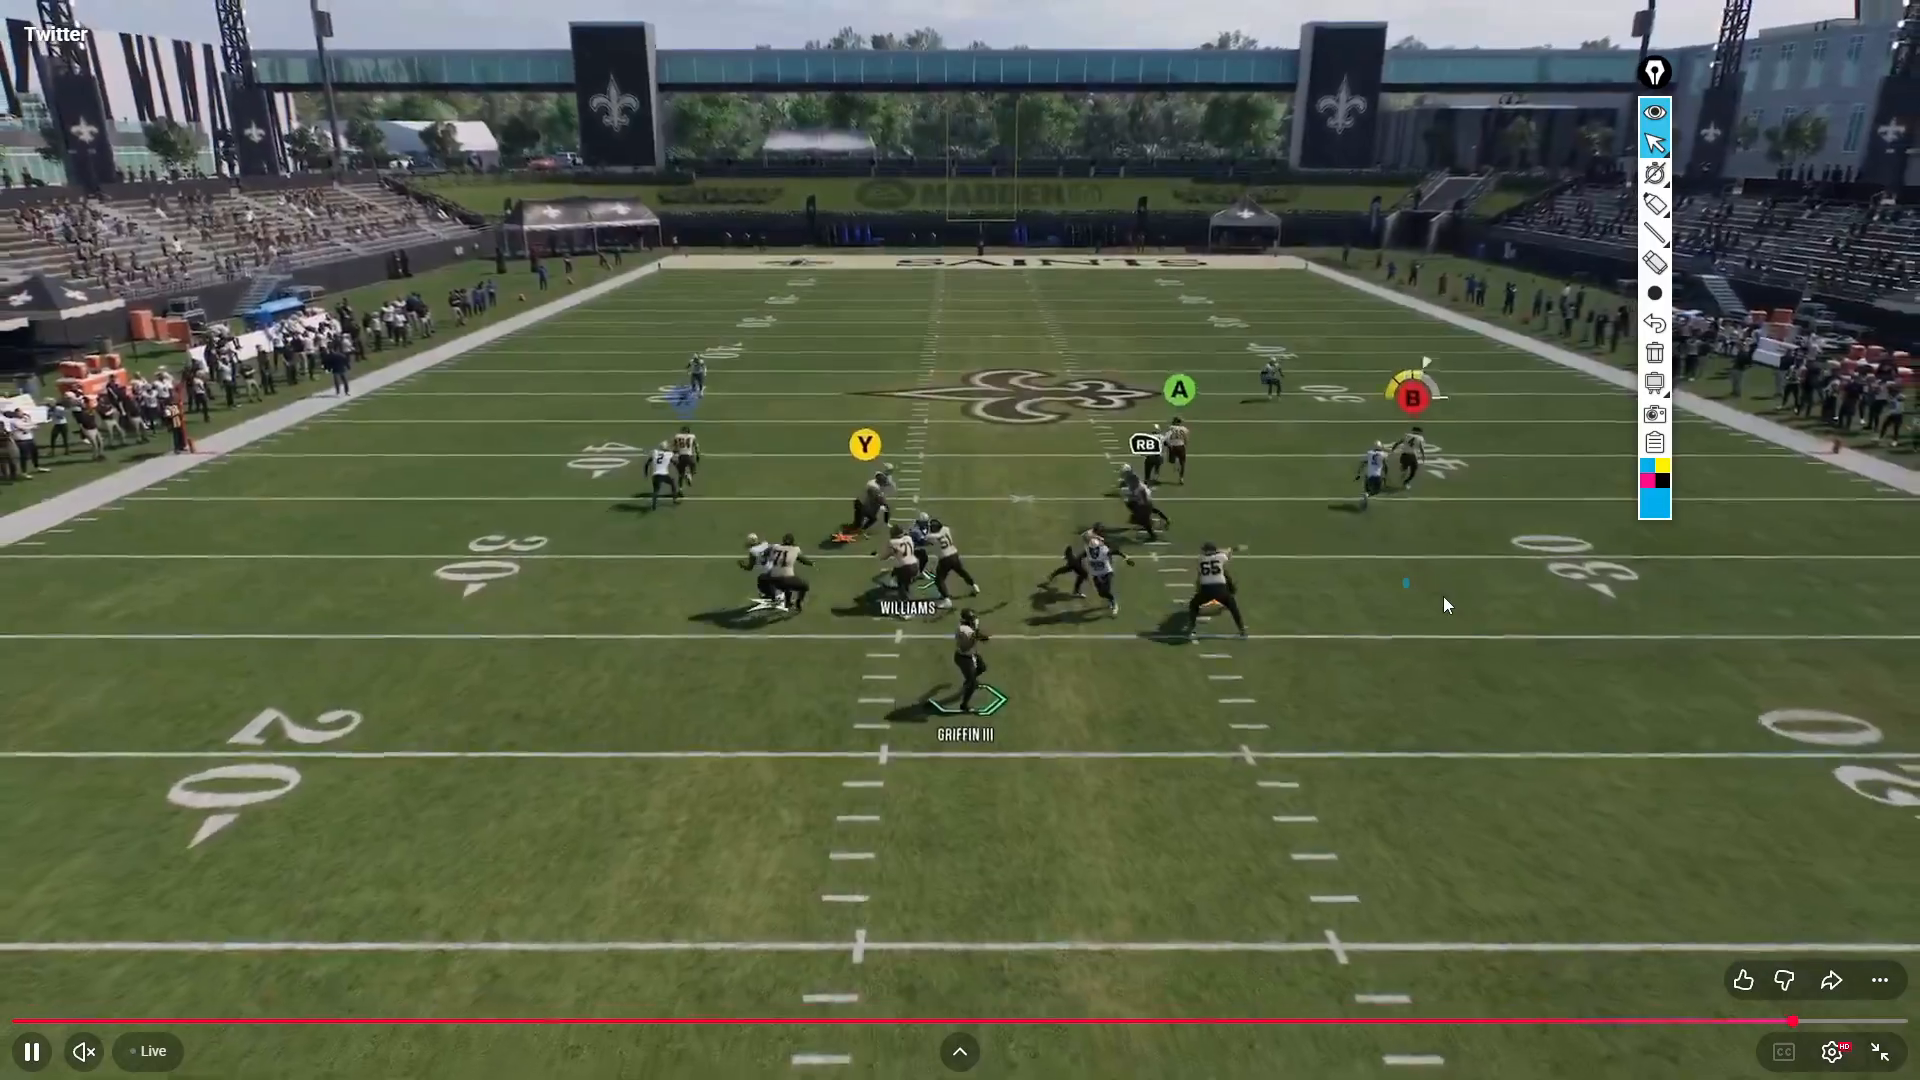
Executing the Highball Throw
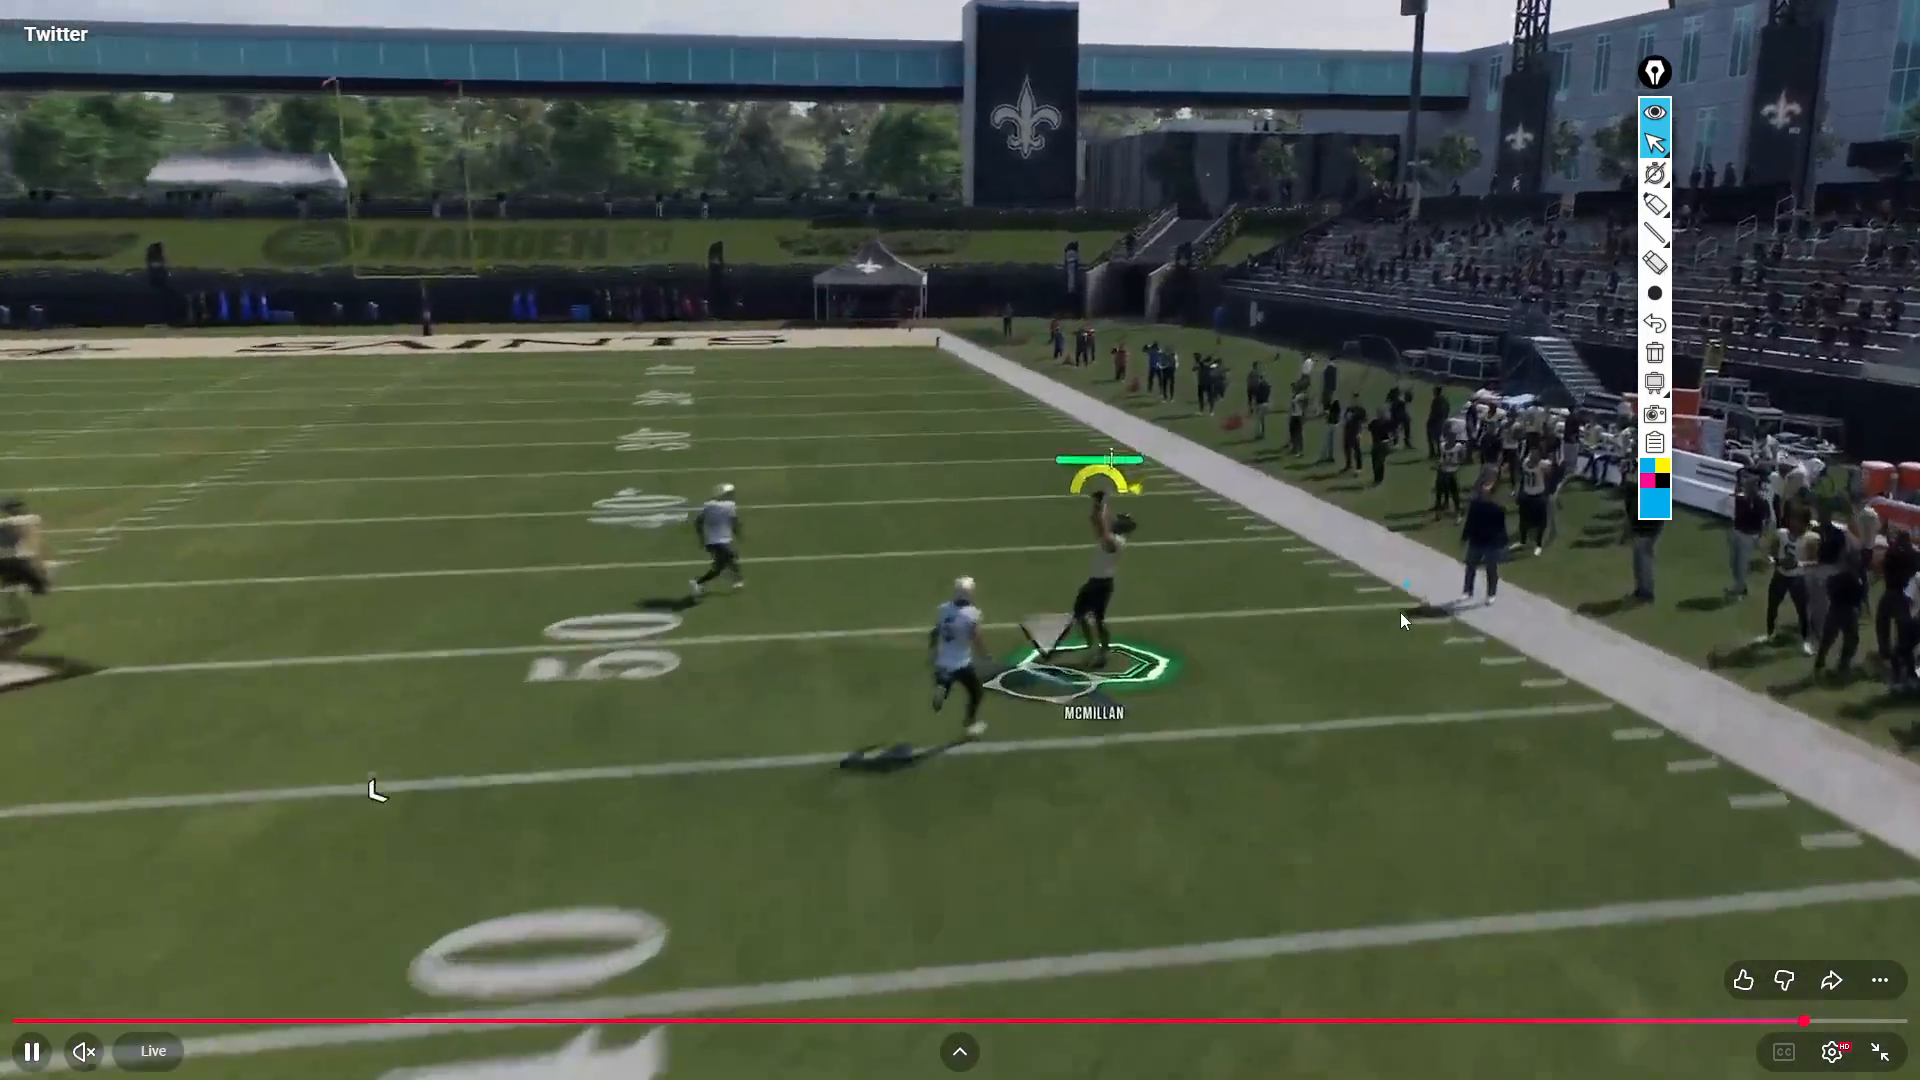
When you see the slot fade in action, it’s time to throw a highball pass to your receiver. This technique is particularly effective on contested releases, as it allows your receiver to go up and win the jump ball.
Admittedly, highballing may feel overpowered, but within the 16 Spaces system, it’s a reliable method to secure a safe pass. Timing and placement are crucial here; throw it up and away from the defender for maximum effect.
Adjusting to Defensive Countermeasures
Defenses will often adjust to counter your tactics, which is why it’s vital to have a backup plan. If your opponent shifts their outside corner into an outside quarter coverage, pivot your read and attack the flats instead.
This inside-out progression forces the defense to react again, keeping them on their toes. You can incorporate this strategy into your overall playbook thinking with the Madden Academy resources, which emphasize adaptability.
Conclusion
Successfully beating man press coverage in Madden 27 requires a combination of effective play calling and strategic execution. The Salem Smash Under from the Gun 5 Receiver Tight formation is a prime example of how to create and exploit defensive conflicts.
By mastering this play and keeping an eye on defensive adjustments, you can turn the tides in your favor. For further insights and tips on Madden strategies, consider diving into our Madden tips section to enhance your game.