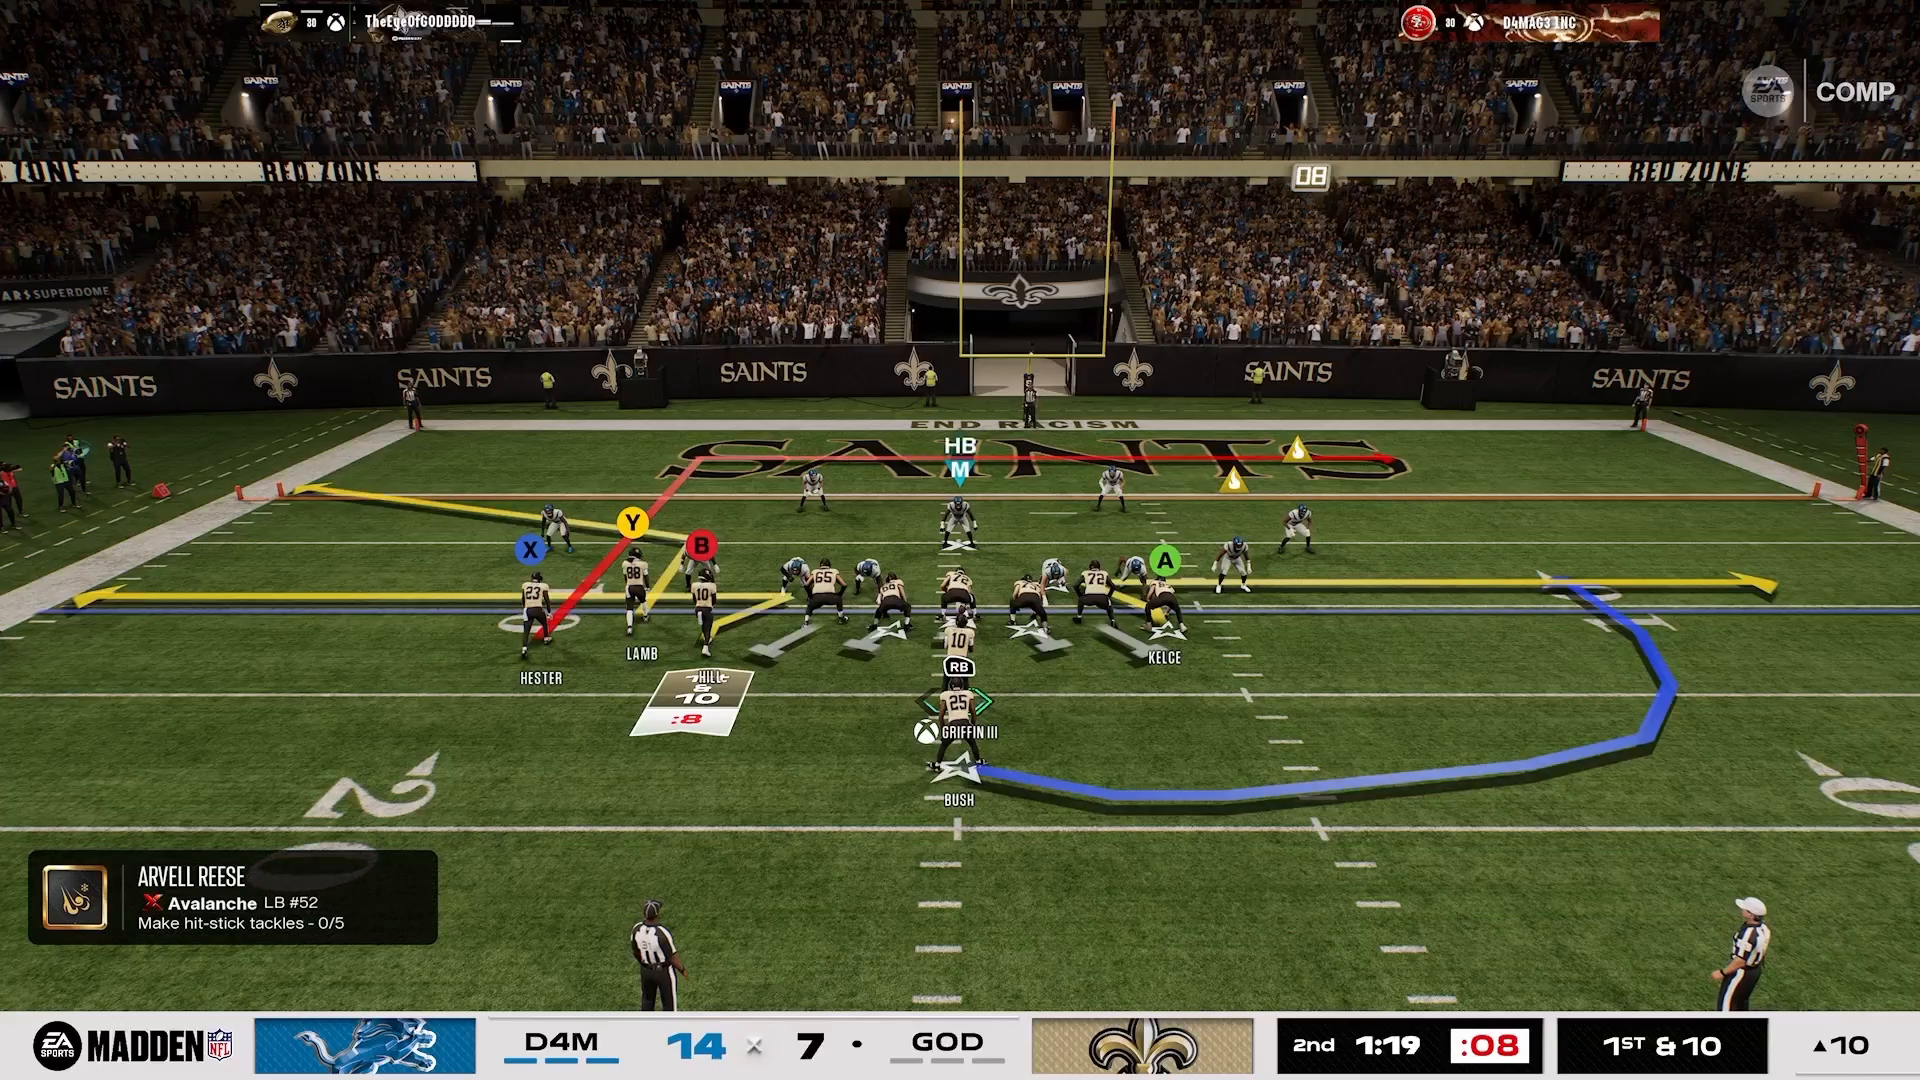
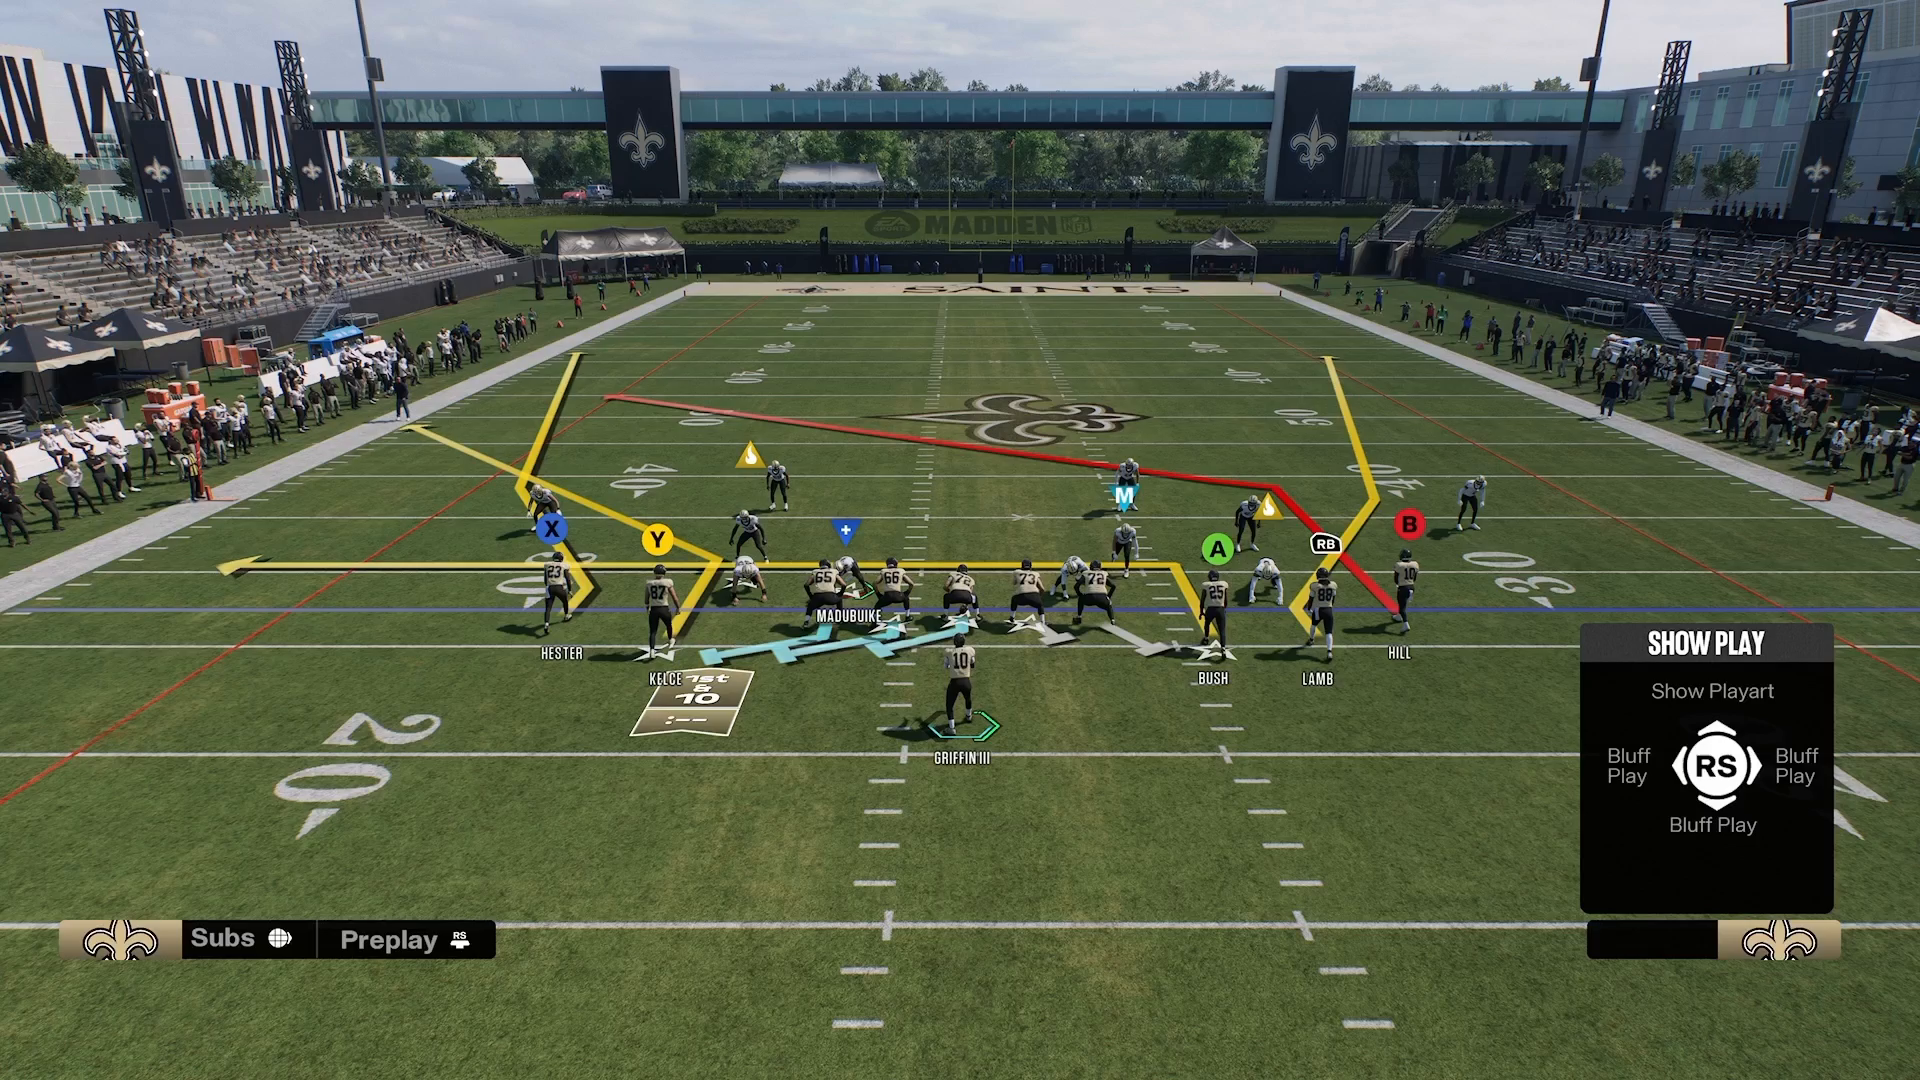
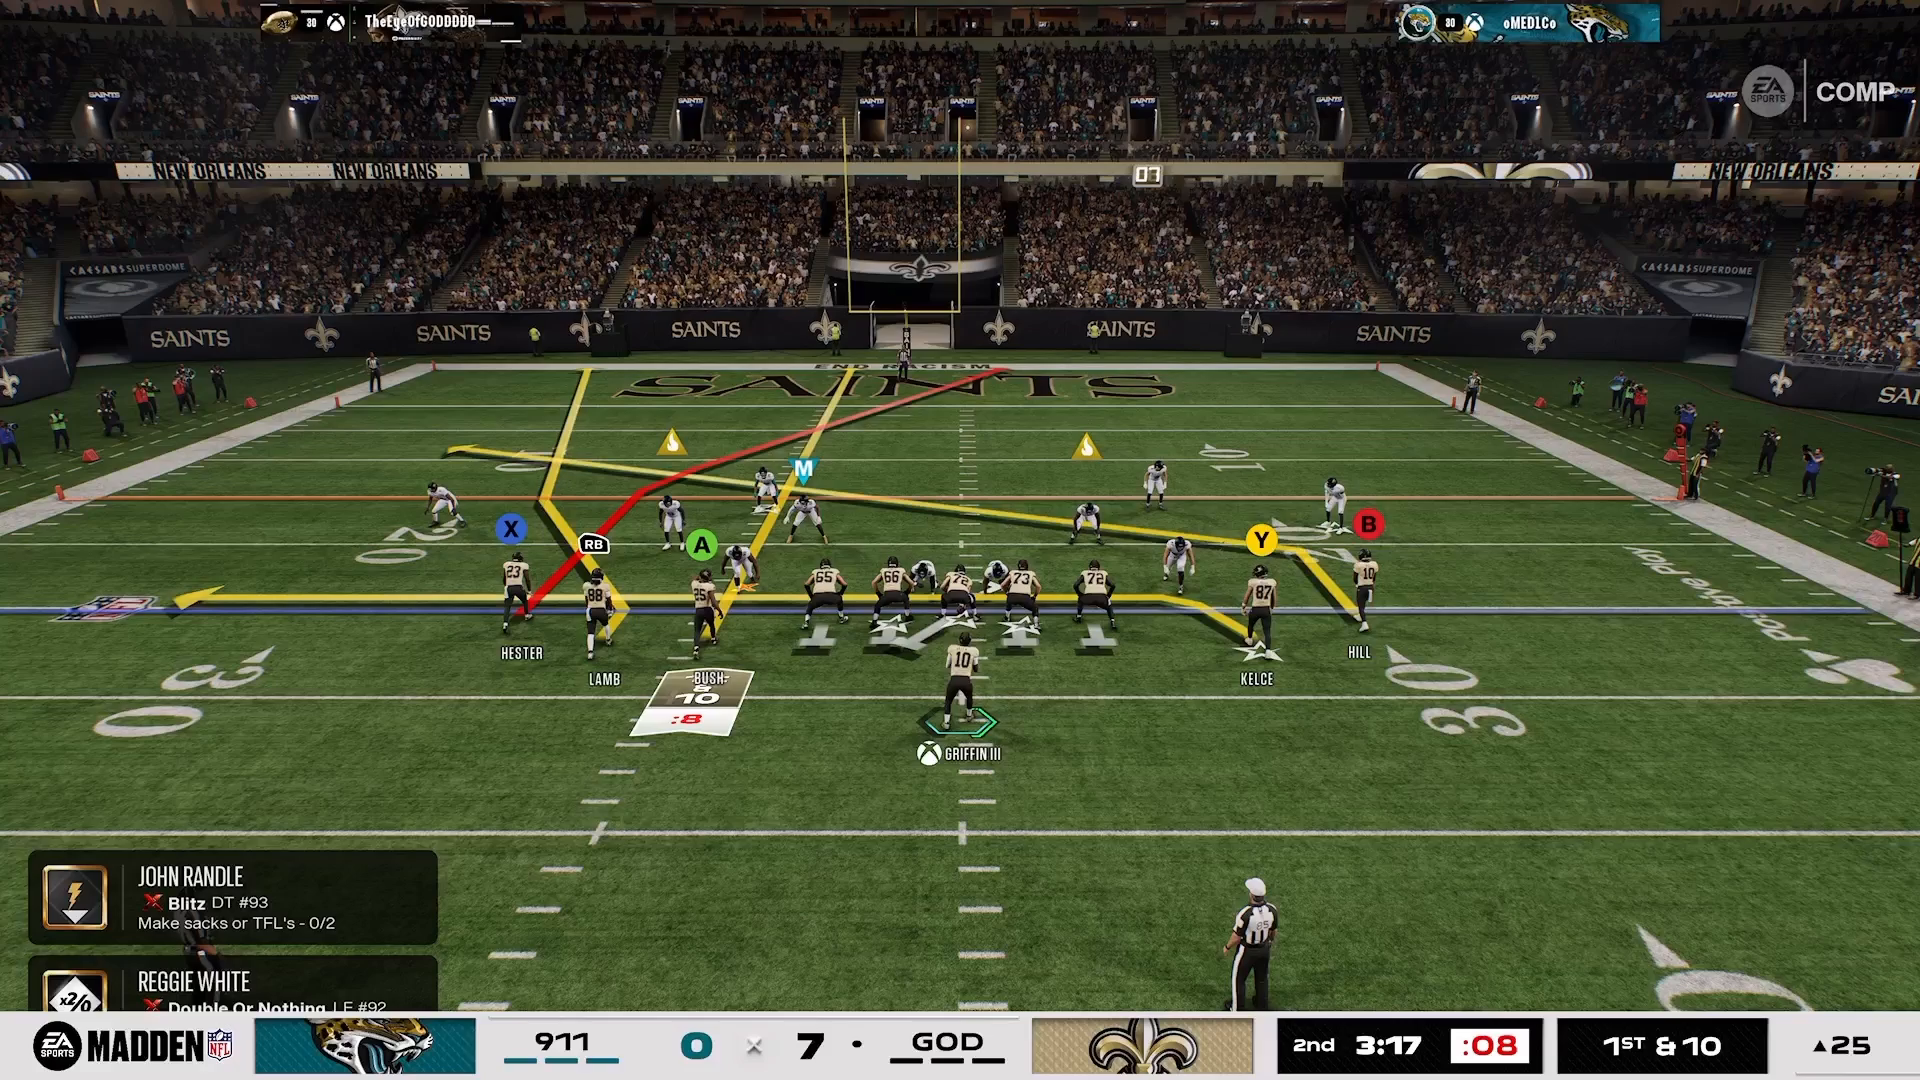
Understanding the 5 Receiver Tight Formation

The 5 receiver tight formation in Madden NFL 27 can be a nightmare for defenders. With multiple targets and the potential for deep passes, you’re always on your toes. To counter this offensive setup, you need a strong defensive strategy that can adapt to the various routes and patterns receivers can run. This article dives into a proven defensive approach that not only neutralizes this formation but also enhances your overall gameplay.

Setup: Nickel Single Mug

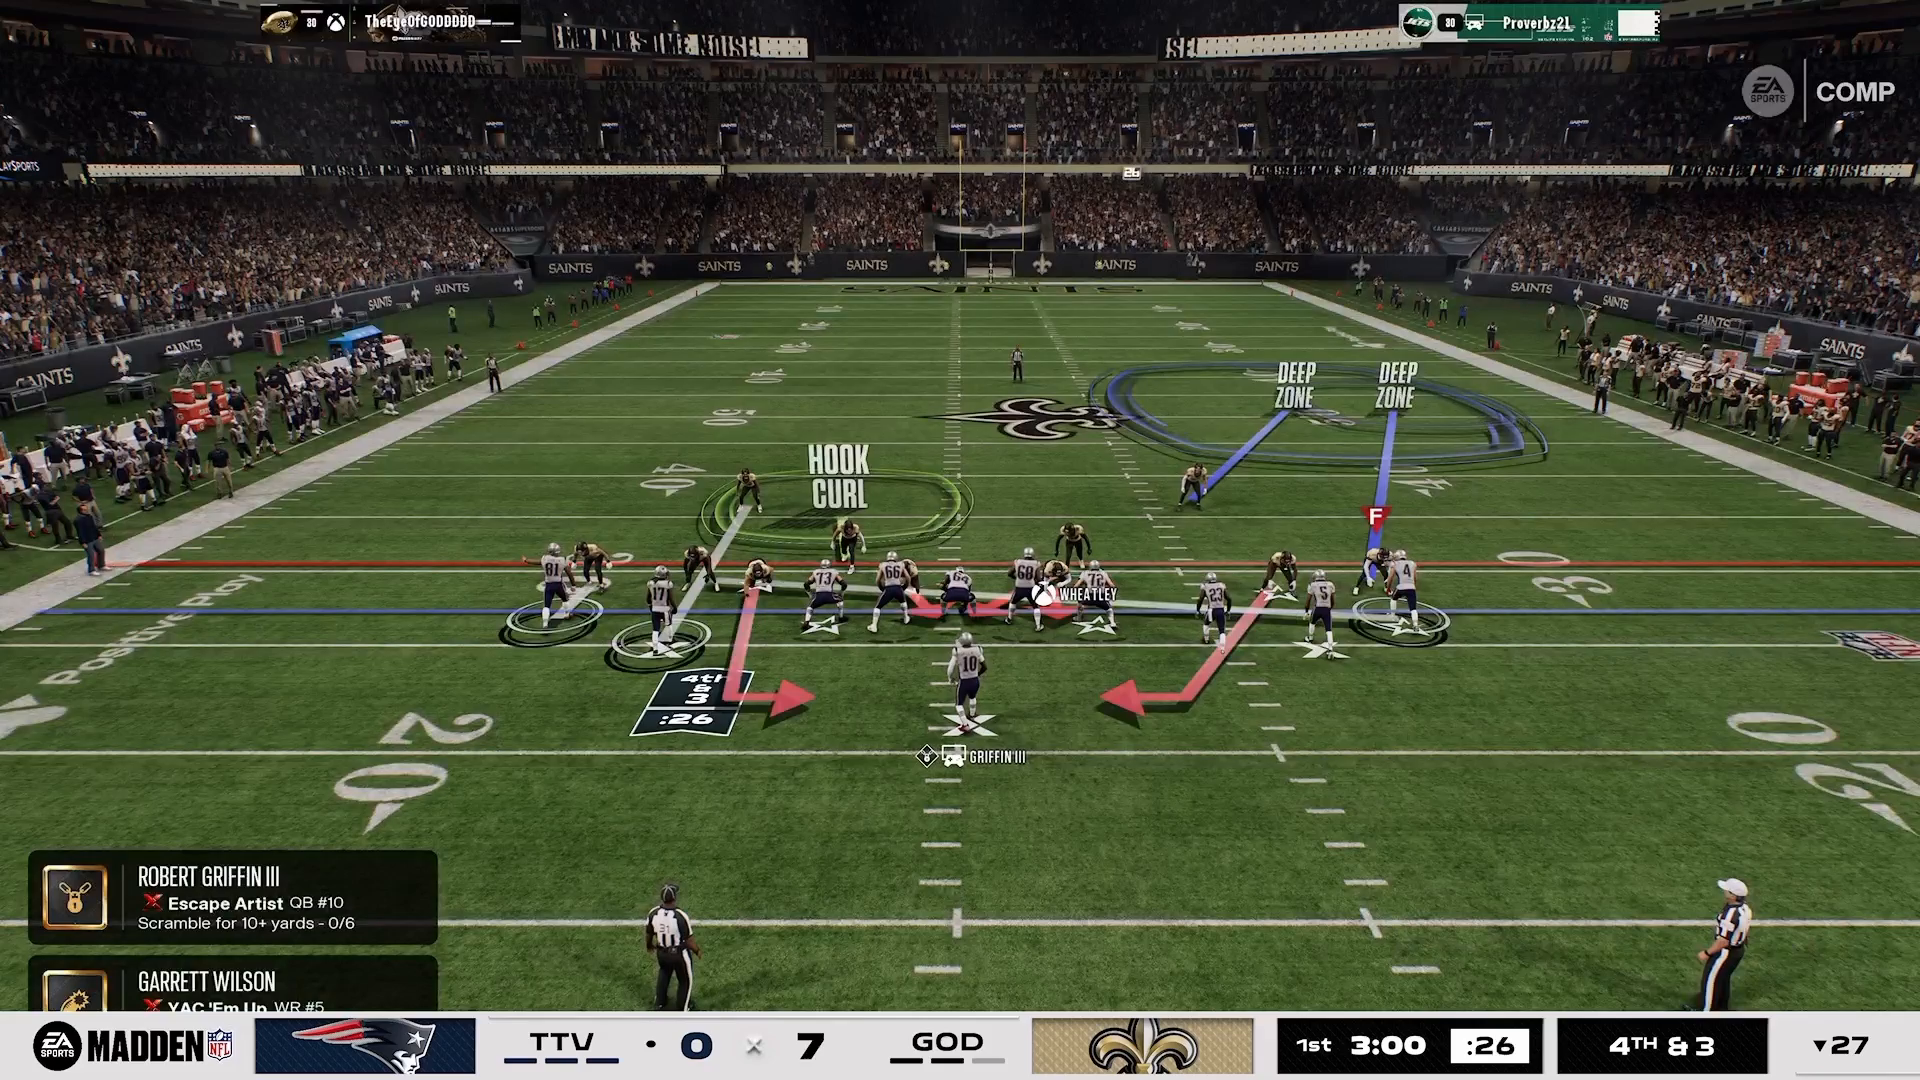
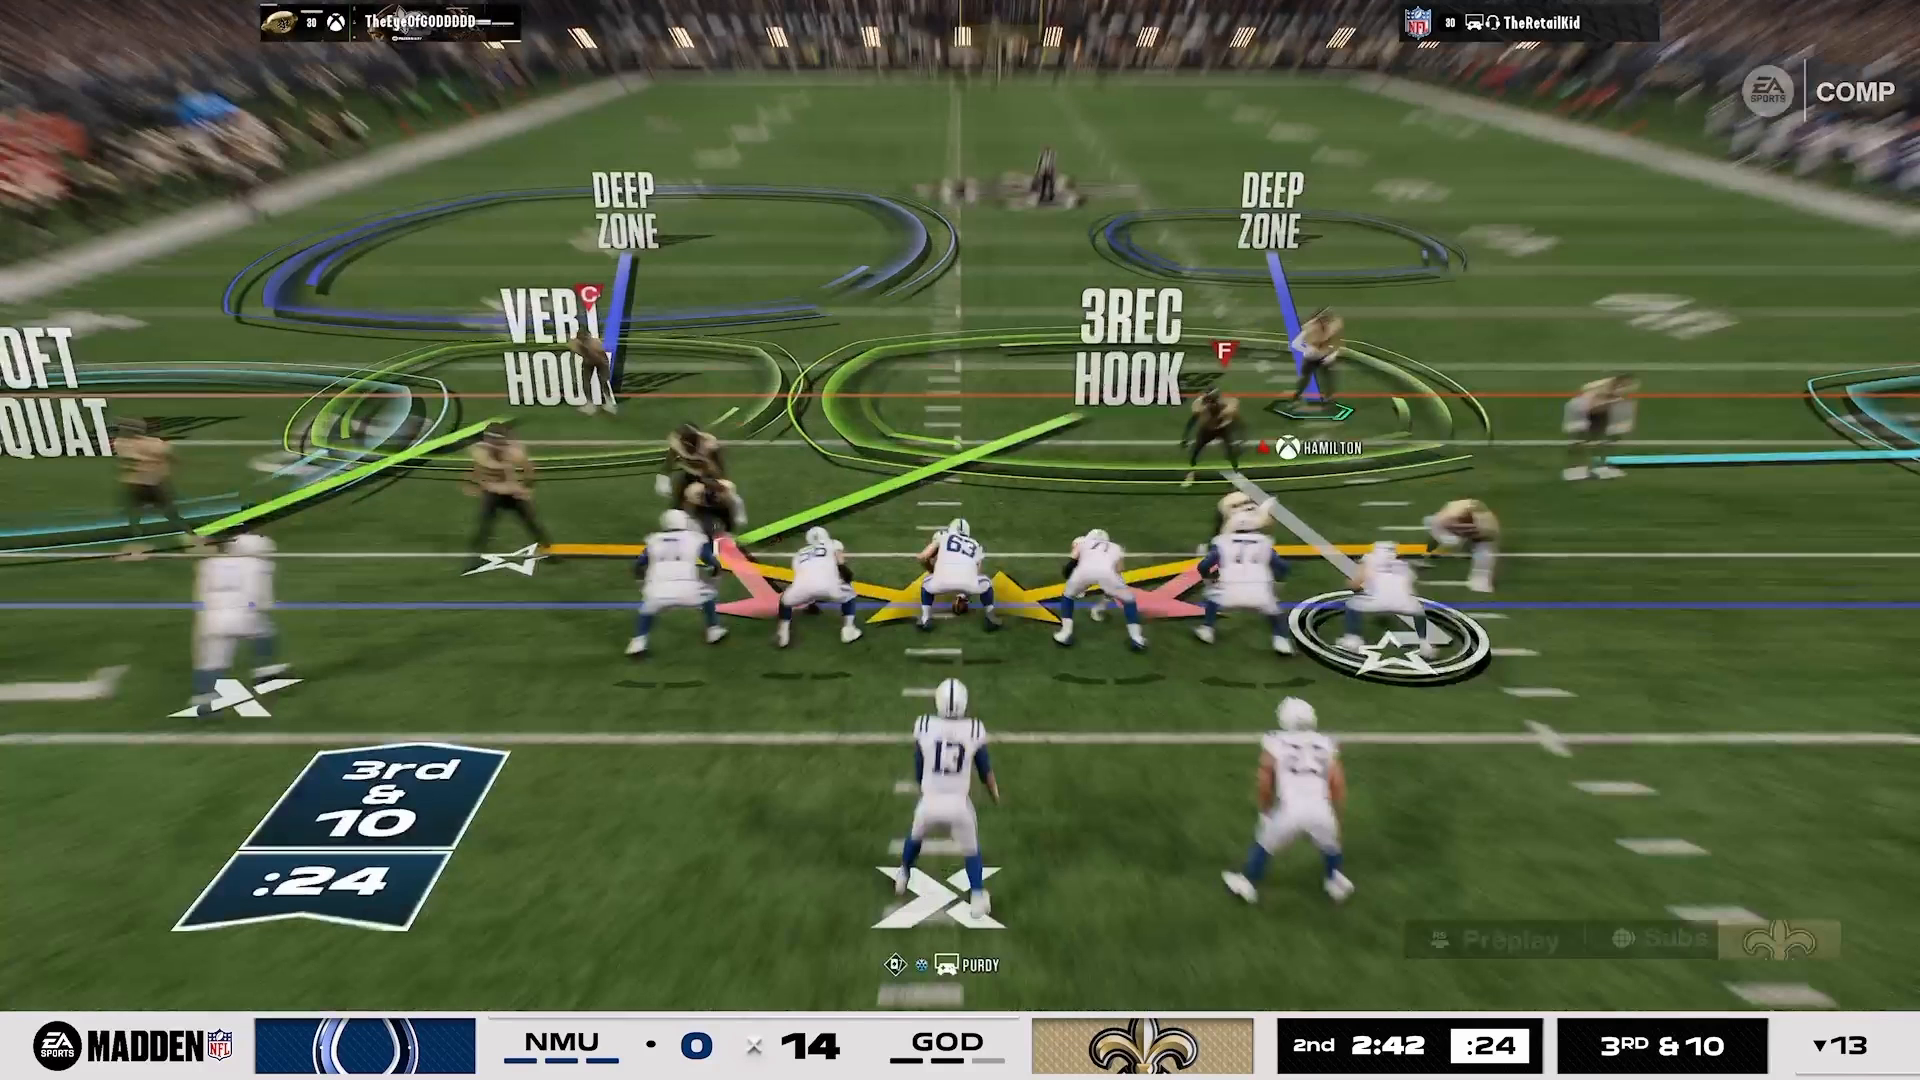
Start by selecting the San Francisco playbook and navigate to the Nickel Single Mug formation. It’s essential to flip the COVID 9 play to maximize efficiency. By placing COVID 2 match on the 3-receiver side, you create a powerful defensive front. The 16 Spaces system enables you to lock down the right half like a cover 2 match, which can be a game-changer.

Remember to baseline your defense. While this may seem straightforward, the effectiveness of this setup hinges on your practice with match zones. Familiarity will make a significant difference in your performance.
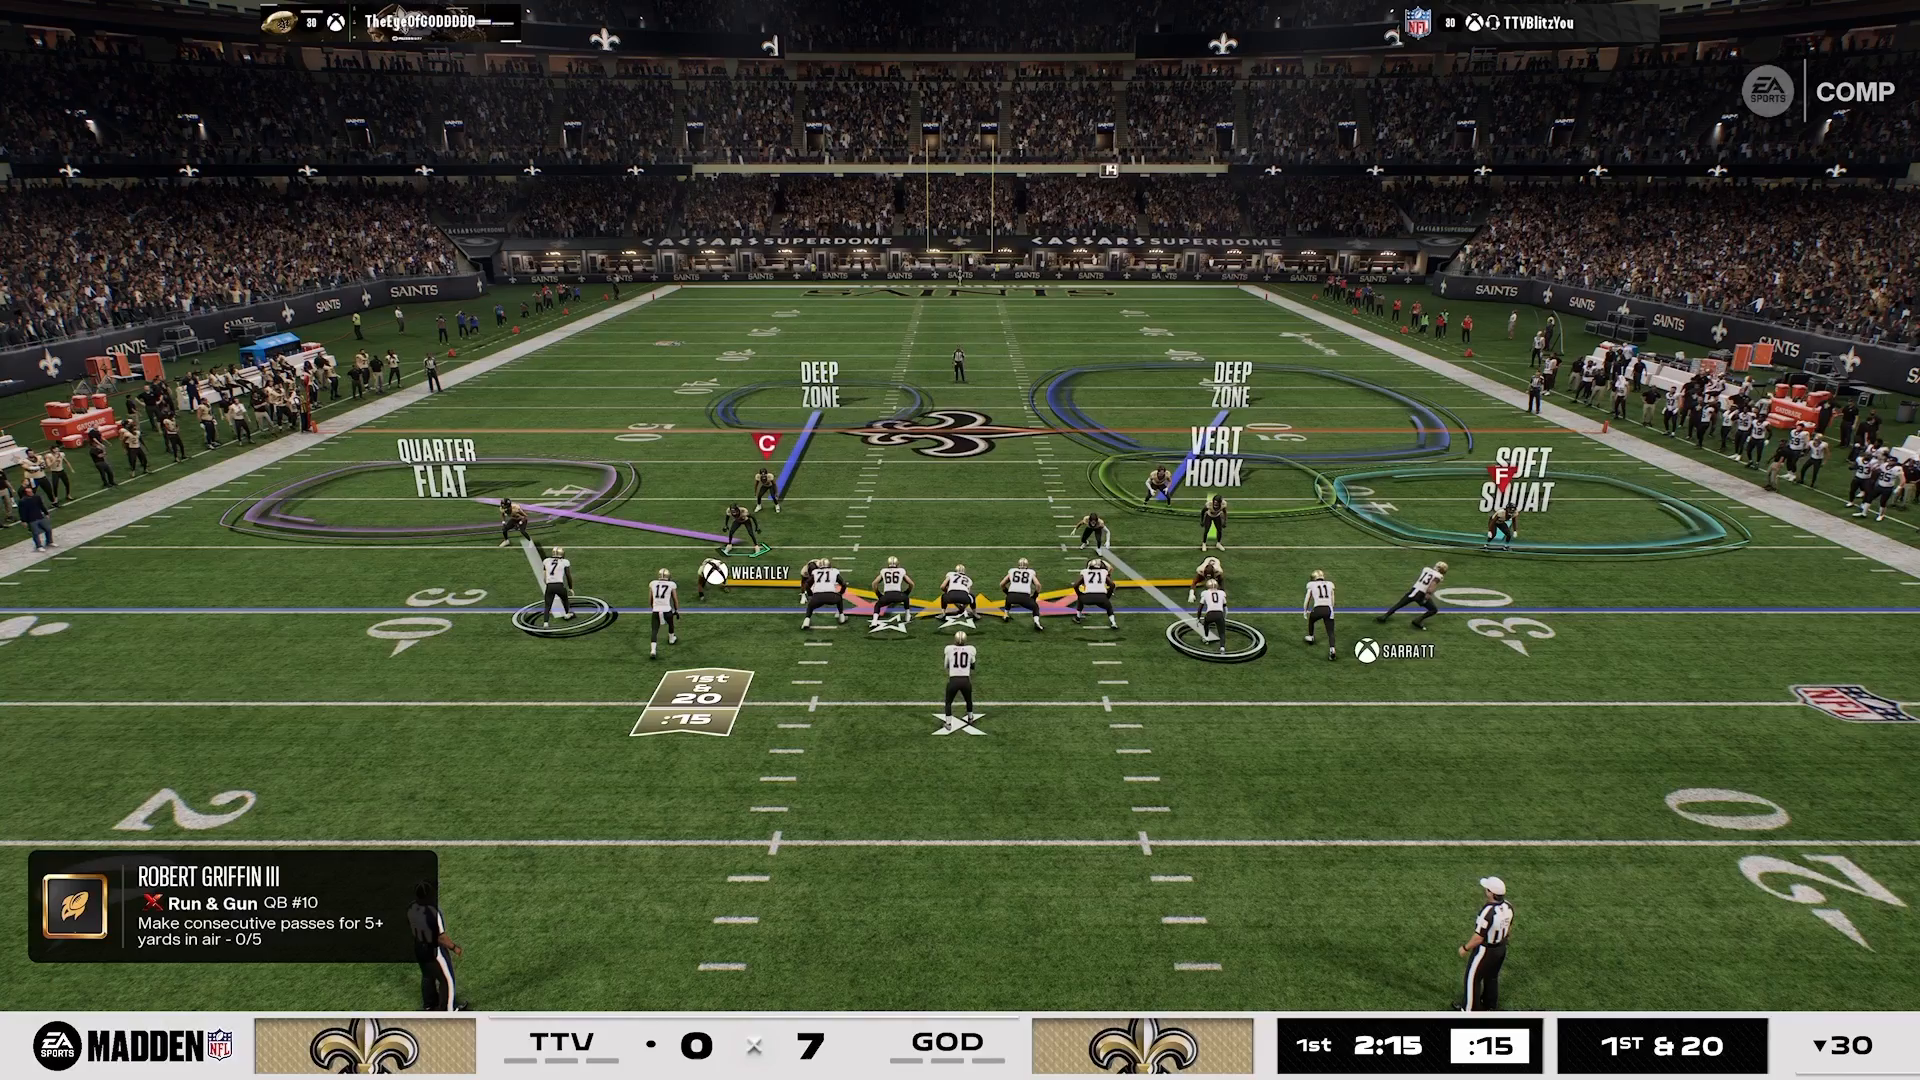
Setup of Nickel Single Mug defense in Madden NFL 27

Why COVID 2 Match Works

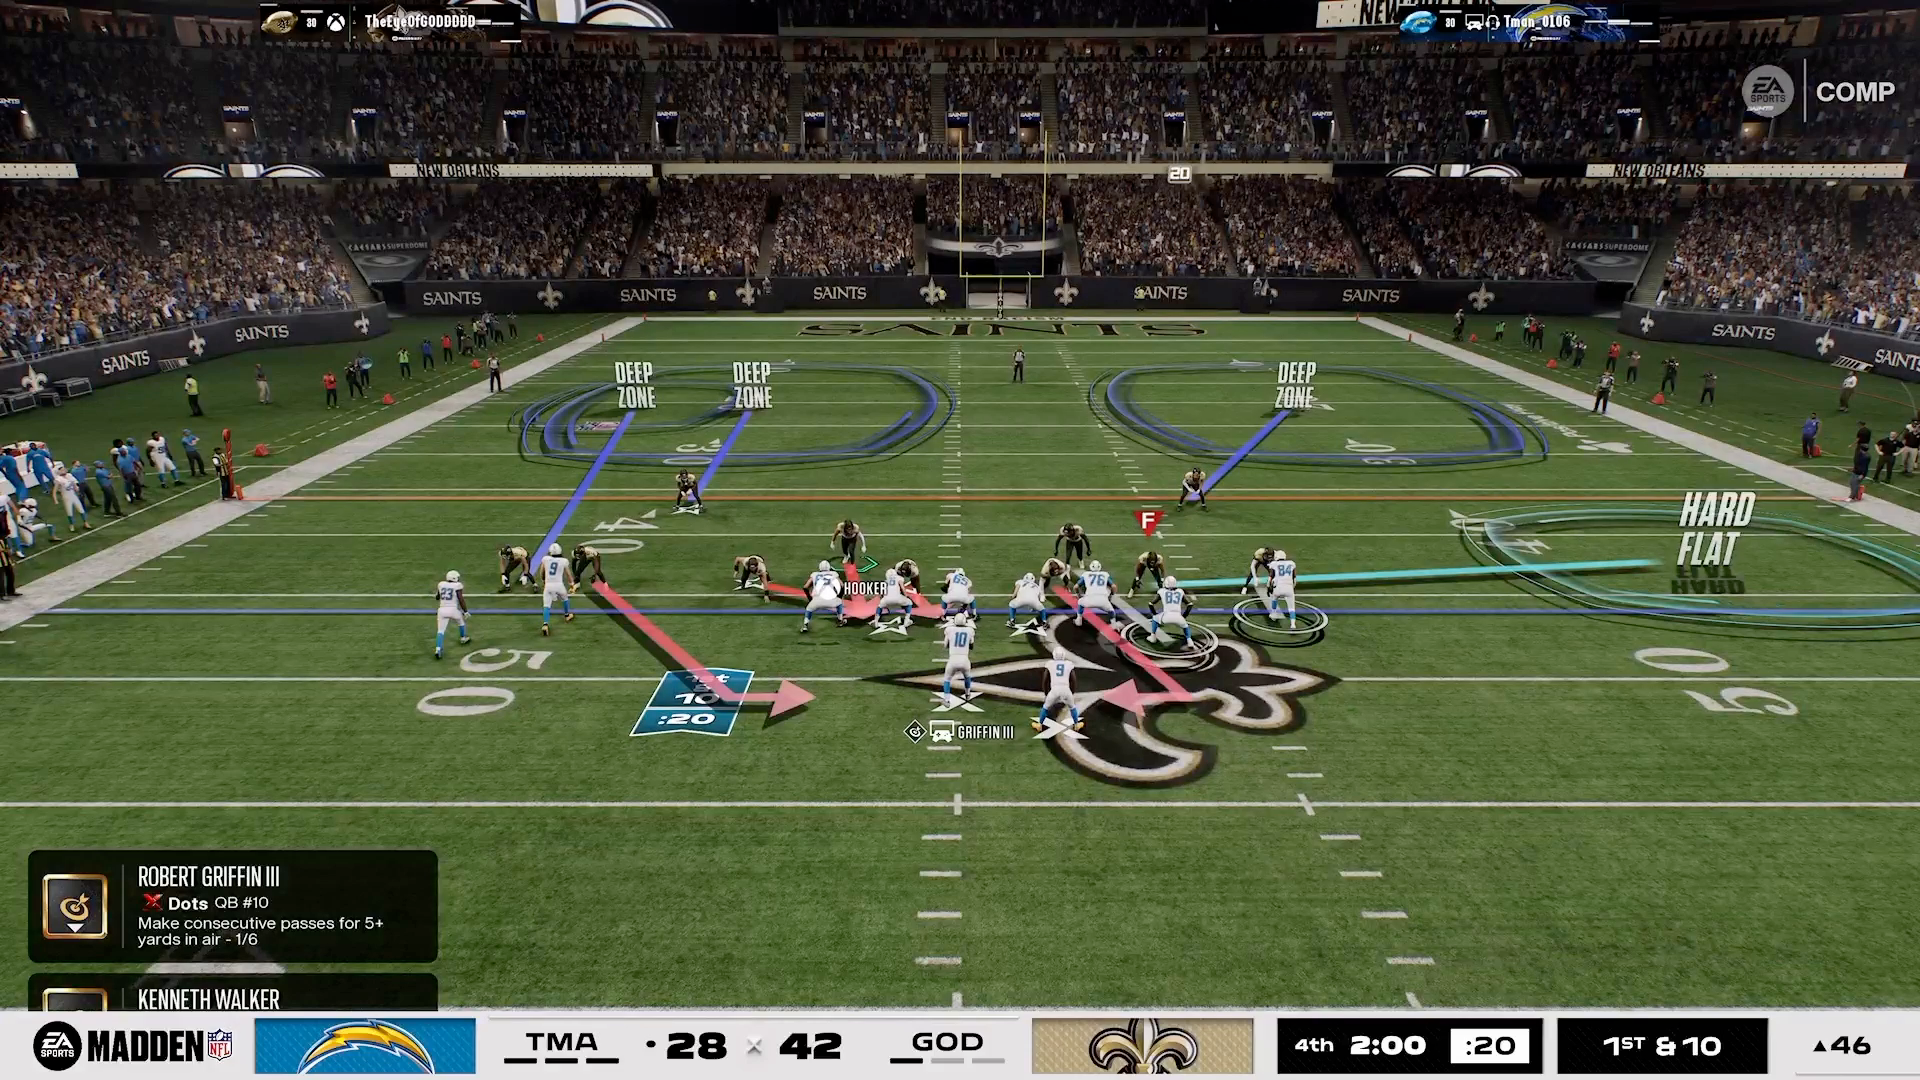
The COVID 2 match is key in this strategy because it functions as a delayed man coverage on the right half. This means that each defender on that side will man up on the receiver directly in front of them. This alignment is crucial as it effectively halts deep streaks that the 5 receiver tight formation often relies on.

As a rule from the Madden Academy, controlling space is vital. You want to force the quarterback to make throws into your coverage zones, leveraging the 16 Spaces system to your advantage.
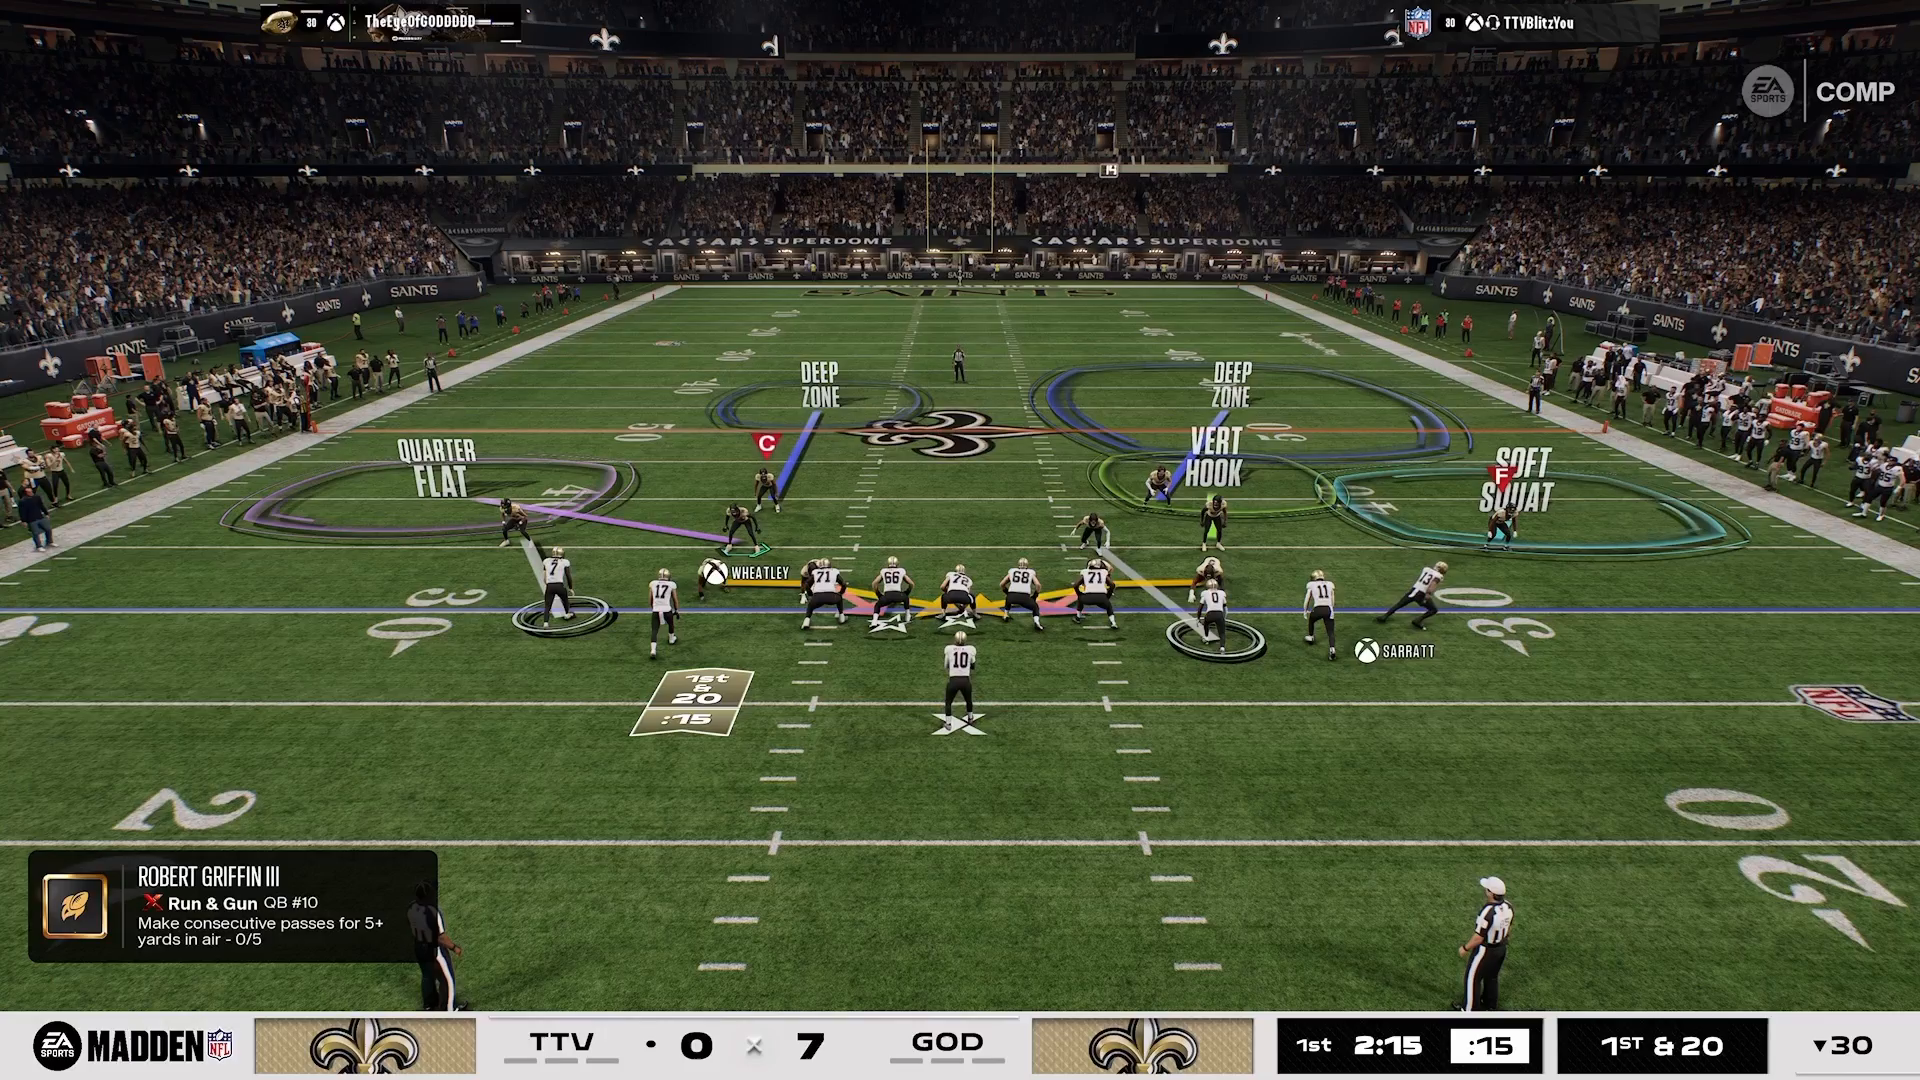
COVID 2 match coverage visual in Madden NFL 27

Adjusting the 3-Receiver Side

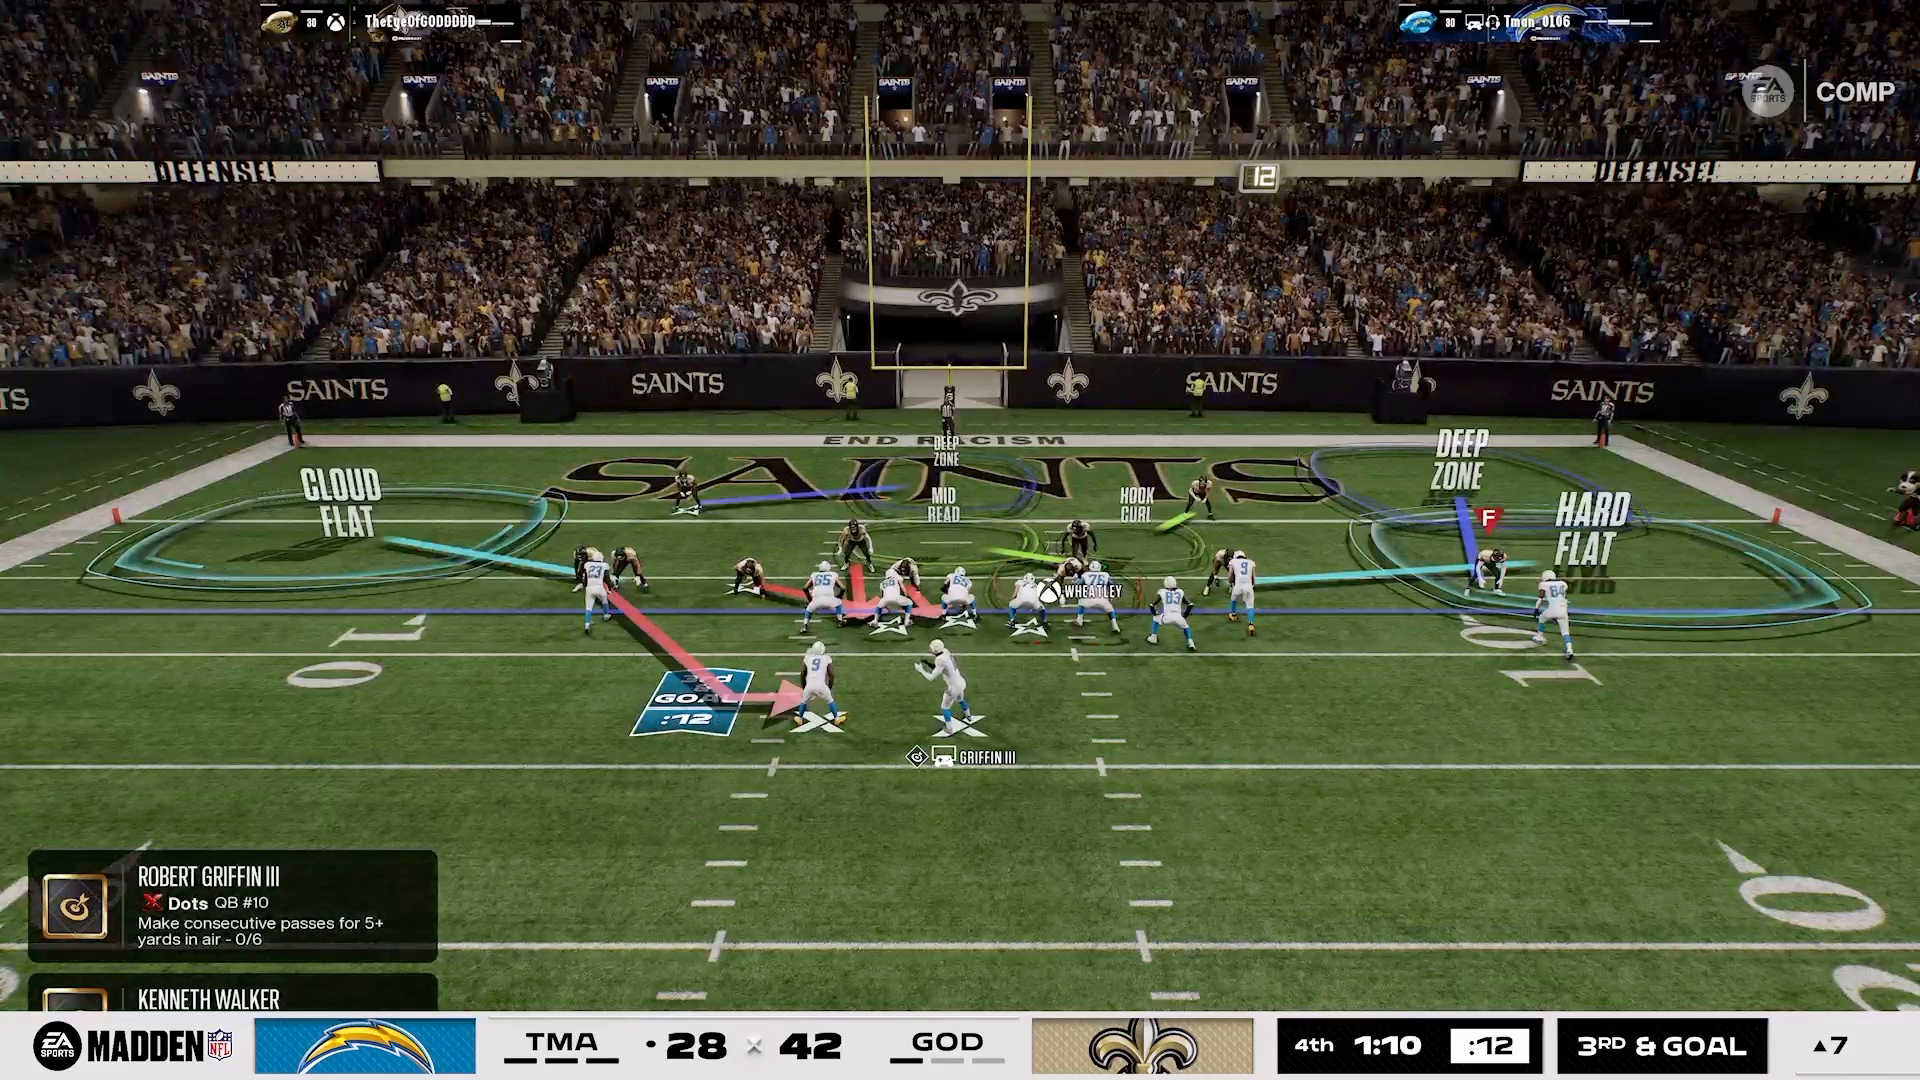
In your setup, consider taking the 3-receiver off the field. Typically, the 3-receiver hook is designed to prioritize underneath drags and slants, but against game openers, you’ll want to man up that slot receiver to effectively stop any potential streaks. This adjustment allows for greater flexibility in defending against quick routes.

Utilize practice mode to map out every match zone. Developing your intuition in these scenarios will lead to greater success on the field. Remember, understanding the coverage is half the battle in mastering the 16 Spaces system.
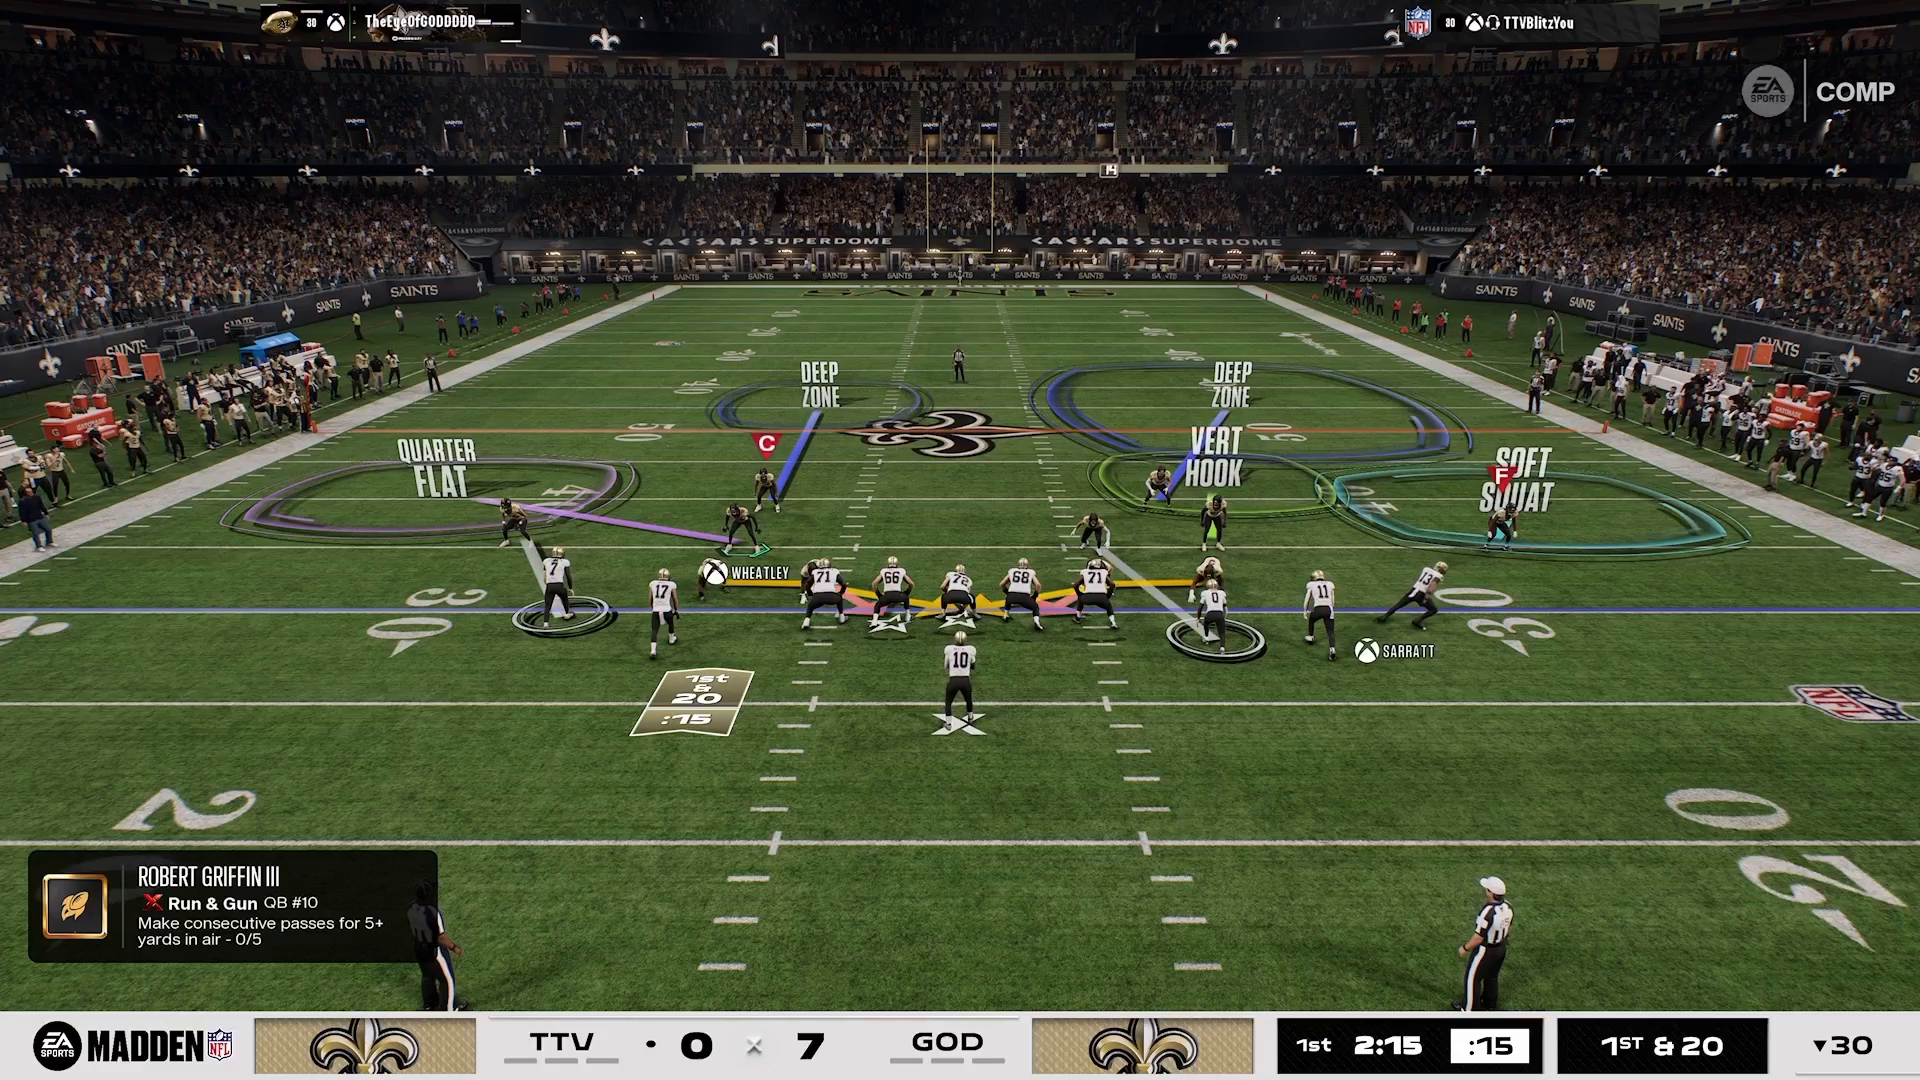
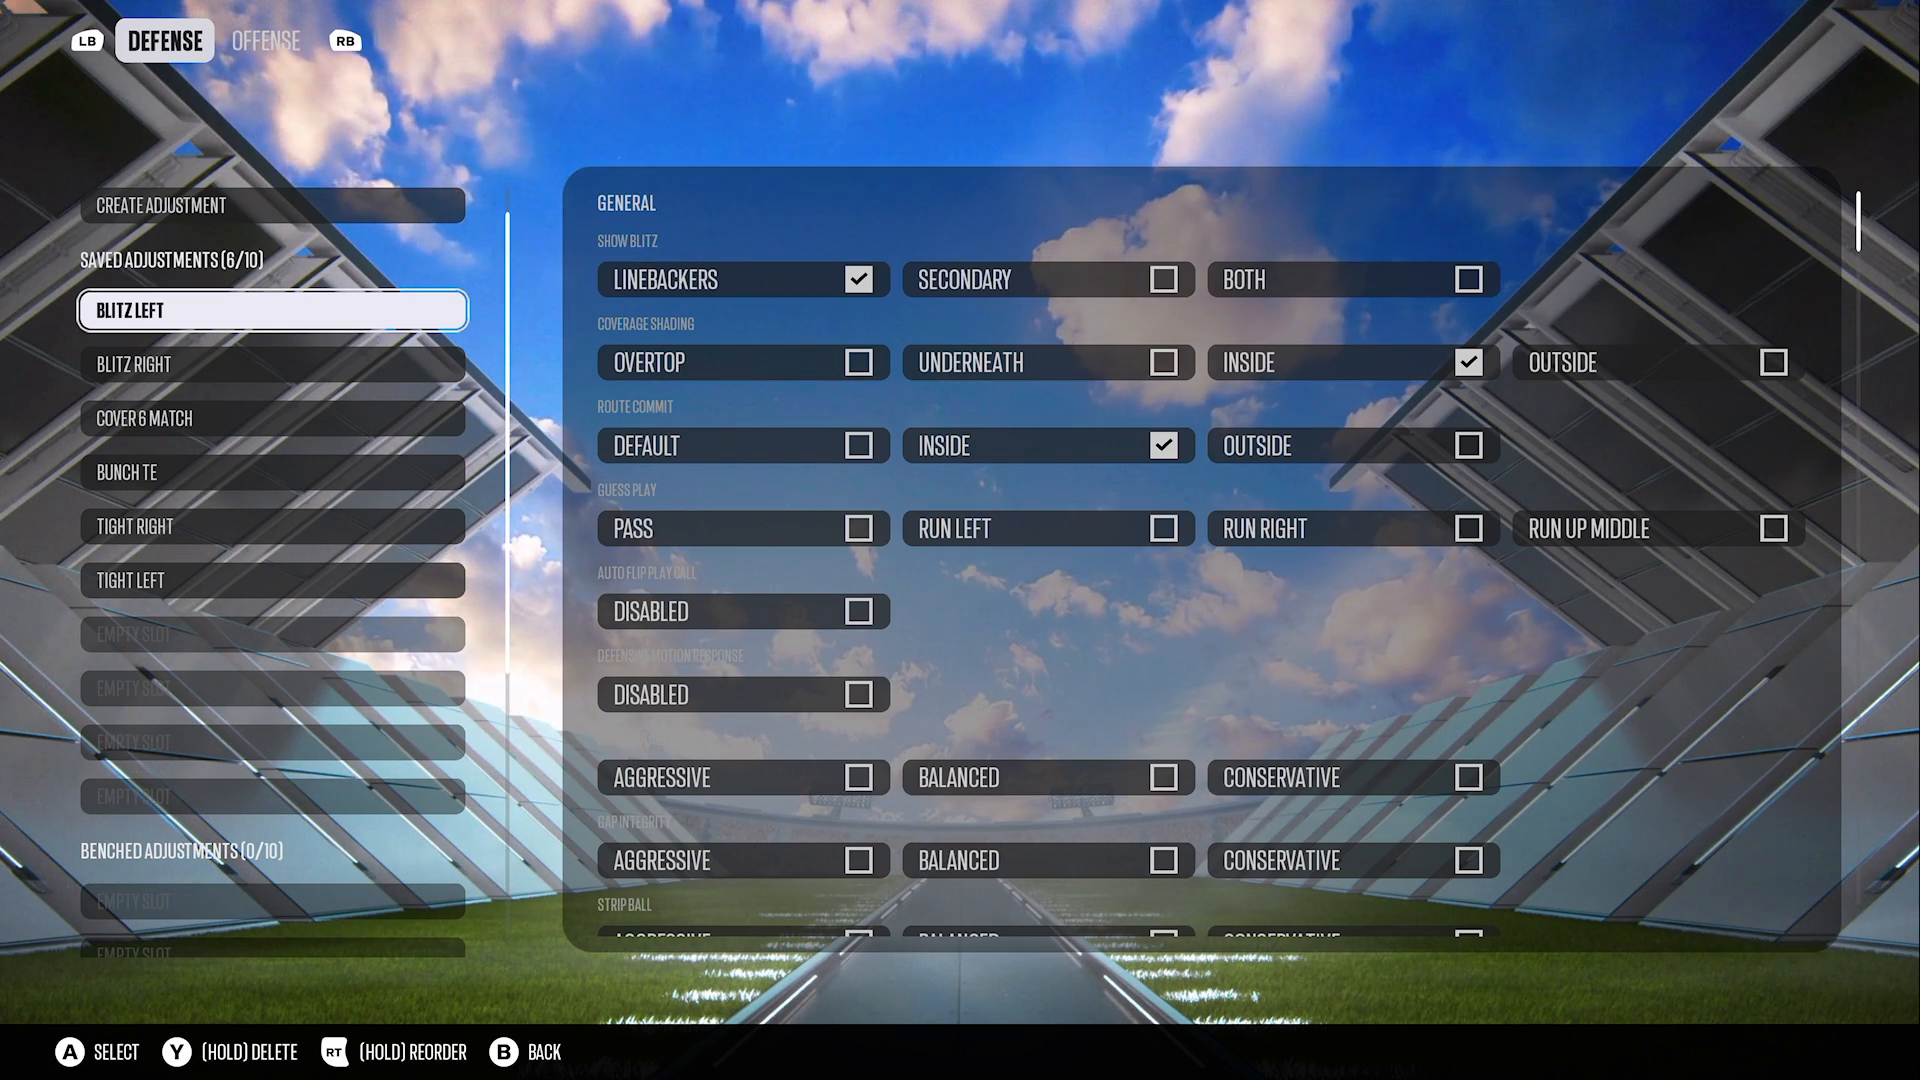
Adjustments for 3-receiver side defense in Madden NFL 27

Manning the 2-Receiver Side

On the 2-receiver side, manning up the outside corner is essential. This strategy enables you to ignore flats and 7-route slants on that side, streamlining your defensive responsibilities. You’ll be tasked with watching #17 on slants and flats across the field, which keeps your mental load low.

This efficient approach embodies the principles of the Madden Academy, allowing you to focus on the critical elements of the game without being overwhelmed.
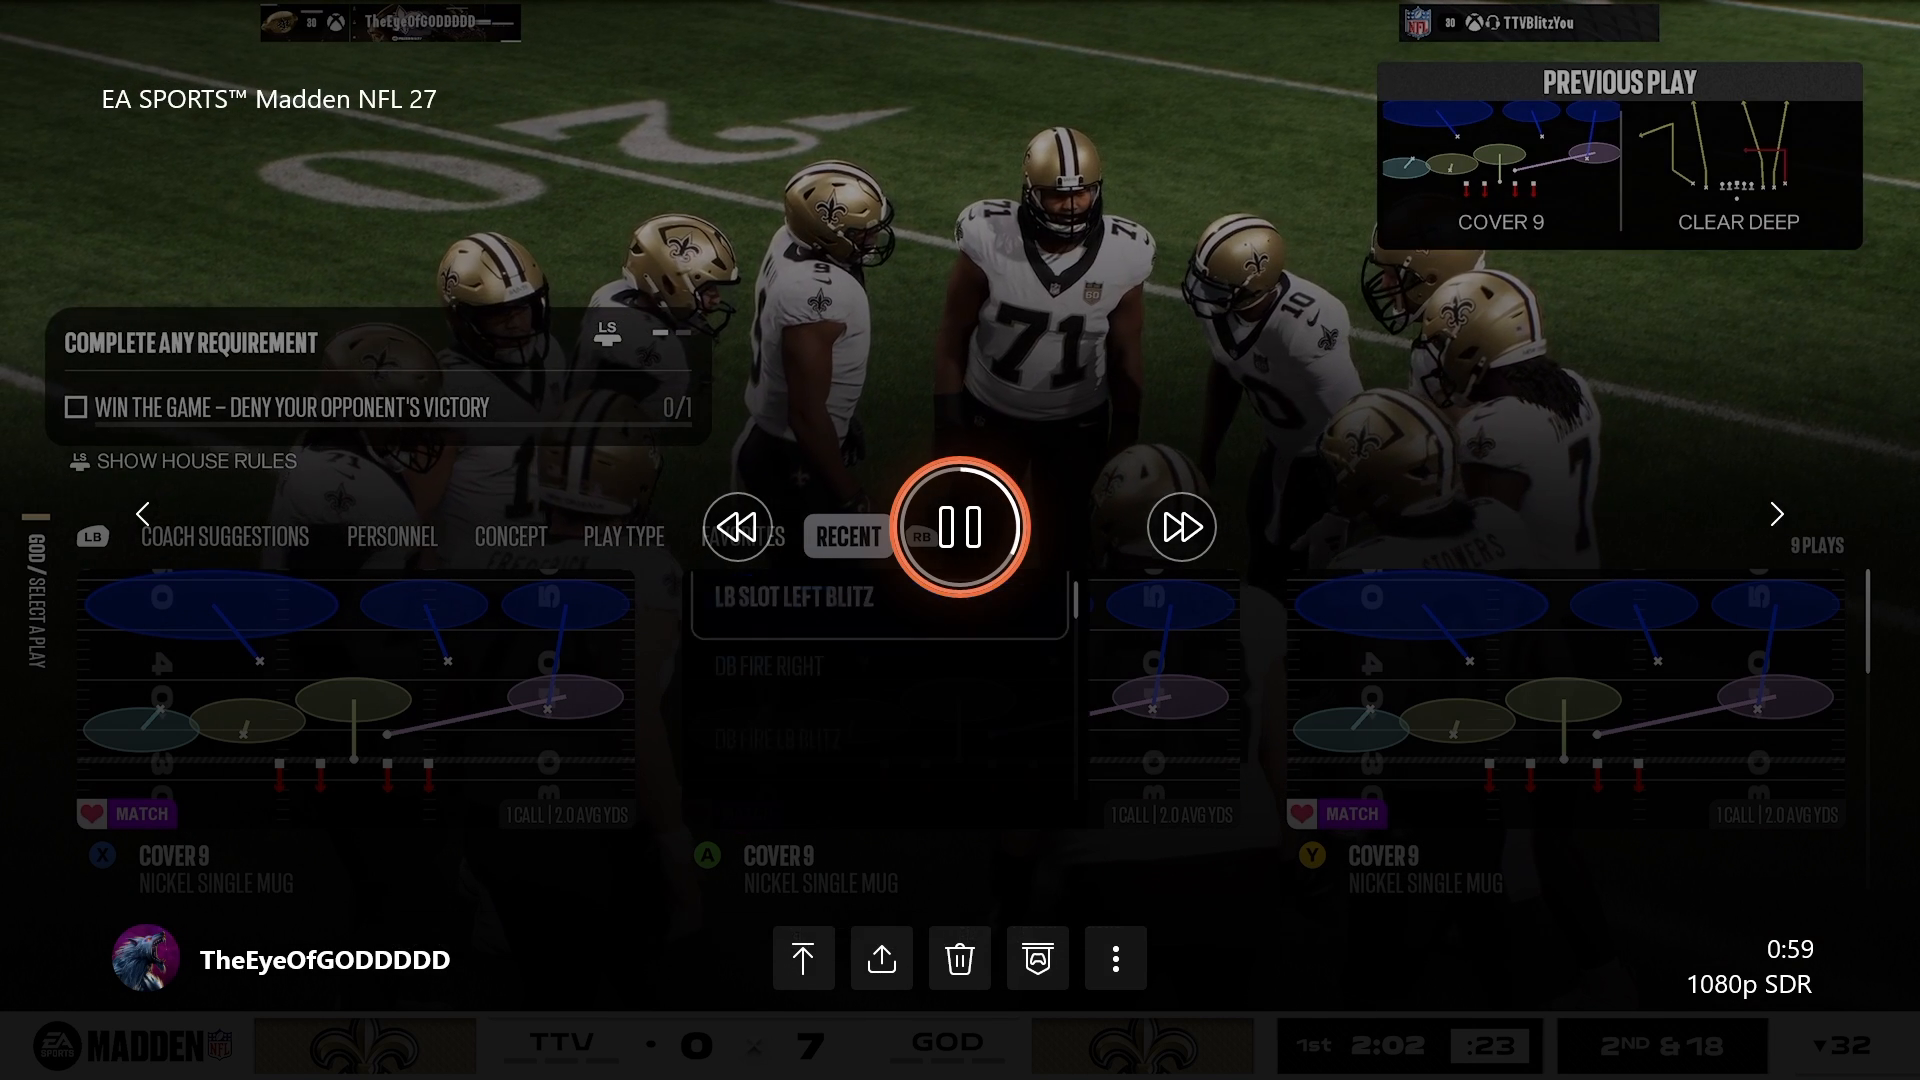
Manning strategies for 2-receiver side in Madden NFL 27

Watch for Slot Fades and Cover 6 Adjustments

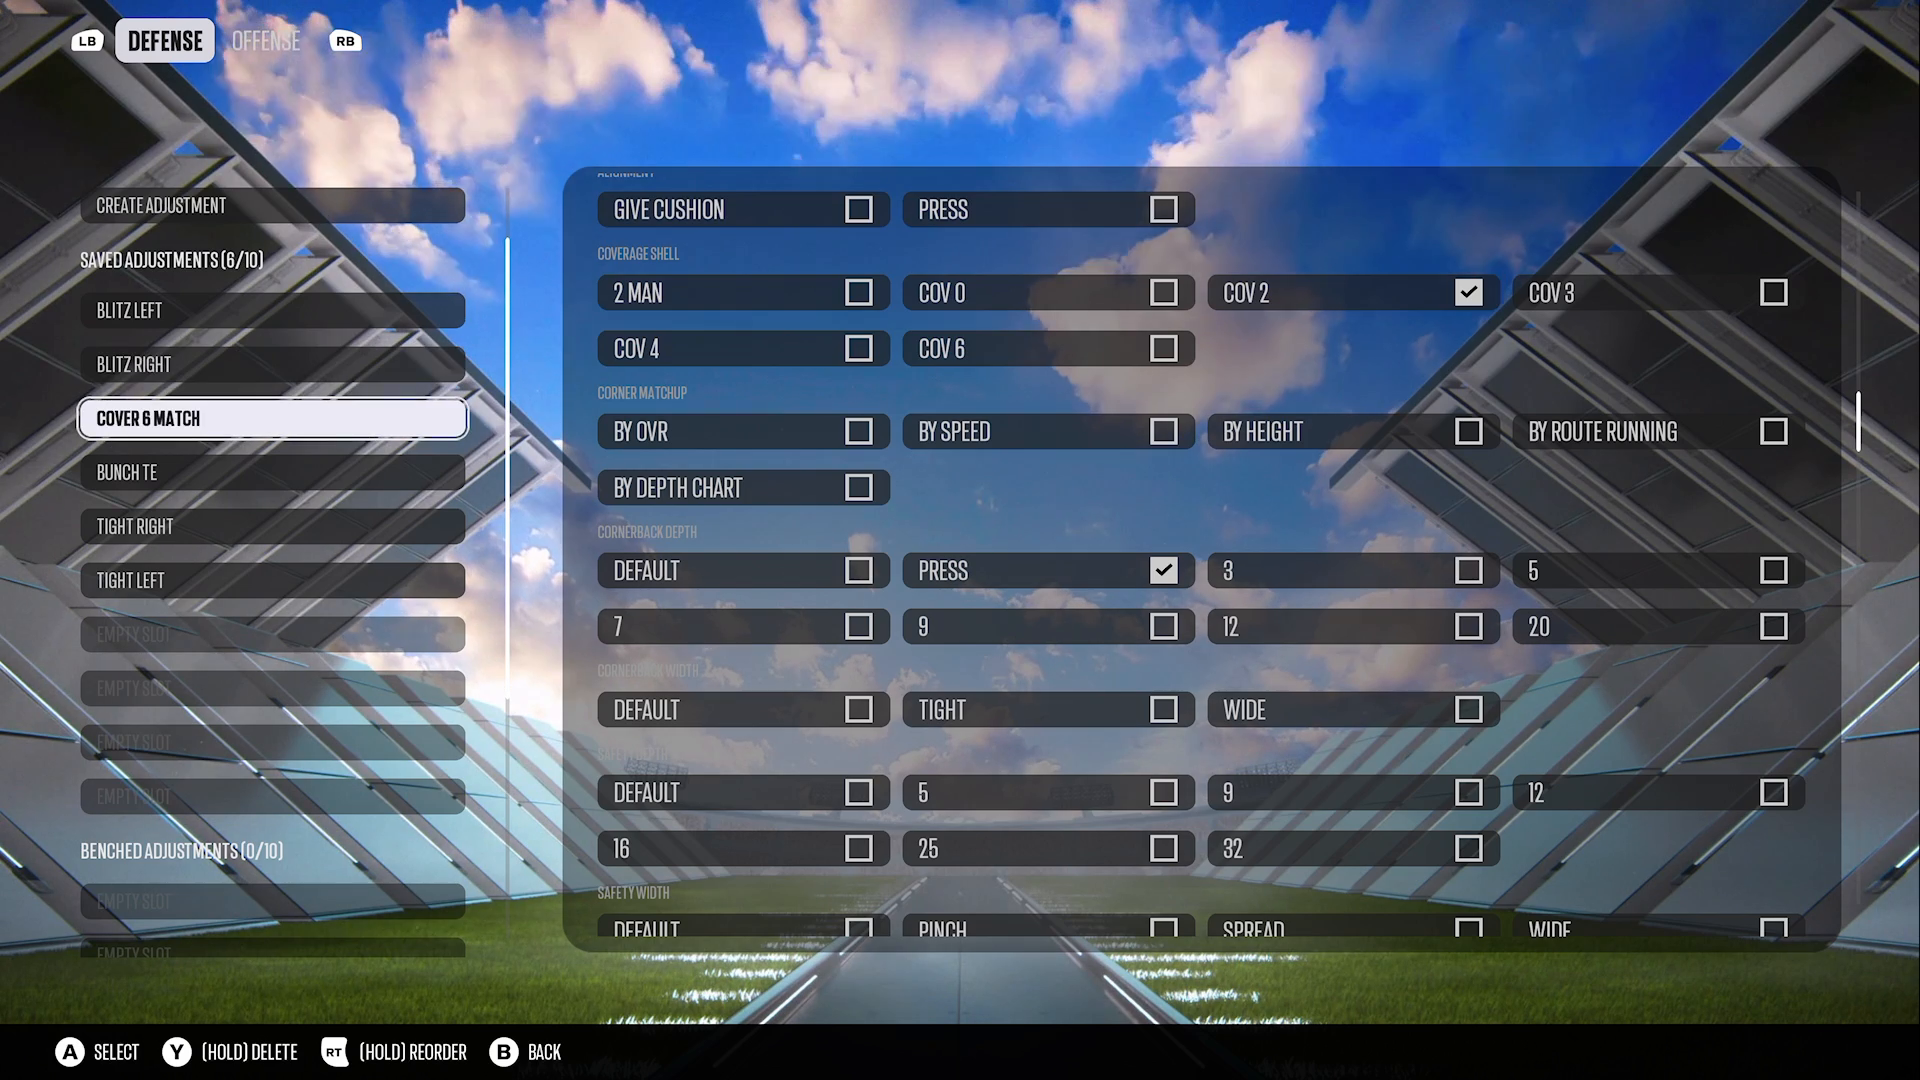
When deploying your defense, keep an eye on slot fades and utilize Cover 6 on the 3-receiver side. This adjustment works exceptionally well against post and streak routes, providing a strategic advantage. The soft squat coverage behaves similarly to delayed man coverage, ensuring that even if the offense tries to switch it up, you remain prepared.

However, be aware of the weaknesses in your coverage, particularly against slot fades and flats on the match side. If you notice the offense adjusting to your match strategy, it’s time to transition to a Dollar defense. Adaptability is a cornerstone of success in Madden, and the Madden Academy emphasizes this principle throughout your gameplay.
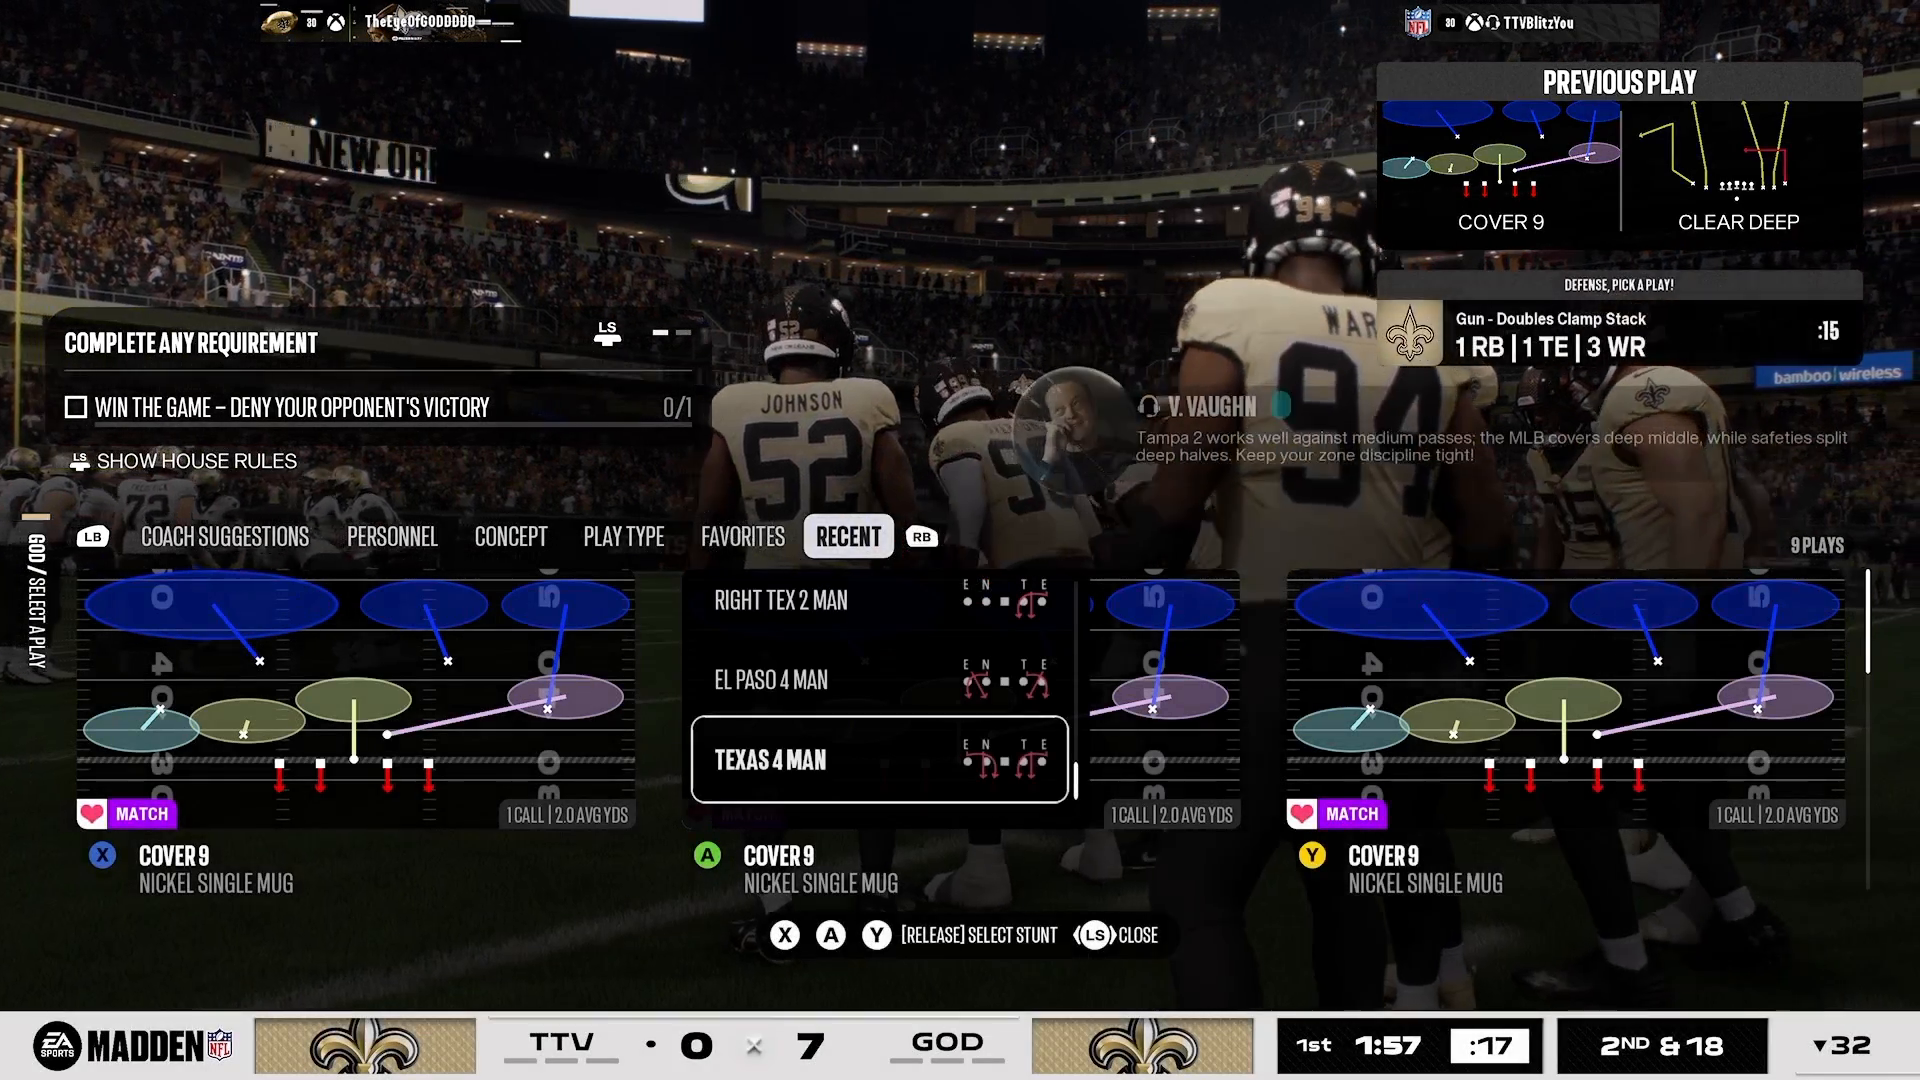
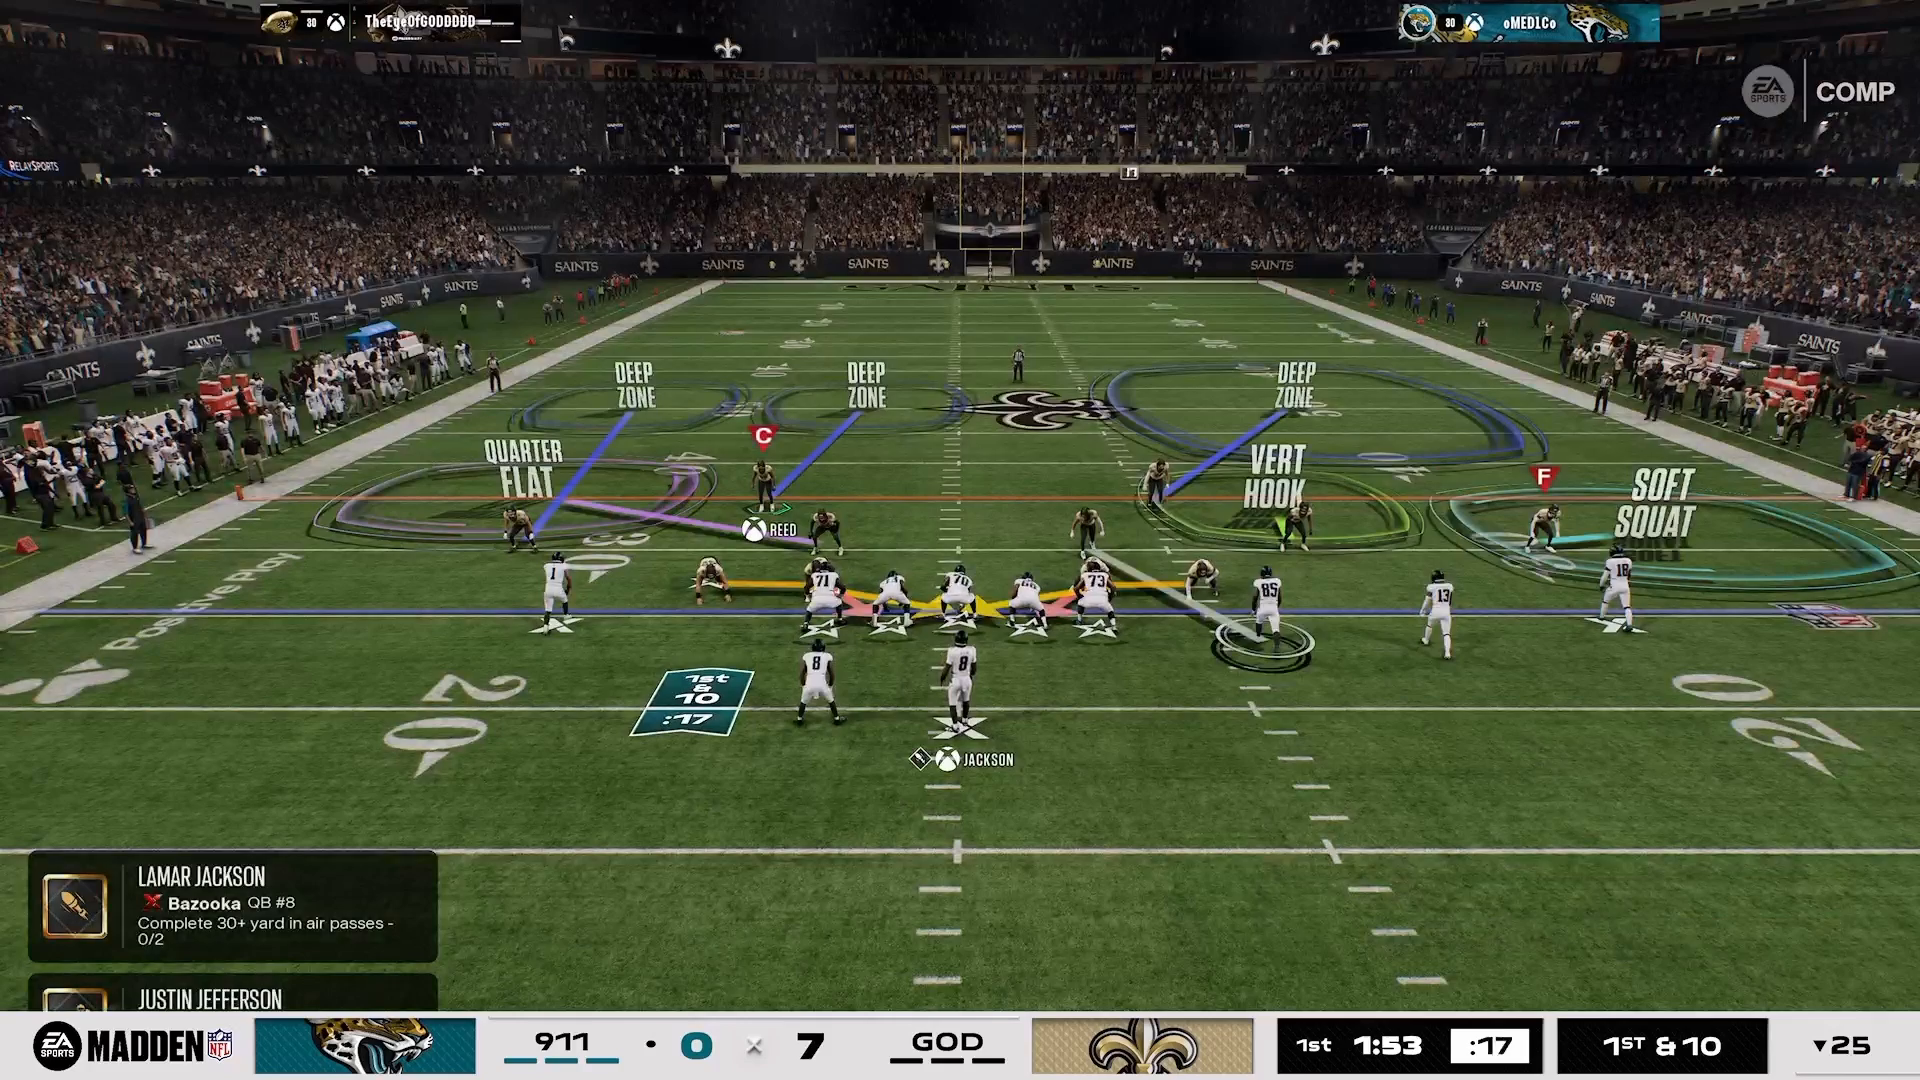
Cover 6 defense adjustments in Madden NFL 27

Conclusion

Recent Posts

Defensive setup in Madden 27 with Nickel Single Mug

Mastering the Best Defensive Macro vs Gun Trips X Nasty in Madden 27

Mastering the Best Defensive Macro vs Gun Trips X Nasty in Madden 27 Understanding the Defensive Setup in Madden 27 In Madden NFL 27, defending ...
Read More →
defensive macro Madden 27 — image 1

Mastering Defensive Strategies Against Gunfire Receiver Tight in Madden 27

Mastering Defensive Strategies Against Gunfire Receiver Tight in Madden 27 In Madden 27, stop the 5-receiver tight formation with a man-up defensive macro that uses ...
Read More →
Defensive alignment against Bunch TE formation

Mastering Madden NFL 27: Defending Auto-Motion & Bunch TE

Mastering Madden NFL 27: Defending Auto-Motion & Bunch TE Defend Bunch TE auto-motion in Madden 27 by aligning four defenders left, doubling the flat on ...
Read More →
Madden 27 gameplay showing 2-man under press beater

Mastering the Best 2-Man Under Press Beater in Madden 27

Mastering the Best 2-Man Under Press Beater in Madden 27 The best 2-man under press beater in Madden 27 is the Smash Corner concept from ...
Read More →
Defensive setup against Bunch Head End in Madden NFL 27

Mastering Madden NFL 27: Stop RPOs and Dominate Bunch Head End

Mastering Madden NFL 27: Stop RPOs and Dominate Bunch Head End Stop RPOs against Bunch Head End in Madden 27 by protecting the RPO bubble ...
Read More →
San Francisco Nickel Single Mug formation diagram

Best Defense to Stop Trips Head In: San Francisco Nickel Single Mug

Best Defense to Stop Trips Head In: San Francisco Nickel Single Mug The best defense to stop Trips Head in Madden 27 is San Francisco ...
Read More →
Dime 3-2 defensive formation setup

Mastering Madden NFL 27: Stop Doubles Clamp Stack with These Defensive Macros

Understanding the Challenge of Doubles Clamp Stack In Madden NFL 27, facing the Doubles Clamp Stack can be a daunting task for any player. This ...
Read More →
Setup of hybrid shell for red zone defense

Mastering Red Zone Defense in Madden NFL 27: Best Macro Guide

Introduction Defending in the red zone can be a pivotal moment in your Madden NFL 27 games. The stakes are high, and the right defensive ...
Read More →
Madden NFL 27 Smash Corner play setup

Mastering Madden NFL 27: Beat Nickel Single Mug with 2 Macros

Understanding the Nickel Single Mug Defense When you face the Nickel Single Mug defense in Madden NFL 27, it can feel like an uphill battle. ...
Read More →
Spot Y Option Madden — image 1

Master the Red Zone with Spot Y Option in Madden NFL 27

Master the Red Zone with Spot Y Option in Madden NFL 27 Master the red zone in Madden 27 with Spot Y Option from Pistol ...
Read More →
designed rollouts — image 1

Mastering Designed Rollouts to Beat Stunts in Madden NFL 27

Understanding Why Rollouts Work Rollouts are an essential part of your offensive strategy in Madden NFL 27, particularly when facing defensive stunts. Stunts are designed ...
Read More →
Offensive setup in Madden NFL 27

Master the Best Match Beater in Madden NFL 27

Master the Best Match Beater in Madden NFL 27 The best match beater in Madden 27 is the Mills deep out from Gun 5 Receiver ...
Read More →