Understanding the Best Defense in Madden NFL 27
In the competitive world of Madden NFL 27, having a strong defensive strategy can make all the difference in your gameplay. One of the most effective defensive setups is the San Francisco Nickel 3-3 Cub, specifically utilizing the COVID 4 Show 2 play. This defense not only provides robust coverage but also generates pressure on the quarterback, forcing mistakes from your opponents. Let’s break down how you can effectively set up and execute this defense to dominate your games.
Setup: San Francisco Nickel
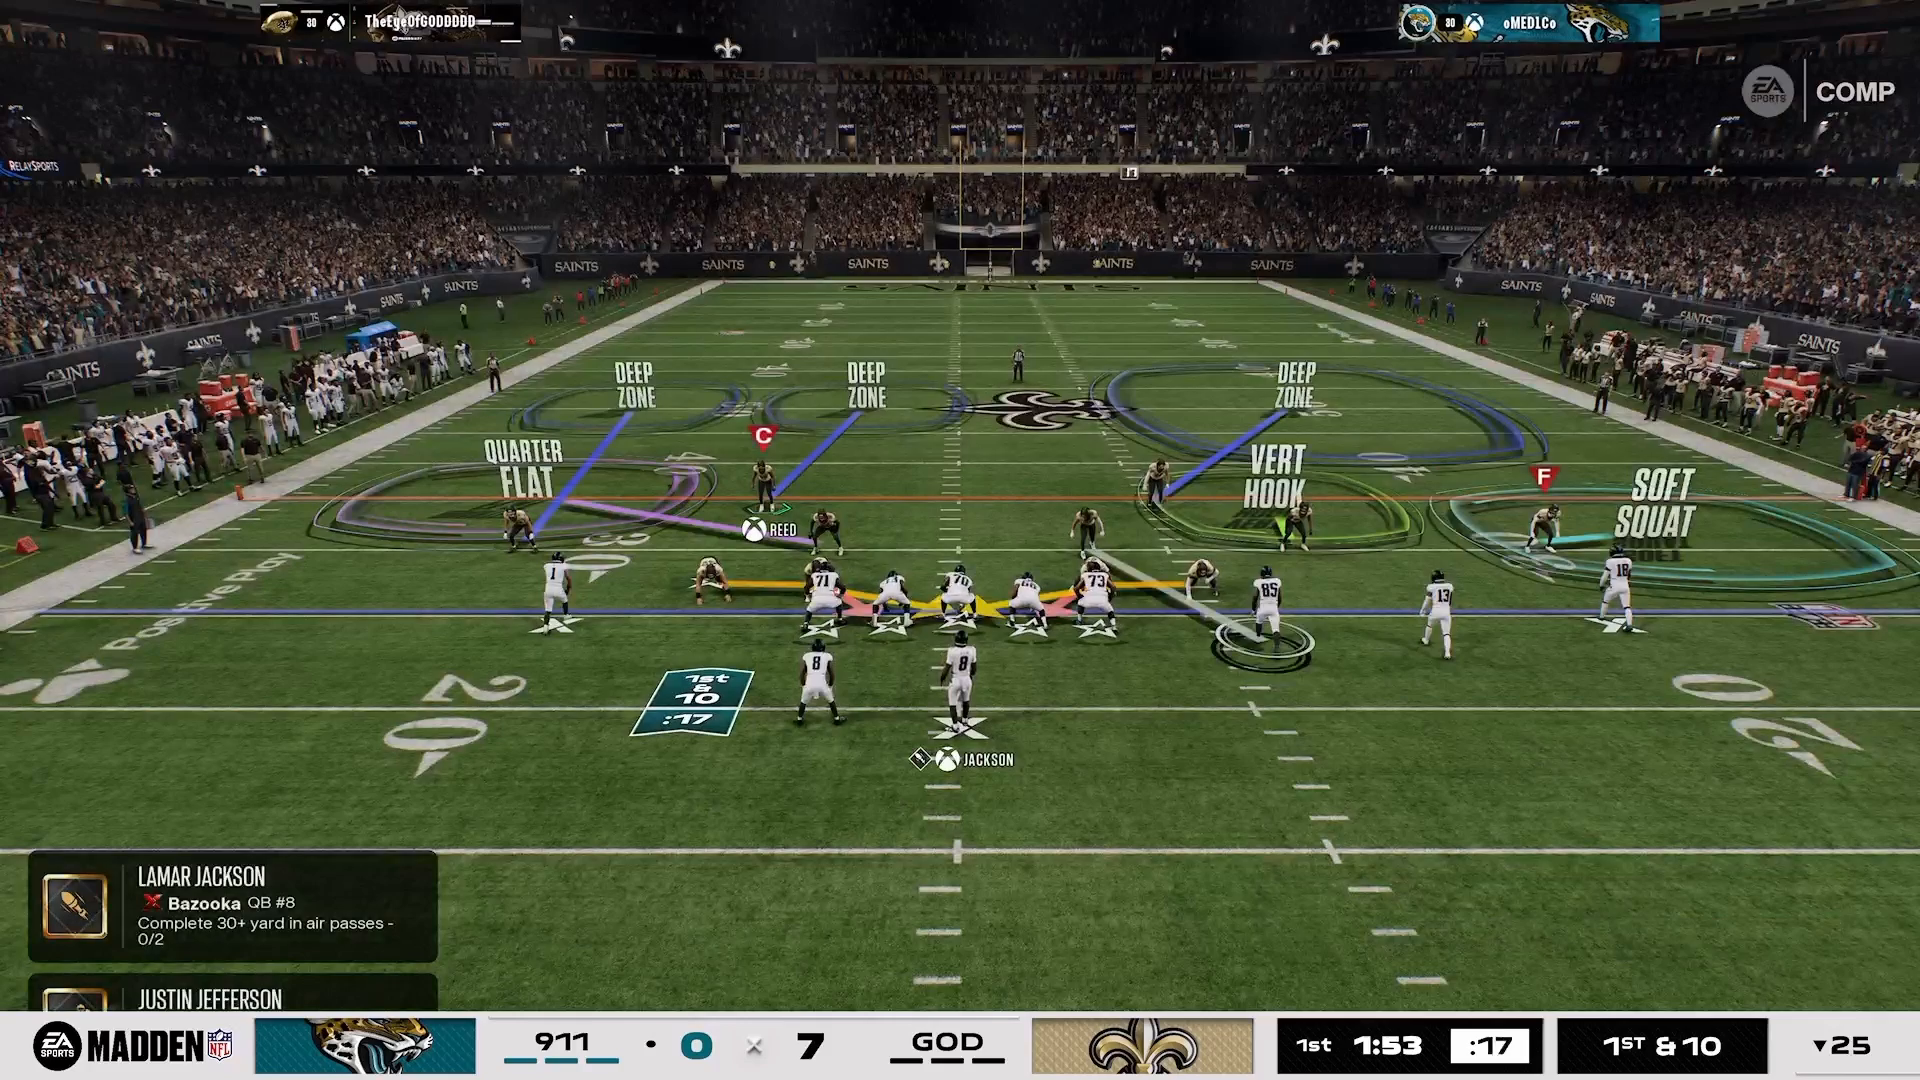
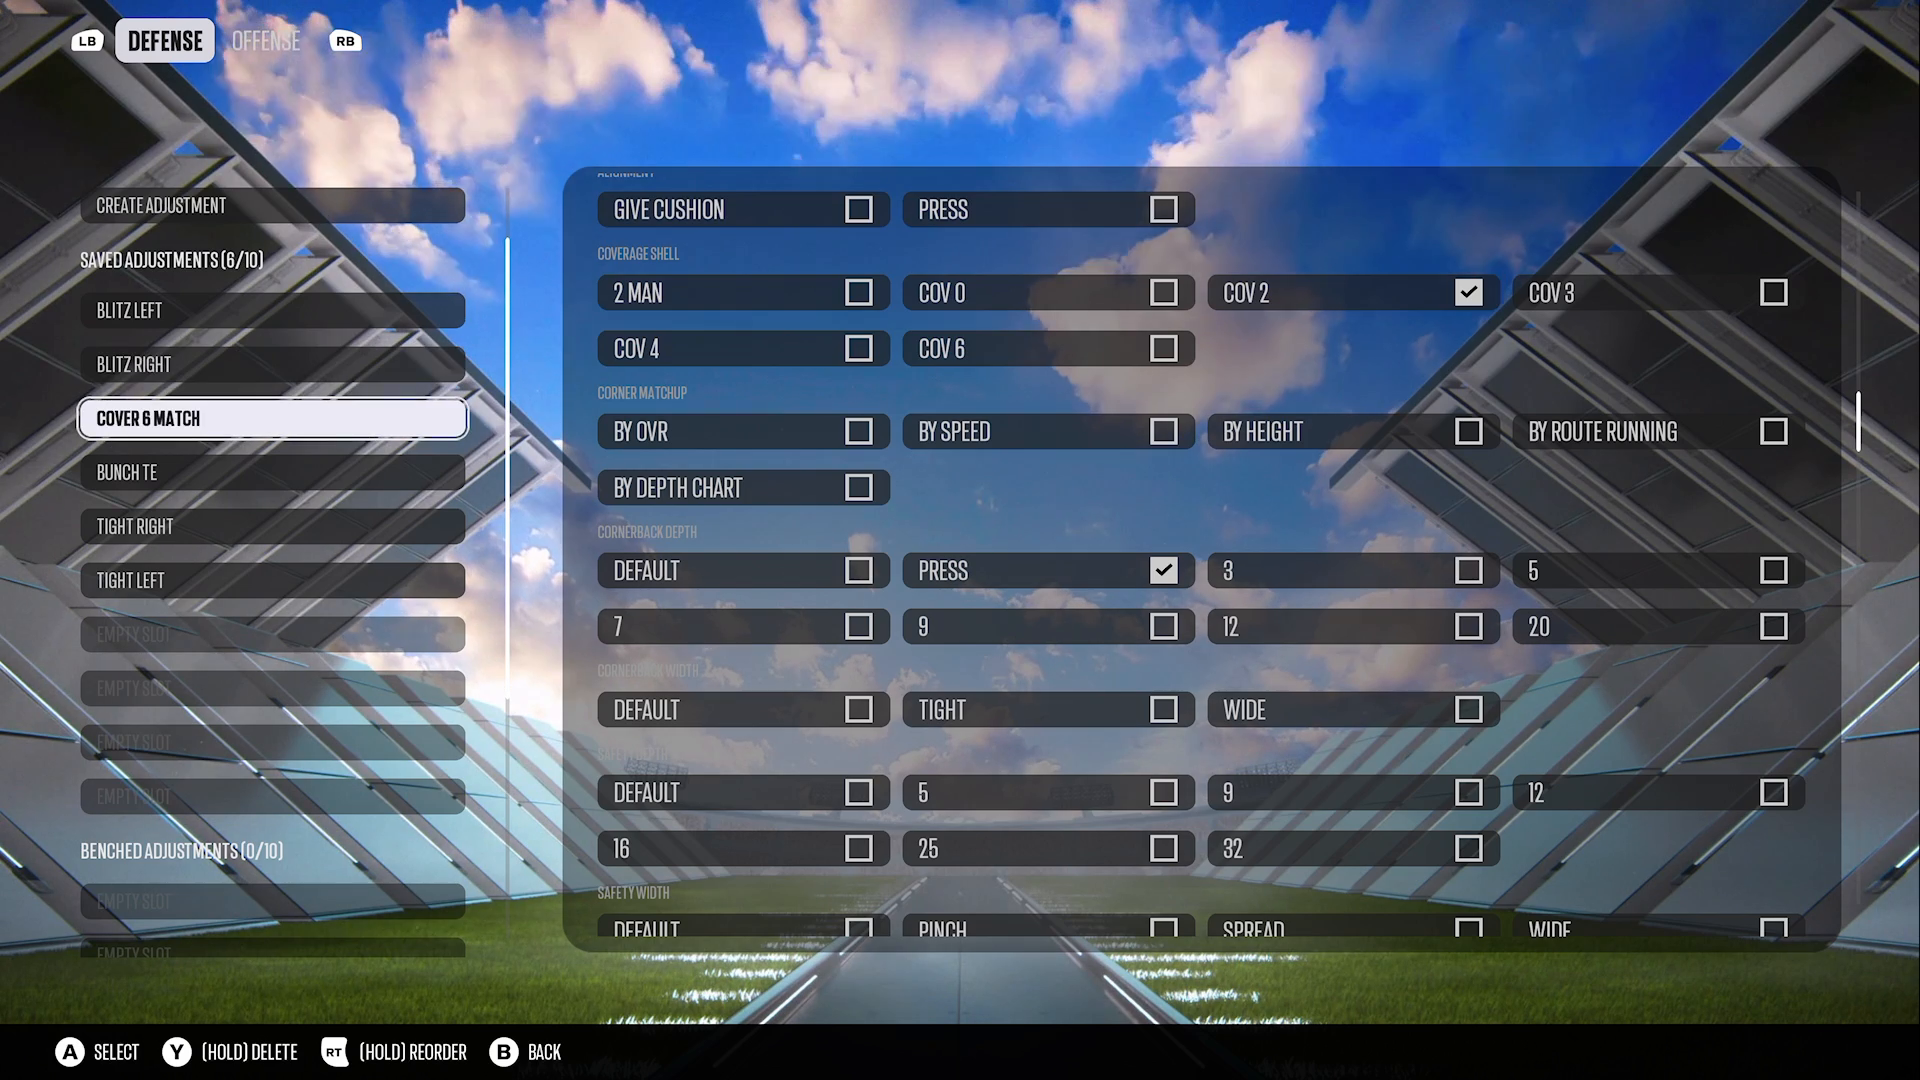
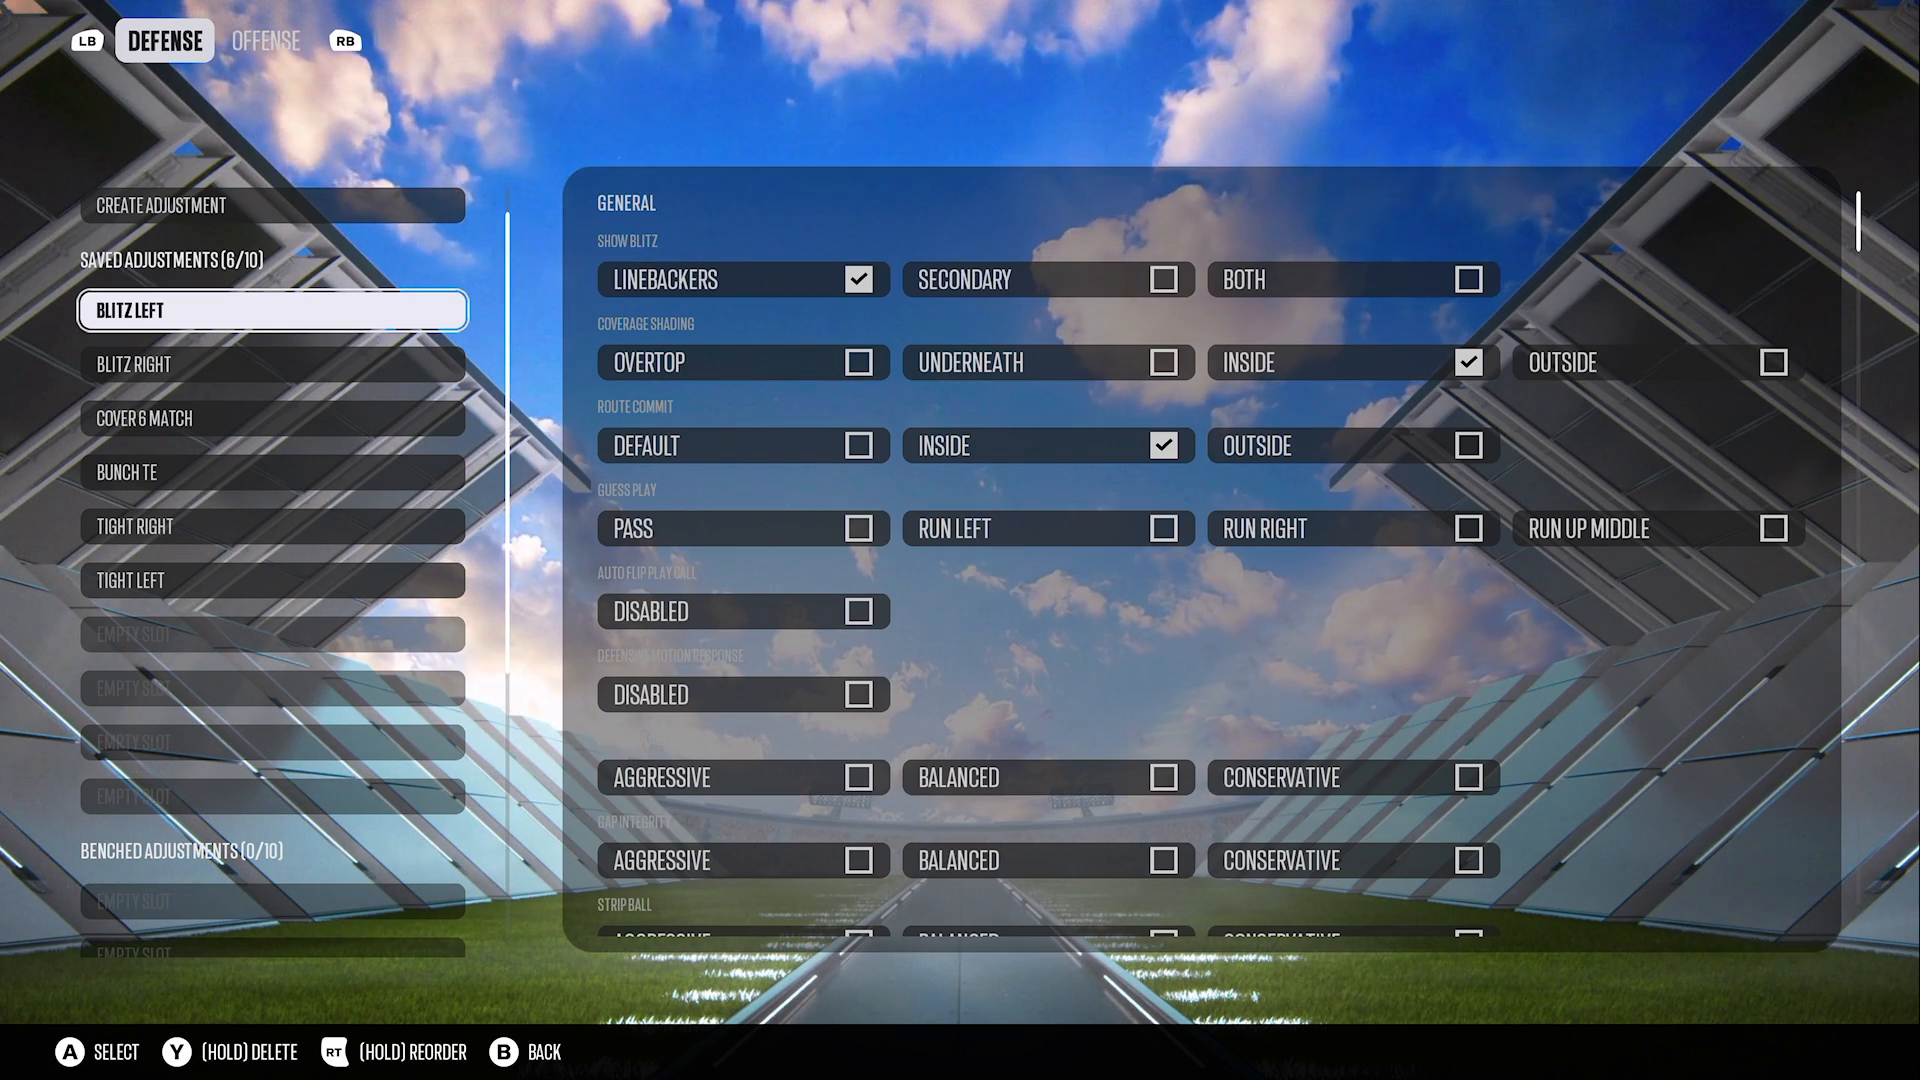
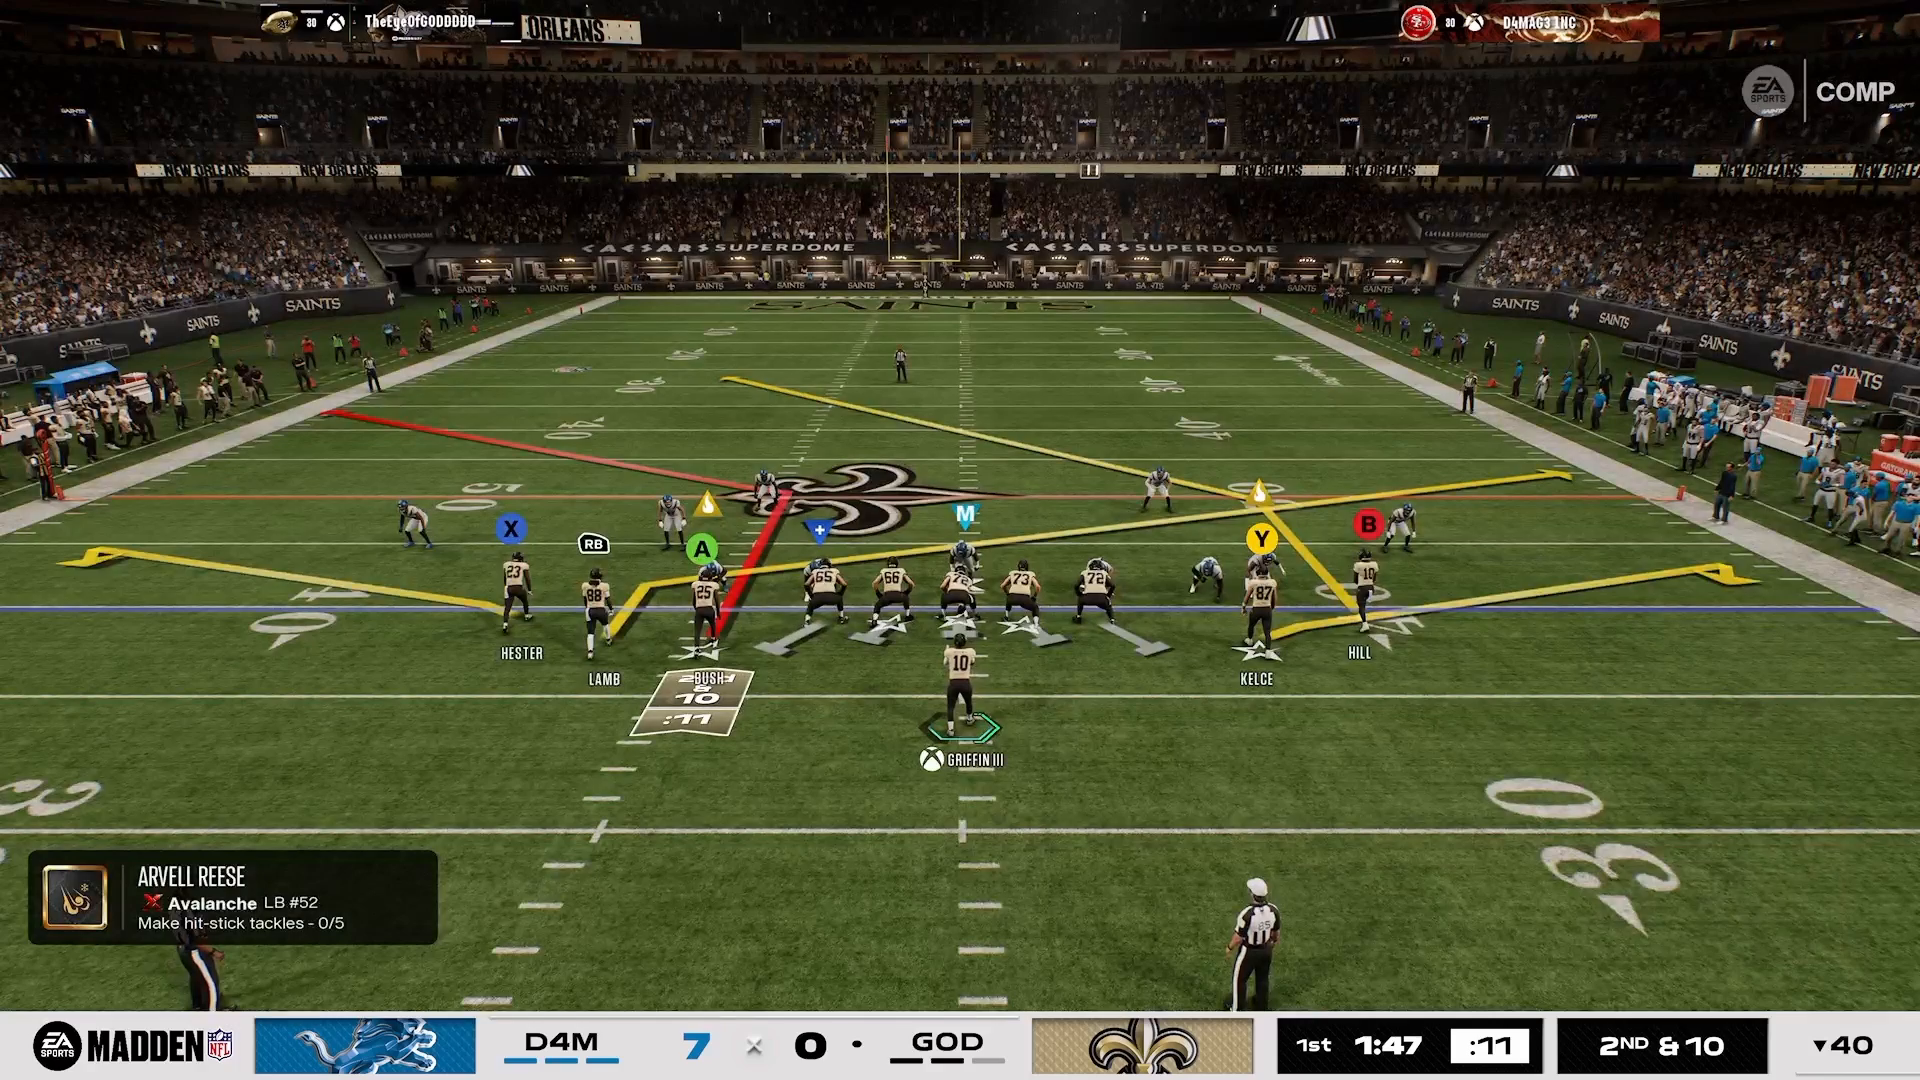
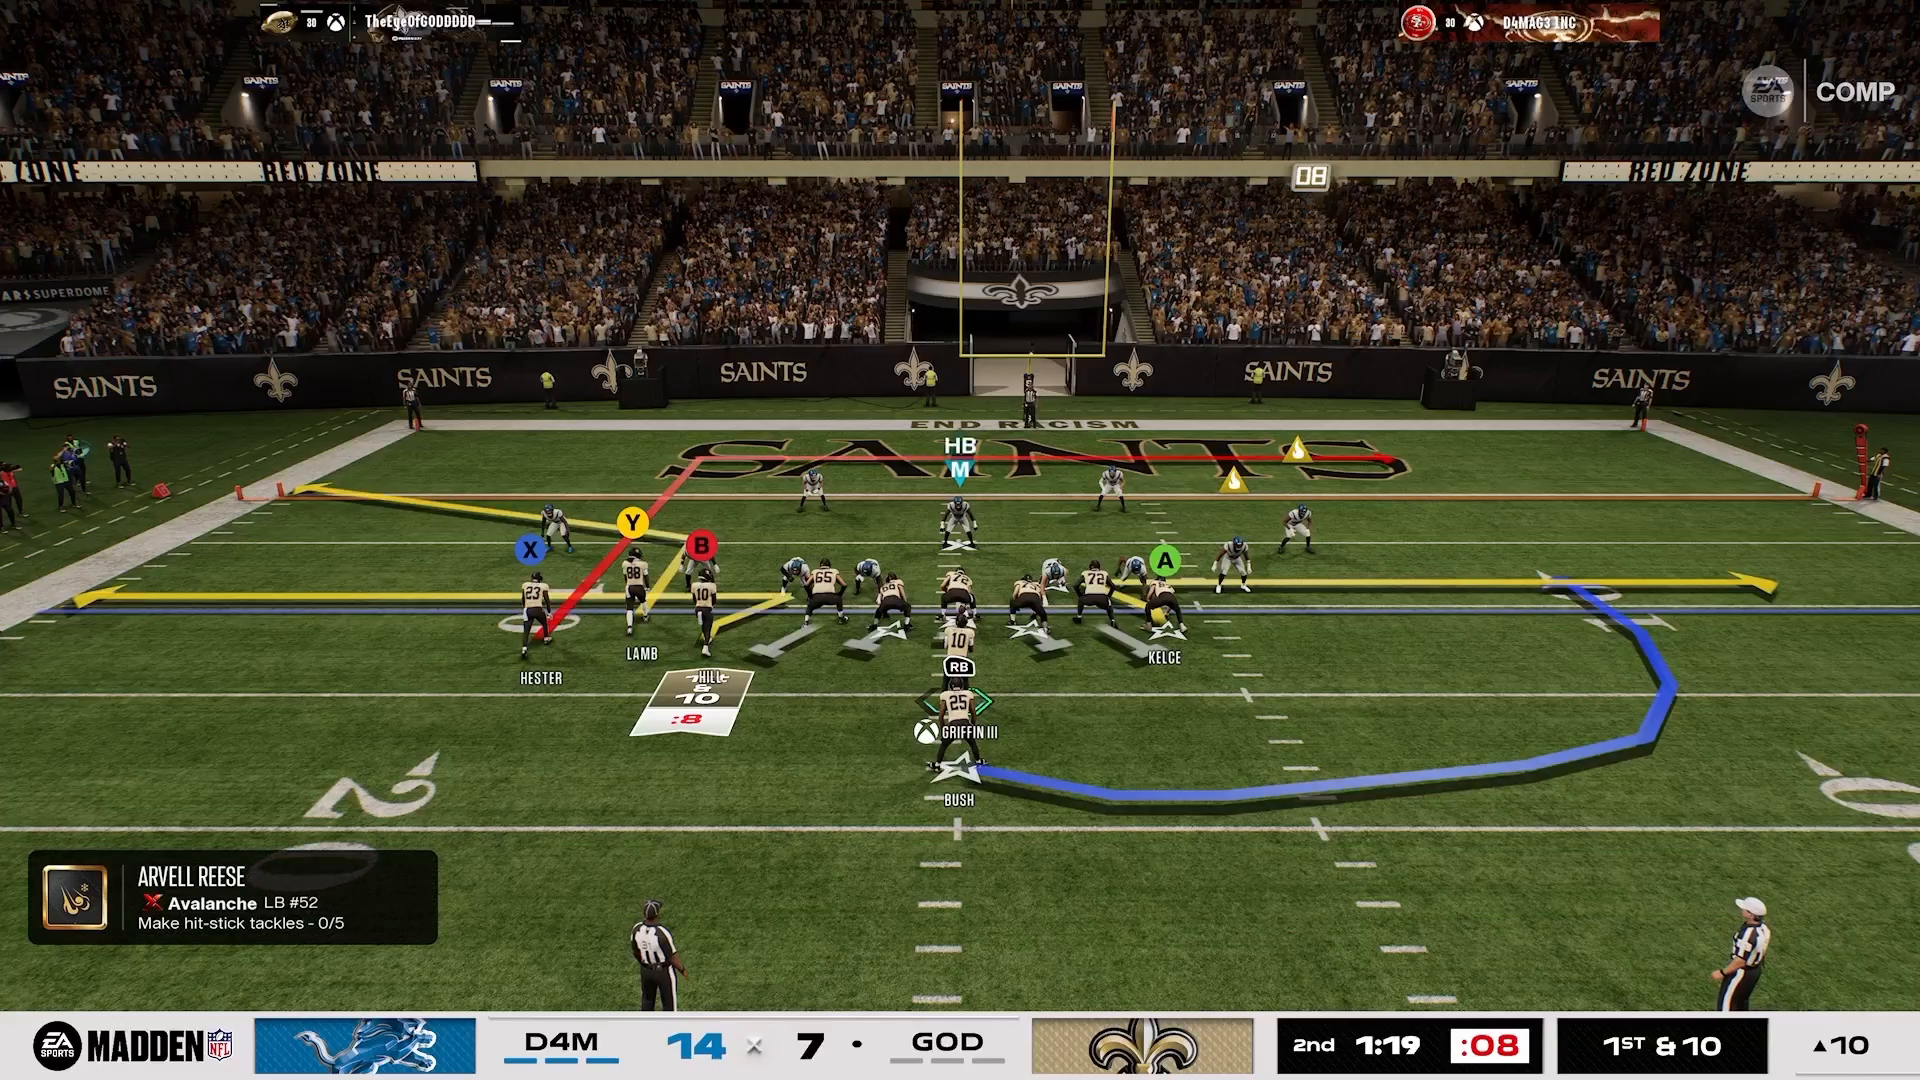
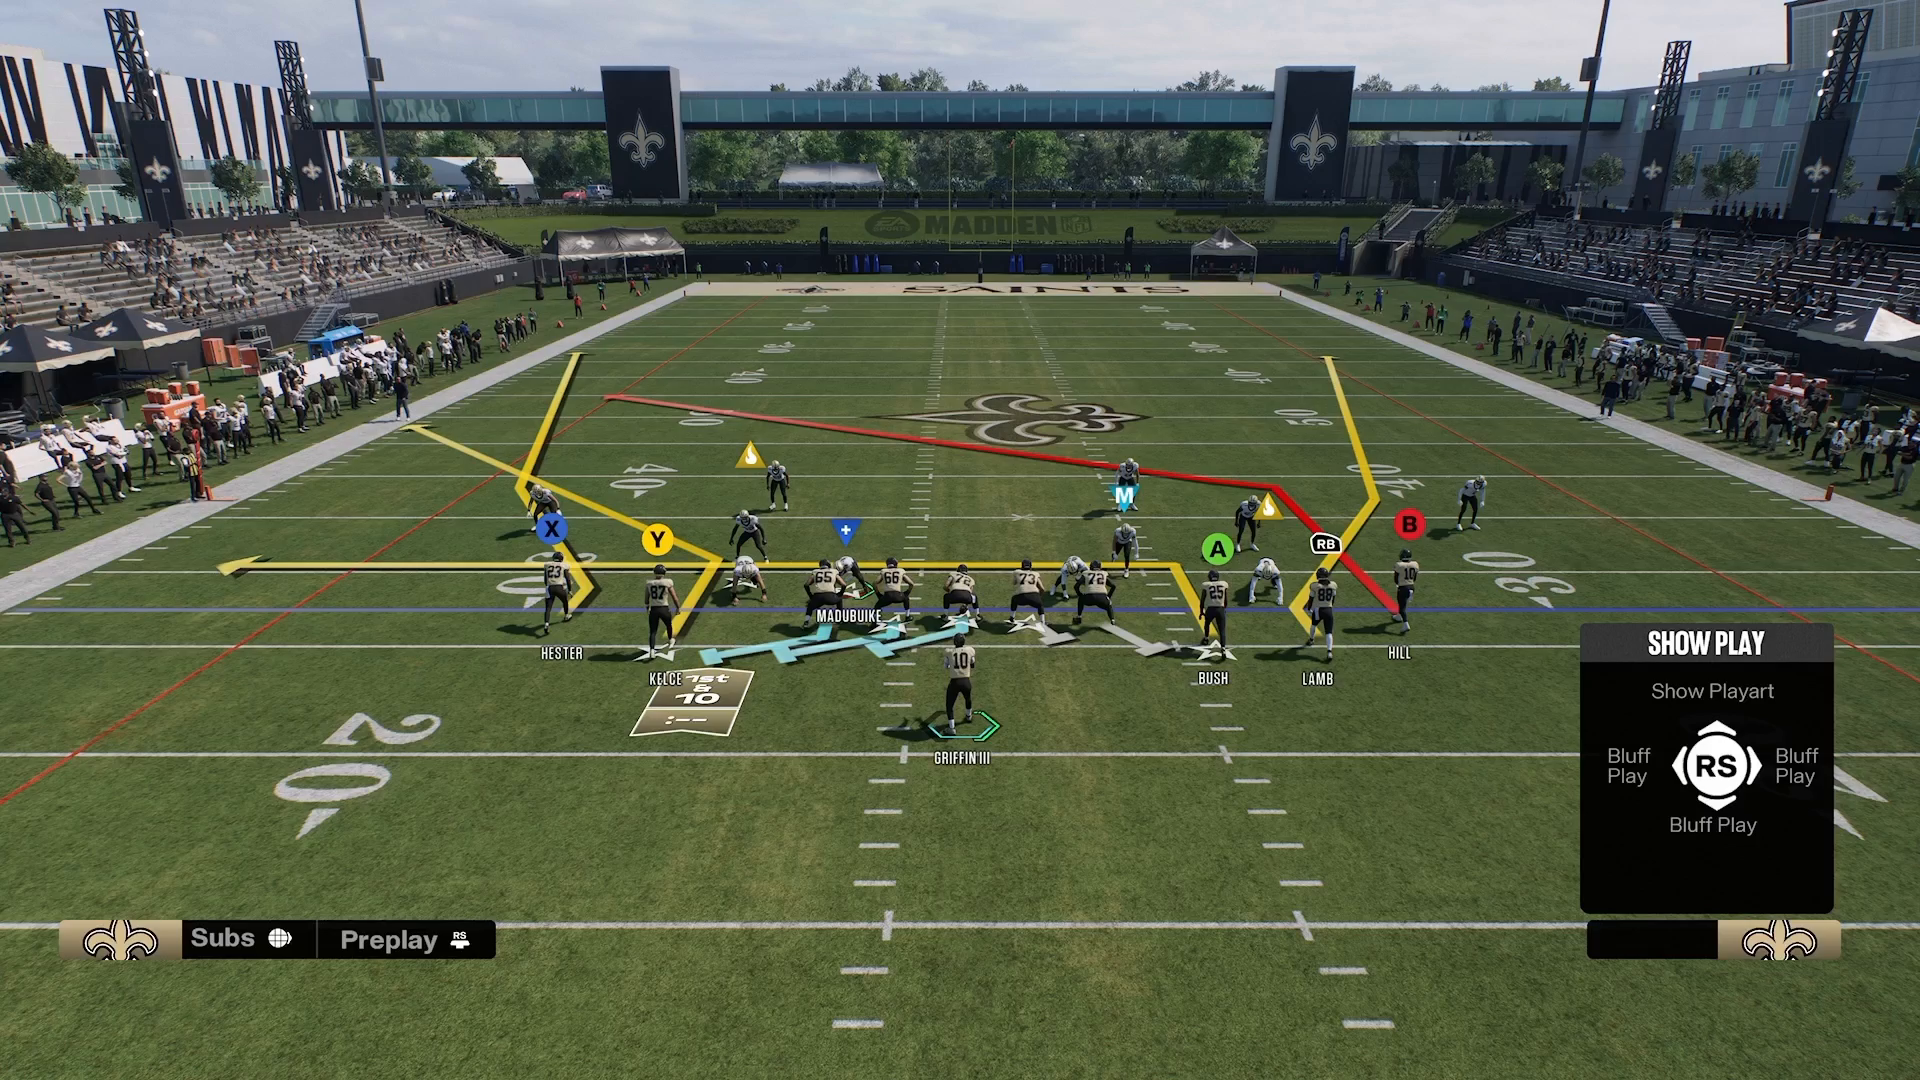
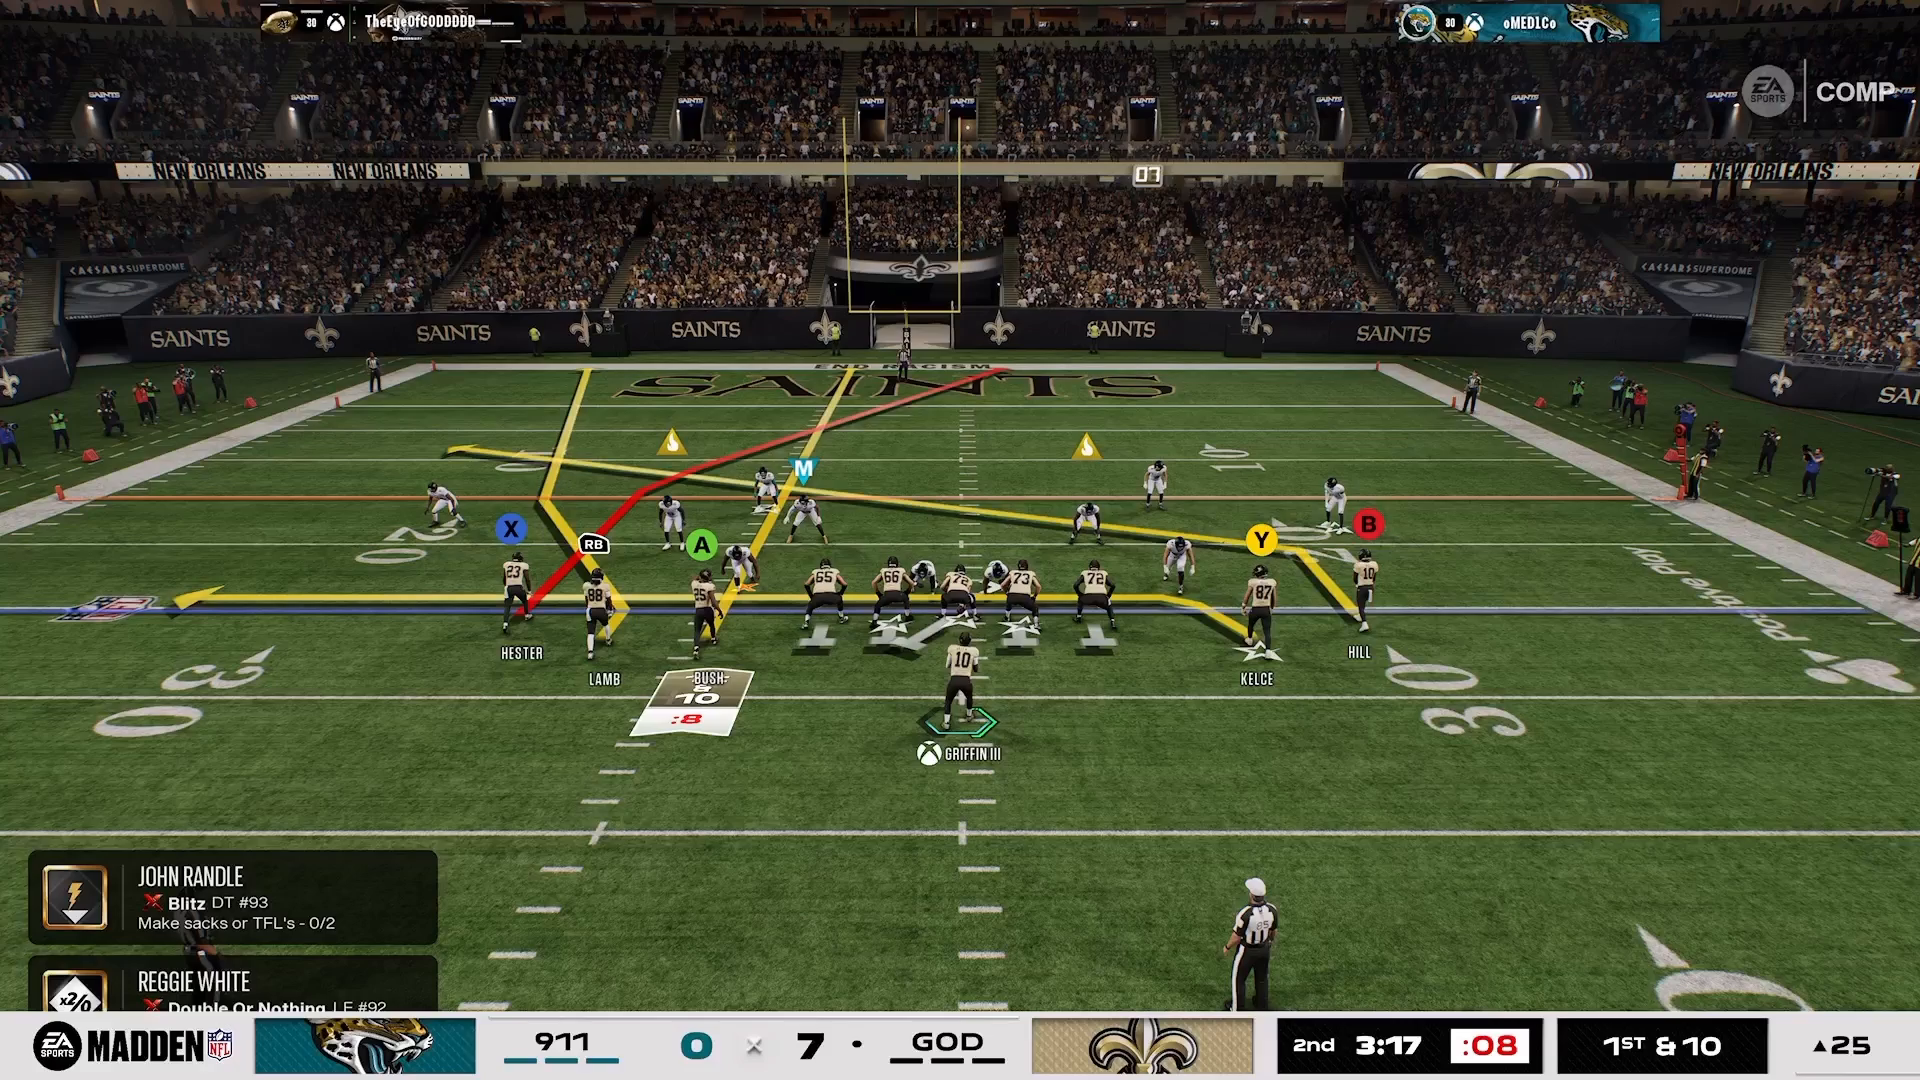
To get started, you’ll need to select the San Francisco playbook. Within it, navigate to the Nickel 3-3 Cub formation and choose the COVID 4 Show 2 play. Your first move is to take the left outside linebacker and slide him out. Following this, implement a quarterback contain after the slide. This adjustment is crucial because it locks down the outside lanes, effectively neutralizing any outside run attempts. Remember, the 16 Spaces System plays a vital role here, ensuring your defense remains effective unless the adjustment is made correctly.
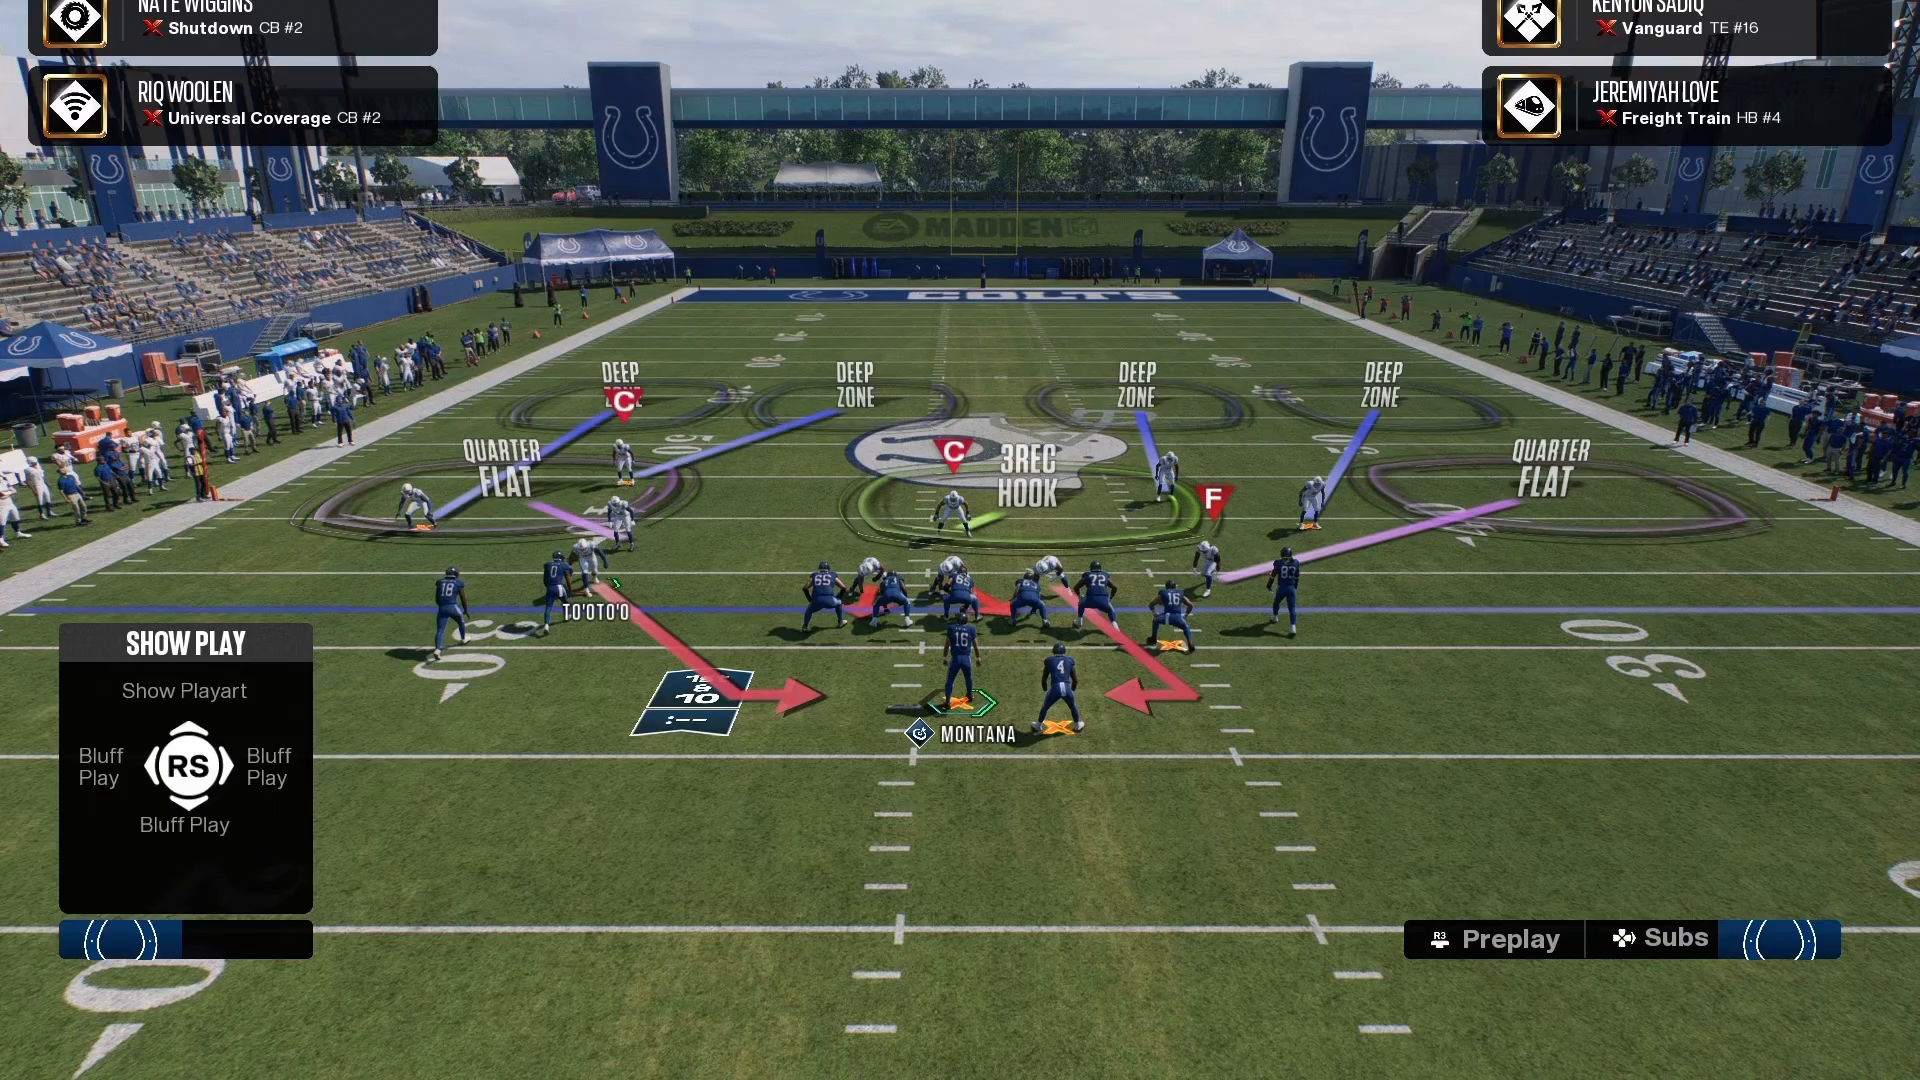
Adjustment: Slide & Contain
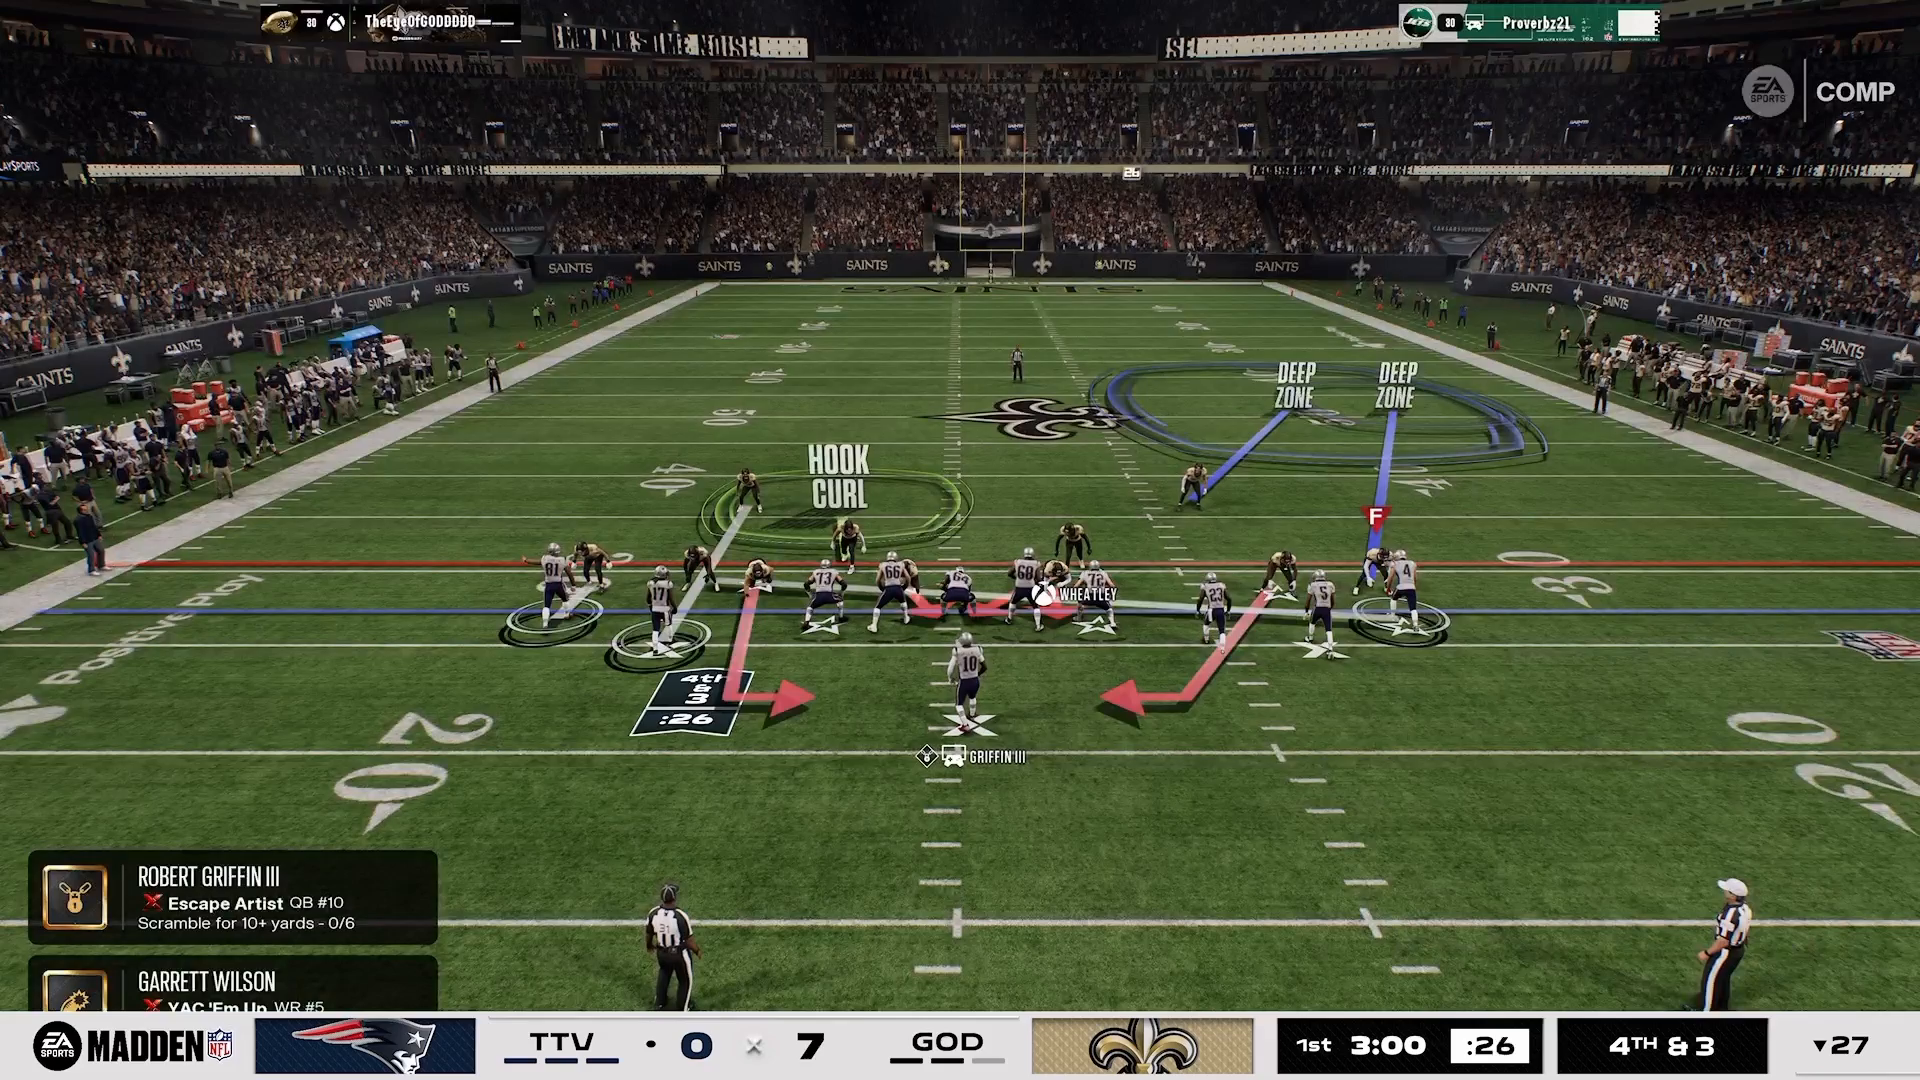
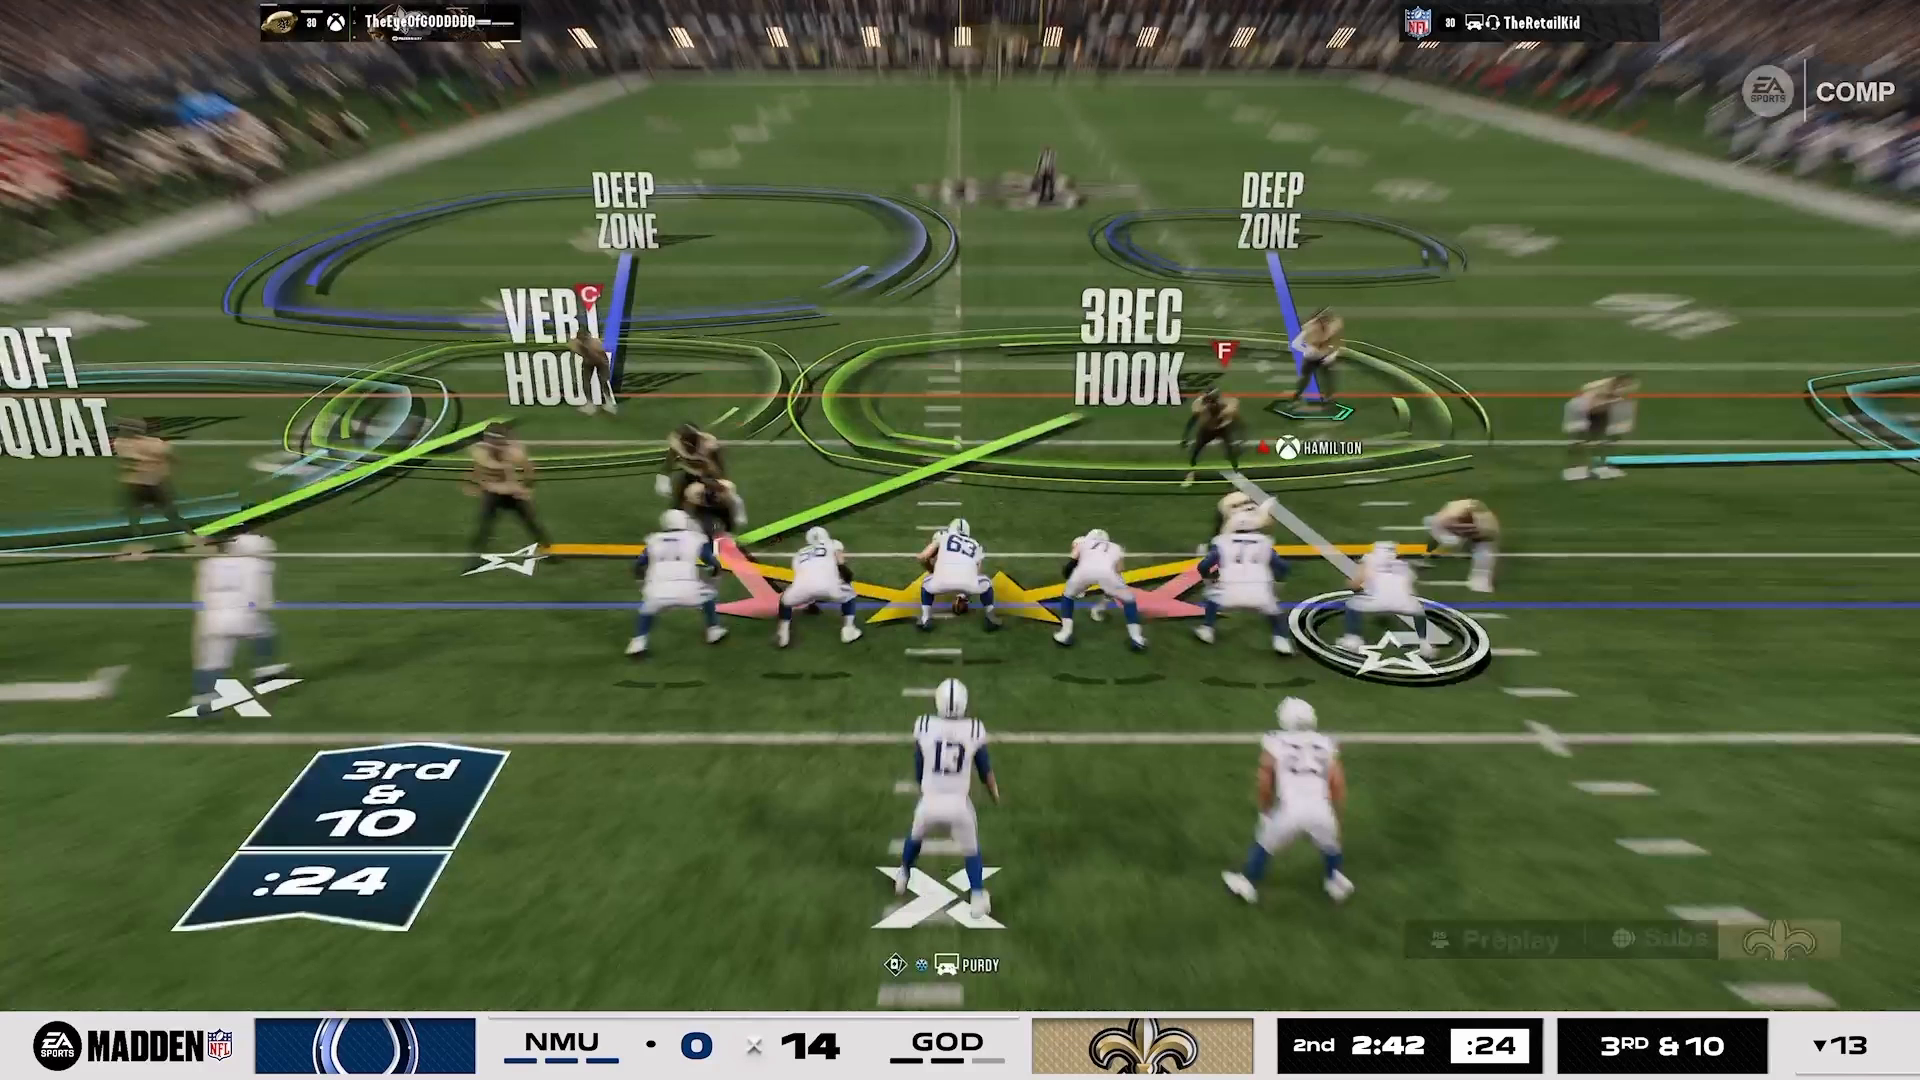
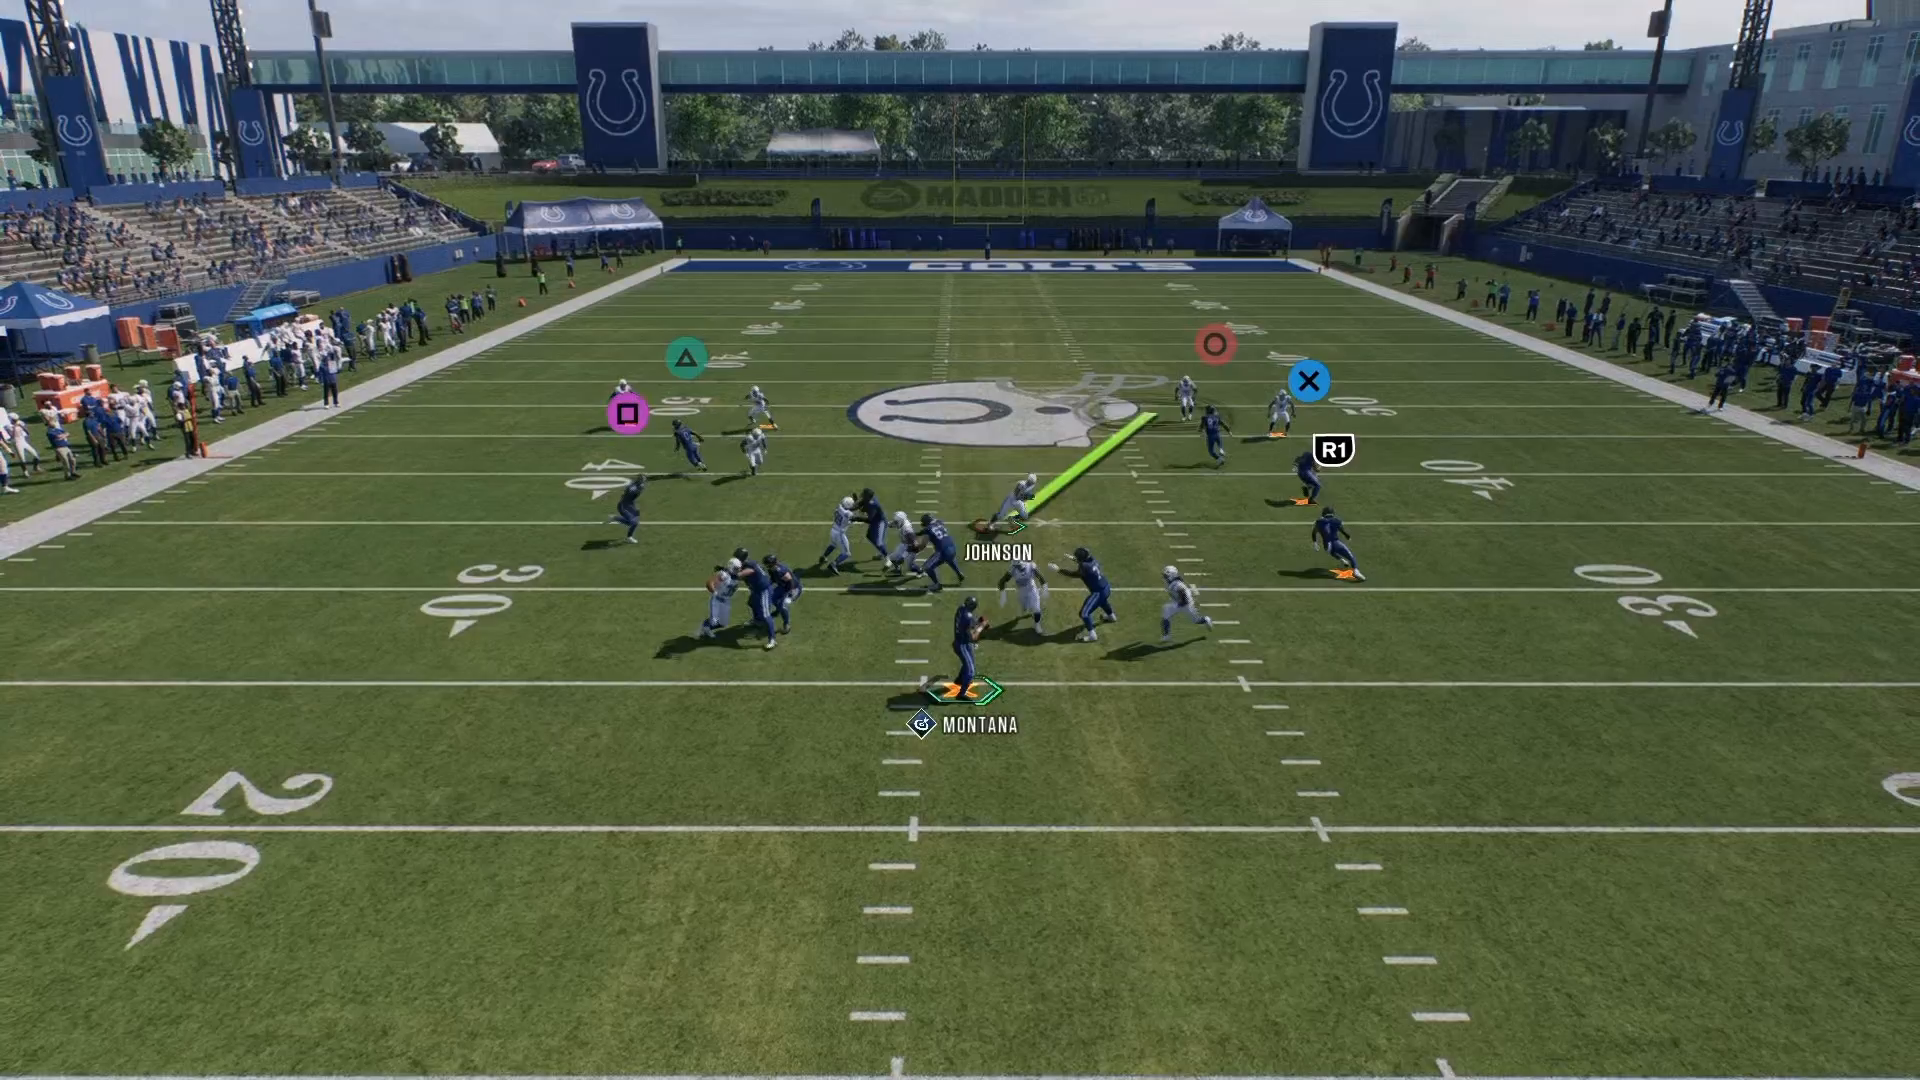
The key adjustment within this defense involves sliding the outside linebacker on the left side of the screen out significantly. Failing to do this allows the left tackle to easily pick him up, rendering your defense ineffective. By incorporating the QB contain, you funnel both the run and pass plays into your designated lanes, maximizing your chances of making a defensive stop. This aligns perfectly with the Madden Academy principle that spacing wins games — a fundamental aspect of the 16 Spaces System.
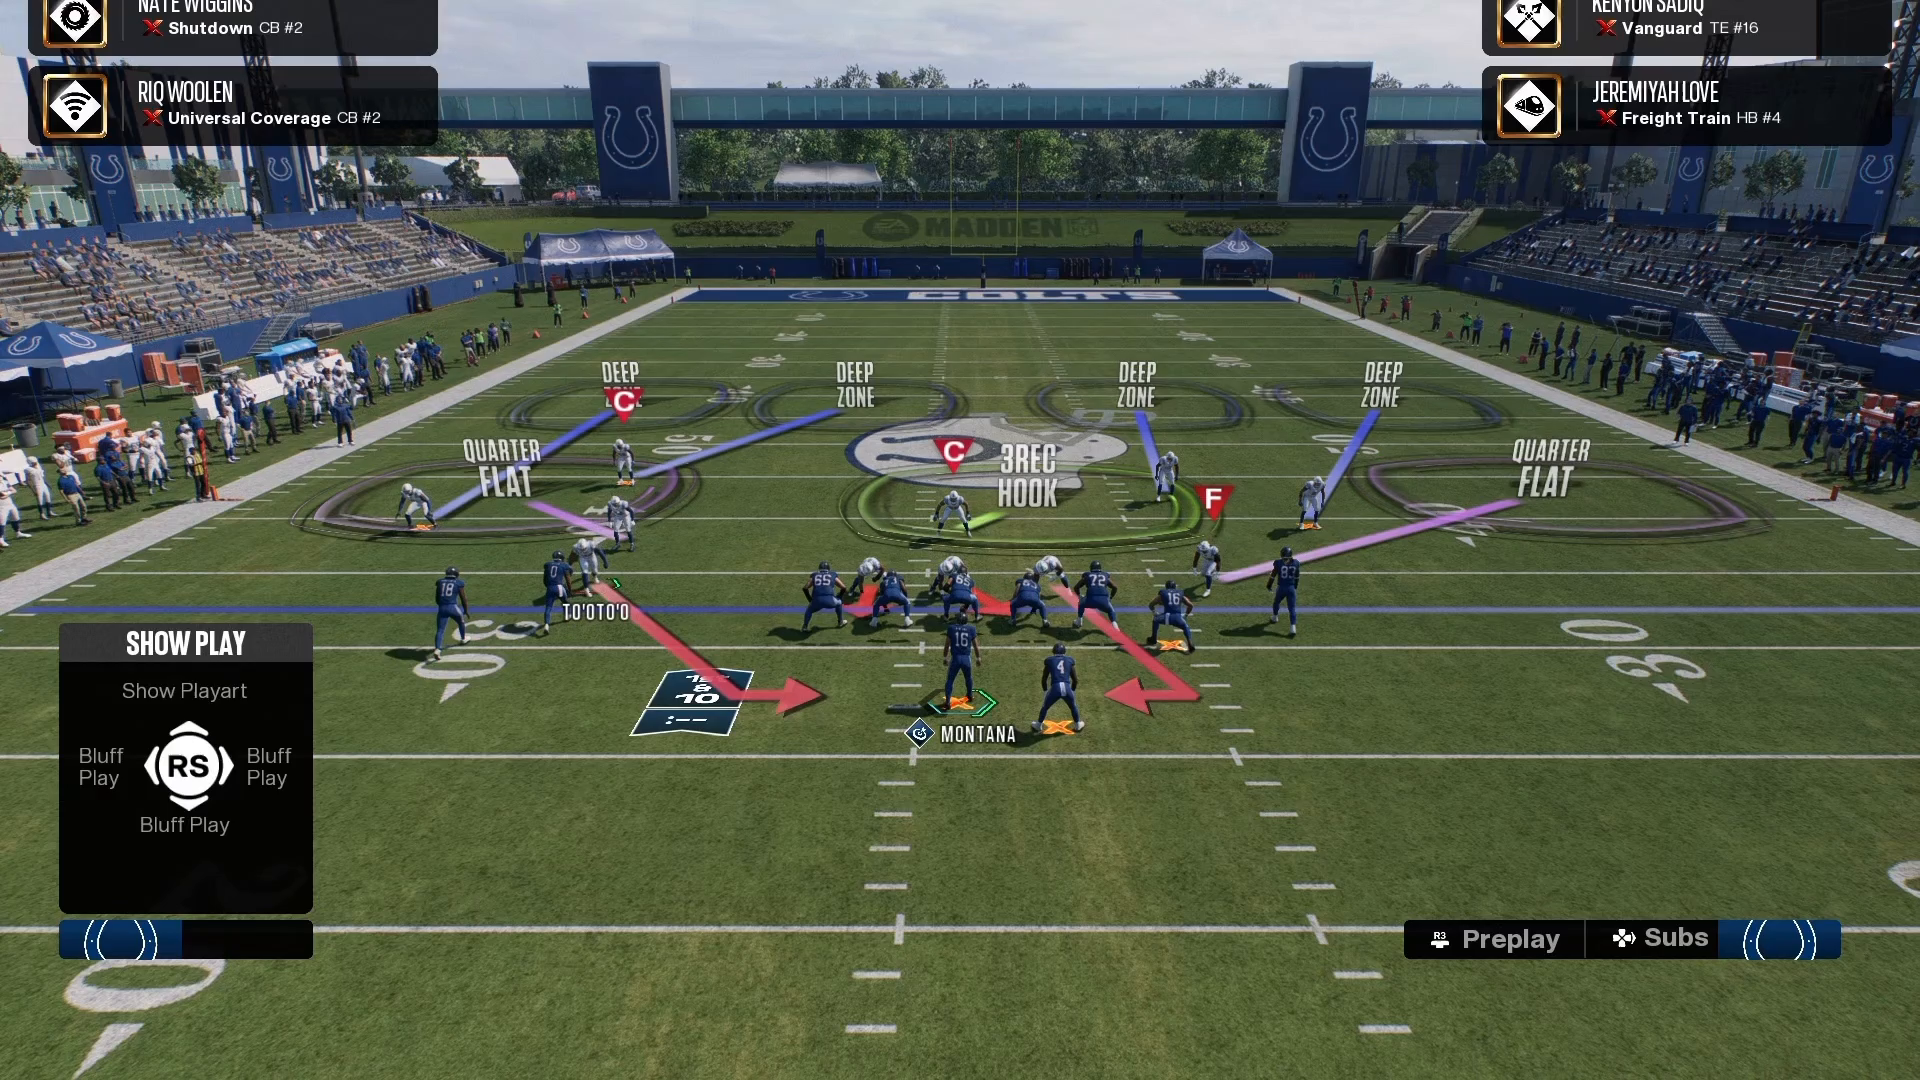
What It Does: Blitz Window
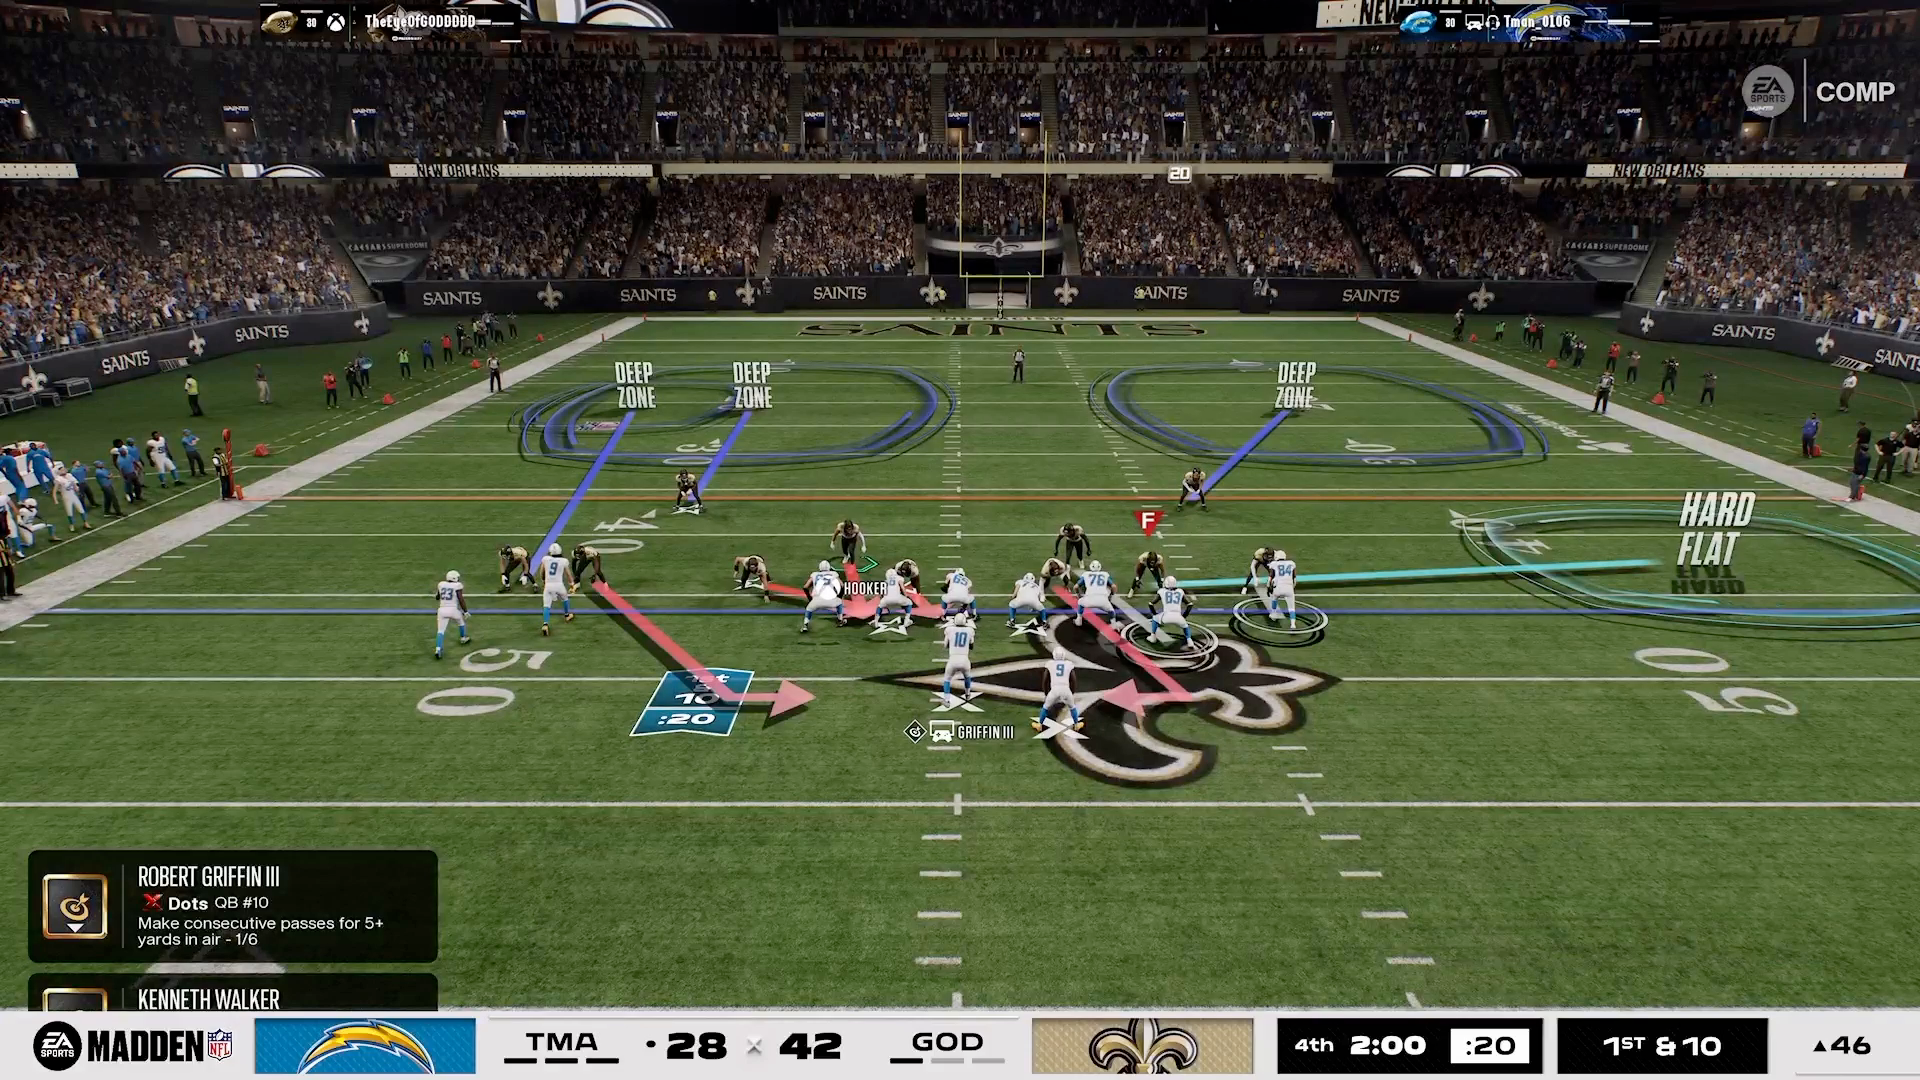
Once you’ve set up and adjusted your defense, the resulting pressure at the snap will create a ‘blitz window.’ This means that your outside linebacker will scream in free, applying immediate pressure on the quarterback. This forces the offensive line to make quick adjustments, creating openings for your rushers. The 16 Spaces System effectively targets these outer spaces, which is where many offenses struggle.
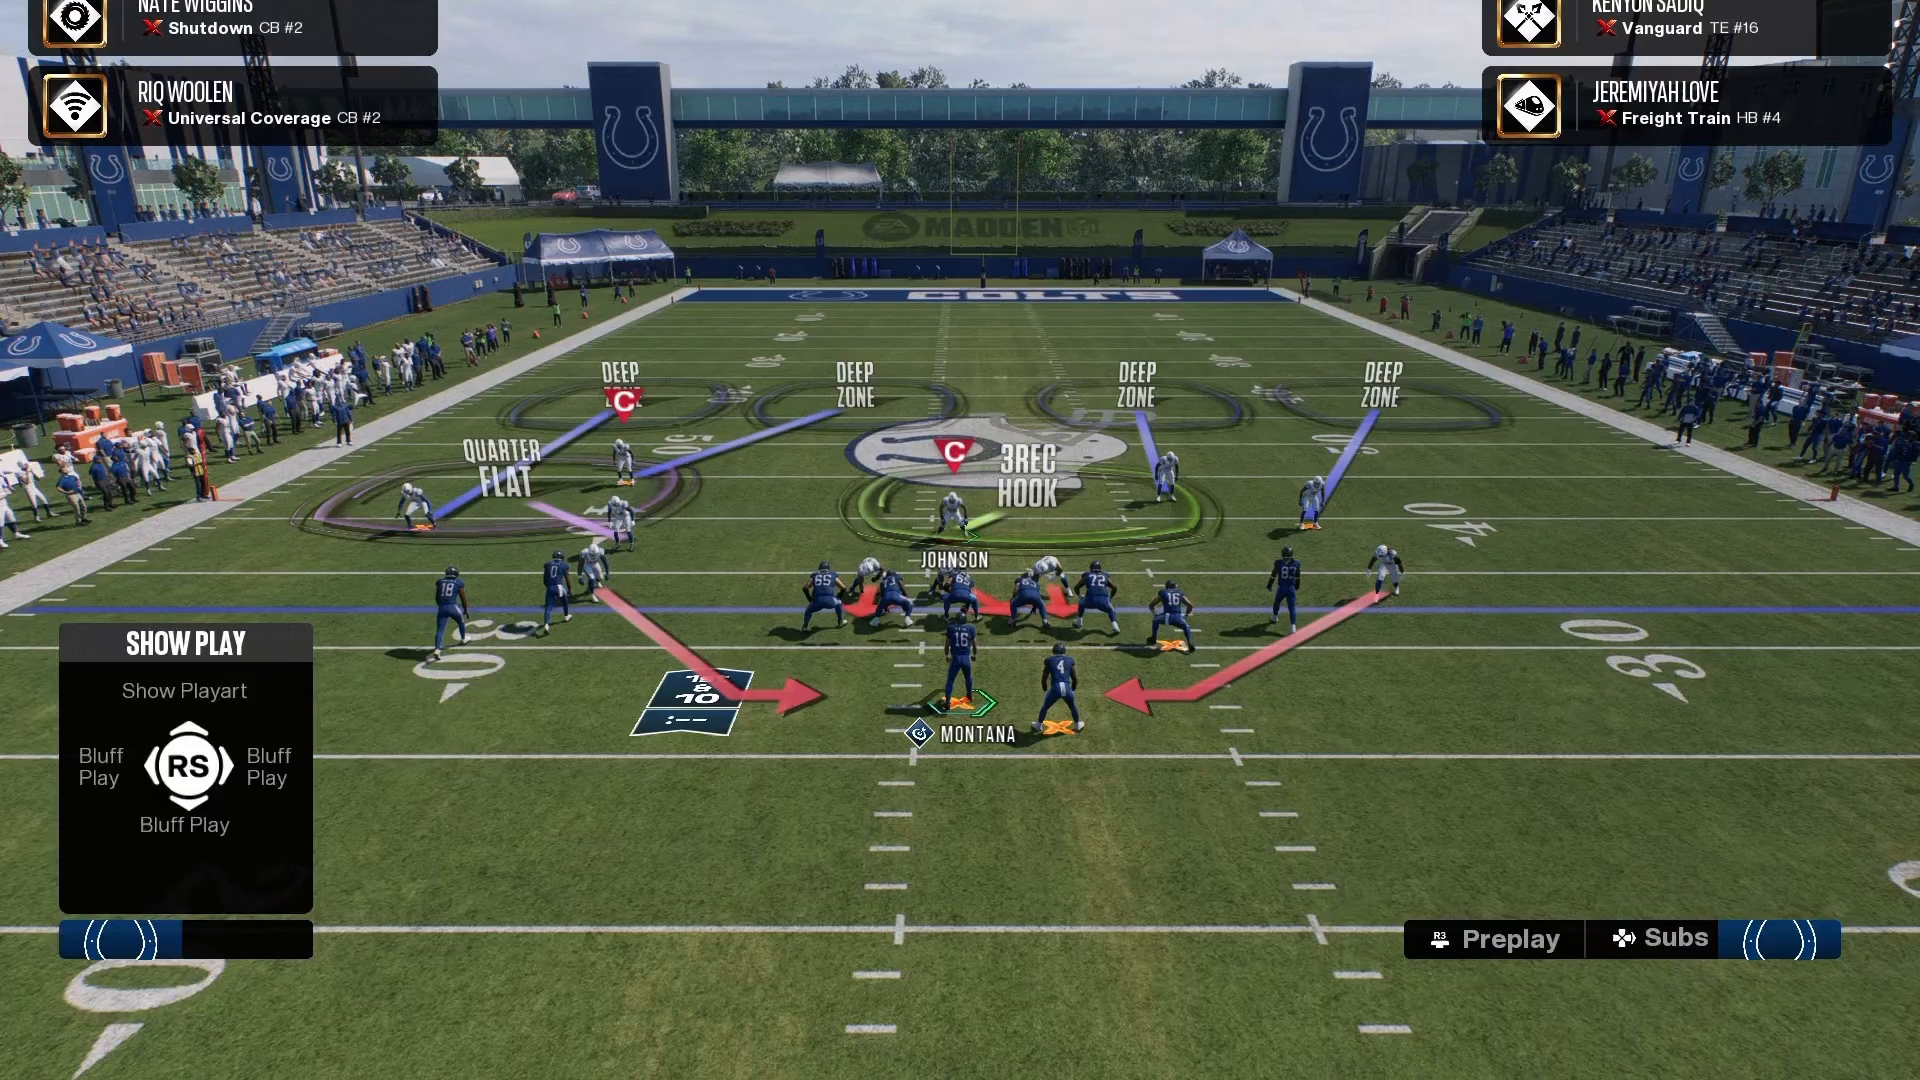
Counter: Half Slide
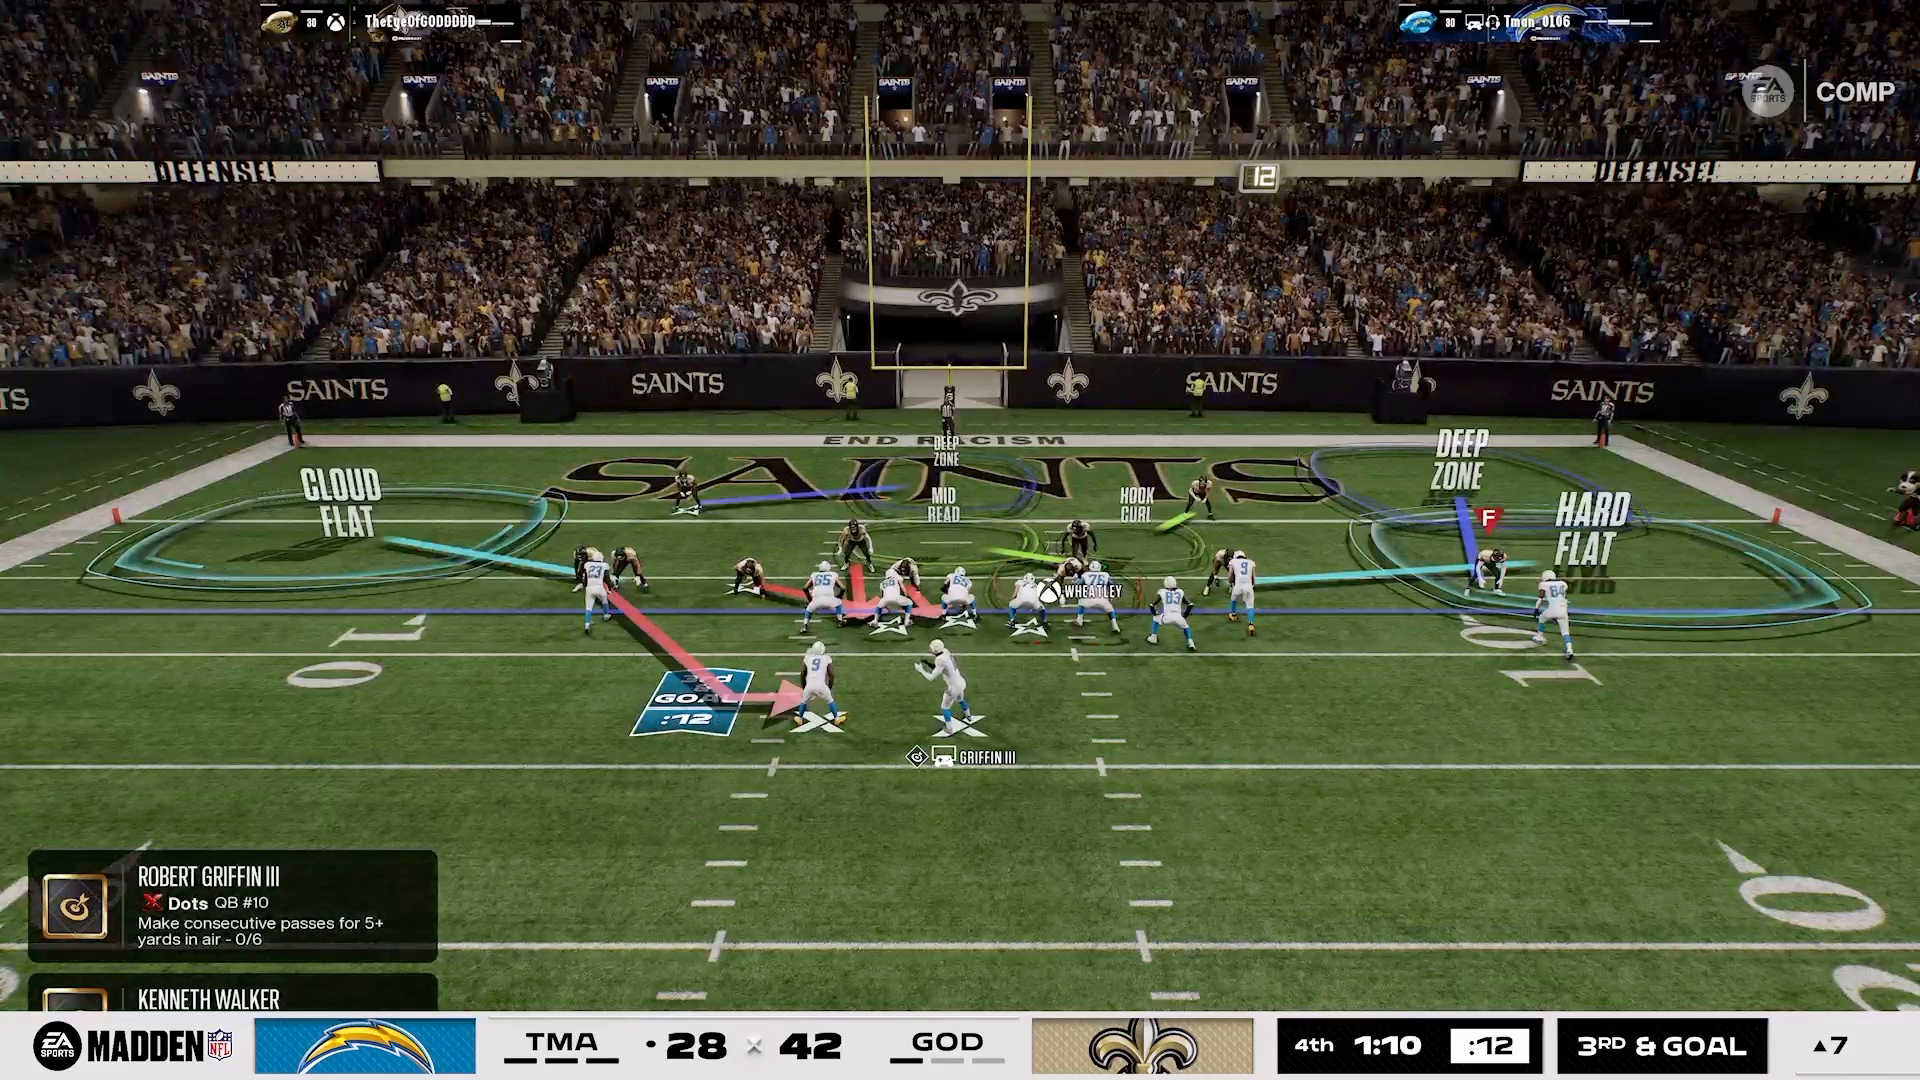
While the San Francisco Nickel 3-3 Cub defense is powerful, it isn’t without its vulnerabilities. Offenses can counter your approach by simply sending four players to block. In this case, you should implement a half slide towards the blitzer. This adjustment can pick up the pressure effectively and keep your quarterback safe. It’s all about chess — using spacing and timing to outmaneuver your opponent’s adjustments.
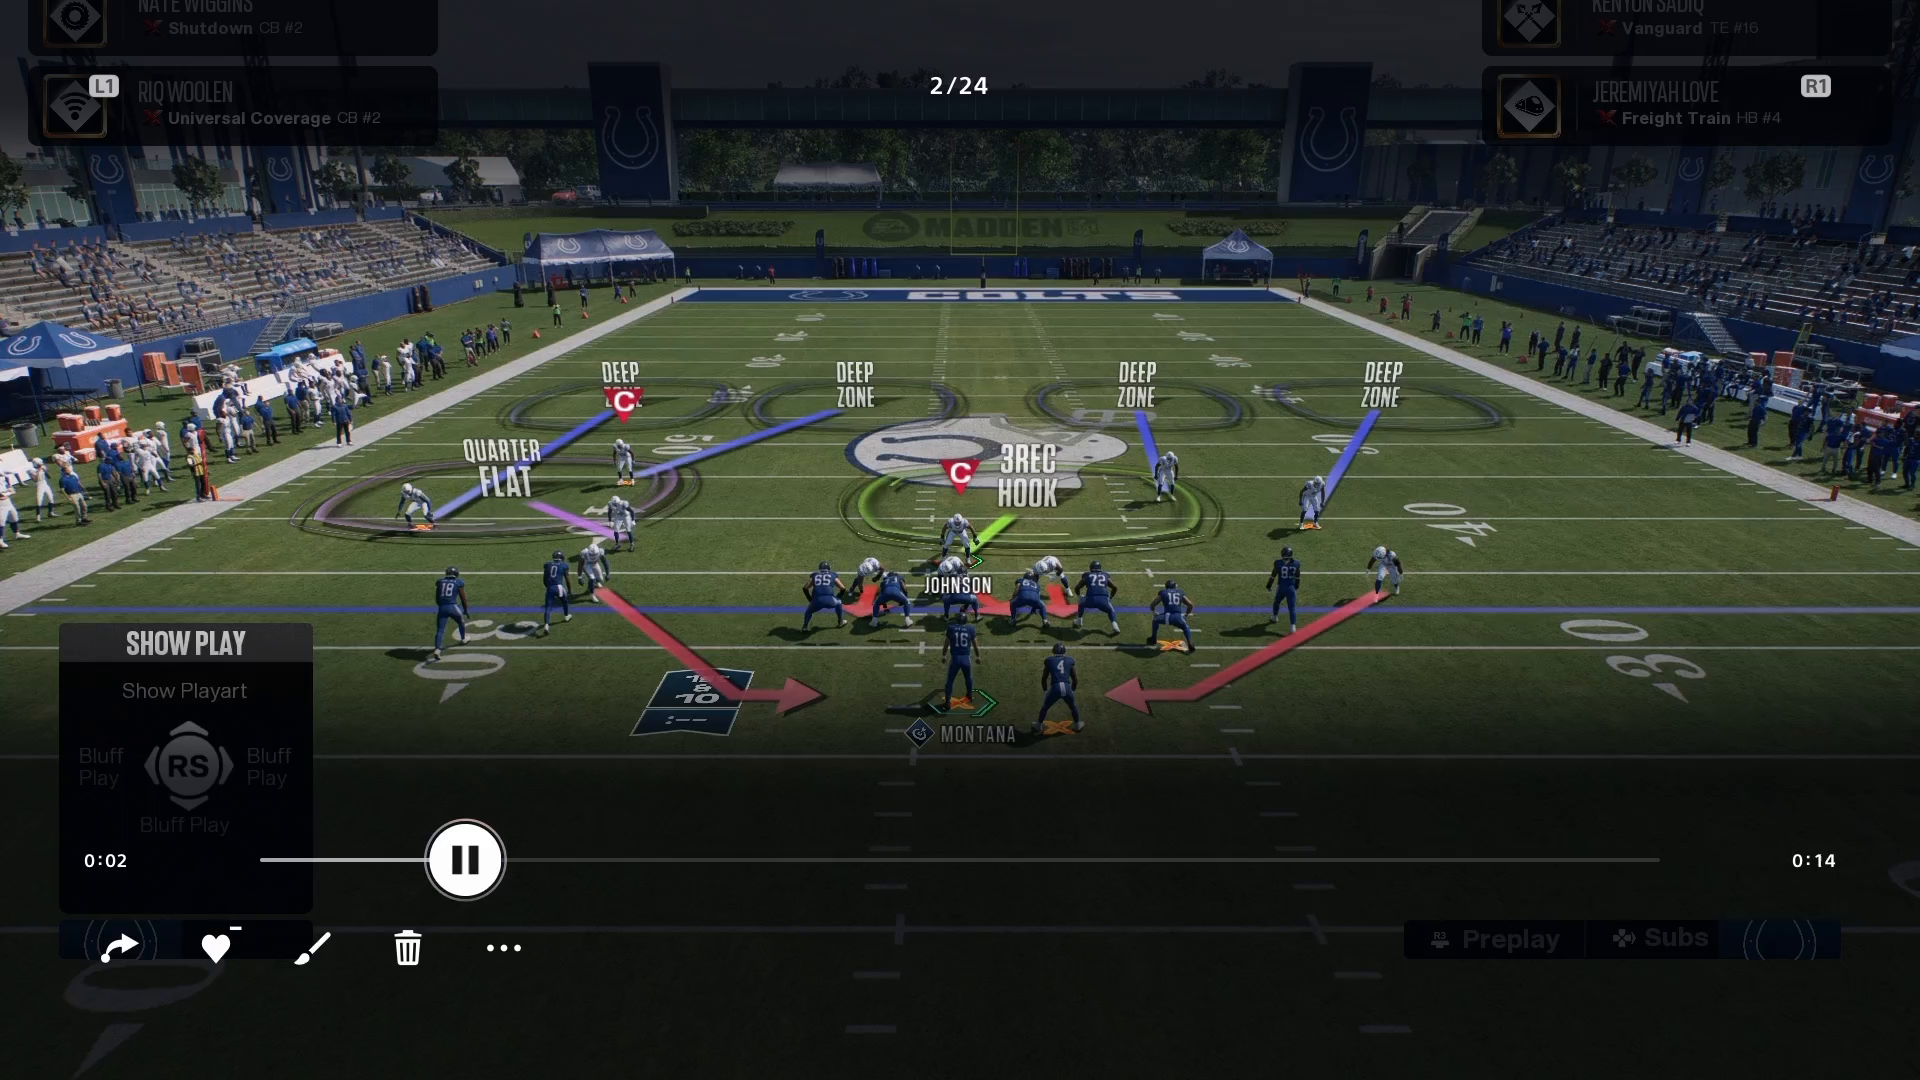
Counter to Counter: Slide Other OLB
If your opponent starts to half slide in response to your initial setup, you can stay one step ahead by sliding the other outside linebacker. Even if they manage to pick up the pressure from the left side, the right outside linebacker will run free. This mental chess game is what makes Madden so engaging; predictable counters can easily be punished with smart adjustments. If you’re curious about the best plays to use against this defense, a simple request for 100 likes will get you the details you need.
Conclusion
Mastering the San Francisco Nickel 3-3 Cub defense in Madden NFL 27 can elevate your gameplay significantly. By understanding the setup, necessary adjustments, and how to counter your opponent’s moves, you become a formidable force on the field. For those looking to dive even deeper into the intricacies of Madden strategies, consider exploring our more Madden tips to enhance your skills and dominate your competition.